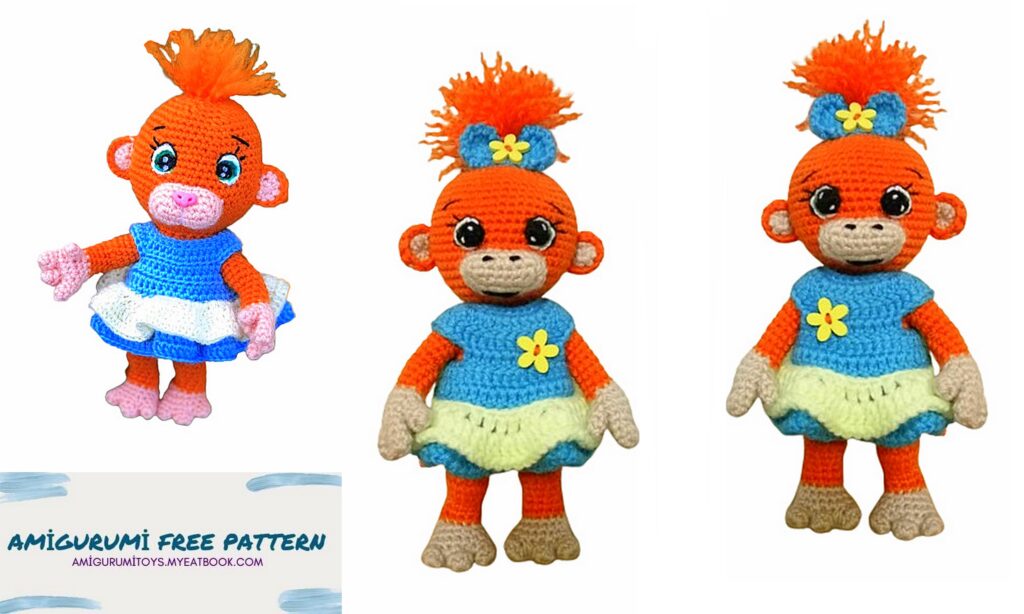
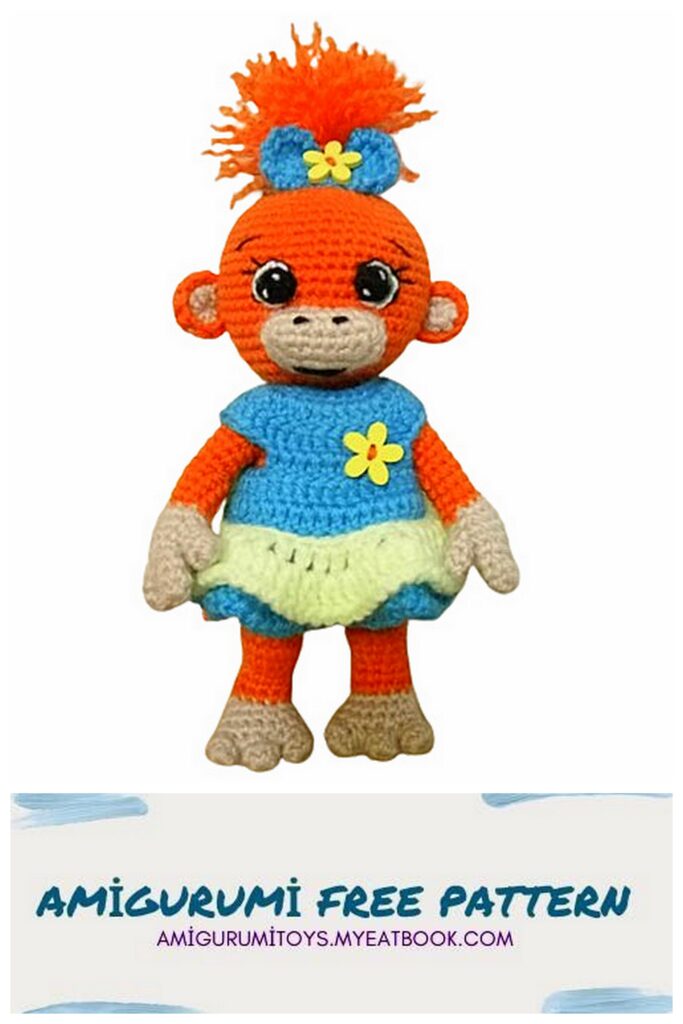
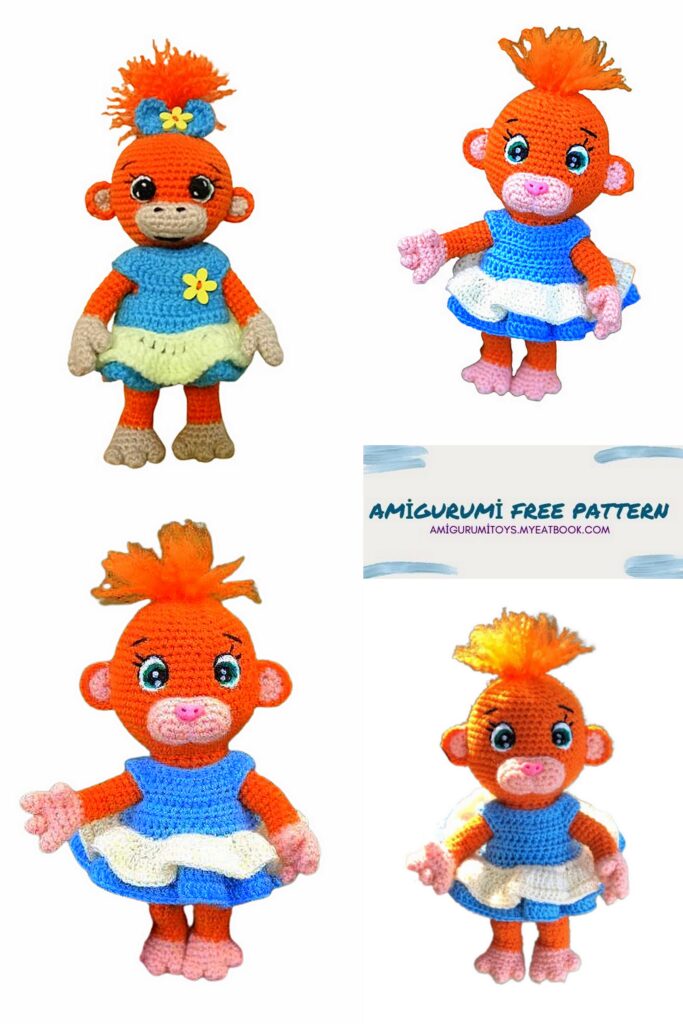
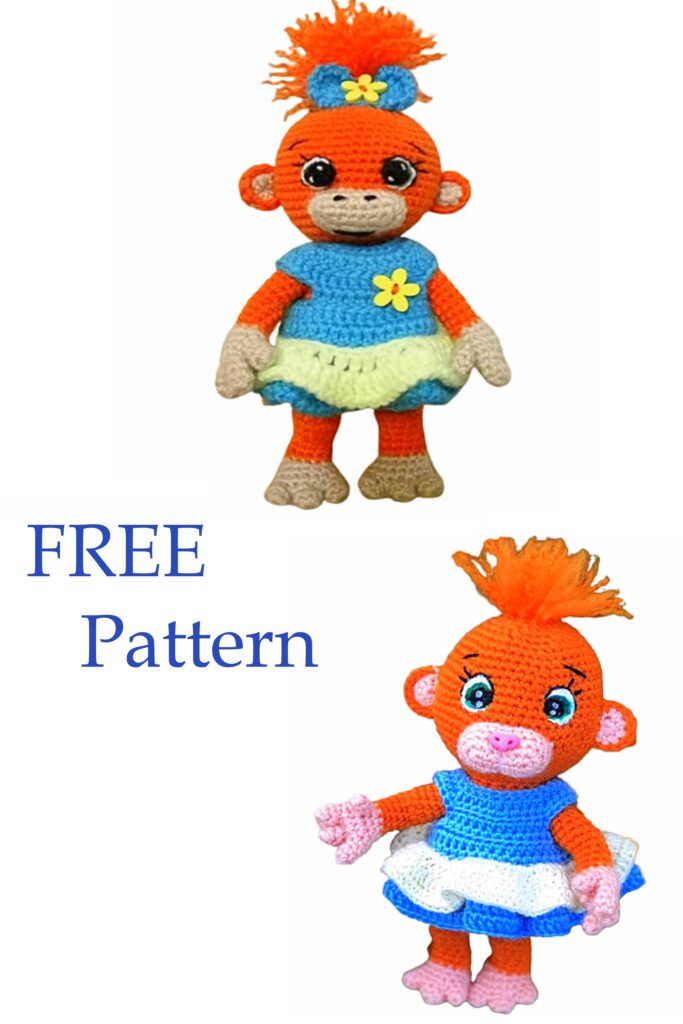
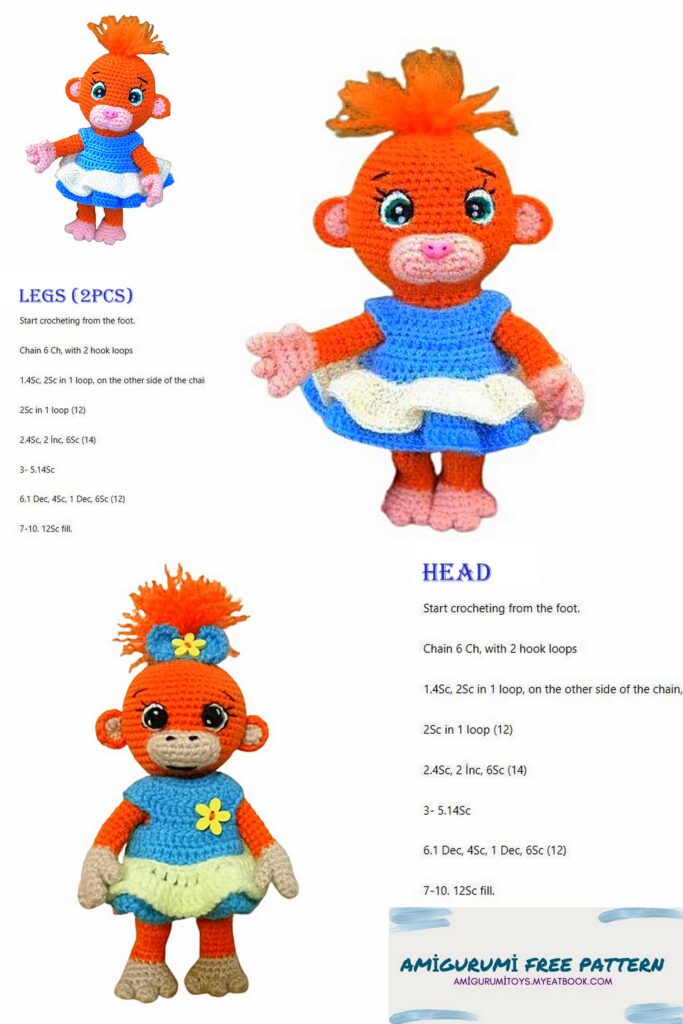
If you’re looking for a new and fun project in the world of knitting, a cute and practical option like Crochet Monkey in Dress Free Pattern may be ideal for you. These free patterns include stylish and unique designs that appeal to all age groups. How about knitting these cute monkey dresses as a toy for your children or as a great accessory for yourself? Whether you’re a beginner knitter or an expert, these patterns will offer you a new adventure.
Materials:
Yarn Children’s novelty orange slightly smaller than a skein, yarn slightly beige on the paws and face.
Pekhorka handmade yarn of any color (main) and any extra on dress
Hook 1.5, filler, eyes 0.8 cm, or floss threads black, white, green, acrylic paints on fabric,
Abbreviations
Sc – single crochet
Mr – amigurumi ring
Ch – air loop
İnc- gain
Dec – decrease
The toy is knitted entirely – legs, body, arms, head, only the muzzle and ears are sewn on
We knit the arms
Start knitting with beige yarn. First we knit 4 fingers, dial 5 Sc in MR and knit 3 rows like this
4th row: On the last finger we do not break the thread – we connect the ss to the second finger, knit 2 Sc on it, connect the ss to the third finger, knit 5 Sc, 3 Sc on the second finger and 3 Sc on the first finger (15) put a marker
5 row: 15 Sc (marker on the side, on the left, if you hold your palm with your fingers away from you)
Left hand
6th row: 1 Sc, 3 Sc together with finger, 11 Sc (15)
7th row: 1 Sc, 2 Sc on the finger, 11 Sc (14)
Row 8: Dec, 6 Sc, Dec, 4 Sc (12)
Row 9: change color to orange Dec, 4 Sc, Dec, 4 Sc (10)
10-13 row: 10 Sc
Row 14: 2 Sc, 3 inc, (increase in the center of the hand – focus on the palm), 1 Sc, 2 Dec (11)
Row 15: 9 Sc, Dec (10)
16-18 row: 10 Sc
Right hand
The marker is on the side on the left, if you hold your hand with your fingers facing away from you
Row 6: 5 Sc, to Sc with finger, 7 Sc (15)
7th row: 5 Sc, 2 Sc on the finger, 7 Sc (14)
Row 8: Dec, 6 Sc, Dec, 4 Sc (12)
Row 9: change color to orange
Dec, 4 Sc, Dec, 4 Sc (10)
10-13 row: 10 Sc
Row 14: 2 Sc, 3 inc, (increase in the center of the hand – focus on the palm), 1 Sc, 2 Dec (11)
Row 15: 9 Sc, Dec (10)
16-18 row: 10 Sc
Tail
1st row: 6Sc in Mr
2-18 row: 6 Sc
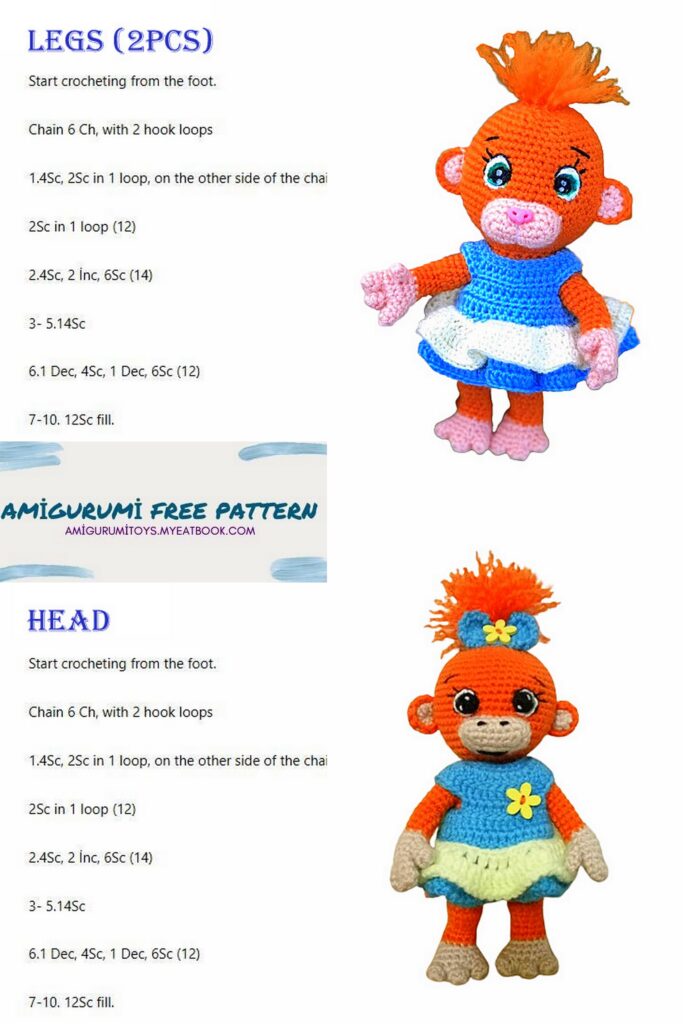
Knitting legs
The feet consist of 3 toes and the rest of the leg, we begin to knit in beige
We knit 6 fingers – 6 Sc in Mr and the second row 6 Sc
3rd row: Now we connect 3 fingers, connect the first finger with a sl st to the second, knit 3 Sc, connect with the third finger and knit 6 Sc, knit 3 Sc on the second finger, knit 3 Sc on the first finger, put a marker (18)
4-6 row: 18 Sc
Row 7: 1 Sc, cast on 6 Ch, skip 6 Sc, then knit 11 Sc (18)
Row 8: 18 Sc
9 row: 9 Dec
10 row: 5 Dec
Attach an orange thread on the right side to the hole and knit 6 Sc along the back, then 6 Sc along the front (12)
12-13 row: 12 Sc
Row 14: 2 Dec, 2 Sc, 3 Inc, 3 Sc (13)
Row 15: 13 Sc
Row 16: Dec, 4 Sc, 2 inc, 5 Sc (14)
Row 17: Inc, 4 Sc, 3 Dec, 3 Sc (12)
Row 18-20: 12 Sc
21st row: We knit 2 legs, do not break the second thread and knit 2 Ch, connect Sl-st to the first leg – we knit a marker in front 12 Sc on the leg, 2 Sc on Ch, 12 Sc on the leg, 2 Sc on Ch, (28 )
22 row: 5 Sc, İnc, 13 Sc, İnc, 8 Sc (30)
23-24 row: 30 Sc
Row 25: (4 Sc, inc)*6 (36)
Row 26: in this row we knit a tail-tail in the middle at the back
16 Sc, 3 Sc are knitted together with the bottom row of the tail, 17 Sc (36)
Row 27: 16 Sc, 3 Sc knit together with the top row of the tail, 17 Sc (36)
28 -30 row: 36 Sc
Row 31: (4 Sc, Dec)*6 (30)
32 -33 row: 30 Sc
Row 34: we knit the handles in this row – hands at the side, slightly in front.
7 Sc, 3 Sc with hands, 14 Sc, 3 Sc with hand, 3 Sc (30)
Row 35: 7 Sc, 7 Sc on the hand, 14 Sc, 7 Sc on the hand, 3 Sc (38)
Focus on your marker – deductions should go to your shoulders
Row 36: 8 Sc, 3 Dec, 16 Sc, 3 Dec, 2 Sc (32)
Row 37: 2 Sc, Dec, 3 Sc, Dec, 16 Sc, Dec, 3 Sc, Dec (28)
Row 38: 4 Sc, 2 Dec, 13 Sc, 2 Dec, 3 Sc (24)
Row 39: (2 Sc, Dec)*6 (18)
Row 40: 18 Sc
Row 41: 18 inc (36)
Row 42: (5 Sc, İnc)*6 (42)
Row 43: (6 Sc, inc)*6 (48)
Row 44: (7 Sc, inc)*6 (54)
Row 45-53: 54 Sc
Row 54: (7 Sc, Dec)*6 (48)
Row 55: 48 Sc
Row 56: (6 Sc,Dec)*6 (42)
Row 57: 42 Sc
Row 58: (5 Sc, Dec)*6 (36)
Row 59: (4 Sc,Dec)*6 (30)
Row 60: (3 Sc,Dec)*6 (24)
Row 61: (2 Sc,Dec)*6 (18)
Row 62: (1 Sc,Dec)*6 (12)
Row 63: 6 Dec
Ears 4 parts – 2 beige, 2 orange
Row 1: 6 Sc in Mr Turn, Ch
2nd row: İnc, 4 Sc, İnc
We connect the beige and orange parts and tie them around the edge
Muzzle
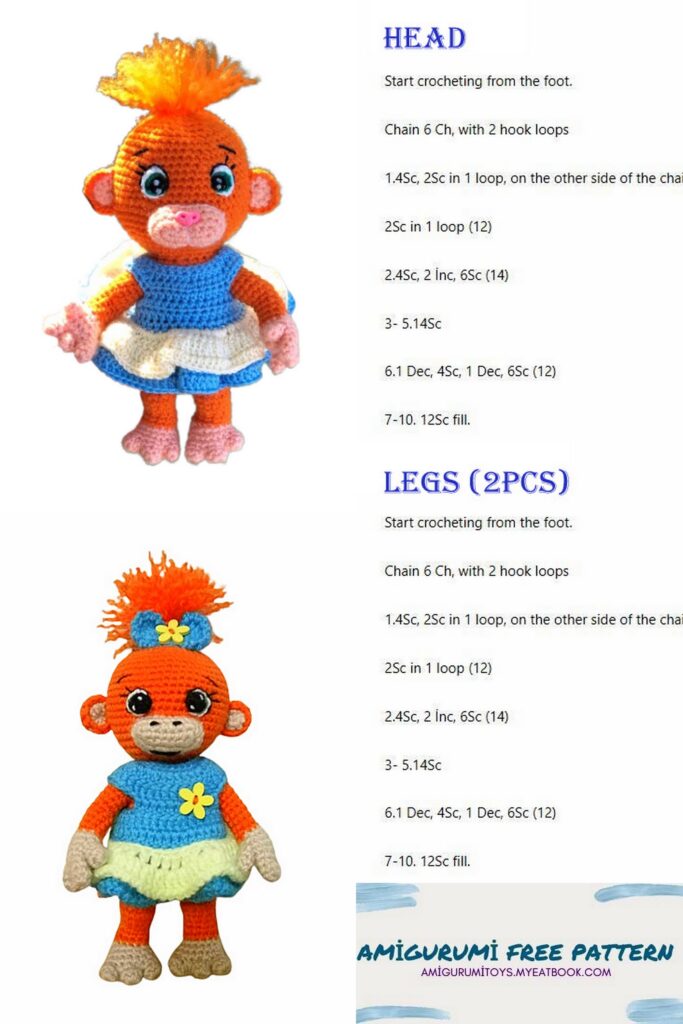
1st row: 7 Ch, knit from the second loop İnc, 4 Sc, 4 Sc to the last loop 4 Sc, İnc (16)
2nd row: 2 İnc, 5 Sc, 3 İnc, 5 Sc, İnc (22)
3-4 row: 22 Sc
Dress
We knit the dress in turning rows at the beginning of each row Ch
For a dress, handmade pekhorka yarn of any color, hook 1.5 – if take another yarn or another hook – the dress will not fit on the toy
1st row: cast on 40 Ch, count from the edge 8 loops with the ninth knit (we formed a buttonhole) knit 32 Sc
2nd row: (3 Dc, İnc Dc) *8 (40)
3rd row: (4 Dc, İnc Dc) *8 (48)
4th row: knit armholes in this row – 10 Sc, cast on 6 Ch, skip 8 stitches, from the 9th we knit 12 Sc, cast on 6 Ch, skip 8 Sc, 10 Sc
5th row: 10 Dc, 6 Dc on Ch, 12 Dc, 6 Dc on Ch, 10 Dc (44)
6th row: 44 Dc
Row 7: cast on a chain of 8 stitches (this is a buttonhole) from the 9th stitch 44 Dc
Row 8: knit a 44 Dc loop behind the back wall
Row 9: increase Dc in each stitch – join ss 2 halves of dress
Row 10: Inc Hdc in each stitch
11-13 row: Hdc
We return to the 8th row, tie a thread of a different color, knit
Row 8: 44 Sc
Row 9: increase HDC in each column
Row 10: Hdc in each column
11th row: Hdc
Assembly and design
Sew the muzzle on rows 16-19 (count the rows from the top)
We draw the eyes and embroider the outline with black thread or place ready-made ones on
11-15 rows
Sew the ears on 13-18 rows on the sides of the head
We embroider the eyes completely with black thread. We embroider the outer edges of the eye with green thread. We embroider the outer edges of the eye with white thread.
We tighten the muzzle – insert the needle in the middle from the bottom to the middle of the 2nd row from the top, leave the thread at the top and return the needle down, pull it up until a bridge is formed. Paint the eyes with acrylic paint on the fabric.
We glue the finished nose or embroider it.
We paint parts of the eye with appropriate paint – we paint the black part with black paint, etc.
When the paint dries, we embroider the eyelashes and create highlights.
We make a tuft on the head by attaching several short threads and combing them. Try on the dress. The toy is ready.