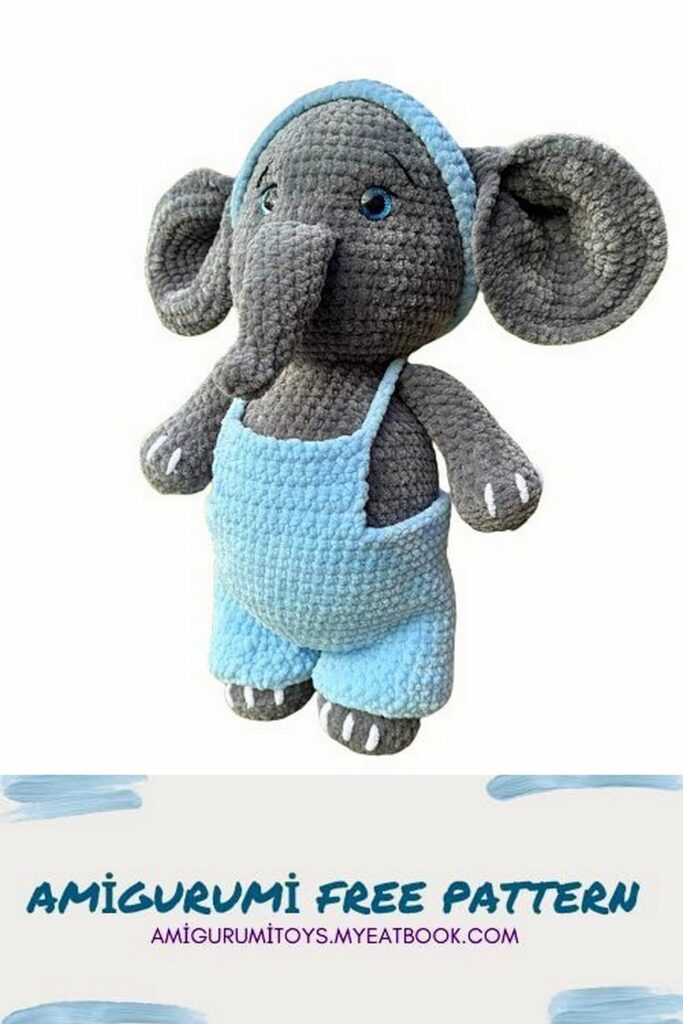
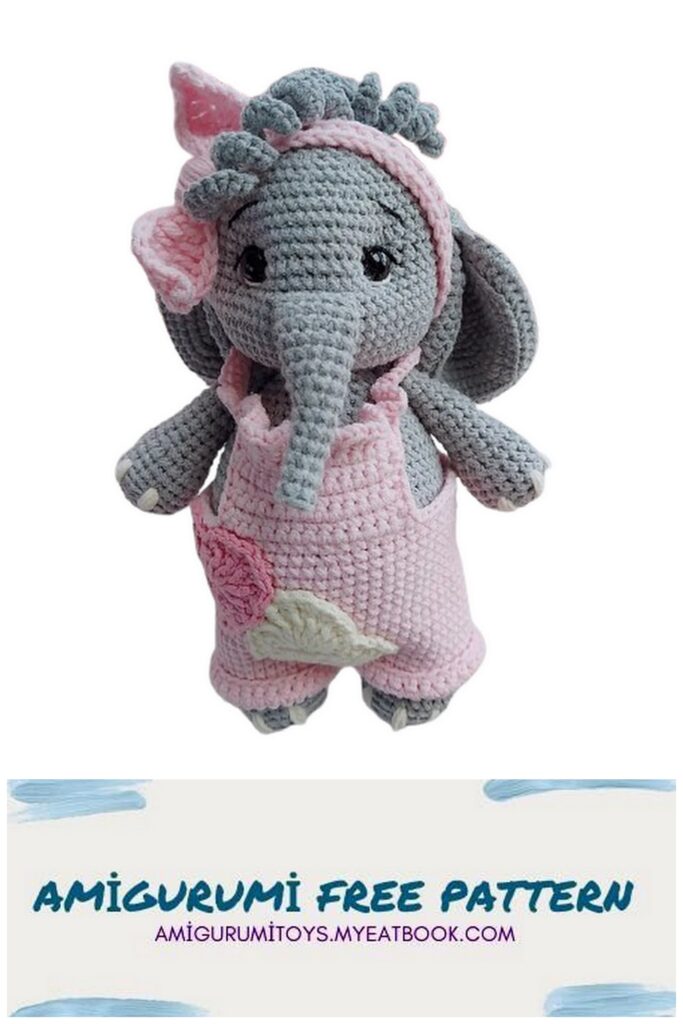
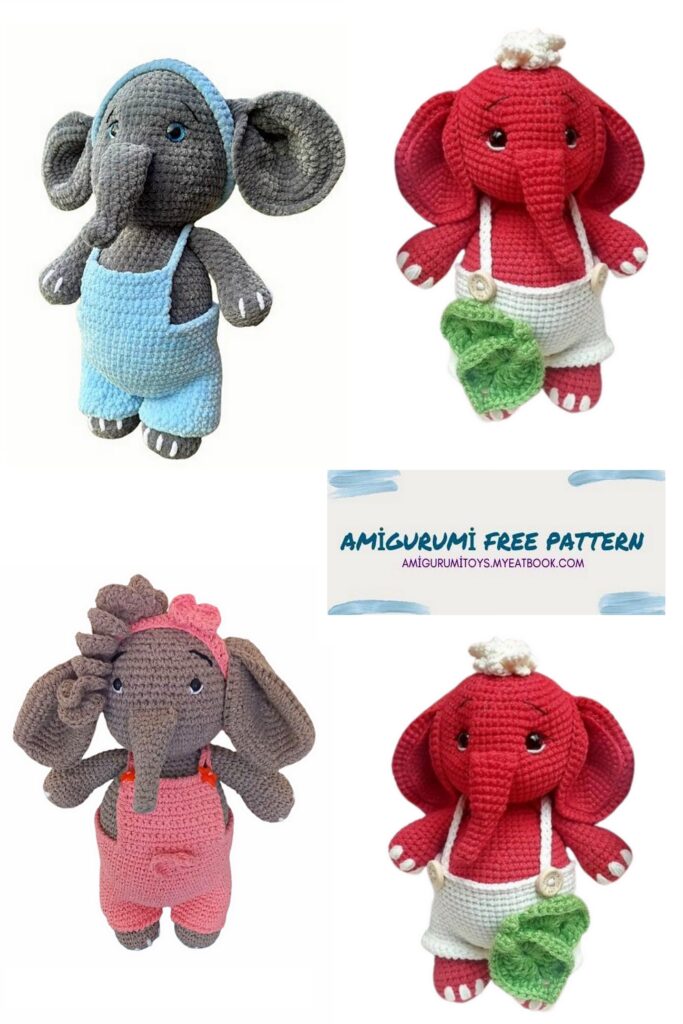
The size of the toy is about 19-20 cm. If you’re an enthusiast looking for your next adorable project, you’re in luck! We’re excited to present to you a delightful and free pattern to create your very own Elephant in Overalls Amigurumi. This charming design combines the lovable nature of elephants with the whimsy of overalls, resulting in a cuddly companion that will surely bring joy to anyone who sees it.
Abbreviations
MR-Magic ring
CH=Chain
INC=Increase
DEC=Decrement
SL-ST-loop shift
SC = single crochet
BLO Knitting by sinking into the yarn behind the stitch
FLO = Knitting by sinking into the yarn in front of the stitch

ARMS
1) Mr 6Sc
2) 6Inc=12Sc
3) (1Sc,Inc)*6=18
4) Blo 18Sc
5) Blo 18Sc
18Sc from 6-8
9) (1Sc,Dec)*6=12Sc
12Sc from 10-19
20) (2Sc,Dec)*3=9Sc
21) Let’s close the stitches as 4Sc on each other.
Let’s do nail embroidery between rows 5-7.
FEET
1) Mr 6Sc
2) 6Inc=12Sc
3) (1Sc,Inc)*6=18Sc
4) (2Sc,Inc)*6=24Sc
5) Blo 24Sc
6) Blo 24Sc
24Sc between 7-8
9) (2Sc,Dec)*6=18Sc
18Sc from 10-14
15) (1Sc,Dec)*6=12Sc
12Sc from 16-20
21) Let’s close each other as 6Sc.
Let’s do nail embroidery between rows 5-7.

HOSE
Let’s connect both ends of 12 Ch with Sl-st.
12Sc from 1 to 7
8) (2Sc,Dec)*3=9Sc
9Sc from 9-11
12) Dec, 7Sc=8Sc
13) Dec, 6Sc=7Sc
14) 7Sc
Let’s close the stitches by gathering them.

BODY AND HEAD
1) Mr 6Sc
2) 6Inc=12Sc
3) (1Sc,Inc)*6=18Sc
4) (2Sc,Inc)*6=24Sc
5) (3Sc,Inc)*6=30Sc
6) (4Sc,Inc)*6=36Sc
7) 36Sc
8) (5Sc,Inc)*6=42Sc
9) (6Sc,Inc)*6=48Sc
10) (7Sc,Inc)*6=54Sc
11) 54Sc
12) (8Sc,Inc)*6=60Sc
13) 12Sc, 6Sc with leg, 24Sc, 6Sc with leg, 12Sc=60Sc
60Sc between 14-20
21) 18Sc, (6Sc,Dec)*3, 18Sc=57Sc
22) 18Sc, (5Sc,Dec)*3, 18Sc= 54Sc
23) 54Sc
24) (7Sc,Dec)*6=48Sc
25) 48Sc
BODY AND HEAD 2
26) (6Sc,Dec)*6=42Sc
27) 42Sc
28) (5Sc,Dec)*6=36Sc
29) (4Sc,Dec)*6=30Sc
30) 30Sc
31) (3Sc,Dec)*6=24Sc
32) 4Sc, 4Sc with lever, 8Sc, 4Sc with lever, 4Sc= 24Sc
33) 24Sc
We move on to the head.
34) 24Inc=48Sc
35) (7Sc,Inc)*6=54Sc
36) 54Sc
37) (8Sc,Inc)*6=60Sc
60Sc between 38-48
49) (8Sc,Dec)*6=54Sc
50) 2Sc, Dec, (7Sc,Dec)*5, 5Sc=48Sc
51) (6Sc,Dec)*6=42Sc
52) 2Sc, Dec, (5Sc,Dec)*5, 3Sc=36Sc
53) (4Sc,Dec)*6=30Sc
54) (3Sc,Dec)*6=24Sc
55) (2Sc,Dec)*6=18Sc
56) (1Sc,Dec)*6=12Sc
57) 6Dec=6Sc Let’s close the remaining stitches by gathering them.
Let’s attach the eyes between the 45th and 46th rows, leaving 9Sc between them.


EARS
We knit 4 in total.
1) Mr 6Sc
2) 6Inc=12Sc
3) (1Sc,Inc)*6=18Sc
4) (2Sc,Inc)*6=24Sc
5) (3Sc,Inc)*6=30Sc
6) (4Sc,Inc)*6=36Sc
7) (5Sc,Inc)*6=42Sc
8) (6Sc,Inc)*6=48Sc
9) (7Sc,Inc)*6=54Sc
Let’s not cut the thread after knitting the second piece. Let’s combine the two pieces together by making 54Sc.
We make the other ear in the same way.

Let’s sew the ears to the sides so that they line up above the eye.
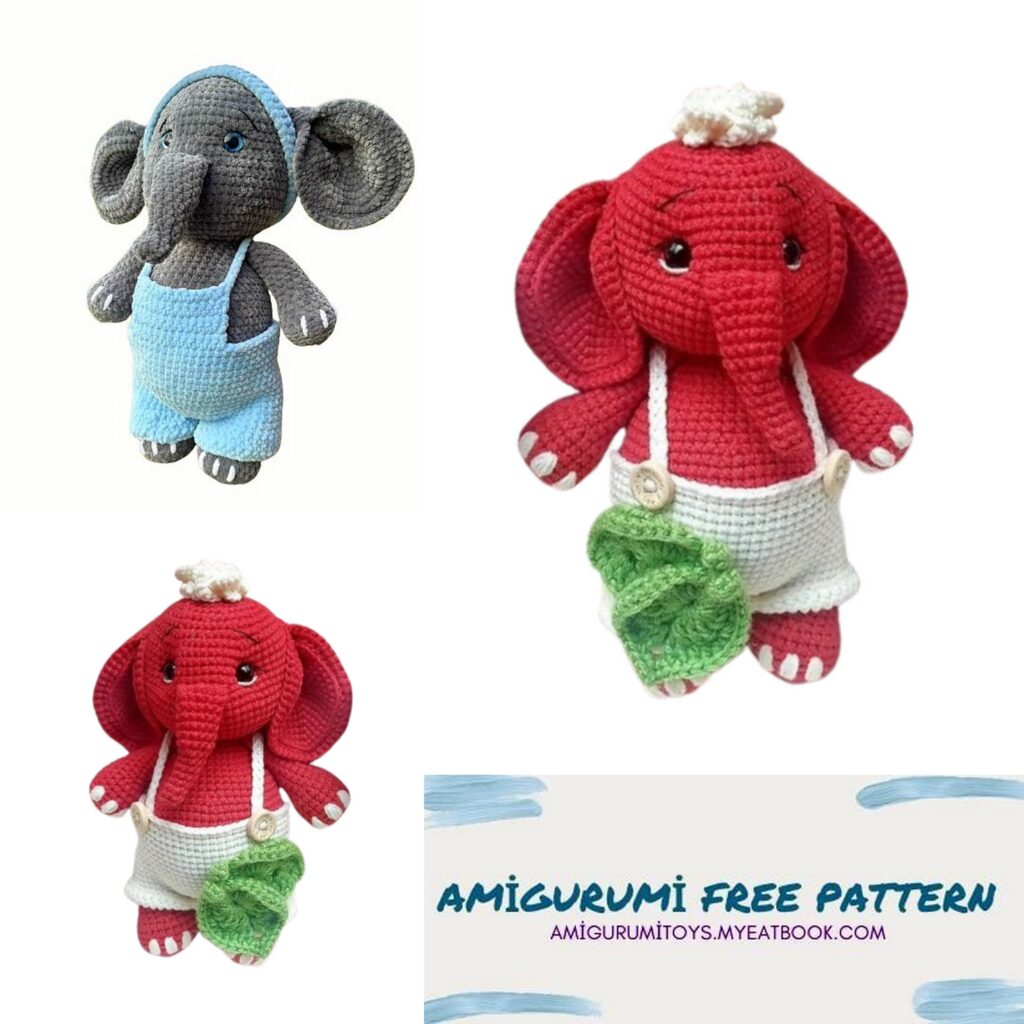
There is no clothing recipe. You can decorate it as you wish.