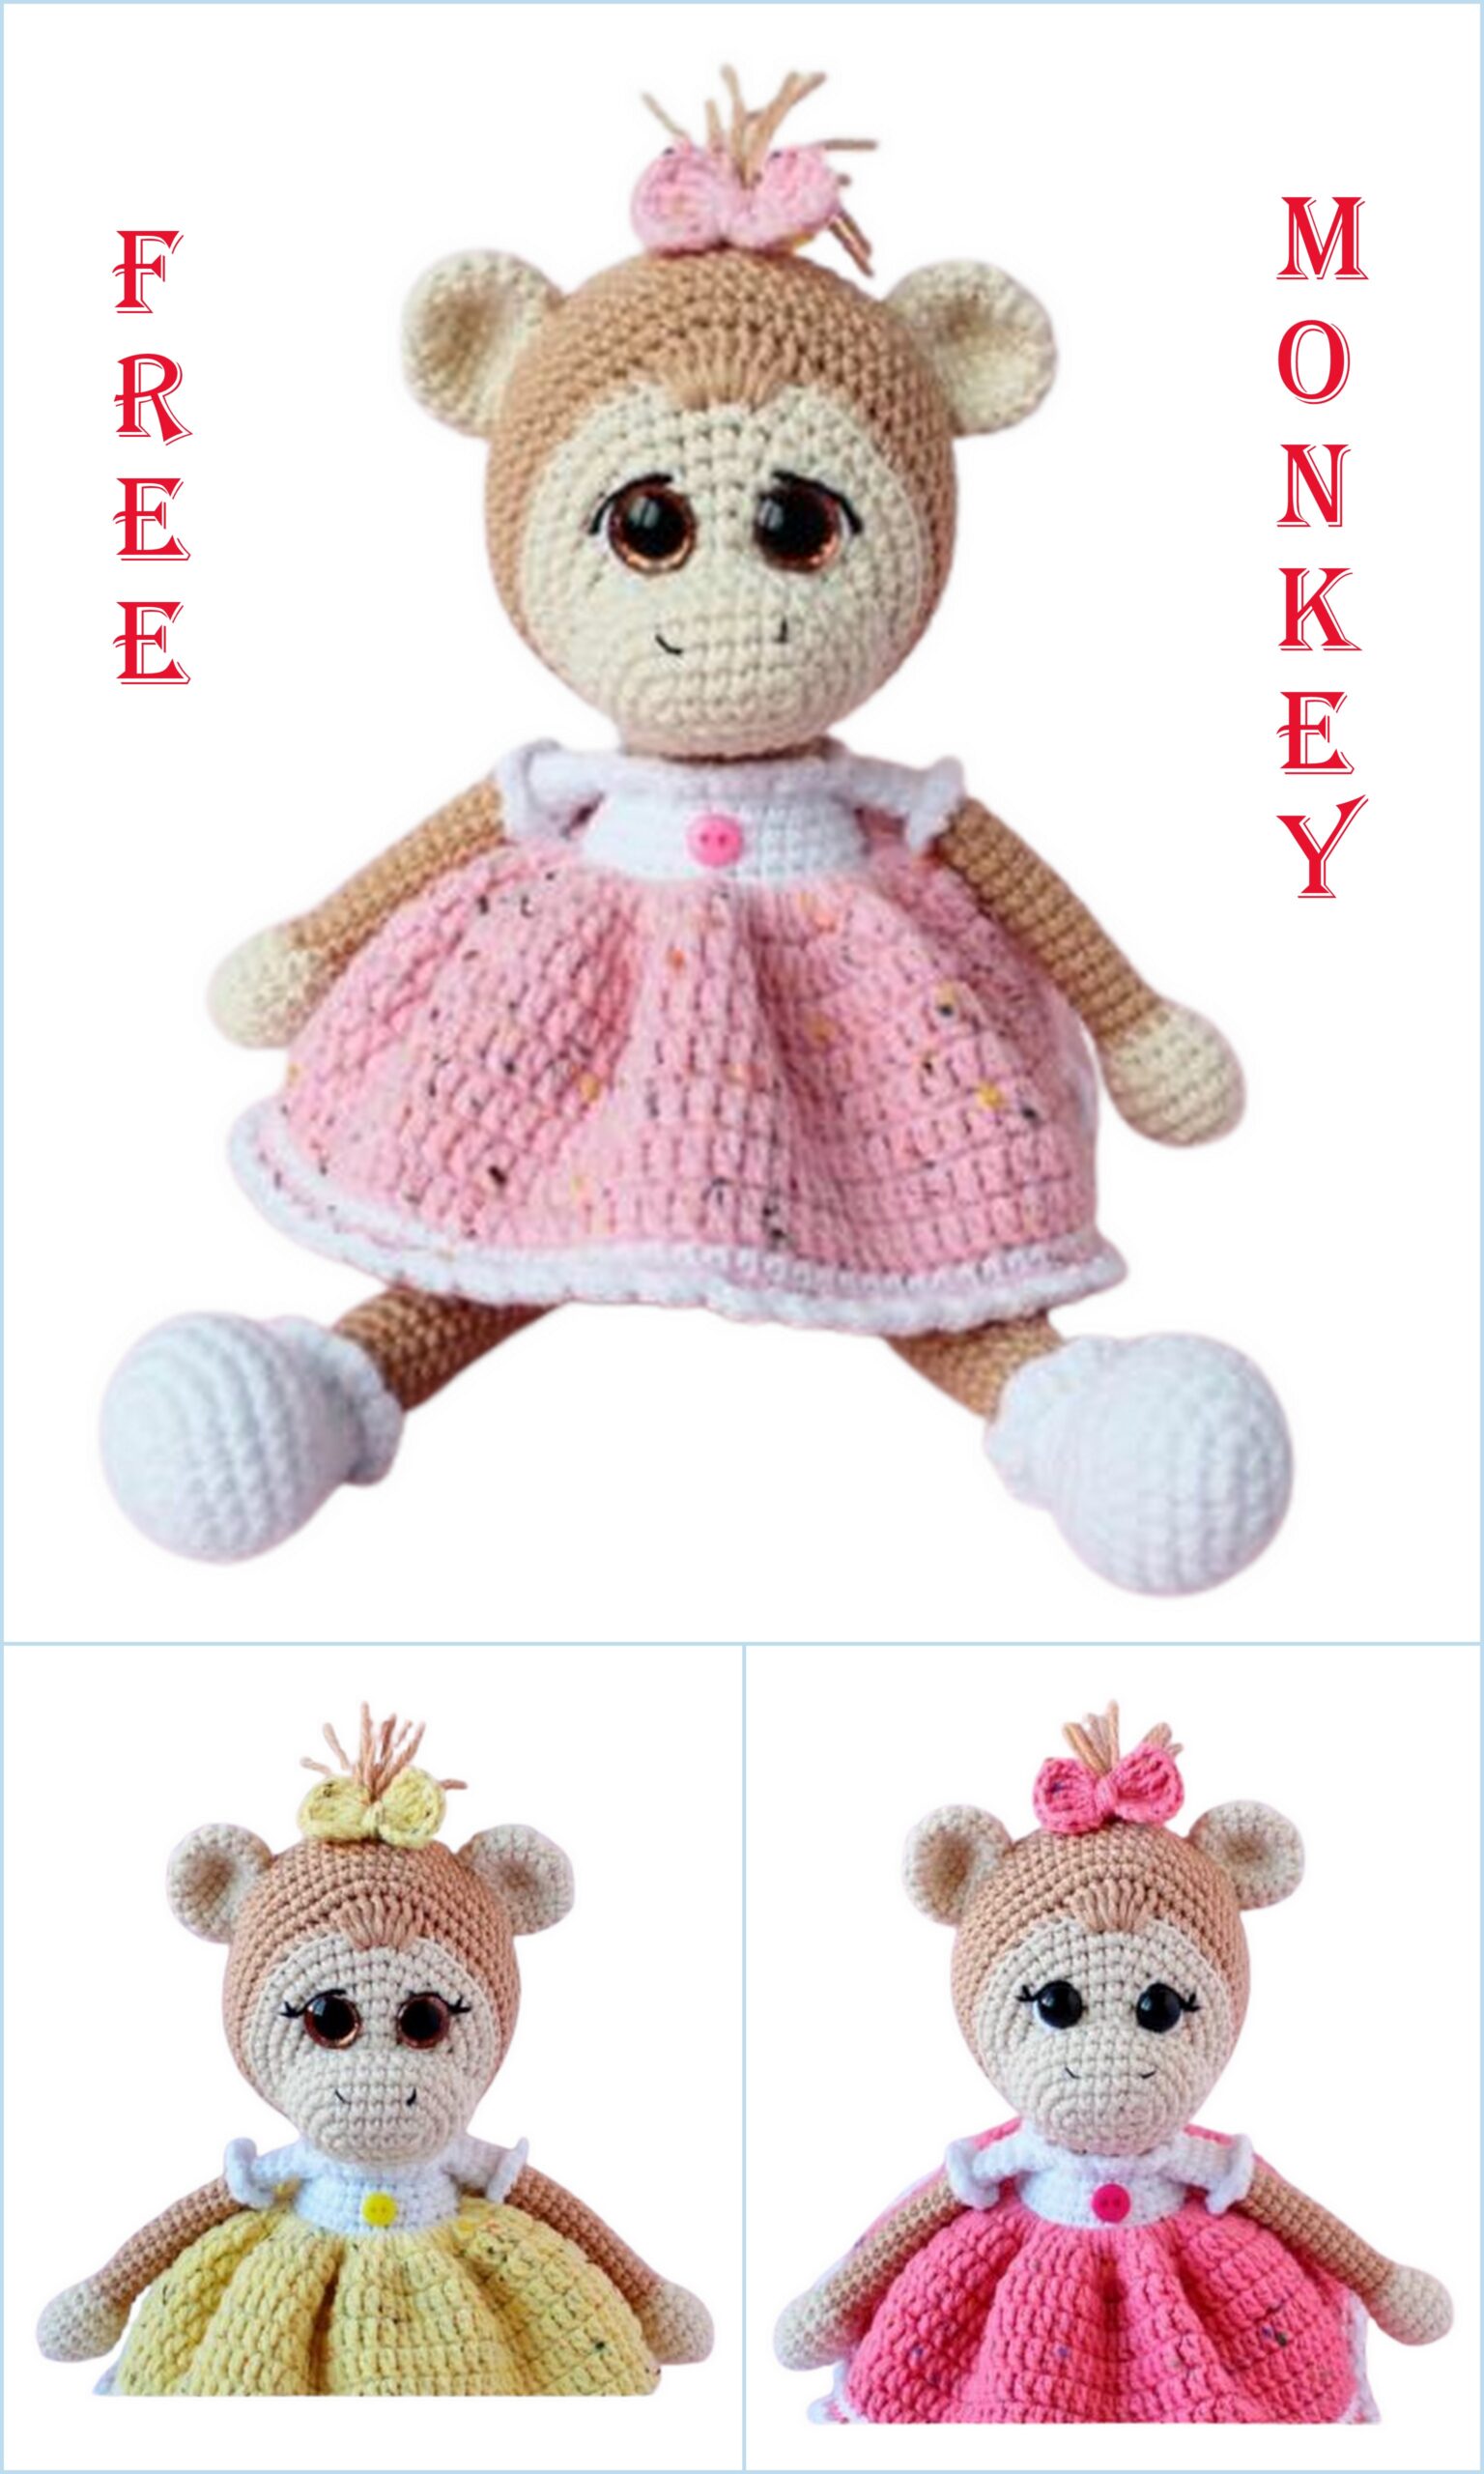
I will be very pleased if you share your finished work with me and leave your feedback about this Master Class
SYMBOLS
MR – amigurumi ring
SC – single crochet
HDC – half double crochet
DC – double crochet
TR – double crochet
İNC – increase
DEC – decrease
CH – air loop
(… SC) – total number of posts in the row SL-ST – connecting post
Note! The toy is knitted in a circle, without lifting air loops (a new row begins immediately with knitting single crochets). If an air lifting loop is required, I will indicate.
REQUIRED MATERIALS AND TOOLS
1) Yarn Gazzal JEANS: (1122) – sandy; (1120) – dairy.
Yarn Alize Cotton Gold: (55) – white.
Yarn Alize Cotton Gold Tweed: (33) – dark pink (the color of the dress and bow that I used for MK).
2) Hook 2.25mm
3) Glitter eyes 12 mm or black 10 mm
4) Holofiber
5) Scissors
6) Needle
7) Strong thread for tightening
8) Black thread for muzzle decoration
9) Button 7.0 mm
DESCRIPTION

Ears (2 parts):
We start knitting with a milky thread (1120).
1) MR, 7SC
2) 7 inch (14 SC)
3) (1 SC, İNC)*7 (21 SC)
4 – 6) 21 SC (3 rows)
7) (1SC, DEC)*7 (14SC)
In the next loop we knit SL-ST, cut the thread, leaving the tip for sewing.
Muzzle
We start knitting with a milky thread (1120).
6 CH, start knitting from the 2nd loop from the hook:
1) 4 SC, 3 SC in 1 loop, 3 SC, İNC (12 SC)
2) İNC, 3 SC, 3 İNC, 3 SC, 2 İNC (18 SC)
3) 1 SC, İNC, 3 SC, (1 SC, İNC)*3, 3 SC, (1 SC, İNC)*2 (24 SC)
4) 2 SC, İNC, 3 SC, (2 SC, İNC)*3, 3 SC, (2 SC, İNC)*2 (30 SC)
5) 30SC
6) (İNC, 9SC, İNC, 4SC)*2 (34SC)
In the next loop we knit SL-ST, cut the thread, leaving the tip for sewing.
Bow:
We start knitting with a thread of dark pink color (33). And before knitting, step back from the edge of 20-25 cm.
1) MR, 4 CH, 5 TR, 4 CH, SL-ST, 4 CH, 5 TR, 4 CH, SL-ST, tighten the ring. Knit 1 CH, cut the thread, leaving a long tip.
Wrap the ends of the threads around the middle and tie in a knot, do not cut the threads.
Head:
We start knitting with a milky thread (1120). Stuff your head with holofiber as you knit.
!!!IMPORTANT!!! From rows 1-8 we knit with 1 CH incline.
1) MR, 6SC
2) 6 inch (12 SC)
3) (1SC, İNC)*6 (18SC)
4) 1 SC, İNC, (2 SC, İNC)*5, 1 SC (24 SC)
5) (3SC, İNC)*6 (30SC)
6) 2SC, İNC, (4SC, İNC)*5, 2SC (36SC)
7) (5SC, İNC)*6 (42SC)
8) 3 SC, İNC, (6 SC, İNC)*5, 3 SC (48 SC)
Change the color to sand (1122). Next, we knit without CH lifting!
9) In this row, we knit for the back half loops, except for the 3 central ones (I will indicate).
5 SC, İNC, 11 SC, İNC, 4 SC, İNC from DC (we knit one row below),
3 DC in 1 st (knit one row down), İNC from DC (knit one row down), 4 SC, İNC, 11 SC, İNC, 6 SC (56 SC)
We start the next row from the 1st SC, skipping SL-ST
10) 24 SC, İNC, (1 SC, İNC)*3, 25 SC (60 SC)
11) 60SC
12) 7 SC, İNC, (14 SC, İNC)*3, 7 SC (64 SC)
13 – 16) 64 SC (4 rows)
If necessary, knit offset columns so that the marker is in the middle.
At this stage, insert the eyes between 4 and 5 next. The distance between the eyes is 7 SC in the 4th row or 8 SC in the 5th row (if necessary, try on the muzzle).
17) 7SC, DEC, (14SC, DEC)*3, 7SC (60SC)
18) 60SC
19) 4SC, DEC, (8SC, DEC)*5, 4SC (54SC)
20) 54SC
21) (7SC, DEC)*6 (48SC)
22) 3SC, DEC, (6SC, DEC)*5, 3SC (42SC)
23) (5SC, DEC)*6 (36SC)
24) 2SC, DEC, (4SC, DEC)*5, 2SC (30SC)
25) (3SC, DEC)*6 (24SC)
26) 1SC, DEC, (2SC, DEC)*5, 1SC (18SC)
27) (1SC, DEC)*6 (12SC)
28) 6 Dec
In the next loop we knit SL-ST, cut the thread, tighten the ring, hide the thread.
Head shaping:
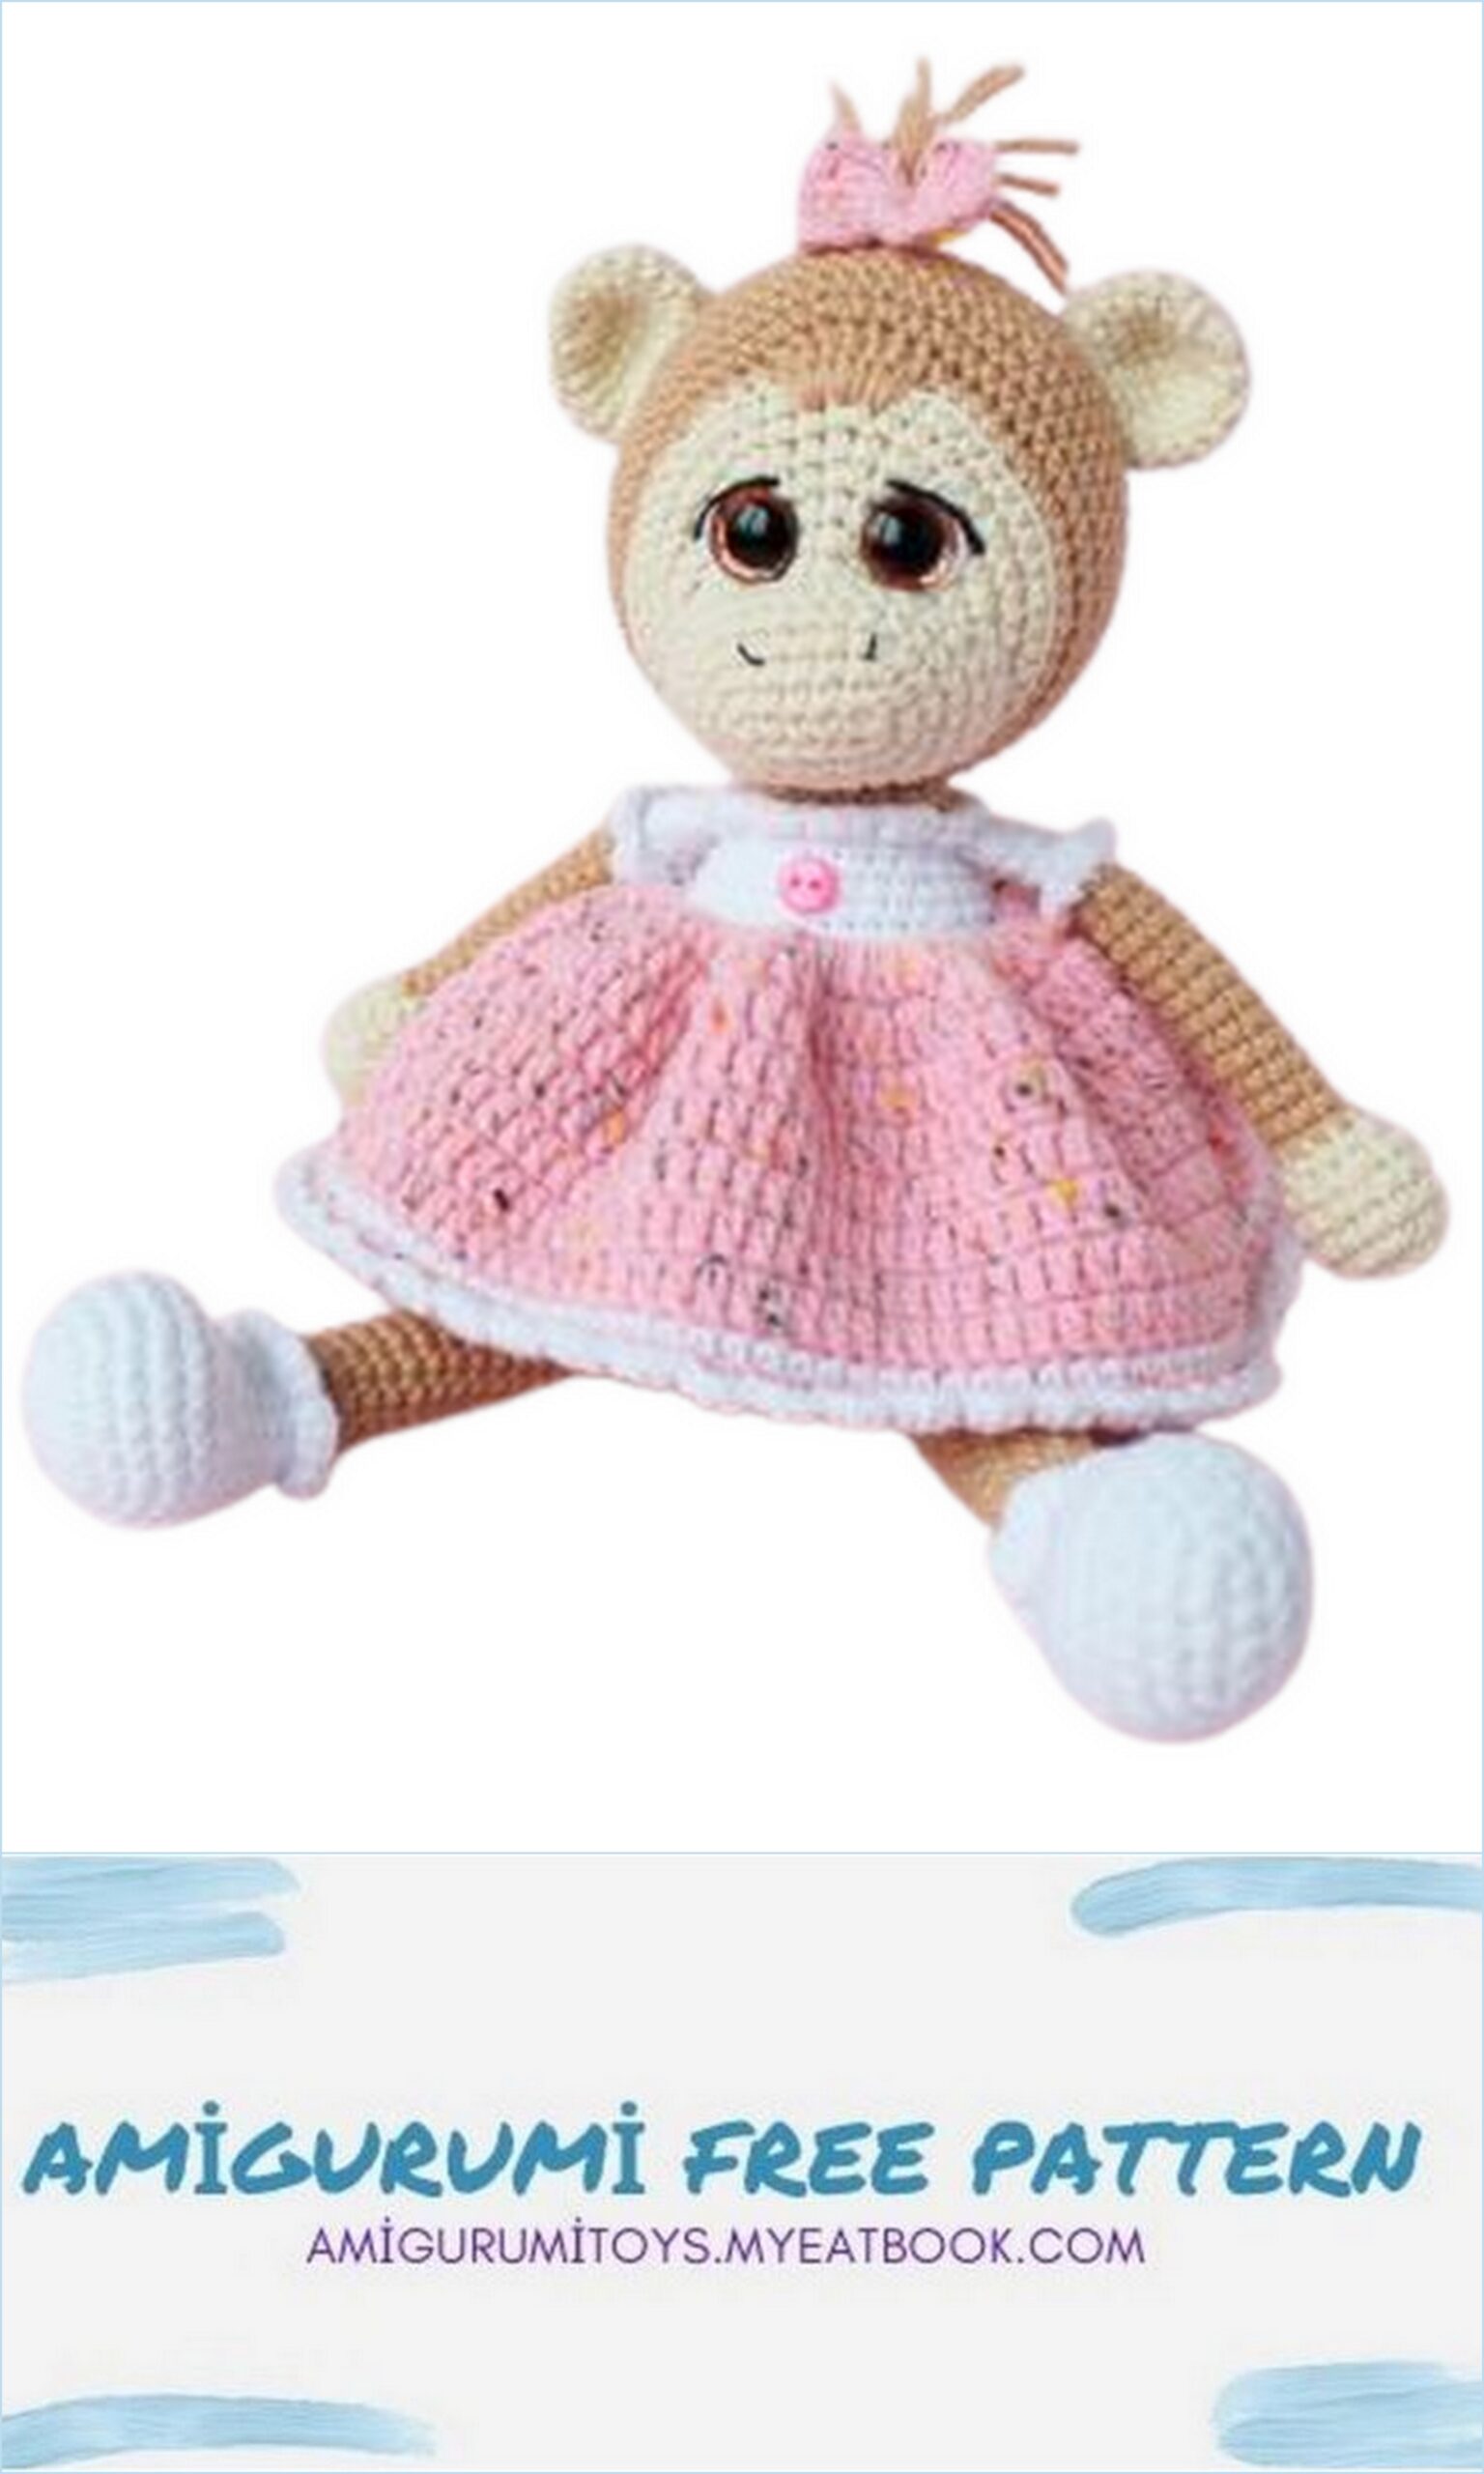
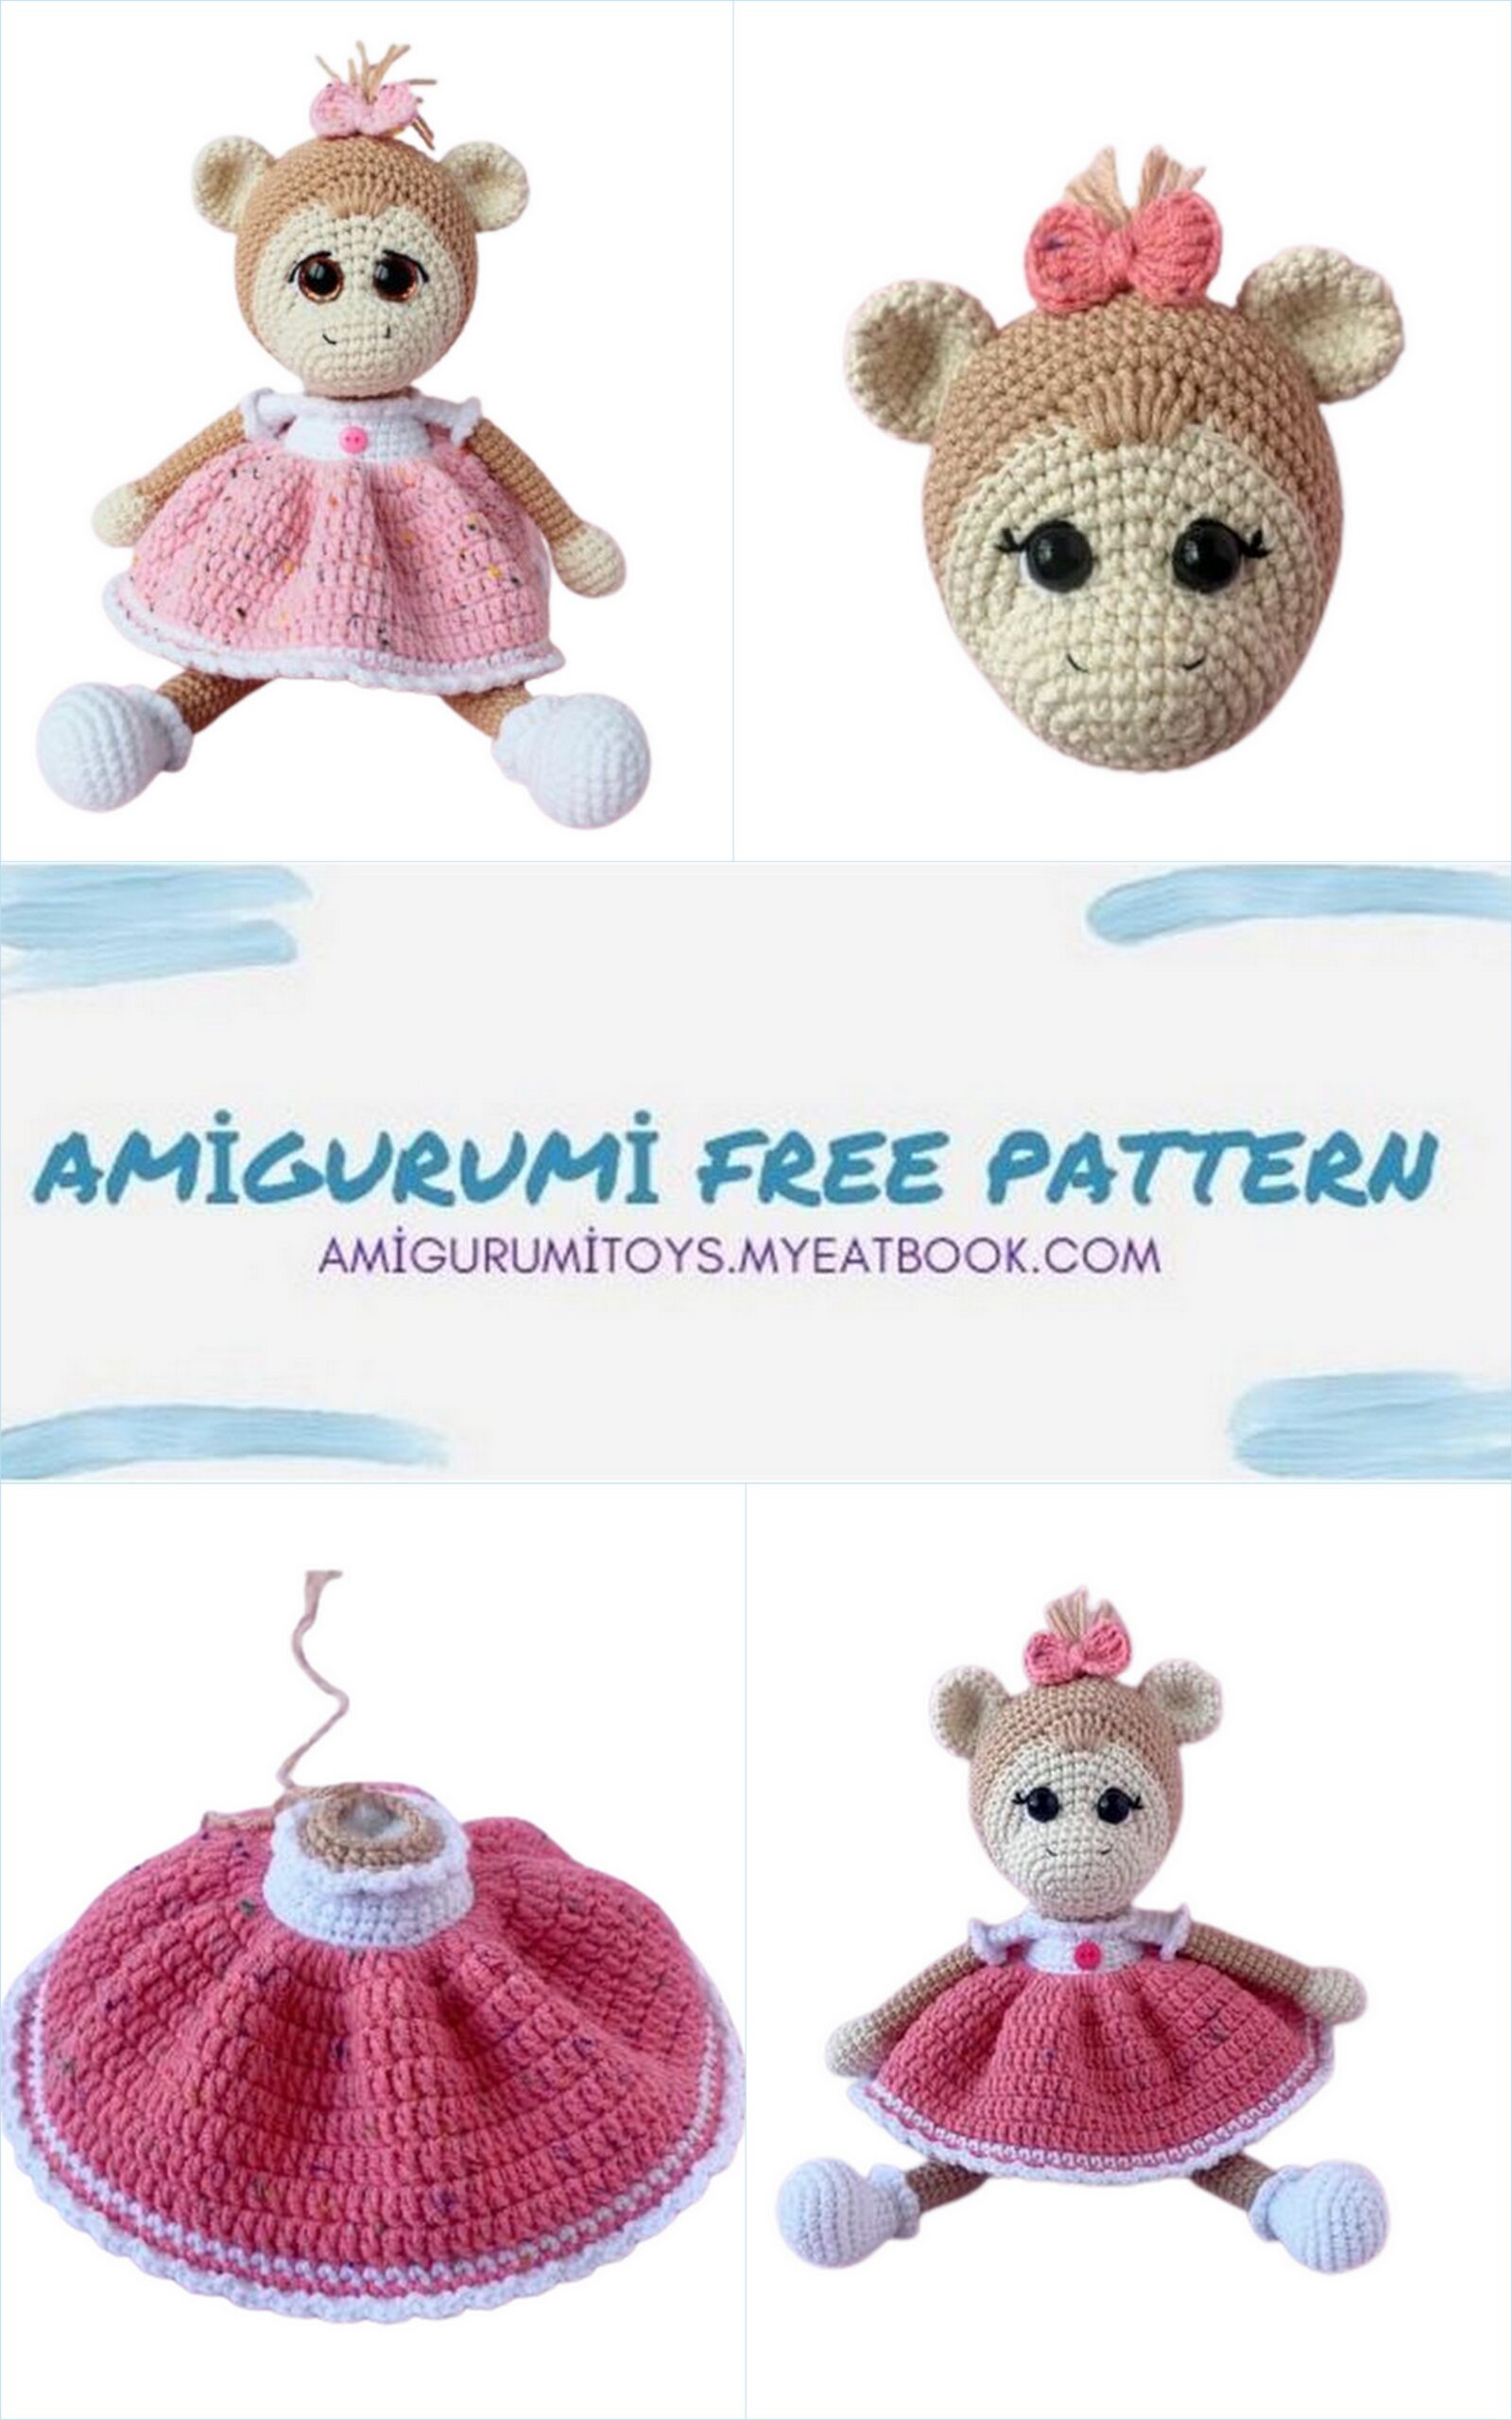
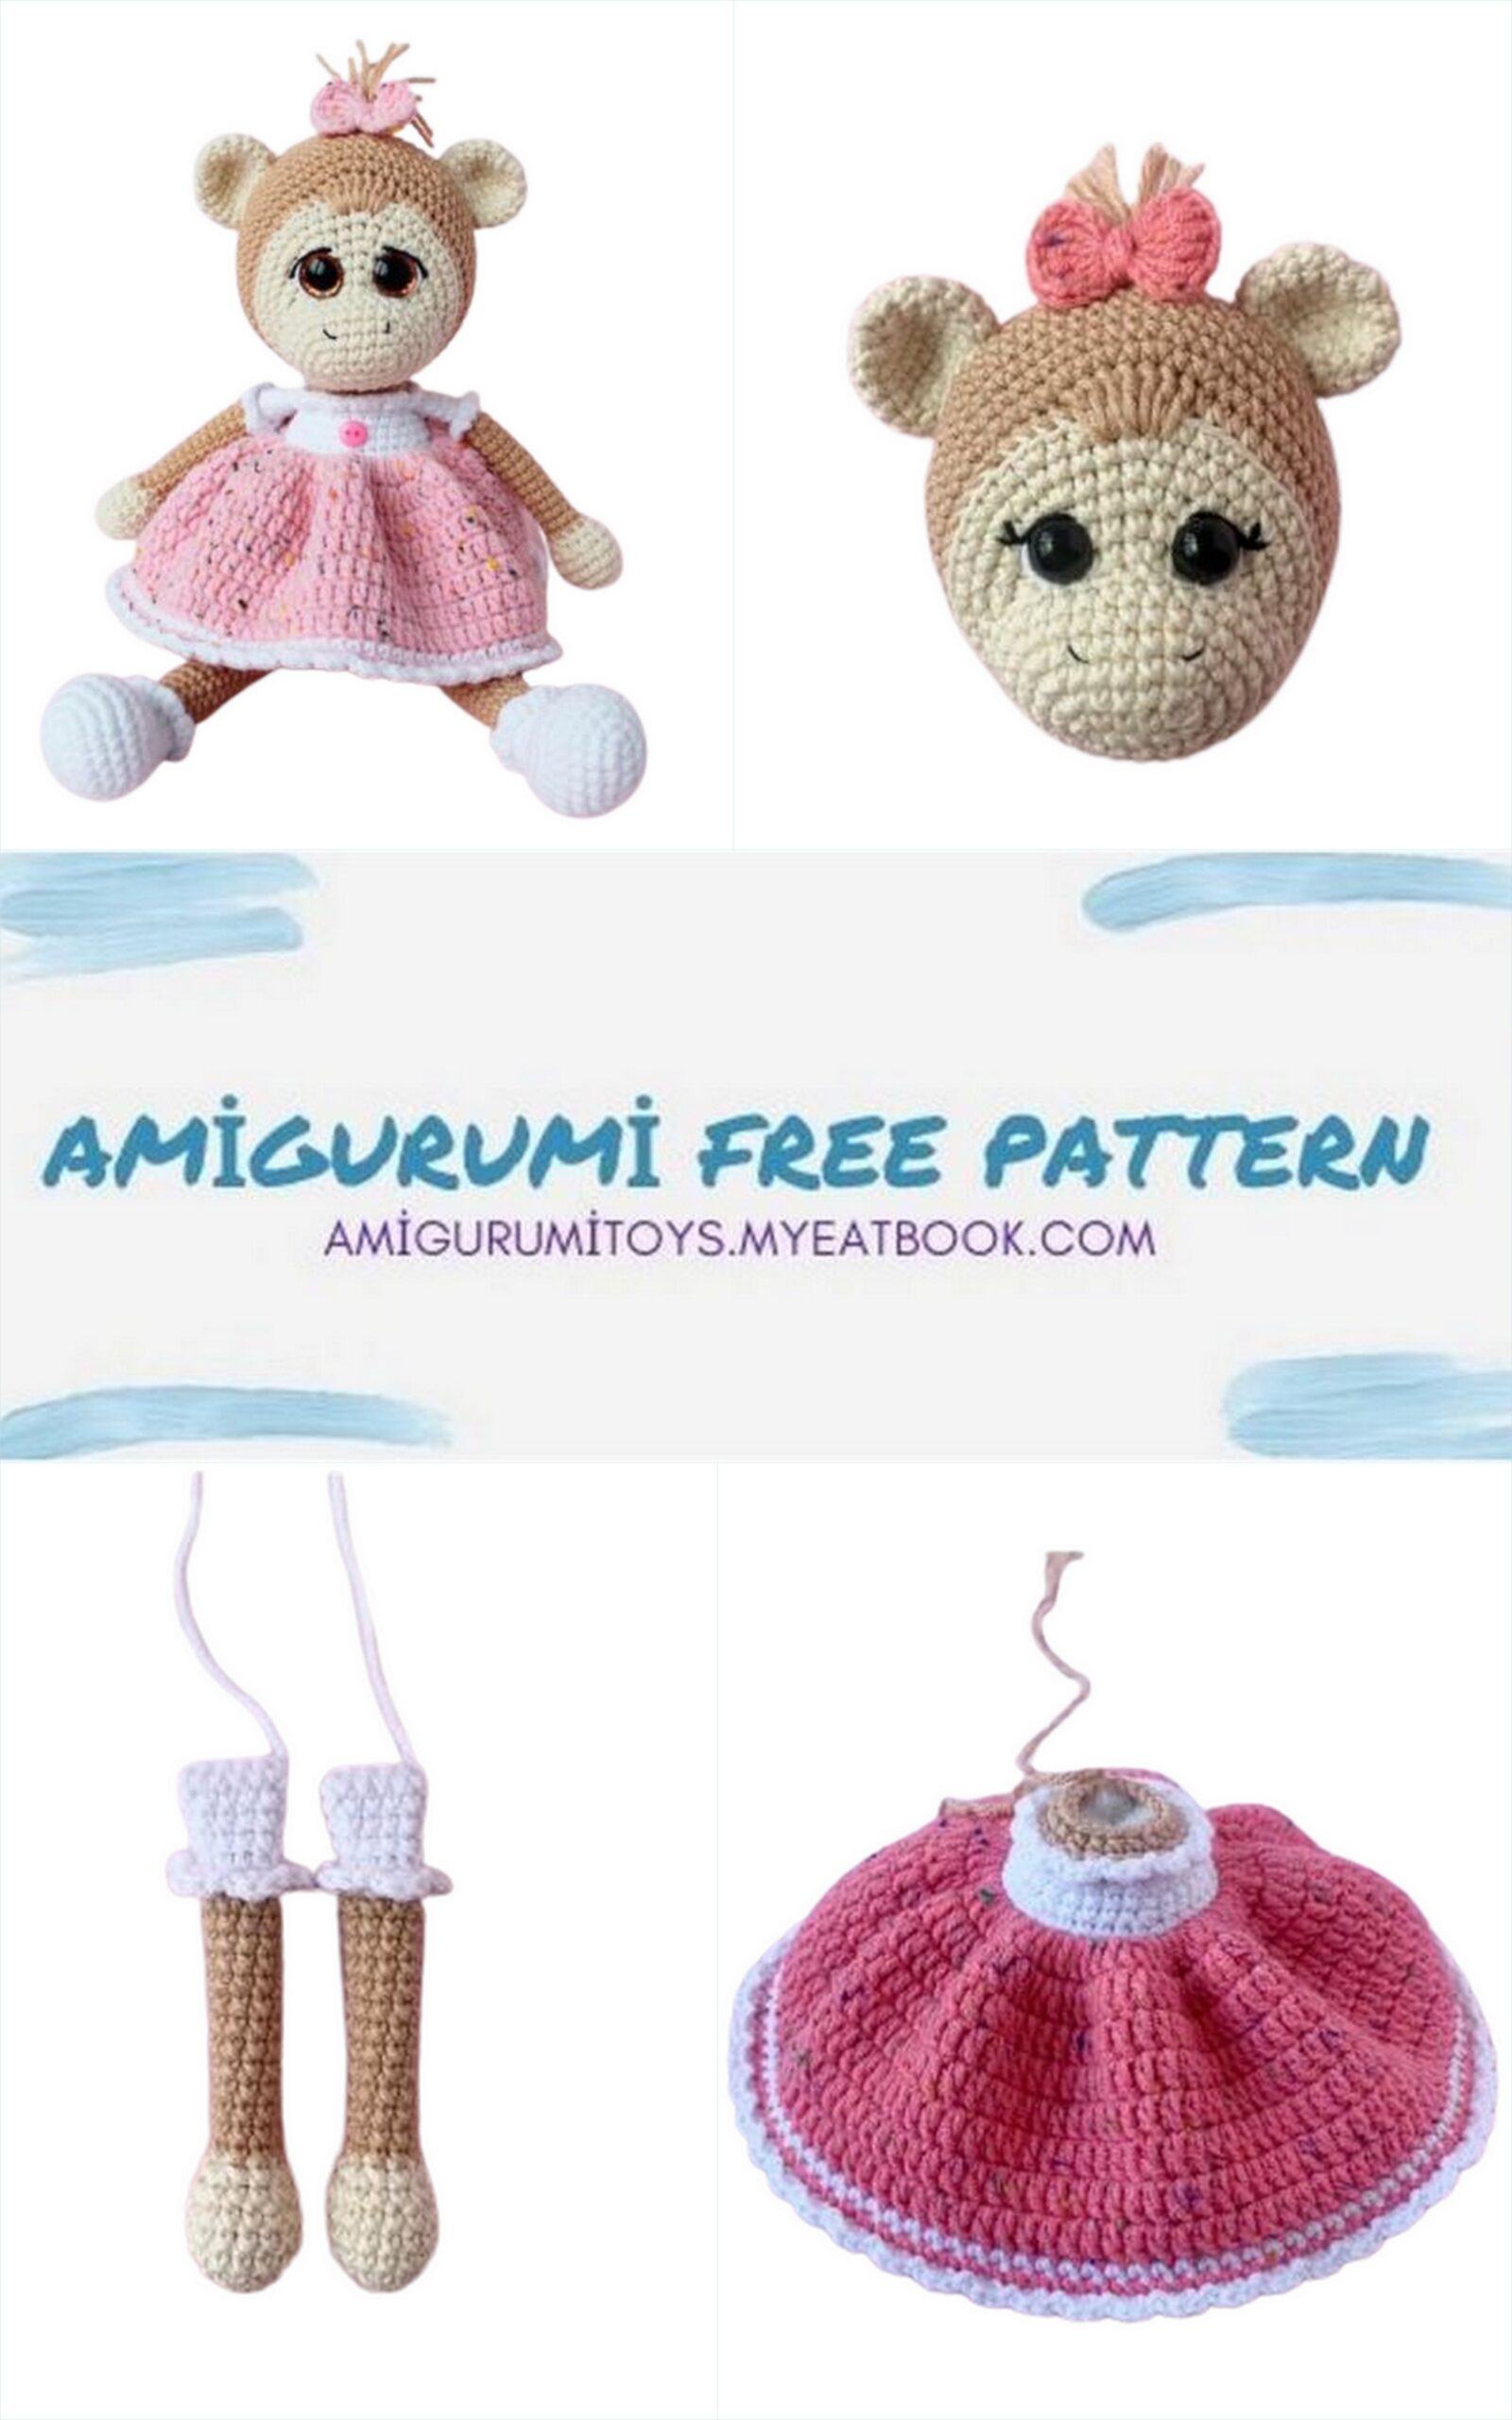
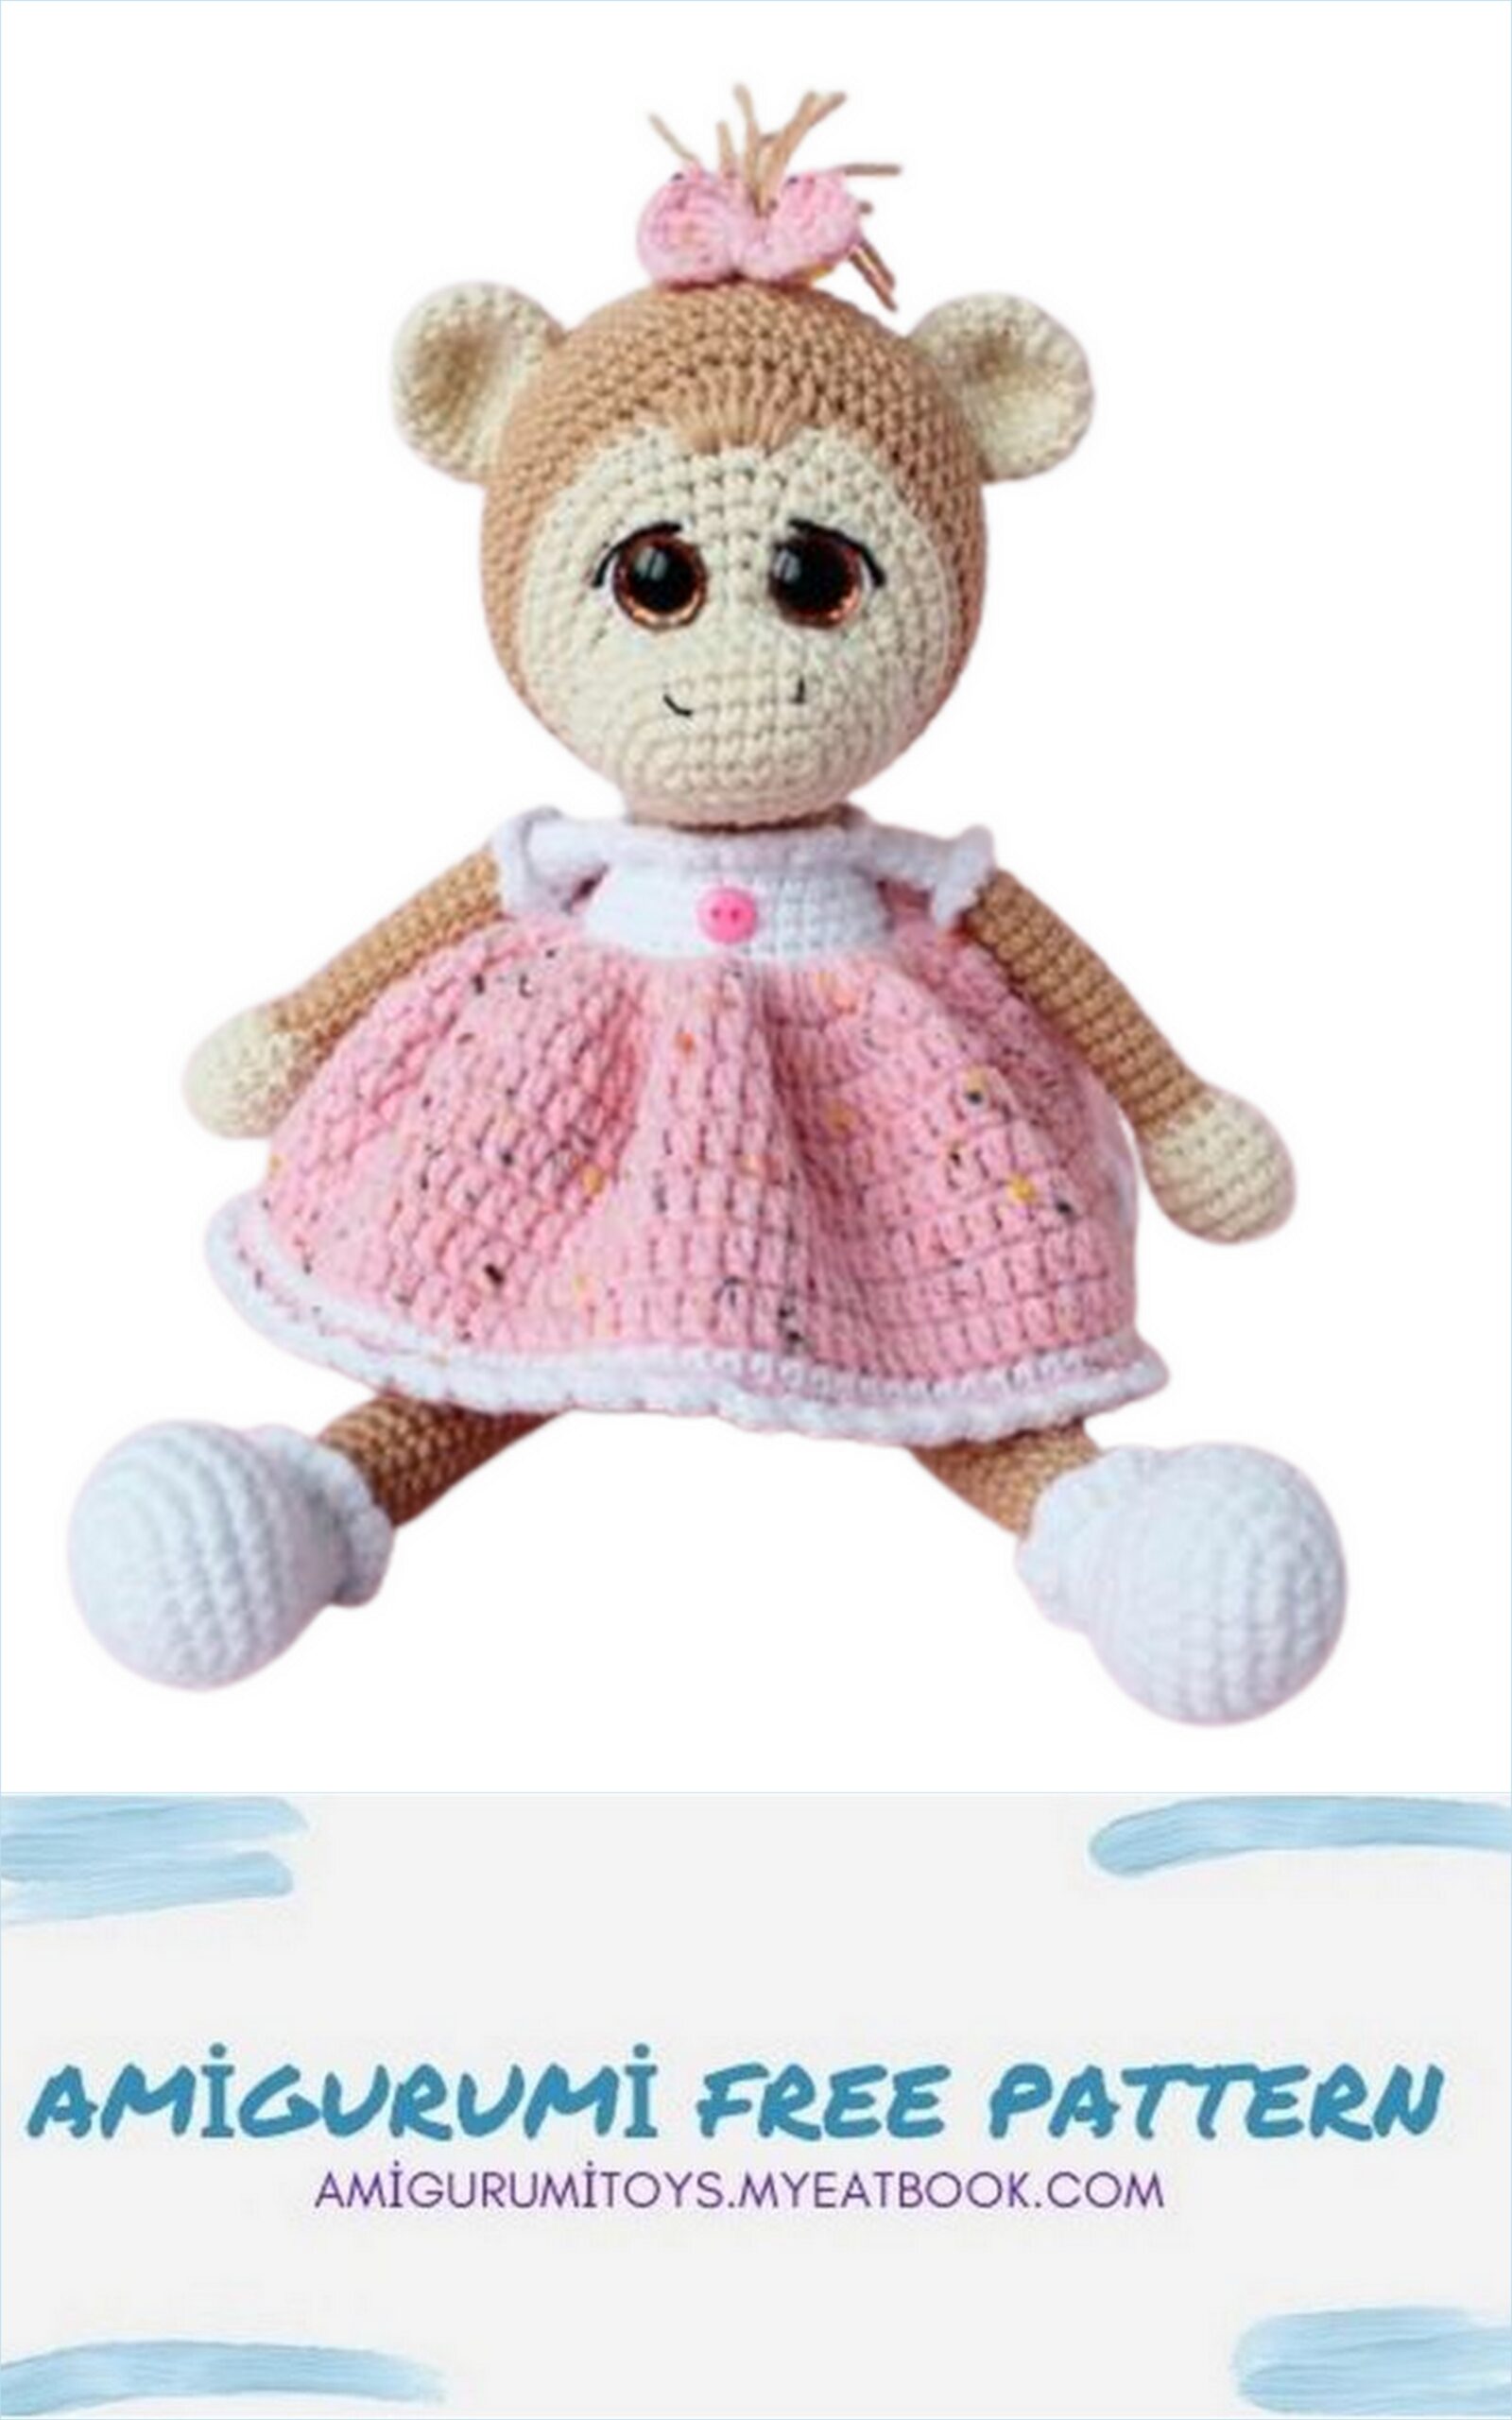
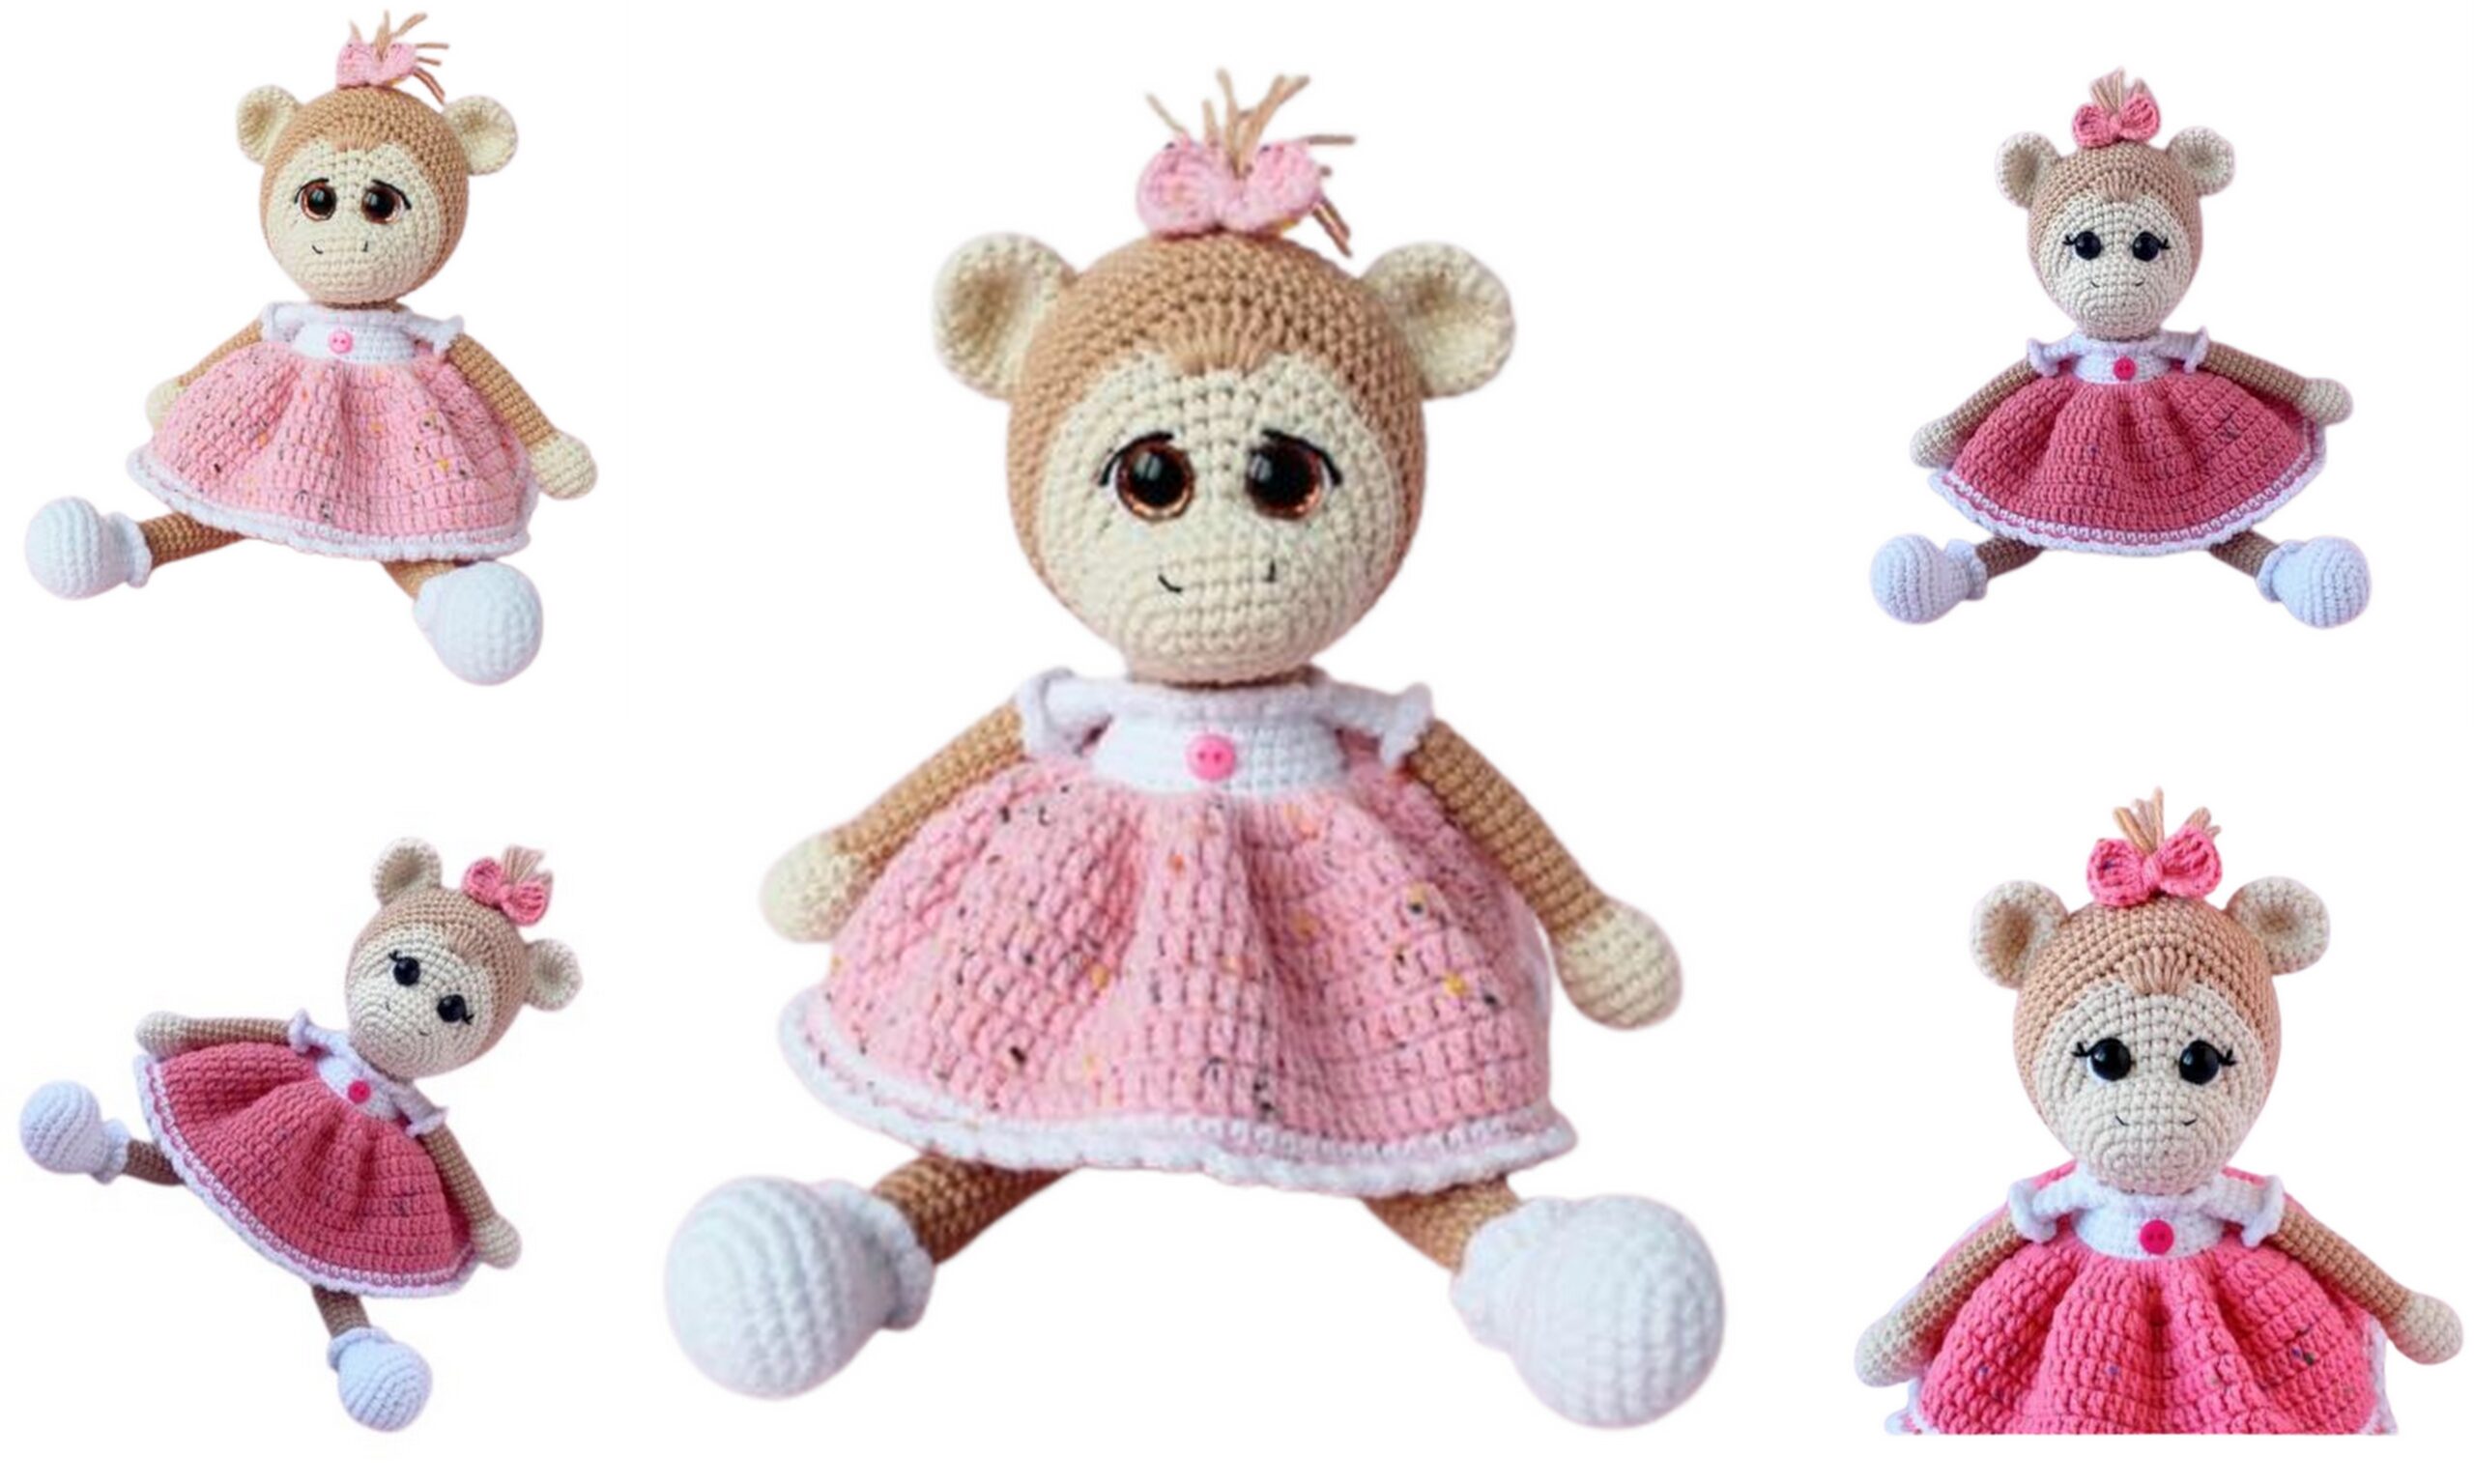
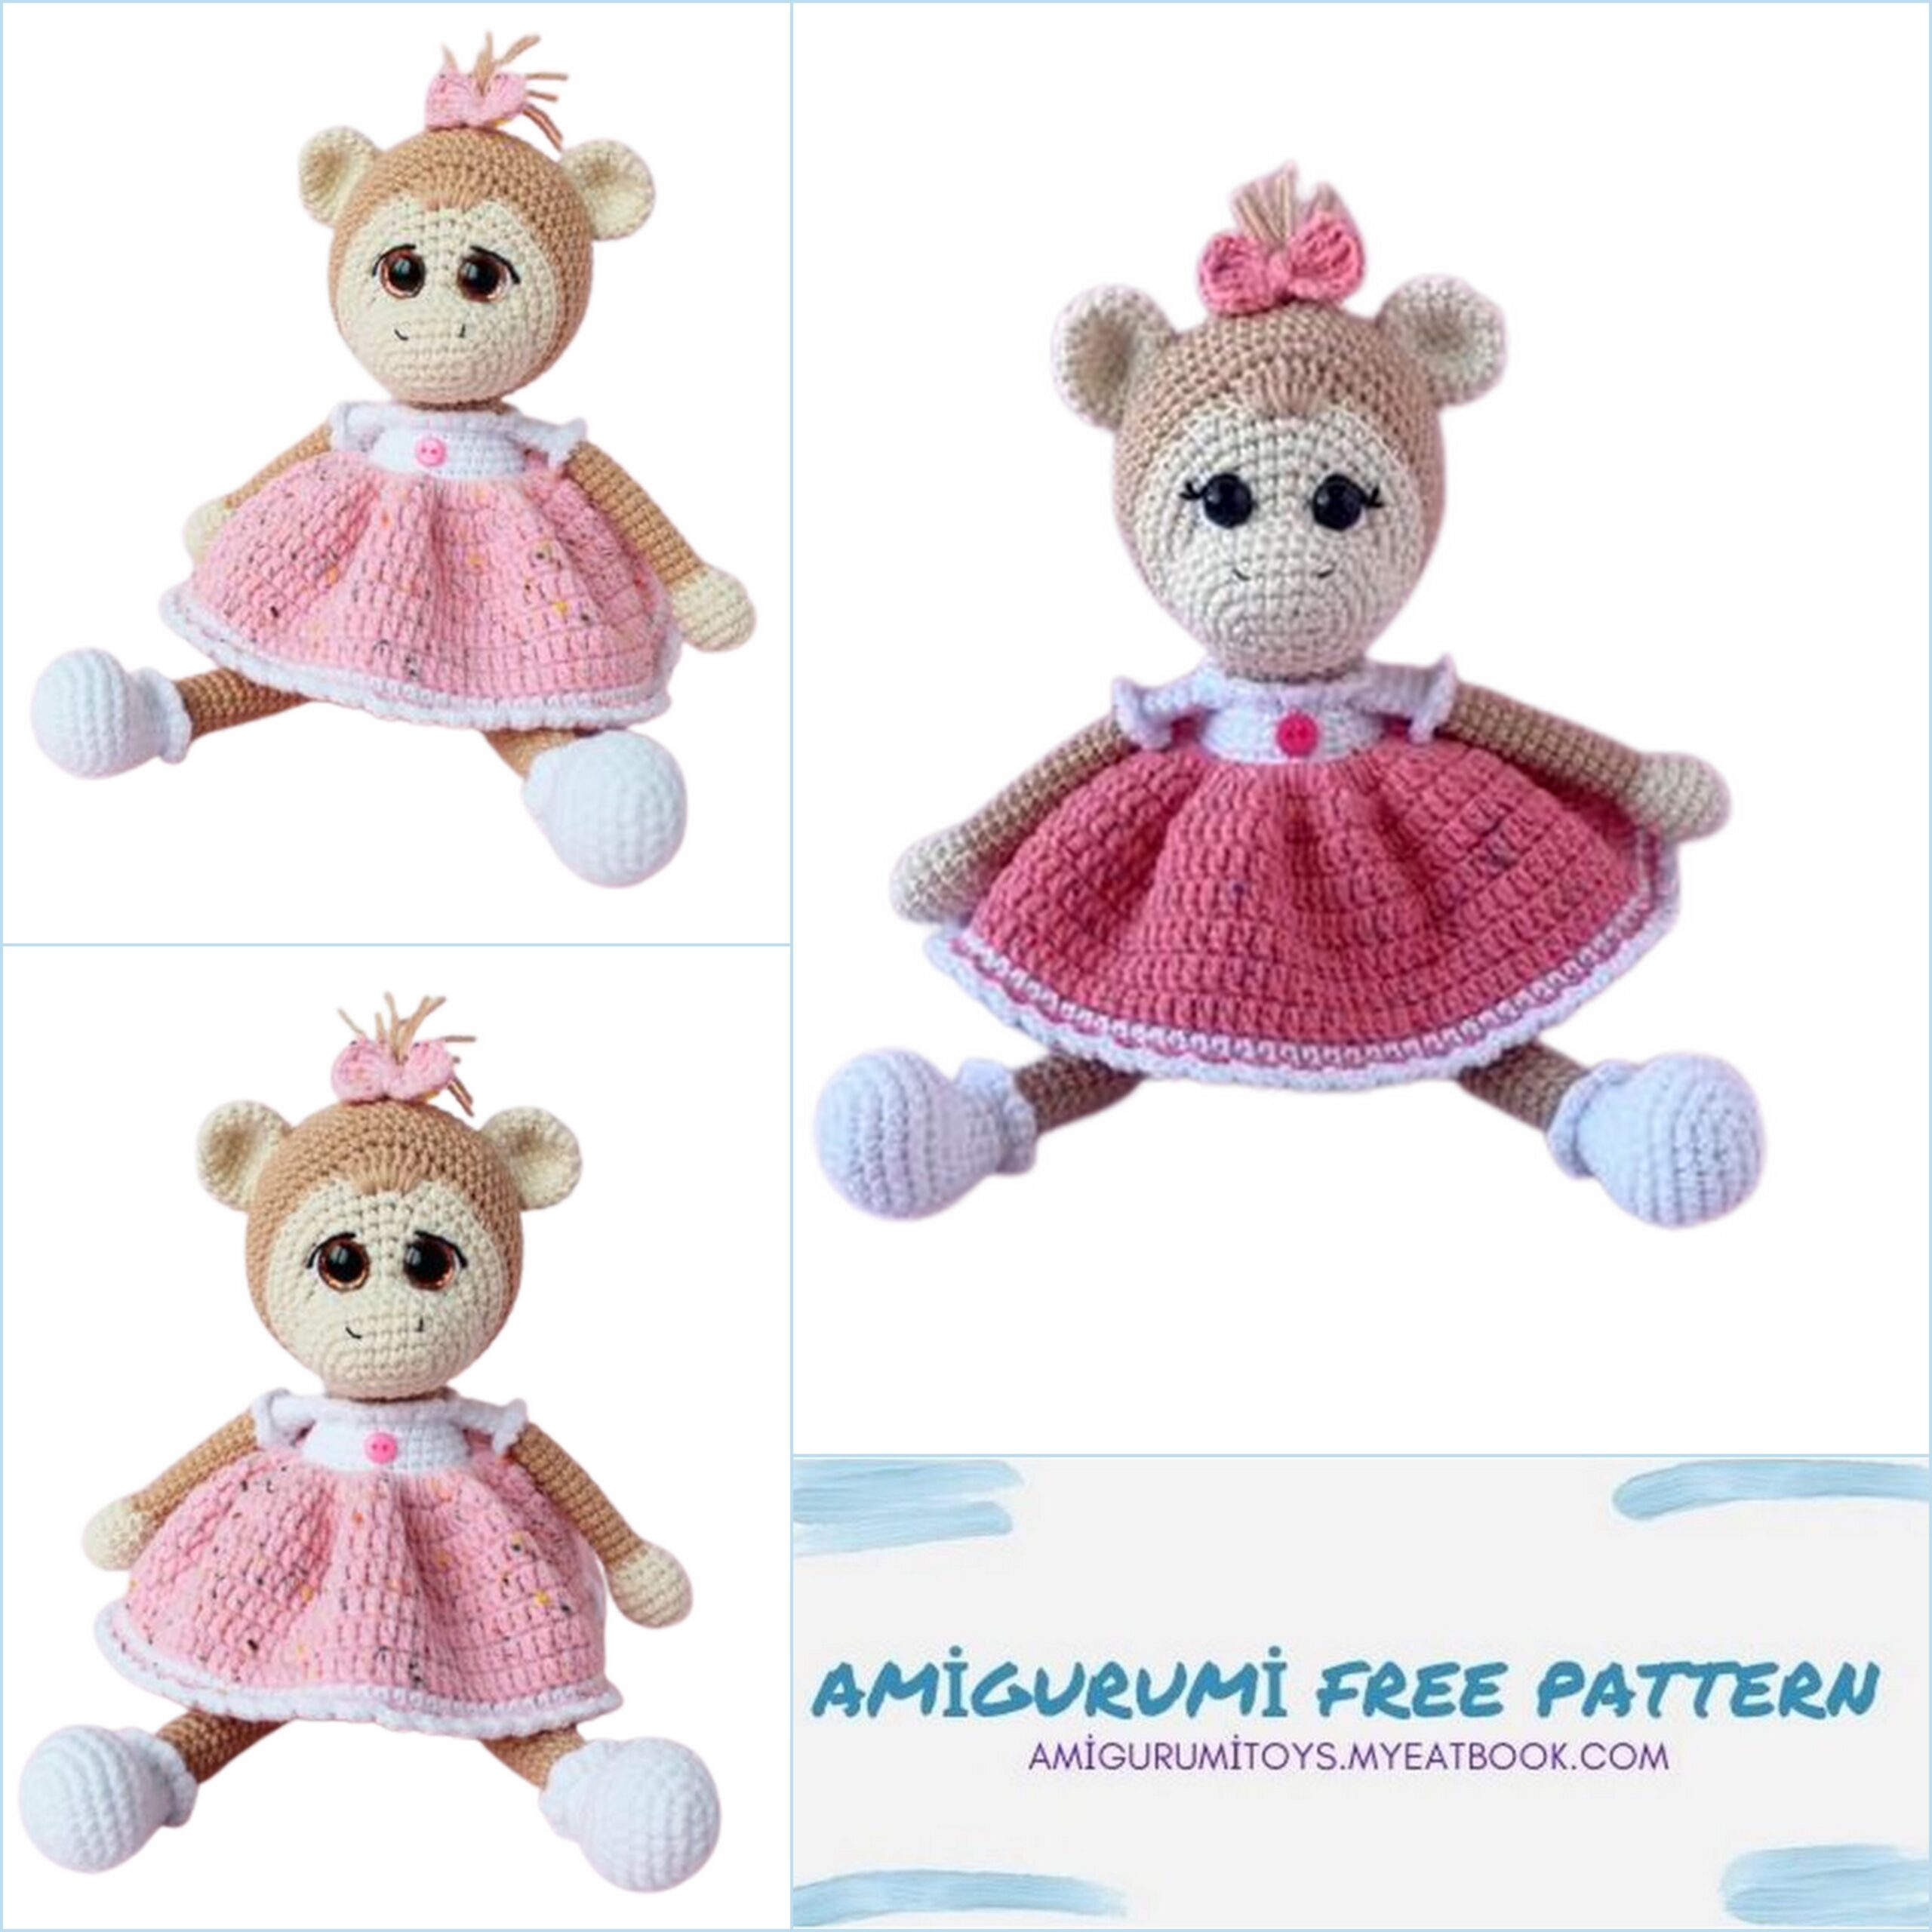
Sew on the muzzle, refer to the photo below. At
when sewing, do not forget to fill the muzzle with holofiber.
Head shaping:
We do a stretch. We insert the needle at point 1, bring it out to point 2. Then we insert the needle into point 3 and bring it out again to point 1. So we repeat 2 more times. Similarly, we make a tightening on the second eye.
We embroider the whites of the eyes with a white thread (55), we embroider the eyelids, cilia, nostrils with a black thread.
We sew on the ears on the 16th and 17th rows. The distance between the ears is 13-14 SC.
We make a crest at the top of the head. We cut 6 strings 10-15 cm sand-colored (1122). We grab all the threads through the loop at the crown and pull through the loop, tighten. For convenience, you can use a large hook or do it in 2 runs of 3 threads.
We cut to the same length. We sew a bow.
Legs (2 pcs):
We start knitting with a white thread (55). Fill the leg with holofiber only the lower part (sock).
6 CH, knit from the 2nd loop from the hook:
1) 4 SC, 3 SC in 1 loop, 3 SC, İNC (12 SC)
2) İNC, 3 SC, 3 İNC, 3 SC, 2 İNC (18 SC)
3) 1 SC, İNC, 3 SC, (1 SC, İNC)*3, 3 SC, (1 SC, İNC)*2 (24 SC)
4) 2 SC, İNC, 3 SC, (2 SC, İNC)*3, 3 SC, (2 SC, İNC)*2 (30 SC)
5) 30SC
6 ) 29 SC (I do not knit 1 SC so that the marker is in the middle)
7) 6SC, DEC, (1SC, DEC)*5.7SC (24SC)
8) 6SC, 6DEC, 6SC (18SC)
9) 2SC, DEC, (4SC, DEC)*2, 2SC (15SC)
10 – 11) 15 SC (2 rows)
12) 7 SC, DEC (front center), 6 SC (14 SC)
Knit the required number of bias stitches to
the marker was in the middle. Change the thread to sand (1122).
We do not cut the white thread, but put it before knitting!
13) Behind the back walls of the hinge: 2 SC, DEC, 6 SC, DEC, 2 SC (12 SC)
14) 12SC
Legs (2 pcs):
strapping
We return to the row where we left half loops. Expanding
toe heel away from you. Insert the hook into the 1st half loop, grab the white thread and pull it out, knit 1 CH. Next, from the next half loop we knit: (3 SC in 1 loop, SL-ST) * 6, finish the row 3 SC in 1 loop, work SL-ST in the 1st half loop. Cut the thread, hide the tip.
15 – 31) 12 SC (17 rows)
Knit the required number of stitches offset to the side of the leg, fold the part in half and knit both sides of 6 SC. We knit 1 CH, cut the thread, leaving the tip for sewing.
Handles (2 pcs):
We start knitting with a milky thread (1120). Stuff the pen
holofiber only the lower part.
1) MR, 6SC
2) 6 inch (12 SC)
3) (3SC, İNC)*3 (15SC)
4 – 5) 15 SC (2 rows)
6) (3SC, DEC)*3 (12SC)
7) 1SC, DEC, (2SC, DEC)*2, 1SC (9SC)
Change the thread to sand color (1122).
8 – 19) 9SC
Knit as many sts of offset as needed so that the marker is at the level of the color change in the 8th row.
20) 4SC, İNC, 4SC (10SC)
Change the thread to white (55).
21) 10SC
22) Behind the back walls of the hinge: 10 SC
23 – 25) 10 SC (3 rows)
Knit +/- offset columns so that when tying both sides, we have color transitions along the inside of the handle.
Fold the piece in half and knit both sides with 5 SC. We knit 1 CH, cut the thread, leaving the tip for sewing.
Binding We perform binding in white for the remaining half-loops in the 22nd row.
We knit according to the same principle as on the leg (p. 16):
(SL-ST, 3 SC in 1 st) *to the end of the row
Tail:
Below there will be a ponytail diagram, but this is at your discretion, since I
I will not sew a tail on a toy.
We begin to knit with a sand-colored thread (1122). We do not stuff the tail.
1) MR, 7SC
2 – 40) 7 SC (39 rows)
Fold the tail in half and knit both sides 3-4 SC, 1 CH, cut the thread, leaving the tip for sewing.
Body:
We begin to knit with a sand-colored thread (1122). Stuff your body
holofiber toys in the course of knitting.
1) MR, 6SC
2) 6 inch (12 SC)
3) (1SC, İNC)*6 (18SC)
4) 1 SC, İNC, (2 SC, İNC)*5, 1 SC (24 SC)
5) (3SC, İNC)*6 (30SC)
6) 2SC, İNC, (4SC, İNC)*5, 2SC (36SC)
7) (5SC, İNC)*6 (42SC)
8) 3 SC, İNC, (6 SC, İNC)*5, 3 SC (48 SC)
9) (7SC, İNC)*6 (54SC)
10 – 15) 54 SC (6 rows)
16) (11SC, DEC, 12SC, DEC)*2 (50SC)
17) 50SC
18) (10SC, DEC, 11SC, DEC)*2 (46SC)
19) 46SC
20) (9SC, DEC, 10SC, DEC)*2 (42SC)
21) 42SC
22) (5SC, DEC)*6 (36SC)
Change the thread to white (55)
23) 36SC
24) Behind the back walls of the hinge: 36 SC
25) 2SC, DEC, (4SC, DEC)*5, 2SC (30SC)
26) 30SC
27) (3SC, DEC)*6 (24SC)
28) 24SC
Change the thread to sand color (1122). We do not cut the white thread, but put it before knitting!
29) Behind the back walls of the hinge: 2 SC, DEC, (4 SC, DEC)*3, 2 SC (20 SC)
30) 20SC
In the next loop we knit SL-ST, cut the thread, leaving the tip for sewing.
We carry out the binding with the remaining white thread in the 29th row according to the same principle as the legs and handles: (SL-ST, 3 SC in 1 loop) * to the end of the row
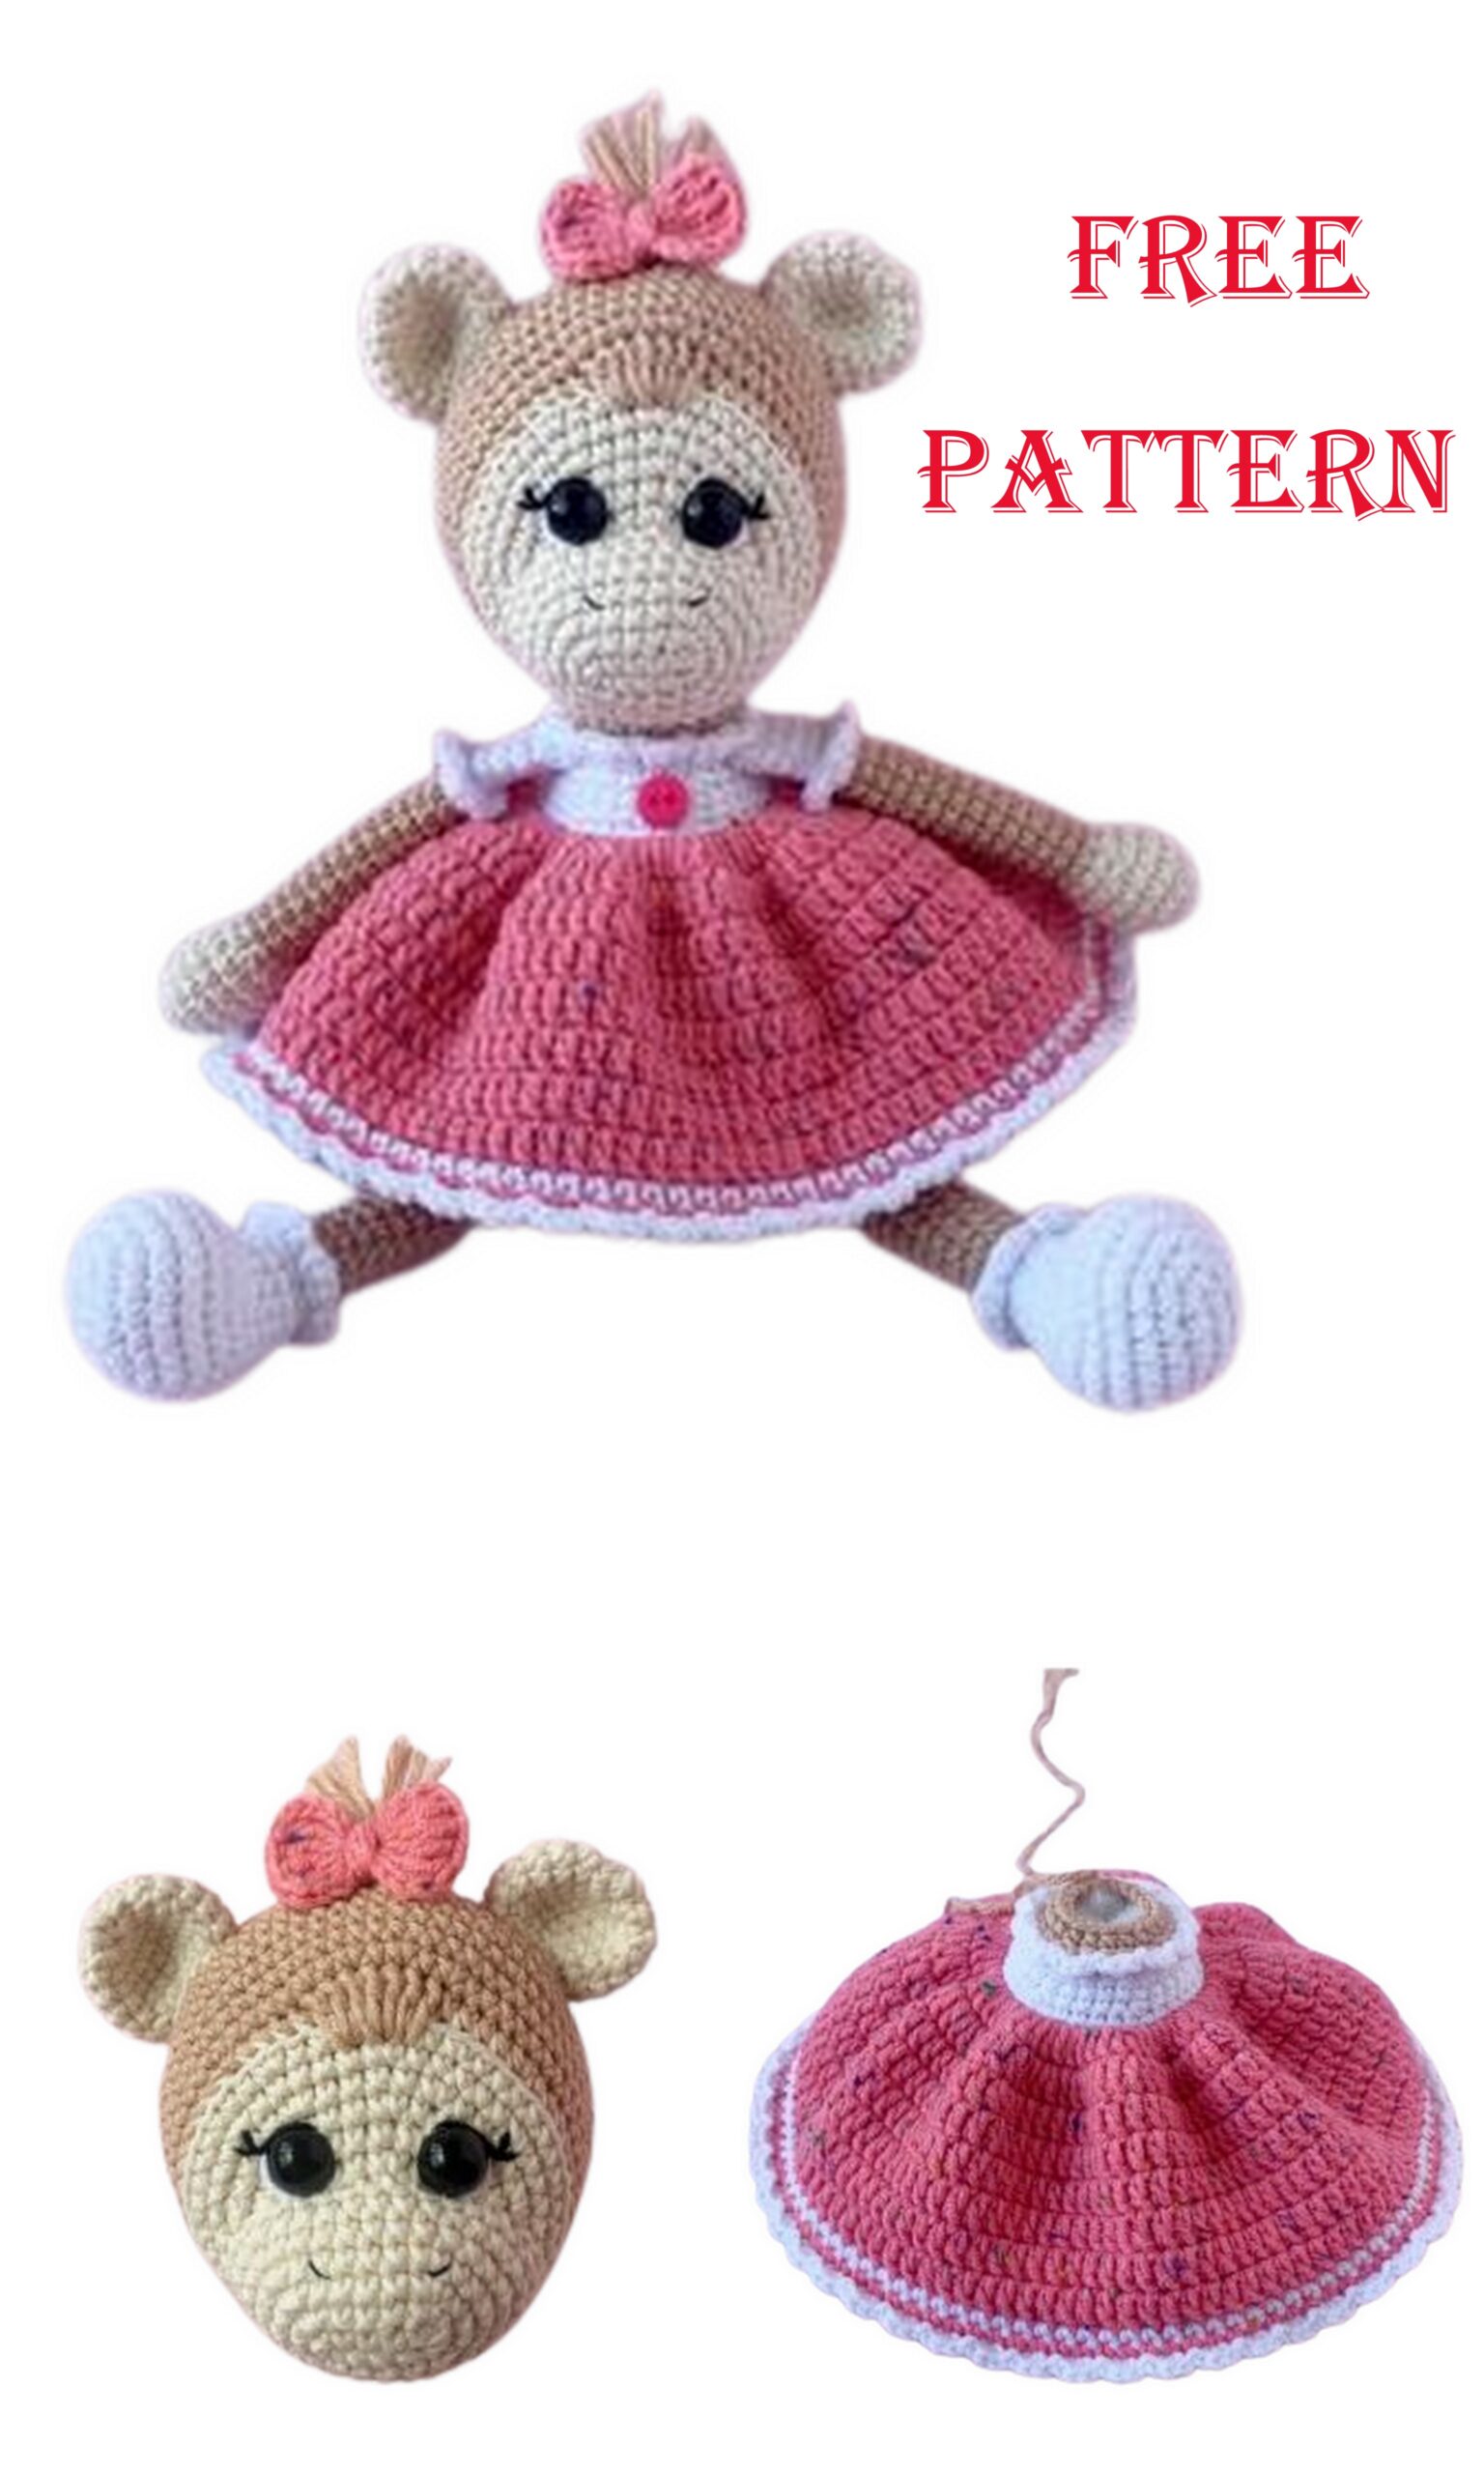
Dress
We return to the 24th row. We attach a thread of dark pink color (33). All rows are worked with 3 CH incline (in DC rows) and 1 CH incline (in SC rows). We finish row SL-ST in 3 CH lifts (DC) or in CH (SC).
1) DC: İNC in each loop (72 DC)
2) DC: (1 DC, İNC)*until end of row (108 DC)
3 – 8) 108 DC
Change the thread to white (55).
9) 108SC
Change the thread to dark pink (33).
10) 108SC
Change the thread to white (55)
11) We carry out the strapping according to the same principle as on the legs, handles and
Collar: (SL-ST, 3 SC in 1 st) *to end of row.
We knit 1 CH, cut and hide the thread.
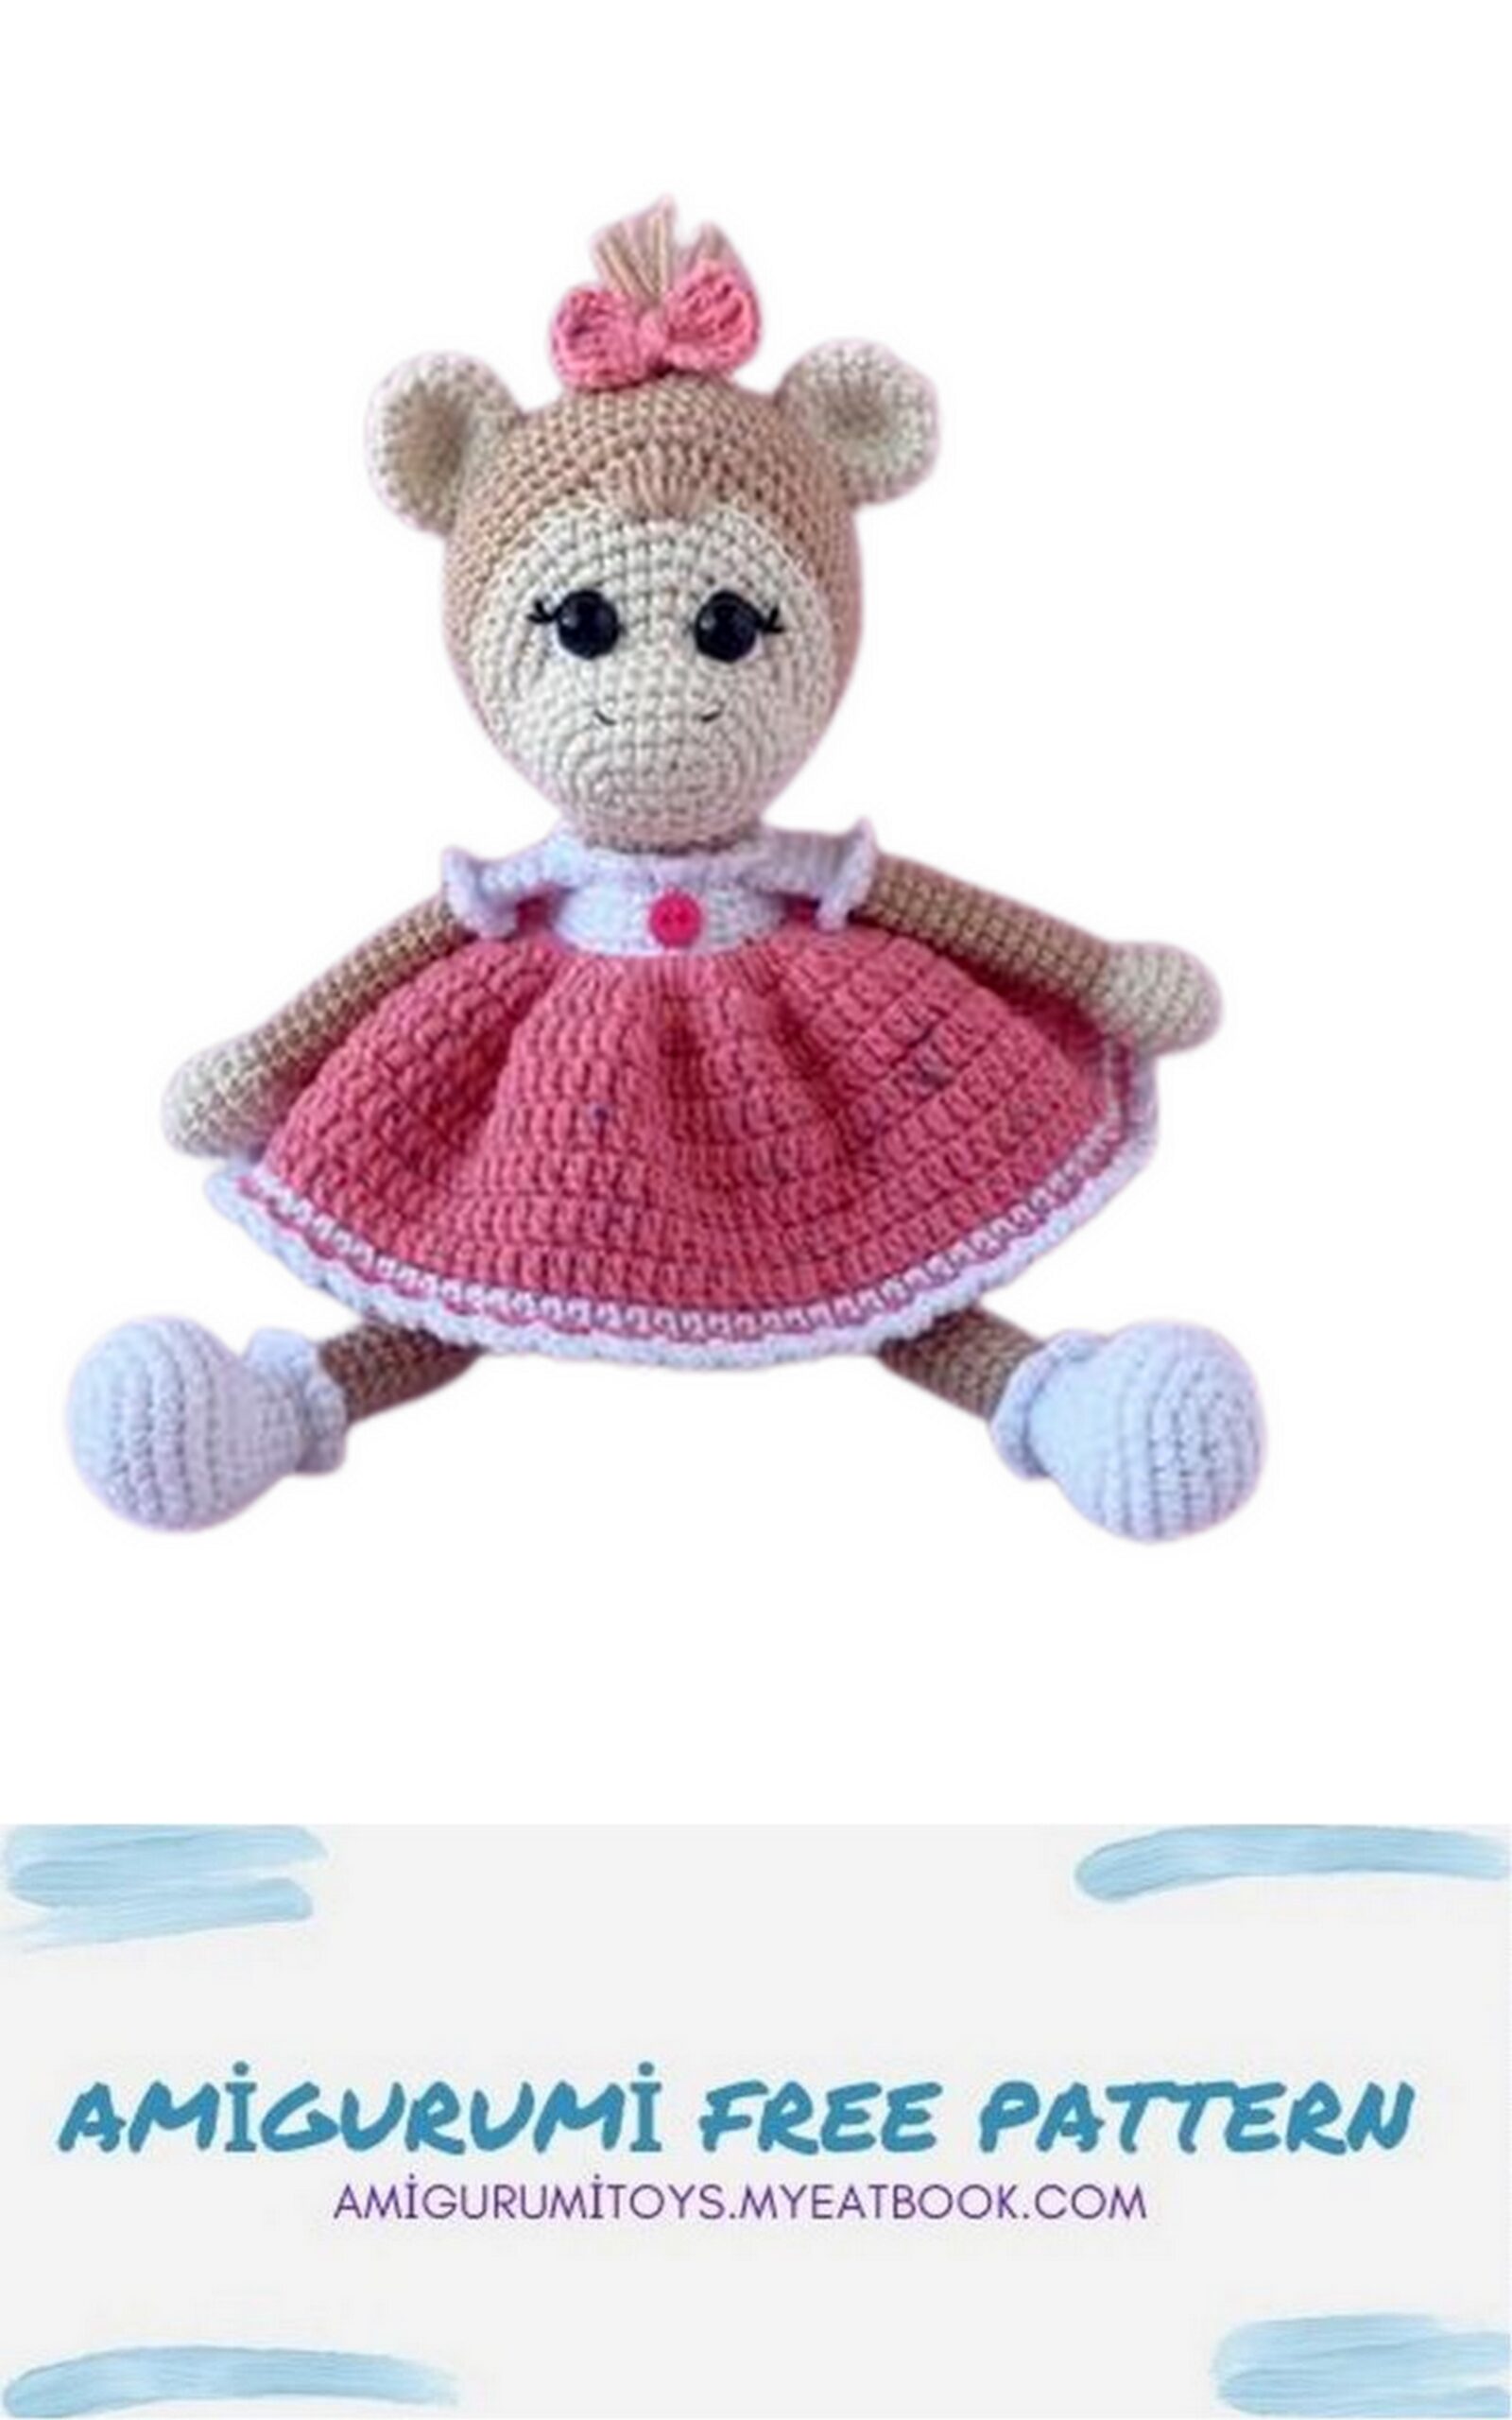
Assembly and decoration:
We sew the head to the body (when sewing, do not forget to fill the voids with holofiber).
Sew legs between 6 and 7 side by side (distance between legs 1-2 SC).
Sew handles between
27 and 28 side by side. Sew or glue a button on the front of the dress.
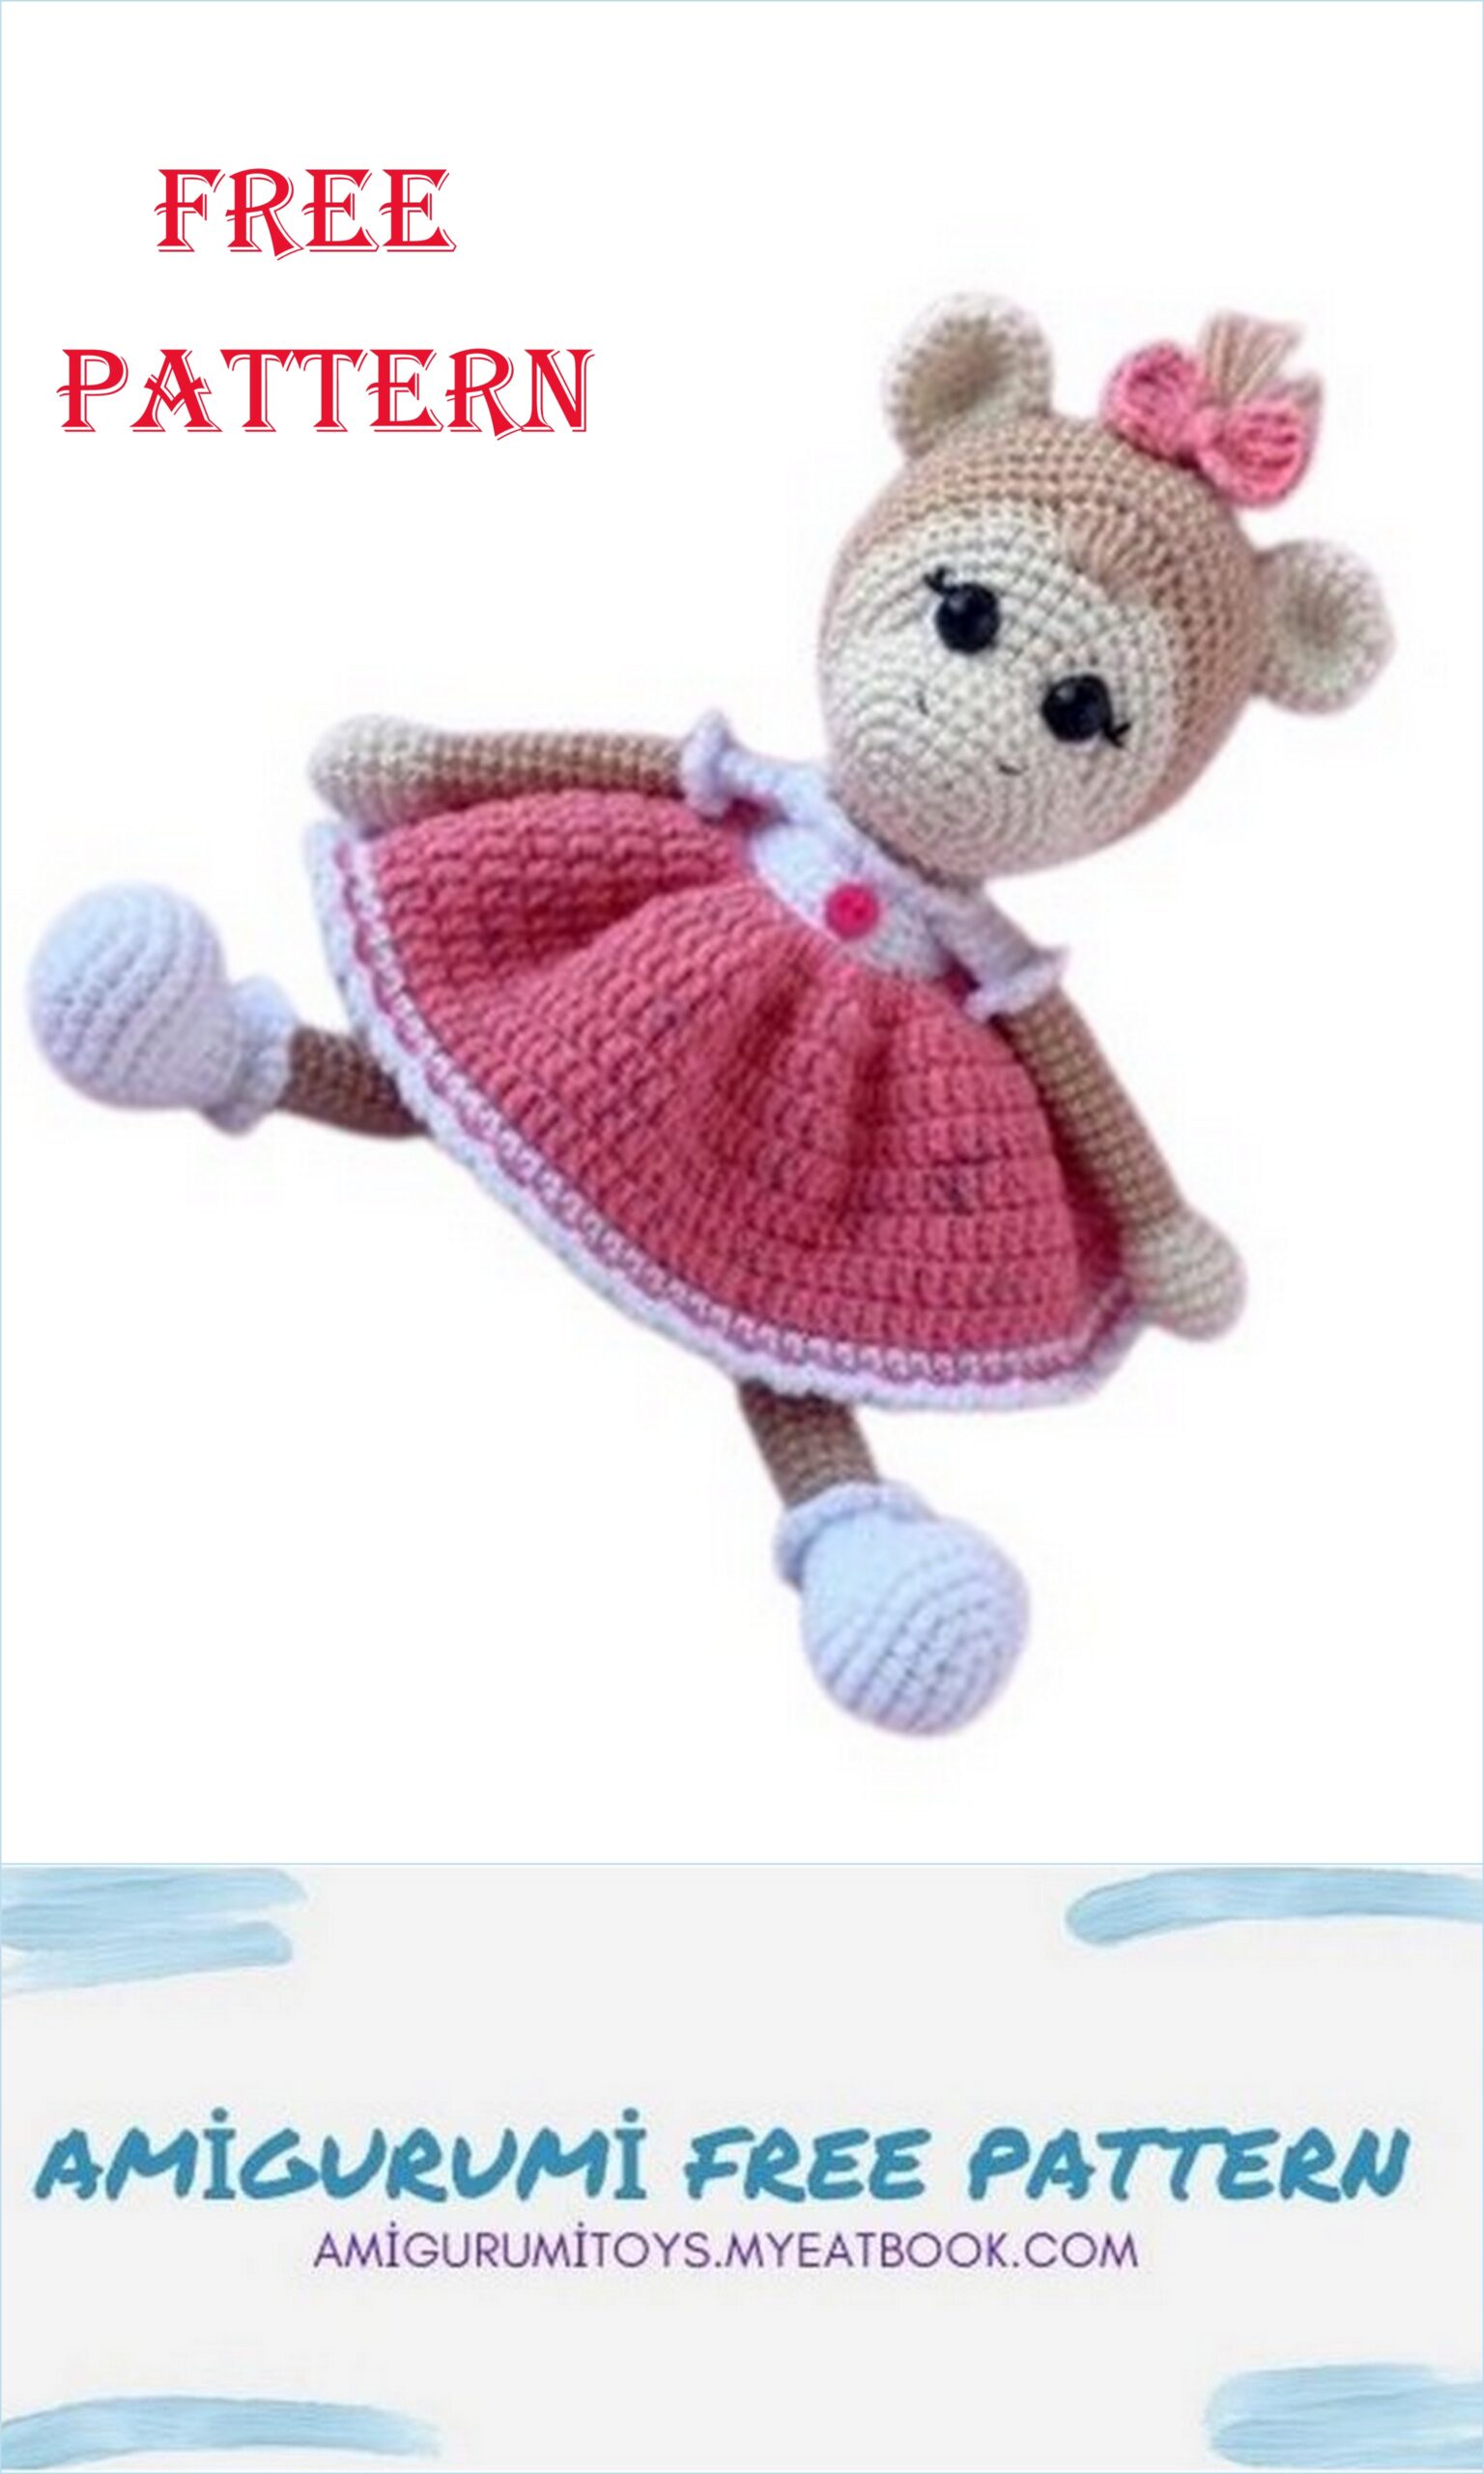
Congratulations, your toy is ready!
I will be very pleased if you share your finished work with me and leave your feedback about this Master Class