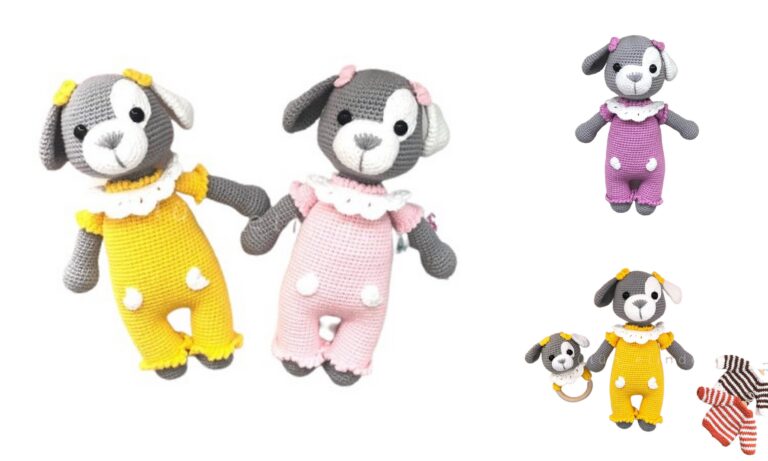
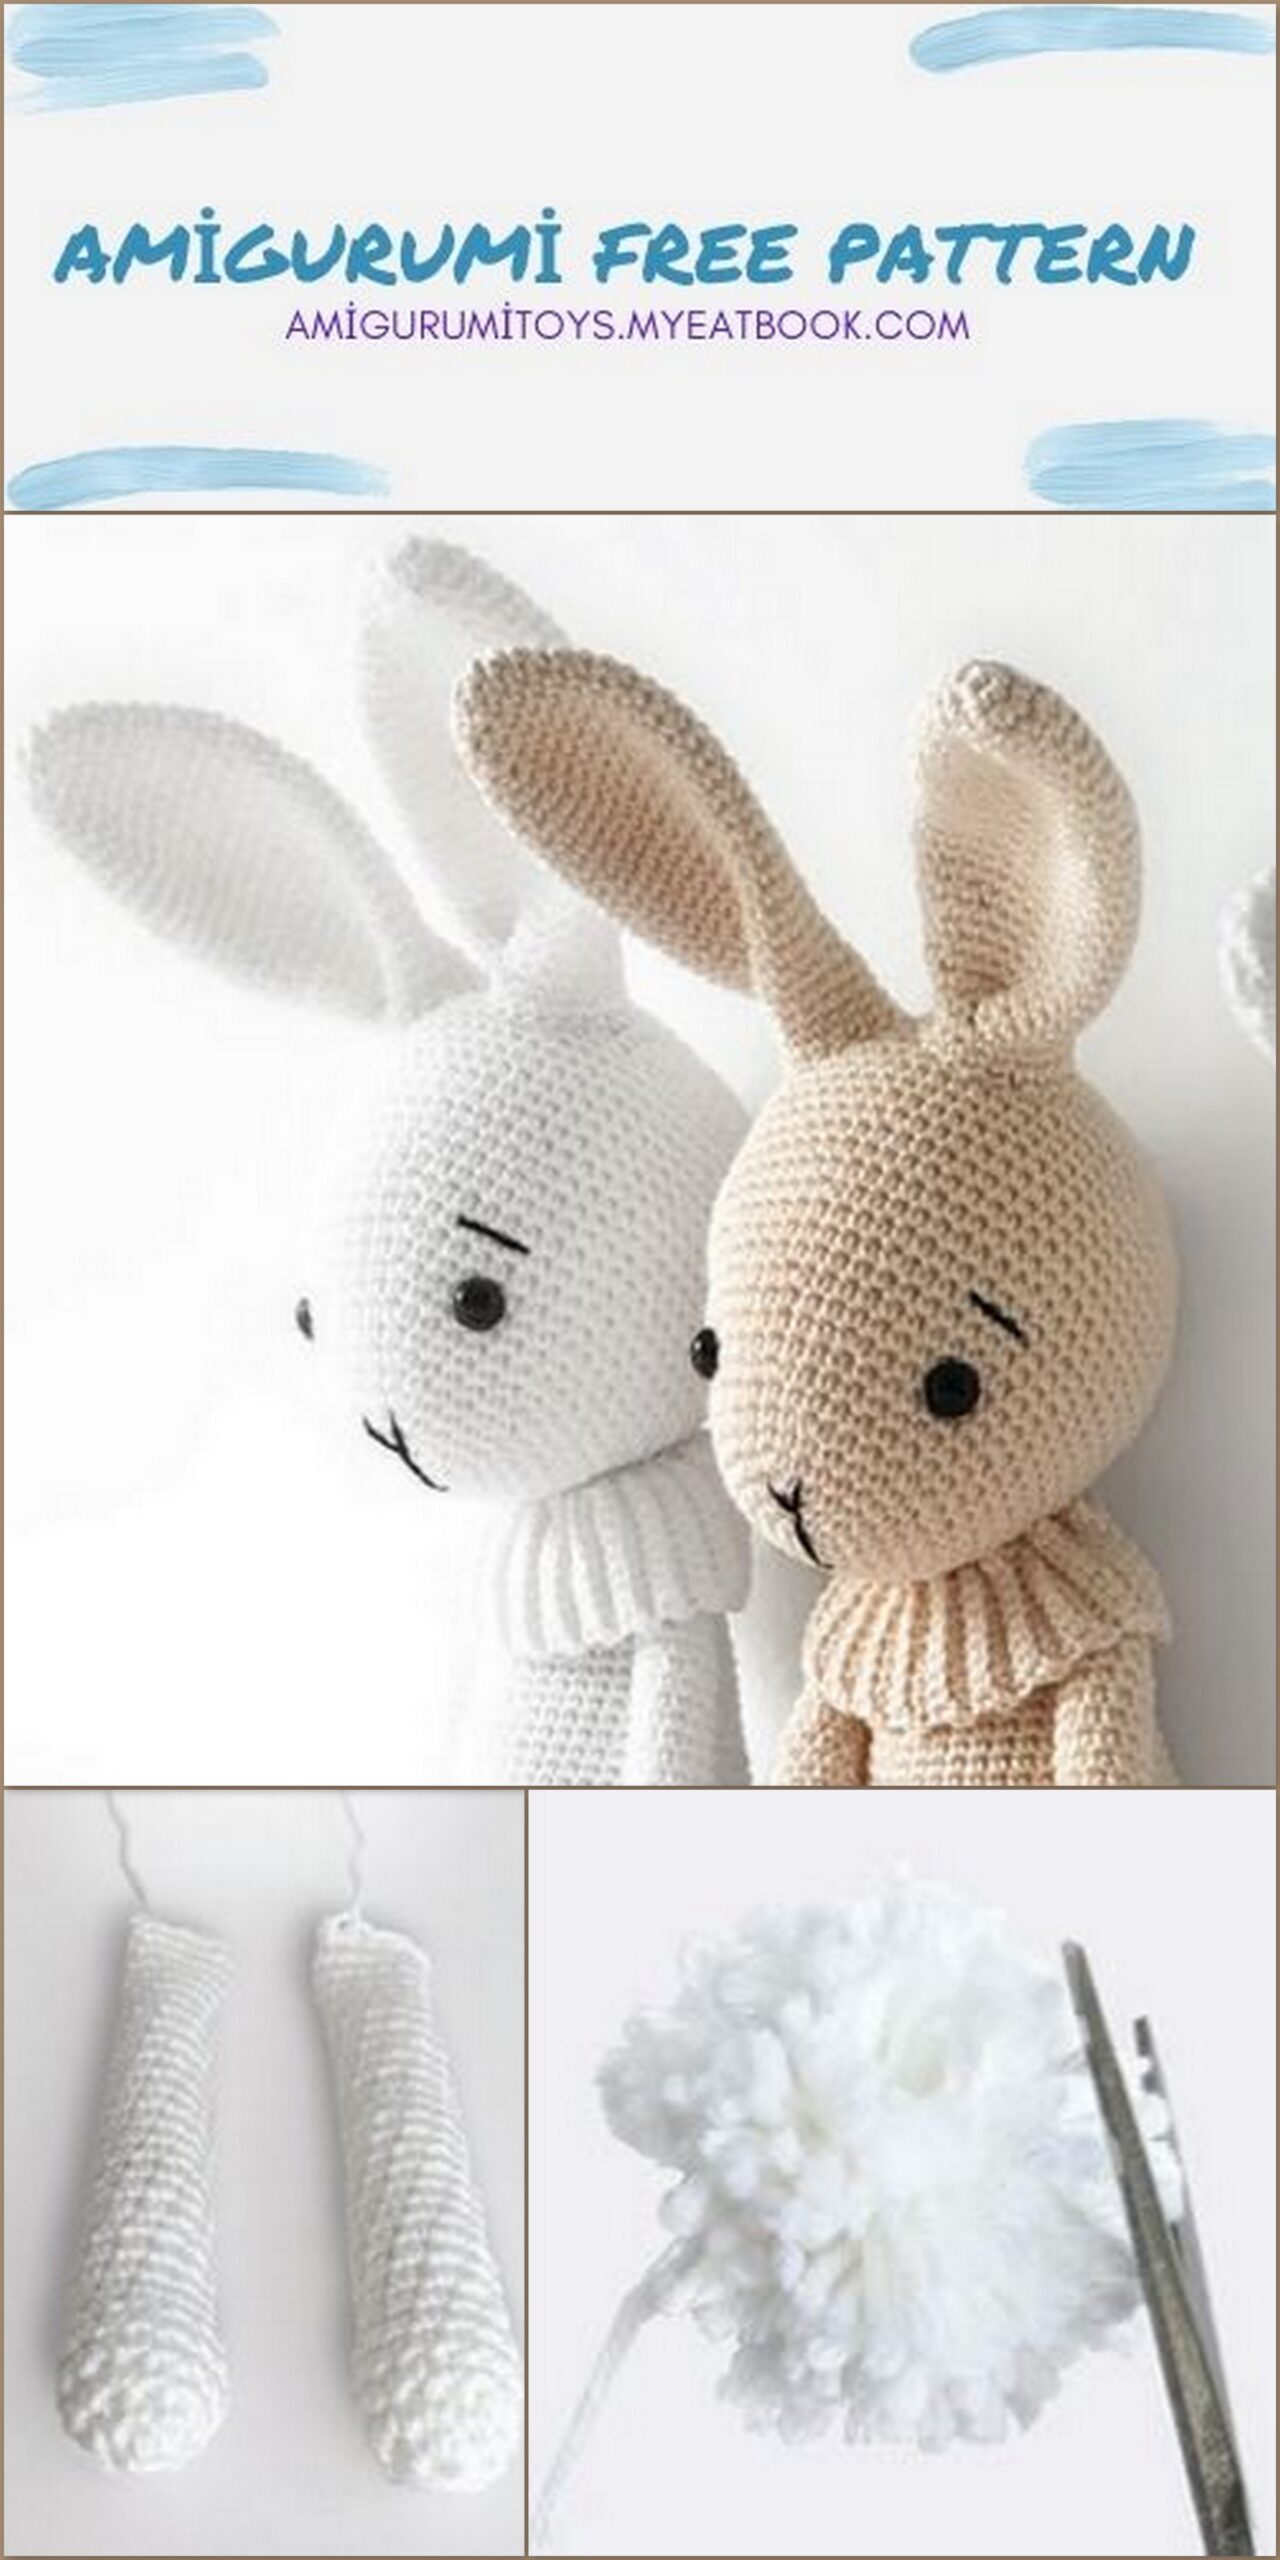
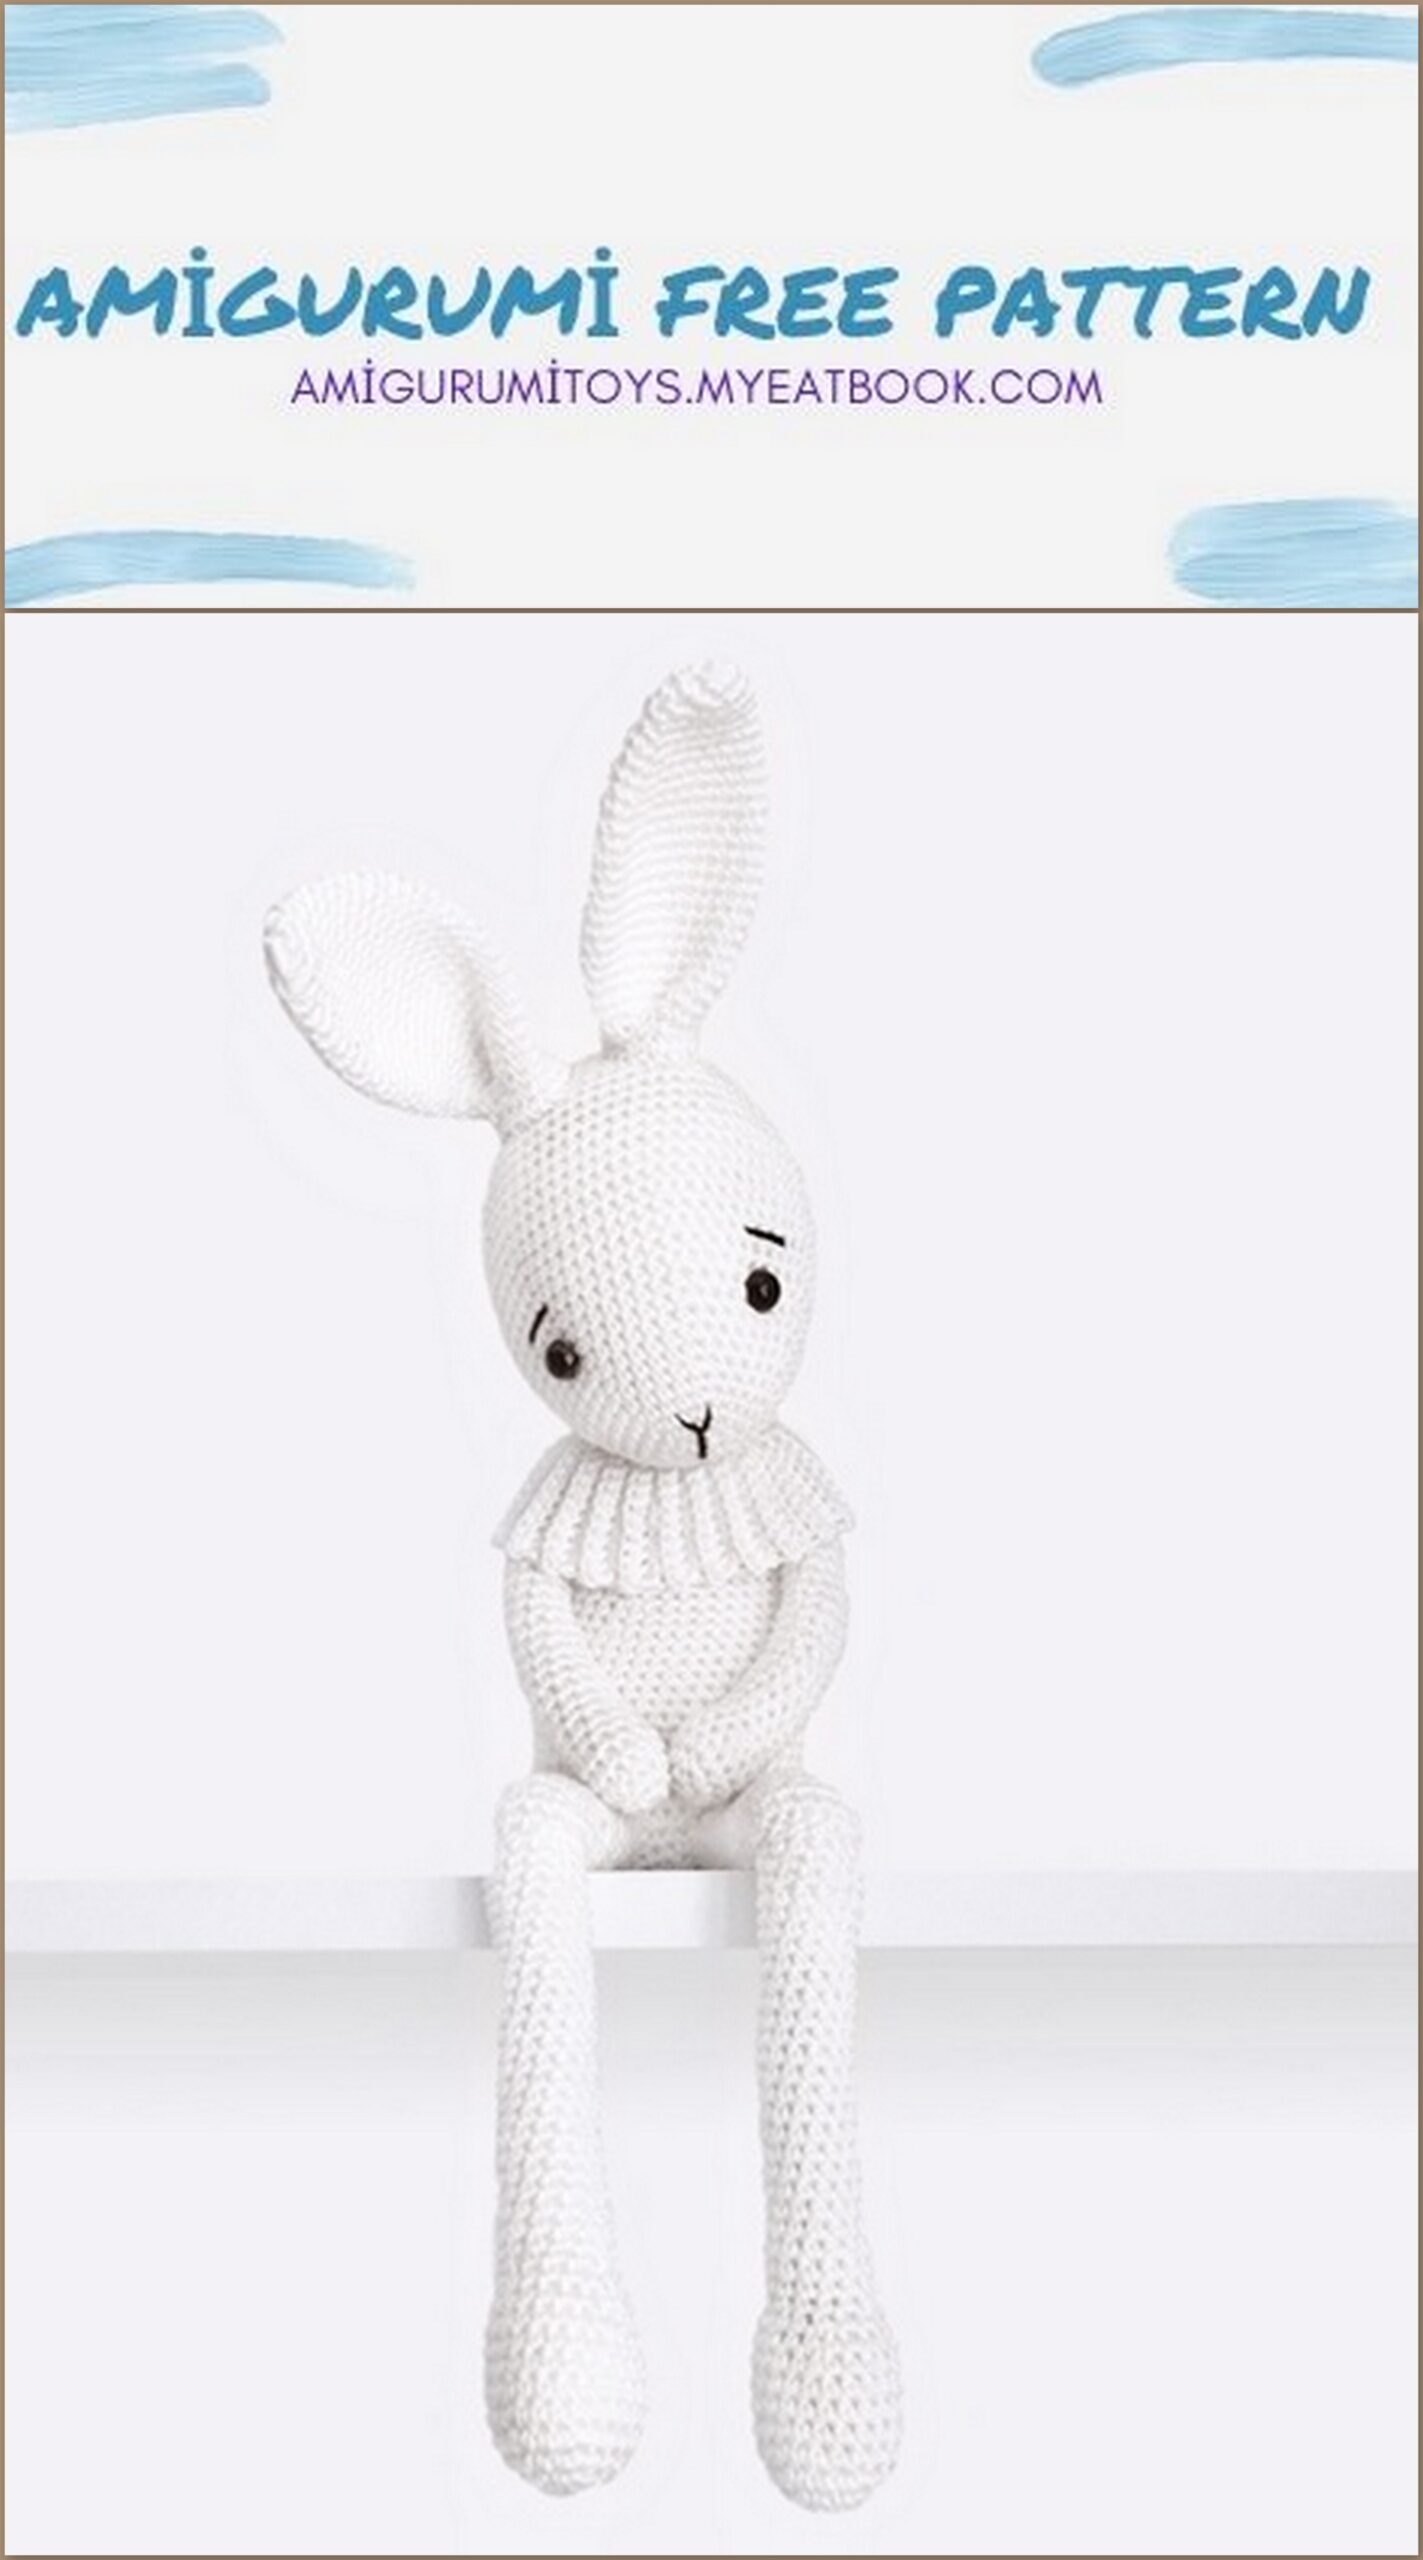
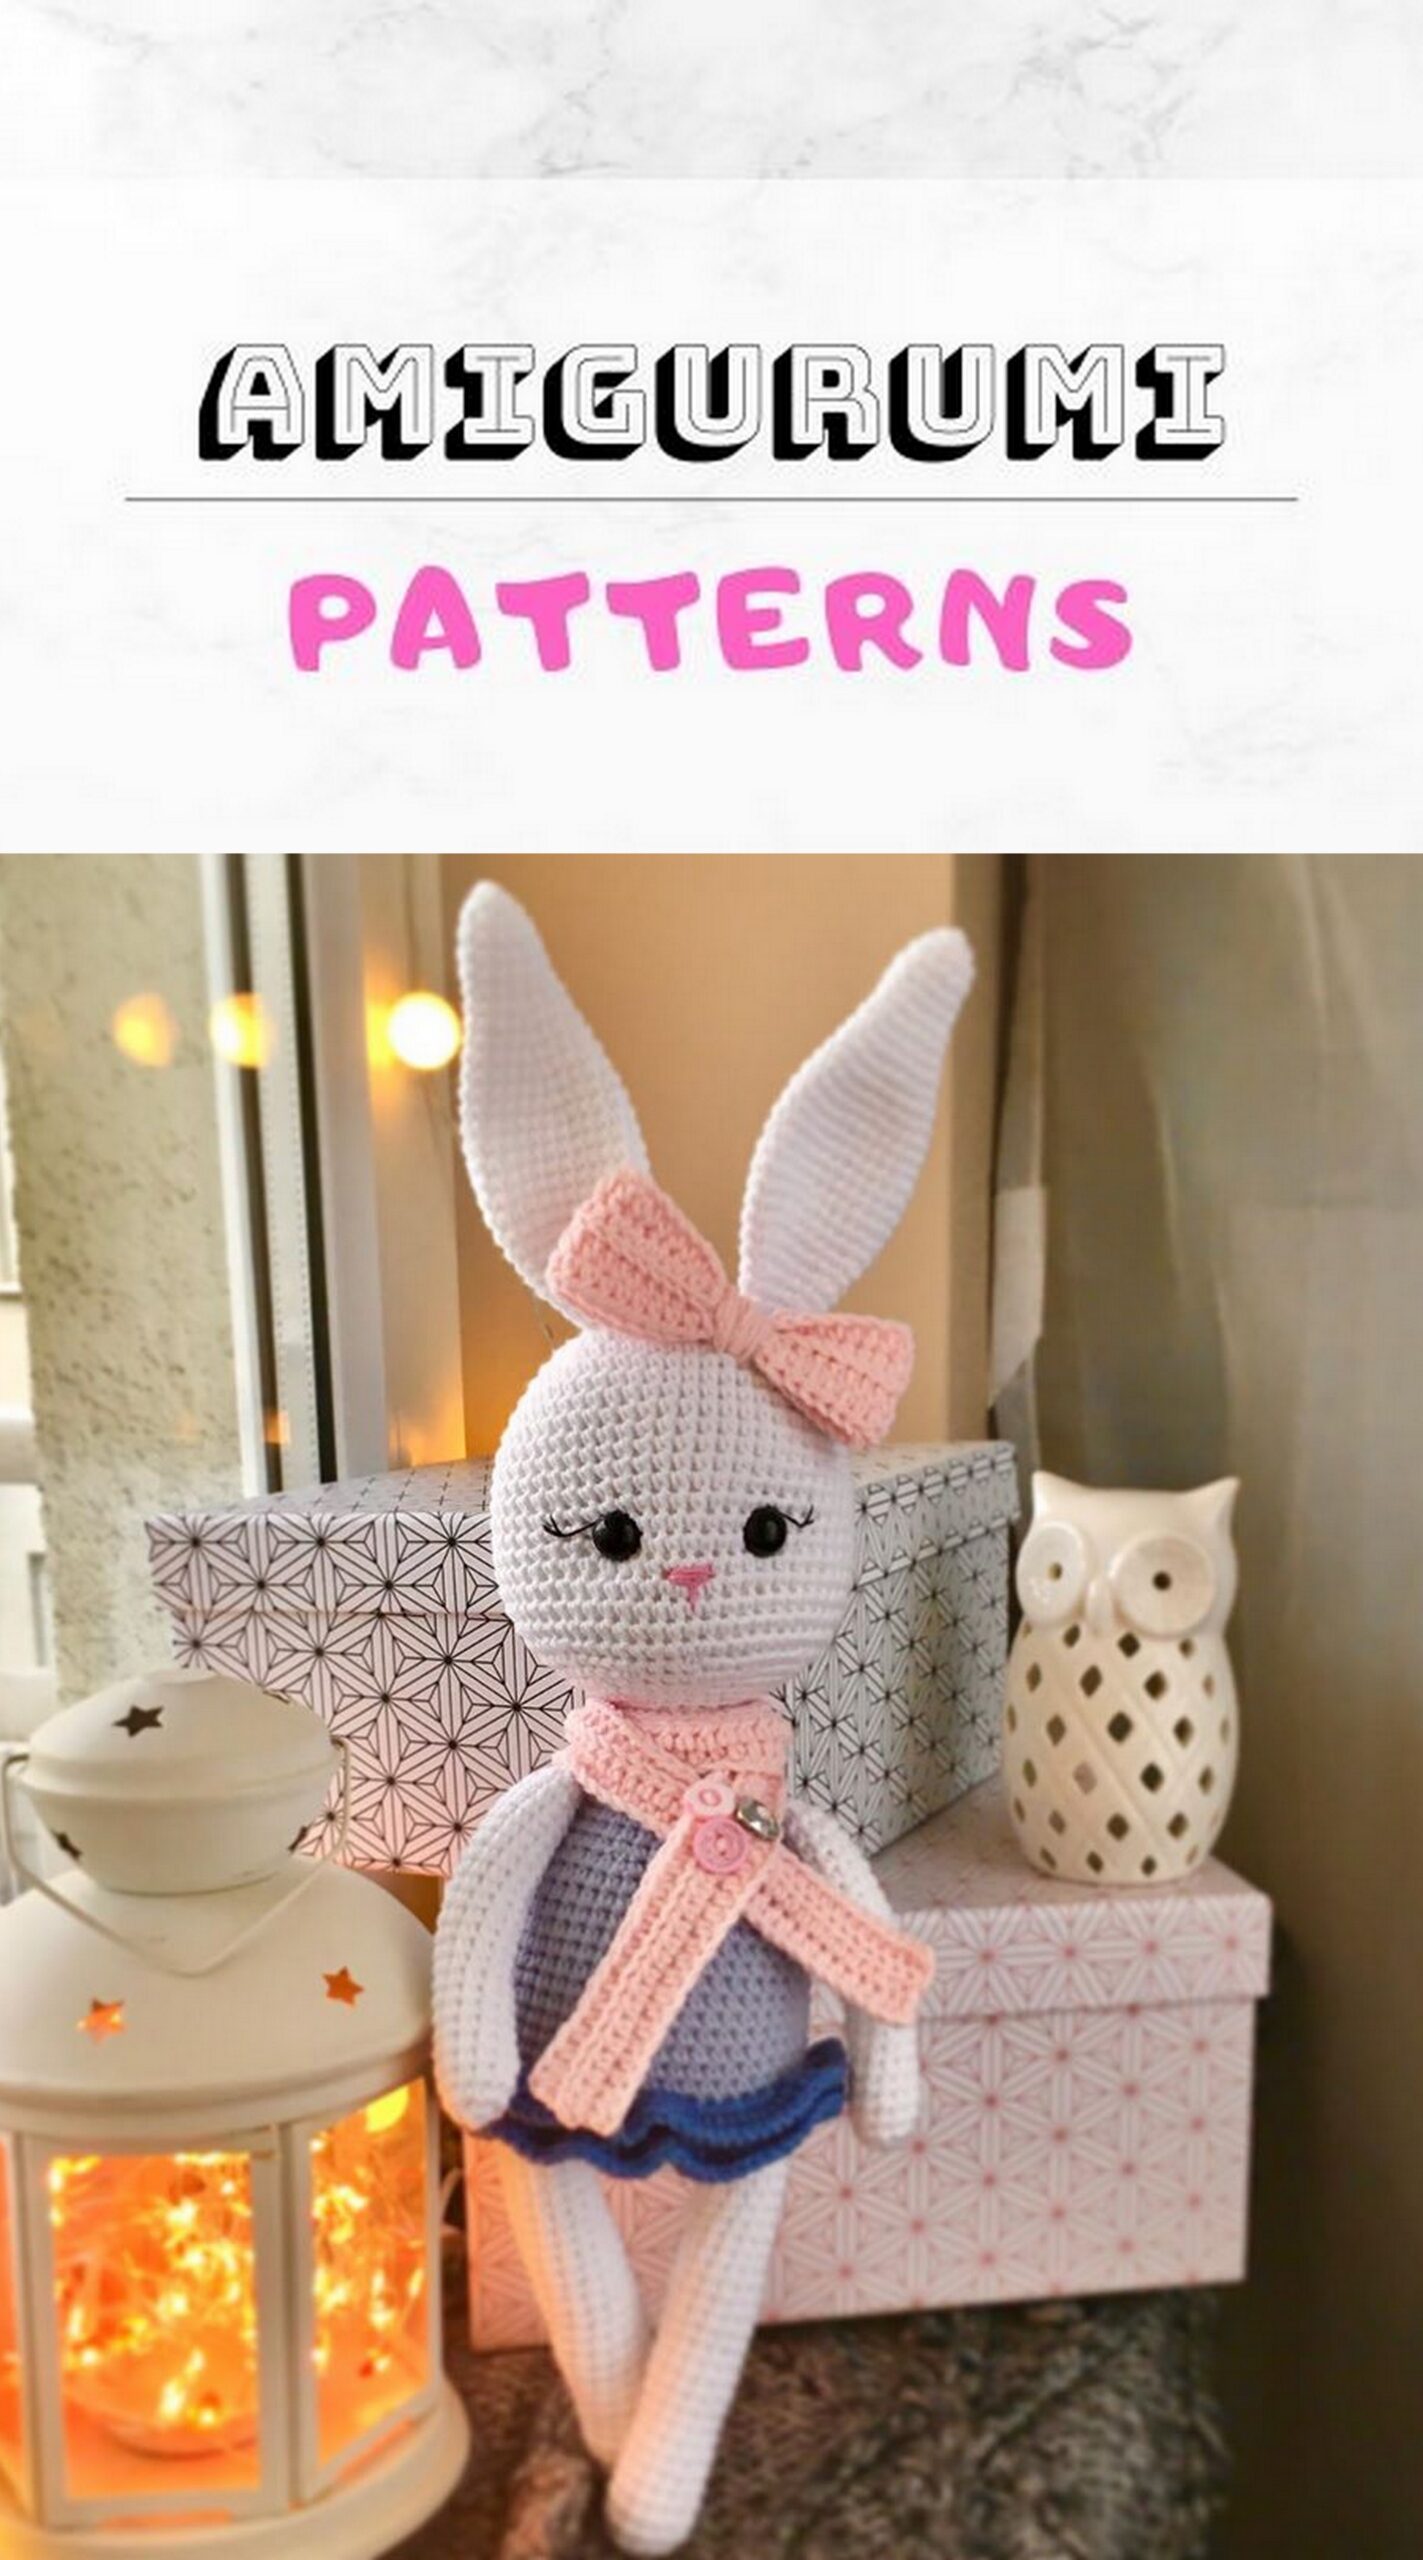
Amigurumi Lucky the Bunny Free Pattern
Lucky the Bunny
stitches and crochet techniques used
Slip knot
Make a loop with yarn, the end of the yarn should be in the back. Insert the hook in the center of the loop, yarn over and draw up a loop. Pull to tighten.
Slip stitch (sl st)
Insert the hook in the next stitch, yarn over and pull through all loops.
Chain stitch (ch)
Yarn over and pull it through the loop to create your first chain stitch. A foundation chain is created by crocheting the required number of chain stitches.
Single crochet stitch (sc)
Insert the hook in the next stitch, yarn over and draw up a loop (2 loops on hook), yarn over and pull through both loops.
Half double crochet (hdc)
Yarn over, insert hook in next stitch and draw up a loop (3 loops on hook), yarn over and pull through all 3 loops on hook.
Single crochet increase (inc)
Work two single crochet stitches in one stitch.
Single crochet decrease (dec)
Insert the hook in the front loop of the first st and in the front loop of the second stitch (3 loops on hook). Yarn over and draw up a loop through the first two front loops on hook, yarn over again and pull through remaining 2 loops on hook.
Magic ring
Make a loop with yarn leaving 3” long tail. Insert the hook in the center of the loop, yarn over and draw up a loop. Yarn over and pull through to make your first chain. (Do not count this as your first stitch.) Continue to crochet over the loop and the yarn tail until you have the required number of stitches for your first round.
For example, if the pattern calls for 5 stitches, sc 5 times into the ring (insert hook into the center of the ring and draw up loop, yo and pull through both loops). When you’re finished, pull the tail to close the ring.
Fasten off with invisible join
To make nice, invisible finish – thread tail onto tapestry needle. Insert the needle under both loops of the second stitch of the round. Insert the needle between back and front loop of the last stitch of the last round and pull the yarn to secure.
Working in back loops
Insert the hook under the back loop only and draw up a loop (2 loops on hook). Yarn over and pull through both loops on hook.
Foundation chain and crocheting around it
Start with the slip knot and crochet the required number of chain stitches to make the foundation
chain. Make the required number of single crochet stitches in the top loops of the chain. The pattern may call for increases in the outer stitches of the foundation chain. Turn the piece and continue crocheting in unused, bottom loops on opposite side of the foundation chain.
Color change
Work to last 2 loops on hook. Drop the first color, yarn over with new color and draw through both loops on hook to complete the stitch. Continue with new color.
materials
– 2.5 mm crochet hook
– white sport weight cotton yarn (120g/300m/328yd)
– polyfill to stuff
– a pair of 8 mm black eyes
– stitch marker, tapestry needle, scissors and sewing pins
abbreviations
ch(s) – chain(s)
yo – yarn over
sl st – slip stitch
sc – single crochet
hdc – half double crochet 2
inc – single crochet increase
dec – single crochet decrease
st(s) – stitch(es)
Rnd – round
finished size
If done with sport yarn and a 2.5mm hook, the bunny will sit around 43 cm/ 17 inches tall.
gauge
In single crochet, using 2.5 mm hook:
11 sts x 10 rows = 2” (5 cm)

head (in white)
Starting at nose, with magic ring:
Rnd 1: 6 sc into the ring (6)
Rnd 2: (inc) 6 times (12)
Rnd 3: (sc in next st, inc) 6 times (18)
Rnd 4: (sc in 2 sts, inc) 6 times (24)
Rnd 5: (sc in 3 sts, inc) 6 times (30)
Rnd 6: sc around (30)
Rnd 7: (sc in 4 sts, inc) 6 times (36)
Rnd 8: sc around (36)
Rnd 9: (sc in 5 sts, inc) 6 times (42)
Rnd 10: sc around (42)
Rnd 11: (sc in 6 sts, inc) 6 times (48)
Rnd 12: sc around (48)
Rnd 13: (sc in 7 sts, inc) 6 times (54)
Rnd 14: sc around (54)
Rnd 15: (sc in 8 sts, inc) 6 times (60)
Rnd 16: sc around (60)
Rnd 17: (sc in 9 sts, inc) 6 times (66)
Rnd 18 – 25: sc around (66) (Image 1)
Decrease:
Rnd 26: (sc in 9 sts, dec) 6 times (60)
Rnd 27: (sc in 8 sts, dec) 6 times (54)
Rnd 28: sc around (54)
Rnd 29: (sc in 7 sts, dec) 6 times (48)
Rnd 30: (sc in 6 sts, dec) 6 times (42)
Rnd 31 & 32: sc around (42)
Rnd 33: (sc in 5 sts, dec) 6 times (36)
If using safety eyes attach them to the head 14
stitches apart, between rounds 11 and 12.
Stuff and add more stuffing as you go.
Rnd 34: (sc in 4 sts, dec) 6 times (30)
Rnd 35: (sc in 3 sts, dec) 6 times (24)
Rnd 36: (sc in 2 sts, dec) 6 times (18)
Rnd 37: (sc in next st, dec) 6 times (12)
Rnd 38: (dec) 6 times (6)
Fasten off! With a tapestry needle, weave the tail through the front loops of the remaining 6 sts and pull it tight to close.
If using sew-on eyes attach them to the head 14 stitches apart, between rounds 11 and 12.
With tapestry needle and black yarn embroidernose.
Add straight, 3 stitches wide lines for eyebrows, 2 rounds above the eyes.
ear (make two)
Starting from tip of the ear, with magic ring:
Rnd 1: 6 sc into the ring (6)
Rnd 2: (inc) 6 times (12)
Rnd 3: (sc in 5 sts, inc) 2 times (14)
Rnd 4: (sc in 6 sts, inc) 2 times (16)
Rnd 5: (sc in 7 sts, inc) 2 times (18)
Rnd 6: (sc in 8 sts, inc) 2 times (20)
Rnd 7: (sc in 9 sts, inc) 2 times (22)
Rnd 8: (sc in 10 sts, inc) 2 times (24)
Rnd 9: (sc in 11 sts, inc) 2 times (26)
Rnd 10: (sc in 12 sts, inc) 2 times (28)
Rnd 11 – 20: sc around (28)
Decrease:
Rnd 21: (sc in 12, dec) 2 times (26)
Rnd 22: sc around (26)
Rnd 23: (sc in 11, dec) 2 times (24)
Rnd 24: sc around (24)
Rnd 25: (sc in 10, dec) 2 times (22)
Rnd 26 & 27: sc around (22)
Rnd 28: sc in 2, skip 4 sts (insert the needle in 5th
st, fold skipped stitches inside to avoid the gap –
Image 7), sc in 16 sts (18)
Rnd 29 & 30: sc around (18)
Fasten off leaving tail long enough to sew ear to
the head. Mark with pins the area on the head
that should be attached to the ears. (Image 8)
Sew ears to head between rounds 25 and 33.
body
Working from the bottom to the top, with magic ring:
Rnd 1: 6 sc into the ring (6)
Rnd 2: (inc) 6 times (12)
Rnd 3: (sc in next st, inc) 6 times (18)
Rnd 4: (sc in 2 sts, inc) 6 times (24)
Rnd 5: (sc in 3 sts, inc) 6 times (30)
Rnd 6: (sc in 4 sts, inc) 6 times (36)
Rnd 7: (sc in 5 sts, inc) 6 times (42)
Rnd 81: (sc in 6 sts, inc) 6 times (48)
To make opening for leg:
Rnd 9: sc in next 16 sts, ch 7, skip 7 sts, sc in next 2
sts, ch 7, skip 7 sts, sc in next 16 sts (48)
Rnd 10: sc around in all sts and chs (48)
Rnd 11 – 22: sc around (48) (Image 10)
Decrease:
Rnd 23: (sc in 14 sts, dec) 3 times (45)
Rnd 24: sc around (45)
Rnd 25: (sc in 13 sts, dec) 3 times (42)
Rnd 26: sc around (42)
Rnd 27: (sc in 12 sts, dec) 3 times (39)
Rnd 28: sc around (39)
Rnd 29: (sc in 11 sts, dec) 3 times (36)
Rnd 30: sc around (36)
Rnd 31: (sc in 10 sts, dec) 3 times (33)
Rnd 32: sc around (33)
Rnd 33: (sc in 9 sts, dec) 3 times (30)
Rnd 34: sc around (30)
Stuff the body and add more stuffing as you go.
Rnd 35: (sc in 8 sts, dec) 3 times (27)
Rnd 36: sc around (27)
Rnd 37: (sc in 7 sts, dec) 3 times (24)
Rnd 38: sc around (24)
Rnd 39: hdc in 12, sc in 12
Rnd 40: hdc in 12, sc in next st, leave the rest undone
Fasten off leaving tail for sewing head to the body!
Mark with pins the area on the head (between rounds 9 and 16) that should be attached to the body. Sew halfway, add more stuffing so the neck area is firmly stuffed and finish sewing.
arm (make two)
Starting at the bottom, with magic ring:
Rnd 1: 6 sc into the ring (6)
Rnd 2: (inc) 6 times (12)
Rnd 3: (sc in next 3 sts, inc) 3 times (15)
Rnd 4 & 5: sc around (15)
Rnd 6: (sc in 3 sts, dec) 3 times (12)
Rnd 7 – 17: sc around (12)
Rnd 18: dec, sc in 10 sts (11)
Rnd 19 – 24: sc around (11)
Rnd 25: dec, sc in 9 (10)
Rnd 26 – 29: sc around (10)
Flatten opening closed and sc through
both layers in next 5 sts. (Image 11)
Fasten off leaving a tail for sewing. Sew arms on both sides of the body between rounds 35 and 36.
leg (make two)
Starting at the foot, with magic ring:
Rnd 1: 6 sc into the ring (6)
Rnd 2: (inc) 6 times (12)
Rnd 3: (sc in next st, inc) 6 times (18)
Rnd 4: (sc in 2 sts, inc) 6 times (24)
Rnd 5 – 9: sc around (24)
Rnd 10: (sc in 6 sts, dec) 3 times (21)
Rnd 11: (sc in 5 sts, dec) 3x times (18)
Rnd 12: (sc in 2 sts, dec, sc in 3 sts, dec) 2 times
(14)
Stuff and add stuffing as you go.
Rnd 13 – 35: sc around (14) (Image 13)
Working back and forth in rows to make the knee
socket:
Row 36: sc in 7 sts, leave remaining sts unworked
Row 37-40: ch1, turn, sc in 2nd st from hook and in next 6 sts
Place the marker on the loop and start counting rounds from here.
Working in rounds:
Rnd 41: to shape the knee socket, sc in 7 skipped sts from round 35 (Image15 & 16), sc in 7 sts from previous round.
Rnd 42 – 54: sc around (14)
Fasten off leaving long tail for sewing! With tapestry needle and white yarn sew gaps on the sides of knee. Sew leg to the opening on round 9 of the body . Sew two thirds, add more stuffing so that the area is firmly stuffed and finish sewing.
tail
Make a small pom-pom for tail. (Image 22 & 23)
– Loosely wrap the white yarn around your index and middle fingers. Wrap it 100 times and cut the yarn.
– Carefully slip the yarn off of your fingers. Cut a long piece of yarn and wrap it around the middle of the yarn loop. Tie a double knot pulling as tight as you can.
– With scissors cut through all the loops of the pom-pom.
Place the marker on the loop and start counting rounds from here.
Working in rounds:
Rnd 41: to shape the knee socket, sc in 7 skipped sts from round 35 (Image15 & 16), sc in 7 sts from
previous round. (Image 17 & 18)
Rnd 42 – 54: sc around (14)
Fasten off leaving long tail for sewing! With tapestry needle and white yarn sew gaps on the sides of knee. (Image 19) Sew leg to the opening on round 9 of the body (Image 20). Sew two thirds, add more stuffing so that the area is firmly stuffed and finish sewing.
collar
Row 1: ch 11, sc in 2nd ch from hook and in next 9 ch (10)
Working just in back loops:
Row 2 – 48: ch 1, turn, sc in 2nd and in next 9 sts, turn (10)
To make the button hole:
Row 49: ch 1, turn, sc in 2 sts, ch 2, skip 2 sts, sc in rest 5 sts (10)
Row 50: ch 1, turn, sc in all sts and chs (10) (Image 24)
– Trim your pompom into a round shape using the scissors. Examine it from every angle to make
sure it’s smooth.
Use yarn strings to attach the pom-pom to the bottom back of the body, between rounds 9 and 10.
Image 22
Fasten off and weave in yarn ends. Now you should just make the top side of the collar tighter so it
fits around the neck. Join yarn to the first space underneath the beginning chain on top side of the
collar (where you made the button opening) and sc in every second chain space so that at the end


there are 25 stitches. (Image 25) Sew the button on the opposite side of the collar.
And your bunny is finished! (Image 26)