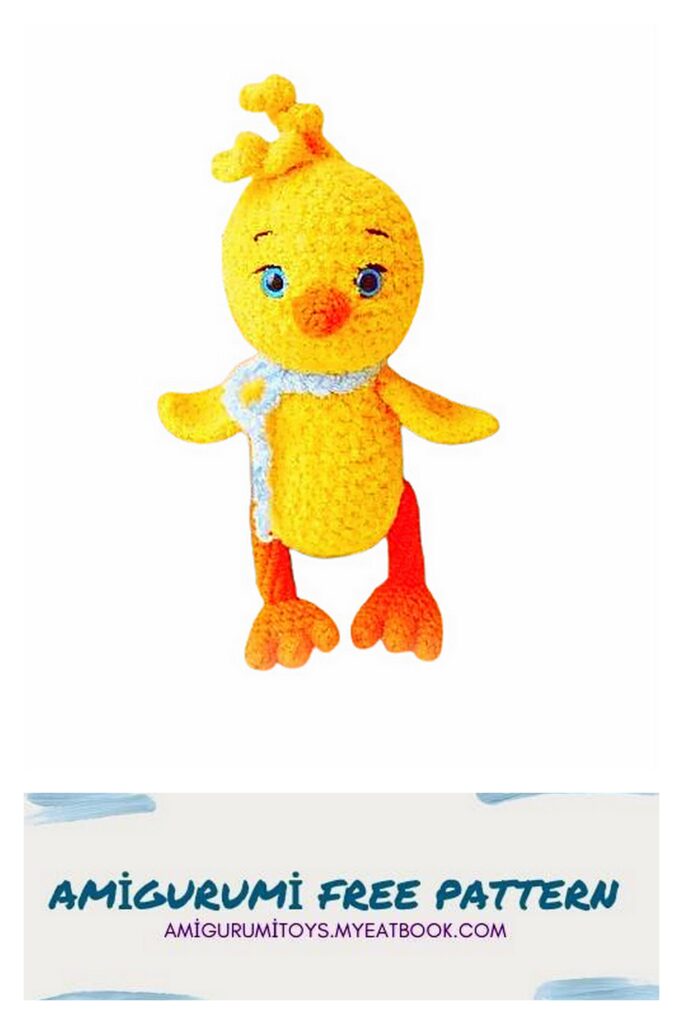
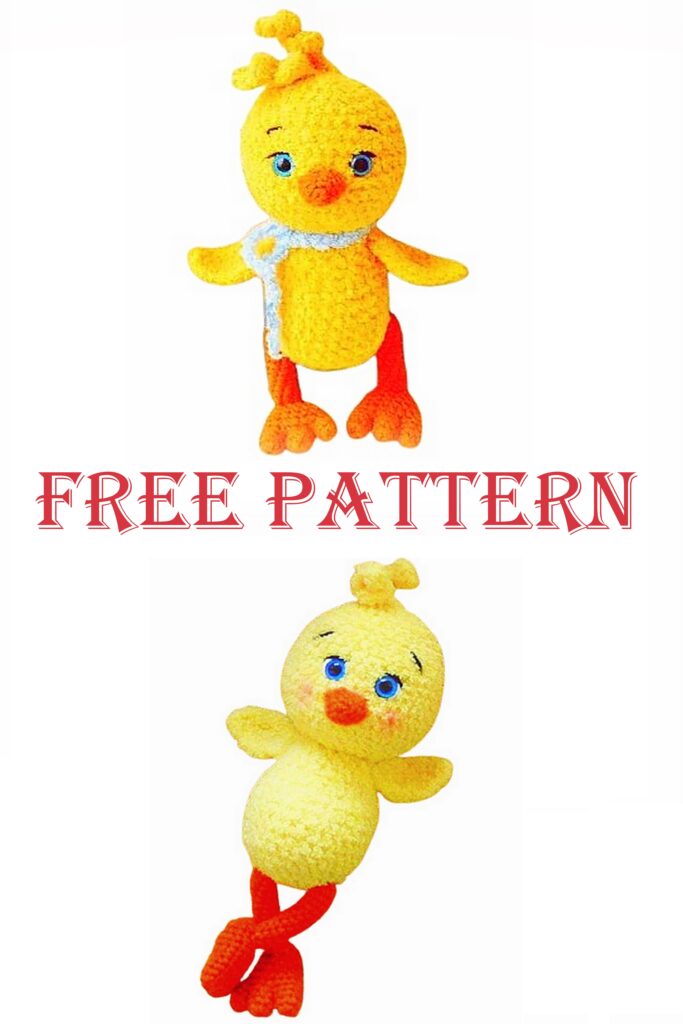
Hop into the joy of Easter with our delightful creation, the Amigurumi Easy Easter Chick! If you’re a fan of cute and festive crochet projects, you’re in for an egg-citing treat. This easy-to-craft Easter chick is not just a project; it’s a symbol of springtime and celebration. Whether you’re a seasoned crocheter or just starting, our free pattern provides simple instructions to bring this adorable chick to life.
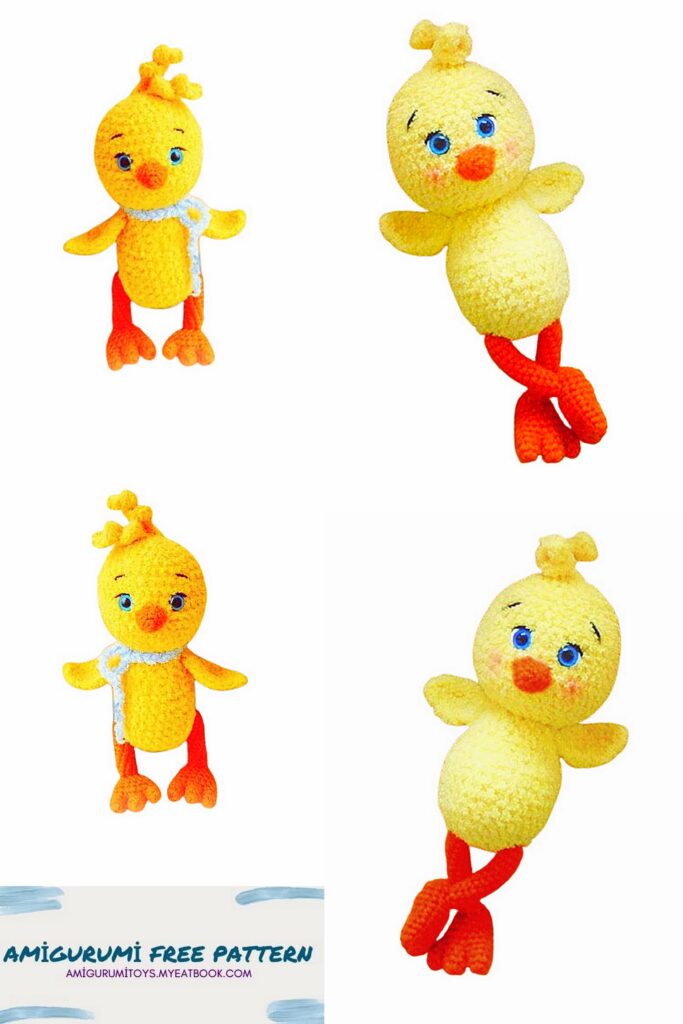
Our Amigurumi Easy Easter Chick crochet pattern is designed to be accessible for creators of all skill levels, ensuring a fun and enjoyable experience. With step-by-step instructions and accompanying images, crafting your own Easter chick has never been more delightful.
Materials
Body yarn – Alize Softy
Yarn for paws and beak – Novelty for children
Eyes between 9-10 rows, at a distance of 6sc. .
Abbreviations
AR – Amigurumi Magic ring
MR – Amigurumi Magic ring
sc : Single Crochet
inc : Increase
dec : Decrease
tr : Triple Crochet/ Treble Crochet
st: Stitch
dc : Double Crochet
hdc: Half Double Crochet
sl-st or Slst: Slip Stitch
ch : Chain
tch: Turnin chain crochet
..in : make increase into same stitch as many as the number which is given in front of “inc” abbreviation (exp; 3inc, 4inc..).
FLO : Crochet into front loops only
BLO : Crochet into back loops only

Body
1) 6 in MR
2) 6 inc (12sc)
3) 1sc, inc *6 (18sc)
4) 2sc, inc *6 (24sc)
5) 24sc
6) 3sc, inc *6 (30sc)
7) – 10) 30sc
11) 3sc, dec *6 (24sc)
12) 3sc, 4 dec, 13sc (20sc)
13) – 14) 20sc
15) 2sc, dec *5 (15sc)
16) 3sc, dec *3 (12sc)
Stuff the body, leave the thread for sewing
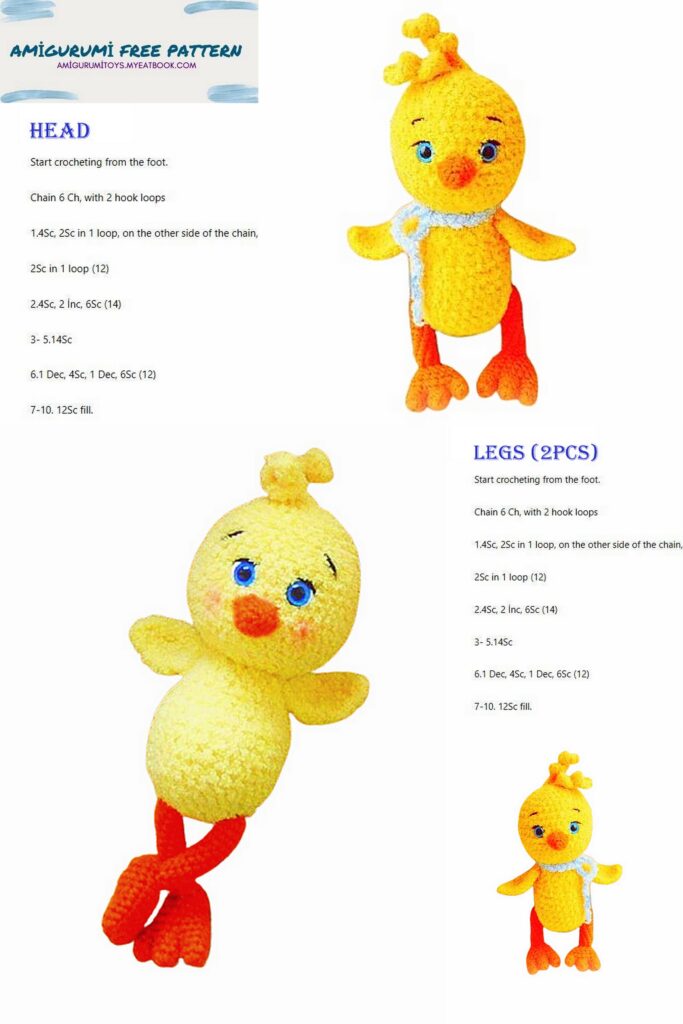
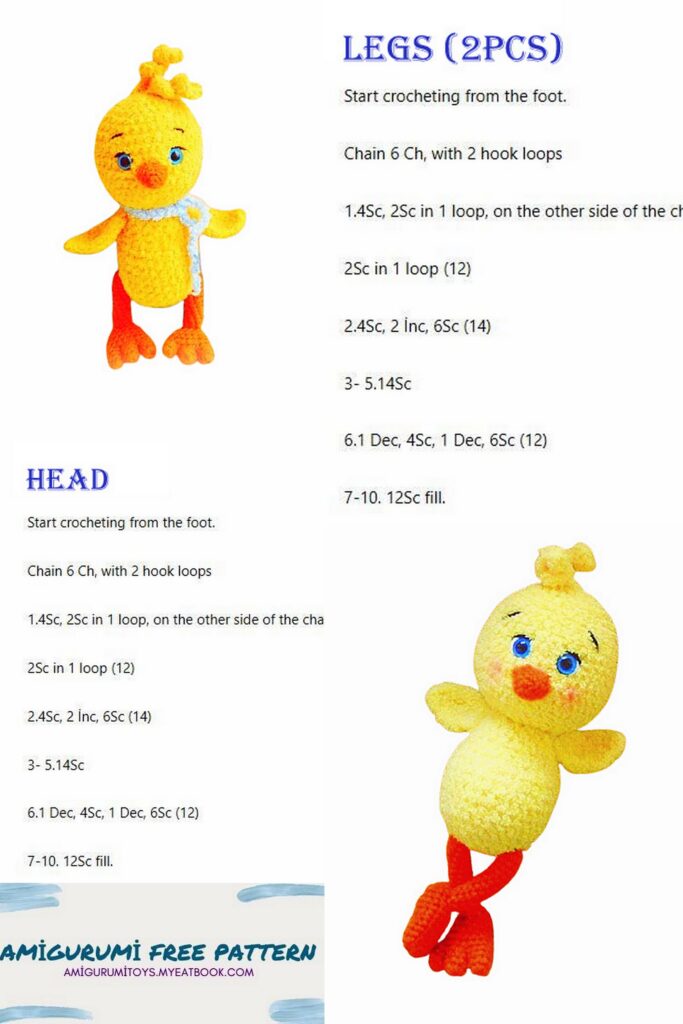
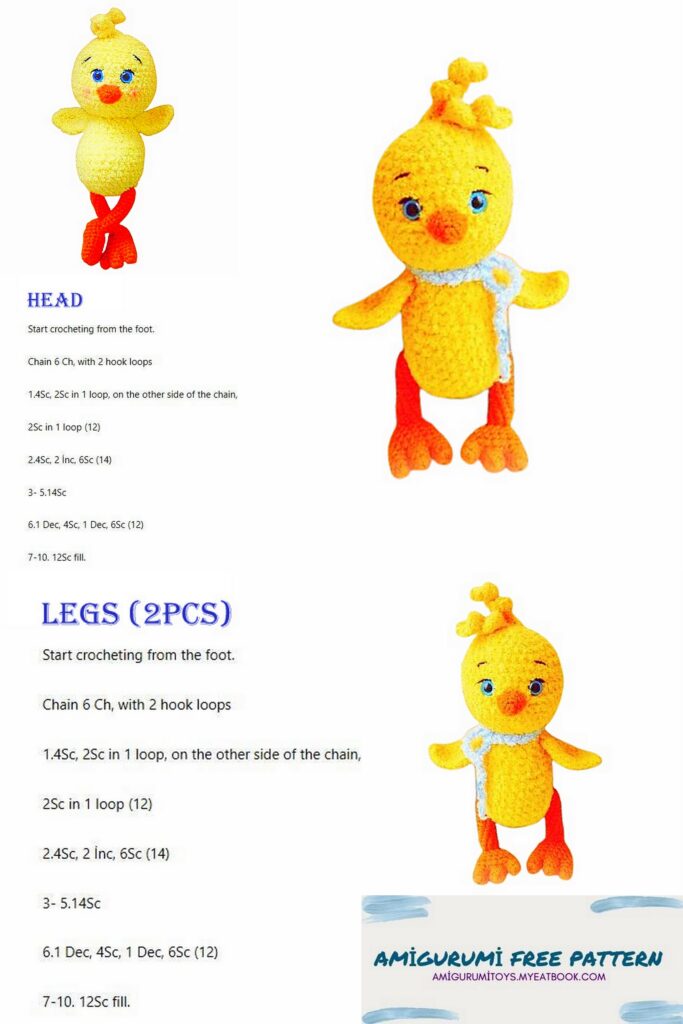
Head
1) 8sc in MR
2) 8inc (16sc)
3) 1sc, inc *8 (24sc)
4) 24sc
5) 3sc, inc *6 (30sc)
6) 30sc
7) 4sc, inc *6 (36sc)
8) – 9) 36sc
10) 5sc, inc *6 (42sc)
11) – 13) 42sc
14) 5sc, dec *6 (36sc)
15) 4sc, dec *6 (30sc)
16) 3sc, dec *6 (24sc)
Stuff.
17) dec * 12 (12sc)
Beak
1) 6sc in MR
2) 1sc, inc *3 (9sc)
3) 9sc
4) 2sc, inc *3 (12sc)
5) 12sc
We stuff in the process of sewing to the head.
Hair
Make a chain of 9ch, in the second loop from the hook, 3sc in each loop. You can link the number of details as much as you think is necessary) Two were enough for my head.
The tail can be tied in the same way.
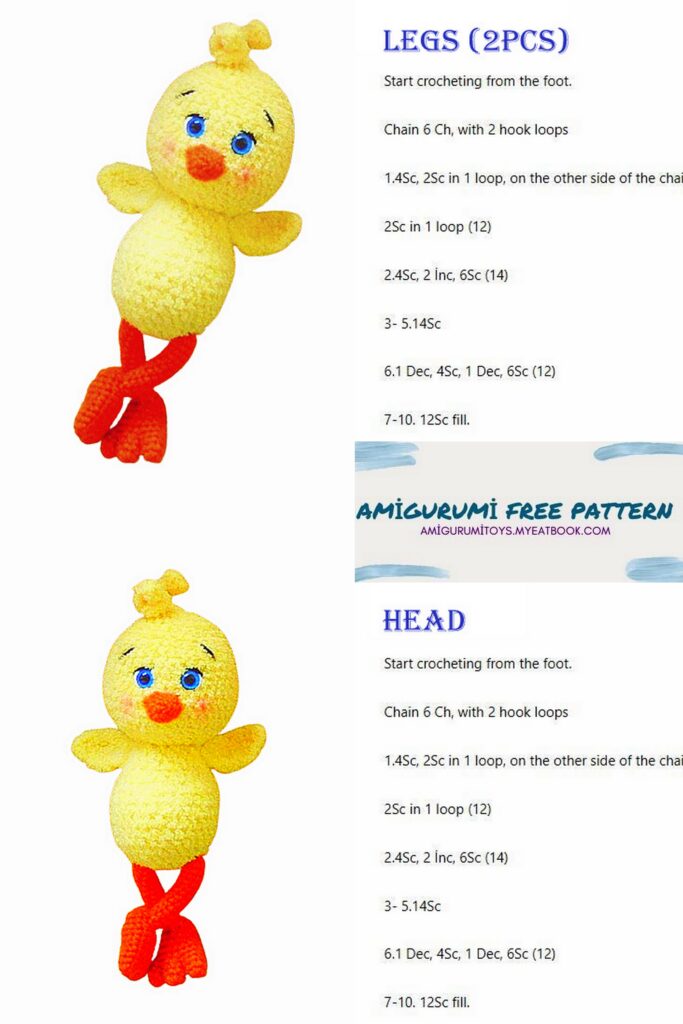
Legs (Part #1)
1) Make 8ch, close in a ring and knit in a circle 13 rows. At the end, we knit, fold in half and knit for both sides. Leave the thread for sewing. We fill the detail.
Part #2
1) 6sc in MR
2) – 3) 6sc.
We cut the thread. We knit three parts in this way.
At the third part, we do not cut the thread, we continue to knit.
We connect all three parts together.
In total it will turn out 18sc.
5) 18sc
6) dec, 7sc, dec, 7sc – 16sc
7) 16sc
8) dec, 6sc, dec, 6sc – 14sc
9) 14sc
10) dec, 5sc, dec, 5sc – 12sc
11) 12sc fill the detail.
12) 6 dec. We tighten the hole, hide the thread.
Wings
1) 4hdc in MR, do not close the ring, 1ch, turn the work
2) 1hdc, (inc in hdc) *3, 1ch, turn work
3) 2hdc, inc, 1hdc, (inc) *2, 1hdc, 1ch, turn
4) 2hdc, (inc, 1hdc) *3, 2hdc. Fasten the thread, cut
I marked the beginning of each row with a marker so as not to get lost))