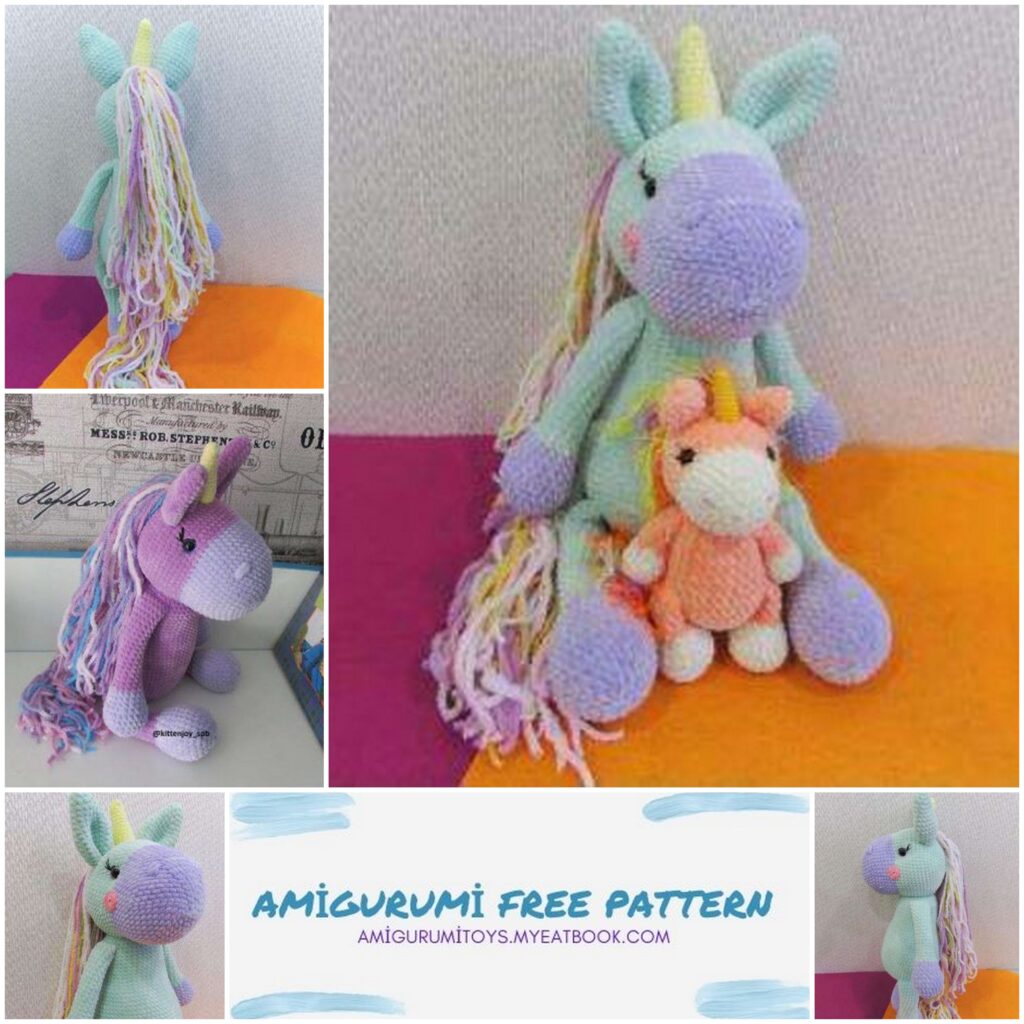
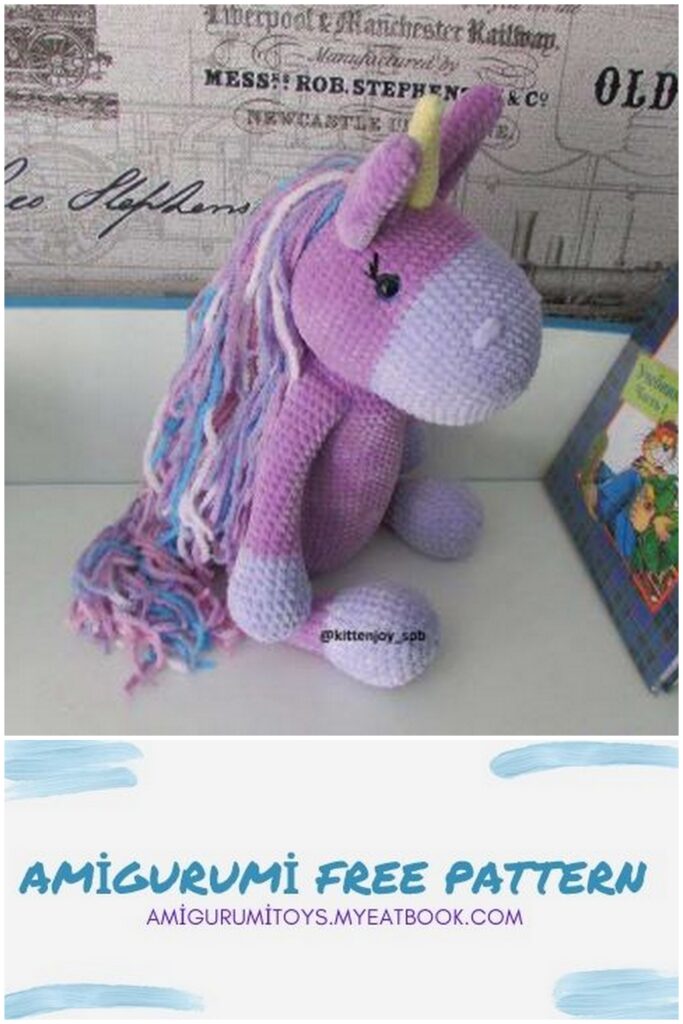
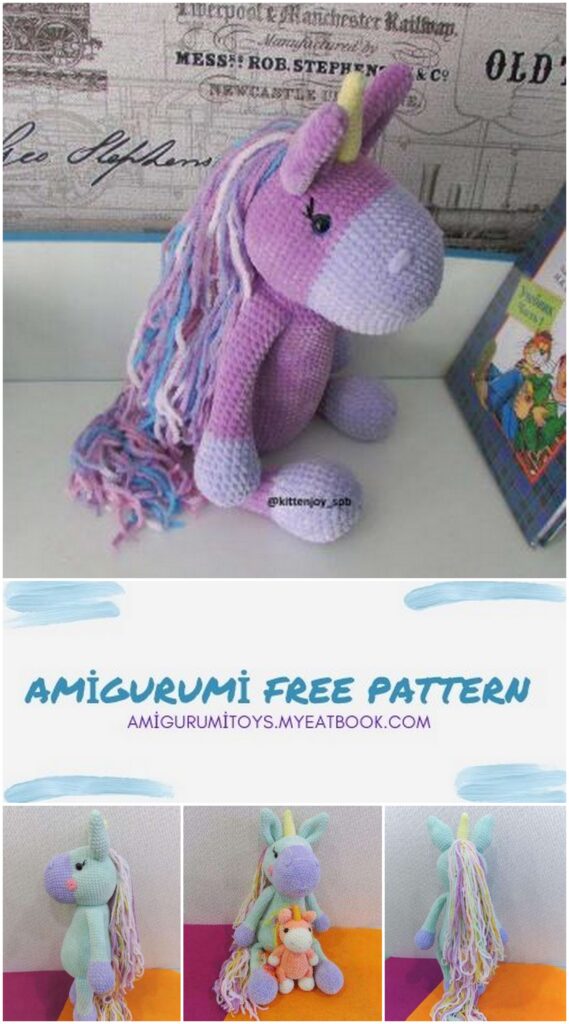
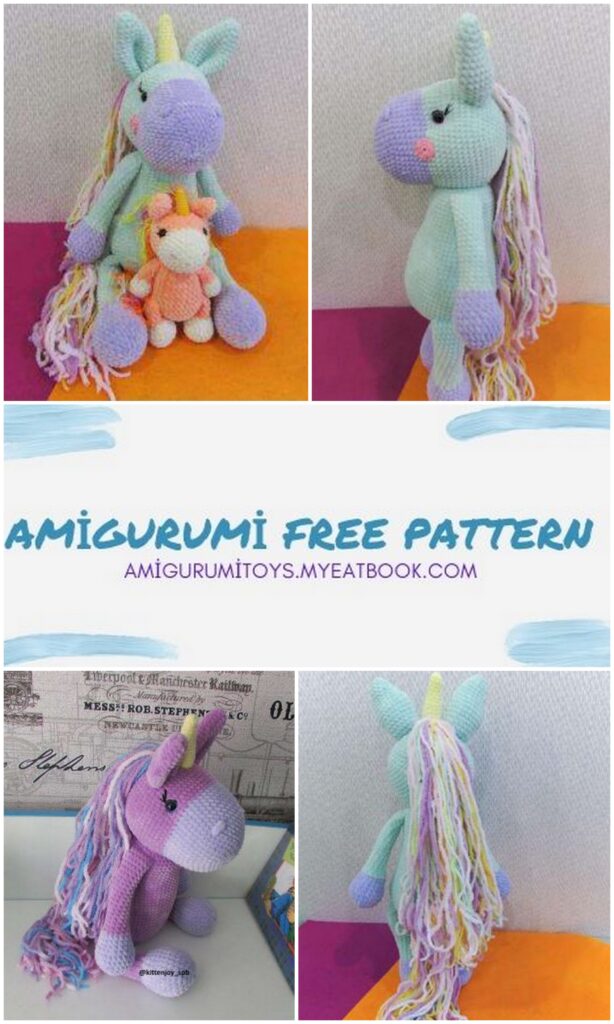
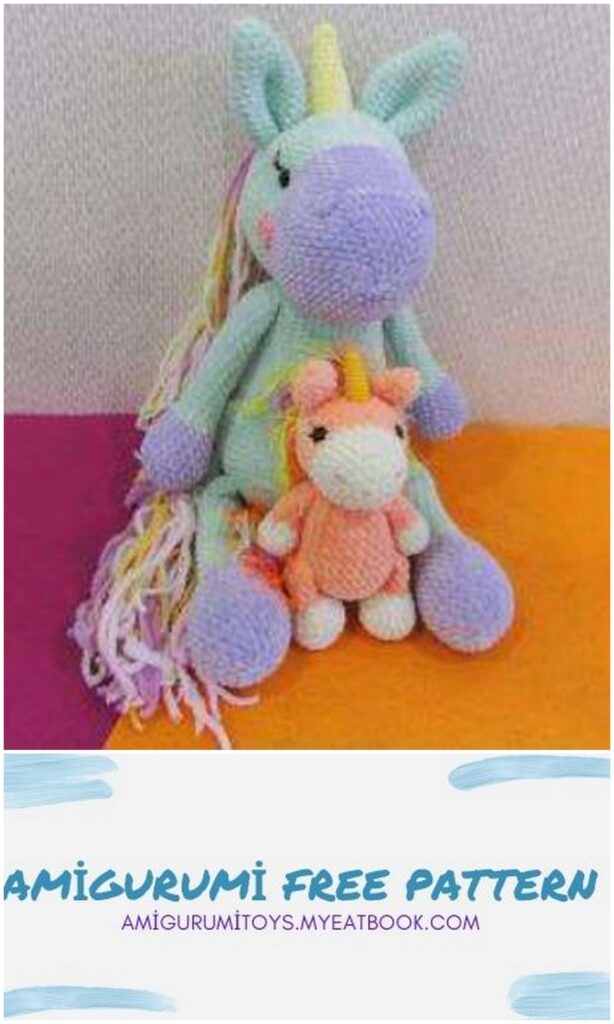
Amigurumi Big Unicorn Free Pattern
Big Unicorn
The finished toy turns out to be 45 cm, subject to the materials and tools as above. However, you must keep in mind individual nuances such as the knitting method (crosses or check marks) and knitting density.
Materials:
– 2 skeins of plush yarn in the main color (I have TUNK LUXKADIFE (analog yarn DOLCE, DOLPHIN 100% polyester, 100g / 120-130m.)
– Half a skein of plush yarn in an additional color
– A little yellow velor yarn for the horn (I have YarnArt Velor 100% micropolyester, 100g / 170m)
– For the mane, I took different colors Alize Softy 100% micropolyester, 115m / 50g
– A bit of floss of black (for embroidery of eyelashes) and pink (for cheeks) colors
– Eyes (possible) with a colored iris of 14 mm
– Hooks No. 4 and No. 2
– Stitching needle
– Filler
For sewing, we need strong threads in the color of the yarn. Stitch details plush yarn is not recommended.
MR – amigurumi ring or in the 2nd loop – the beginning of knitting.
SC – single crochet
İNC. – increase (2 SC in one loop)
DEC. – decrease (2 SC knitted together)
= X – the total number of loops in a row
Lower legs
Additional color
1.In MR 6 SC
2. 6 İNC. = 12 SC
3. (1 SC, İNC) * 6 = 18
4. (2 SC, İNC) * 6 = 24
5. (3 SC, İNC) * 6 = 30
6.30 SC
7.30 SC
8.30 SC
9. (3 SC, DEC) * 6 = 24
10.24 SC
11.24 SC
12. (2 SC, DEC) * 6 = 18
We fill it tightly. Change the color of the yarn to the main one
13. (4 SC, DEC) * 3 = 15
14-30 – 15 SC (17 rows).
We fill about half of the leg loosely, fill the rest completely a little bit.
Upper legs
Additional color
1 V MR 6 SC
2 6 İNC. = 12 SC
3 (1 SC, İNC) * 6 = 18
4 (2 SC, İNC) * 6 = 24
5 24 SC
6 24 SC
7 (2 SC, DEC) * 6 = 18
8 18 SC
9 18 SC
10 18 SC
We fill it tightly. Change the color of the yarn to the main one
11 (4 SC, DEC) * 3 = 15
12 (3 SC, DEC) * 3 = 12
13-29 – 12 SC (17 rows).
We fill about half of the leg loosely, fill the rest just a little.
Body
We fill the body gradually so that the filler has time to lie down a little in the body and the density is uniform.
We knit with the main color
1.In MR 6 SC
2. 6 İNC. = 12 SC
3. (1 SC, İNC) * 6 = 18
4. (2 SC, İNC) * 6 = 24
5. (3 SC, İNC) * 6 = 30
6. (4 SC, İNC) * 6 = 36
7. (5 SC, İNC) * 6 = 42
8. (6 SC, İNC) * 6 = 48
9. (7 SC, İNC) * 6 = 54
10. (8 SC, İNC) * 6 = 60
11. (9 SC, İNC) * 6 = 66
12. (10 SC, İNC) * 6 = 72
We knit the lower legs, position them so that the place where the yarn is changed is
the leg was in the middle of the leg and “looked inward.”
13.15 SC, 8SC with a foot, 28 SC, 8 with a foot,
13 SC = 72
14. – 18 (5 rows) – 72 SC each
Then we begin to decrease 2 loops in each row. We make the deductions above the legs – when we knit the upper legs, the deductions will close and will not be visible.
Moreover, it is worth noting that the deductions should not be done in the same place, otherwise a kind of “seam” will turn out. I made the deductions, as it were, above the legs, but alternating places – now to the left, then to the right.
19.2 decreases above the feet (1 above each foot) = 70 SC
20.2 decreases above the feet (1 above each foot) = 68 SC
21.2 decreases above the feet (1 above each foot) = 66 SC
22.2 decreases above the feet (1 above each foot) = 64 SC
23.2 decreases above the feet (1 above each foot) = 62 SC
24.2 decreases above the feet (1 above each foot) = 60 SC
25.2 decreases above the feet (1 above each foot) = 58 SC
26.2 decreases above the feet (1 above each foot) = 56 SC
27.2 decreases above the feet (1 above each foot) = 54 SC
28.2 decreases above the feet (1 above each foot) = 52 SC
29.2 decreases above the feet (1 above each foot) = 50 SC
30.2 decreases above the feet (1 above each foot) = 48 SC
31.2 decreases above the feet (1 above each foot) = 46 SC
32.2 decreases above the feet (1 above each foot) = 44 SC
33.2 decreases above the feet (1 above each foot) = 42 SC
34-40 (7 rows) – 42 SC.
We knit the upper legs, placing them strictly above the lower ones. Do not forget that we place them so that the place for changing the yarn is in the middle of the leg and
“Looked inward.”
My scheme turned out like this (your number of loops may vary depending on the knitting density, but the final should be = 42 SC. And the distance between the legs is 15 SC in front and behind).
41.10 SC, knit foot 6 SC, 15 SC, knit foot 6 SC, 5 SC = 42 SC.
42. (5 SC, DEC) * 6 = 36
43. (4 SC, DEC) * 6 = 30
44. (3 SC, DEC) * 6 = 24, fasten and break the thread.
Head
We start with an additional color:
1.In MR 6 SC
2. 6 İNC. = 12 SC
3. (1 SC, İNC) * 6 = 18
4. (2 SC, İNC) * 6 = 24
5. (3 SC, İNC) * 6 = 30
6. (4 SC, İNC) * 6 = 36
7. (5 SC, İNC) * 6 = 42
8. (6 SC, İNC) * 6 = 48
9. (7 SC, İNC) * 6 = 54
10-16 (7 rows) 54 SC each.
Change the color of the yarn to the main one
17. (8 SC, İNC) * 6 = 60
18. (9 SC, İNC) * 6 = 66
19. (10 SC, İNC) * 6 = 72
20 – 26 (7 rows) – 72 SC each
If you are using the safety eyes on the legs, they can be inserted at this point. We attach the eyes between the 3rd and 4th rows of the main color at a distance of 22 SC (and we count SC not from the edge of the eye, but from the place where the “leg” of the eye is attached).
We start decrements according to the standard scheme
27. (10SC, DEC) * 6 = 66
28. (9 SC, DEC) * 6 = 60
29. (8 SC, DEC) * 6 = 54
30. (7SC, DEC ) * 6 = 48
31. (6SC, DEC) * 6 = 42
32. (5SC, DEC) * 6 = 36
33. (4SC, DEC) * 6 = 30
34. (3SC, DEC) * 6 = 24
35. (2SC, DEC) * 6 = 18
36. (1SC, DEC) * 6 = 12
37.6 DEC. = 6 We tighten the hole, hide the thread. Now you can make eye tightening. Take a long needle and a strong thread, preferably matching the color of the base yarn. We insert the needle from the bottom of the head, withdraw the needle in the lower edge of the right eye (when looking at the head), then the needle goes to the upper corner of the lower edge of the eye, from there the upper corner of the lower edge of the left eye, then the lower corner of the left eye (if the description is completely confused – sorry ))). Then we withdraw the needle at the bottom of the head, but not in the same place where the needle was inserted, but retreat by 1 SC. We take both ends of the thread, and pressing simultaneously on both eyes – we tighten and tie tight knots.
Ears
We knit with yarn of the main color
1.In MR 6 SC
2. (1 SC, İNC) * 3 = 9
3. (2 SC, İNC) * 3 = 12
4. (3 SC, İNC) * 3 = 15
5.15 SC
6. (4 SC, İNC) * 3 = 18
7. (5 SC, İNC) * 3 = 21
8. (6 SC, İNC) * 3 = 24
9 – 11 (3 rows) 24 SC each
12. (6 SC, DEC) * 3 = 21
13. (5 SC, DEC) * 3 = 18
14-15 (2 rows) 18 SC each, fasten the thread, break off.
Horn
Knit with yellow YarnArt Velor yarn, crochet number 2-2.5. Stuff during knitting, otherwise at the end it will be difficult to reach before knitting and there is a risk of leaving the horn half-empty.
1. In MR 6 SC = 6
2. İNC., 5 SC = 7
3.3 SC, İNC, 3 SC = 8
4.7 SC, İNC = 9
5.4 SC, İNC, 4 SC = 10
6.10 SC
7.4 SC, İNC, 5 SC = 11
8. İNC, 10 SC = 12
9.5 SC, İNC, 6 SC = 13
10. İNC, 12 SC = 14
11.6 SC, İNC, 7 SC = 15
12. – 15 (4 rows) 15 SC each, fasten the thread and break it off.
Cheeks
We take a pink floss, hook number 2.
In MR there are 6 air loops, then we knit 17 columns with 3 yarns, close the circle with a connecting column in 5 air loops of the beginning.
Face decoration. Assembly.
First, we make out the head, sew on the ears and horn. Sew the horn strictly between the ears.
We embroider the nostrils of velor yarn in an additional color (the location is at your discretion)
We embroider the upper eyelid and cilia with black floss threads. Availability and location at your discretion, I made a kind of flirt
Lastly, we sew on the cheeks. Again, cheeks are optional.
After the head is formed, you can sew it to the body.
And the very last touch is the mane and tail. Colors and density – to taste, as they say. I took several matching Softy shades and alternated them evenly. In the horizontal “row” I got 3 rows of mane. Started right at the horn and down – a couple of rows below the beginning of the end of the knitting of the head
(circle of tightening the thread of knitting of the head).
The tail also did 3 strands in a horizontal row, and about 4 rows down.
Align, if necessary, the length of the mane and tail.
made from knitted strands. With the permission of Daria, I publish here a photo of her
Unicorns and description of strands:
“I knitted a chain of 28 VP (counting the lifting loop) and then knitted with single crochet, no increments. Then, with the help of the resulting two at the end she would hook a hairline to a post on my head, tie a knot and hide it in my head. “
In my opinion, it turned out very great
And … Your Unicorn is ready !!!
Congratulations!!!
Thanks for using my master class!
