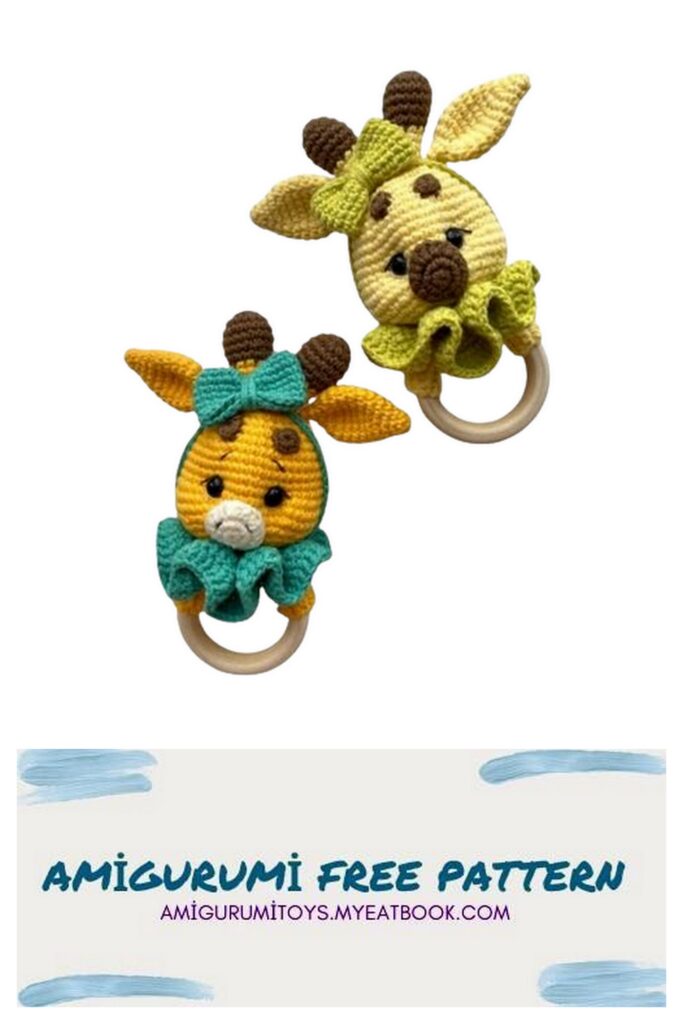
Hello, your child will like the Amigurumi Giraffe Rattle Free pattern, follow it for the most beautiful current patterns.
Content:
1. List of required materials.
1.1. Palette
2. List of abbreviations.
3. We knit the details.
3.1. Ears;
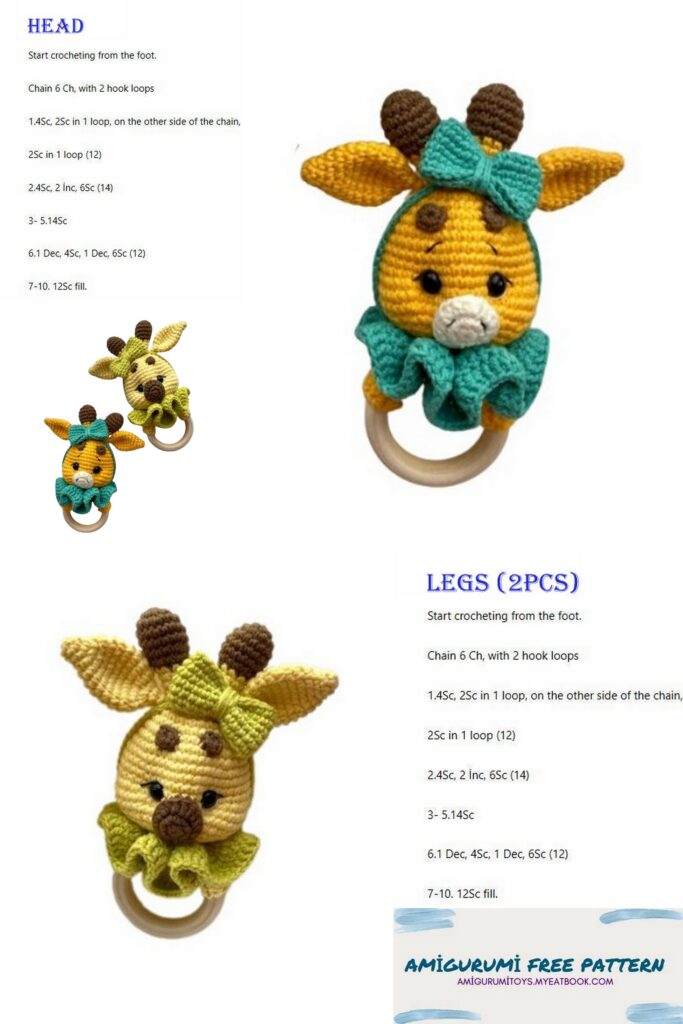
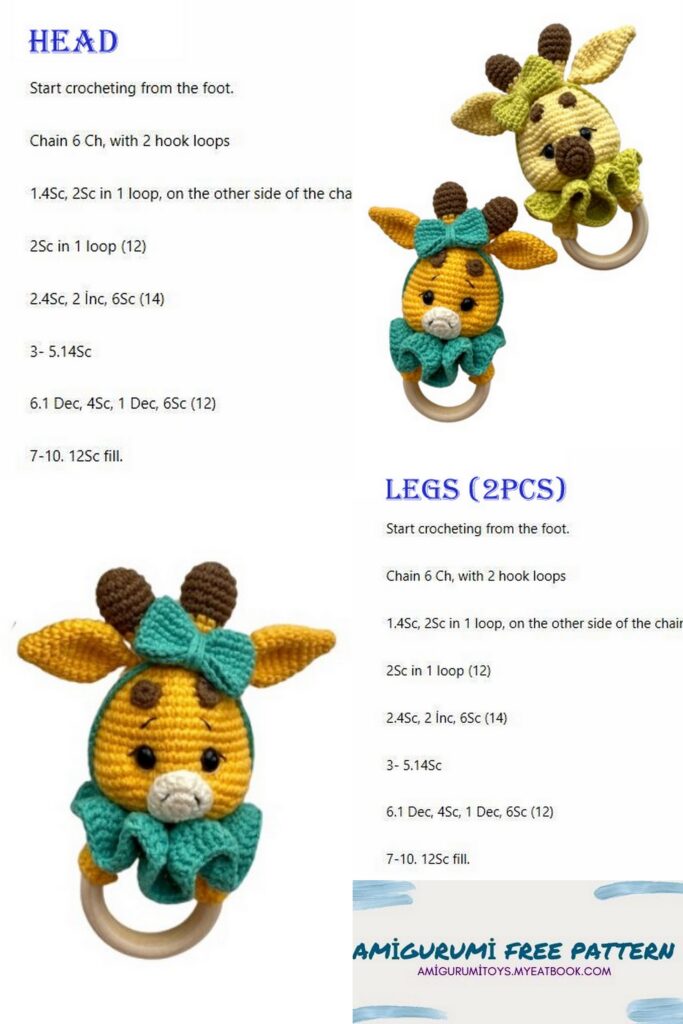
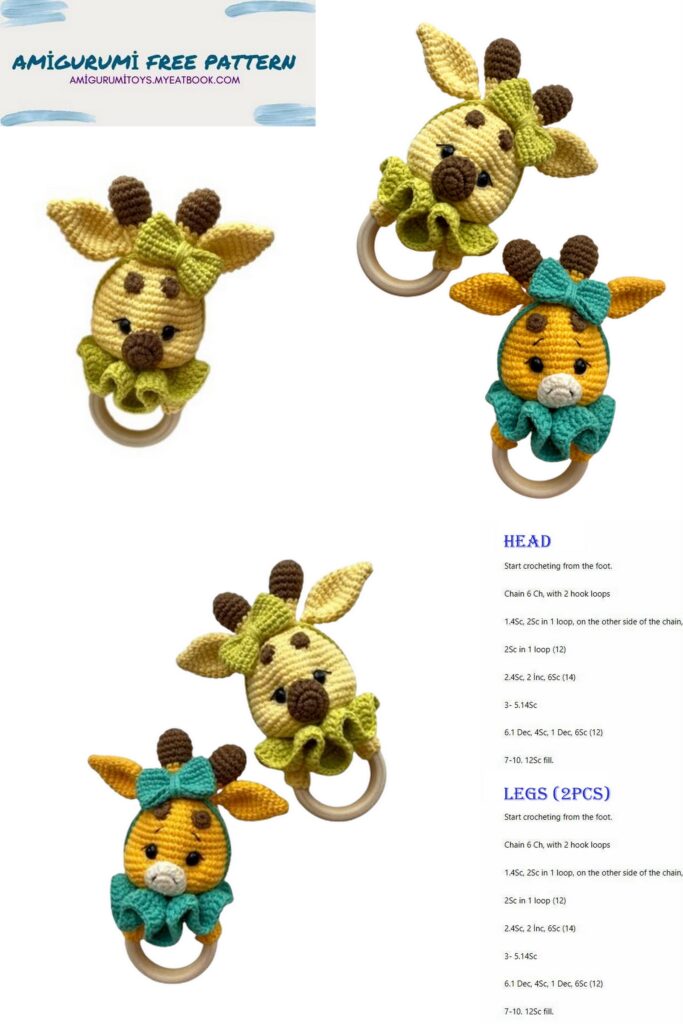
3.2. Head;
3.3. Horns;
3.4. muzzle;
3.5. spots;
4. Ring tying.
5. Bow and Jabot.
6. Tightening the muzzle.
7. Assembly.
List of required materials:
1. Yarn Art Jeans and Alize Cotton Gold hobby. Also, I use
white and black thread for the eyes (floss), but you can also use any other thread.
2. Hook No. 2 – No. 2.25.
3. Needle for sewing parts, preferably with a blunt end and a long needle
for tightening.
4. Eyelets on a safe mount with a diameter of 8 mm.
5. Beech ring, I have 55mm.
6. Ring for a rattle, I have 24 mm balls.
7. Sintepon for filling, holofiber can be used.
8. Baking bag or sleeve for rustling ears.
9. Scissors.
10. Contrast thread for marking.
Attention! Using the list of required materials, the rattle comes out measuring 15 cm. When choosing a hook, focus on the density of your knitting. I knit quite tightly, so I use a No. 2.25 hook. If you knit quite loosely, you can use No. 1.75 – No. 2 mm.
Palette.
Yarn – Yarn Art Jeans:
• Main No. 88;
• Horns / Muzzle / Spots No. 40;
• Jabot / Bow No. 29
Also, white and black thread for decorating the eyes.
Yarn – Yarn Art Jeans and Alize Cotton
Gold hobby:
• Main No. 35;
• Horns / Spots No. 40;
• Muzzle No. 03;
• (Alize) Jabot / Bow No. 610
Also, white and black thread for decorating the eyes.
List of abbreviations:
1. MR – Amigurumi ring.
2. SC – single crochet.
3. DC – single crochet stitch.
4. HDC – half double crochet.
5. İnc – increase.
6. Dec – decrease.
7. CH – air loop.
8. SL-ST – connecting post.
9. P – loop.
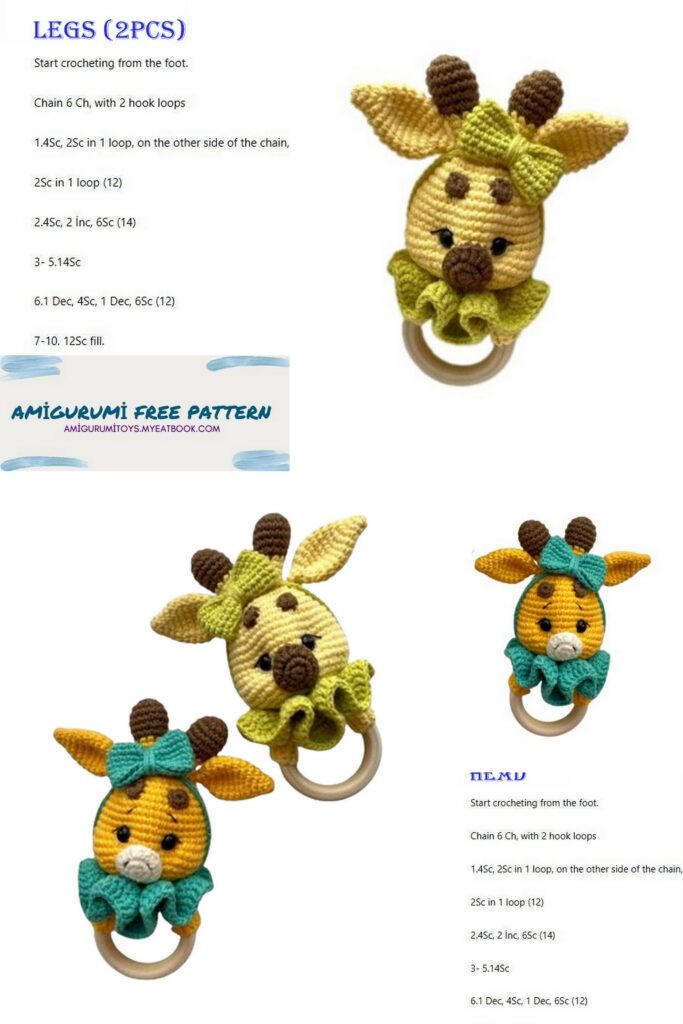
Ears 2 parts.
1. 6 MR;
2.6 sc;
3. (1 sc, inc) * 3; (9)
4. (2 sc, inc) * 3; (12)
5. (3 sc, inc) * 3; (15)
6. 15 sc;
7. (4 sc, inc) * 3; (18)
8-10. 18 sc (3 rows);
11.(1 sc, dec) * 6; (12)
12.6 Dec; (6)
13.6 sc.
Fold in half and knit 3 sc. If you are making rustling ears, fill after the 11th row and continue knitting.
Since I don’t really like to sew on details, I try to include knitted details in the pattern. According to this MK, the ears are tied in, if you want to sew, then you need to leave the thread for sewing. If not, then leave a tail to tuck into the knitting, just to be safe).
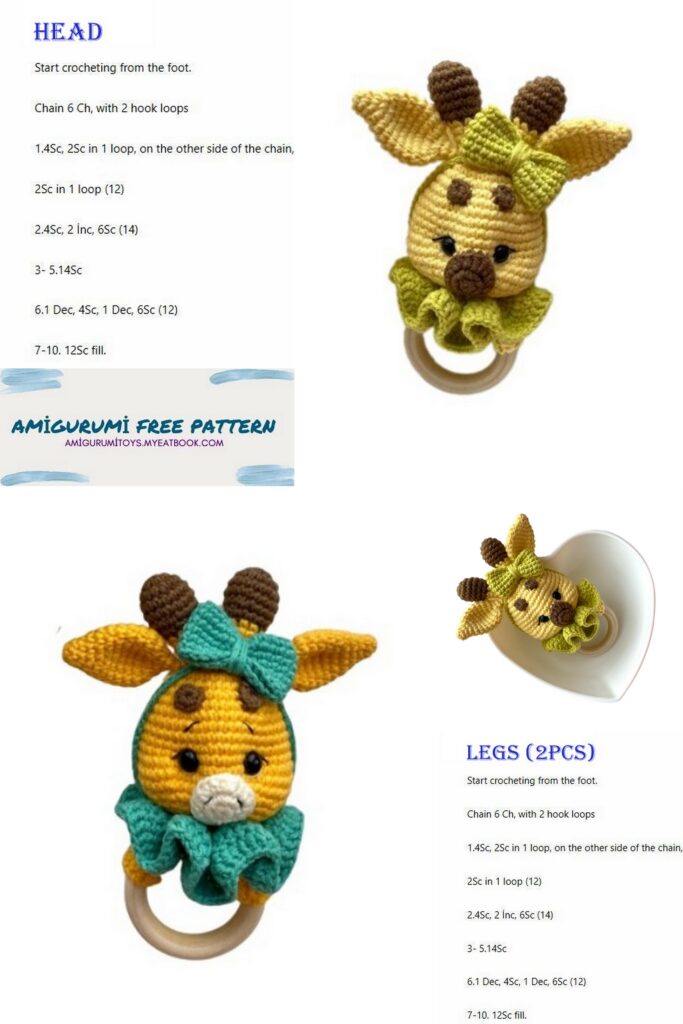

Head.
1.6 MR
2.6 inc; (12)
3. (1 sc, inc) * 6; (18)
4. 1 sc, inc (2 sc, inc) * 5; 1 sc; (24)
If you tie ears: 3 sc, inc; 3 sc with eyelet (inc, 3 sc) * 2; inc, 3 sc with eyelet; inc, 3 sc, inc;
5. (3 sc, inc) * 6; (thirty)
6. 2 sc, inc (4 sc, inc) * 5; 2sc; (36)
7. (5 sc, inc) * 6; (42)
8.42 sc;
9. 3 sc, inc (6 sc, inc) * 5; 3sc; (48)
10 – 13.48 sc; (4 rows)
14. 14 sc, (inc) * 3; 13 sc, (inc) * 3; 15 sc; (54)
15.54 sc;
16. 20 sc, dec, 9 sc, dec, 21 sc; (52)
17. 16 sc, dec, 1 sc, dec, 9 sc, dec, 1 sc, dec, 17 sc; (48)
18. 3 sc, dec, (6 sc, dec,) * 5; 3sc; (42)
19. (5 sc, dec) * 6; (36)
20. 2 sc, dec (4 sc, dec) * 5; 2sc; (thirty)
21. (3 sc, dec) * 6; (24)
22. 1 sc, dec (2 sc, dec) * 5; 1 sc; (18)
23. (1 sc, dec) * 6; (12)
24. 6 dec; (6)
Leave a long end for sewing. Tighten the hole by threading the thread through the front walls of the loop.
We insert the eyes between 14 and 15 rows. At a distance of 7-8 sc. (see photo No. 1).
Attention! I fill the rattle when I work the first row of decreases. Those. We fill from the 18th row, first with padding polyester, put the ringer in the center, we try to ensure that the ringer is strictly in the center (see photo No. 2). Particular attention should be paid to the cheeks (where three increments were made)
Horns 2 pcs.
We start with brown No. 40
1. 6 MR;
2.6 inc; (12)
3. (1 sc, inc) * 6; (18)
4-5. 18 sc; (2 rows)
6. (4 sc, dec) * 3; (15)
7. (3 sc, dec) * 3; (12) change the color to the main one
8. (2 sc, dec) * 3; (9)
9-11. 9 sc. (3 rows)
Cut the thread, leaving a long end for sewing.
Muzzle.
Two color options. No. 40 (brown, in the color of the horns) and No. 03 (milk) of your choice.
1.6 MR
2.6 inc; (12)
3. 1 sc; inc; 1 hdc; inc from hdc; 1 hdc; inc from DC; 1 hdc; inc from hdc; then the usual sc – inc; 1 sc; inc. (18)
SL-ST; cut off, leaving a long end for sewing.
Ring tying.
In the color of a rattle.
Cast on 20 ch + 1 p inc, and knit 9 rows in rotary rows. Your number of rows and CH may vary, depending on the knitting density and ring size. Don’t forget to do 1 ch at the end of each row, this is our lifting loop (rotary).
Stains.
1. Small 6 in MR, sl-st.
2. Large – 6 in MR
2.1 6 inc (12), sl-st.
Bow and Jabot.
I use #29.
Bow: cast on 25 CH, join in a circle, at the end of each row SL-ST and start the row with ch and sc in the same loop from where ch. I have 6 rows. For the bandage we dial 55ch, the number can vary depending on the density of your knitting. Trying on a headband for the toy.
Jabot.
1. 25 ch + 1p rise;
2. We knit triple increases (3sc in 1 loop) + 1p rise;
3. (1 sc, inc) * repeat until the end of the row;
4. 3 ch, then knit DC, without increases;
5. 3 ch, then DC.
Tightening the muzzle.
You need to take a thread that matches the color of the toy. Long needle.
Further:
Amigurumi Giraffe Rattle Free
Point “A” in the center of the muzzle. We insert the needle into point “A”, bring out the upper left corner of the eye at point “B”, then insert the needle into point “C”, the lower right corner of the eye, bring it out at point “D” – 1 column from point “A”.
We tighten it.
We tighten the second eye in the same way, except: – We start by inserting the needle at point “D”, bring the upper right corner of the eye to “B1”, then insert “C1” into the lower left corner of the eye and bring it to point “A” from where we originally started tightening . We tighten, fasten, and hide the thread in the product.
Below are photos of the points and a diagram.
Assembly.
Amigurumi Giraffe Rattle Free
Sew on the muzzle, the edge in the center between the eyes. Behind the floor of the loop (back wall of the loop).
Horns: sew on the same way as the muzzle, behind the loops. We place it between the ears, retreating 1 row from the ear.
Next, we sew on the spots and arrange them at our discretion. Sew onto the back walls (half loops).
Let’s start decorating the eyes, using black thread to make eyelashes, and white thread to make the whites of the eyes. And sew the rattle to the ring. Attention, the rattle must be located exactly in the center of the ring.
We attach the Jabot and the bandage. We sew on the bow so that the bandage does not come off during use.
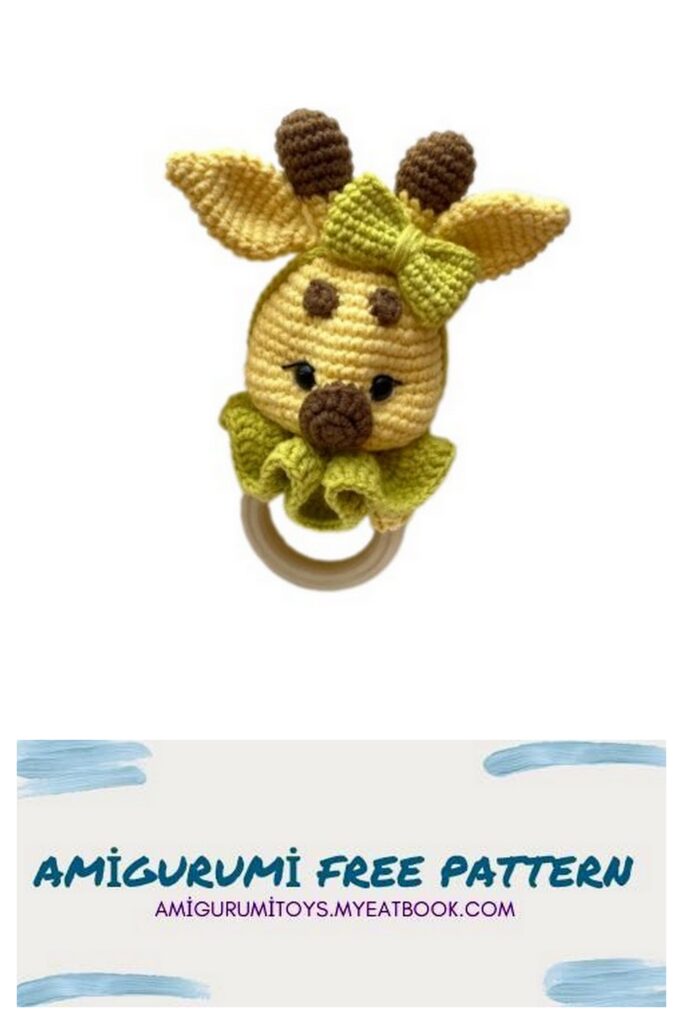
Congratulations! Your rattle is ready. Amigurumi Giraffe Rattle Free