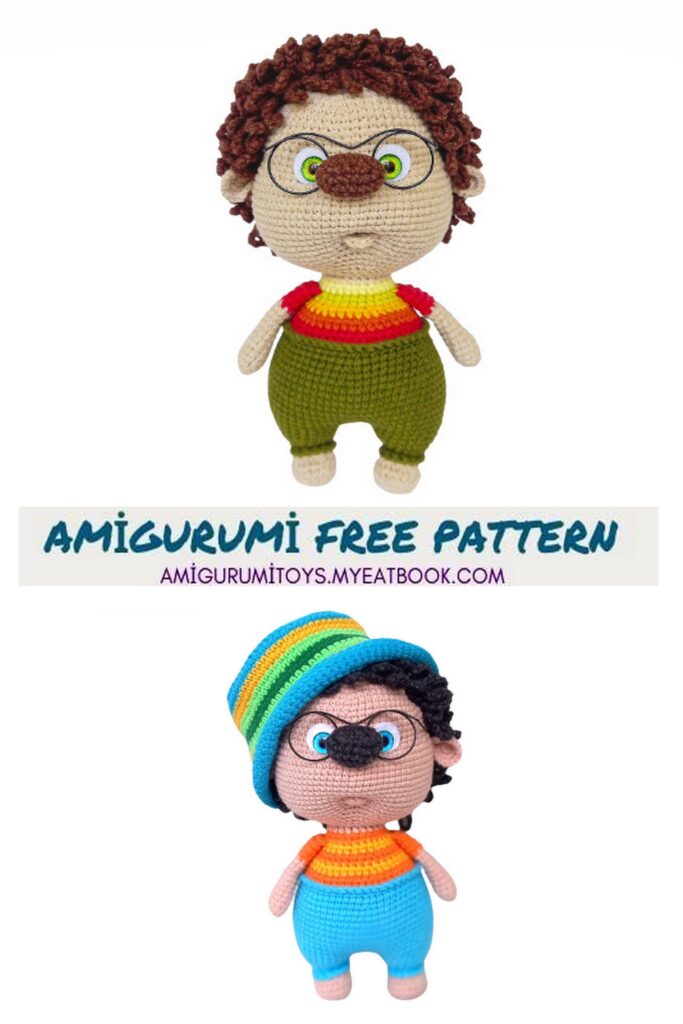
The toy is knitted from the bottom up, in half crosses, in a spiral (unless otherwise indicated). The upper paws and nose are knitted, the head and ears are sewn on. The needles are knitted separately, like a wig. The wig is sewn on. The clothes are not removable and are knitted directly onto the toy.
When using these materials, the height of the finished toy is about 20 cm.
Mark the beginning of each row with a contrasting thread, thinner than the one from which you are knitting the toy.
Required materials and tools:
1. A hook that matches your yarn.
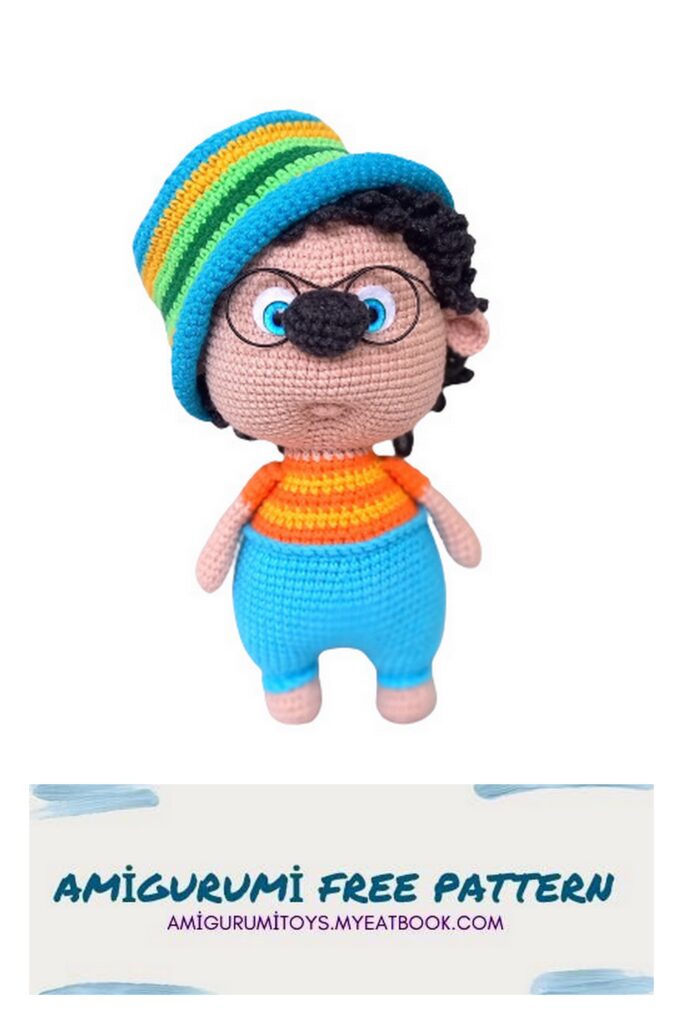
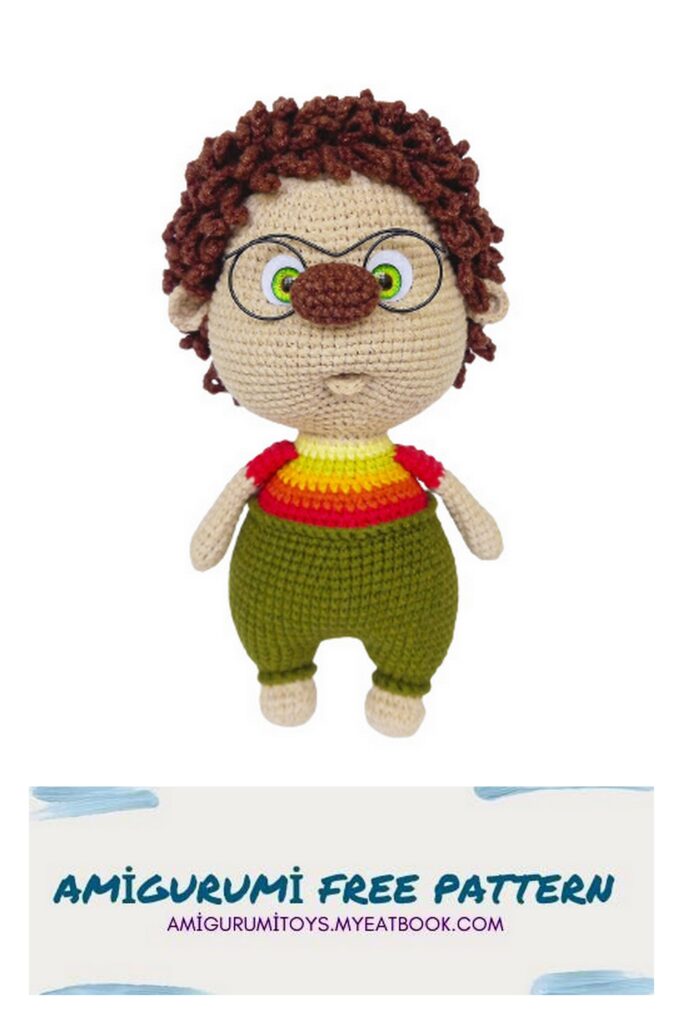
2. YarnArt JEANS yarn in any colors you choose. I have No. 87 for the main one and No. 70 for the nose and needles.
3. Filler.
4. Eyelets on a 10 mm secure fastening, either sewn on or glued (beads, half-beads – your choice).
5. White felt circles with a diameter of 15 mm for proteins.
6. Needle for sewing on parts, scissors, pins, marker thread. Strong thread for tightening.
7. I used Yarnart Jeans for pants #82; for shirt: 29, 11, 90, 35
8. As an additional accessory, you can take ready-made glasses 57-60 mm wide.
Legend:
MR – amigurumi ring
sc – single crochet
dc – single crochet
ch – air loop
p – loop of the previous row
inc – increase
dec – decrease
sl-st – connecting post
(…)*X – repeat X times indicated in brackets
The number after the = sign means the total
number of loops in a row
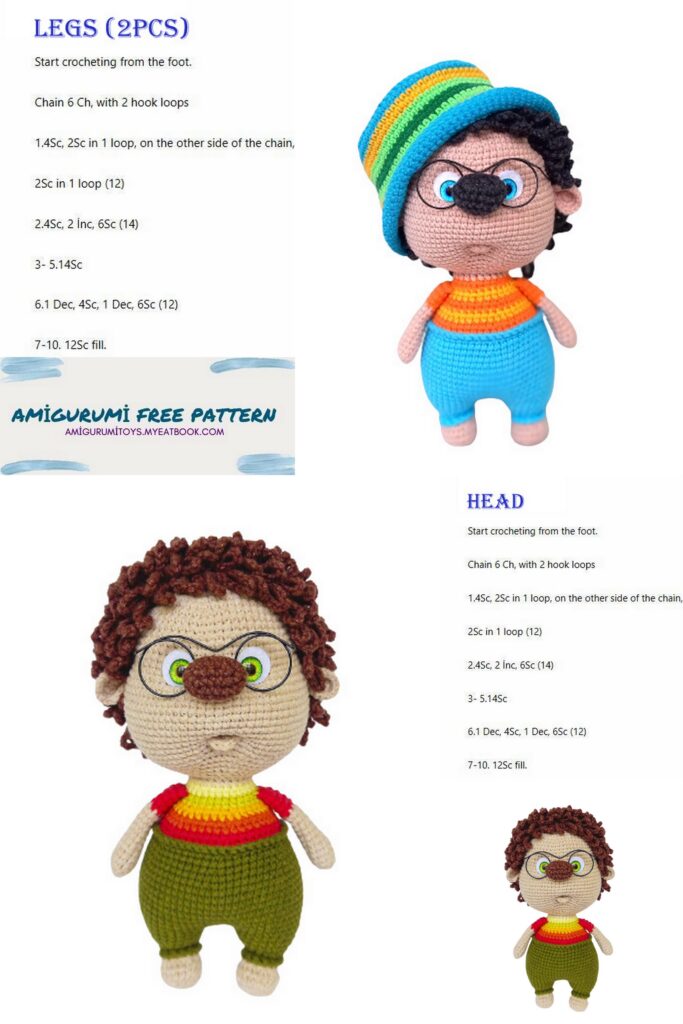
Upper legs
1st row: 5 sc in MR
2nd row: 5 inc = 10
Rows 3-12: = 10 sc
in the 13th row we change the yarn to the color of the sleeves
Rows 13-16: = 10 sc
Stuff only the bottom part. Fold in half and knit 5 sc on both sides. Fasten the thread and cut it.
We will tie the paws.
Nose
We dial 5 ch, from the second loop from the hook we knit:
1st row: inc, 2 sc, 4 sc in 1 loop, 2 sc, inc = 12
Row 2: 2 inc, 2 sc, 4 inc, 2 sc, 2 inc = 20
3-4 rows: 20 sc
5 row: 10 dec
Fasten the thread and cut it.
We’ll tie up the nose
Head
1st row: 6 sc in MR
2nd row: 6 inc = 12
Row 3: (1 sc, inc)*6 = 18
Row 4: (2 sc, inc)*6 = 24
Row 5: (3 sc, inc)*6 = 30
Row 6: (4 sc, inc)*6 = 36
Row 7: (5 sc, inc)*6 = 42
Row 8: (6 sc, inc)*6 = 48
Row 9: (7 sc, inc)*6 = 54
Row 10: (8 sc, inc)*6 = 60
Rows 11-12: 60 sc
Row 13: (9 sc, inc)*6 = 66
Rows 14-18: 66 sc
In the next row we will knit the cheeks and knit the nose.
Row 19: 19 sc, (1 sc, inc)*6, 5 sc with 5 nose loops, (inc, 1 sc)*6, 18 sc = 78
Row 20: 37 sc, 5 sc along the remaining nose loops, 36 sc = 78
Lightly fill the nose.
Rows 21-30: 78 sc
If you are using eyes on a safety mount, install them at this stage. How to do this, see the addendum after the main text. In this tutorial I will use glue eyes.
Row 31: (11 sc, dec)*6 = 72
Row 32: (7 sc, dec)*8 = 64
Row 33: (6 sc, dec)*8 = 56
Row 34: (5 sc, dec)*8 = 48
Row 35: (4 sc, dec)*8 = 40
Row 36: (3 sc, dec)*8 = 32
Row 37: (2 sc, dec)*8 = 24
We fill the head tightly, but without unnecessary zeal
Keep in mind that there will be tension. We fasten the thread and hide it inside.
Lower legs
1st row: 6 sc in MR
2nd row: 6 inc = 12
Row 3: (1 sc, inc)*6 = 18
4-5 rows: 18 sc
6th row: 3 sc, 6 dec, 3 sc = 12
change the yarn to the color of the pants:
Row 7: 12 sc
We knit the next row using the back half loops:
Row 8: 12 sc
Row 9: (1 sc, inc)*6 = 18
Row 10: 18 sc
Row 11: (2 sc, inc)*6 = 24
Row 12: 24 sc
On the first leg we knit an additional 6 sc, fasten the thread and cut it. Count back 12 sc, place a marker. This is the junction with the second leg.
On the second leg we also knit 6 sc, without cutting the thread.
Body
We stuff the body tightly while knitting.
We knit a chain of 3 chains, connecting the second paw to the first, in the previously marked loop.
1st row: 24 sc on the first leg, 3 sc on the chain from ch, 24 sc on the second leg, 3 sc on the chain from ch.
Total number of loops in a row = 54
We put a marker thread.
2nd row: (8 sc, inc)*6 = 60
3rd row: 60 sc
Row 4: (9 sc, inc)*6 = 66
Rows 5-11: 66 sc
Row 12: (9 sc, dec)*6 = 60
Row 13: 60 sc
Row 14: (8 sc, dec)*6 = 54
Row 15: 54 sc
Row 16: (7 sc, dec)*6 = 48
From the 17th row we will knit a shirt. Stripes alternate every 2 rows:
Row 17: 48 sc for back half loops = 48
Row 18: (6 sc, dec)*6 = 42
change color
Row 19: 42 sc
Row 20: (5 sc, dec)*6 = 36
change color
21st row: 36 sc
Row 22: (4 sc, dec)*6 = 30
change color
Row 23: 30 sc
In the 24th row we will knit the upper legs. Stuff the main part of the body quite tightly, but not completely. Leave about 1 cm so that when knitting the legs you will feel comfortable and the filler will not fall between the posts.
Determine the places to knit strictly on the sides: 5 sc together with the paws, 10 sc between them.
Given my offset I got it like this:
Row 24: 6 sc, 5 sc with foot, 10 sc, 5 sc with foot, 4 sc = 30
change color
Row 25: 30 sc
Row 26: (3 sc, dec)*6 = 24
in the next row we change the yarn to the body color:
Row 27: 24 sc
Knit a few more stitches if necessary (I got 1 sc and sl-st in the next loop) and fasten the thread at the back center of the back. Leave about 50 cm for sewing on the head. Remove the marker thread. Stuff the part tightly until the end.
At this stage, we will tie the panties with single crochets.
We tie the trouser legs along the remaining half-loops of the 8th row, holding the toy with its legs towards you.
We tie the top of the panties along the remaining half-loops of the 17th row, holding the toy with its legs away from you.
Sew on the head. When sewing, do not forget to tuck filler into the neck. For convenience, you can fix the head to the body with a knitting needle.
Drawstring
We form the tightening regardless of whether we install eyes or whether they will be glued. As an example, a diagram of tightening a bear cub is given.
Let’s form the mouth and eye sockets using a drawstring. Mark 6 points on the muzzle with pins.
Let’s determine the middle of the muzzle. This can be done conveniently by placing a thread, knitting needle or needle down from the center of the nose. Place marks between rows 29 and 30.
Between pins 2-3 sc.
Between the 18th and 19th rows we mark 4 more points from the outer and inner corners of the eyes. From the inner corners, this is the beginning and end of the knitted spout. Between internal and external points 2-3 sc.
We insert the needle at point 1, leave the end of the thread about 25-30 cm, bring it out at point 2. Then to point 3, bring it out at point 6.
We adjust the thread so that it is under the eye and the felt circle, tighten it, and tie it with 2 knots. Without cutting the thread, we insert it at point 6, bring it out at point 5, then to point 4, bring it out at point 1. Tighten it, tie it with a couple of knots. we hide the threads inside the head. The last knot and the places where the threads enter and exit can be carefully lubricated with universal transparent glue.
I have a “Crystal Moment”.
Using the same principle, we make drawstrings under the glue eyes.

Ears
1st row: 6 sc in MR
2nd row: 6 inc = 12
Row 3: (1 sc, inc)*6 = 18
Fasten the thread, leave about 45-50 cm for sewing, cut.
Sew on the ears
We fold the ears in half, make 1-2 stitches at the base and sew them in 21 rows (from the crown).
Between the ears 42 sc (counting 21 rows). To sew the parts symmetrically, focus on the center of the spout.
We fasten the thread and hide it inside the head.
Underlip
Leave a piece of thread about 30 cm, cast it in MR 6 sc, and tighten it.
Leave a length of about 40-45 cm, cut the thread.
We got a part close in shape to a semicircle. We try on the part, fasten it at a distance of 2-3 rows down from the mouth tightening. We fix the middle of the lip slightly below the edges. When sewing, the thread tension should be moderate. Don’t tighten too much. We bring the middle thread to the back of the head (in MR) and back through any adjacent column. I threw a small stitch from the center of the ring through the row to the inside of the head. You can repeat it again. We make the stitch tightly, but do not tighten it. We hide the thread inside the head with several tangling stitches.
Use the second piece of thread to secure both edges of the lip. We make stitches up and back. We bring it to the place where the nose is tied (between 18 and 19 rows). Thanks to the drawstrings, they will be invisible there.
Glue the eyes
First glue the eyes to the felt circles, and then to the muzzle.
I used universal transparent glue “Moment Crystal”.
Wig
Option 1 (from YarnArt JEANS)
We knit the entire wig using the back walls of the loops.
1st row: 6 sc in MR
2nd row: 6 inc = 12
Row 3: (1 sc, inc)*6 = 18
Row 4: (2 sc, inc)*6 = 24
Row 5: (3 sc, inc)*6 = 30
Row 6: (4 sc, inc)*6 = 36
Row 7: (5 sc, inc)*6 = 42
Row 8: (6 sc, inc)*6 = 48
Row 9: (7 sc, inc)*6 = 54
Row 10: (8 sc, inc)*6 = 60
Rows 11-12: 60 sc
Try the resulting “hat” on the toy. It should reach the ears. If necessary, you can knit (or not knit) the required number of rows. We don’t cut the thread, we continue. Turn the wig with the inside part towards you. We will knit the needles in the opposite direction.
We form needles from chains ch. We hook the chains to the remaining half loops sl-st. Make the length of the chain (each “needle”) as you wish.
It will look good from 10 to 15 ch. For me it’s 12 ch. If you plan to put a Panama hat on your hedgehog later, knit the needle chains shorter.
We dial 12 ch, fasten our “needle” into the next half-loop sl-st.
For the next needle, make sl-st in the next half-loop, again cast on a chain of 12 ch and again fasten it into the next half-loop. We knit like this until we reach the center. To make the crown look neater, the last few chains of needles on the crown can be made 2-3 loops shorter.
Wig
Option 2 (from YarnArt SAMBA)
We knit the entire wig with ticks
1st row: 6 sc in MR
2nd row: 6 inc = 12
Row 3: (1 sc, inc)*6 = 18
Row 4: (2 sc, inc)*6 = 24
Row 5: (3 sc, inc)*6 = 30
Row 6: (4 sc, inc)*6 = 36
Row 7: (5 sc, inc)*6 = 42
Row 8: (6 sc, inc)*6 = 48
We will continue to knit without increases. Try on the wig while knitting, determining the height of the forehead to your liking. The wig should reach your ears.
If your density matches mine y, then you will get 6 more rows. If this is too much or not enough, do not knit or knit the required number of rows.
Rows 9-14: 48 sc
Place the wig on the toy’s head, secure with pins and sew on.
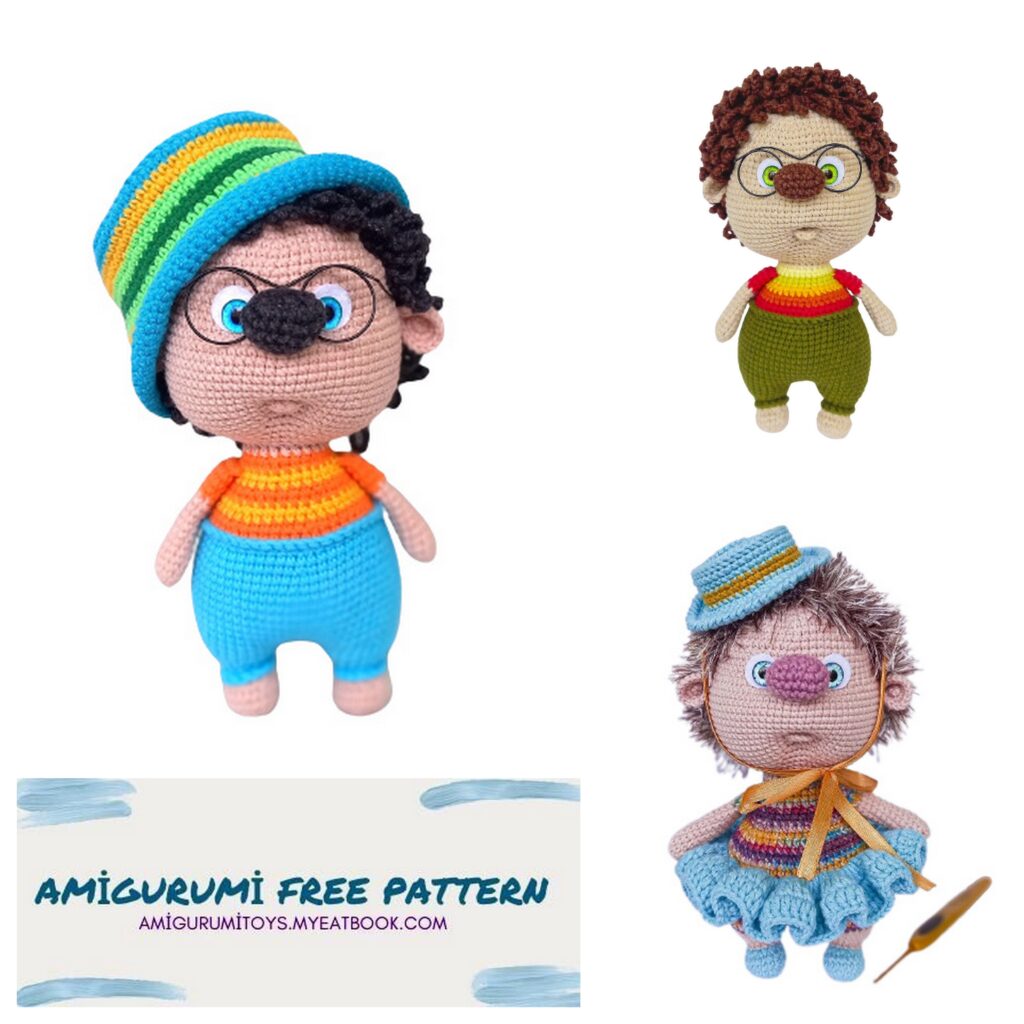
The hedgehog is ready!
ADDENDUM 1
TO THE MAIN MASTER CLASS.
Installation of peepholes on a secure mount.
Description and photographs taken from the master class “Monya Pryanikov”.
We install the eyes between the 17th and 18th rows. Between installation locations 6-8 sc. Center the eyes relative to the nose.
Take felt circles. Carefully, so that there is no wrinkle left, fold it in half and make small cuts, moving it slightly from the center to the edge.
We turn the circles and make perpendicular cuts (the result is a crisscross pattern).
We insert eyes into them and secure them in the canvas.
Later, after making the tightening, the felt can be carefully fixed with glue.
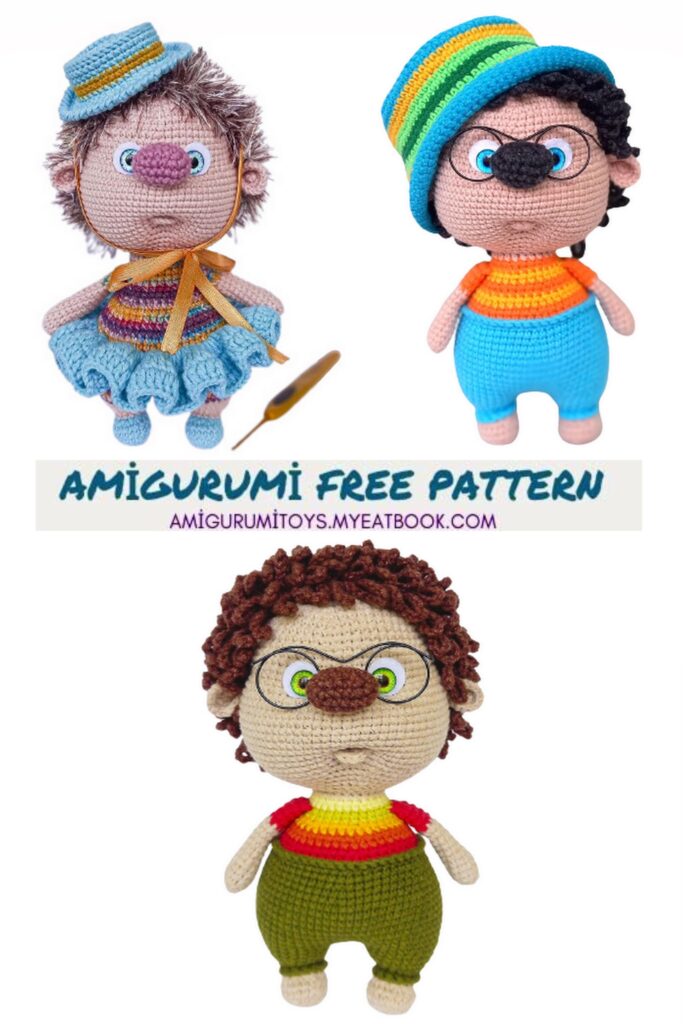
ADDENDUM 2
TO THE MAIN MASTER CLASS.
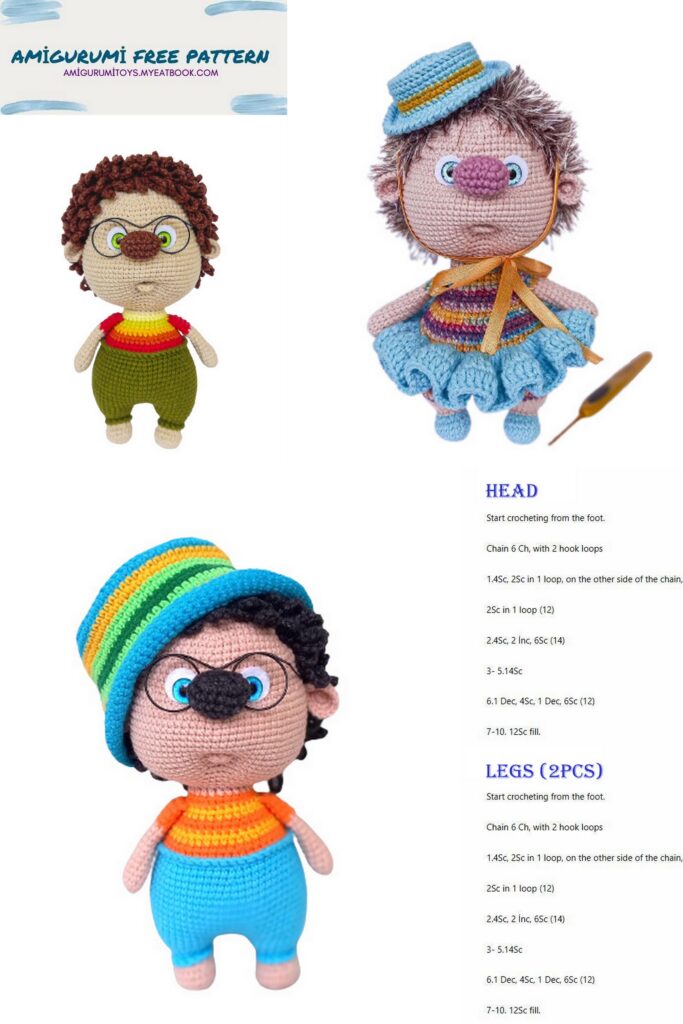
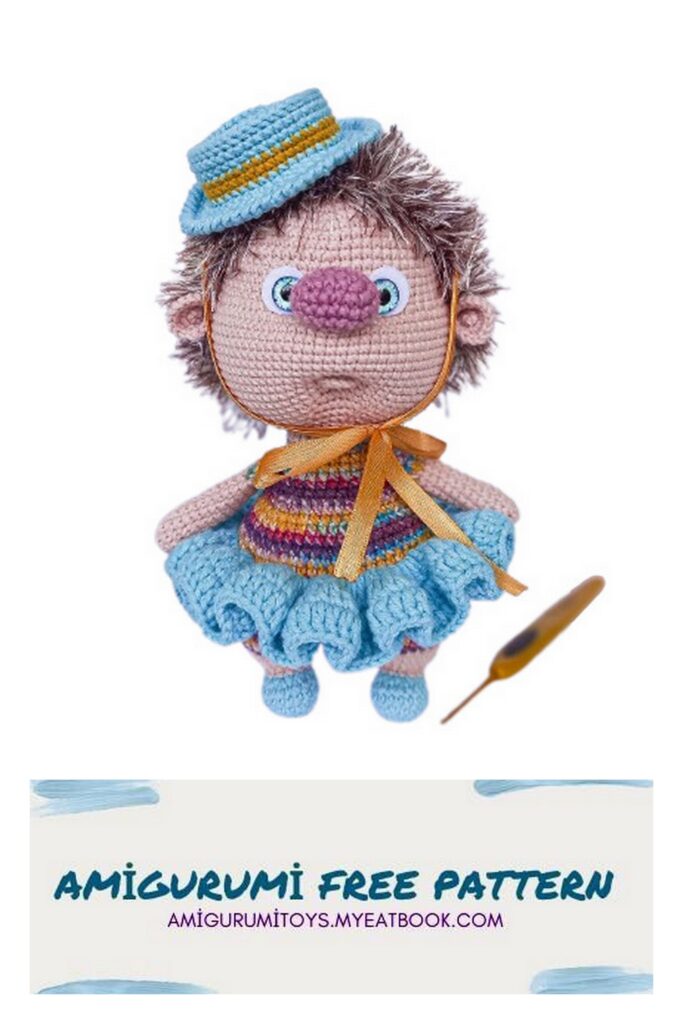
Vasilisa.
For Vasilisa I used YarnArt JEANS yarn. For the body No. 83, for the nose 65, for shoes, skirt and hat 81, for the stripe on the hat 84. Body: YarnArt Jeans Splash No. 943
Wig from YarnArt SAMBA No. 99.
1. Color transition for shoes in row 7. We knit the 8th row in the usual way, using both walls of the loops.
2. Change the color of the legs to the color of the body when connecting the legs, starting with the chain of ch.
3. Row 13 of the body is knitted behind the back walls of the half loops.
4. We knit the skirt by inserting the hook behind the remaining walls of the half-loops of the 13th row of the body, using single crochet stitches:
1st row: 2 dc in each half loop = 120
2nd row: 2 dc in each half loop = 240
3rd row: 240 dc
Hat
1st row: 6 sc in MR
2nd row: 6 inc = 12
Row 3: (inc, 1 sc)*6 = 18
Row 4: (2 sc, inc)*6 = 24
Row 5: (inc, 3 sc)*6 = 30
Row 6: (2 sc, inc, 2 sc)*6 = 36
Row 7: (4 sc, inc, 1 sc)*6 = 42
Row 8: 42 sc for back half loops (or with concave single crochets)
Rows 9-10: 42 sc
change color
Rows 11-12: 42 sc
change color
Row 13: 42 sc
We knit the next row (14th row) using the front half-loops:
Row 14: (6 sc, inc)*6 = 48
then in the usual way:
Row 15: (inc, 7 sc)*6 = 54
Row 16: (2 sc, inc, 6 sc)*6 = 60
Row 17: 60 stitches in lobster step
You can secure the hat on your head with ribbons, decorative (including tied) laces, elastic bands, etc. You can decorate with flowers, beads, tie or trim the fields with lace.
I sincerely hope that you enjoyed both the process and the result!