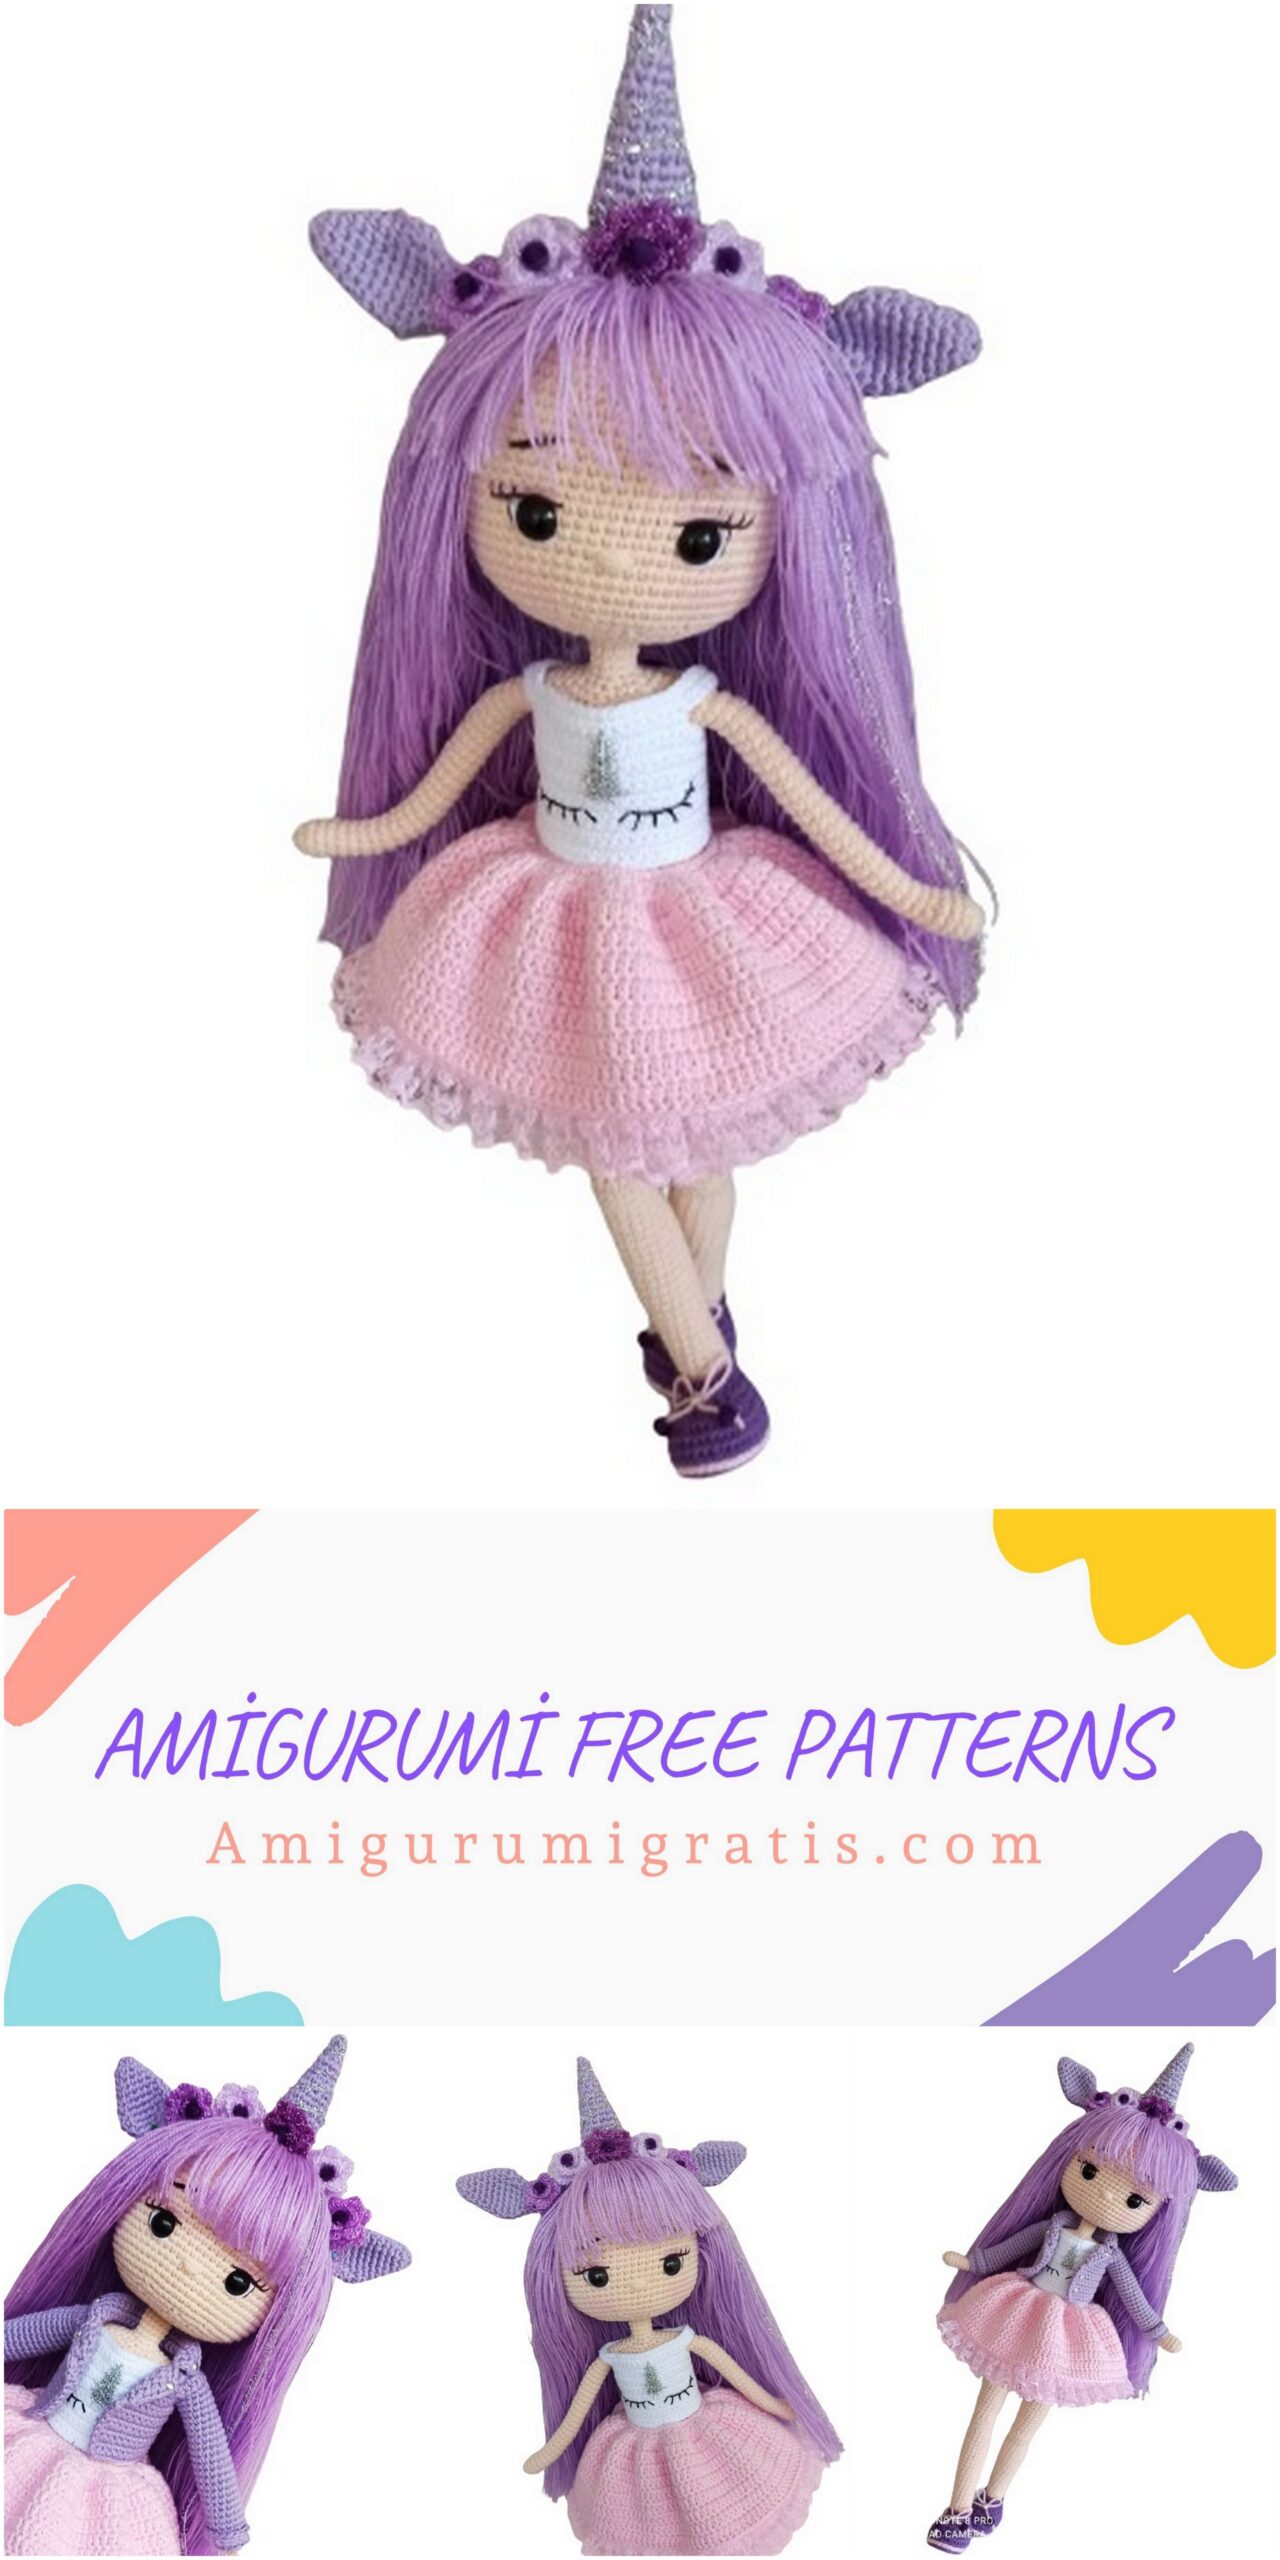
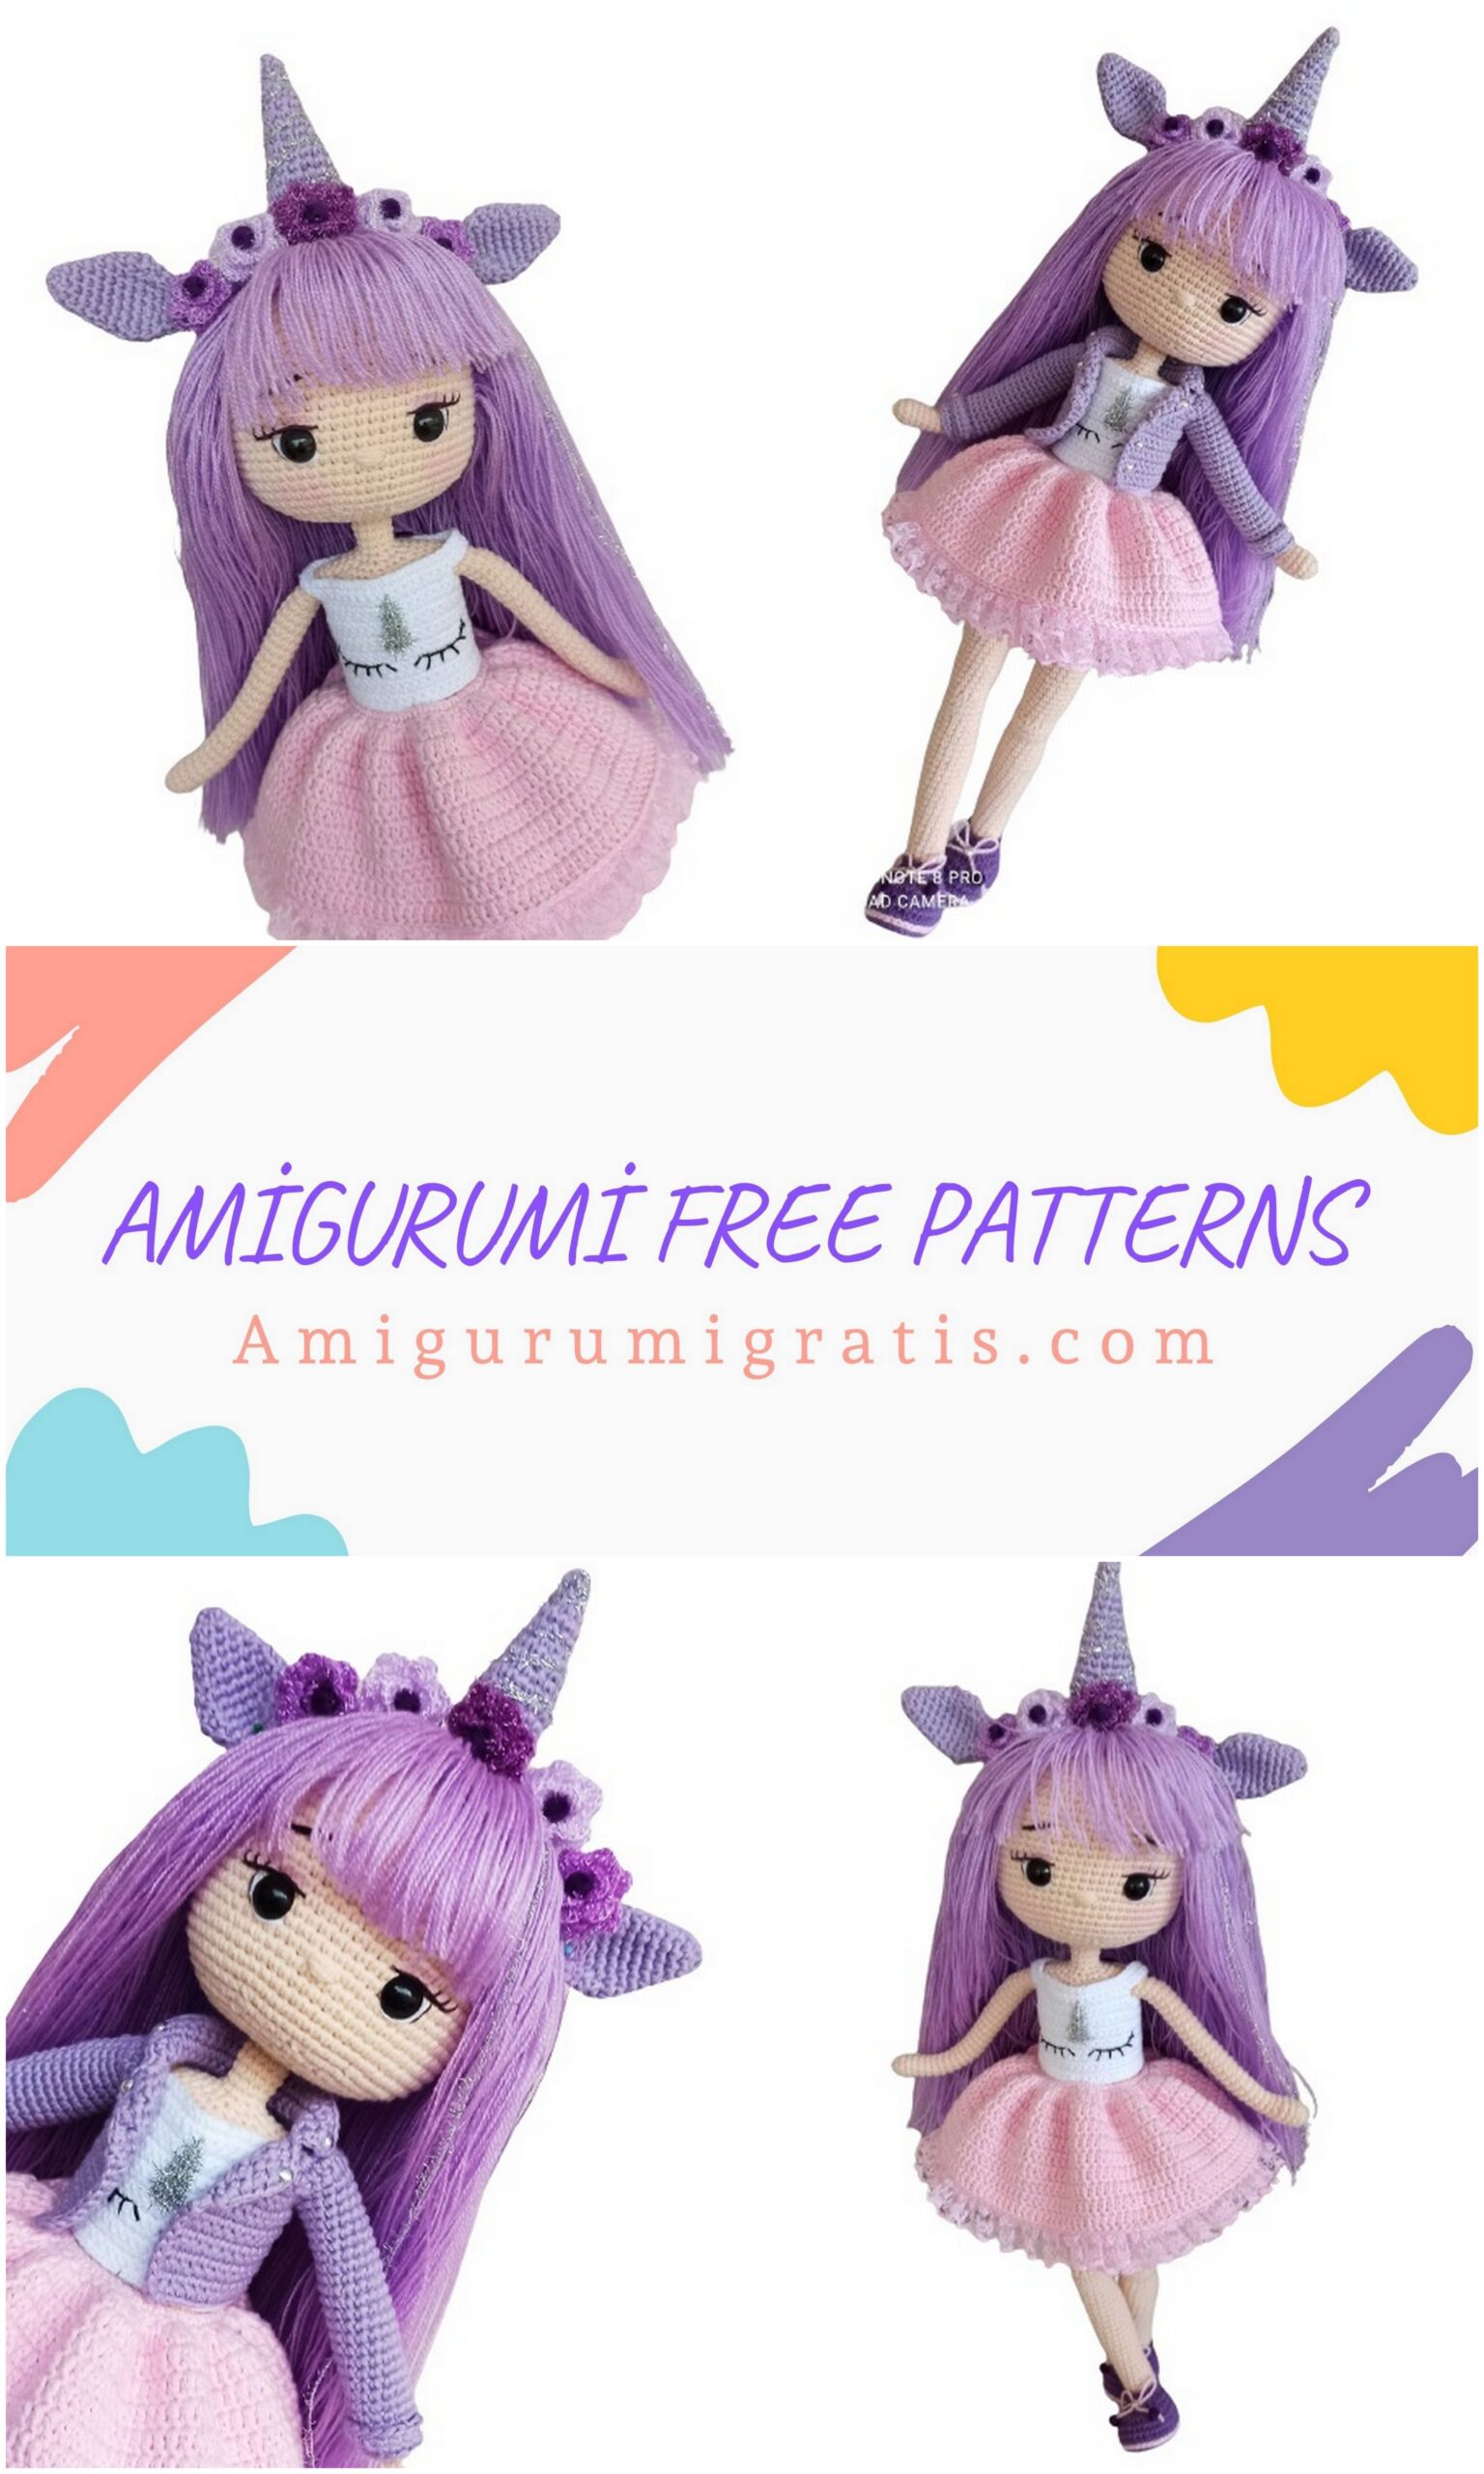
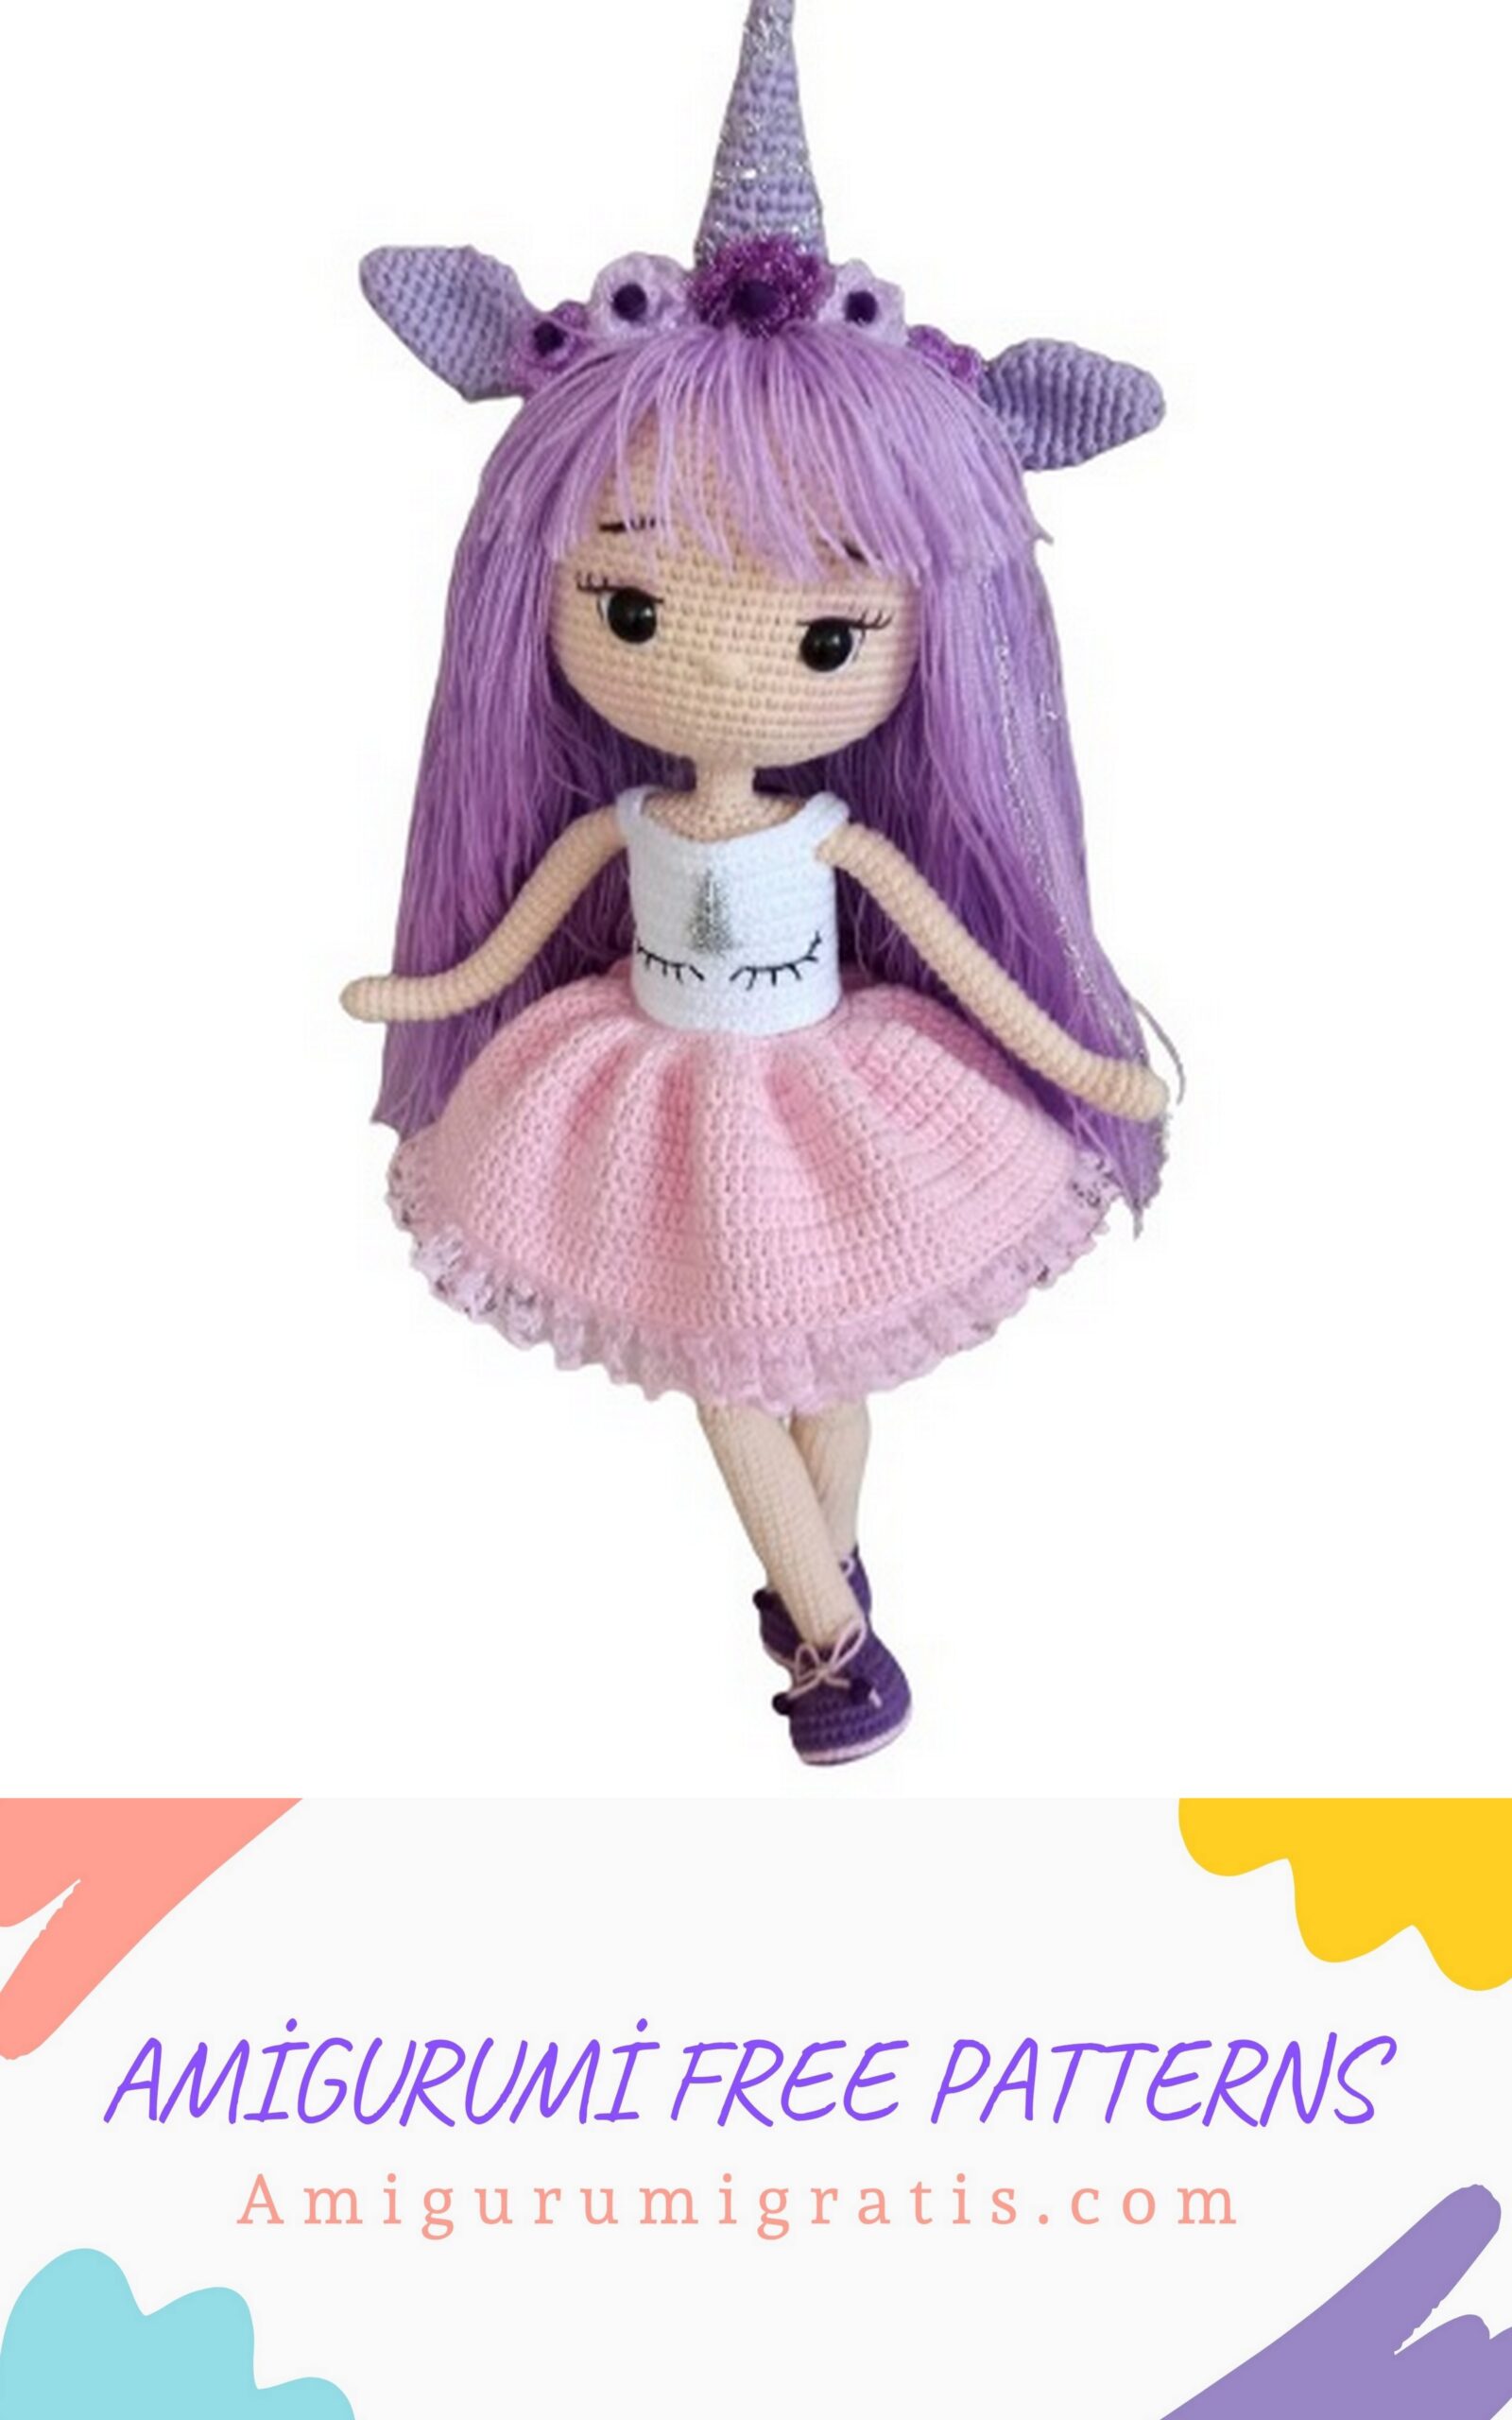
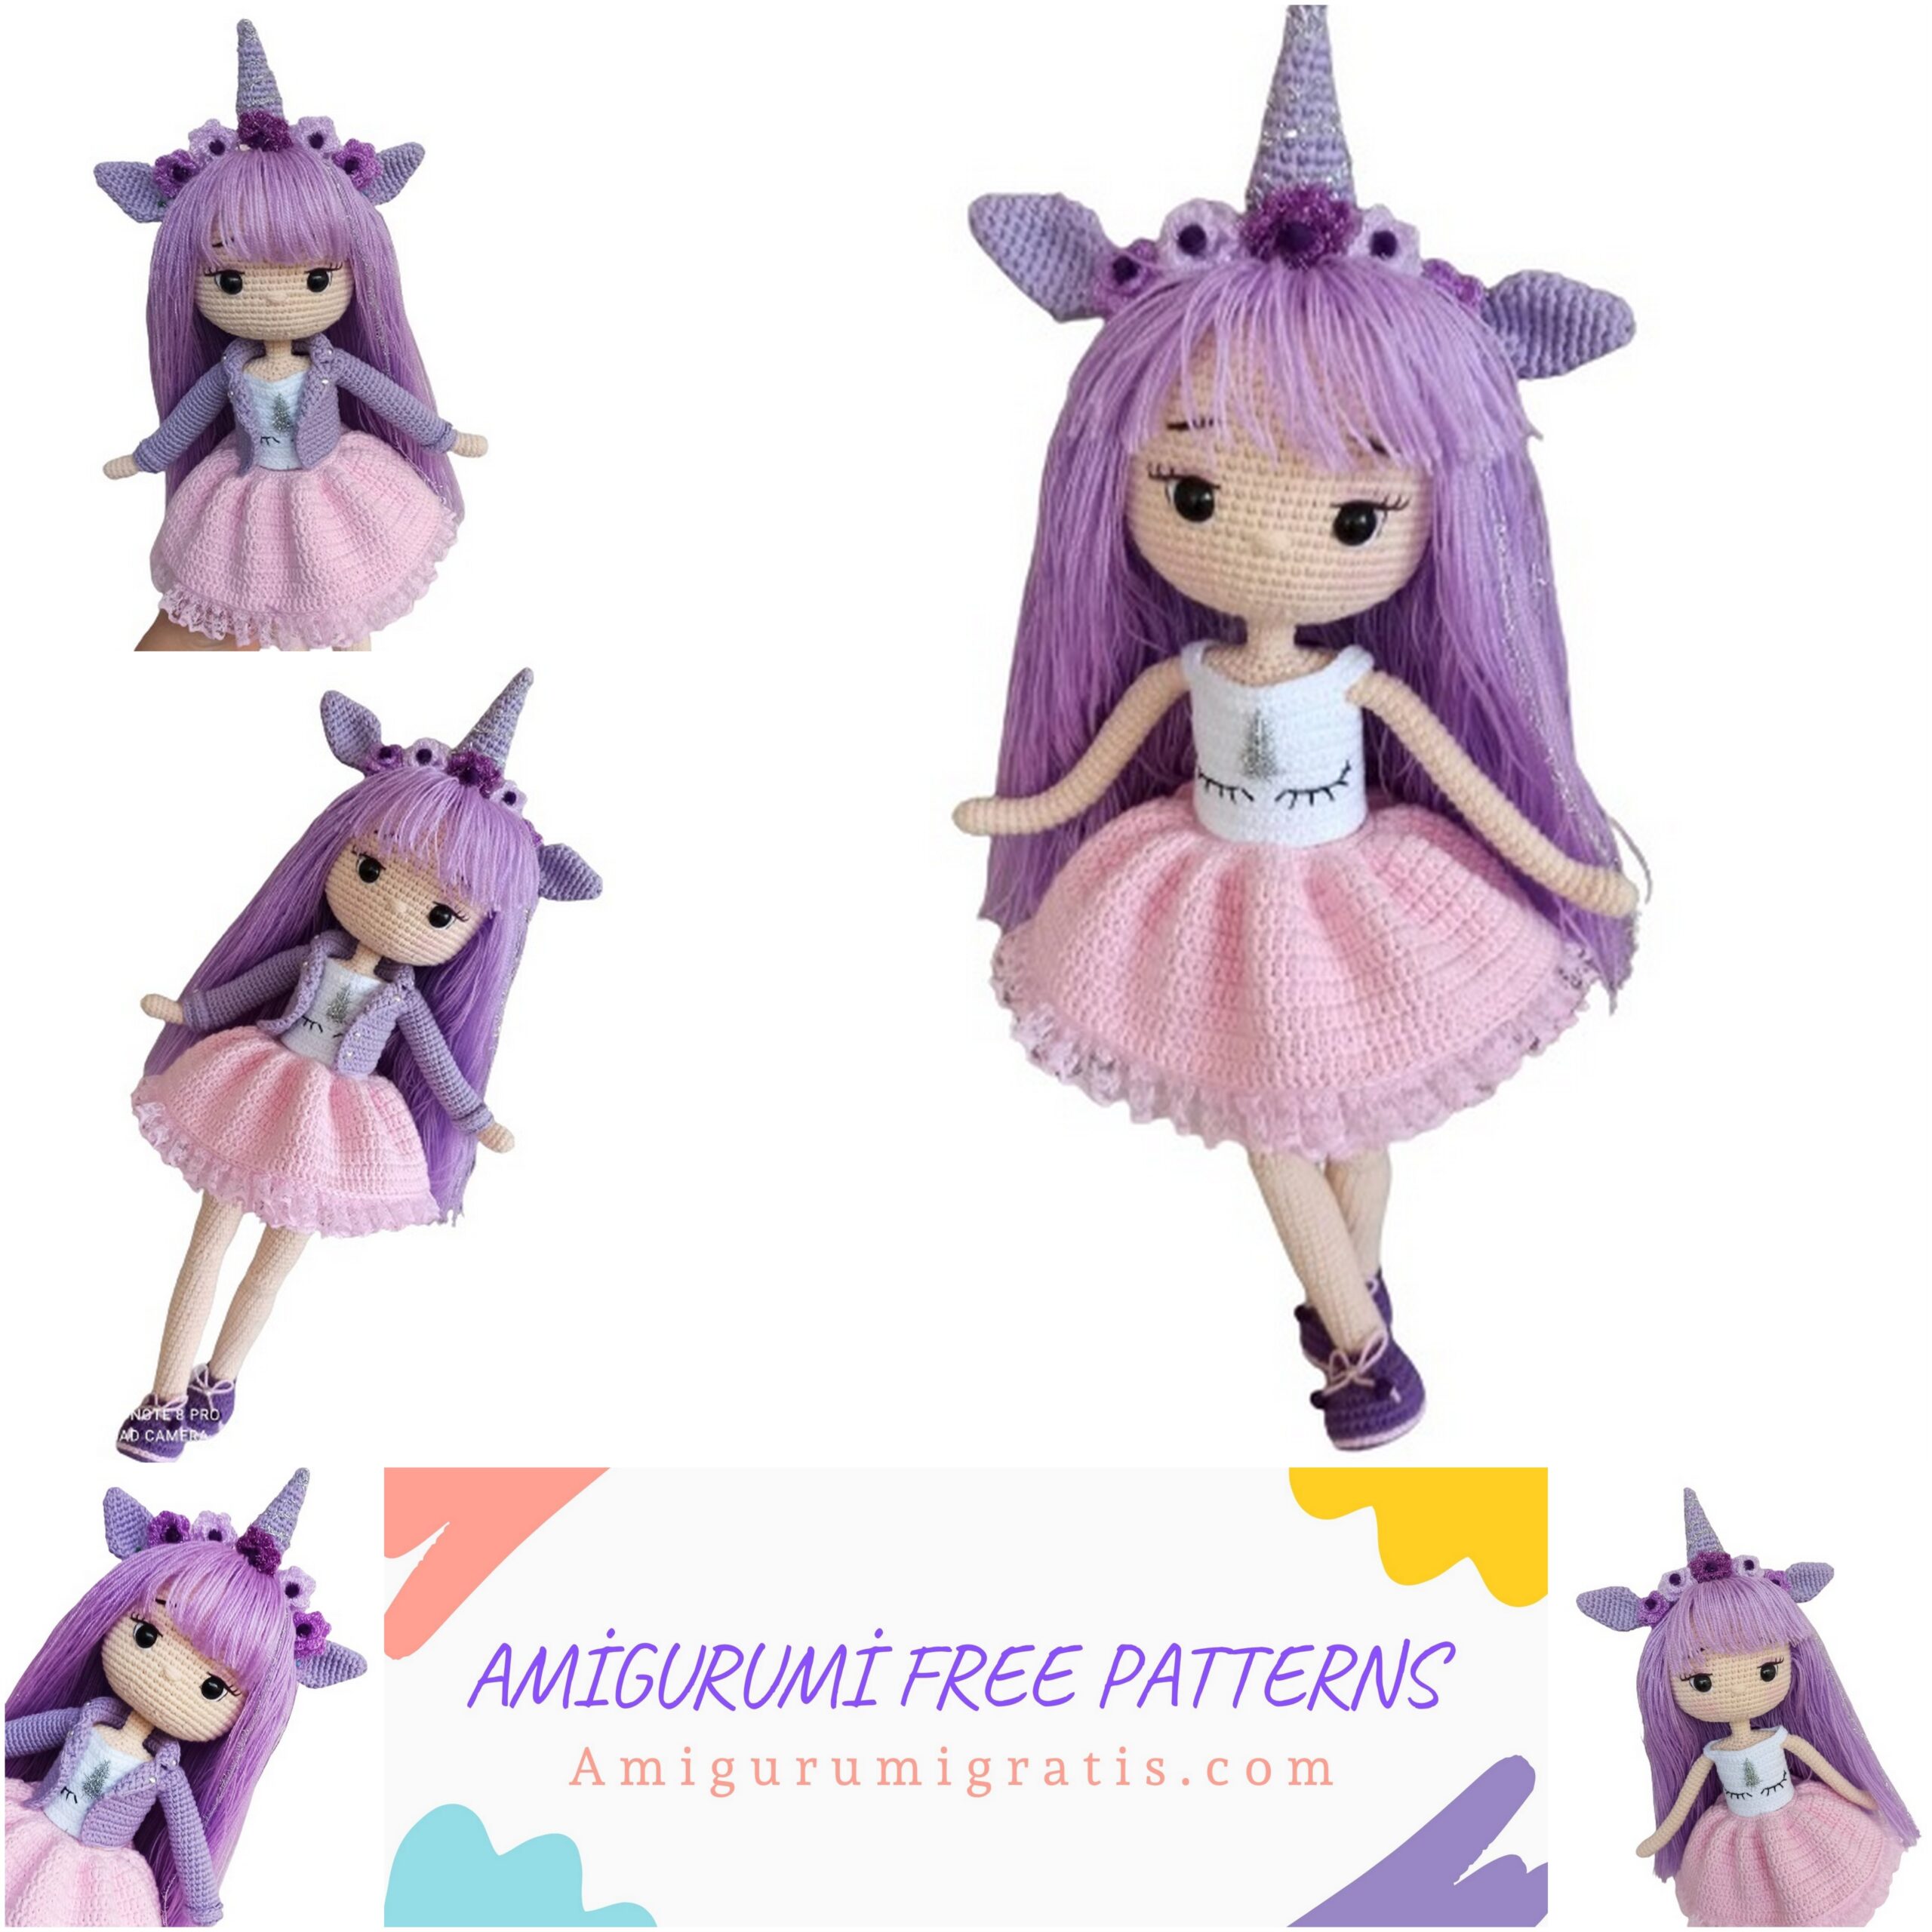
Amigurumi Magenta Doll Pattern MAGENTA DOLL PATTERN
TERMS USED
ch : chain
Mr : magic ring
sc : frequent needle
inc : increment
dec : decrement
hdc : single handrail
dc : double handrail
en : triple railing
dcinc : double handrail increment
dcdec ; double handrail reduction
w : three frequent needles in the same place
blo : undo the loop from the back
flo : take the loop from the front
sl-st : loop shift
3dc : three double handrails in the same loop
Bpsc: You can use youtube for the construction.
A LIST OF MATERIALS
no 2 crochet
Etrophil 008 skin color
Sapling rope 22 pink
Sapling rope 11 dark lilac
sapling rope 18 white
Sapling rope 40 purple
Violet yarn (for hair)
Punch thread in lilac purple (3 different tones)
Silver glitter punch rope
12mm locking eye
Small purple velvet beads (for the center of the flowers)
Silver paste stone (for jacket buttons)
Lace ruffle ribbon in the same tone as the skirt (1 and a half meters)
Hard plastic for footbed
1 meter electrical wire
5 buttons
GENERAL INFORMATION ABOUT THE RECIPE
Magenta doll size is 50 cm including heel to crown height.
It will be more convenient and regular if you knit it with the yarn I use so that the exact dimensions fit.
If it is knitted with different crochet numbers and different yarns, slippage and size differences may occur in the loops.
When filling, I recommend filling narrow areas with fiber tweezers.
Proceed by refilling every three or four rows.
The pieces are knitted spirally.
Start counting by sinking the first loop into the bottom of the chain after 1 or 2 chains that we draw while turning at the beginning of the row.

ARM (TWO PIECES)
With tan thread
1) 6 sc into magic ring
2) 6 inches :12
3-5)three rows of 12sc :12
6) 8sc, 2e :10
7-30) twenty-four rows :10
finished.
FEET-LEGS (TWO PIECES)
with purple color
1) Turn 8 ch, inc from second,5sc,(5sc into same loop),5sc,inc : 19
2)2inc,6sc,3inc,6sc,2inc :26
3)sc,2inc,7sc,6inc,7sc,2inc,sc :36
4) 36 bpsc (you can use youtube)
5-7) three rows 36sc :36
NOTE: Let’s make a sl-st with pink between the 4th and 5th rows.
Let’s cut hard plastic for the base and place it.
8)8sc(1hdc,1hdcdec).6,10sc:30
9) 8sc,6hdcdec,10sc :24
10)5sc,6hdcdec,7sc :18
Let’s continue with skin color as blo.
11)blo6sc,3dec,6sc :15
12-16)5 rows15sc knit :15
NOTE: Let’s pass 1 row sl-st with purple rope where we knitted blo in the 11th row.
17) inc,14sc :16
18-20) 3 rows of 16sc :16
21) 1sc,1inc,14sc :17
22-24) 3 rows 17sc :17
25) inc,3sc,inc,12sc :19
26-31) 6 rows 19sc :19
32) 4sc,1dec,13sc :18
33) 18sc :18
34) 1sc,1dec,3sc,1dec,10sc :16
35)10sc,4inc(increase for right front center knee)2sc:20
36)20sc :20
37) 3sc,1dec,15sc :19
38)11sc,3dec,2sc :16
39)16sc :16
40) 2sc,1inc,1sc,1inc,1sc,1inc,9sc :19
41-46) 6 rows 19sc :19
47) 3sc,1inc,5sc,1inc,9sc :21
48-53)6 rows 21sc :21
54) 8sc,1inc,12sc :22
55-57) 3 rows 22sc :22
58) Let’s knit another 10sc and break the rope.
Let’s knit the other leg in the same way until the 57th row.
2. FOR THE LEG
58)17sc, let’s join the other leg with 2 chains. This will be our new line start. Let’s get our loop specifier here. We continue.
22sc left leg (2sc on chain) 22sc right leg, 2sc :48
59-68)10 rows 48sc :48
69)(6sc,1dec).6 :42
70)42sc :42
71)(5sc,1dec).6 :36
72-85)14 rows 36sc :36
At this stage we add the arms.
86)12sc,(3sc with left arm ),15sc,(3sc with right arm ),3sc :36
87)12sc, (7sc left arm),15sc,(7sc left arm),3sc :44
NOTE: AT THIS STEP, WE PLACE THE WIRES AS SHOWN IN THE PICTURE.
88)3sc,1dec,20sc,1dec,17sc :42
89)(5sc,1dec).6 :36
90)(4sc,1dec).6 :30
91)(3sc,1dec).6 :24
92)(2sc,1dec).6 :18
93)(1sc,1dec).6 :12
94-97) Let’s knit 4 rows of 12sc. Let’s leave a long thread for sewing and break it off.
HEAD
with tan
1) mr6 :6
2) 6inches :12
3)(1sc,1inc).6 :18
4)1sc,(1inc,2sc).5,1inc,1sc :24
5)(3sc,1inc).6 :30
6)2sc,(1inc,4sc).5,1inc,2sc :36
7)(5sc,1inc).6 :42
8)3sc,(1inc,6sc).5,1inc,3sc :48
9)(7sc,1inc).6 :54
10)4sc,(1inc,8sc).5,1inc,4sc :60
11)(9sc,1inc).6 :66
12-28) 17 rows 66sc :66
NOTE: INSERVE THE EYES BETWEEN LINES 23 AND 24 AND REMAIN VISIBLE 8SC BETWEEN THE EYES. YOU CAN MAKE FACE EMBROIDERY WITH A SINGLE PLY OF BLACK AND WHITE THREAD AS SHOWN IN THE PICTURE. LET’S WORK NOSE BETWEEN 25 AND 26 ROW ON 2SC.
29)(9sc,1dec).6 :60
30)4sc,(1dec,8sc).5,1dec,4sc :54
31)(7sc,1dec).6 :48
32)3sc,(1dec,6sc).5,1dec,3sc :42
33)(5sc,1dec).6 :36
34)2sc,(1dec,4sc).5,1dec,2sc :30
35)(3sc,1dec).6 :24
36)1sc,(1dec,2sc).5,1dec,1sc :18
37)(1sc,1dec).6 :12
FINISHED…
SKIRT
With pink rope
1) 49 ch. We turn 8. From 42sc, turn 1 ch
2) 42sc, turn 2 ch
3)42 DCW (3 handrails will be made for each single needle): 126
NOTE: From here on, we combine them by making SL-ST at the end of each row. When starting the new row, we start with 2 ch.
4-11) 8 rows 126 DC :126
NOTE: Skirt size may differ depending on the rope you use. If it is short, you can stretch 1-2 rows.
NOTE: We sew 2 layers of lace frill ribbon to the hem.
NOTE: The space we left while turning at the end of 49 ch will be the button hole.
SKIRT LINING
1) 49 ch. We turn 8. From 1sc, skip 1 sc, 7 chains, we repeat until the end of the row.
2) Turn 1 ch. We combine 3sc, 7 ch and the middle of the first ring with frequent needles. until the end of the line
(sc into 7 ch ring) we continue in this way. 3) From here on 8 ch, we continue the same process.
NOTE: According to the thickness of the yarn you use, we knit in this way until it reaches the skirt length.
NOTE: We sew the lace frill ribbon to the lining tip, in 2 layers.
NOTE: The space we left while turning at the end of 49 ch will be the button hole.
BLOUSE
with white rope
1) We turn 49 ch.
2)(skip 7sc ) From 8th to 42sc , turn 1 ch.
3) 42sc, turn 1 ch.
4)7sc (skip 5 ch 6sc ), 16sc,(skip 5 ch 6sc ),7sc, turn 1 ch :40
5-8)40sc, turn 1 ch
9) 40sc, turn 7 ch
10-16)40sc, turn 1 ch
17)40sc, turn 7 ch
18)40sc , we break the rope once
NOTE: Let’s do the embroidery on the front of the blouse as shown in the picture. Let’s sew 3 buttons on the back.
JACKET
with lilac rope
1) 35 ch. We are returning. from 2.
2) turn 6sc,w,5sc,w,9sc,w,5sc,w,6sc,1 ch :43
3) 7sc,w,7sc,w,11sc,w,7sc,w,7sc, turn 1 ch :51
4) 8sc,w,9sc,w,13sc,w,9sc,w,8sc, turn 1 ch :59
5) 9sc,w,11sc,w,15sc,w,11sc,w,9sc, turn 1 ch :67
6)11sc, (skip 3 ch , 13sc), 9sc,1inc,9sc,(skip 3 ch ,13sc),11sc, turn 1 ch :48
7) 48sc, turn 1 ch :48
8-18) 48sc , 1 ch turn :48
JACKET COLLAR
NOTE: We start from the point shown with the tip of the hook in the 3rd picture.
1) 24sc, turn 1 ch :24
2) 1inc, 22sc, 1inc, 1 ch turn :26
3-4) 26sc, turn 1 ch :26
Collar Done…
We do the edge crochet. Starting from the place shown with the tip of the crochet in the picture, we crochet the collar edge with frequent needles.
We crochet the lower part of the jacket
JACKET SLEEVES
We subtract 15sc from the arms. We knit 24 rows. For the belt on the jacket arm, we turn 10 ch. 9sc Done. We sew the piece we knitted to the edge of the arm as seen in the picture.
NOTE: We stick silver stones on the collar ends, arm belts and front of the jacket with silicone.
CROWN BASE
with lilac rope
1) Mr. 6sc
2)(1sc,1inc ) . 3 :9
3-24) 9sc
25)(1sc, 1dec ) . 3 :6
FINISHED.
CROW HORN CROW EAR (2 PCS)
With lilac string with lilac string
1) Mr 4 1) Mr 6
2)(1sc, 1inc ) . 2 :6 2)(1sc, 1inc) . 3 :9
3) 6sc :6 3)9sc :9
4)(1sc,1inc ) . 3 :9 4) (2sc, 1inc ) . 3 :12
5-6) 2 rows 9sc :9 5)12sc :12
7) (2sc,1inc ) . 3 :12 6)( 3sc,1inc ) .3 :15
8-9) 2 rows 12sc :12 7)15sc :15
10)(3sc,1inc ). 3 :15 8)(4sc, 1inc ) . 3 :18
11-12) 2 rows 15sc :15 9) 18sc :18
13)(4sc,1inc ) .3 :18 10)( 4sc,1dec ) . 3 :15
14-16) 3 rows of 18sc :18 11)( 3sc, 1dec) . 3 :15
12-14) 3 rows of 12sc
NOTE: Wrap the silvery thread around the horn so that it does not slip and sew it to the center of the base. Fold the ears in half and sew them to the ends of the base.
CROWN FLOWER (5 PCS)
NOTE: With 2 clear lilac punch threads
With 2 lilac punch threads
We will knit with 1 purple punch thread.
30 ch , we turn. Skip 6sc 7. We make 1 dc.
(1 ch 1 skip, 1 dc) we knit in this way until the end of the row.
There will be 12 boxes. Turn 1 ch at the end of the row.
We make (1sc, 1hdc, 1dc, 1tr, 1dc, 1hdc, 1sc ) inside each box
NOTE: We roll and sew as seen in the picture. We sew purple velvet beads in the middle of the flowers.
NOTE: We sew on the front of the sole so that the order of the colors is 1 lilac 1 light lilac 1 purple 1 light lilac 1 lilac.

HAIR TRANSPLANT
Let’s start the hair transplantation with 10 rows above the eyebrows.
NOTE: Since the hair fiber is 2-layered, we attach it to each loop as 2-layered when sowing.
NOTE: . Let’s add 4 layers of hair to each loop while planting so that the fringe part does not look weak.
Let’s fix the bangs by shortening it at eye level. Let’s fix the back hair length by shortening it at the hemline.
CONGRATULATIONS.