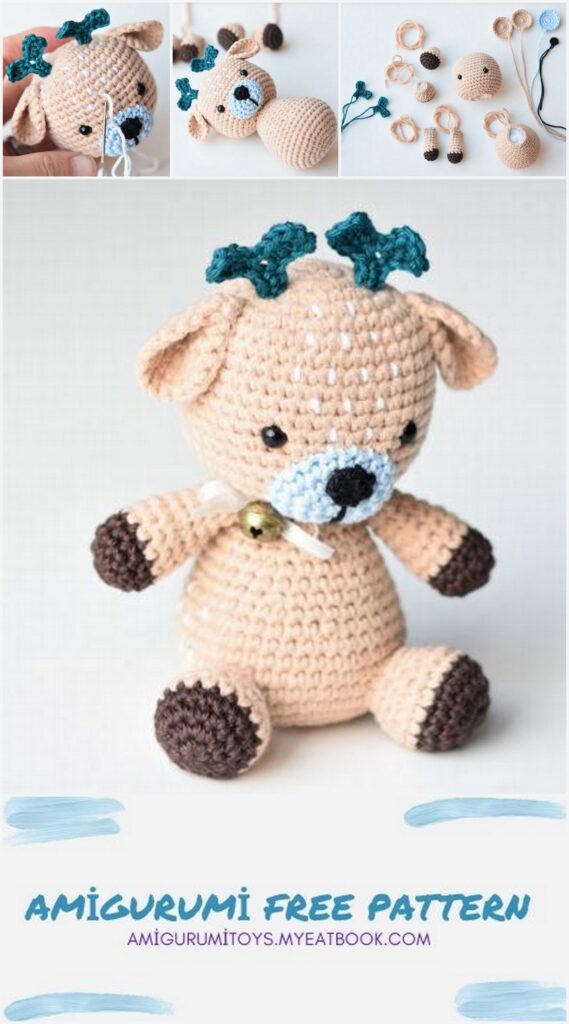
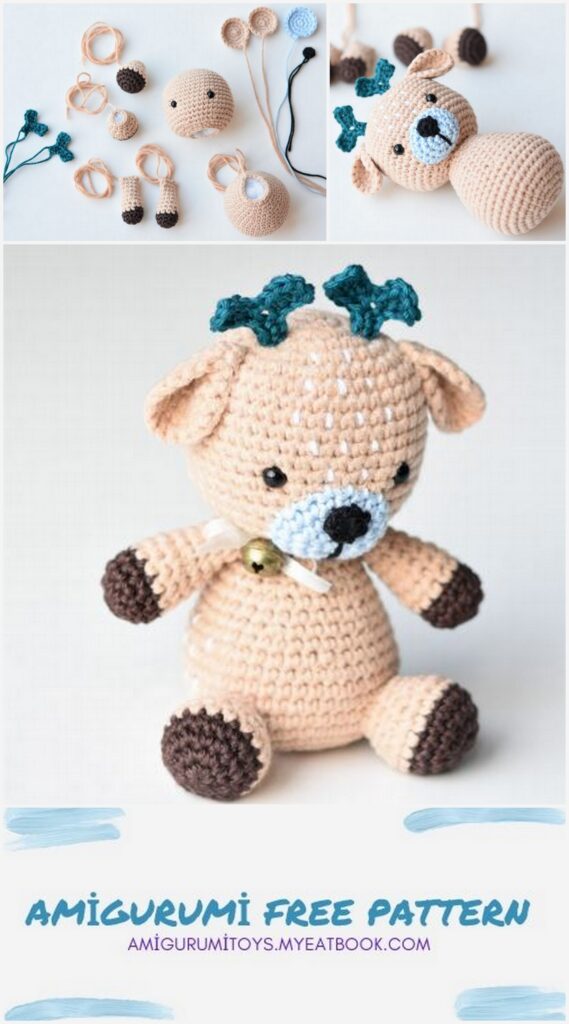
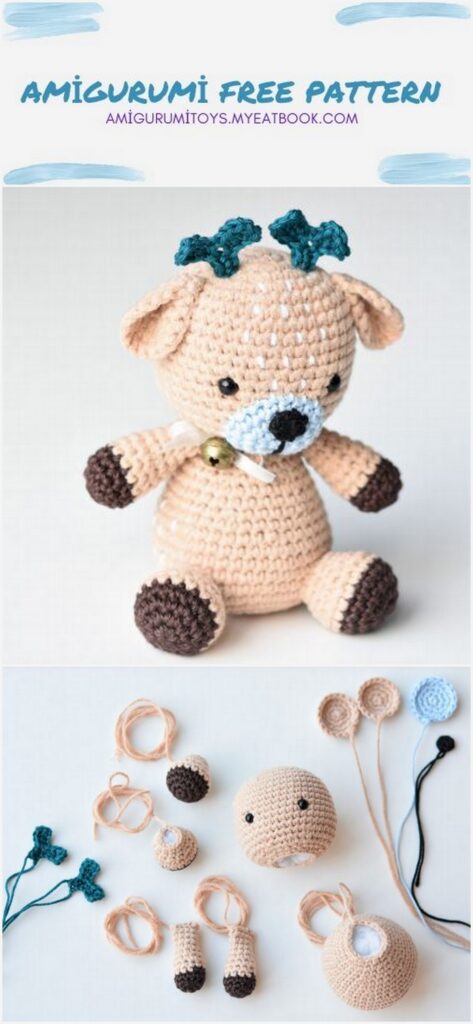
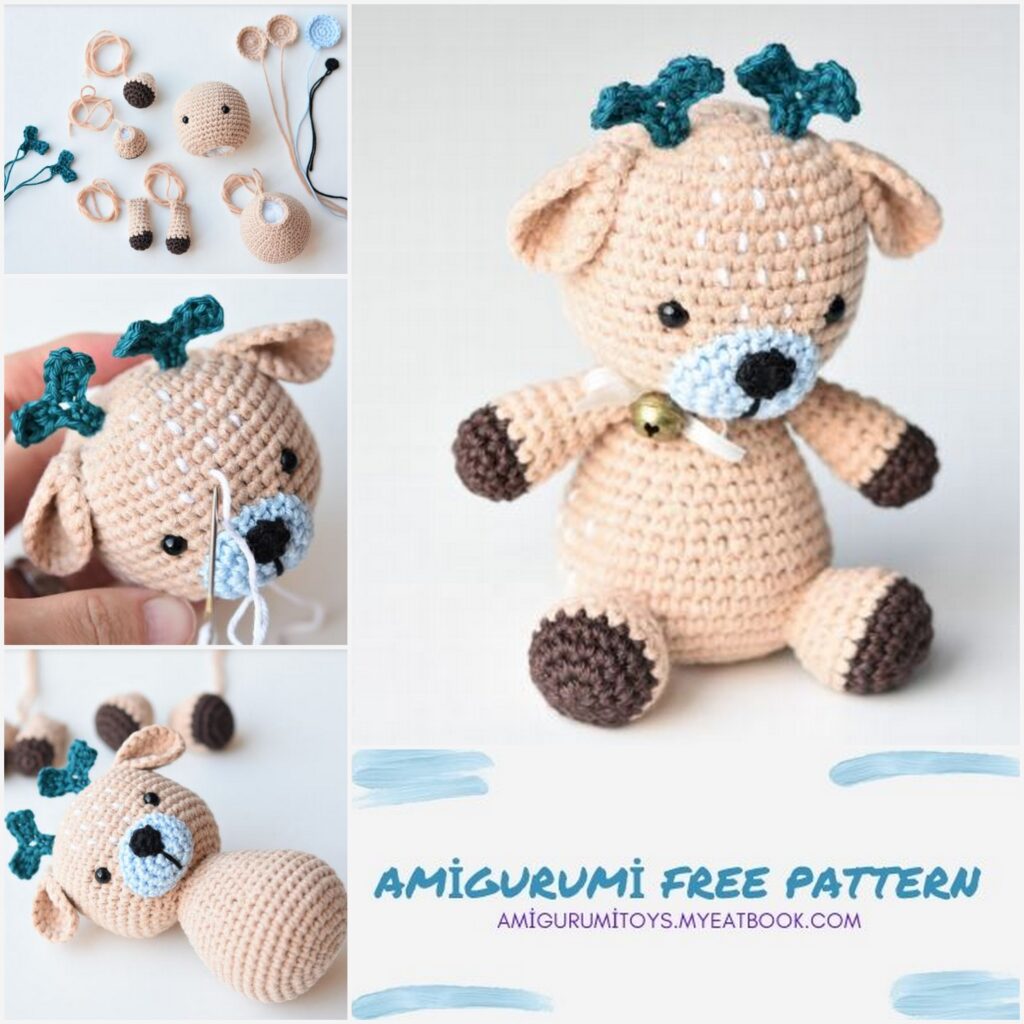
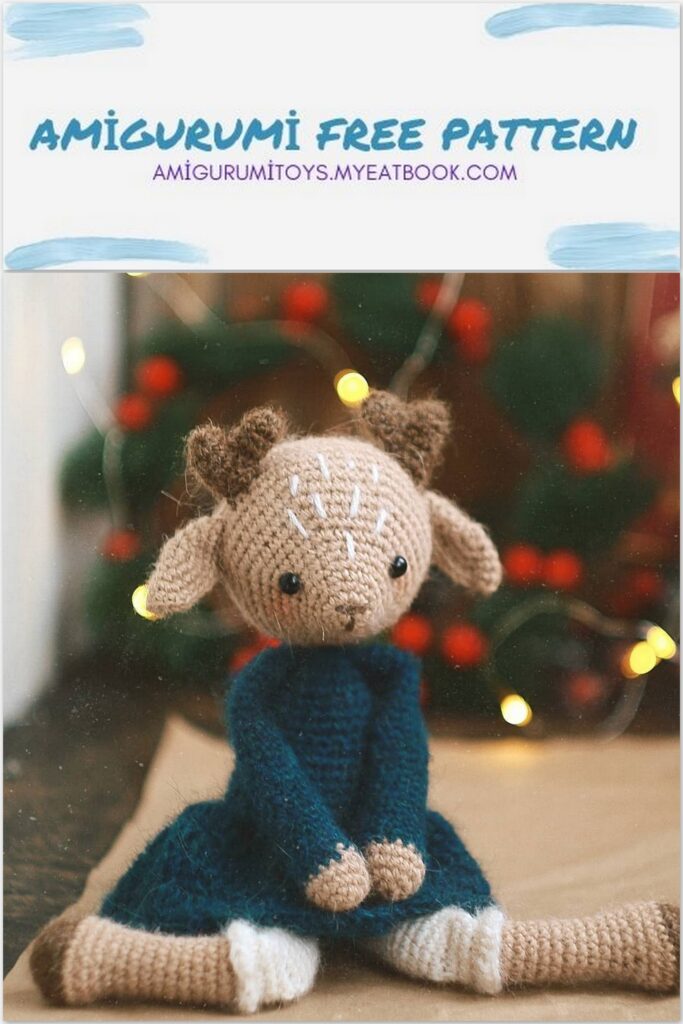
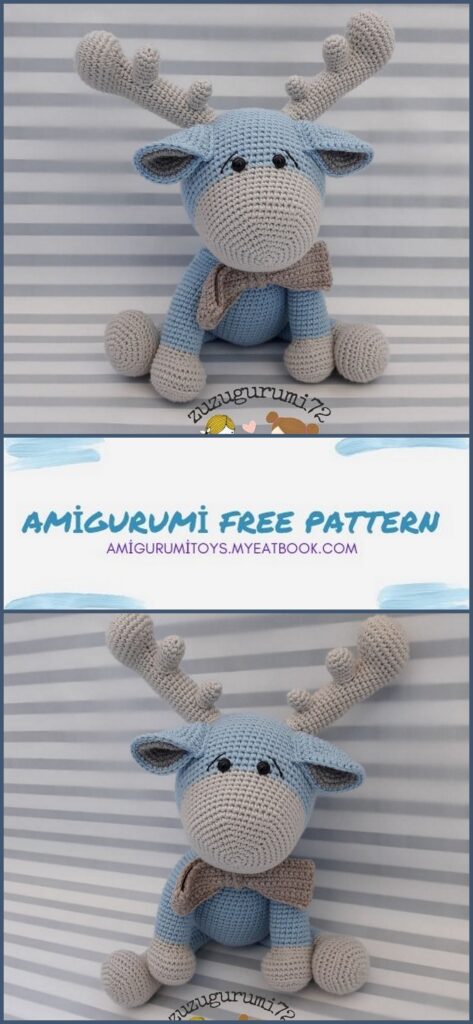
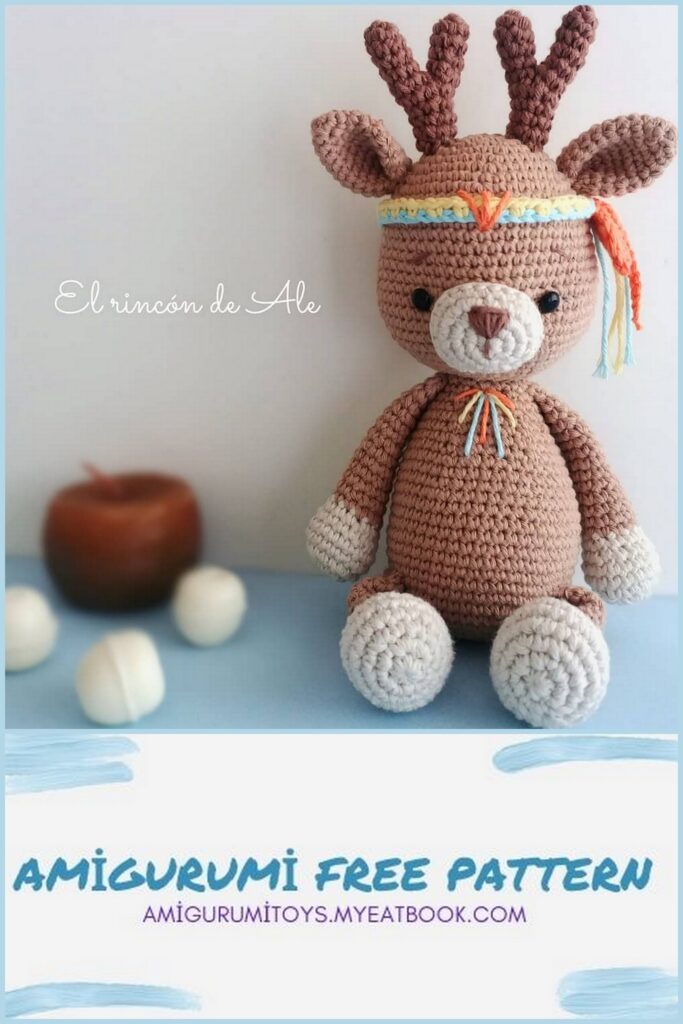
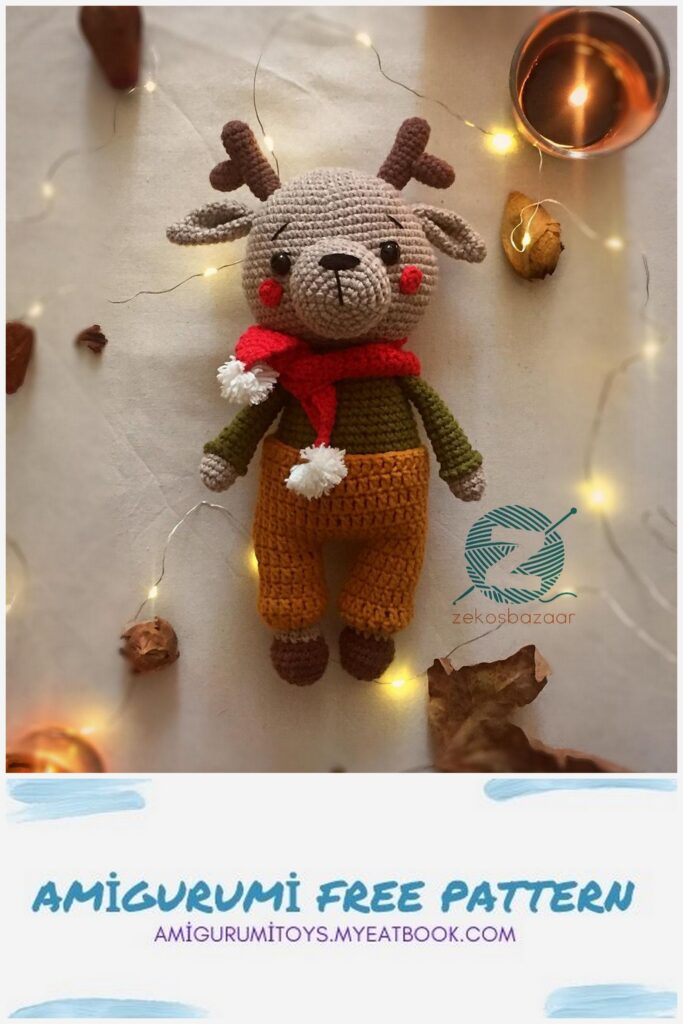
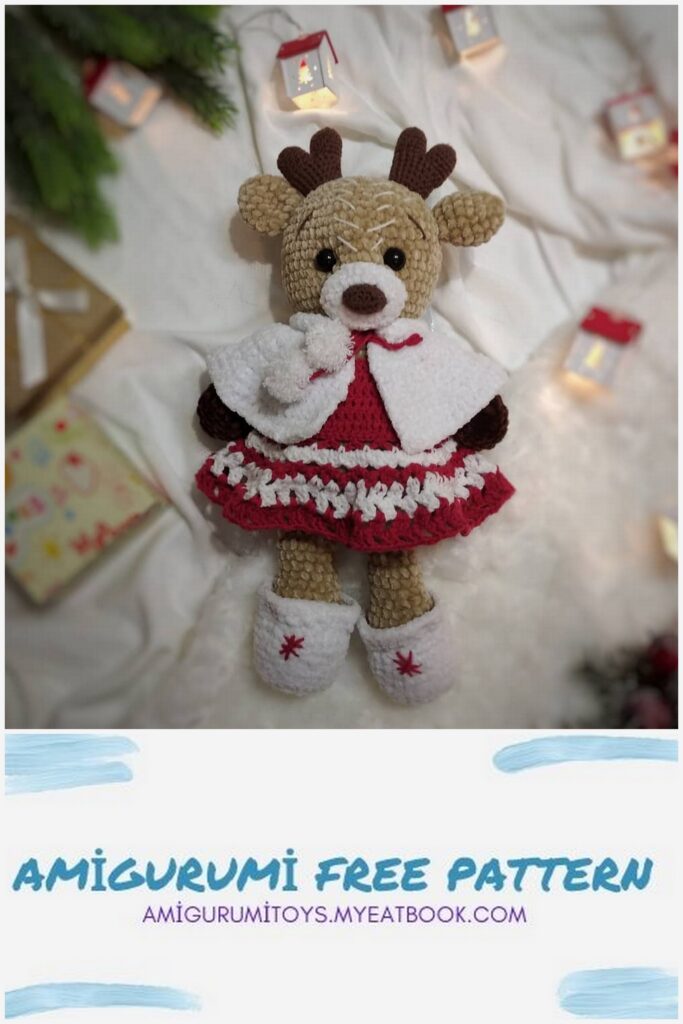
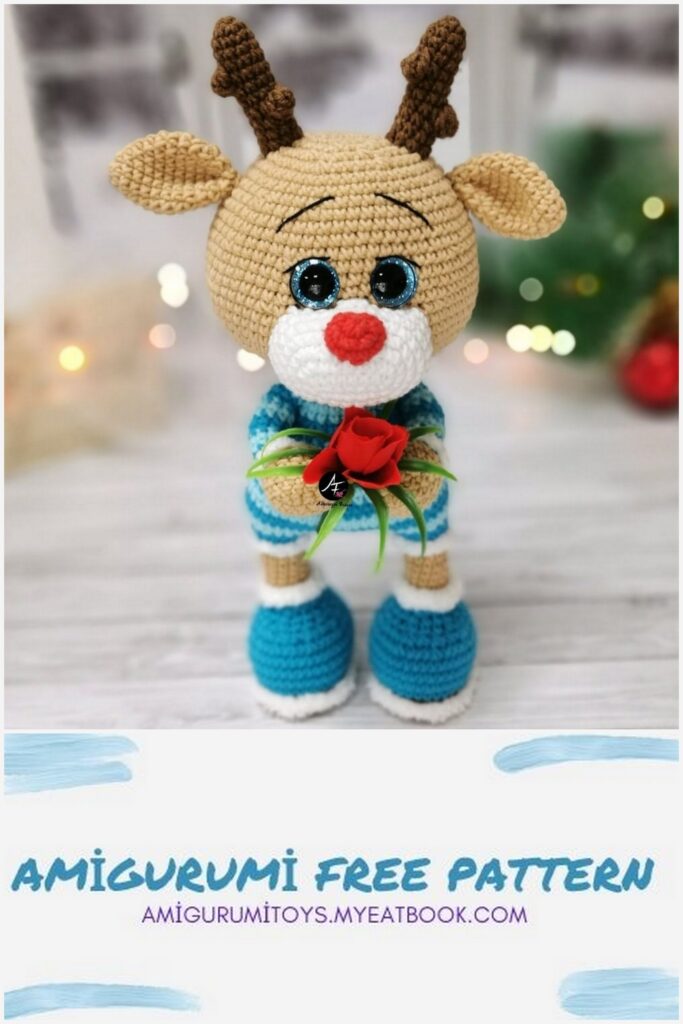
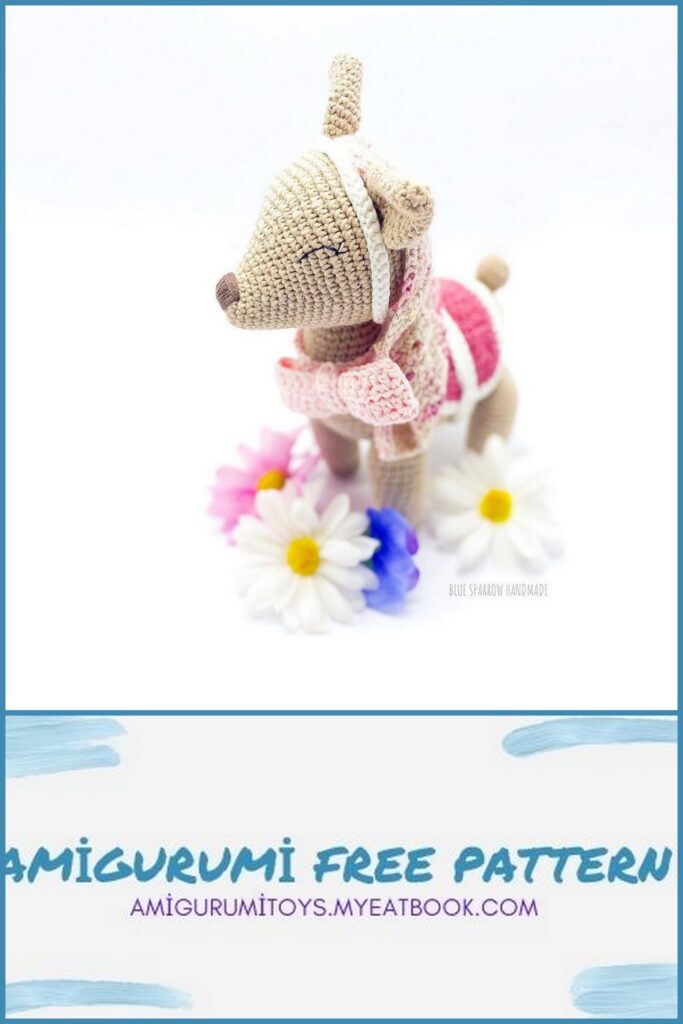
Amigurumi Cute Baby Deer Free Pattern
The pattern is in easy to intermediate skill level. You need to know chain stitch, slip stitch, single crochet, half double crochet and double crochet.
SUPPLIES YOU`LL NEED:
1. Yarn – 1 color of sport weight Alize Cotton Gold, 5 colors of fingering weight Scheepjes Catona (find shades and quantity below)
2. Crochet hook 2.5 mm (B)
3. Polyester fiberfill
4. Black safety eyes (6 mm)
5. Stitch marker
6. Darning needle
7. Scissors
NB! You can use all 6 colors of yarn of the same brand. If using different yarn and hook the quantity of yarn may vary.
Materials you`ll need today:
Color A – beige (I used Alize Cotton Gold, shade 262) – it would be great to keep the main color beige, no matter which shade. It can be reddish or yellowish. That`s up to what you have on your yarn shelf. If you still need to change color, make sure it`s the medium dark shade.
Crochet hook 2.5 mm (or in accordance to the yarn you use)
Polyester fiberfill
Black safety eyes, 6 mm
Abbreviations:
sc – single crochet, sc2tog – single crochet 2 stitches together (decrease), st(s) – stitch(es), rep – repeat
Let`s begin!
1: Start 6 sc in a magic ring [6]
2: Work 2 sc in each st around [12]
3: (Sc in next st, 2 sc in next st) rep 6 times [18]
4: (Sc in next 2 sts, 2 sc in next st) rep 6 times [24]
5: (Sc in next 3 sts, 2 sc in next st) rep 6 times [30]
6: (Sc in next 4 sts, 2 sc in next st) rep 6 times [36]
7: (Sc in next 5 sts, 2 sc in next st) rep 6 times [42]
8-17: Sc in each st around
Fasten safety eyes between rounds 13 and 14. Insert the first eye, then count 7 holes to the left and
insert the second eye in the next hole. Close the washers.
18: (Sc in each of next 5 sts, sc2tog) rep 6 times [36]
19: (Sc in each of next 4 sts, sc2tog) rep 6 times [30]
20: (Sc in each of next 3 sts, sc2tog) rep 6 times [24]
21: (Sc in each of next 2 sts, sc2tog) rep 6 times [18]
Fasten off. Stuff the piece.
Use the same instructions for all pieces. Work 2 pieces in color A and 1 piece in color B.
1: Start 6 sc in a magic ring [6]
2: Work 2 sc in each st around [12]
3: (Sc in next st, 2 sc in next st) rep 6 times [18]
4: Sc in each st around
Fasten off. Leave long yarn tails for sewing. Weave in the starting yarn tails on the pieces crocheted with color A.
FIRST PIECE
1: Color D. Work 6 sc in a magic ring, sl st in rst sc.
Fasten off. Leave a long yarn tail for sewing.
SECOND PIECE (make 2)
1: Color C. Start 6 sc in a magic ring [6]
2: Work 2 sc in each st around [12]
3: (Sc in next st, 2 sc in next st) rep 6 times [18]
4: Sc in each st around
5-6: Color A. Sc in each st around
7: (Sc in next st, sc2tog) rep 6 times [12]
8-9: Sc in each st around
Fasten off. Leave a long yarn tail for sewing. Stuff the pieces.
1: Start 6 sc in a magic ring [6]
2: Work 2 sc in each st around [12]
3: (Sc in next st, 2 sc in next st) rep 6 times [18]
4: (Sc in next 2 sts, 2 sc in next st) rep 6 times [24]
5: (Sc in next 3 sts, 2 sc in next st) rep 6 times [30]
6: (Sc in next 4 sts, 2 sc in next st) rep 6 times [36]
7: (Sc in next 5 sts, 2 sc in next st) rep 6 times [42]
8-11: Sc in each st around
12: (Sc in each of next 5 sts, sc2tog) rep 6 times [36]
13: Sc in each st around
14: (Sc in each of next 4 sts, sc2tog) rep 6 times [30]
15-16: Sc in each st around
17: (Sc in each of next 3 sts, sc2tog) rep 6 times [24]
18-19: Sc in each st around
20: (Sc in each of next 2 sts, sc2tog) rep 6 times [18]
Fasten off and stuff the piece.
FIRST PIECE (make 2)
1: Color C. Start 6 sc in a magic ring [6]
2: Work 2 sc in each st around [12]
3-4: Sc in each st around
5-7: Color A. Sc in each st around
Add a bit of stufng.
8: (Sc in next 4 sts, sc2tog) rep 2 times [10]
9-12: Sc in each st around
Fasten off. Flatten the top and sew closed.
SECOND PIECE (make 2)
1: Coor E. Ch 8. Dc in 4th st from hook, hdc in next st, sc in next st, 6 ch, dc in 4th st from hook,
hdc in next st, sc in next st, sc in the remaining 2 sts on the starting chain.
Fasten off. Leave a long yarn tail for sewing.
This is the last day and we are going to assemble the toy.
Today you`ll only need the darning needle and scissors and you`re ready to start.
Step 1
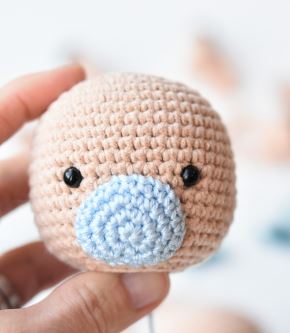
Sew the round piece in color B (light blue) on the face as a muzzle. Add just a bit of stuf ng
between the head and muzzle.
Step 2
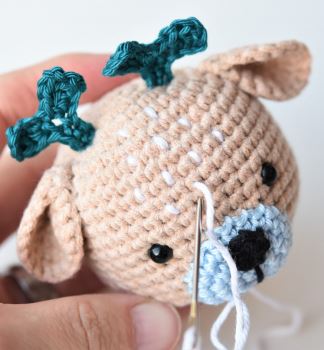
Sew the smallest piece in color D (black) onto the muzzle as a nose.
Step 3
The 2 similar round pieces in color A are the ears. Flatten them and sew a couple of stitches of one corner closed to give them the ear shape. Sew the ears on the head. Skip 6 rounds from the top of the head.
Step 4
The 2 similar pieces in color E are the antlers. Sew them between the ears and look what you`ll get now 🙂
Step 5
To make it look like a really cute deer you need to embroider some tiny stitches with color F on his forehead.
Step 6
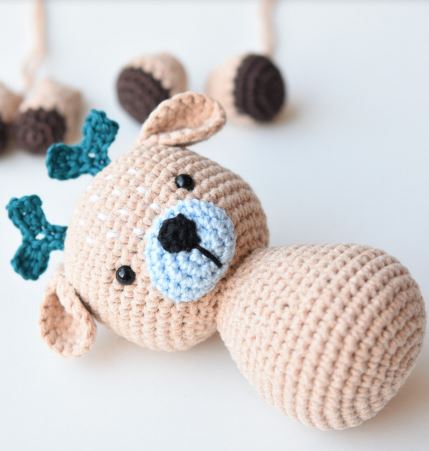
Sew the head to the body from the neck line. You may check out this tutorial for avoiding the oppy head.
Step 7
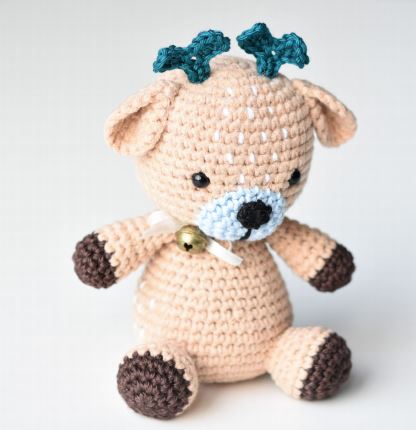
Sew the legs (smaller and more round shape) and arms (longer ones) to the body. Attach legs at 6 rounds from the bottom of the body, so that the toy can nicely lean on them. Attach the arms at the neck line.
Step 8
Embroider some tiny stitches on the sides of the deer as well. I tied a satin ribbon around his neck and added a small bell for nal touches.
What do you think? Did you guess right who will it be?
