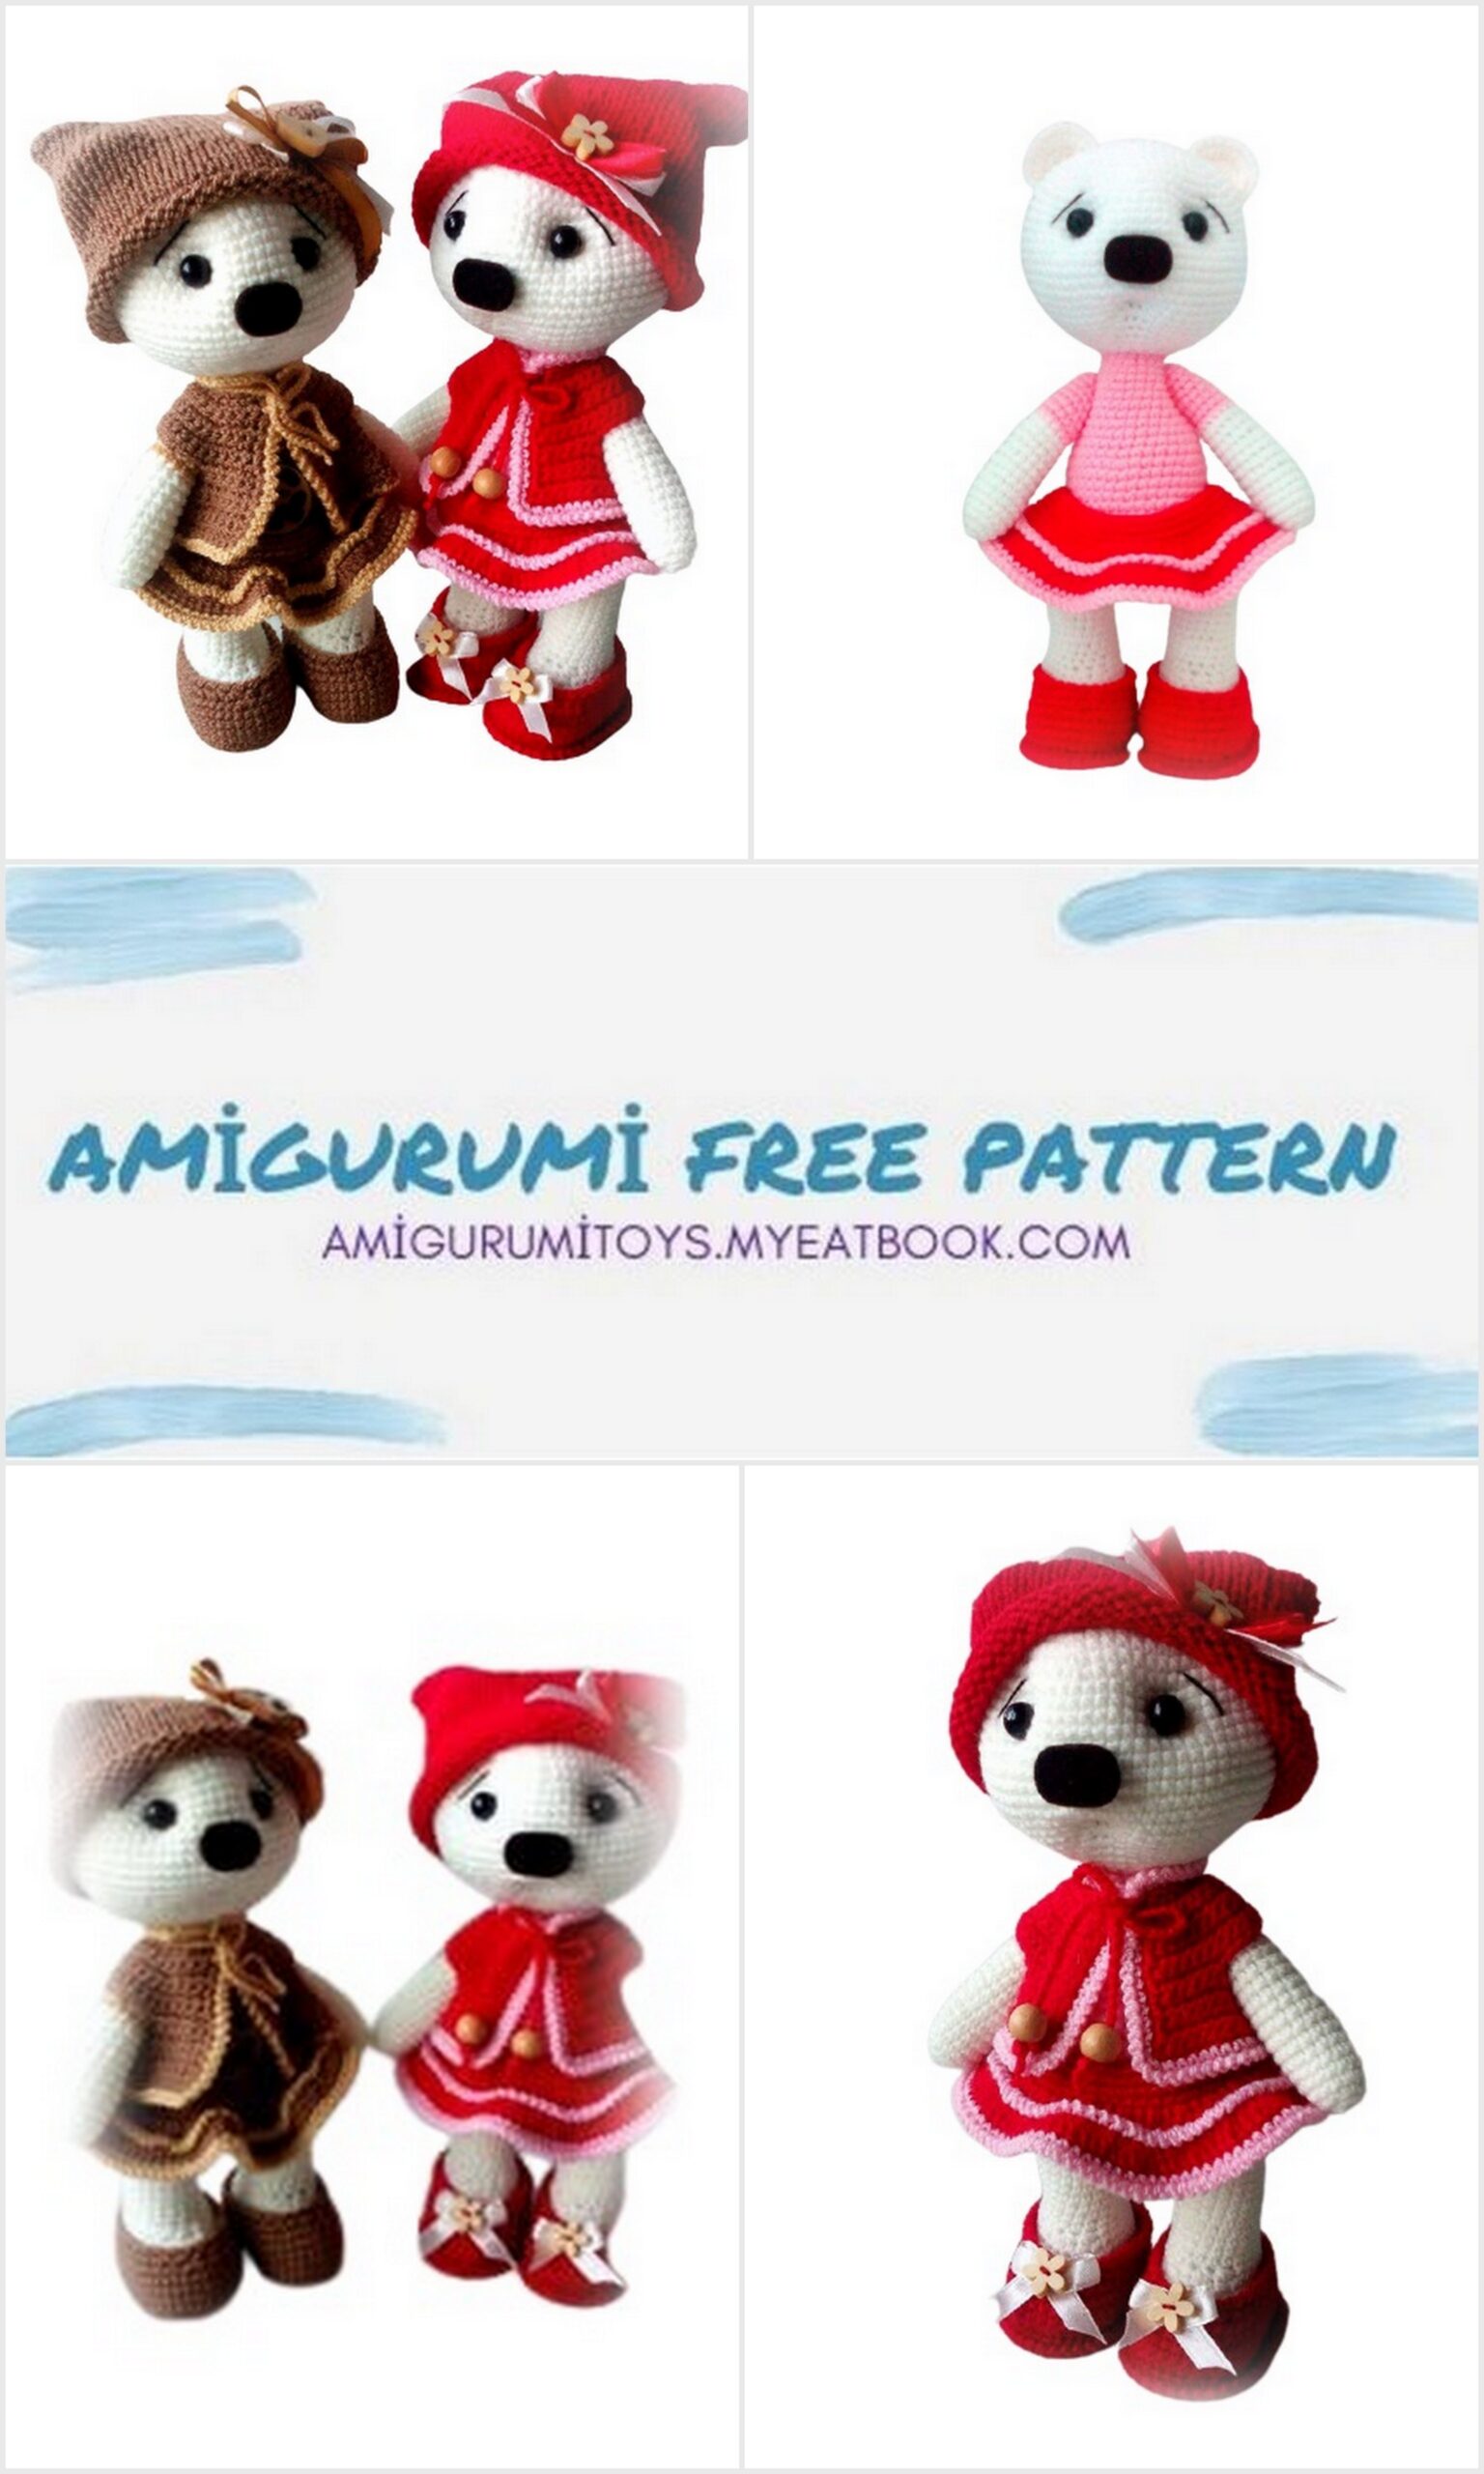
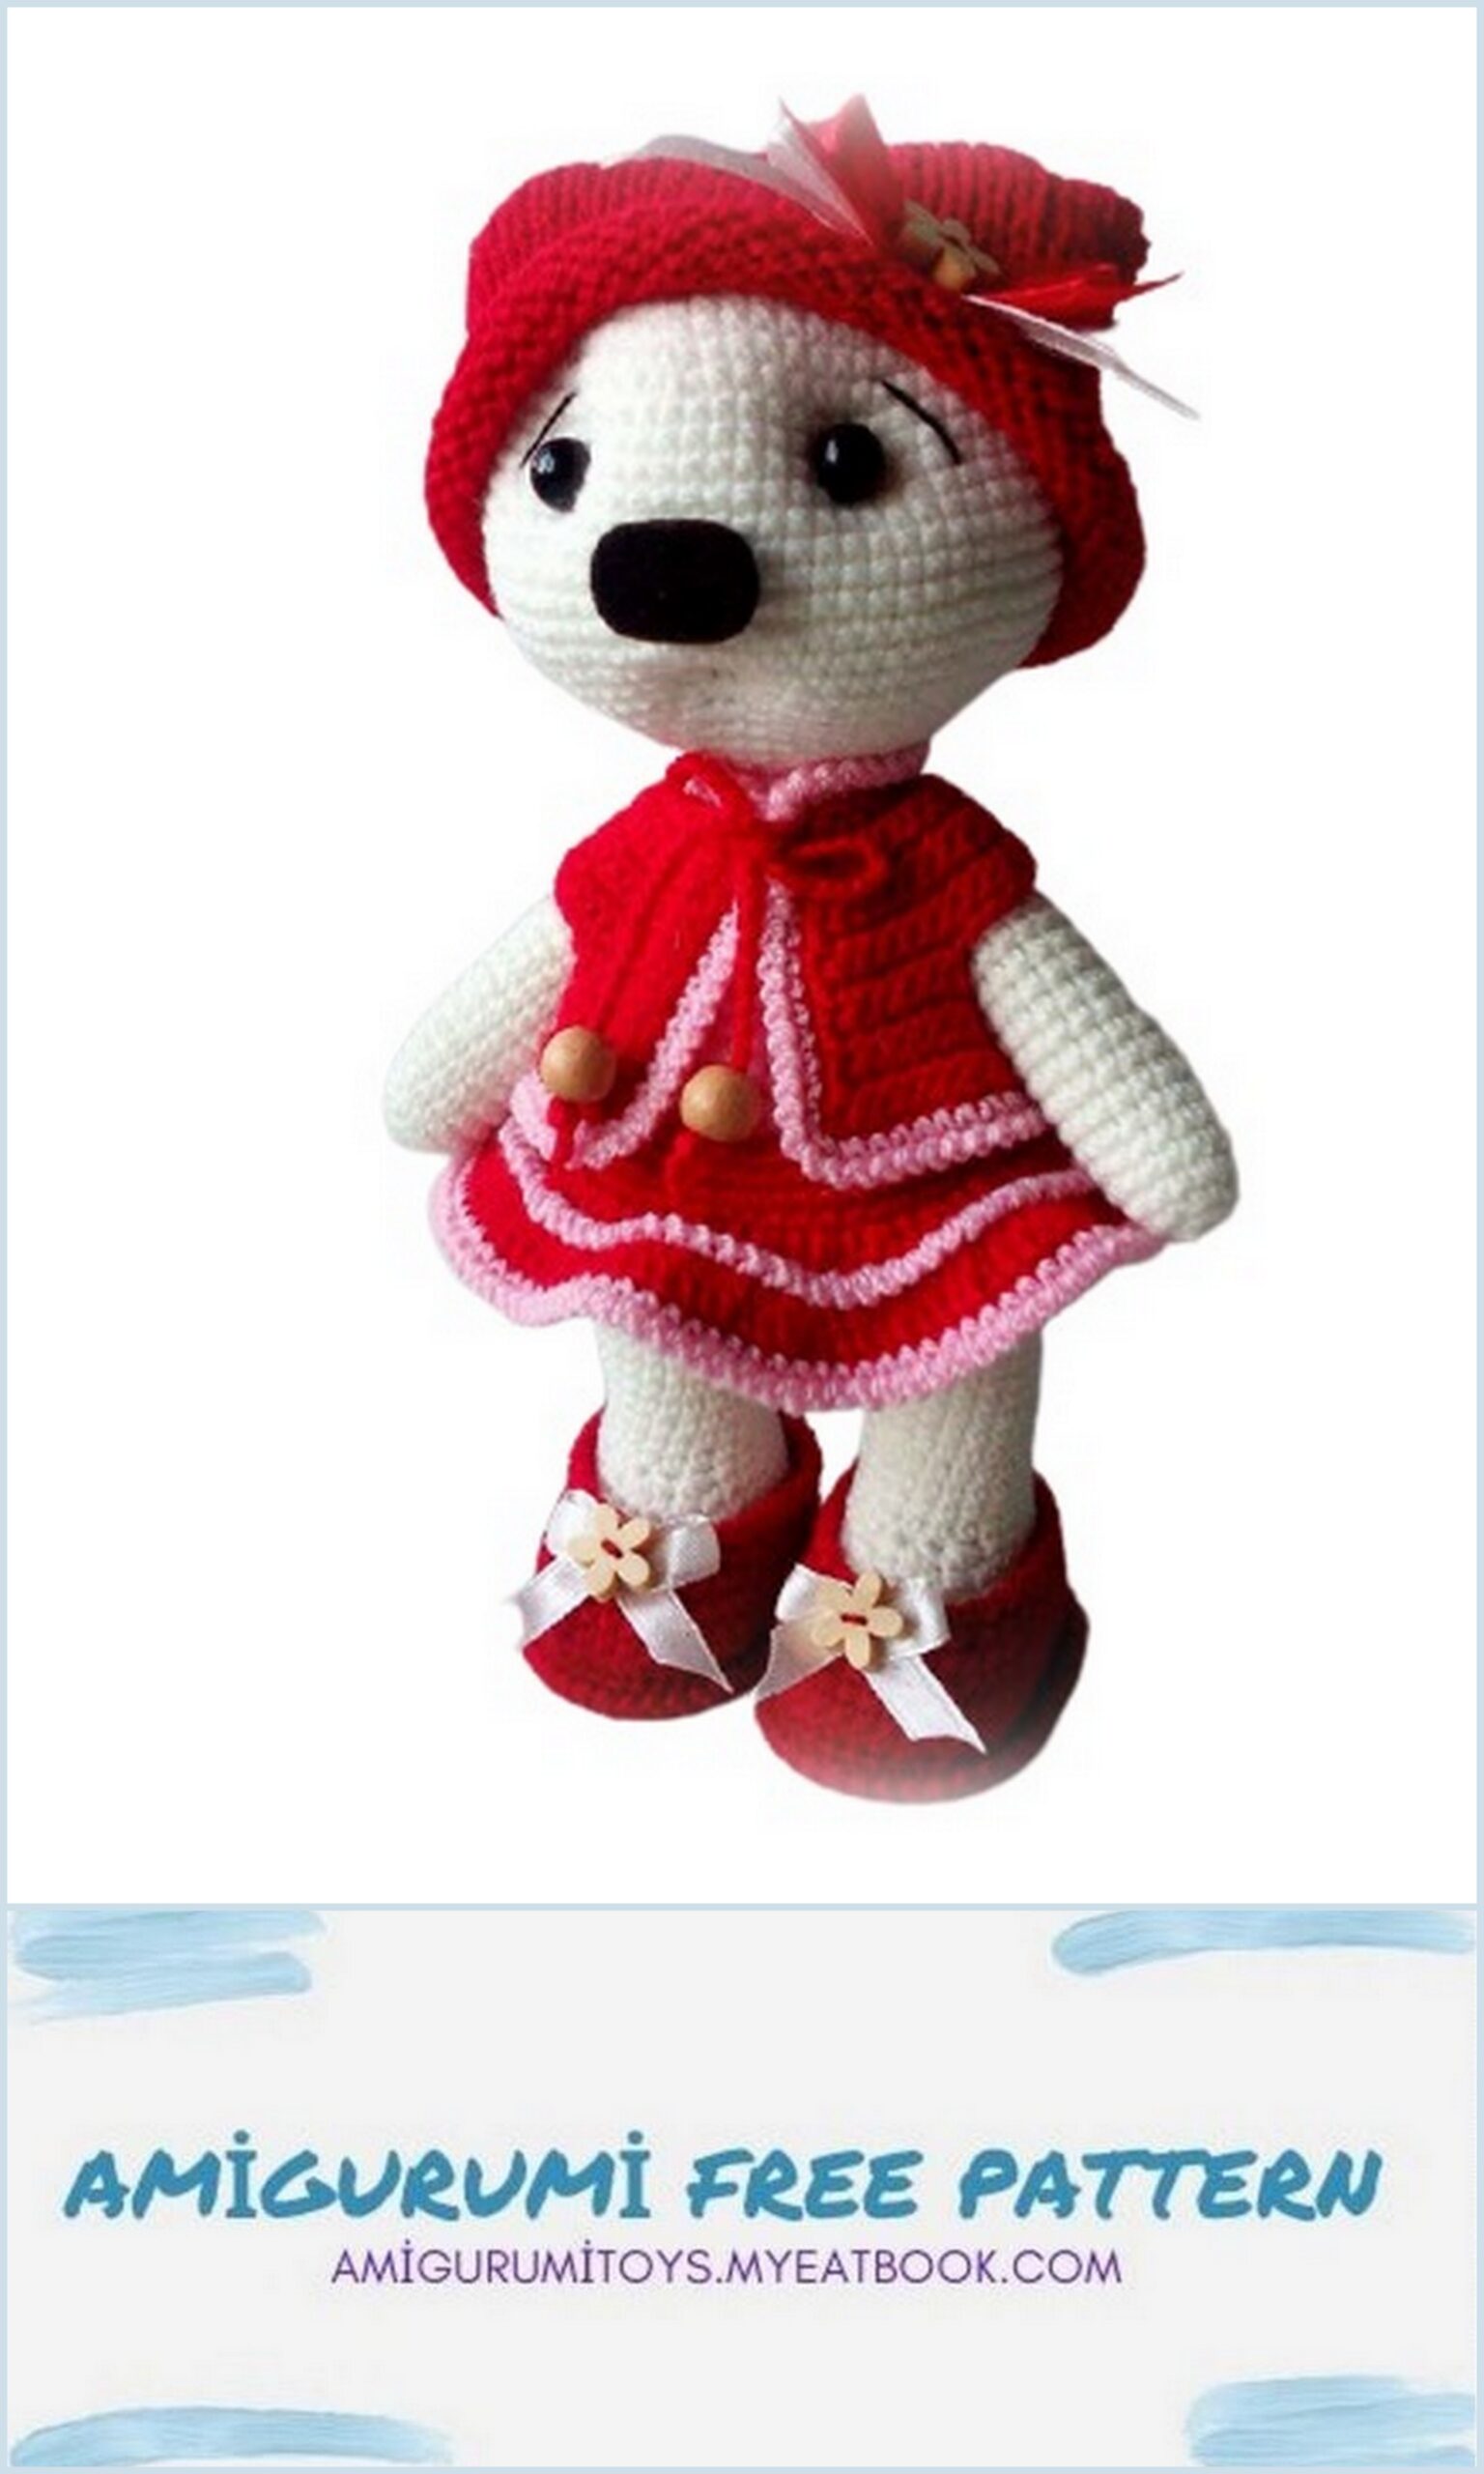
Amigurumi cute Misha is a girl Don’t forget to tag me on my pinterest account after completing the pattern. I’m happy 🙂
For work you will need:
1) Yarn “Acacia” (this is 100% acrylic) or similar of your choice (200-230-250m / 50gr). Colors are also for your choice. If the yarn is thicker, the toy will turn out to be significantly larger and it will be necessary to make a head-body frame so that the heavy head does not fall over.
2) Hook number 1 (if it is difficult for you to knit with such a crochet you can use number 1.3-1.5), knitting needles number 1.5 (2 pieces).
3) Filler for toys (synthetic winterizer, synthetic fluff).
4) Eyes-beads / ready-made eyes / eyes on the leg (then cut off the leg).
5) Glue Moment “Crystal” (if you glue the eyes).
6) Black cotton threads for sewing on eyes (if eyes are sewn on).
7) Nylon thread for sewing on the handle legs.
8) Long needle for tightening and sewing on the handle legs.
9) Accessories for decorating a bear: pendants, satin ribbons, buttons, beads.
10) A piece of plastic for the sole so that the bear stands. You can use a regular corner for repairing white, can also be cut from a plastic jar lid or use plastic from SIM cards or plastic discount cards. I do not recommend cardboard – it breaks over time.
If you take a different yarn, the size of the toy may differ from the indicated one.
The master class DOES NOT CONTAIN knitting lessons. You must have knitting and crochet skills.
DIFFICULTY: MEDIUM
Do not start knitting without reading the MK to the end.
Knit the toy in a spiral, unless otherwise indicated.
Knit tightly so that the filler does not show through the knitted fabric. For tight knitting, use a crochet hook that is smaller than indicated on the yarn label.


Knitting designations:
– Single crochet (SC);
– air loop (CH);
– connecting post (SL-ST);
– “Rachiy step” strapping method;
– Column with a crochet (DC);
– DEC. – DEC, single crochet is knitted, 1 loop of the previous row is skipped and again single crochet;
– İNC. – tie 2 loops into the loop of the previous row;
– stocking knitting or front stitching (knitting with needles).
The toy is knitted on both sides of the loop, unless otherwise indicated. In some rows knitting goes over one side of the hinge, so follow the directions very carefully.
When knitting in a spiral, the knitted fabric can be slightly skewed, so track the beginning and end of the row with a marker (you can use a thread of a contrasting color). If your the marker has started to deviate, adjust the knitting by knitting one extra column and move the marker. Now the second loop becomes the first and the row starts from it.
Your toy should not only be strong, but also neatly crafted. Fix the ends of the thread in a timely manner so that nothing later comes out and does not begin to bloom, even if a child uses the toy.
That is why I make out the muzzle at the moment when the hole in the head is not closed, I take out all the threads and fix them there.
Using a nylon thread – fix it well, it is slippery and can simply come loose over time. If possible, melt the ends of the nylon thread and knots from it with a lighter.
If there are not enough rows during knitting, it is better to dissolve and knit. It will be a shame if the toy does not bring joy either to you or to the one for whom you made it.
And of course the commercial aspect, customers will come to you again only if the product you made was almost perfect.
We knit ears – head – body
We knit ears
Chain of 2 CH (chain stitches)
1 row: in the second loop from the hook, tie 6 SC (6)
2nd row: CH lift, turn knitting, İNC in each loop (12)
3 row: CH lift, turn knitting, * 1 SC, İNC *, ** – repeat to the end of the row (18)
4 row: CH lift, turn knitting, * 2 SC, İNC *, ** – repeat to the end of the row (24)
Fold the eyelet in half, tie SC at both ends, fasten the thread, leave 15 cm of thread for sewing.
Tie the second ear in the same way.
We knit the head
Close the 5CH chain into a ring.
1st row: 6SC into the ring.
2nd row: In each SC of the previous row, tie 2 SC (12). İNC – knit two from one loop.
3rd row: * 1 SC, İNC *, ** – knit to the end of the row (18).
4th row: * 2 SC, İNC *, ** – knit to the end of the row (24).
5 row: * 3 SC, İNC *, ** – knit to the end of the row (30).
6 row: * 4 SC, İNC *, ** – knit to the end of the row (36).
7 row: * 5 SC, İNC *, ** – knit to the end of the row (42).
8 row: * 6 SC, İNC *, ** – knit to the end of the row (48).
9 row: * 7 SC, İNC *, ** – knit to the end of the row (54).
10 row: * 8 SC, İNC *, ** – knit to the end of the row (60).
11 row: * 9 SC, İNC *, ** – knit to the end of the row yes (66).
12 row: * 10 SC, İNC *, ** – knit to the end of the row (72).
13 – 19 rows: 72 SC (72).
Now you need to sew on the ears. Mark the sewing spots. Red marker is between 6 and 7 rows (counting from above), the blue marker is between 12 and 13 rows (counting from above). I only sew the eyelet on its rear edge – it holds well. Bend the eyelet slightly when sewing on.
Rows 20 – 22: 72 SC (72).
23 row: * 10 SC, DEC *, ** – knit to the end of the row (66)
24 row: * 9 SC, DEC *, ** – knit to the end of the row (60).
25 row: * 8 SC, DEC *, ** – knit to the end of the row (54).
26 row: * 7 SC, DEC *, ** – knit to the end of the row (48).
27 row: * 6 SC, DEC *, ** – knit to the end of the row (42).
28 row: * 5 SC, DEC *, ** – knit to the end of the row (36).
29 row: * 4 SC, DEC *, ** – knit to the end of the row (30).
We fill the resulting part with filler, until it is too tight, as it will be necessary to knit two more rows with decreases.
30 row: * 3 SC, DEC *, ** – knit to the end of the row (24).
31 row: * 2 SC, DEC *, ** – knit to the end of the row (18).
Add filler to the workpiece, the head should be like a ball and quite dense. The body color thread can be cut off.
We make tightening for the face of the bear
You will need tailor’s pins, a long needle and nylon thread.
Mark with pin markers the places for the straps.
– Blue pin – the inner part of the eye (located 1 column from the red one), between the blue ones pins 12 columns;
– Red pin – the outer part of the eye (located between the 14th and 15th rows (counting from above));
– Green pins – mouth. Located between 24 and 25 rows (counting from above). Between the green 2 pins
1. We introduce a needle with a nylon thread into the open hole of the head (the end of the thread should stick out for subsequent tightening) and draw it out in the place of the red marker of the left eye.
2. Insert the needle in the place of the blue marker of the left eye and draw it in the place of the green marker of the left corner of the mouth.
3. We insert the needle in the place of the green marker of the right corner of the mouth, draw it in the place of the blue marker of the right eye.
4. Insert the needle in the place of the red marker of the right eye and withdraw the needle into the open hole of the head.
5. Tightly pull the two strands together until they form tight and tie a few knots.
When tightening, pay particular attention to the symmetry of the peephole and
mouth. If you are not satisfied with something, pull the left or right thread harder. The depth of the eyes and mouth must be the same, otherwise, when we sew / glue the eyes, the bear’s muzzle may turn out to be asymmetrical, we don’t need it at all.

Making a nose
For the spout, you need a piece of plastic and some black / brown velvet or thick knitwear.
We need:
– a small piece of plastic;
– fabric of the color of the spout;
– scissors;
– threads;
– a needle.
Progress:
1. Cut out a neat spout blank (1) from the plastic.
2. Apply a plastic blank and cut as shown (2)
3. Cut a rectangle 0.7-1 cm larger from the fabric than the plastic blank (3).
4. Cut the fabric according to the shape of the spout so that the plastic blank is 0.5-0.7 cm
smaller than the fabric blank (4).
5. Insert a longer thread into the needle, tie a knot (I use this thread to sew the nose to the muzzle) and sew sweeping stitches as in figure (5).
6. Pull the thread, fasten it well, sew the nose to the toy’s face. The size of the plastic blank, the piece of velvet / knitwear and the progress of work can be seen in the photos below.
Sew on the nose of the bear. Keeping track of symmetry. After sewing on the spout, I put it in places
sewing, I also wrap it with thread (which I sew), according to the principle of sewing on a regular button.
With the same thread we sew the eyes to the bear (at least 3 stitches, each time pulling
stronger), we embroider the eyebrows.
We bring the thread into the open hole of the head, fix it, cut it off.
Add filler to the head if necessary, as the filler may have tamped down a little during the pull-ups.
Tying the body
We knit in the color of your choice (not the color of the body and not the color of the skirt / vest / cap).
Choose a shade that will match the color of the skirt, vest, hat, boots.
32 – 33 rows: 18 SC (18).
34 row: * 2 SC, İNC avka *, ** – knit to the end of the row (24).
35 – 36 rows: 24 SC (24).
37 row: * 3 SC, İNC *, ** – knit to the end of the row (30).
38-40 rows: 30 SC (30).
41 RUR poison: * 4 SC, İNC *, ** – knit to the end of the row (36).
42 – 44 rows: 36 SC (36).
45 row: * 5 SC, İNC *, ** – knit to the end of the row (42).
46 – 48 rows: 42 SC (42).
49 row: * 6 SC, İNC *, ** – knit to the end of the row (48).
Rows 50 – 52: 48 SC (48).
53 row: * 6 SC, DEC *, ** – knit to the end of the row (42).
54 row: * 5 SC, DEC *, ** – knit to the end of the row (36).
55 row: * 4 SC, DEC *, ** – knit to the end of the row (30).
56 row: 30 SC (30).
We begin to fill the little bear’s body, fill it tightly and evenly. Pay special attention to
the neck area so that the head does not bend.
57 row: * 3 SC, DEC *, ** – knit to the end of the row (24).
58 row: * 2 SC, DEC *, ** – knit to the end of the row (18).
Fill the part tightly.
59 row: * 1 SC, DEC *, ** – knit to the end of the row (12).
60 row: Decreases to the end of the row. Fasten the thread, cut it off, hide it.
We knit handles (2 pieces)
We start knitting in white.
Close the 5CH chain into a ring.
1st row: 6SC into the ring.
2nd row: In each SC of the previous row, tie 2 SC (12). İNC – knit two from one loop.
3rd row: * 2 SC, İNC *, ** – knit to the end of the row (16).
Rows 4-14: 16 SC (16).
Cut off the white thread, then knit with the color that the body was knitted with.
15-16 rows: 16 SC (16).
17 row: kill, 14 SC (15).
18 row: ass., 13 SC (14).
19 row: kill., 12 SC (13).
20 row: ass., 11 SC (12).
Row 21: 12 SC (12).
22 row: kill. to the end of the row. Fasten the thread, cut off and hide.
Tie the second handle in the same way.
Knit legs (2 pieces)
We knit in white.
Tie a chain of 7 CH.
1st row: 2 SC into the 2nd loop from the hook, 4 SC, 4 SC into the last loop of the row, continue along the other side of the chain, 4 SC, 2 SC in the last loop.
Then start all rows with CH rise and finish with ss (connecting post).
2nd row: İNC, 6 SC, İNC, İNC, 6 SC, İNC.
3rd row: İNC, 8 SC, İNC, İNC, İNC, 6 SC, İNC, İNC.
4th row: İNC, İNC, 9 SC, İNC, İNC, İNC, İNC, 9 SC, İNC, İNC.
5 row: İNC, İNC, 14 SC, İNC, İNC, İNC, İNC, 12 SC, İNC, İNC. (42).
6 row: knit 42 SC (42) behind the back wall of the loops of the 5th row.
7-9 rows: 42 SC (42). Cut the insoles out of the plastic to fit the shape of the sole.
10 row: * 5 SC, DEC *, ** – knit to the end of the row (36).
11 row: 13 SC, 6 kill, 11 SC (30).
12 row: * 3 SC, DEC *, ** – knit to the end of the row (24).
13th row: 10 SC, 3 kill, 8 SC (21).
Fill the part with filler tightly enough. Then fill as you knit.
Rows 14-30: 21 SC (21).
Row 31: * 5 SC, DEC *, ** – repeat 3 times (18).
32 row: * 1 SC, DEC *, ** – repeat 6 times (12).
33 row: kill. to the end of the row.
Tie the second leg in the same way.
Assembly
All parts are ready for stitching.
Mark the places for the handles and legs. You can use tailor’s pins for this or
long needles. See how you like best. I hook the thread between the 6th and 7th rows
(counting from the top), and the handle between 4 and 5 rows (counting from the top). We only cling to the thread inside part of the leg / handle.
Sew on the arms and legs using a long needle and nylon / cotton thread. And pens and the legs are sewn with one thread (see picture below).
Note that only one thread is shown in the illustration. There must be at least 3 moves. The limbs are fastened with a nylon thread, the thread must go in and out of the toy’s torso through the same hole (otherwise the limbs will not move). You can fasten the thread as you like. I usually make a knot where one of the legs is sewn. Tighten it tighter, as over time the thread will still stretch and weaken – because of this, the toy may lose its stability (if it was standing) and its appearance.
We look at the pictures. The first shows one thread move, the second shows everything. On the first two moves, the thread
we do not bring out the toys in the lower abdomen – we immediately stick the needle through the body into the leg.
It turns out that’s such a bear. She stands wonderfully and sits herself.
We knit clothes
Boots
We knit with the color of the clothes.
Tie a chain of 7 CH.
Row 1: 2 SC to the 2nd loop from the hook, 4 SC, 4 SC to the last loop of the row, continue along the other side of the chain, 4 SC, 2 SC into the last loop. Then start all rows with CH rise and finish with ss (connecting post).
2nd row: İNC, 6 SC, İNC, İNC, 6 SC, İNC.
3rd row: İNC, 8 SC, İNC, İNC, İNC, 6 SC, İNC, İNC.
4th row: İNC, İNC, 9 SC, İNC, İNC, İNC, İNC, 9 SC, İNC, İNC.
5 row: İNC, İNC, 14 SC, İNC, İNC, İNC, İNC, 12 SC, İN C, İNC. (42).
6 row: knit 42 SC (42) behind the back wall of the loops of the 5th row.
7-9 rows: 42 SC (42).
10 row: * 5 SC, DEC *, ** – knit to the end of the row (36).
11 row: 13 SC, 6 kill, 11 SC (30).
Tie the top of the shoe in the “Rachy step” method or knit * CH, SL-ST * – to the end of the row.
Tie the sole of the shoe by the left front walls of the loops of the 5th row SC, then using the method
“Rachiy step” or knit * CH, SL-ST * – to the end of the row.
Tie the second shoe in the same way.
Skirt
We knit with the color of the clothes.
The whole skirt is knitted in complete rows, i.e. each row starts with a CH rise and ends with SL-ST.
Tie a chain of air loops equal to the circumference of the bear’s body over the legs, and close it in a circle. Be careful not to twist the chain. I got a chain of 54 CH.
Rows 1-4: SC in a circle.
5th row: 2 CH lift, * 1 DC, İNC. from DC *, ** – repeat to the end of the row.
6 row: we knit by the back walls of the loops of the previous row. 2 CH lift, * 2 DC, İNC. from
DC *, ** – repeat to the end of the row.
Fasten the thread of the color of the skirt, cut off.
Tie the bottom of the skirt with contrasting yarn (I have a pink one) SC, then using the “Rachiy step” method
or knit * CH, SL-ST * – to the end of the row. Fasten the thread, cut off.
Knit a row with a contrasting yarn, behind the left front walls of the loops of the 5th row
in the “Rachy step” method or knit * CH, SL-ST * – to the end of the row. Fasten the thread, cut off.
You can try on a skirt for our girl, it should hold well on its legs.
If you wish, you can thread a ribbon in the belt of a skirt or to decorate skirt with a bow.
Vest
We knit with the color of the clothes.
Link a chain of 31 CH.
Row 1: Begin knitting in the 2nd loop from the hook, 30 SC (30).
2nd row: CH, turn, * 4 SC, İNC *, ** – knit to the end of the row (36).
Row 3: CH, turn, 36 SC (36).
4 row: CH, turn, * 5 SC, İNC *, ** – knit to the end of the row (42).
5 row: CH, turn, 42 SC (42).
6 row: CH, turn, * 6 SC, İNC *, ** – knit to the end of the row (48).
7 row: CH, turn, 48 SC (48).
8 row: CH, turn, 6 SC, 12 CH, skip 10 loops, 16 SC, 12 CH, skip 10 loops, 6 SC.
Row 9: CH, turn, 6 SC, 12 SC in a chain of CH, 16 SC, 12 SC in a chain of CH, 6 SC (52).
Rows 10-11: CH, turn, 52 SC (52).
12 row: İNC., 50 SC, İNC (54).
Row 13: 54 SC.
Without breaking the thread, we begin to tie the SC right shelf, neck, left shelf. Bottom
do not tie the vests. Fasten the thread, cut it off, hide it. The strapping direction is shown in the photo.
Tie the vest in a circle with contrasting SC yarn, then using the “Rachy step” method or * CH, SL-ST, **
– repeat to the end of the row. Start tying with contrasting thread from the middle of the back.
You can try on.
Beanie
We knit with the color of the clothes.
We knit on the needles. Cast on 55 stitches.
We knit with a stocking knit (front stitch) 7.5-8 cm. It turns out an ordinary rectangle. Close all loops.
Sew the hat along the back seam, fold the hat so that the seam is at the back
in the center of the hat, sew the top seam, turn it out, decorate.
The edges of the cap should be folded by themselves. Decorate the hat as you wish: buttons, satin ribbons, embroidery, ribbons.
The wrong side of the beanie
Also, at your discretion, decorate the clothes of our girl. You can hang beads, sew bows on shoes, make ties on a vest. It all depends on your imagination.
I got these girls – bears.
Enjoy your knitting.
With a toy, you can act at your discretion. When publishing a photo of the finished
For personal use only.
