Important information.
1. MK DOES NOT CONTAIN KNITTING LESSONS! Difficulty: medium.
2. All materials indicated in this master class were used to create this particular toy, and do not exclude the use of others. But this may affect the type of toy and its size, so I advise you to select yarn of the appropriate footage and composition.
3. I recommend choosing the size of the hook for the yarn you have chosen. I have this – Clover No. 2.
4. All pieces are knitted in the spiral unless otherwise noted.
5. To make it convenient to follow the beginning of the row, use a marker (you can use a thread of a contrasting color, thinner than the main one).
6. To prevent an uneven edge formed when knitting with a spiral technique, we finish the details like this:
7. Stuff the toy in the course of knitting.
8. Color change – in any way convenient for you.
Materials and tools.
1. Yarn “YarnArt jeans” (50g / 160m) (you can take a similar thread)
• 35 – yellow -1 skein
• 70 – brown -1 skein
• 01 – white -1 skein
2. “Iris” (25 g / 150 m), or any other strong thread similar in characteristics
• 7214 – black (for eyebrows) – a little
• 6512 – brown (for thread attachment of limbs) – A little
3. “Alize Diva”, (100gr. / 350 m, or any other strong thread, for tightening) – A little
4. Eyes on a secure mount – 8, 9 mm – 1 pair;
5. Needle with a wide eye – 13 cm (for thread fastening)
• a needle with a blunt end and a wide eye – for sewing on details
6. Hook 2.0 mm (I have Clover)
7. Hollofiber or synthetic winterizer (I have a syntheshar)
8. Scissors
9. Tweezers
Abbreviations
MR – amigurumi ring;
CH – air loop;
SC – single crochet;
DC – column with 1 crochet;
İNC – increase (2 SC. in 1 loop);
DEC – decrease (2 SC. together for FLO);
Bump – (4 DC. in one loop with a common top);
FLO – front half loop;
BLO – rear half loop;
SL-ST – connecting post;
* – the number of repetitions.
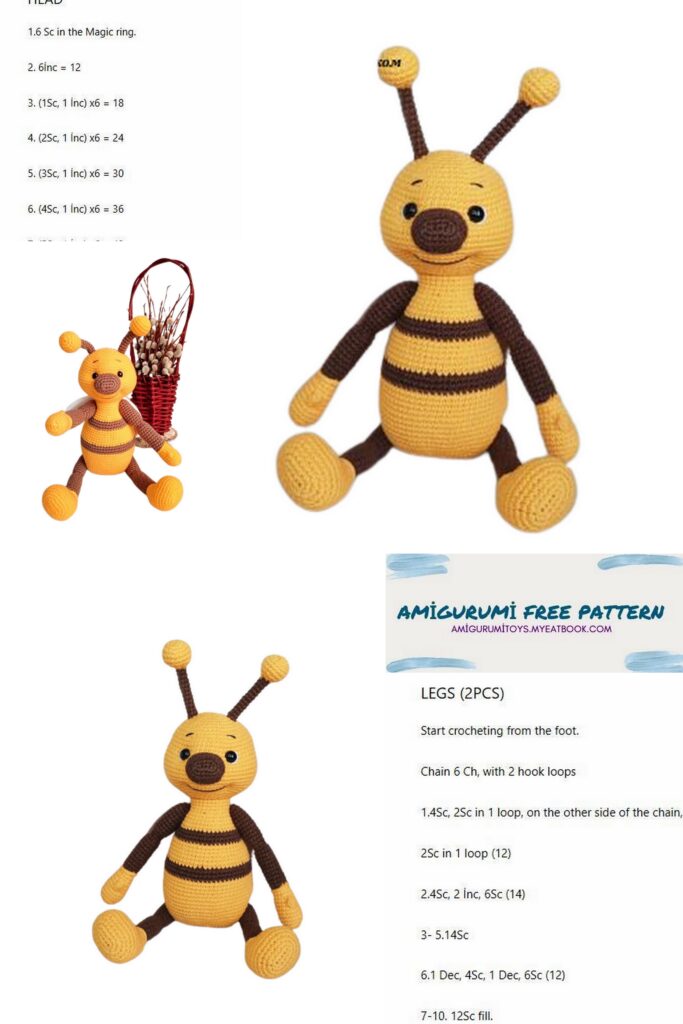
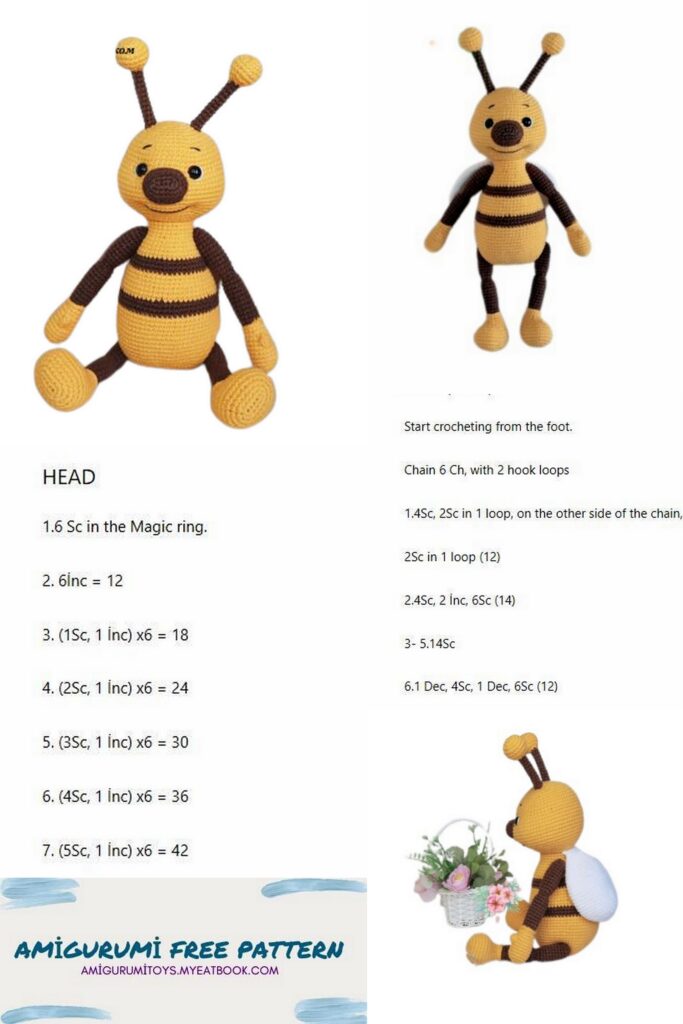
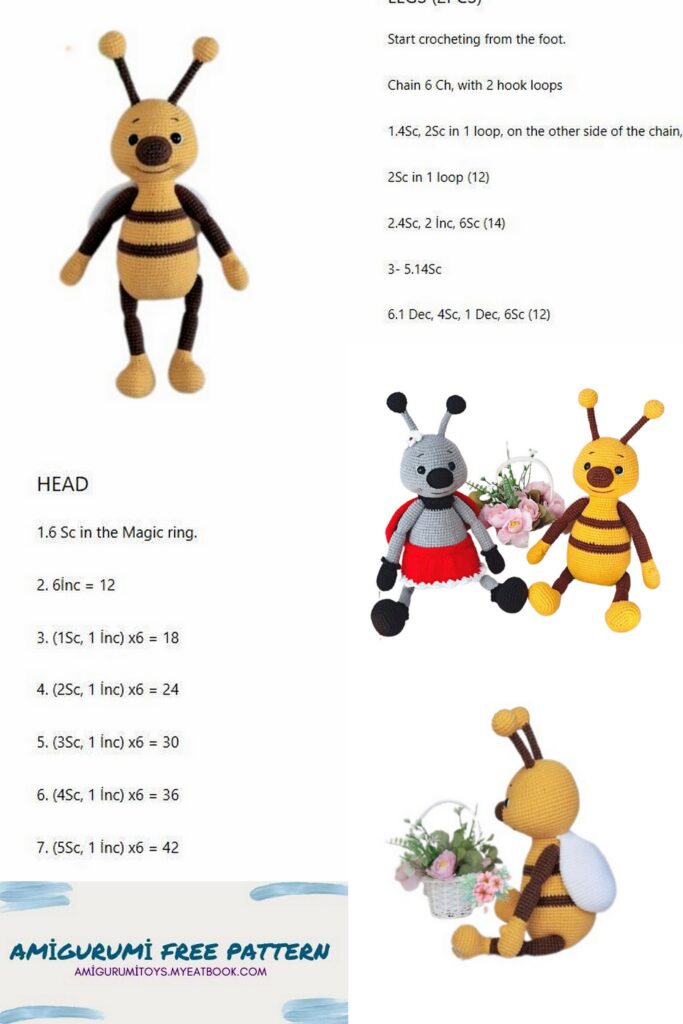
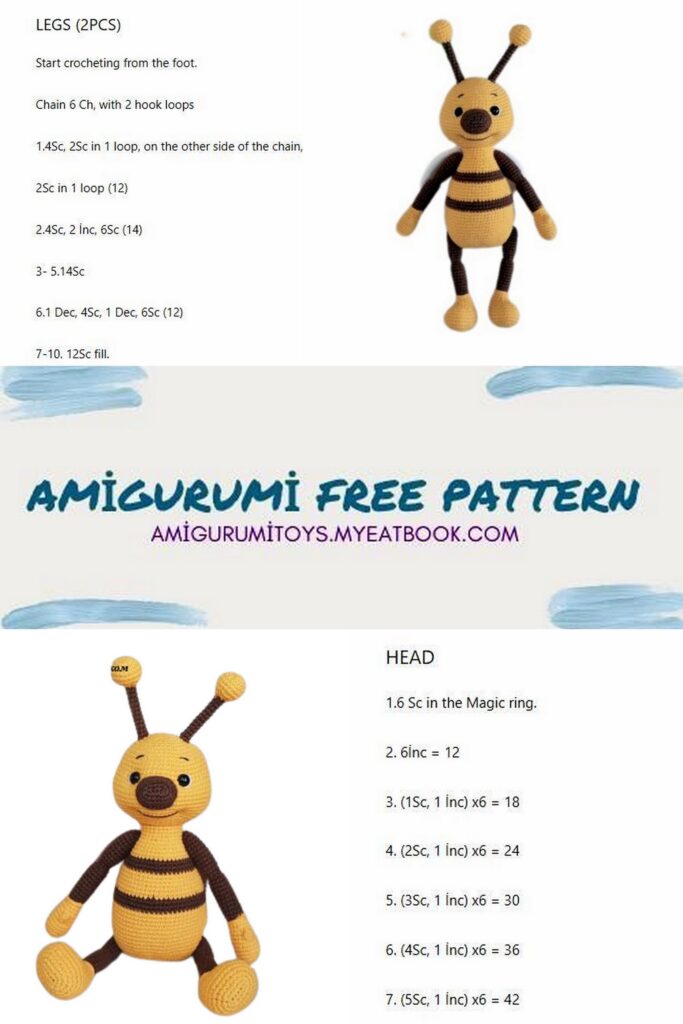
Head.
1 row: 6 SC in MR. – (6)
2nd row: 6 İNC. – (12)
3rd row: (1SC., 1 İNC.) *6 – (18)
4 row: 1 SC., 1 İNC., (2 SC., 1İNC.) * 5, 1 SC. – (24)
5 row: (3 SC., 1 İNC.) * 6 – (30)
6 row: 2 SC., 1 İNC., (4 SC., 1 İNC.) * 5, 2 SC. – (36)
7 row: (5 SC., 1 İNC.) * 6 – (42)
8 row: 3 SC., 1 İNC., (6 SC., 1 İNC.) * 5, 3 SC. – (48)
9 row: (7 SC., 1 İNC.) * 6 – (54)
10 row: 4 SC., 1 İNC., (8 SC., 1 İNC.) * 5, 4 SC. – (60)
11,12,13,14 – 4 rows – (60)
(Here we increase as follows: in one loop 1 SC for BLO, 1 SC for both loops – 2 SC.)
15 row: 12 SC., marker, (1 İNC., 2 SC.) * 12, marker, 12 SC. – (72)
(Mark the beginning and end of the increase with a contrasting thread. We do this in order to form the cheeks.)
Important!!! The reductions must strictly be above the increases! To do this, we align the fabric by knitting or unraveling the required amount of SC.
16, 17, 18, 19, 20, 21, 22, 23 – 8 rows – (72)
(insert eyes between 14 and 15 rows:
24 SC., 1st eye, 11 SC., 2nd eye, 25 SC.) (decreases – 2SC. together for FLO)
24 row: 12 SC., (1 DEC., 2 SC.) * 12, 12 SC. – (60)
25 row: 4 SC., 1 DEC., (8SC., 1 DEC.) * 5, 4 SC. – (54)
26 row: (7 SC., 1 DEC.) * 6 – (48)
27 row: 3 SC., 1 DEC., (6SC., 1 DEC.) * 5, 3 SC. – (42)
28 row: (5 SC., 1 DEC.) * 6 – (36)
29 row: 2SC., 1 DEC., (4 SC., 1 DEC.) * 5, 2 SC. – (thirty)
(Finish the detail. Fasten and hide the thread.)
Antennae
(2 pieces knit equally)
Yellow yarn:
1 row: 7 SC., in MR – (6)
2 row: 7 İNC. – (14)
3 row: (1 SC., 1 İNC.) * 7 – (21)
4,5,6 – 3 rows – (21)
7 row: (1SC., 1 DEC.) * 7 – (14)
8 row: 7 DEC. – (7)
Change the thread to brown.
9, 10, 11, 12, 13, 14, 15, 16, 17 – 9 rows – (7)
(Finish detail. Leave a long thread for sewing the antennae to the head.)
Spout.
With brown yarn, cast on a chain of 5CH., in the 2nd loop from the hook:
1 row: 1 İNC., 2SC., 3SC. in 1 loop, on the other side of the chain – 3SC., – (10)
2 row: 2 İNC., 2 SC., (1 İNC.) * 3, 2 SC., 1 İNC. – (16)
3 row: (1 SC., 1 İNC.) * 2, 2 SC., ( 1 SC., 1 İNC.) * 3, 2 SC., (1 SC., 1 İNC.) – (22) 4, 5 – 2 rows – (22)
(Finish the detail. Leave the thread for sewing the spout to the head.)
Pens.
(2 pieces knit the same)
(Don’t push the handles too hard)
Yellow yarn:
1 row: 6 SC., in MR – (6)
2nd row: 6 İNC. – (12)
3 row: (1 SC., 1 İNC.) * 6 – (18) 4,5,6 – 3 rows – (18)
7th row: 1 DEC., 16 SC. – (17)
8 row: bump, 16 SC. – (17)
9 row: 1 DEC., 15 SC. – (16)
10 row: 1 DEC., 6 SC., 1 DEC., 6SC. – (14)
11 row: – (14)
Change the thread to brown, behind the back FLO: (do not cut the yellow thread)
12 row: – (14)
13, 14, 15, 16, 17, 18, 19, 20, 21, 22 – 10 rows – (14)
23 row: 7 DEC. – (7)
24 row: 7 İNC. – (14)
25, 26, 27, 28, 29, 30, 31, 32, 33, 34 – 10 rows – (14)
35 row: 7 DEC. – (7) (pick up 7 SC. together behind FLO and pull hole. H hide the dot).
We return to the 12th row and make the strapping SL-ST in a circle for the left FLO. – (14)
Legs.
(2 pieces fit the same)
Yellow thread.
Cast on 6 CH, and in the 2nd loop from the hook:
1 row: 1 İNC., 3 SC., 3 SC in 1 loop, on the other side – 4 SC. – (12)
2 row: (1 İNC.) * 2, 3 SC., (1 İNC.) * 3, 3 SC., 1 İNC. – (18)
3 row: (1 İNC.) * 3, 6 SC., (1 İNC.) * 3, 6 SC. – -(24)
4 row: (3SC., 1 İNC.) * 6 – (30)
5 row: (2SC., 1 İNC., 2SC.) * 6 – (36)
6, 7, 8 – 3 rows – (36)
Align the fabric by knitting 4 SC. From now on, the marker should be exactly in the center of the heel.
9 row: 7SC., (1 DEC., 2 SC.) * 5.1 DEC., 7 SC. – (thirty)
10 row: 7 SC., (1 DEC, 1 SC.) * 5, 8 SC.- (25)
11 row: 7SC., 5 DEC., 8 SC. – (20)
12 row: 7 SC., 3 DEC., 7SC. – (17)
13th row: 1 DEC., 5 SC., 1 DEC., 6 SC., 1 DEC. – (14)
14 row: – (14)
15 row: change of thread (for the back FLO, do not cut the yellow thread) – (14)
16, 17, 18, 19, 20, 21, 22, 23, 24, 25, 26 – 11 rows – (14)
(Go back to row 15 and work SL-ST – 14)
27 row: 7 DEC. – (7)
28 row: 7 İNC. – (14)
29, 30, 31, 32, 33, 34, 35, 36, 37, 38.39 – 11 rows – (14)
40 row: 7 DEC. – (7)
(pick up 7 SC. for the front FLO and pull off the hole. Hide the thread).
Body.
With a yellow thread, dial a chain of 13 CH, into the 2nd loop from the hook:
1 row: 1 İNC., 10 SC., 3SC in 1 loop, on the other side – 11 SC. – (26)
2 row: 2 İNC., 10 SC., 3 İNC., 10 SC., 1 İNC. – (32)
3 row: (1 SC., 1 İNC.) * 2, 10 SC., (1 SC., 1 İNC.) * 3, 10 SC., (1 SC., 1 İNC) – (38)
4th row: (2 SC., 1 İNC)*2, 10 SC., (2 SC., 1 İNC)*3, 10 SC., (2 SC., 1 İNC) – (44)
5 row: (3 SC., 1 İNC.) * 2, 10 SC., (3SC., 1 İNC.) * 3, 10 SC., (3 SC., 1 İNC) – (50)
6th row: (4 SC., 1 İNC.)*2, 10 SC., (4 SC., 1 İNC.)*3, 10 SC., (4 SC., 1 İNC.) – (56)
7 row: (3 SC., 1 İNC) * 14 – (70)
8 row: 21 SC., 1 İNC., 34 SC., 1 İNC., 13 SC. – (72)
9,10,11,12,13,14,15 – 7 rows – (72)
16 row: (10 SC., 1 DEC.) * 6 – (66)
17,18,19 – 3 rows – (66)
(We don’t knit the 19th row to the end (the middle of the back), change the thread to brown. We knit the next 3 rows with brown yarn. The transition of the thread will hide the wings.))
20, 21, 22 – 3 rows – (66)
(Row 22 – change the thread in the same place to yellow)
23 row: (9SC, 1 DEC.) * 6 – (60)
24, 25, 26 – 3 rows – (60)
27 row: 4 SC, 1 DEC., (8SC, 1 DEC.) * 5, 4SC. – (54)
28, 29 (thread change), 30 – 3 rows – (54)
31 row: (7SC., 1 DEC.) * 6 – (48)
32 (thread change), 33 – 2 rows – (48)
34 row: 3SC., 1 DEC., (6 SC, 1 DEC.) * 5, 3 SC. – (42)
35 – (42)
36 row: (5 SC., 1 DEC.) * 6 – (36)
37 row: 2 SC., 1 DEC., (4 SC., 1 DEC.) * 5, 2 SC. – (thirty)
38, 39, 40 – 3 rows – (30)
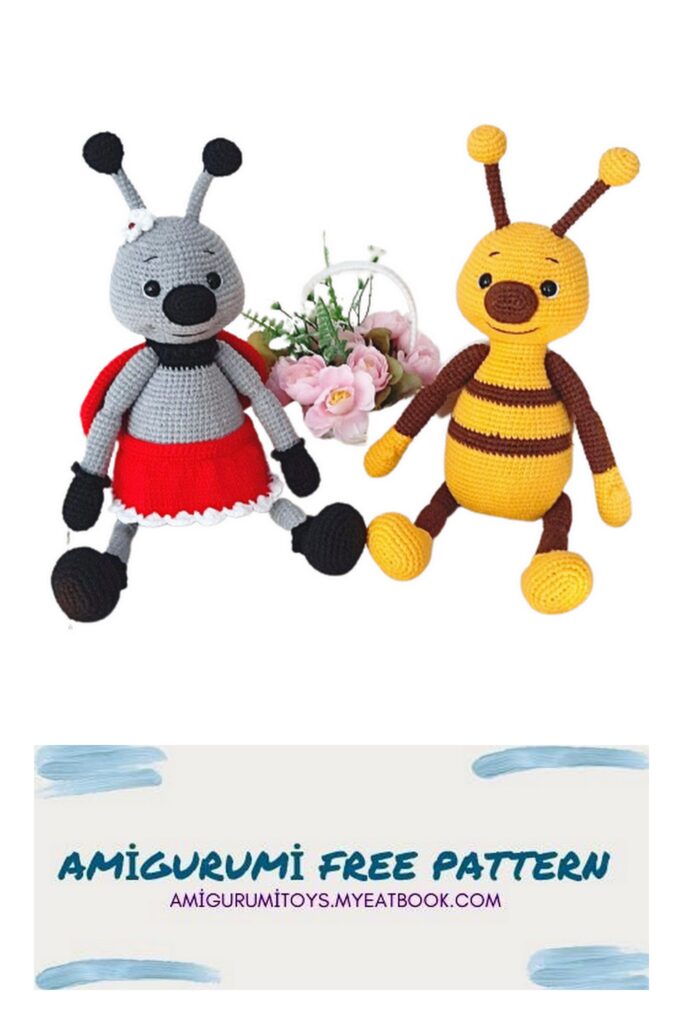
The number of stripes in the bee, and the options for their placement, you can arrange to your taste.
(Complete the detail. Leave a long thread for sewing the body to the head.)
Wings.
(2 pieces knit the same)
1 row: 6 SC., in MR – (6)
2 row: 6 İNC., – (12)
3 row: (1 SC., 1 İNC.) * 6 – (18)
4 row: 1 SC., 1 İNC., (2 SC., 1 İNC.) * 5, 1SC. – (24)
5 row: (3 SC., 1 İNC.) * 6 – (30)
6 row: 2SC., 1 İNC., (4 SC., 1 İNC) * 5, 2 SC. – (36)
7 row: (5SC., 1 İNC) * 6 – (42)
8, 9, 10, 11, 12, 13, 14, 15, 16, 17, 18, 19 – 12 rows – (42)
Align the canvas – 2 SC – marker. (Next, hold the marker exactly at
the side of the winglet, knitting as many SC. as required for this, then the part will not twist.)
20 row: (5 SC., 1 DEC.) * 6 – (36)
21 row: (36)
22 row: 2 SC., 1 DEC., (4 SC., 1 DEC) * 5, 2 SC. – (thirty)
23 row: (30)
24 row: (3 SC., 1 DEC.) * 6 – (24)
25 row: (24)
26 row: 1SC., 1 DEC., (2 SC., 1 DEC) * 5, 1 SC. – (18)
27 row: (18)
28 row: (1 SC., 1 DEC.) * 6 – (12)
29 row: (12)
Fold piece in half and work 5 sc. for both sides of the part.
Leave a long thread for sewing the wing to the body.
Assembly and decoration.
Let’s start with the snouts of the muzzle.
The photo shows the sequence of inserting the needle in one place or another, in numbers.
Be careful!
We outline with needles the places for tightening the smile. From the middle of the eye down – 8 rows.
We tighten the threads under each eye in the course of work.
Pull both threads, giving the muzzle the desired shape.
Then bring the thread inside the head, tie knots.
Embroider the whites of the eyes.
Tie a knot and bring the thread out (by inserting the needle into the same hole where the embroidery began) inside the head.
Embroider eyebrows.
Tie a knot. Hide the thread.
Embroider a smile with a brown thread (I have YarnArt jeans).
Pull the threads, tie a knot. Hide.
Sew antennae (between 5th and 7th rows from the beginning of knitting) and spout (between 14th and 21st rows) to the head.
Sew the head to the body.
Then, we fasten the handles between 6 and 7 next to the head and the legs between 7 and 8 next to the beginning of knitting the body, using the Iris thread in two additions.
(Note that the knobby fingers on the attached hands are turned towards you.)
Fasten the thread on the hand, stepping back 2 rows from the end of knitting.
We bring the thread symmetrically on the other side of the body, stepping back 6 !!! rows from the head.
We fasten the thread on both hands as in the photo.
Attaches to legs the same way.
Fasten your hands by stretching the thread back and forth 2 times.
Then, wrap the thread around the main fastener, tie a knot, and hide the arms (legs) inside.
Step back on the arm 2 rows down, fasten the thread
Retreat b 6
rows down from
heads!!!
The thread is withdrawn and then inserted at the same place between the SC!!!
between 7 and 8 next!!!
Pull the thread through the inside of the arm, stepping back 3 SC from the initial needle insertion. Sew on the wings right under the head.
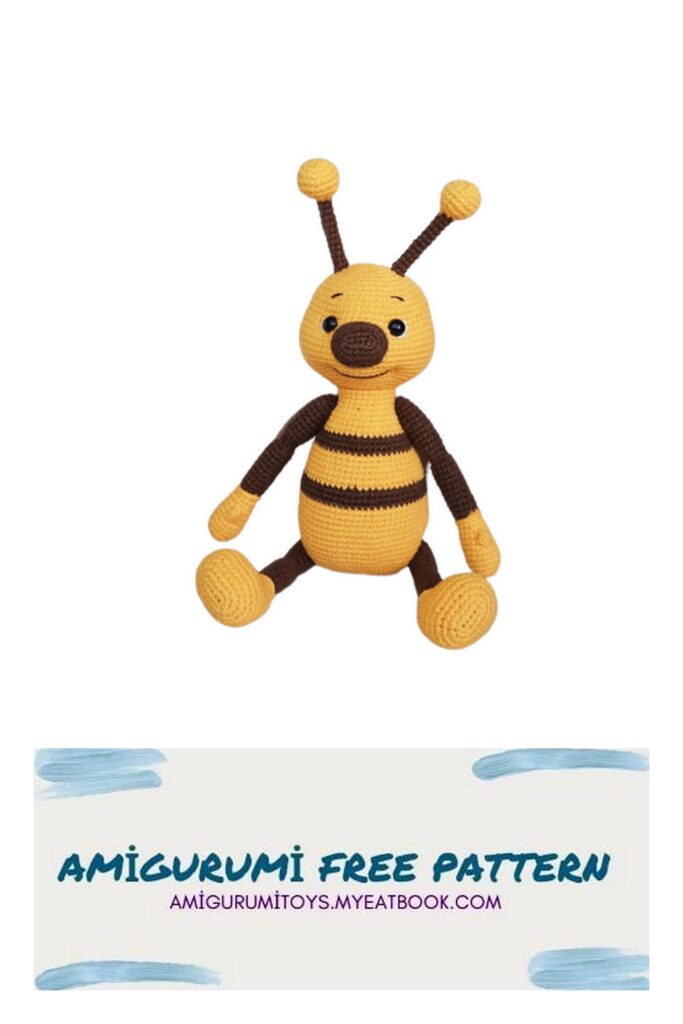
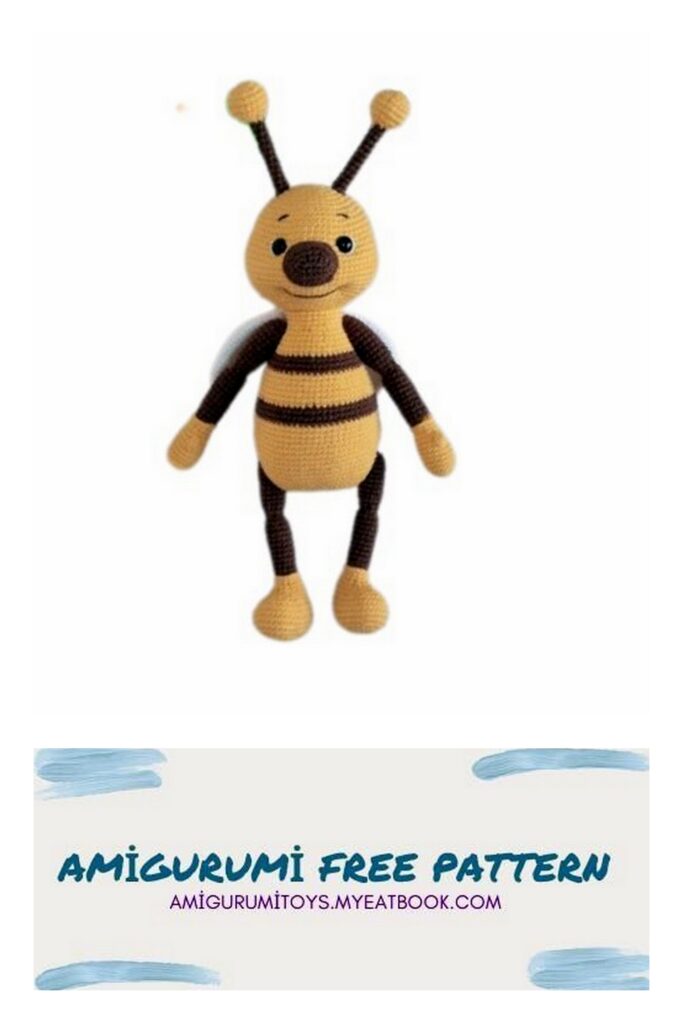
Your bee is ready!