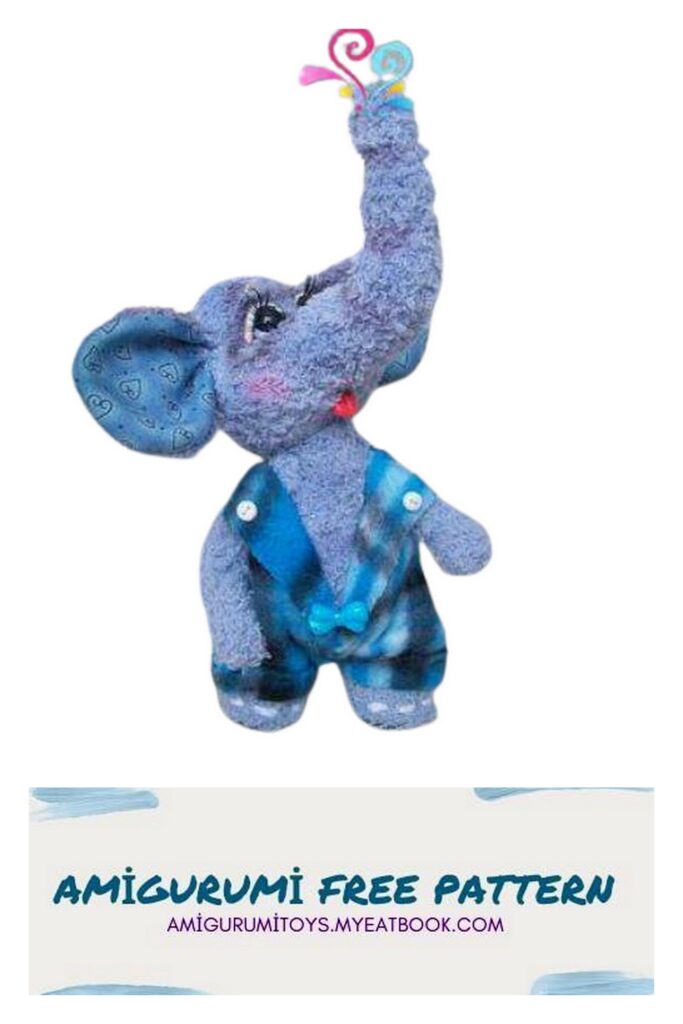
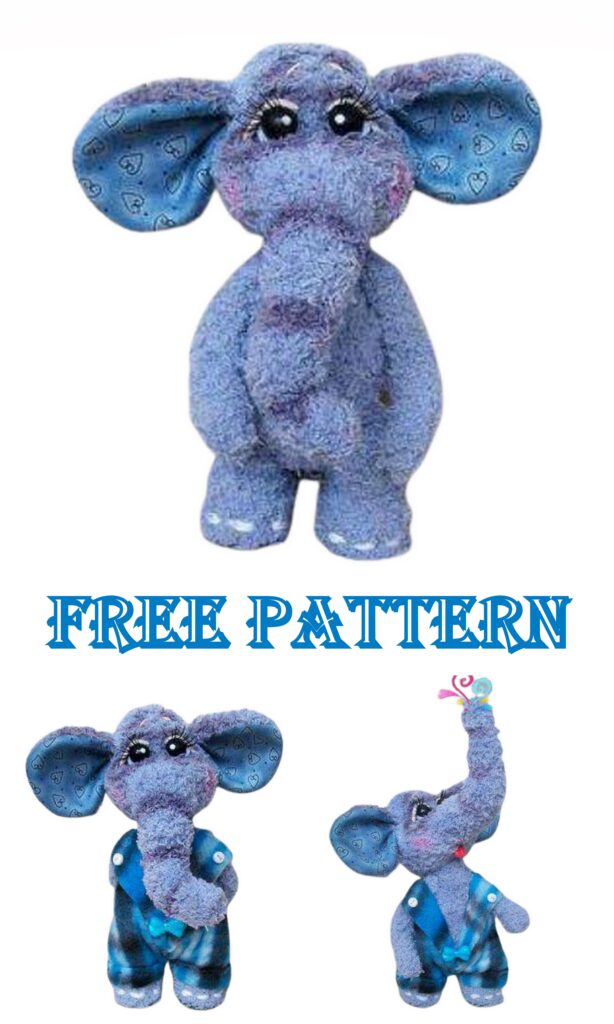
Elephant THOMAS.
You can knit from any yarn you have – from fur, from smooth.
My elephant is connected from Kuzi Klulubochkin in one loose thread.
We knit finishing feet from acrylic of suitable thickness.
Hook 1.75. The height of the toy is 16cm.
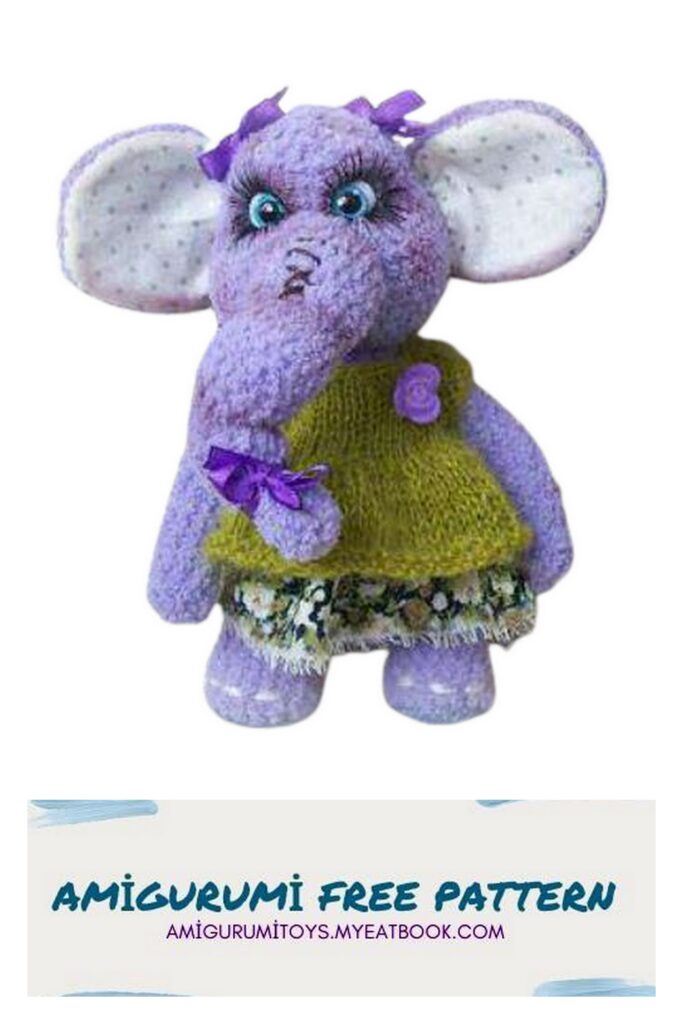
The Elephant Girl is crocheted from Adelia Softy.
She got bigger. Her height is about 18 cm.
abbreviations
CH – air loop
MR – amigurumi ring
İNC – increase
DEC – decrease
SC – single crochet
HDC – half double crochet
DC – double crochet
BODY.
We knit with the main yarn from the base up to the neck.
1p -6SC. in MR
2p -6İNC = 12p
3p – (1SC, İNC) x6 = 18p
4p – (2SC, İNC) x6 = 24p
5p – (3SC, İNC) x6 = 30p
6p-15p -30SC (10 rows)
16p – (3SC., DEC.) x6 = 24p
17r-19r – 24 SC (3 rows)
20r -6 SC., 6DEC., 6SC = 18p
mark the middle of the decreases with a marker, this is the breast of an elephant.
21r-22r – 18SC
Add filler. Insert cotter pin
23p – (1SC.,DEC.) x6 = 12p
24r – DECx6
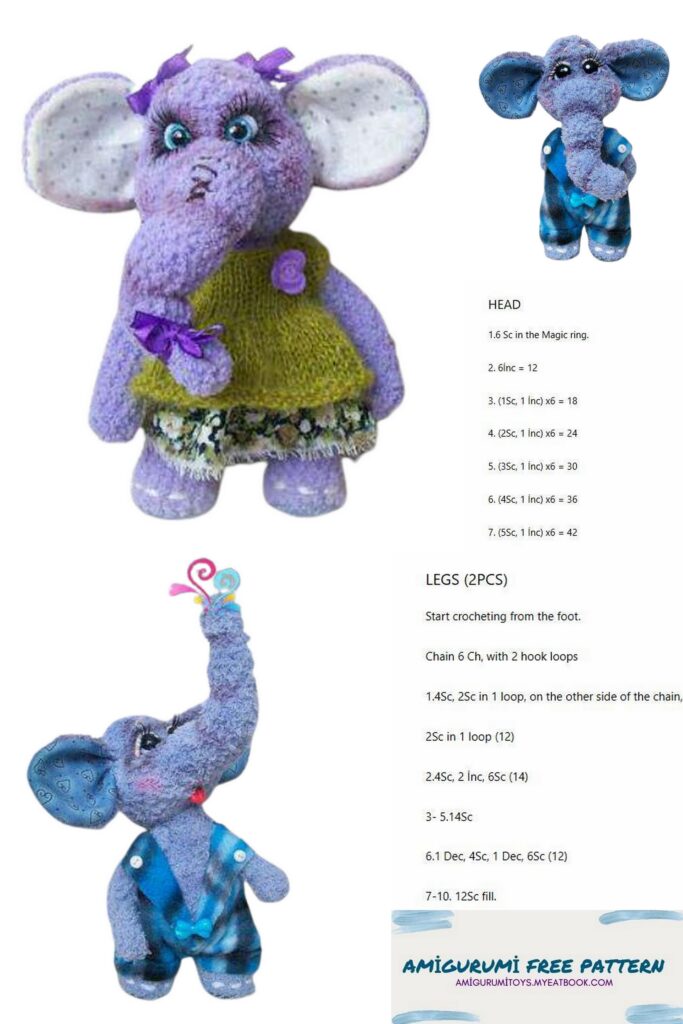
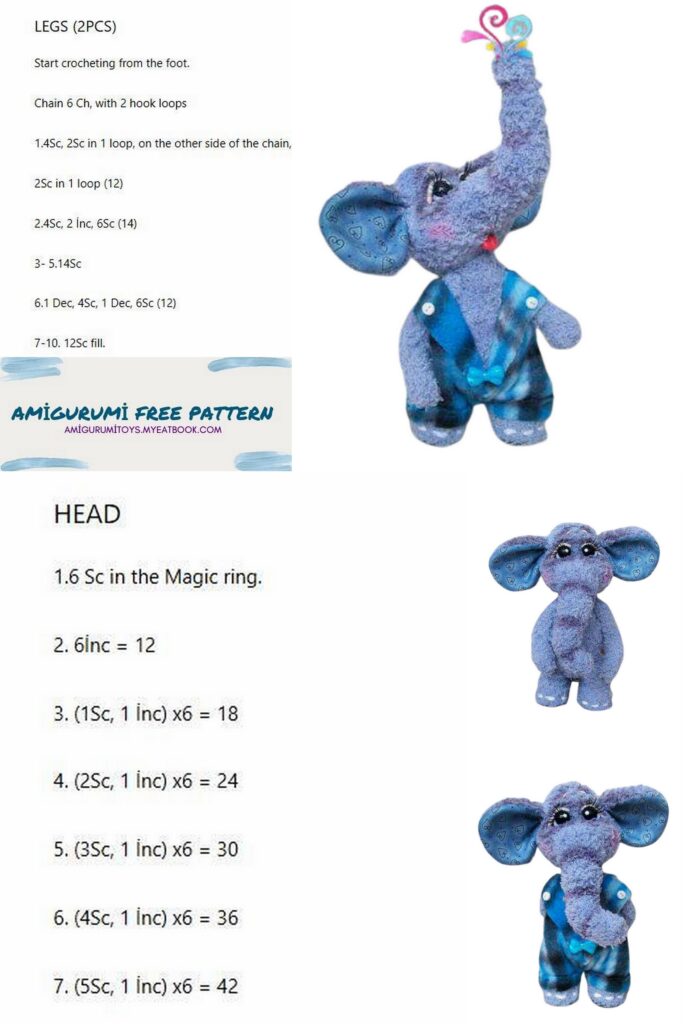
HEAD.
We knit the main yarn from the neck up to the crown.
1p-6sc in mr
2p-İNC x 6 = 12p
3p-İNC x 12 = 24p
4p-(1SC., İNC.) x12 = 36p
5p-(2SC., İNC.) x12 = 48p
The part will fold a little, don’t worry, everything will straighten out later!
6p-12p-48SC (7 rows)
Connect the head to the body with a cotter pin.
13p-16SC.,8 DEC.,16SC = 40p
Put a marker in the middle of the reductions, this is the center of the muzzle.
This will then help us orient the body and head in the right position.
14r-12SC., 8 DEC., 12SC = 32p
15r- DEC., 28SC., DEC = 30p
16r-18r-30SC (3 rows)
19p-15 DEC = 15p
Stuff your head with filler in small portions to fill
evenly throughout the space, especially highlight the cheeks.
20p-(1SC.,DEC)x5 = 10p
21p-DECx5
TRUNK.
1p-6sc in mr
2p-(1SC.,İNC) x 3 = 9p
3p-7p-9SC (5 rows)
8p-(2 SC., İNC) x3 = 12p
9r-13r-12 SC (5 rows)
14p-(3SC., İNC) x3 = 15p
15p-19p-15SC (5 rows)
20r-(4SC., İNC) x3 = 18p
21r-25r-18SC (5 rows)
Insert the wire, do not stuff it very tightly around it.
EARS. 2 details.
1p-6SC. in MR
2p-İNC x 6 = 12p
3p-İNC x 12 = 24p
4p-(3SC.,İNC)x6=30p
5p-(4SC.,İNC)x6=36p
6p-(5SC.,İNC)x6=42p
7p-(6SC.,İNC)x6=48p tie CH and turn
8p-42SC (do not knit the remaining 6SC)
It turns out such a straight section (6 loops not knitted in the 8th row) on the ear, we will then attach it when we sew the ears to the head.
Sew on fabric (optional).
UPPER LEGS. 2 details.
We knit from the main yarn, do not stuff, insert a wire inside the foot for flexibility.
Put the filler a little in the palm of your hand, and then wrap the wire with adhesive tape and insert it into the handle.
1p-6sc in mr
2p-(1SC.,İNC) x3 = 9p
3p-22p- 9SC (20 rows)
23p-(1SC.,DEC)x3=6p
Close the hole with a needle.
LEGS. 2 details.
We start knitting with finishing yarn (color of the sole).
If you want the beast to stand firmly, then you will need to cut and paste insoles made of dense material into the sole.
1p-6sc in mr
2p-6İNC = 12p
3p-(1SC,İNC)x6=18p
4p-18sc
Switching to the main yarn
5p-18SC for rear hinges
6p-9p-18SC (4 rows)
Insert insoles
10p-6SC.,3DEC.,6SC =15p
11r-15sc
12r-6SC., İNC.x3., 6SC = 18p
13p-16p-18SC (4 rows)
17p-(1SC.,DEC)x6=12p
Add filler.
18p-DECx6
TAIL.
15CH
1p-14sc in 2nd st from hook
Leave a thread for sewing.

ASSEMBLY.
We have marked the breast and the center of the muzzle with markers, you need to combine them.
Let’s make a tightening for the cheeks.
With pins, mark the places where we will have eyes and a mouth.
Insert the needle at the bottom of the head in the place where you want to make a mouth, pull out the needle in the right eye, just in the place where we made reductions on the muzzle, take a small step and return to the mouth, pull the thread.
Then insert the needle into the left eye, take a step and return to the mouth.
Pull the thread and fasten in the mouth. Cheeks immediately rounded.
Shape the eyes, embroider the eyebrows. Apply tint.
Now attach the trunk to the convex part of the mordeni, insert the wire into the head, sew the trunk in a circle.
Ears can be sewn on and applied as you like, play with them, because the image of an elephant will change.
If your yarn was not very furry, then those places where we made additions will be clearly visible on the trunk. So these places can be wrapped with yarn and pulled a little, make such 3 constrictions. We will apply tinting for beauty on these constrictions.
Attach the handle-legs with a thread fastener.
Embroider nails on the legs. Sew the tail in the right place.
I also molded a small tongue out of plastic, then glued it into the hole where the mouth is.
Toning, eye design, clothes, it’s all at your discretion and desire.
Our elephant Thomas is ready!!!!!