FOR KNITTING PIGI WE WILL NEED:
1. Plush yarn in two colors himalaya dolphin baby or yarnart dolce. Yarn can take any color that you think goes well with each other.
2. A hook of the right size for your yarn (I have a 3 mm hook)
3. Filler holofiber or sintepukh.
4. Threads to match the yarn for sewing on details.
5. Black thread for embroidery of eyebrows and eyelashes.
6. Eyes 13-15 mm. On a secure mount or half beads.
7. Buttons 4 pcs (fastening of handles and legs).
8. Tulle or any fabric for a skirt.
9. Any yarn for a sundress (I have yarnart yeans).
10. Needle for sewing on details, scissors and a marker for loops.

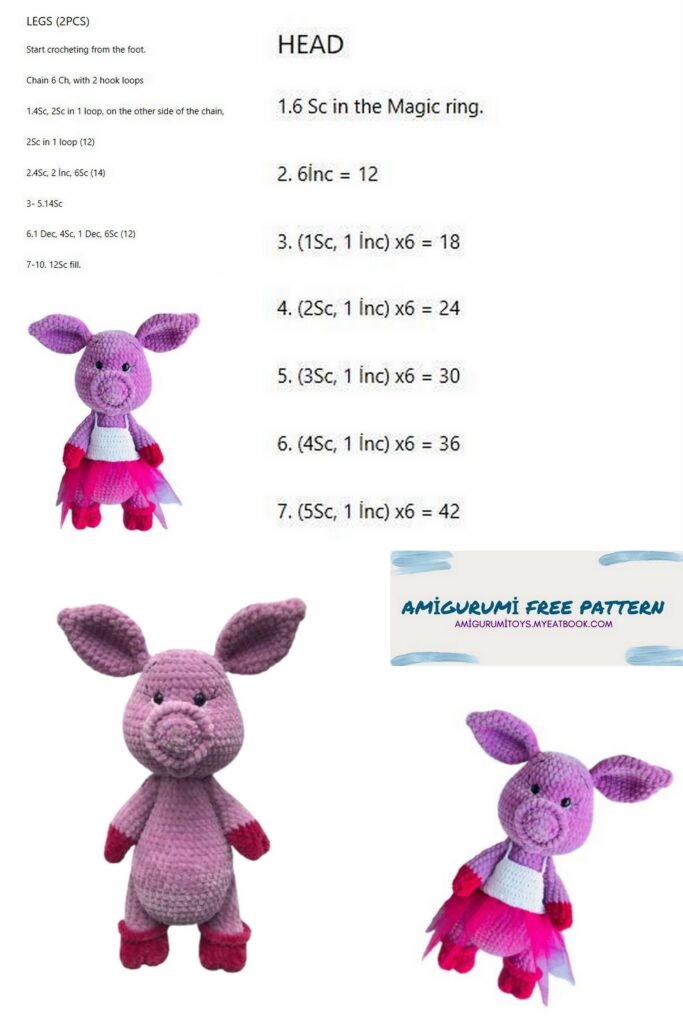
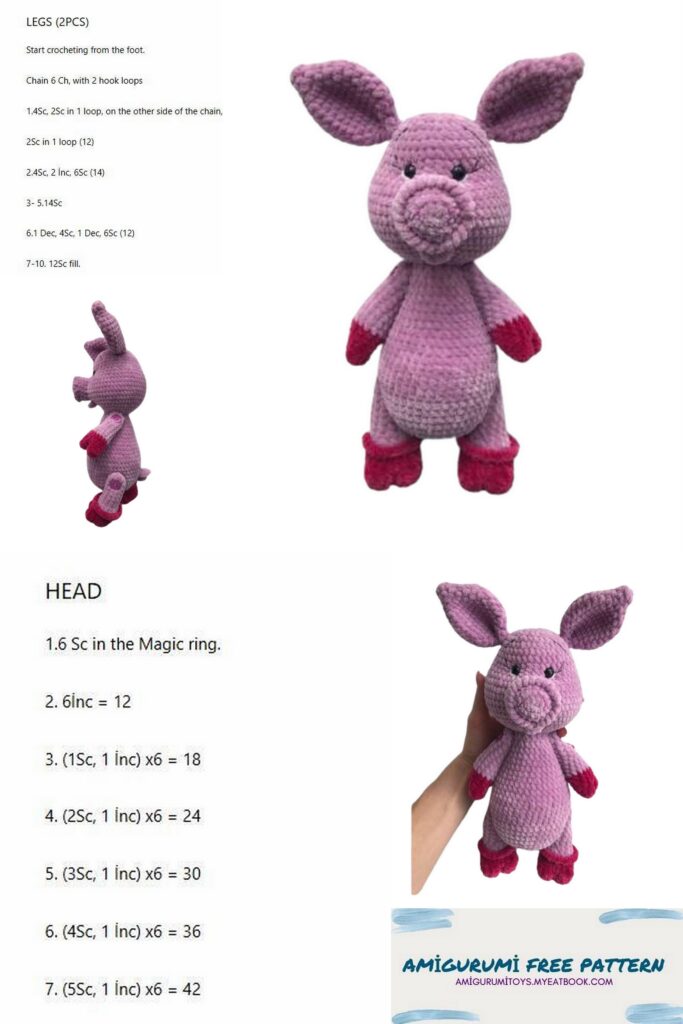
LEGS UPPER 2 PCS:
We start knitting in dark color.
We stuff in the course of knitting.
We do not cut the thread from the second part. The details are knitted from 1 to 3 rows, then we connect them.
1) 5 SC to MR (5)
2) 5SC (5)
3) (İNC, 1SC)*2, 1SC (7)
connect.
4) 7 SC on the first part and 7 SC on the second part.
5) (İNC, 6SC)*2 (16)
6) 16 SC, change the color of the thread to the main one.
7) 16SC (16)
8) (DEC, 6SC)*2 (14)
9) (DEC, 5SC)*2 (12)
10) (DEC, 4SC)*2 (10)
11-15) 5 rows (10)
16) 5 reductions
Cut the thread, fasten.
LOWER LEGS 2 PCS:
We start knitting in dark color.
We stuff in the course of knitting.
1) we collect a chain of 5 air loops, we knit from the second loop from the hook: İNC, 2 SC, 3 SC in 1 loop, 2 SC, İNC (11)
2) 2 İNC, 1 SC, 1 pssn (half double crochet), 3 İNC from pssn, 1 pssn, 2 SC, İNC (17) + 2 p offsets. (see photo)
3) for the back loops 10 SC, 4 dc in 1 loop, 2 SC, 4 dc in 1 loop, 4 SC (24) (see photo)
4) 10 SC, 2 DEC from ss, 2 SC, 2 DEC from ss, 4 SC (20)
5) 20 SC (20) (see photo)
6) 10SC, 4DEC, 2SC (16)
7. 1) for the front half loops we knit 16 increments, we connect the knitting ss, fasten and
cut the thread.
7. 2) we attach the thread of the main color to the 7th row, 1 lifting loop and behind the back
we knit half loops 16 SC.
8) DEC, 3SC (1SC, DEC)*3, 2SC (12)
9) 8SC, DEC, 2SC (11)
10-15) 6 rows (11)
16) 6 reductions
cut the thread, fasten.
EARS 2 PCS:
1) 6 SC to MR (6)
2) 6SC (6)
3) (İNC, 1SC)*3 (9)
4) (2SC, İNC)*3 (12)
5) (1 SC, İNC)*6 (18)
6) (2SC, İNC)*6 (24)
7-11) 5 rows (24)
12) DEC, 8SC, 2DEC, 8SC, DEC (20)
13) DEC, 6 SC, 2 DEC, 6 SC, DEC (16)
14) DEC, 4SC, 2 DEC, 4SC, DEC (12)
15) 12 SC (12) + 1 st offset
Fold the eyelet in half and knit 6 SC behind both walls, fold again and sew.
Fasten the thread, cut.
PITTLE:
1) cast on 4 ch, from the second loop from the hook we knit: İNC, 1 SC, 3 SC in 1 p, 2 SC.
2) 2 İNC, 1 SC, 3 İNC, 1 SC, İNC.
3) (1 SC, İNC)*2, 3 SC, (1 SC, İNC)*2, 3 SC.
4) (2 SC, İNC)*2, 3 SC, (2 SC, İNC)*2, 3 SC.
5) behind the back loop 22 SC.
6-7) (22)
we attach the thread to the half loops of the 5th row and knit the row with a crustacean step. Fasten the thread, cut.
MOUTH:
1) 6 SC to MR (6)
2) increase 6 times (12)
Sew under the patch at the point of the mouth.
TAIL:
Dial 11 ch, from the second in each ch an increase from pssn (10)
BODY/HEAD:
Knitted in one piece
1) 6 SC to MR (6)
2) 6 inch (12)
3) (1 SC, İNC)*6 (18)
4) 1 SC, İNC, (2 SC, İNC)*5, 1 SC (24)
5) (3 SC, İNC)*6 (30)
6) 2SC, İNC, (4SC, İNC)*5, 2SC (36)
7) (2SC, İNC)*12 (48)
8-12) 48SC (48)
13-14-15) 16 SC, 16 PSSN, 16 SC (48)
In the 15th row, knit 16 SC (place a marker), 16 dc (place a marker), 16 SC.
This we marked the middle of the tummy, for reference, where we will draw up later muzzle.
16) (6 SC, DEC)*6 (42)
17-18) 42 SC (42)
19) (5 SC, DEC)*6 (36)
20-21) 36 SC (36)
22) (4SC, DEC)*6 (30)
23-24) 30 SC (30)
25) (3SC, DEC)*6 (24)
26) (2SC, DEC)*6 (18)
27) (1 SC, DEC)*6 (12)
We stuff the body.
We do not cut the thread, we knit the head.
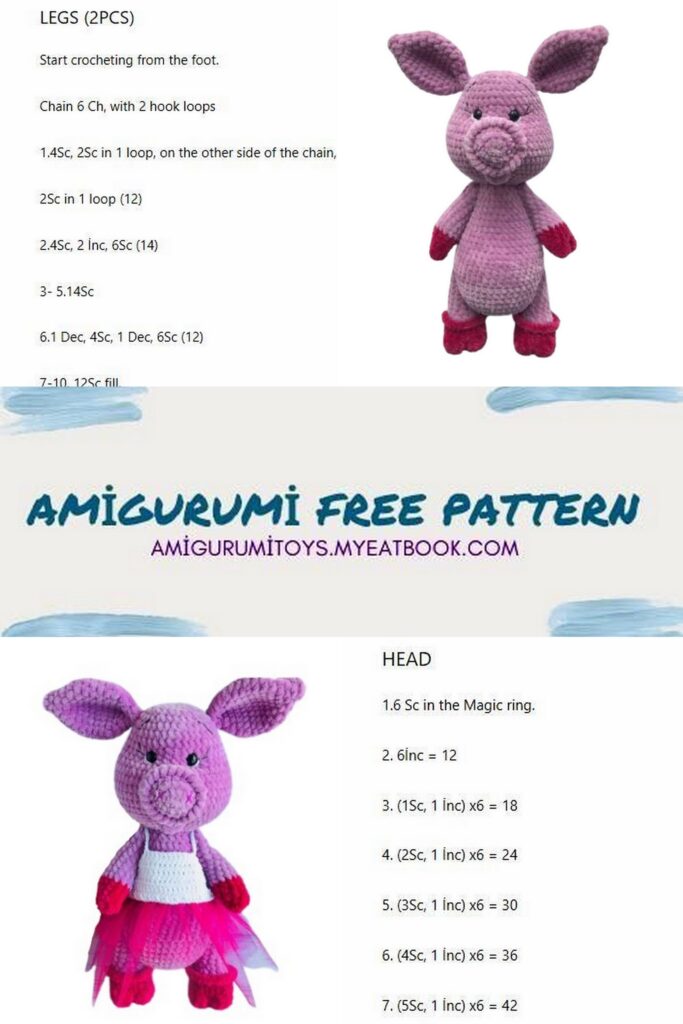
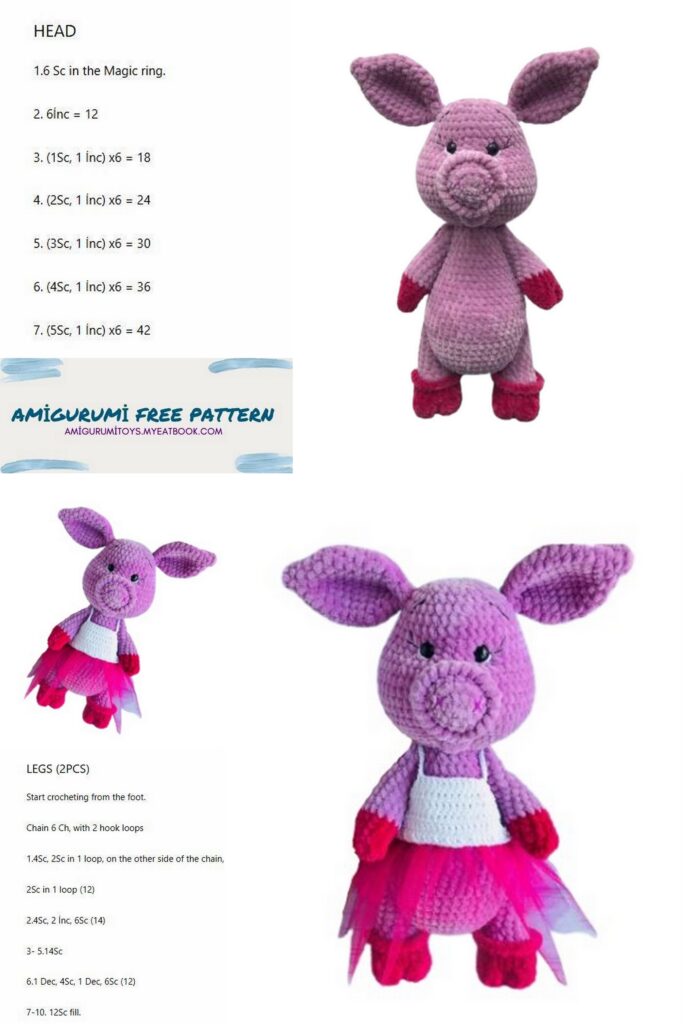
HEAD:
28) 12 increments (24)
29) (1 SC, İNC)*12 (36)
30) (5 SC, İNC)*6 (42)
31) 3SC, İNC, (6SC, İNC)*5, 3SC (48)
32) (7SC, İNC)*6 (54)
33) 4SC, İNC, (8SC, İNC)*5, 4SC (60)
34-38) 60 SC (60)
39) 4SC, DEC, (8SC, DEC)*5, 4SC (54)
40) (7 SC, DEC)* 6 (48)
41) 3SC, DEC, (6SC, DEC)*5, 3SC (42)
42-45) 42SC (42)
We insert the eyes on a secure mount between 43 and 44 rows at a distance of 6 p.
From marker work 25 SC, insert eye, 6 SC, insert eye, work remaining sts.
We stuff our heads.
46) (5 SC, DEC)*6 (36)
47) 2SC, DEC, (4SC, DEC)*5, 2SC, DEC (30)
48) (3SC, DEC)*6 (24)
49) (2SC, DEC)*6 (18)
Add filler.
50) (1 SC, DEC)*6 (12)
We knit decreases until closing. Cut the thread, fasten.
DECOR:
Eye and mouth tightening.
We mark with pins where we will make the tightening. Take a long needle and thread. We retreat 9 rows down from the peephole, mark the mouth with a pin. Our eyes are located between 43-44 rows.
We insert the needle where the mouth is marked and bring it out under the left eye, stepping back a little we insert the needle and bring it out where the mouth is, retreat 1 p and insert the needle at the right eye, stepping back a little we insert the needle and bring it out where we have a mouth. Repeat several times, while pulling the thread, making tightenings. We fix the thread and hide it inside the head.
We embroider whites on the outside of the eye with white threads.
We also embroider eyelashes (if a girl) and eyebrows with a two-fold thread so that the eyebrows can be seen. Embroider the nostrils.
ASSEMBLY:
Sew on the heel wheelbarrow under the eyes, in the course of sewing we fill with filler.
Sew the mouth under the patch. We sew the ears for 5-6 rows of the head. Sew the ponytail on the back.
Button fastening of legs:
To do this, we need: a large needle, strong cotton thread to match and buttons with two holes.
We thread a thread into the needle in four additions so that when tightening the thread does not break.
We try on our arms and legs to the body, and determine the place of attachment. We fasten the upper ones stepping back from the head 2 rows. We fasten the lower ones stepping back from the upper approximately 13-14 rows down. We pierce the leg (handle) and string the button by piercing the needle again into the foot. We pierce the torso, then we string a button on the second foot, retreat a couple of loops and pierce the torso in the opposite direction, bringing the needle back a couple of loops to the side where we started.
We tighten the ends of the threads and tie tightly into several knots. We hide the ends of the threads in the product.
Do not overtighten and tighten so that the arms and legs do not dangle.
SARAFAN:
Necessary materials:
1) Any yarn for a sarafan (I have YarnArt Yeans).
2) Tulle or any fabric for a skirt.
3) Hook for yarn (I have 2 mm).
4) Needle, scissors, button, decor (beads, bows, etc.)
We collect a chain of air loops equal to the circumference of the tummy of the toy.
I have 70 loops (you may have a different number), cast on 7 more loops. This will be the buttonhole.
We introduce the hook into a loop 8 from the hook and start knitting in a chain, we knit 70 dc.
We knit one row. Leave the thread for sewing on the buttons.
We determine the middle of the row and outline the location of the upper part. I have 20 loops. Next, we knit 5 rows of double crochet stitches, knitting 1 loop in each row of both sides.
We finish knitting. We make straps from the VP chain (I have 30 VP).
Choose the length and width of the tulle, focusing on your toy. I cut off tulle 2 times longer than a chain of 70 cc. We collect with a needle in an accordion and sew on the wrong side.
Sew on a button, decorate.
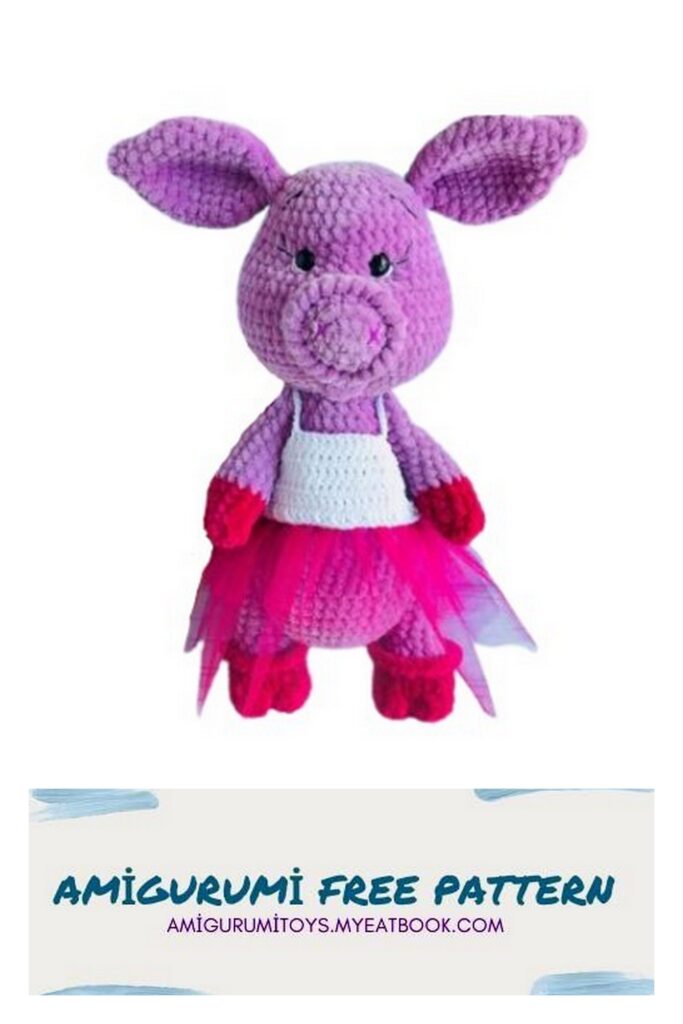
Our outfit for Piggy is ready!
We dress and admire the result!