To create this toy you will need:
• semi-cotton yarn (alize cotton gold, yarnart jeans, etc.)
• hook 2 mm;
• holofiber / synthetic winterizer;
• fabric for ears and cheeks;
• interlining/doublerin;
• eyes with a secure fastening 8 mm;
• 4 buttons 10-12 mm;
• cotton or semi-cotton yarn for embroidering the nose, mouth and eyebrows;
• thin thread for sewing cheeks and ears;
• a long needle with a wide eye for sewing on body parts;
• a marker (pin) to mark the beginning of a row.
ABBREVIATIONS:
MR – amigurumi ring;
SC – single crochet;
İNC – increase;
DEC – decrease;
CH – air loop;
(1 SC, İNC) * 6 – repeat the combination in brackets 6 times;
(1 SC, İNC) * 6 (18) – the number in brackets at the end of the line is the total number of single crochets in the row.
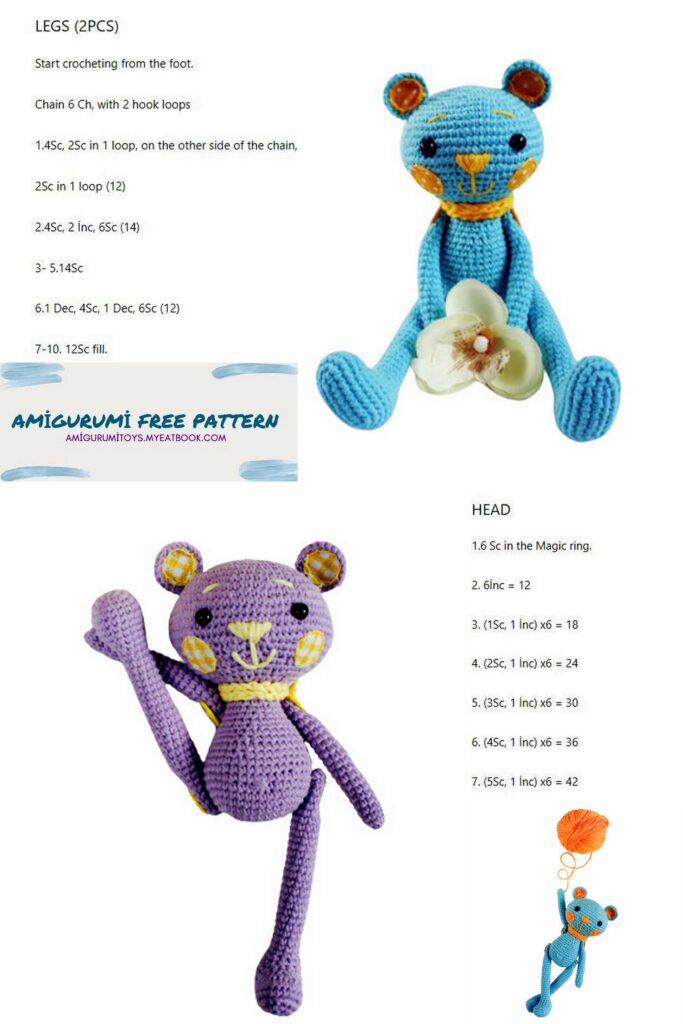
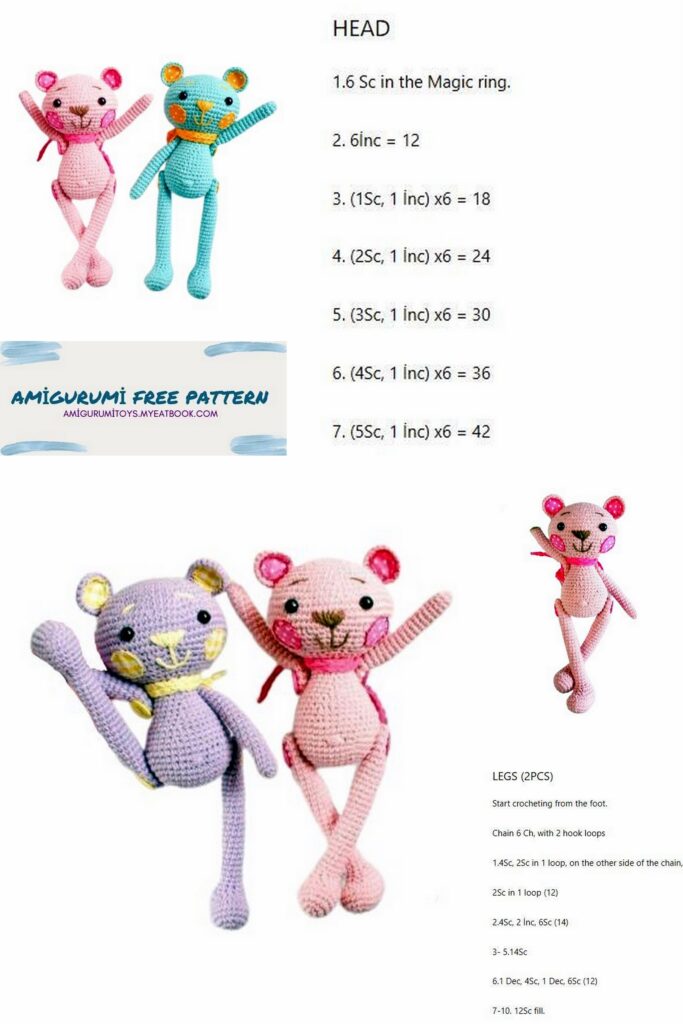
HEAD:
1. 6SC in MR (6);
2. 6 İNC (12);
3. (1SC, İNC)*6 (18);
4. (2SC, İNC)*6 (24);
5. 1SC, (İNC, 3SC)*5, İNC, 2SC (30);
6. (4SC, İNC) *6 (36);
7. 2SC, (İNC, 5SC)*5, İNC, 3SC (42);
8. (6SC, İNC)*6 (48);
9. 3SC, (İNC, 7SC)*5, İNC, 4SC (54);
10. (8SC, İNC)*6 (60);
11. 4SC, (İNC, 9SC)*5, İNC, 5SC (66);
12. (10SC, İNC)*6 (72);
13. – 15. (3 rows) unchanged (72);
16. (10SC, DEC)*6 (66);
17. 4SC, (DEC, 9SC)*5, DEC, 5SC (60);
18. (8SC, DEC)*6 (54);
19. 3SC, (DEC, 7SC)*5, DEC, 4SC (48);
20. (6SC, DEC)*6 (42);
21. 2SC, (DEC, 5SC)*5, DEC, 3SC (36);
– start stuffing your head with filler;
22. (4SC, DEC)*6 (30);
23. 1SC, (DEC, 3SC)*5, DEC, 2SC (24);
24. (2SC, DEC)*6 (18).
– finish knitting, cut the thread.
Insert eyes between 13 and 14 rows at a distance of 14 loops.
We embroider the nose between 14 and 17 rows.
Eyebrows between 9 and 11 side by side 3 sts wide and 1 st high.
EARS (2 parts):
1. 6SC in MR;
2. 6 İNC (12);
3. (1SC, İNC)*6 (18);
4. (2SC, İNC)*3, 9SC (21).
– finish knitting, leave a long end for sewing.
Glue a piece of fabric with interlining and cut 4 circles. I used a 15mm button as a template. Sew circles to the ears and cheeks.
Sew the ears to the head between
7 and 12 rows.
BODY:
Without connecting posts and lifting loops!
0.8CH;
1. from the second loop from the hook 6SC, 3SC in the last loop, 5SC on the other side of the chain, İNC (16);
2. İNC, 5SC, 3 İNC, 5SC, 2 İNC (22);
3. 1SC, İNC, 5SC, (1SC, İNC)*3, 5SC, (1SC, İNC)*2 (28);
4. 2SC, İNC, 5SC, (2SC, İNC)*3, 5SC, (2SC, İNC)*2 (34);
5. 3SC, İNC, 5SC, (3SC, İNC)*3, 5SC, (3SC, İNC)*2 (40);
6.- 8. (3 rows) unchanged (40);
9. (18SC, DEC)*2 (38);
10. (17SC, DEC)*2 (36);
11. (10SC, DEC)*3 (33);
12.33SC;
13. (9SC, DEC)*3 (30);
14.30SC;
15. (8SC, DEC)*3 (27);
16.27SC;
– start stuffing the body with filler;
17. (7SC, DEC)*3 (24);
18.24SC;
19. (6SC, DEC)*3 (21);
20.21SC;
21. (5SC, DEC)*3 (18).
– finish knitting, leave the thread for sewing.
Embroider the navel between 8 and 9 rows with a width of 2 loops.
LOWER LEGS (2 parts):
0.10CH
1. from the second loop from the hook 8SC, 3SC in the last loop, 7SC on the other side of the chain, RW (20);
2. İNC, 7SC, 3İNC, 7SC, 2 İNC (26);
3. 1SC, İNC, 7SC, (1SC, İNC)*3, 7SC, (1SC, İNC)*2 (32);
4.- 5. 2 rows unchanged (32);
6. 9SC, 7DEC, 9SC (25);
7.7SC, 5DEC, 8SC (20);
8.5SC, 5DEC, 5SC (15);
9. (3SC, DEC)*3 (12);
– tightly fill the foot;
10.- 34. (25 rows) unchanged (12) total 300SC;
35.6DEC(6).
– fill slightly half;
– pull the hole, hide the thread.
UPPER LEGS (2 parts):
1. 6SC in MR;
2. (1SC, İNC)*3 (9);
3. – 22. (20 rows) unchanged (9) total 180SC;
23.4DEC(5).
– fill slightly half;
– pull the hole, hide the thread.
TAIL:
1. 6SC in MR;
2. 6 İNC (12);
3. (1SC, İNC)*6 (18);
4.18SC;
5. (1SC, DEC)*6 (12).
– finish knitting, leave the thread for sewing.
SEWING DETAILS
• Sew the head to the body. Advice from the author: mark with markers in front the middle of the hole on the head and on the body;
we take a thread, thread each end into a separate needle, start sewing from the middle (where we marked with markers) and move the corresponding needle to the left and right. So both needles will meet at the back exactly in the middle, and the head will be sewn symmetrically to the body. As you sew, stuff the neck area so that the head does not outweigh and fall.
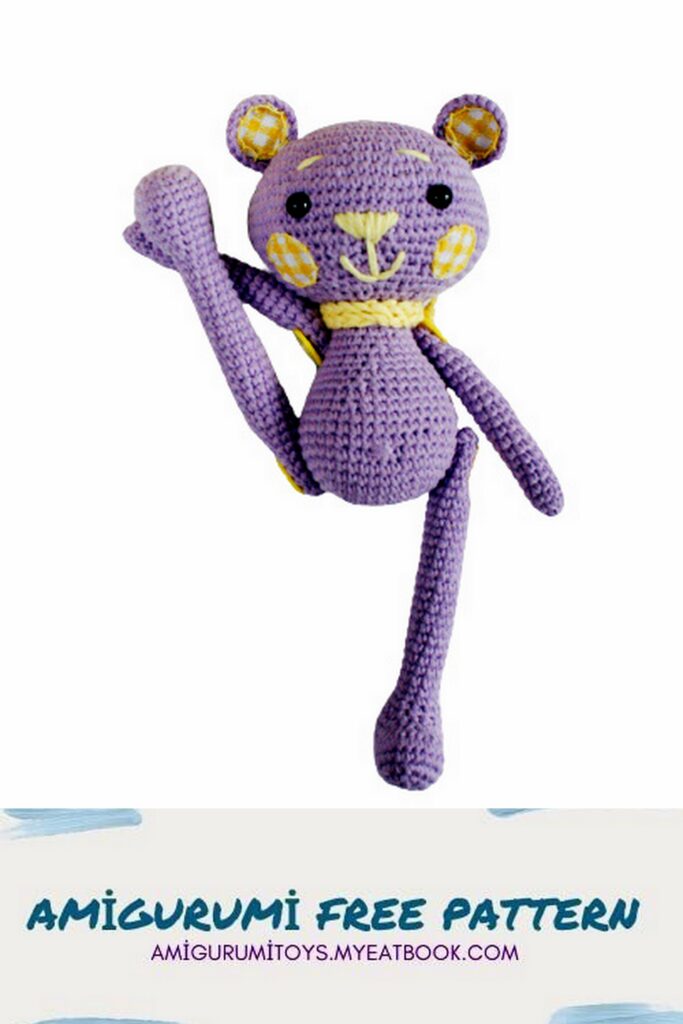
• Sew arms and legs with cotton/semi-cotton thread in 4 (or more) additions, as shown in the picture. This fastening is called button. Long needle with thread
we pass through the body at the attachment point of one arm / leg, go out at the attachment point of the second arm / leg, string the arm / leg onto the needle, then string the button and return through the same hole to the initial hole, string the second arm / leg, then the button and again through hand.
We tie the ends of the thread into several knots and hide the thread in the body.
• We sew a tail on the back so that our bear can sit and the tail does not interfere with him. This is approximately between 5 and 10 rows.
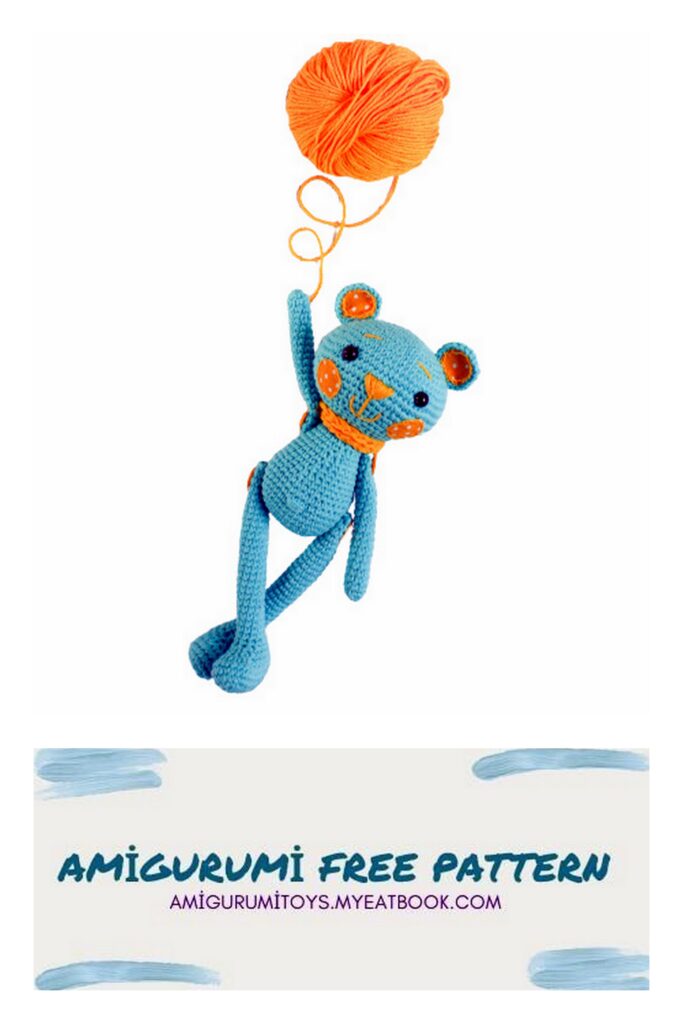
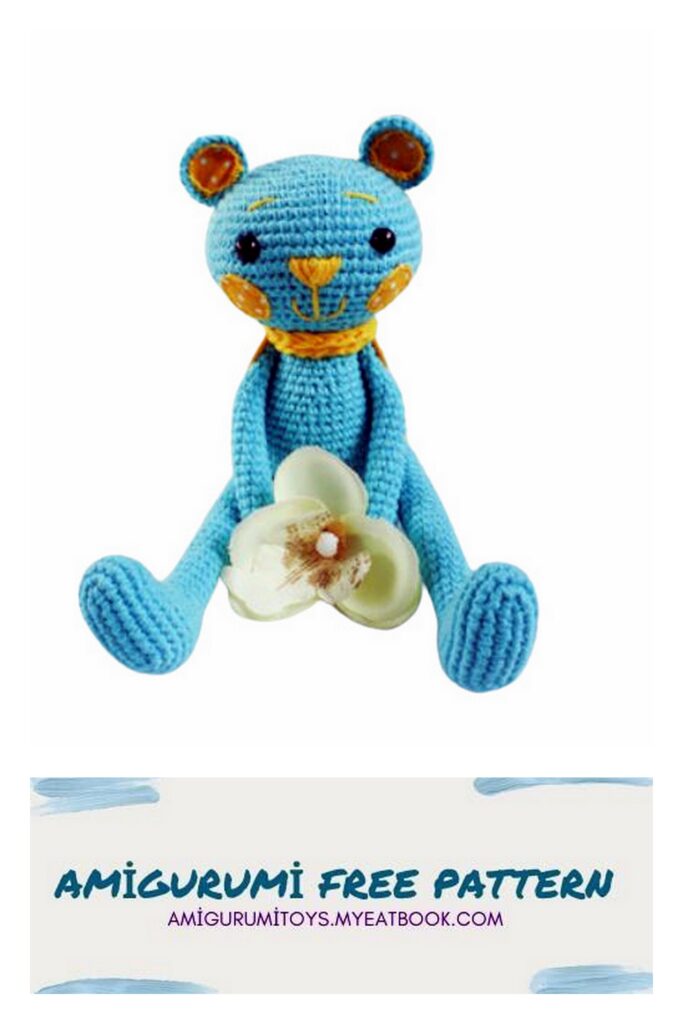
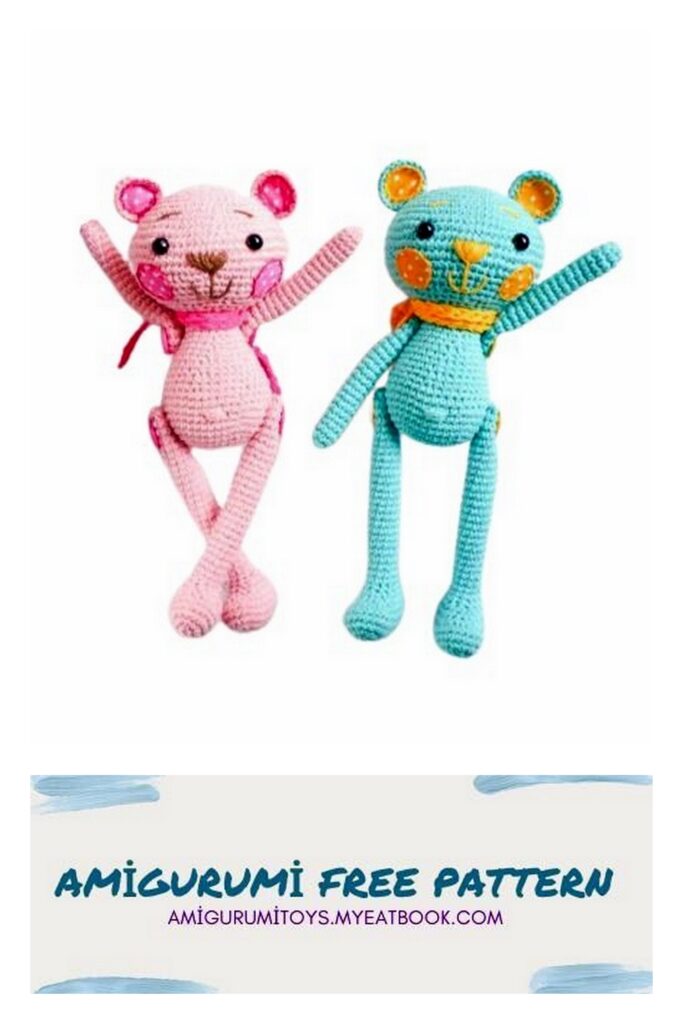
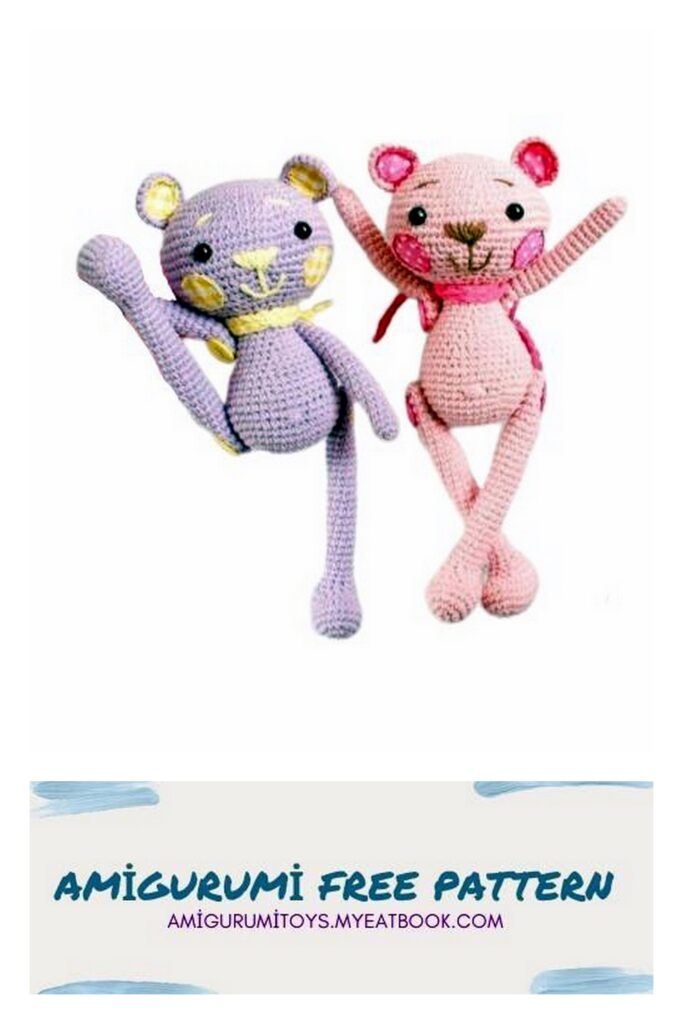
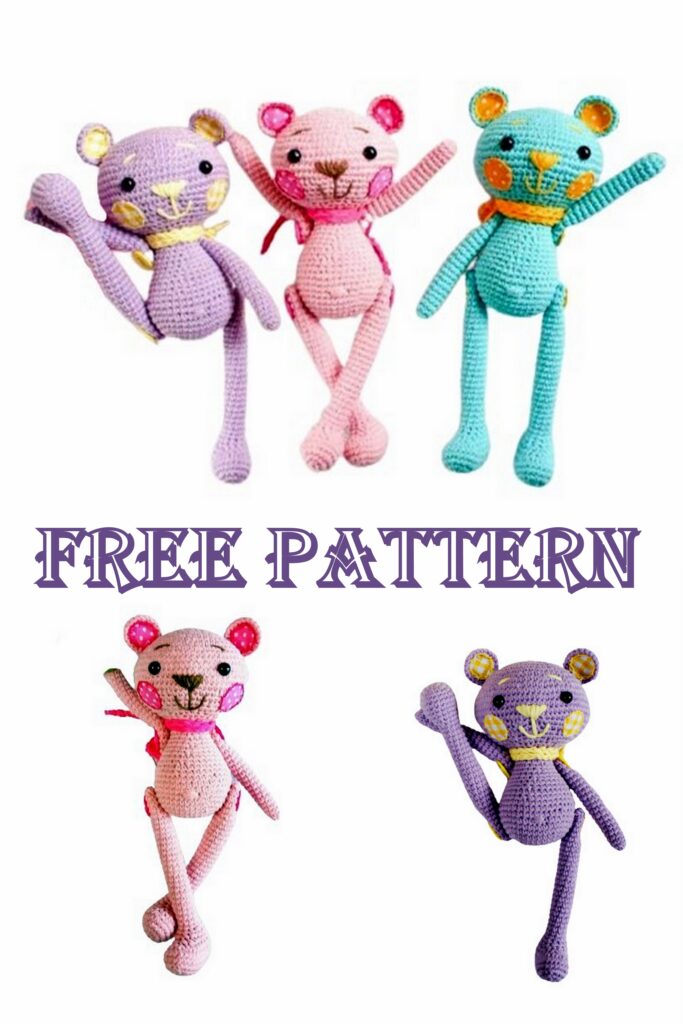
That’s all! Your long-legged bear is ready!
You can tie him a scarf or add other accessories.