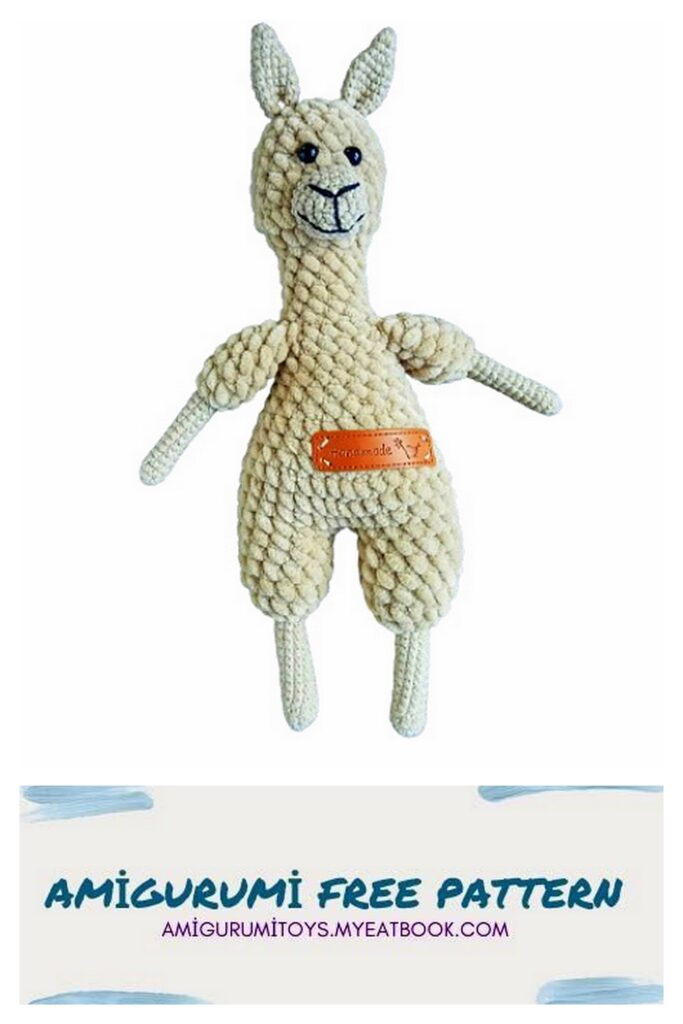
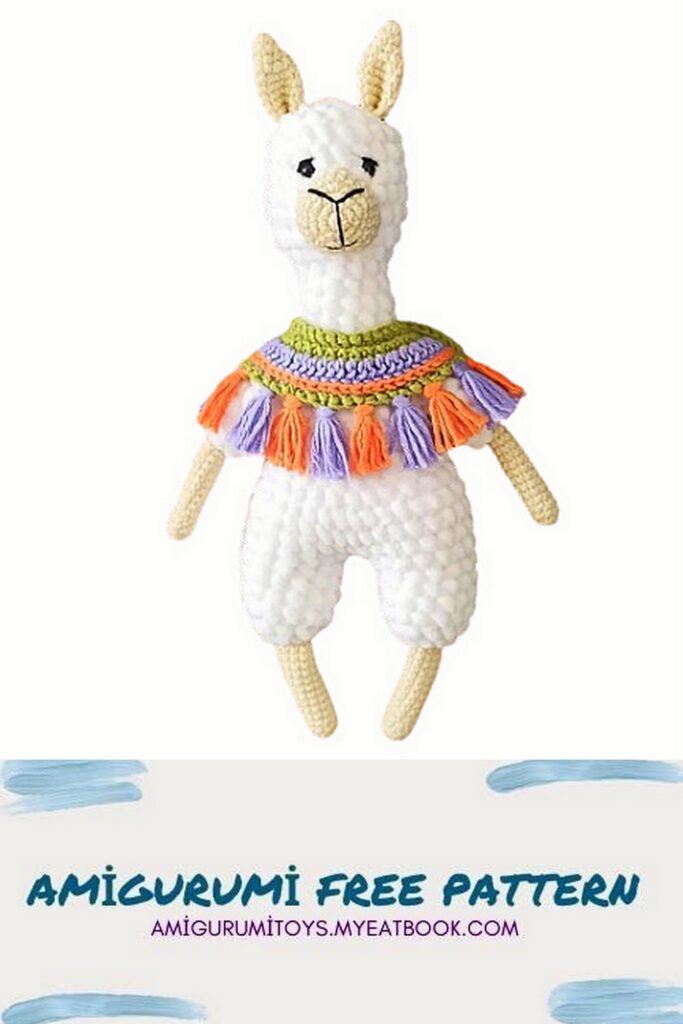
Welcome to the wonderful world of crochet! Are you ready to embark on a delightful crafting adventure? Look no further than our free Llama Amigurumi pattern! Whether you’re an experienced crocheter or a novice enthusiast, this pattern is perfect for bringing a touch of whimsy into your life. Llamas are beloved for their charm and quirky personalities, and now you can crochet your very own cuddly companion with our easy-to-follow pattern.
Necessary materials:
• Yarn: any semi-cotton or cotton (for example, Yarn Art Jeans, Gazzal Baby Cotton, Alize Bella); plush (for example, Himalaya Dolphin Baby, Yarn Art Jeans Dolce)
Hook: size 2.5 (or 2.0) for cotton blend/cotton yarn and size 3.5 (or 4.0) for plush yarn.
• Filling: holofiber.
• Scissors, needle for stitching parts.
• Threads for decorating the muzzle.

Abbreviations
SC-single crochet
Amigurumi MR ring
İNC-increase
DEC – decrease
CH – air loop
additional SC – additional single crochet.
Muzzle. (knit from cotton yarn)
1st row: 6 SC in MR
Row 2: İNC * 6 times (12 SC)
Row 3: (1 SC; İNC) * 6 times (18 SC)
Row 4: (2 SC; İNC) * 6 times (24 SC)
Rows 5-7: 24 SC (3 rows)
Pull out the thread and leave the tip for sewing.

Ears. (2 parts)
We knit from cotton yarn.
1st row: 6 SC in MR
2nd row: 6 SC
Row 3: (2 SC; İNC) * 2 times (8 SC)
Row 4: (1 SC; İNC) * 4 times (12 SC)
Rows 5-9: 12 SC (5 rows)
Fold the piece in half, make 1 CH and knit 6 SC for both parts of the fabric. Leave the tip for sewing.
Handles. (2 parts)
We start knitting with cotton yarn.
1st row: 6 SC in MR
Row 2: (1 SC; İNC) * 3 times (9 SC)
3-14 row: 9 SC (12 rows)
Changing the yarn to plush.
Row 15: 9 SC
Changing the hook to a larger size.
Rows 16-20: 9 SC (5 rows)
Pull the thread and cut it. The handles will be knitted as you knit the body.
Legs. (2 parts)
Let’s start knitting with cotton yarn. 1st row: 5 SC in MR
Row 2: İNC * 5 times (10 SC)
Rows 3-15: 10 SC (13 rows)
Changing the yarn to plush.
Row 16: 10 SC
Changing the hook to a larger size.
Row 17: (2 SC; İNC) * 3 times; 1 SC (13 SC)
Rows 18-21: 13 SC (4 rows)
Pull the thread from the first leg and cut it.
Tail.
Knitting from plush yarn
1st row: 5 SC in MR
Row 2: İNC * 5 times (10 SC)
3rd row: 5 decreases.
Pull the thread and leave a small tip for sewing.


Body + head.
The body and head are knitted in one piece from the bottom up, starting from the plush part of the second leg and ending with the crown of the head.
So, we have knitted the second leg, we continue to knit with plush yarn.
1st row: make 1 CH and attach the first
leg, knitting SC, then we knit another 12 SC in the circle of the first leg, make 1 additional SC in the last loop of the leg, knit 1 SC for one wall CH between the legs, go to the second leg – make 2 SC in the near loop of the second leg, then on We knit the remaining stitches in a circle, make additional stitches. SC, then 1 SC behind the second wall CH and an additional SC in the near loop of the first leg. So, in the first row there are 32 SC. (13 SC on leg1+additional SC+1SC on CH+additional SC+ 13 SC on leg2+additional SC+1 SC on CH + additional SC)
Rows 2-4: 32 SC (3 rows)
5th row: 1SC; (3 SC; DEC) * 6 times; 1 SC (26 SC)
Row 6: 26 SC
7th row: 1 SC; (2 SC; DEC) * 6 times; 1 SC (20 SC)
Row 8: 18 SC; DEC (19 SC)
9 row: 17 SC; DEC (18 SC)
Row 10: 18 SC
At this stage, we stuff the legs with holofiber. I only fill the plush part. Next, we fill the part with holofiber as we knit.
Rows 11-12: knit handles on the sides (can be sewn on during assembly) (18 SC)
Row 13: (1 SC; DEC) * 6 times (12 SC)
Rows 14-19: 22 SC (6 rows) This is the neck.
Row 20: (1 SC; İNC) * 6 times (18 SC) Row 21: (2 SC; İNC) * 6 times (24 SC)
Row 22: (4 SC; DEC) * 6 times (20 SC) Rows 23-26: 20 SC (4 rows)
Note: we knit the 25th and 26th rows in the place where the eyes will be more tightly than usual so that the eyes on the safe fastening are held more securely in the fabric.
If the eyes are securely fastened, then strengthen the eyes, placing them between 25 and 26 rows, with approximately 3 SC between the eyes.
Row 27: (2 SC; DEC) * 5 times (15 SC)
Row 28: (1 SC; DEC) * 7 times; 1 SC (8 SC)
Row 29: make 3-4 decreases and close the crown with a needle, continuing to add holofiber as you sew.
Recommendations for assembling the toy.
– Sew the muzzle at the level of 20-24 rows (for convenience, you can first secure the muzzle to the head with tailor’s pins with a large head). We fill the muzzle loosely with holofiber.
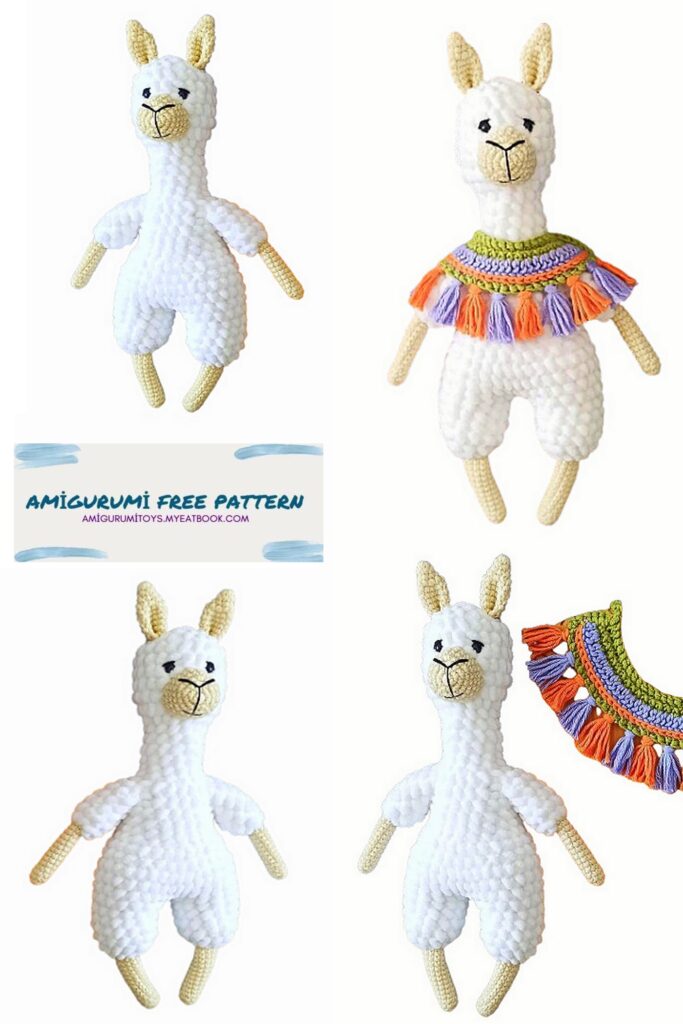
-Sew on the ears. Fold the piece in half again and use a needle to sew the piece in this position. Try it on your head as in the photo. Secure with tailor’s pins and sew on.
-We embroider the muzzle with black threads (see photo).
-If you did not knit the handles while knitting, then you can sew them on: symmetrically on the sides at the level of 11-12 rows. I recommend sewing with cotton thread.
-If the eyes are beads, then sew them between 25 and 26 rows, between the eyes there are approximately 3 SC (we focus on the muzzle).
-Sew the tail at the back in the middle of the body at about 3-4 rows.
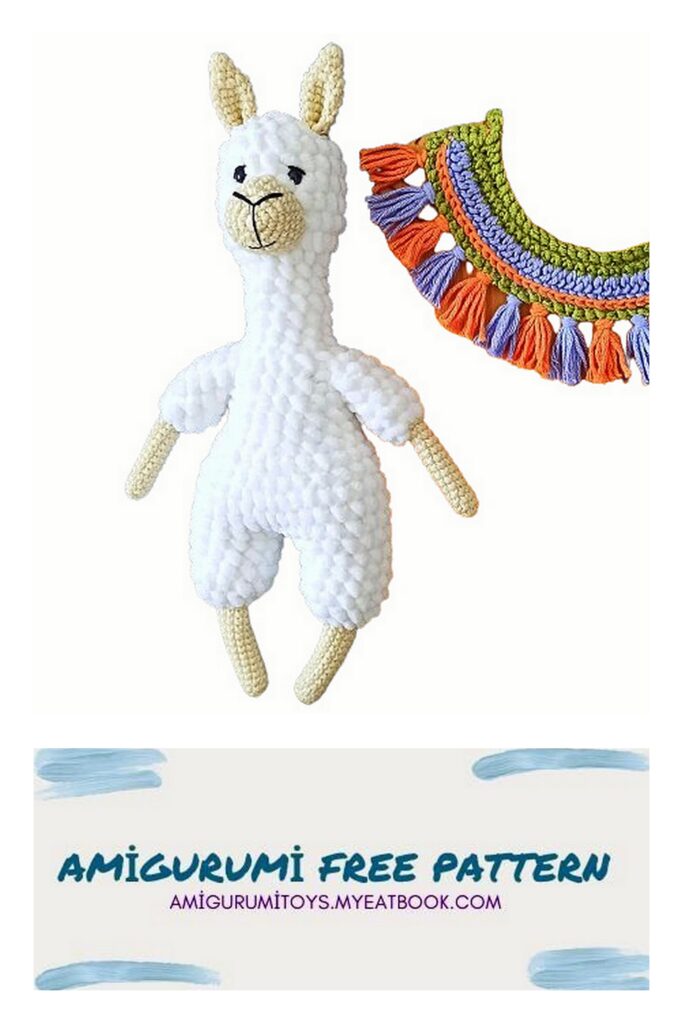
-Accessories at your discretion.
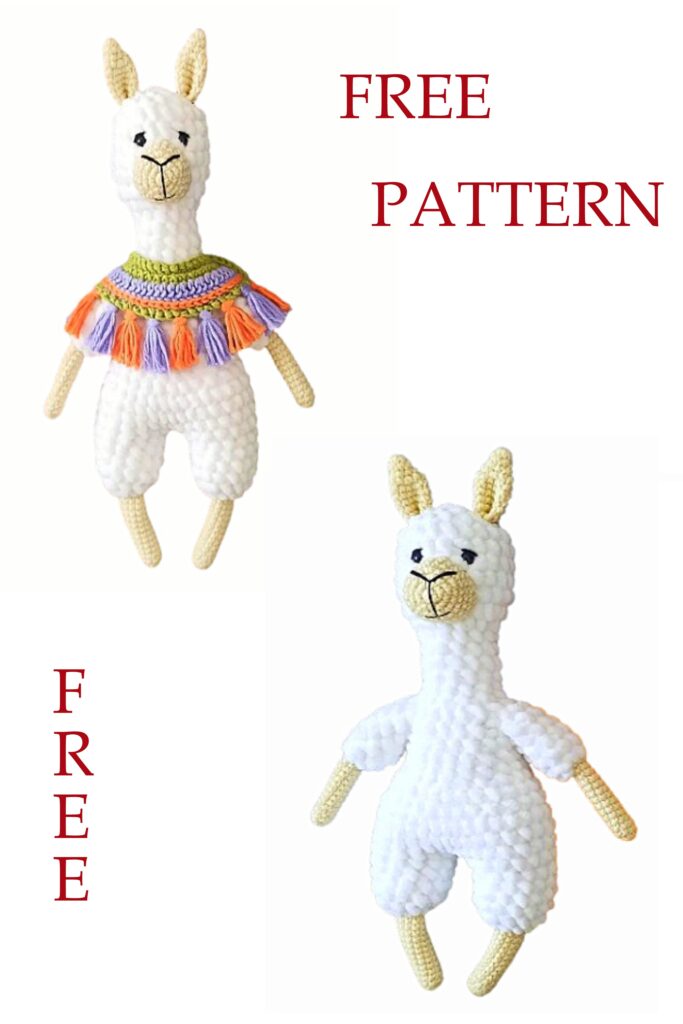
Hooray! Your Lama is ready!