Amigurumi Doll Zara Free Pattern
Doll Zara
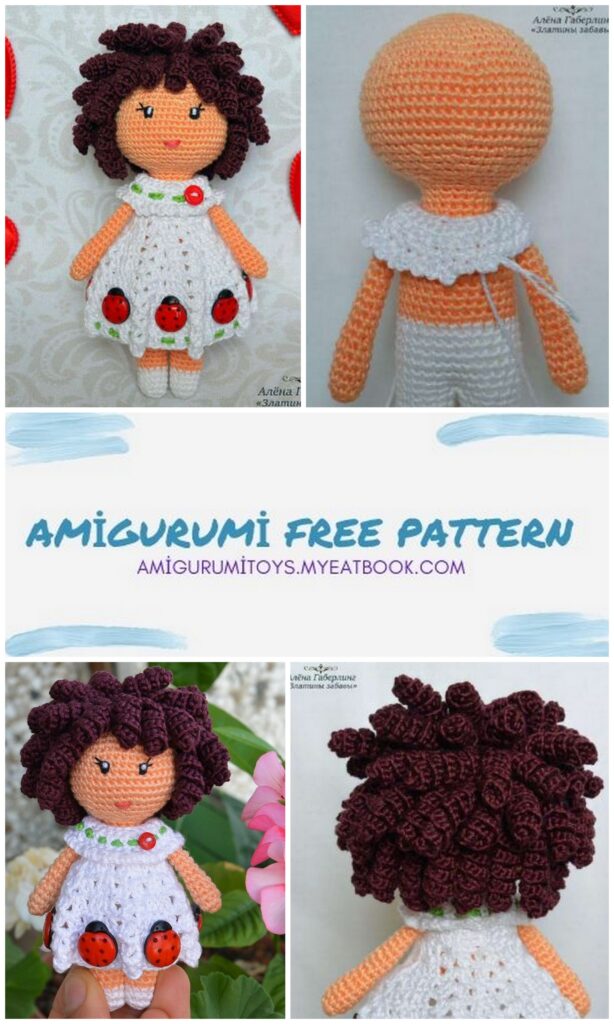
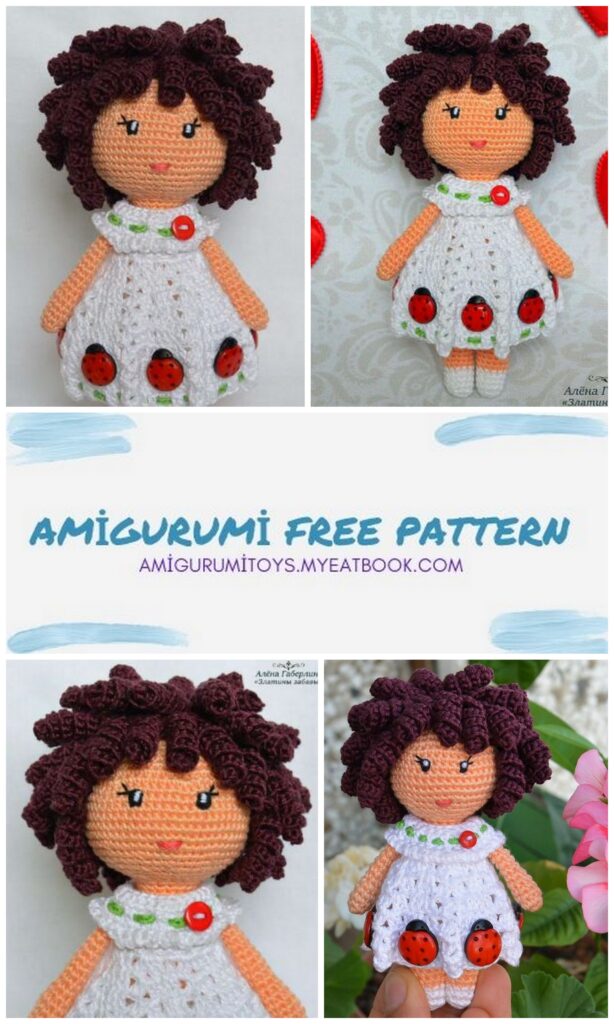
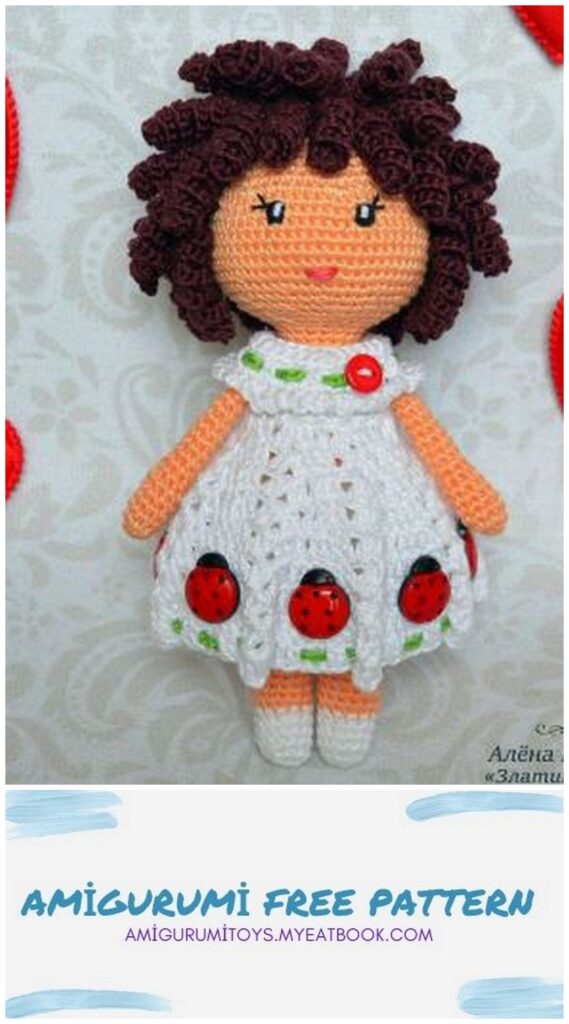
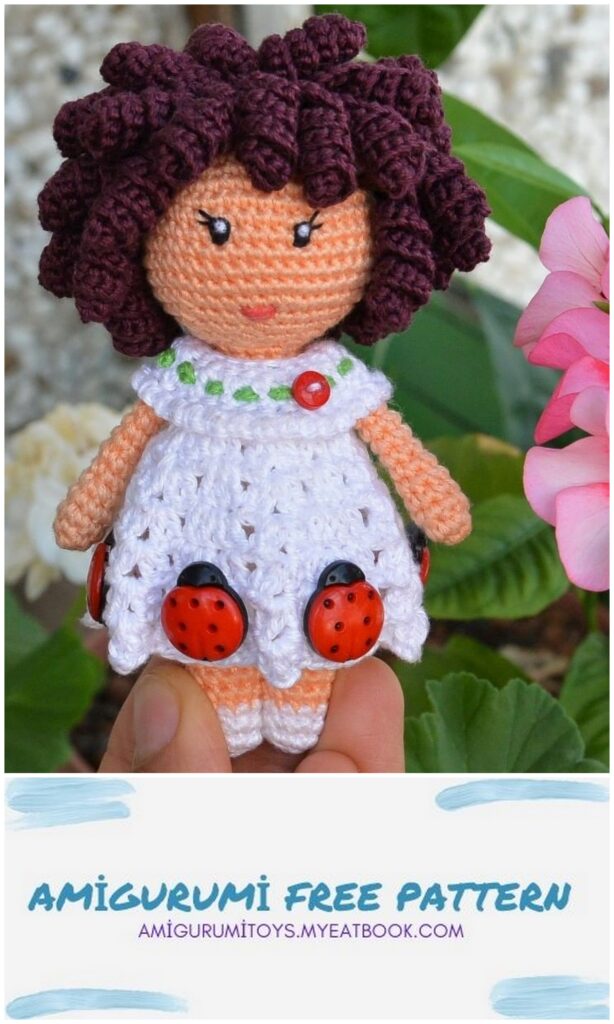
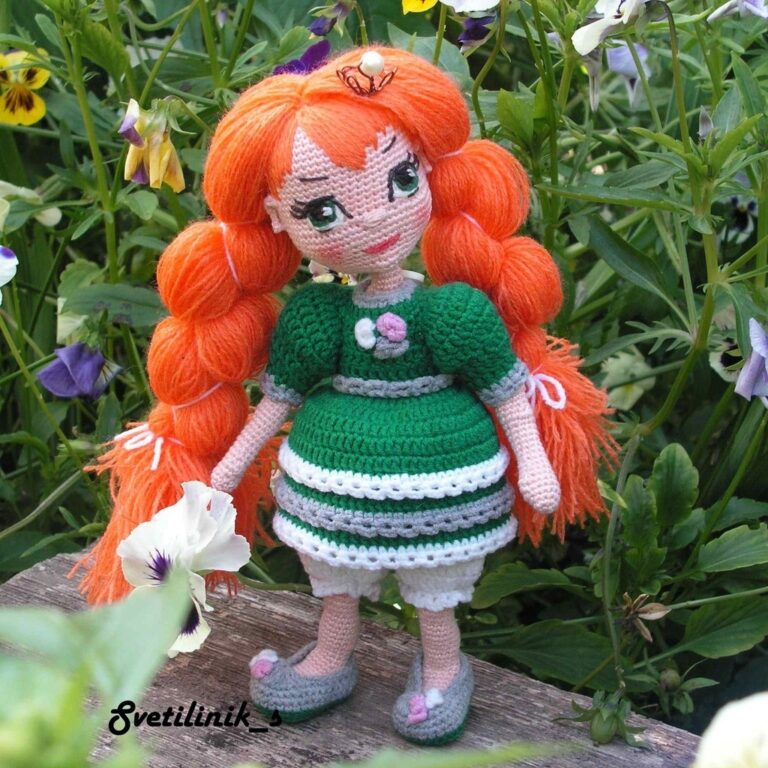
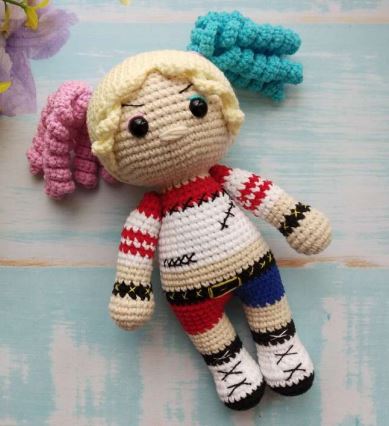
Good day! today I want to invite you to knit a small but cute curly girl with the beautiful name Zara. She turned out to be about 16 cm tall, if you take yarn for the body and for a thicker dress, then a larger doll will come out in height. So let’s get started.
When placing a finished toy on the Internet, please indicate the name of the author of the scheme:
Skills required to knit this toy:
1. Ability to crochet single crochet, double crochet and connecting loops.
2. The ability to make an amigurumi ring also does not hurt.
3. Ability to make the transition from one color to another.
4. Patience. This is perhaps the most important thing =)
Materials we need:
1. Hook No. 1.3
2. Filler. I am using holofiber balls.
3. Black and white sewing thread for the eyes.
4. Buttons for decoration, I have 8 ladybirds on a leg and 1 simple button.
5. Yarn: 100% mercerized cotton 200 m / 50 g or 392 m / 100 g. It can be Kamtex, Semenovskaya yarn Lilia, Narcissus, or any other, with the same footage and gramme. You can replace this yarn with another, as long as the thickness of the threads for the body and the dress is the same. The colors of Kamtex yarn 200 m / 50 g that I used: white, apricot for the body (beige), a little green for the laces and brown – I have it some kind of reddish brown, unfortunately, I don’t remember the exact name of this color, the label is lost, but you can also take the color chocolate or dark chocolate.
6. Granulate for weighting the toy in the legs at will.
Legend:
SC – single crochet
DC – double crochet
CH – air loop
İNC – increase, knit 2 single crochet in one loop
DEC – Decrease, knit 2 stitches together, single crochet
(1 SC, İNC) * 6 – repeat 6 times what is written in brackets
Head.
We start knitting with beige yarn.
1.6 SC in the amigurumi ring
2. İNC * 6 = 12
3. (1 SC, İNC) * 6 = 18
4. (2 SC, İNC) * 6 = 24
5. (3 SC, İNC) * 6 = 30
6. (4 SC, İNC) * 6 = 36
7. (5 SC, İNC) * 6 = 42
8. (6 SC, İNC) * 6 = 48
9. (7 SC, İNC) * 6 = 54
10. (8 SC, İNC) * 6 = 60
11-16. 60 SC (6 rows)
17. (8 SC, DEC) * 6 = 54
18. (7 SC, DEC) * 6 = 48
19. (6 SC, DEC) * 6 = 42
20. (5 SC, DEC) * 6 = 36
21. (4 SC, DEC) * 6 = 30
22. (3 SC, DEC) * 6 = 24
23. (2 SC, DEC) * 6 = 18
We do not cut the thread, we will continue to knit the neck.
Neck.
24-27. 18 SC (4 rows)
We fill the part tightly with filler.
The torso.
28. (2 SC, İNC) * 6 = 24
29. (3 SC, İNC) * 6 = 30
30-31. 30 SC (2 rows)
Change the color to white.
* I changed the color later, after row 38 – I did it so that it looked like panties, but in the end the color of the calf was visible through the holes in the dress, I did not like it, so if now I change the color to white (or to the one with which you knit the dress), it will look prettier and neater. *
32-45. 30 SC (14 rows)
We fill the part tightly with filler, we do not cut the thread, proceed to knitting the legs.
Legs.
Knit 15 SC and connect stitch 16 to 1 with 1 SC. For each leg, we got exactly 14 loops. Without cutting the threads, we continue to knit the left leg.
Left leg.
We continue to knit in white.
1-3. 14 SC (3 rows)
4.14 SC + more in this color 3 SC
Change the color to beige.
5-14. 14 SC (10 rows)
Change the color to white.
15-18. 14 SC (4 rows)
We fill the leg tightly with filler.
19.DEC * 7 = 7
Cut the thread, pull off the loops, threading the thread into each
2 loop, fasten, hide the end of the thread in the details.
Right leg.
We attach a white thread to the junction of the legs and then continue
knitting according to the same pattern, but in row 4 we knit 11 SC and then change the color to beige.
* The places where the yarn color changes should always be behind the toy. *
We also stuff the leg tightly with filler, tie it to the end, tighten the loops and hide the tip inside the part.
* Granules can be put in the legs to make the toy heavier, since the head with curls is heavy and can outweigh.
Pens.
We knit with beige yarn.
1.6 sc in amigurumi ring
2. (1 SC, İNC) * 3 = 9
3-6. 9 SC (4 rows)
7. (2 SC, DEC) * 2, 1 SC = 7
8-18. 7 SC (11 rows)
Fill the part with 1/3 filler, fold in half, knit 3 SC, cut the thread, hide the tip in the part. When knitting the second handle, leave the tip of the thread and sew both handles to the body.
Dress.
We knit with white yarn.
Cast on 27 air loops, begin to knit in 4 loops from the hook.
1.1 SC, (İNC, 4 SC) * 4, İNC, 2 SC = 30
2.2 CH, 1 SC, İNC, (4 SC, İNC) * 5, 2 SC = 36 (taking into account 2 air loops at the beginning of the row)
3. 2 CH, 1 SC, (1 CH, skip one loop, 1 SC) * alternate to the end of the row = 36 (taking into account the air loops at the beginning of the row). The scheme of this row is the same as that of the eighth, it is below.
4.2 CH, in each arch from 1 CH and in each SC we knit 1 SC = 36 (taking into account the air loops at the beginning of the row)
5. We knit this row by the front wall of the loop according to the scheme: 3 CH + connecting column into the next loop. We put our “dress” on the doll and connect the beginning and end of knitting with a connecting loop.
6. Now we will divide our knitting into sleeping nku, front and sleeves. Knit for the remaining back wall of the loop 4 rows: 2 CH, 5SC, 4 CH, skip 6 loops, 12 SC, 4 CH, skip 6 loops, 6 SC, connecting loop.
Our dress shelf is almost ready, the handles should be pushed into the sleeves, the front should be in the front, the “seam” should be in the back. A diagram of this row and what should turn out in the photo below:
7.32 SC
8. 3 CH, skip 1 loop, then knit like this: (1 SC, 1 CH, 1 SC skip) to the end of the row, at the end we make a connecting loop. We got small arches from 1 CH. A diagram of this row in the photo below:
9. We make 1 connecting loop in the arch from 1 CH, here we knit: 3 CH + 1 DC + 2 CH + 2 DC, in the next arch we knit 1 DC. And so we alternate to the end of the row: 2 DC + 2 CH + 2DC, in the next arch: 1 DC. This and the following rows in the diagram below:
10. We make 1 connecting loop in the arch from 2 CH, here we knit: 3 CH + 1 DC + 2 CH + 2 DC, in the next 1 DC we knit 2 DC. And so we alternate until the end of the row: 2 DC + 2 CH + 2DC, in the next 1 DC we knit 2 DC.
In 11 and subsequent rows we add 1 DC between our pattern, in this row between the dress pattern there are already 3 DC, in row 12 – 4 DC, in 13 – 5 DC, we knit so until the number of columns between the pattern becomes 9 DC, if you want a slightly longer dress, then we knit up to 10 DC between the pattern, respectively, if you want a shorter dress, then we finish knitting a few rows earlier. We cut the thread and fix it.
If you don’t want to make the dress too fluffy, adjust the amount
increments: for example, after row 12, add increments in every second row. Everything is at your discretion.
Dress decoration.
Tie a chain of 40 stitches with green yarn and thread it through the holes
third row, fasten, sew on a button. I have a red little button with two
holes.
Tie a chain of air loops 25 cm long and thread it between the loops of the bottom row of the dress, fasten the thread, cut it off. Decorate the dress with buttons. I had ladybugs – buttons on the leg, you can take any you like.
Make folds on the dress, fix them by sewing at the bottom.
Hair.
We will knit with brown yarn. We collect 22 air loops, leaving a small tail of the thread at the beginning of the chain, so that later it would be convenient for us to fasten
hair.
Knit in each loop, starting with the second, by 3 SC, in the last two loops we knit by
1 SC. Cut the thread, leaving a small tail of 5-6 cm, so that it is convenient to tie a knot.
You need to knit 50 such curls. If not enough, tie more. The diagram is below:
We begin to sew the hair to the 11th row: thread one end of the thread through 2 loops, tie the knots, cut the thread a little, hide the ends in the head. We skip one or two loops, again we fasten the hair for 2 loops.
The main thing is that the curls should not be on top of each other, so that the hairstyle does not bristle.
I attached 13 curls in this row.
This is how the first row looks like:
We retreat 3 rows, we begin to make the second row. We form all the other rows by the same analogy, making sure that the head does not show through the strands. On the second row, it took me 11 curls.
We finish the hairstyle, embroider the eyes, the mouth.
That’s all, our doll is ready, we look and enjoy the finished work =)

