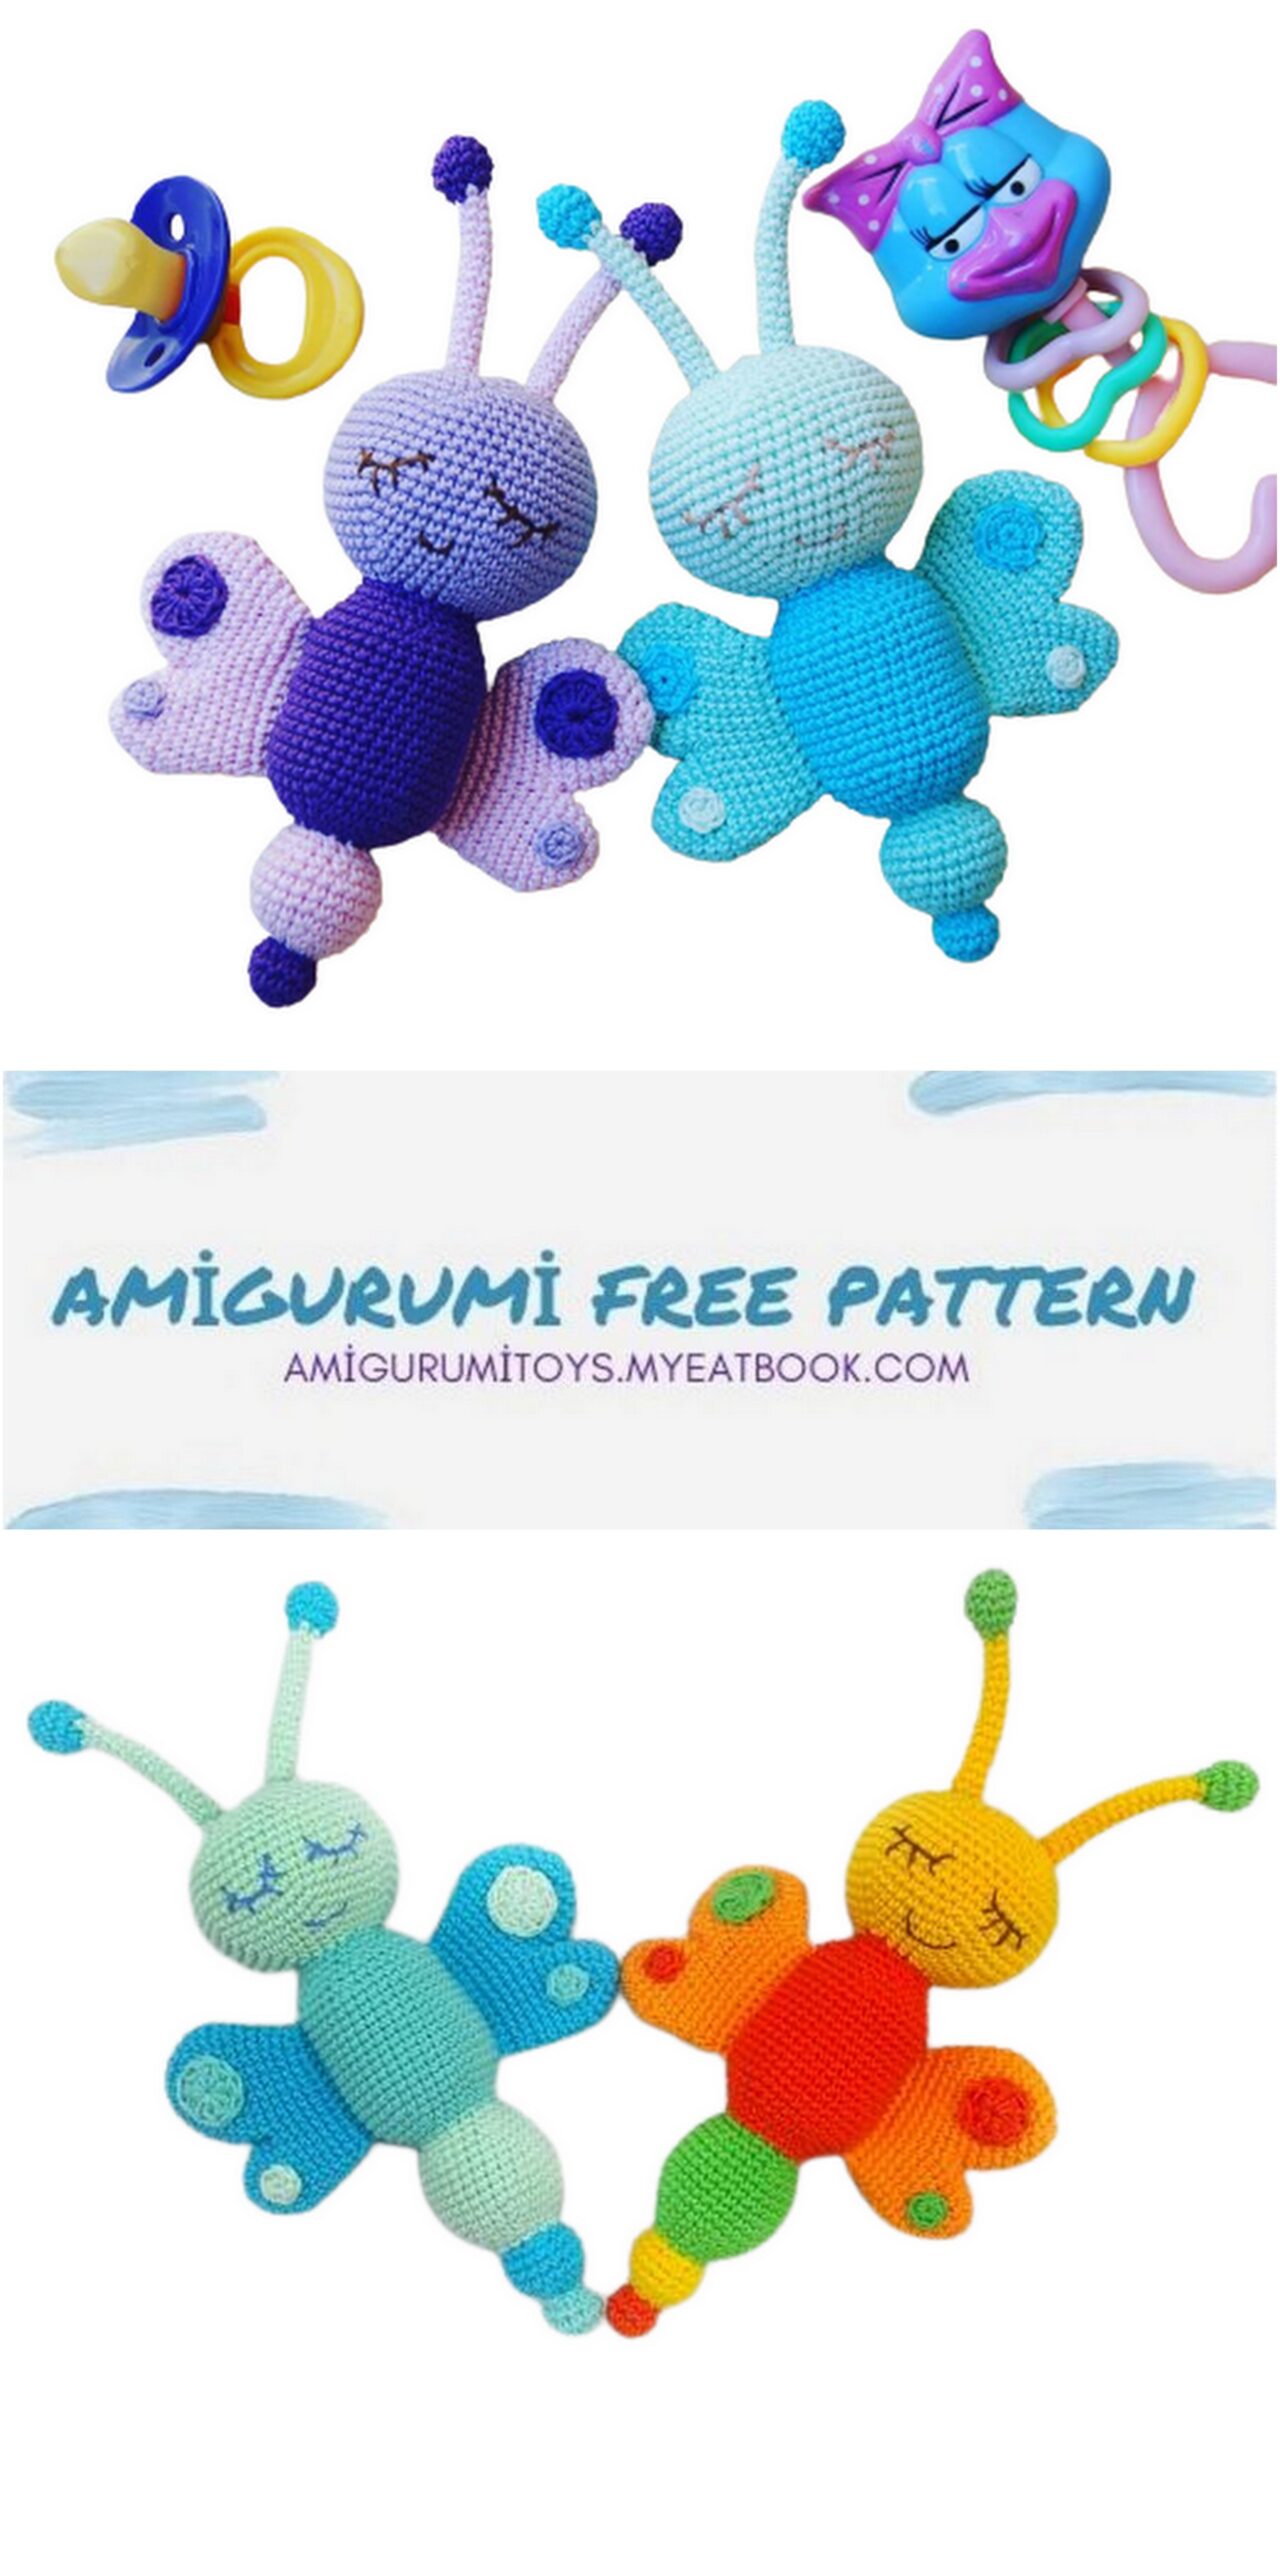
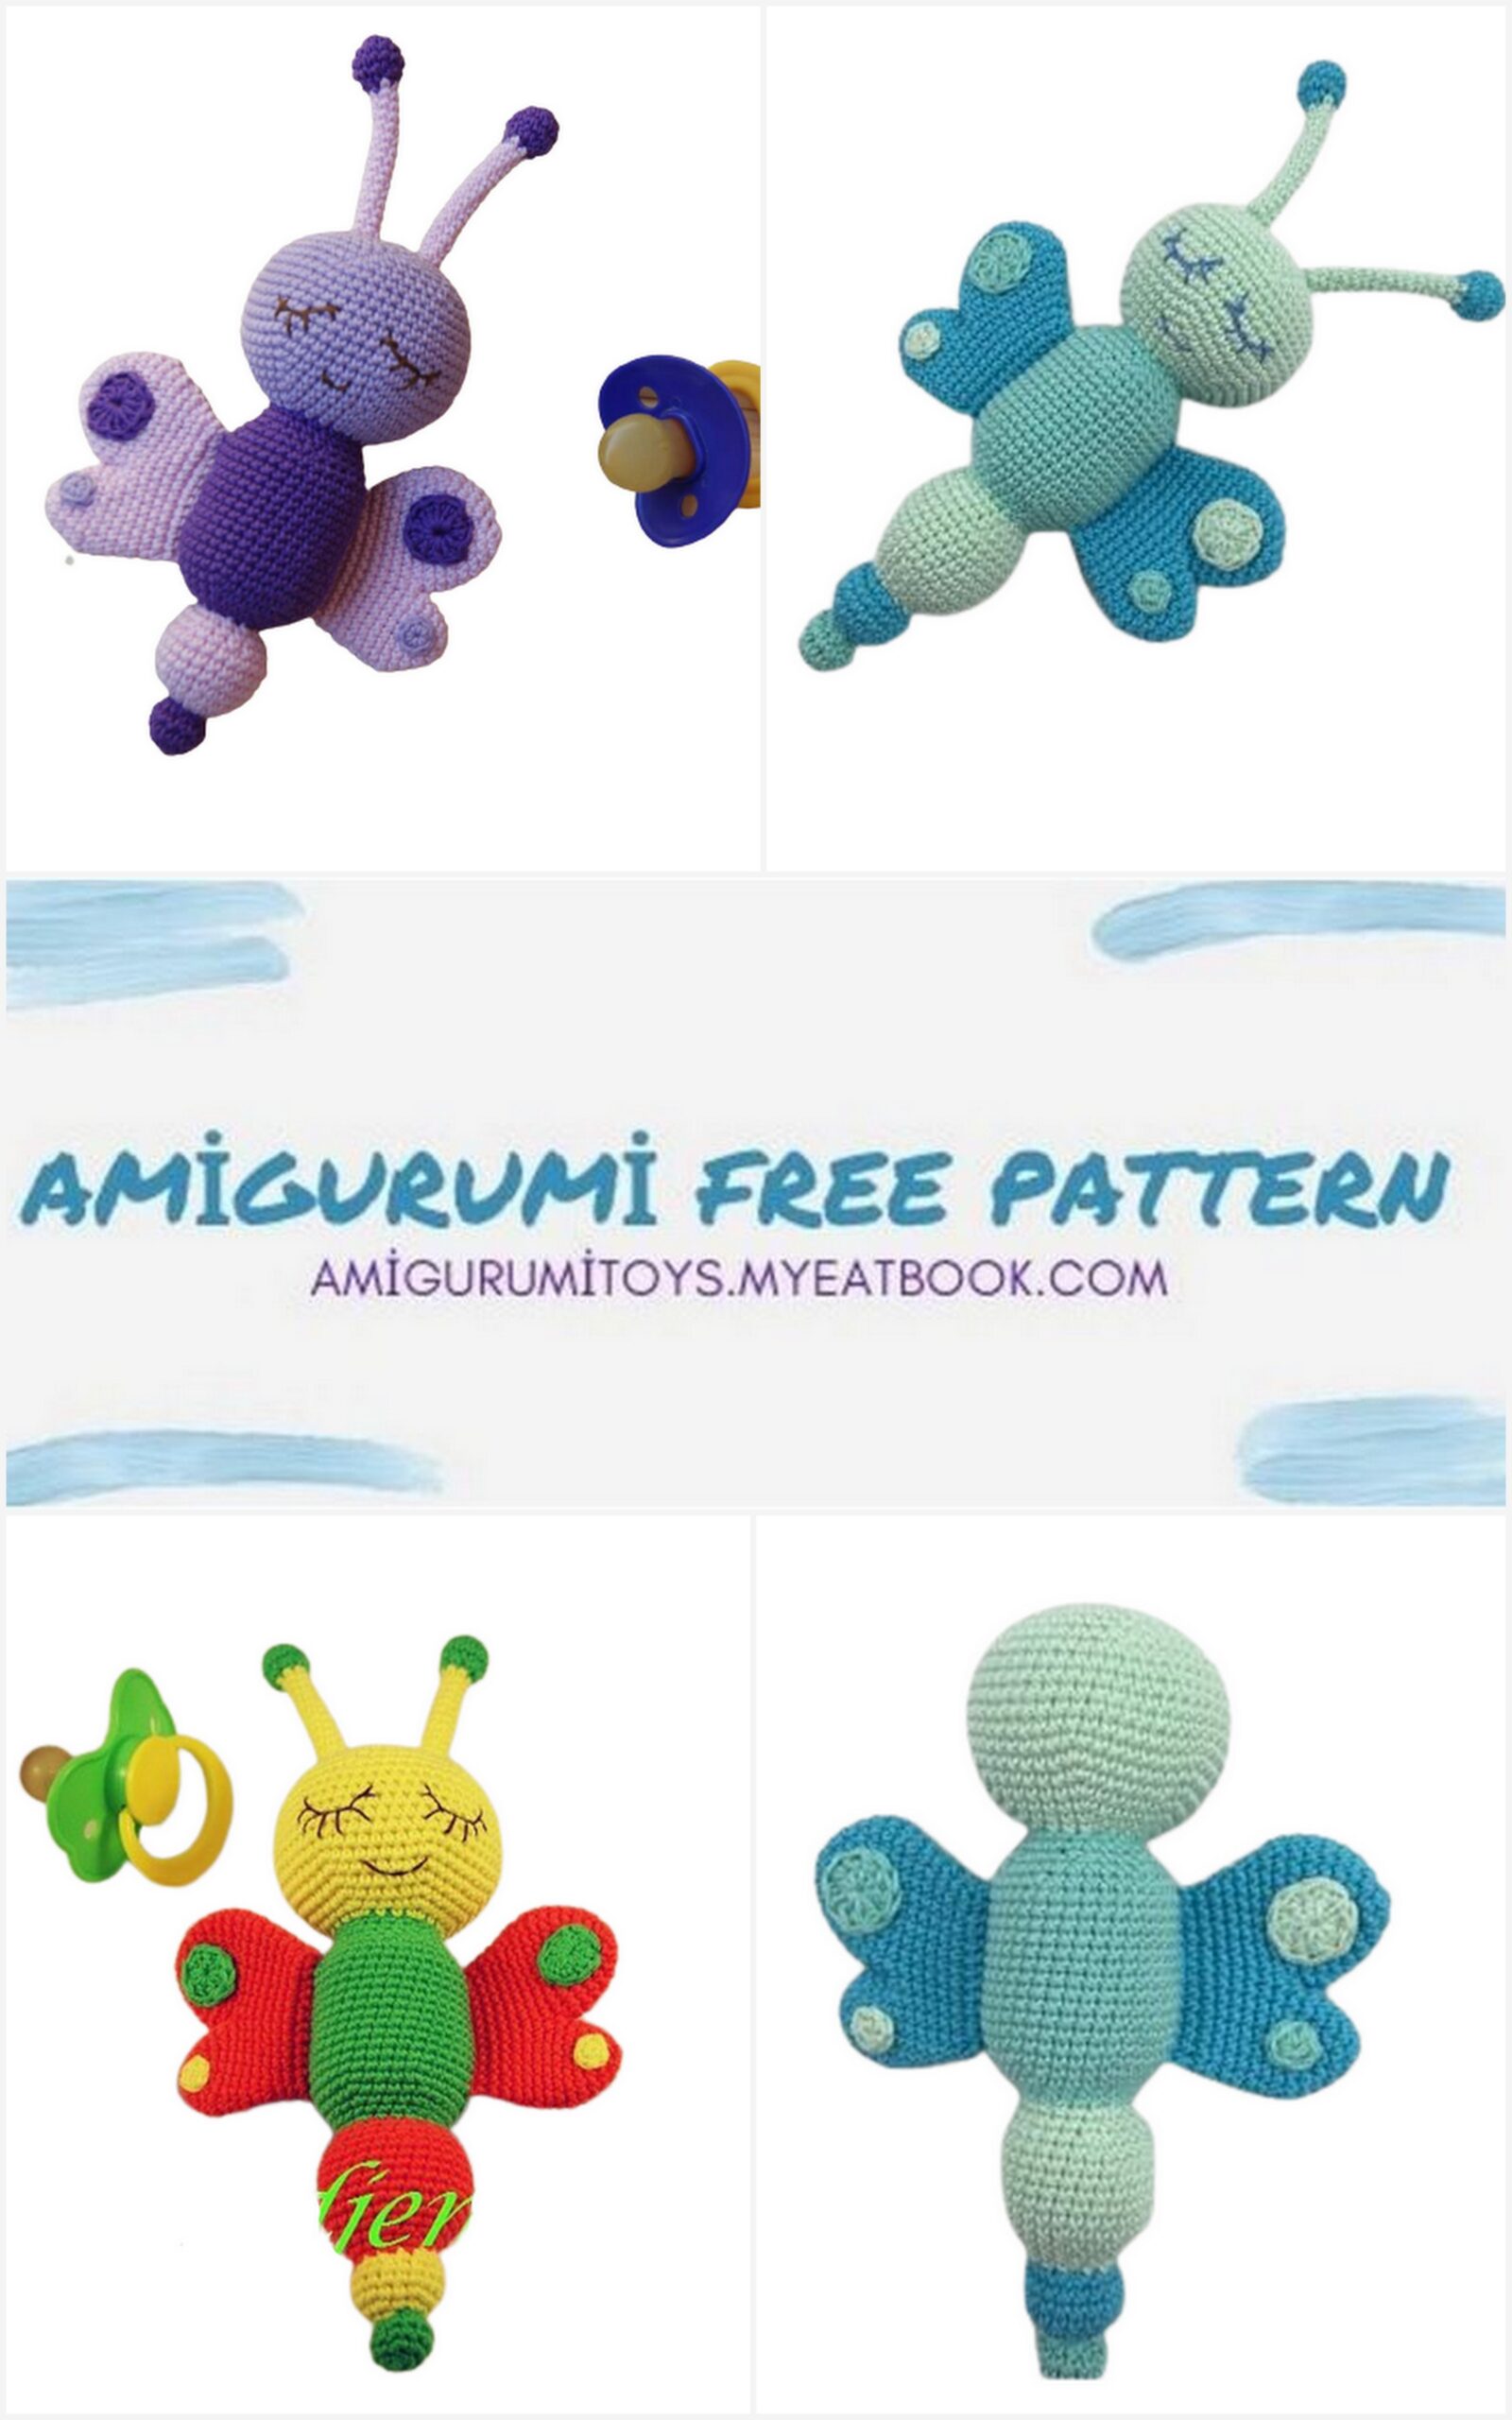
Amigurumi Butterfly Free Pattern
Recommended materials:
Kinder surprise container with some beads, buttons or other explosive materials.
Yarn “Summer” TM “Pekhorka” (100% mercerized cotton, 100 gr * 330 m) any 3, 4 or 5 colors, you can use leftover threads.
Hook No. 1.9 “Gamma” – it is these threads and this hook that I recommend for knitting, so that you can tie a kinder container. If the hook size or footage
yarn is different, the container may not enter or, on the contrary, drown in the details of the butterfly, then you you will have to fit the part yourself under the kinder container.
Filler for stuffing, sewing needles, floss for embroidery of eyes and mouth.
Legend:
SC – single crochet
İNC – we knit two single crochets in one column
DEC – from two single crochets we knit one
DC – double crochet
(1 SC, DEC) x 6 – what is indicated in brackets, repeat as many times as indicated after “x” sign. In this example – 6 times.
In each row at the end in brackets it is indicated how many loops turned out in a row.
Knitting is carried out in a spiral, without lifting loops, for the transition from row to row.

Description of knitting.
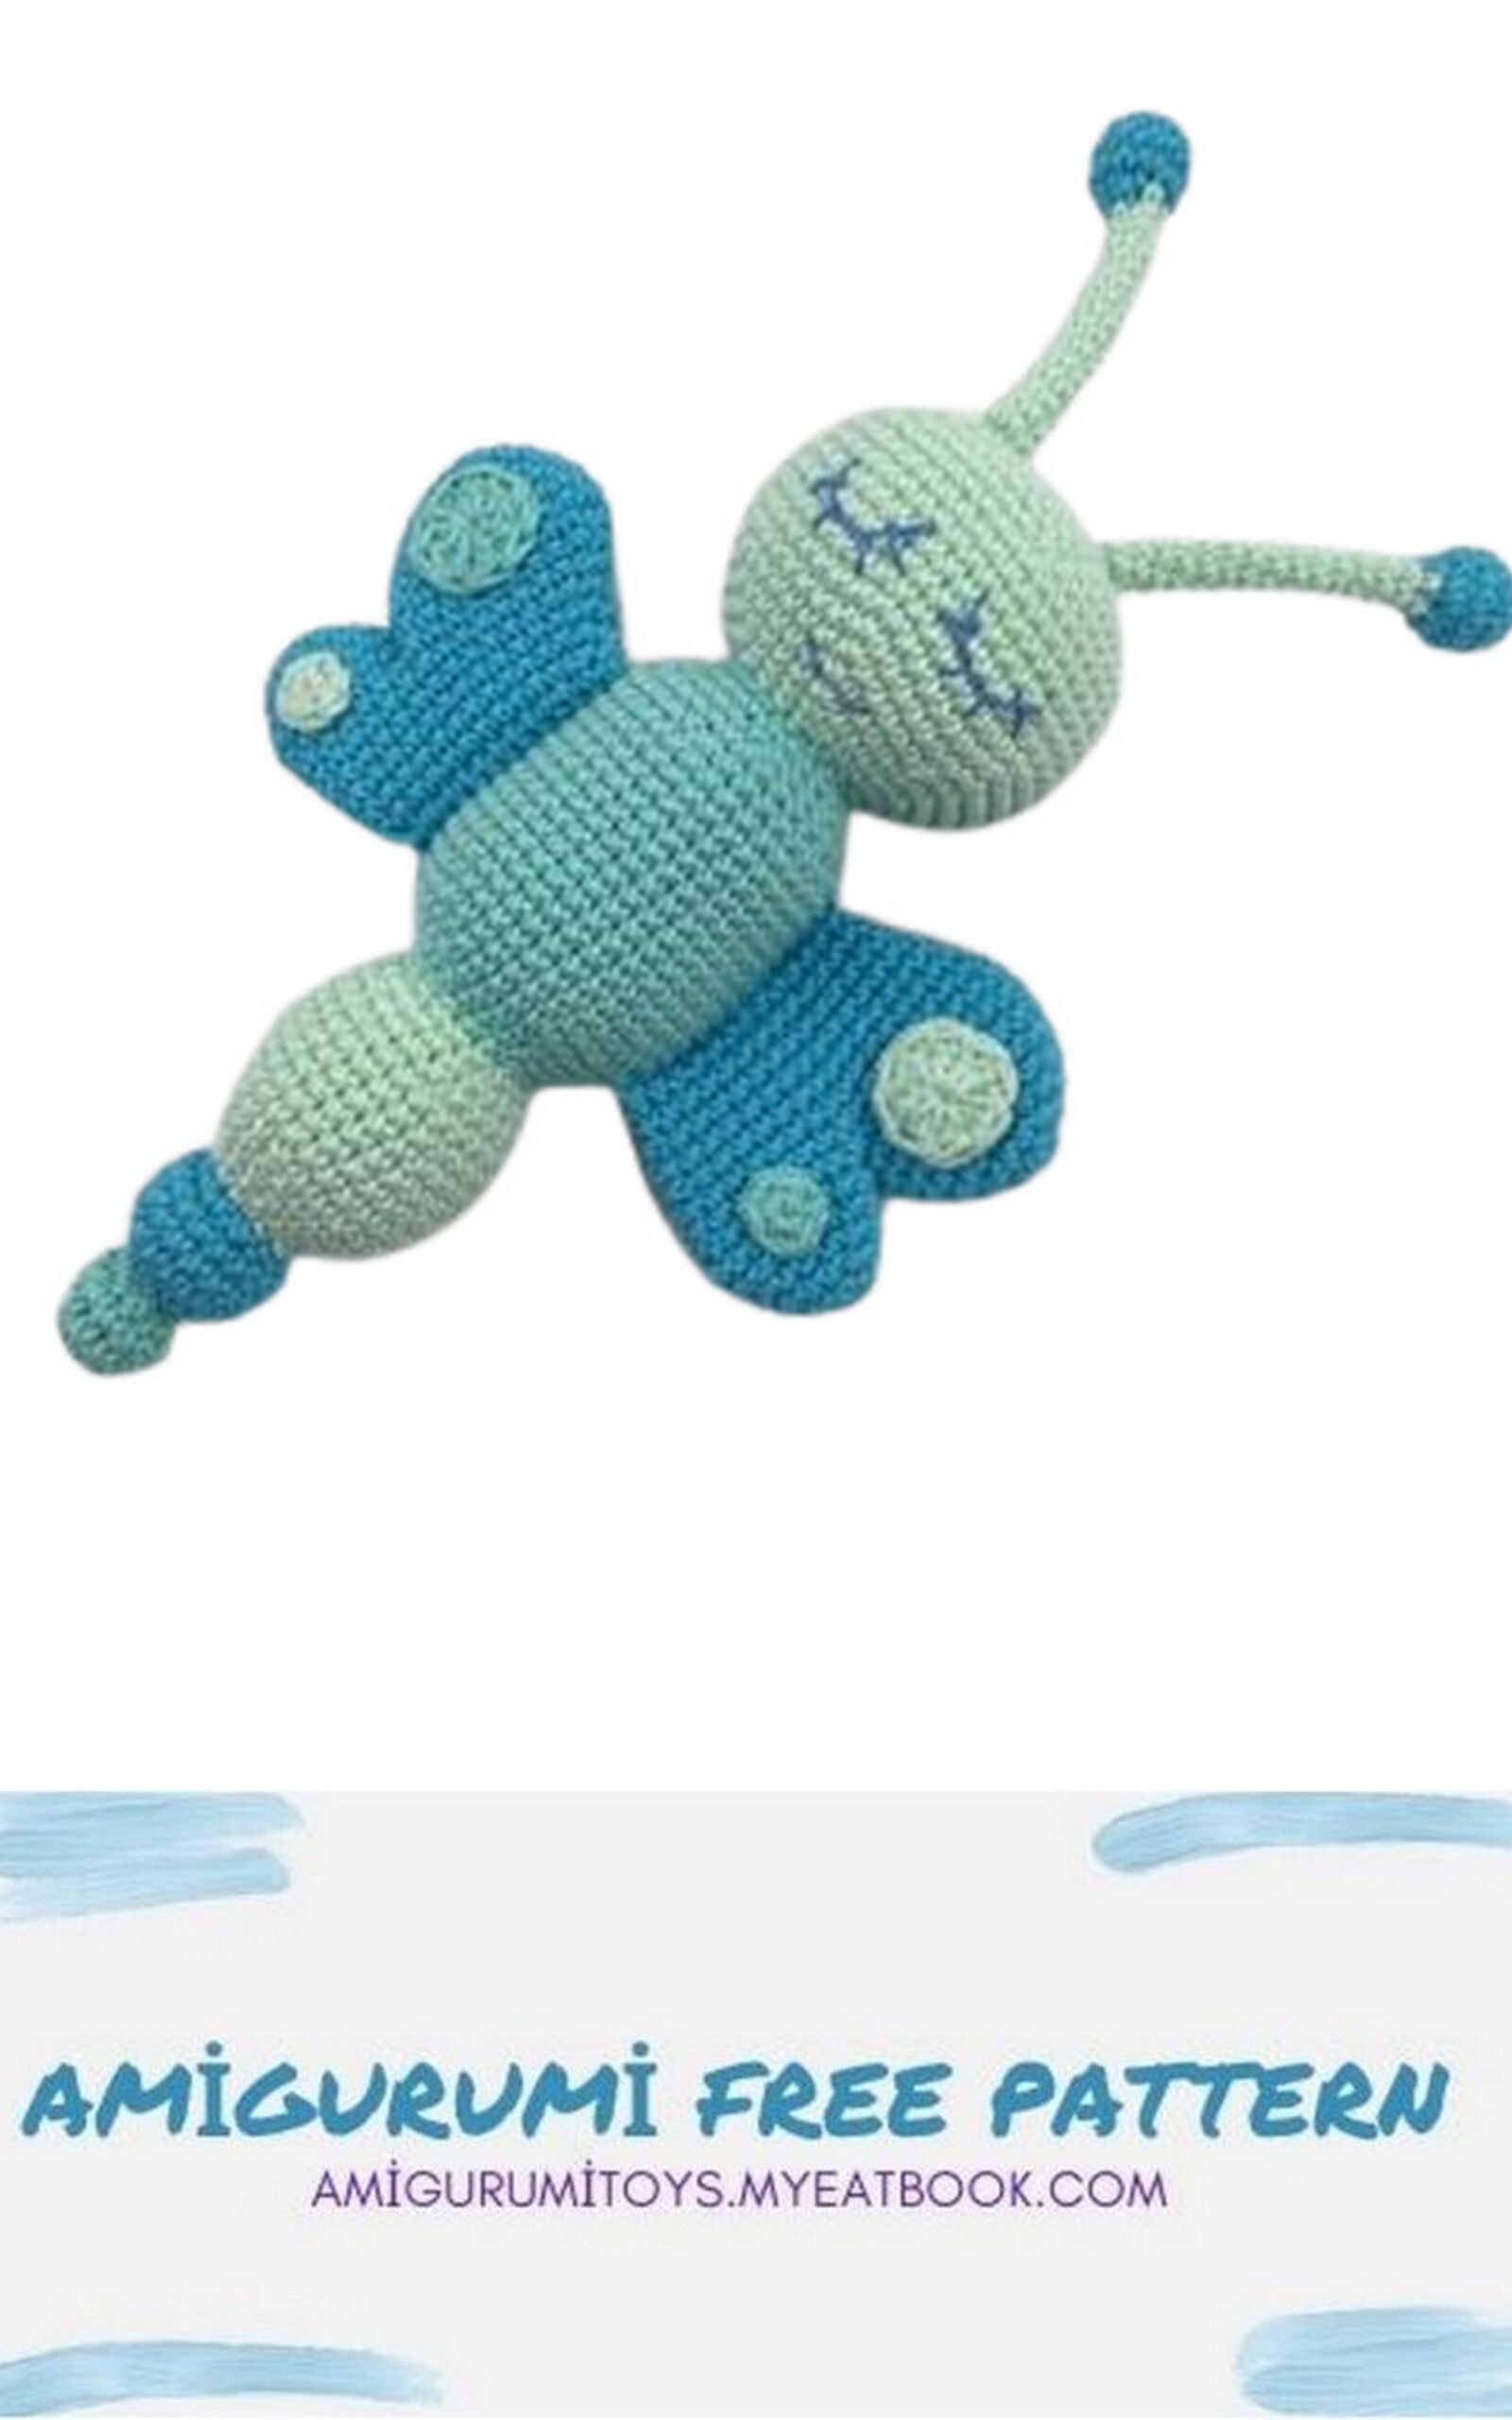
Before you start knitting a butterfly, look at photo number 1 – this is the main detail “head – body”. This part consists of three balls, then comes the so-called oval (for container) and the fourth part – the head. Colors are up to you, I just write in description of “changing the color of the thread.”
About stuffing toys!
In the process of knitting we stuff
main detail “head –
body” and stuff a little
the top of the antennae.
We do not fill the wings.
The main detail is the head and body of the butterfly.
(1 ball)
6 in the ring
1) 6 inch (12)
2 -3) 12 SC (2 rows)
4) 6 DEC (6)
Changing thread color
(2 ball)
5) 6 inch (12)
6) (1 SC, İNC) x 6 (18)
7 – 9) 18 SC (3 rows)
10) (1 SC, DEC) x 6 (12)
Changing thread color

(3 ball)
11) (1 SC, İNC) x 6 (18)
12) 18SC
13) (2 SC, İNC) x 6 (24)
14) 24SC
15) (3 SC, İNC) x 6 (30)
16 – 21) 30 SC (6 rows)
22) (3 SC, DEC) x 6 (24)
23) 24SC
24) (2 SC, DEC) x 6 (18)
Change the thread color.
(4 ball – for kinder)
25) (2 SC, İNC) x 6 (24)
26) 24SC
27) (3 SC, İNC) x 6 (30)
In the 28th and 29th row, the increments are calculated so that the container from the kinder fits perfectly into the part. Therefore, try it on, making increments, do not be afraid to bandage it, if suddenly this part turned out to be wide or narrow for you.
Photo No. 2 – trying on a kinder container.
28) (9 SC, İNC) x 3 (33)
29) 5 SC, İNC (10 SC, İNC) x 2.5 SC (36)
30 – 41) 36 SC (12 rows)
42) 5SC, DEC (10SC, DEC) x 2.5SC (33)
43) (9 SC, DEC) x 3 (30)
44) (3 SC, DEC) x 6 (24) (photo # 3)
45) 24SC
46) (2SC, DEC) x 6 (18)
Change the thread color.
(5 ball – head)
47) (2 SC, İNC) x 6 (24)
48) (3 SC, İNC) x 6 (30)
49) (4 SC, İNC) x 6 (36)
50) (5 SC, İNC) x 6 (42)
51) (6 SC, İNC) x 6 (48)
52) (7 SC, İNC) x 6 (54)
53 -59) 54 SC (7 rows)
60) (7 SC, DEC) x 6 (48)
61) (6 SC, DEC) x 6 (42)
62) (5 SC, DEC) x 6 (36)
63) (4 SC, DEC) x 6 (30)
64) (3 SC, DEC) x 6 (24)
65) (2 SC, DEC) x 6 (18)
66) (1 SC, DEC) x 6 (12)
67) 6 Dec
Pull the hole, cut the thread and hide. Photo number 4 – the head-body of a butterfly.
If you had more or less increases than I have in the description, then we do the reductions not like mine, but according to our own calculations.
Butterfly wings.
First, we will knit decorations for the wings. Colors of your choice.
1 decoration (2 parts)
6 SC into a ring – connect with a connecting post. Leave the thread for sewing.
2 decoration (2 parts)
In the amigurumi ring we knit 2 lifting air loops and another 9 DC – we connect with a connecting table. Leave the thread for sewing.

Wings. (2 details).
We knit 1 (first) detail for the wing.
6 SC in an amigurumi ring.
1) 6 inch (12)
2) (5 SC, İNC) x 2 (14)
3) (6 SC, İNC) x 2 (16)
4) (7 SC, İNC) x 2 (18)
5) (8 SC, İNC) x 2 (20)
Fasten the thread and cut.
We knit 2 (second) detail for the wing.
6 SC in an amigurumi ring
1) 6 inch (12)
2) İNC, 4SC, 2İNC, 4SC, İNC (16)
3) İNC, 6 SC, 2 İNC, 6 SC, İNC (20)
4) 20SC
5) İNC, 8 SC, 2 İNC, 8 SC, İNC (24)
6 – 7) 24 SC (2 rows) Do not break the thread!
We begin to connect the second and first part. (I start a new countdown of the rows).
1) We knit 2 parts each (on which the thread is not broken (photo No. 5 showed the direction of knitting with an arrow)), i.e. from the mark the beginning of the row we knit: DEC, 8 SC, DEC, proceed to joining the first
details, i.e. now, without tearing off the thread, we will knit along the first part of the wing (photo No. 6 arrow –
knitting direction) We knit: DEC, 6 SC, 2 DEC, 6 SC, 1 DEC. Again we knit on the second part: DEC, 8SC, DEC. (36) Photo No. 7 – the details of the wings are connected.
2) 9SC, DEC, 14SC, DEC, 9SC (34)
3) DEC, 30 SC, DEC (32)
4) 15SC, DEC, 15SC (31)
5) DEC, 27SC, DEC (29)
6) 14SC, DEC, 13SC (28)
7) DEC, 24SC, DEC (26)
Here you need to knit 1 SC or 2 SC offsets so that the wing lies flat. Fold the wing in half and knit 12 SC behind both walls (photo # 9).
Thus, we knit the second wing of our butterfly. Photo number 10 – butterfly wings.
Butterfly mustache.
6 SC in an amigurumi ring
1) 6 inch (12)
2 – 3) 12 SC (2 rows)
4) 6 DEC
We change the color of the thread and knit 15 rows of 6 SC. You can make the mustache shorter or longer – on your discretion. Photo No. 1 1 – mustache.
Having knitted the 2nd row, I recommend sew on decorations, now this make it more convenient. Photo number 8.
Don’t forget that decorations must be sewn on mirror.
Butterfly assembly and eye embroidery.
First of all, we sew the wings on that part of the part where the container from the kinder is hidden. A photo
No. 12 and No. 13 – sew on the wings.
Sew the whiskers to the head of the butterfly. We look at photo number 14 and sew a mustache to the head.
Embroidery of the eyes and mouth – here is entirely your imagination, I embroider the eyes, having previously made markings with pins (photo No. 15). The eyes and mouth are embroidered – photo No. 16.
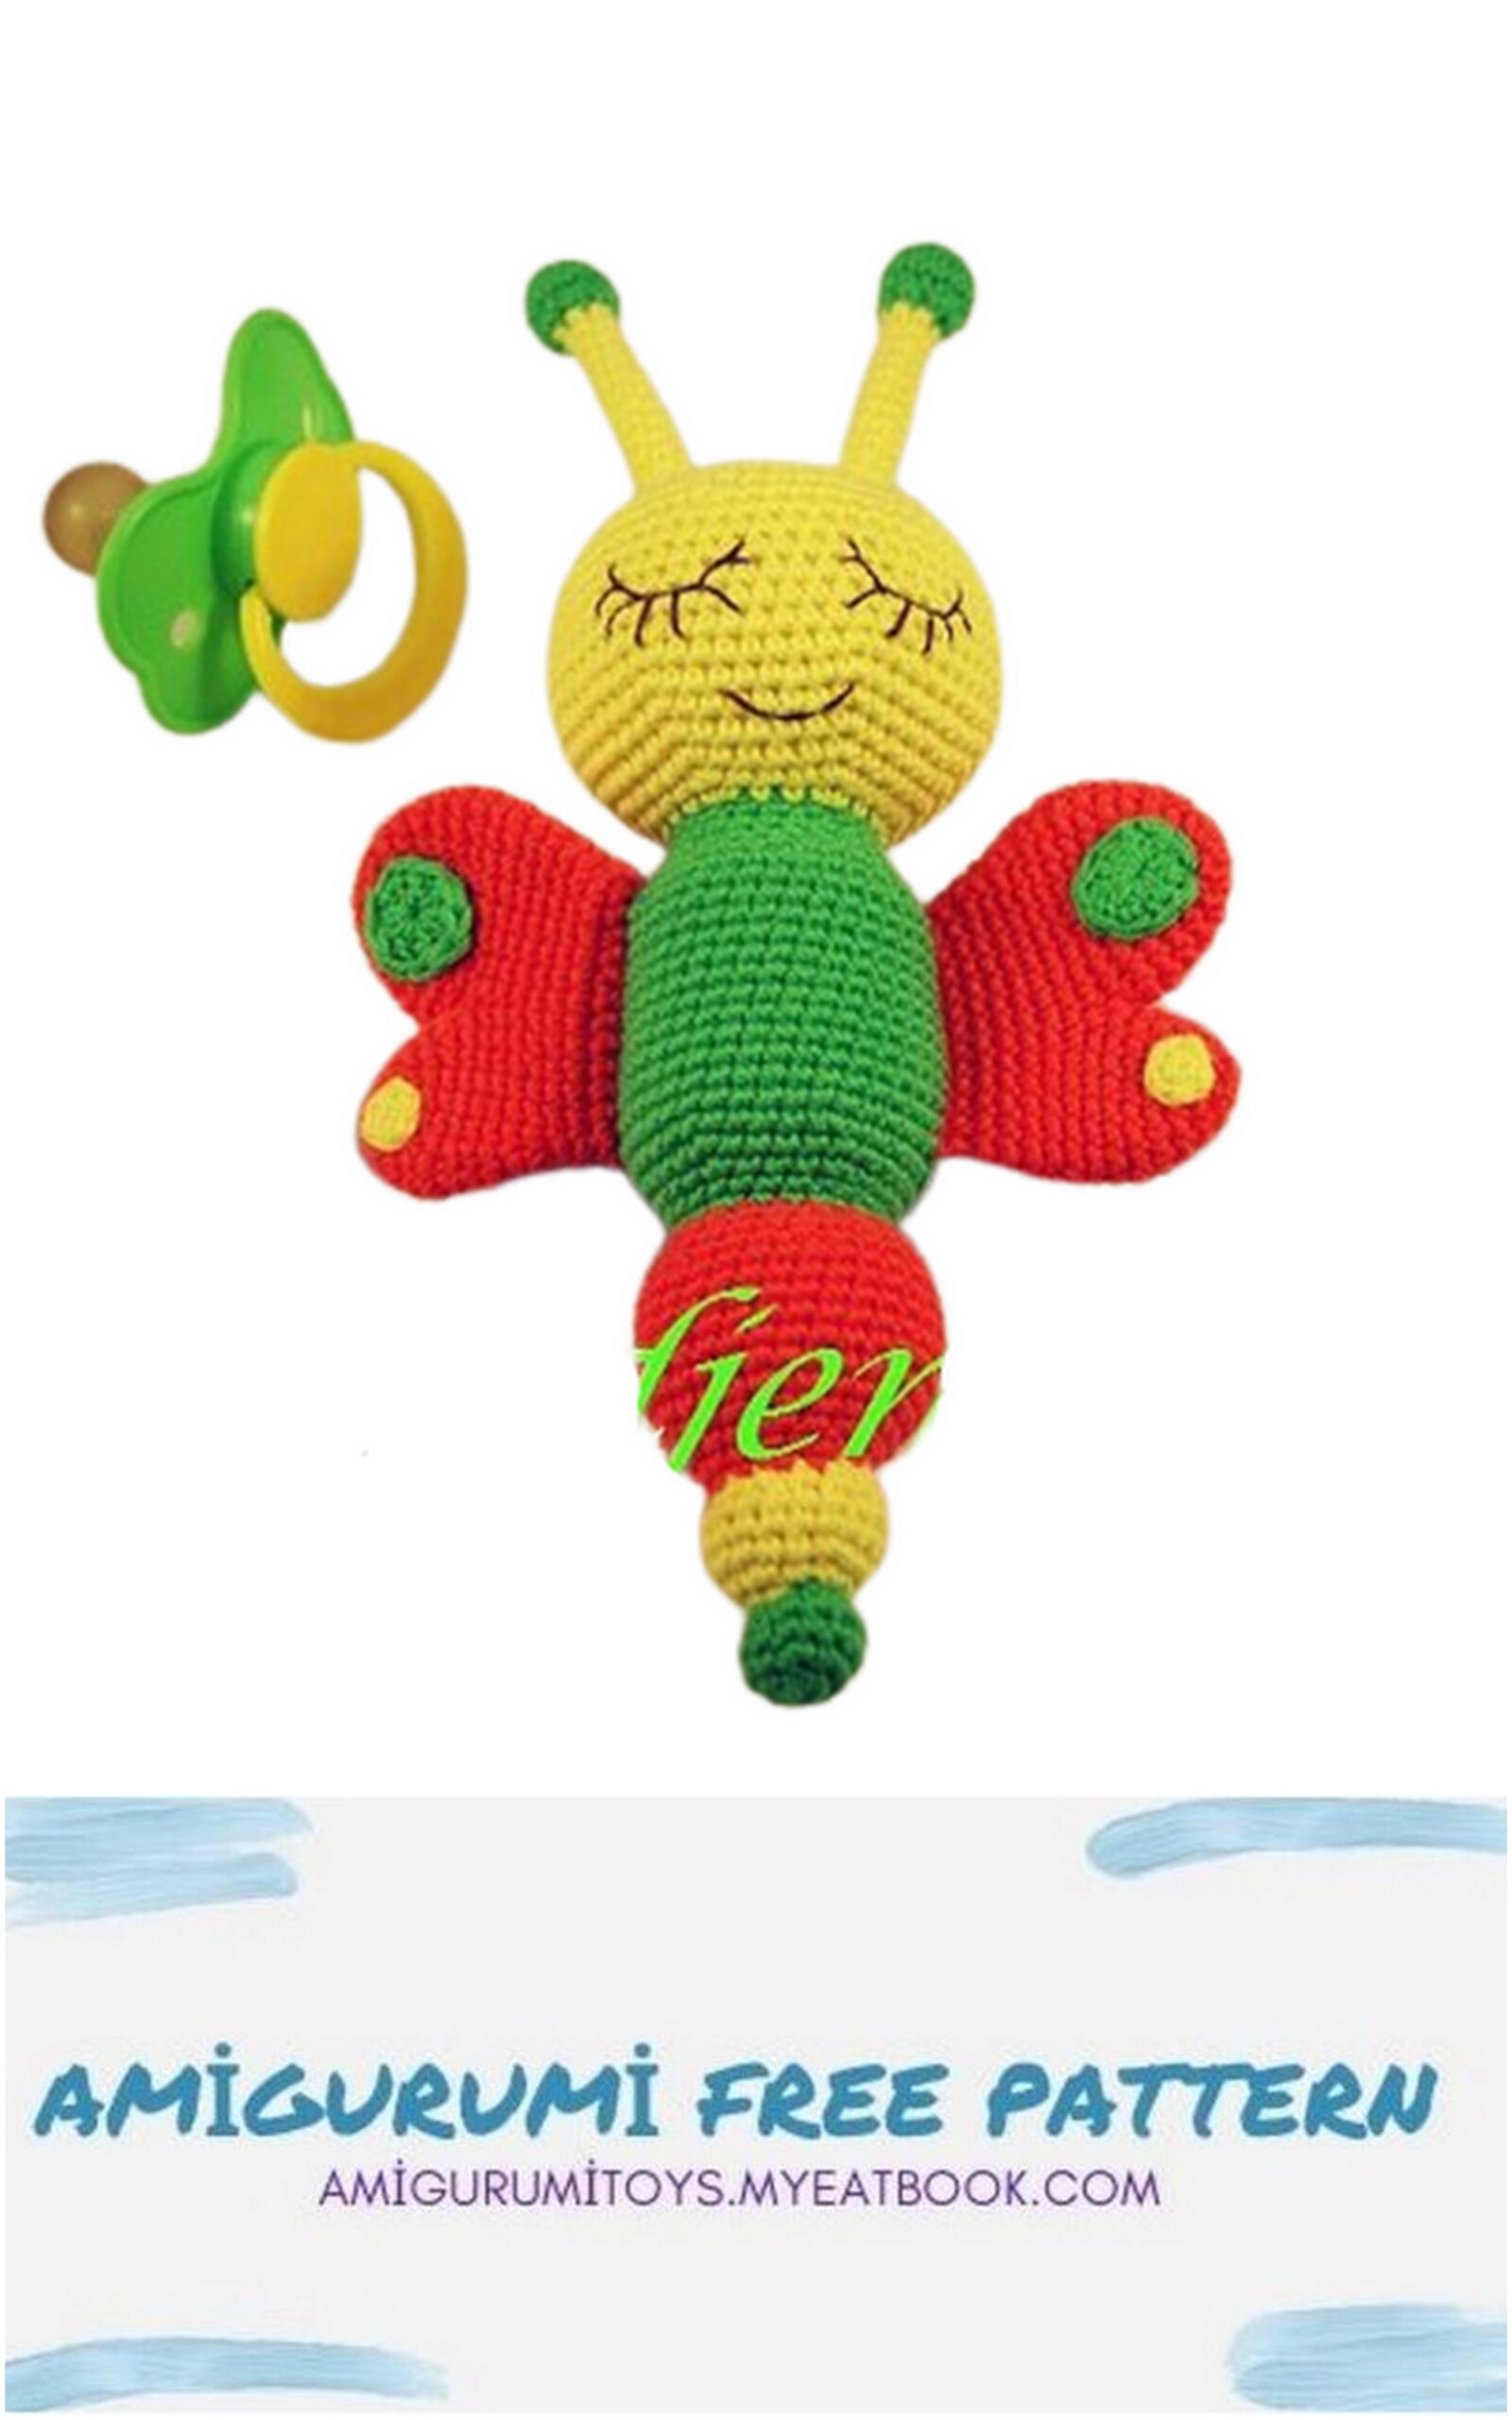
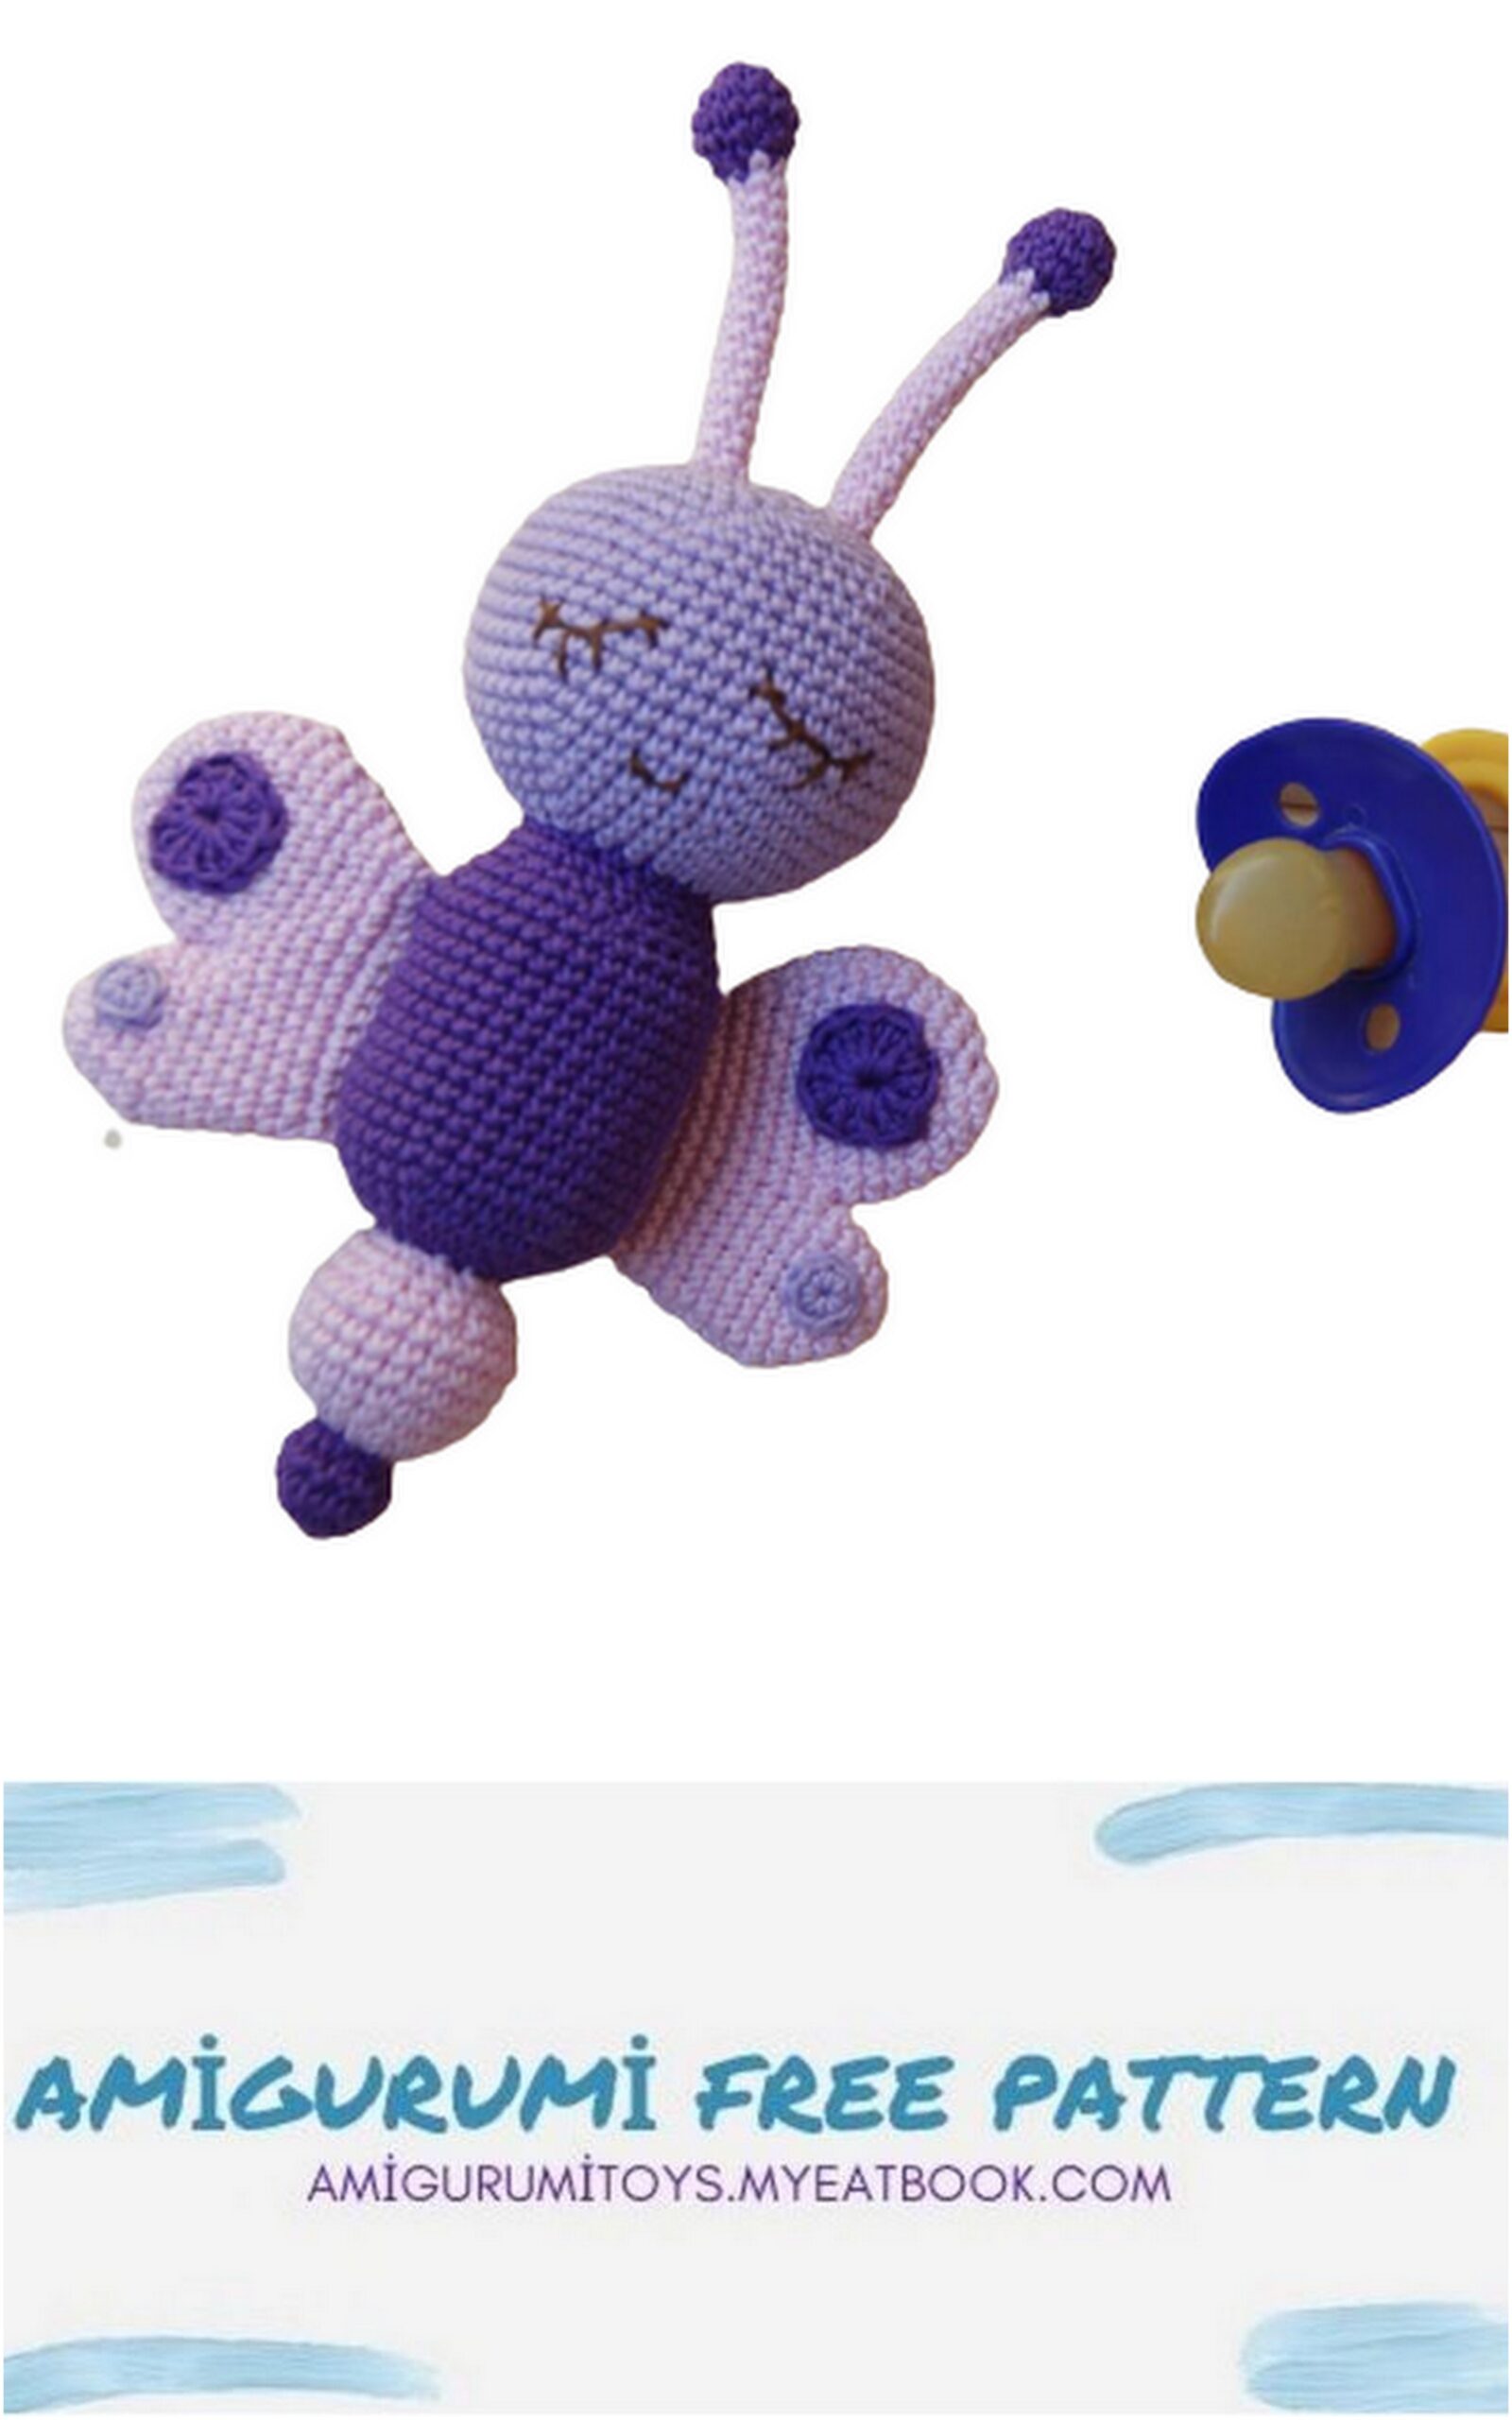
Our butterfly is ready!
Thank you for knitting with me!!!
And yes, I will be very, very nice if when posting finished toy, you write: