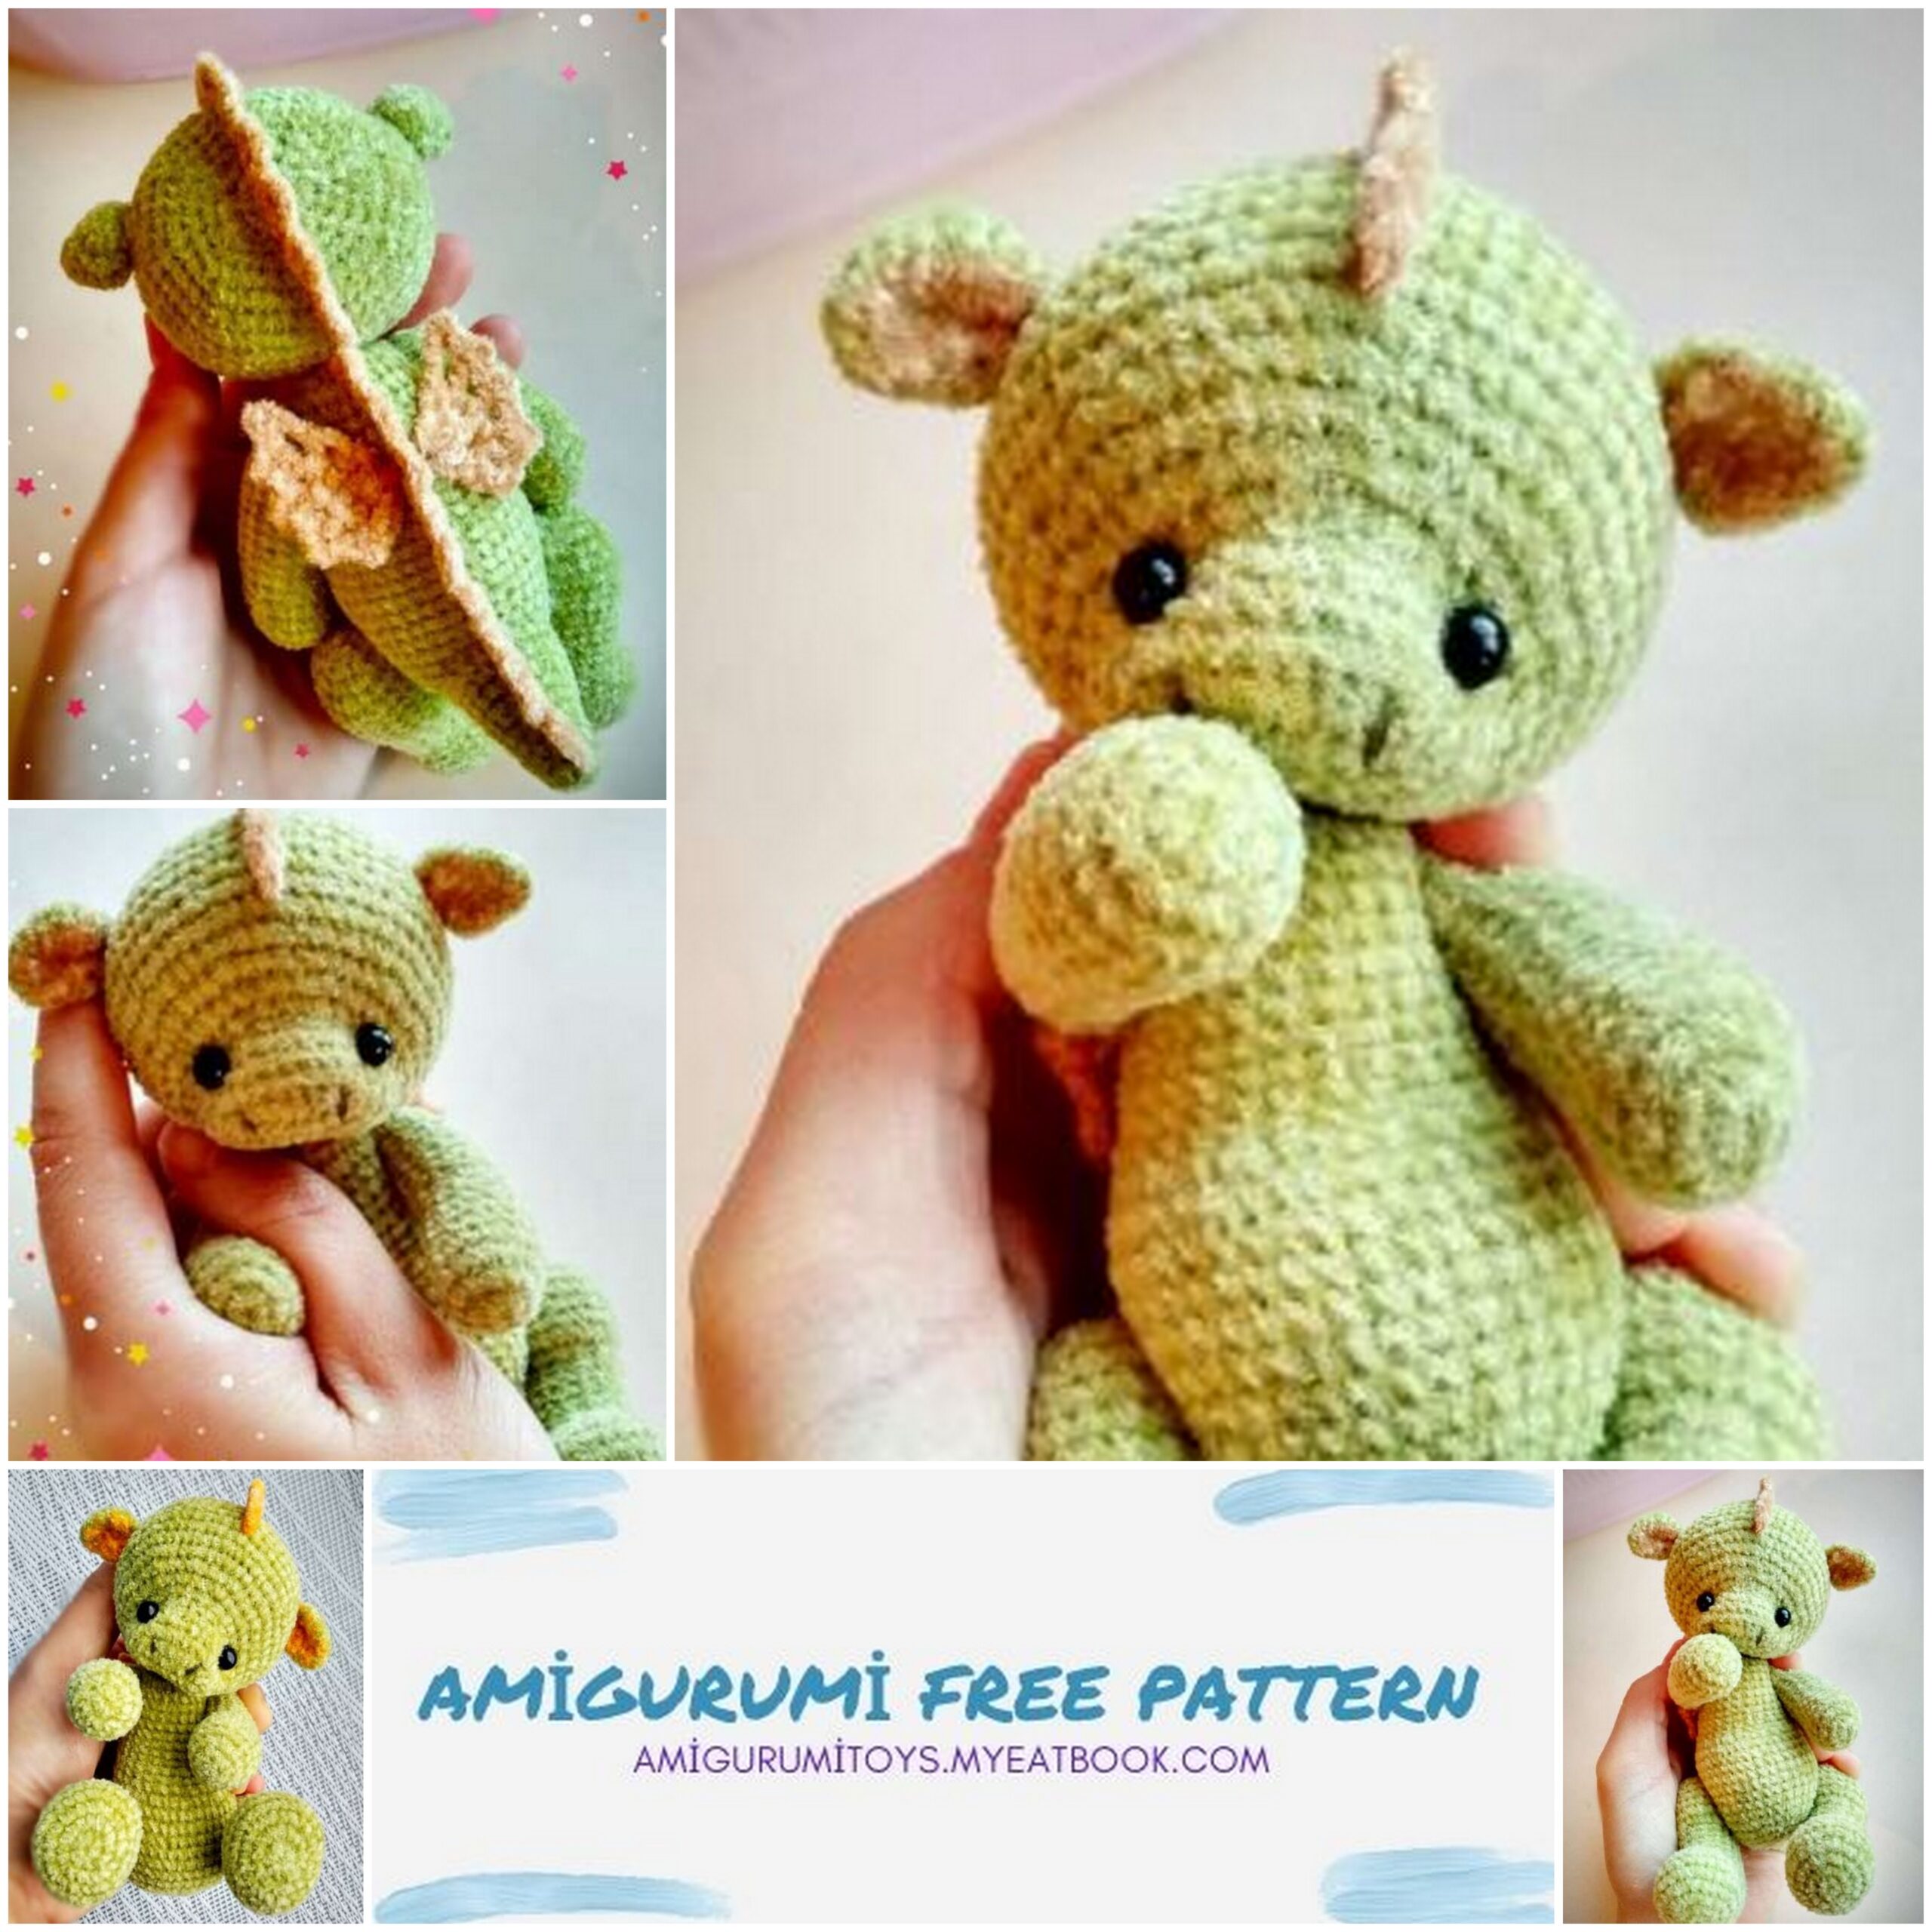
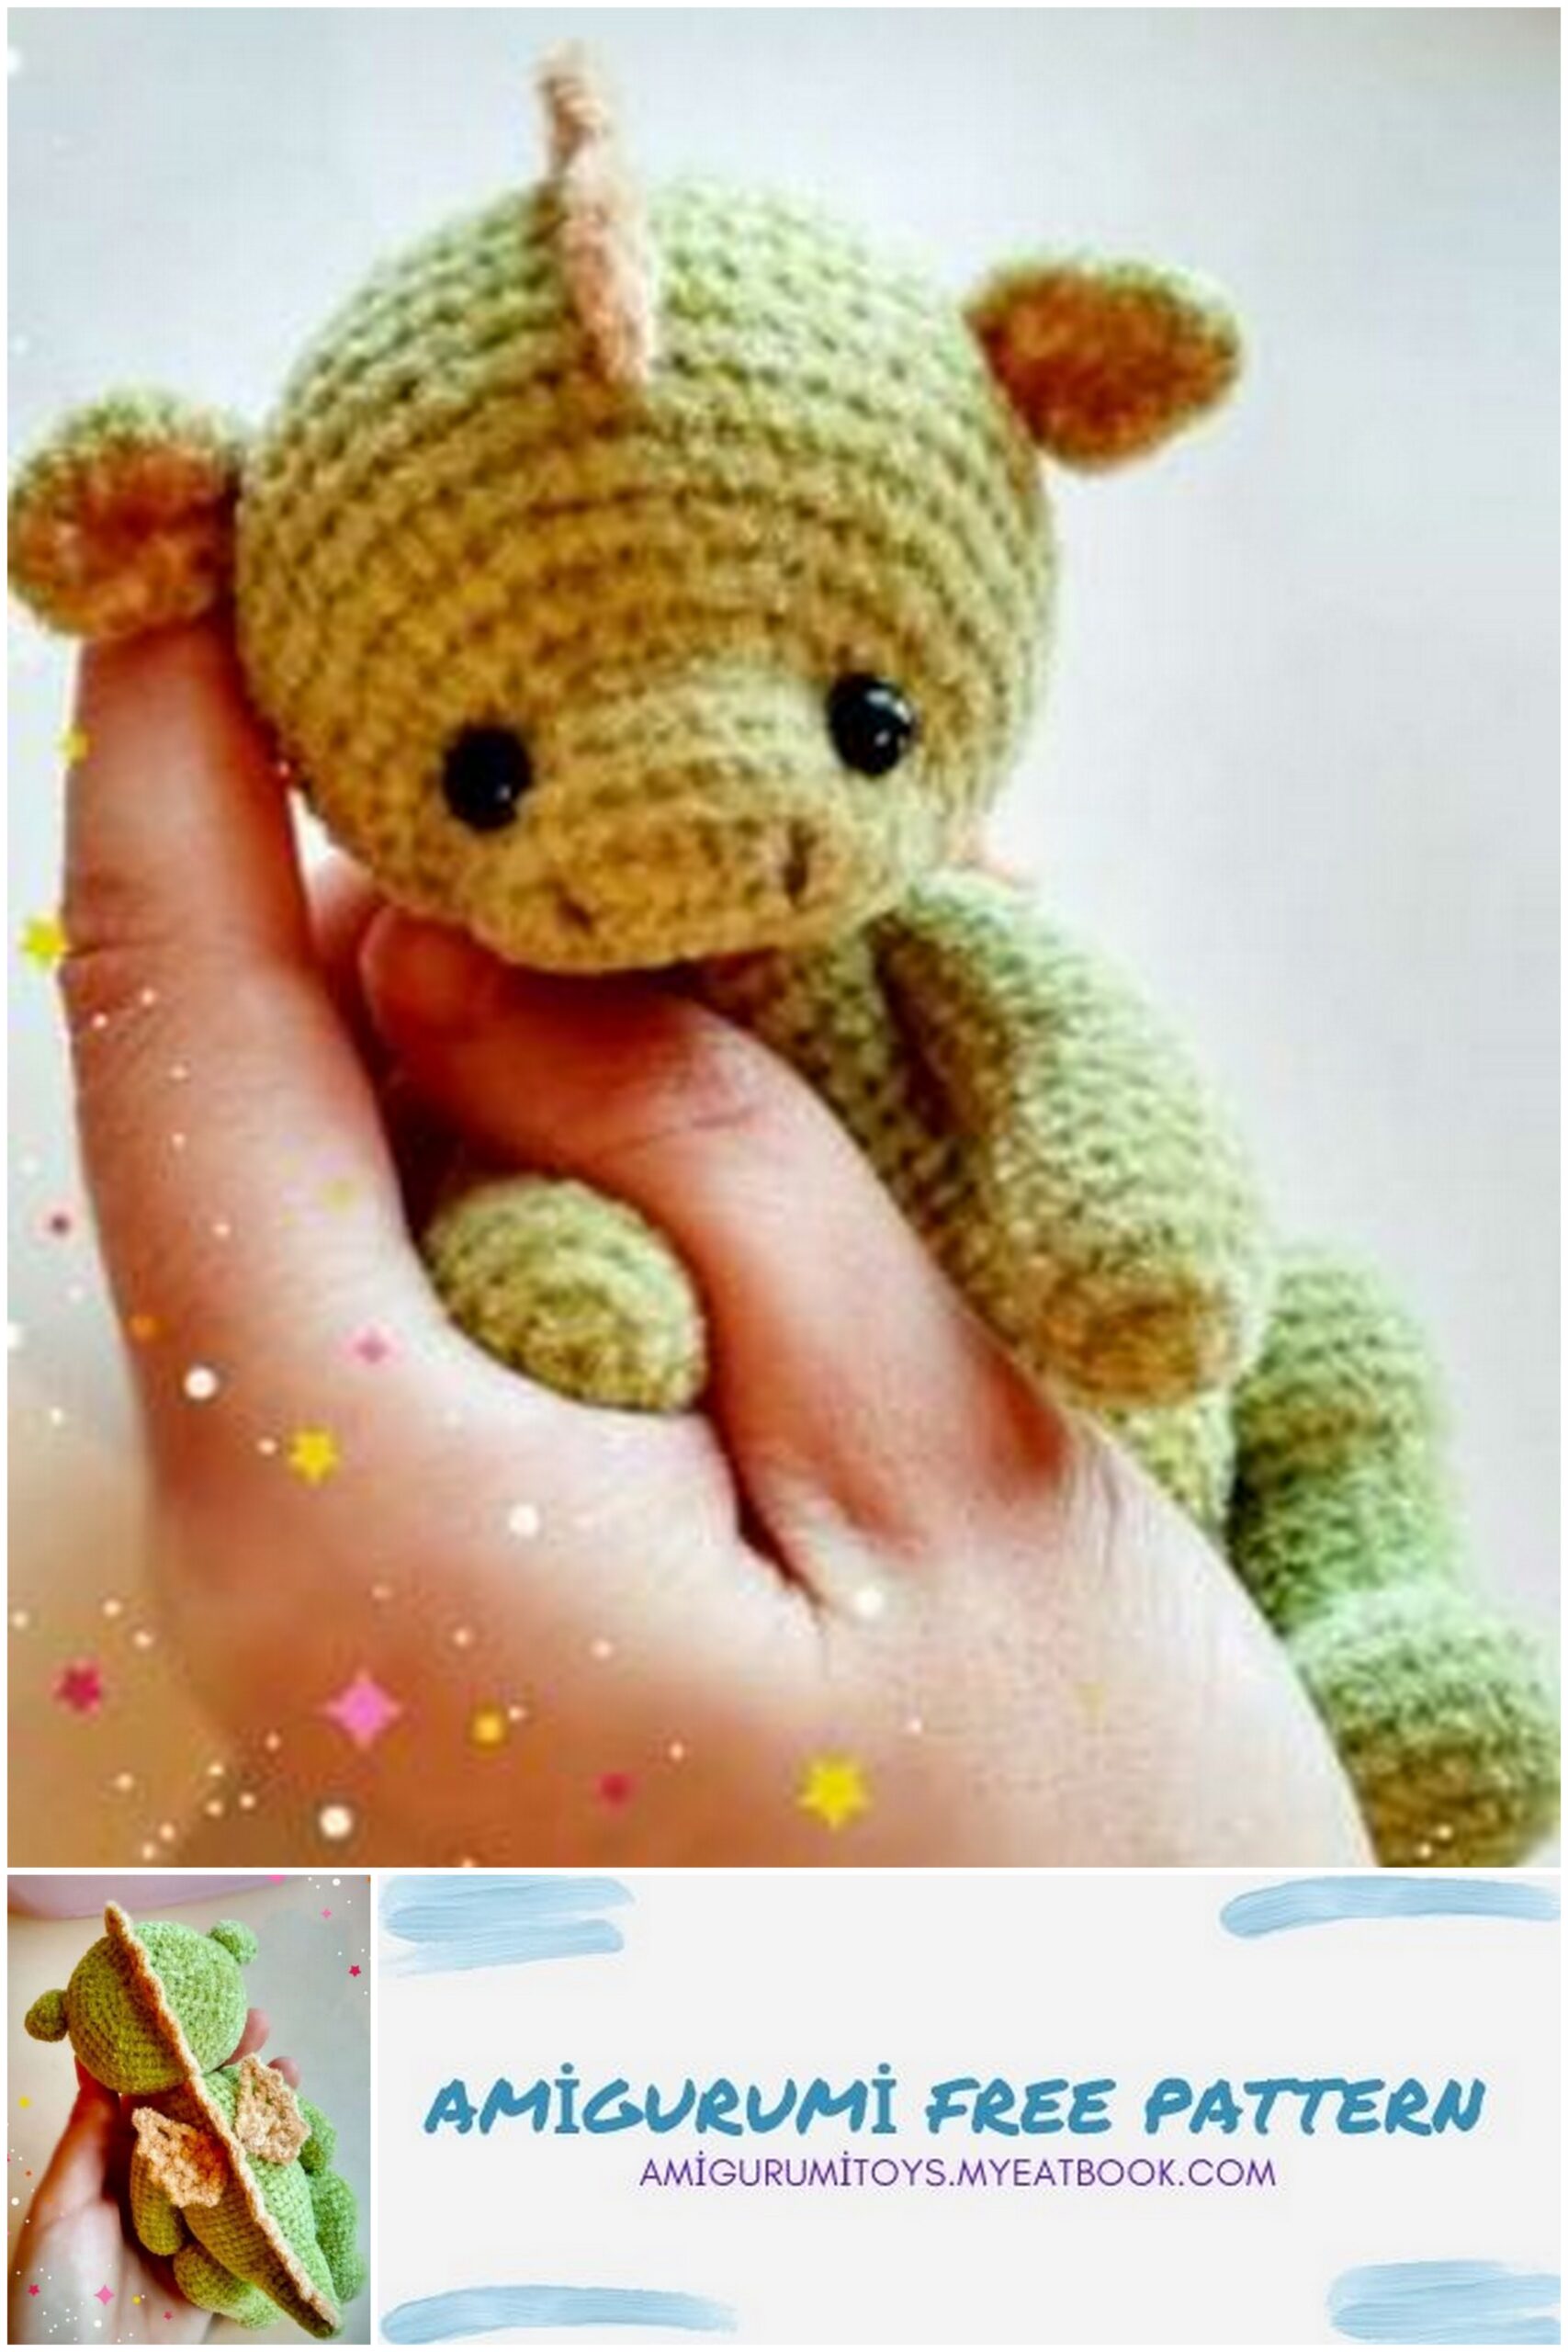
Amigurumi Little dragon Free Pattern
To create a toy you will need:
1. Yarn: In my case, this is Turkish velor (600m / 100g), the dragon turned out to be 14.5 cm.
Absolutely any yarn available in the arsenal will do, but then the size of the dragon will be different.
2. Hook: I used 1.50 mm. It all depends on how tight or loose you knit. One piece of advice – choose a hook number less than indicated on the yarn, the product will turn out to be more accurate, without unnecessary holes.
3. Filling: Fill with the material you are accustomed to.
I usually fill with holofiber, quite tightly.
4. Eyes: You can use regular beads of a suitable size. I have a diameter of 3 mm.
5. Mouline thread for spout embroidery: Any thread will do.
6. Fastening: I use thread + button fastening. Any other, cotter pin, knotting or just sewing is also suitable. Everyone has their own method of attaching and assembling a toy, so use the one that is convenient and familiar to you.
Please note that this is a description of a toy, not an MK.
Ekaterina Erdineeva 3 Difficulty level medium. You need to know the basics of knitting and be friends with a crochet.
Legend:
ch – air loop
sc – single crochet
inc – 2sc in one loop (increment)
dec – 2 sc knit together (decrease)
without changes – in a circle (without increases and decreases)
h / z – through
psc – half-column without crochet
dc – double crochet
c2h – Column with 2 yarns
conn.st – connecting post
Pico – 3ch, link at 3ch
Head:
1 row: 8 ch (8)
2nd row: (in 2nd loop from hook) inc, 5sc, 4sc in 1 loop, 5sc, inc (18)
3rd row: (inc) * 2p, 5sc, (inc) * 4p, 5sc, (inc) * 2p (26)
4-6 row: (no measure) * 3 rows (26)
7 row: (inc. H / z 1sc) * 8p, 10sc (34)
8 row: (inc. B / w 2sc) * 8p, 10sc (42)
9 row: (inc. H / z 3sc) * 8p, 10sc (50)
10 row: (inc. H / z 5sc) * 7p, 8sc (57)
11-18 row: (no measure) * 8 rows (57)
If you are using a cotter pin, then it’s time to tackle it.
19 row: (dec. B / w 5sc) * 8p, sc (49)
20 row: (dec. B / w 4sc) * 8p, sc (41)
21 row: (dec. B / w 3sc) * 8p, sc (33)
22 row: (dec. B / w 2sc) * 8p, sc (25)
23 row: (dec. B / w 1 sc) * 8p, sc (17)
24 row: (dec) * 8p, sc (9)
25 row: (dec) * 8p, sc (5)
! If filler is visible during the decrease, leave the thread long and just sew up the holes.
Body:
1st row: 8 sc into magic ring (8)
2nd row: (inc) * 8p (16)
3 row: (inc. H / z 1sc) * 8p (24)
With a cotter pin, it is already possible to attach the head to the body.
4 row: (inc. H / z 2sc) * 8p (32)
5-12 row: (no measure) * 8 rows (32)
13 row: (inc. H / w 7sc) * 4p (36)
14 row: no change (36)
15 row: (inc. H / z 1sc) * 8p, 20sc (44)
16 row: (inc. B / w 2sc) * 8p, 20sc (52)
17-24 row: (no measure) * 8 rows (52)
Install cotter pins for arms and legs. (If you use any other fastener, then we fill and continue to knit).
25 row: (dec. B / w 3sc) * 10p, 2sc (42)
26 row: (dec. B / w 2sc) * 10p, 2sc (32)
27 row: (dec. H / z 1sc) * 10p, 2sc (22)
28 row: (dec) * 11p (11)
29 row: (dec) * 5p (6)
We close the circle, cut the thread and hide it.
Ears: 2 parts
Main color: after finished the row, the product expanding.
1st row: 3ch (3)
2nd row: 4dc in 3rd loop from hook (4)
3rd row: 2ch, 2dc, psc, dc + connection st (5)
4th row: ch, sc, hdc, 2dc, c2h (5)
5 row: 8 sc, conn.
We leave the thread long for stitching the parts.


Additional color:
1st row: 3ch (3)
2nd row: 3dc in 3rd loop from hook (3)
3rd row: 2 ch, dc, hdc, sc + connection st (4)
4th row: ch, sc, hdc, dc, c2h (4)
5 row: 7sc, conn.
We connect the details.
Hands: 2 parts
1st row: 8sc into magic ring (8)
2nd row: (inc) * 8p (16)
3 row: (inc. H / w 4sc) * 3p, sc (19)
4-5 row: (no measure) * 2 rows (19)
6 row: dec, 8 sc, dec, 7sc (17)
7 row: no change (17)
8 row: (dec. H / z 3sc) * 3p, dec (13)
9-19 row: (no measure) * 11 rows (13)
When fastening with a cotter pin, we fasten our hands to the body.
20 row: (dec. H / z 1sc) * 4p, sc (9)
21 row: (dec) * 4p, sc (5)
22 row: (dec) * 2p, sc (3)
We close the circle, cut the thread and hide it.
Legs: 2 pieces
1st row: 8sc into magic ring (8)
2nd row: (inc) * 8p (16)
3 row: (inc. H / z 1sc) * 8p (24)
4 row: (inc. H / w 4sc) * 4p, inc, 3sc (29)
5-7 row: (no measure) * 3 rows (29)
8 row: 8sc, (dec. H / z 1sc) * 5p, 6sc (24)
9th row: 6sc, (dec) * 6p, 6 sc (18)
10 row: (dec. H / z 7sc) * 2p (16)
11-15 row: (no measure) * 5 rows (16)
16 row: 5sc, (inc) * 5p, 5sc, inc (22)
17-21 row: (no measure) * 5 rows (22)
When fastening with a cotter pin, we attach the legs to the body.
22 row: (dec. H / z 1sc) * 7p, sc (15)
23 row: (dec) * 7p (8)
24 row: (dec) * 5p (4)
We close the circle, cut the thread and hide it.
Tail:
1st row: 8sc into magic ring (8)
2nd row: no change (8)
3rd row: (inc) * 2p, 6 sc (10)
4th row: (inc) * 2p, 8sc (12)
5 row: no change (12)
6 row: (inc. H / z 1sc) * 4p, 4sc (16)
7 row: no change (16)
8 row: (inc. H / z 2sc) * 4p, 4sc (20)
9 row: no change (20)
10 row: (inc. H / z 3sc) * 4p, 4sc (24)
11th row: no change (24)
We leave the thread long for sewing the tail to the body.
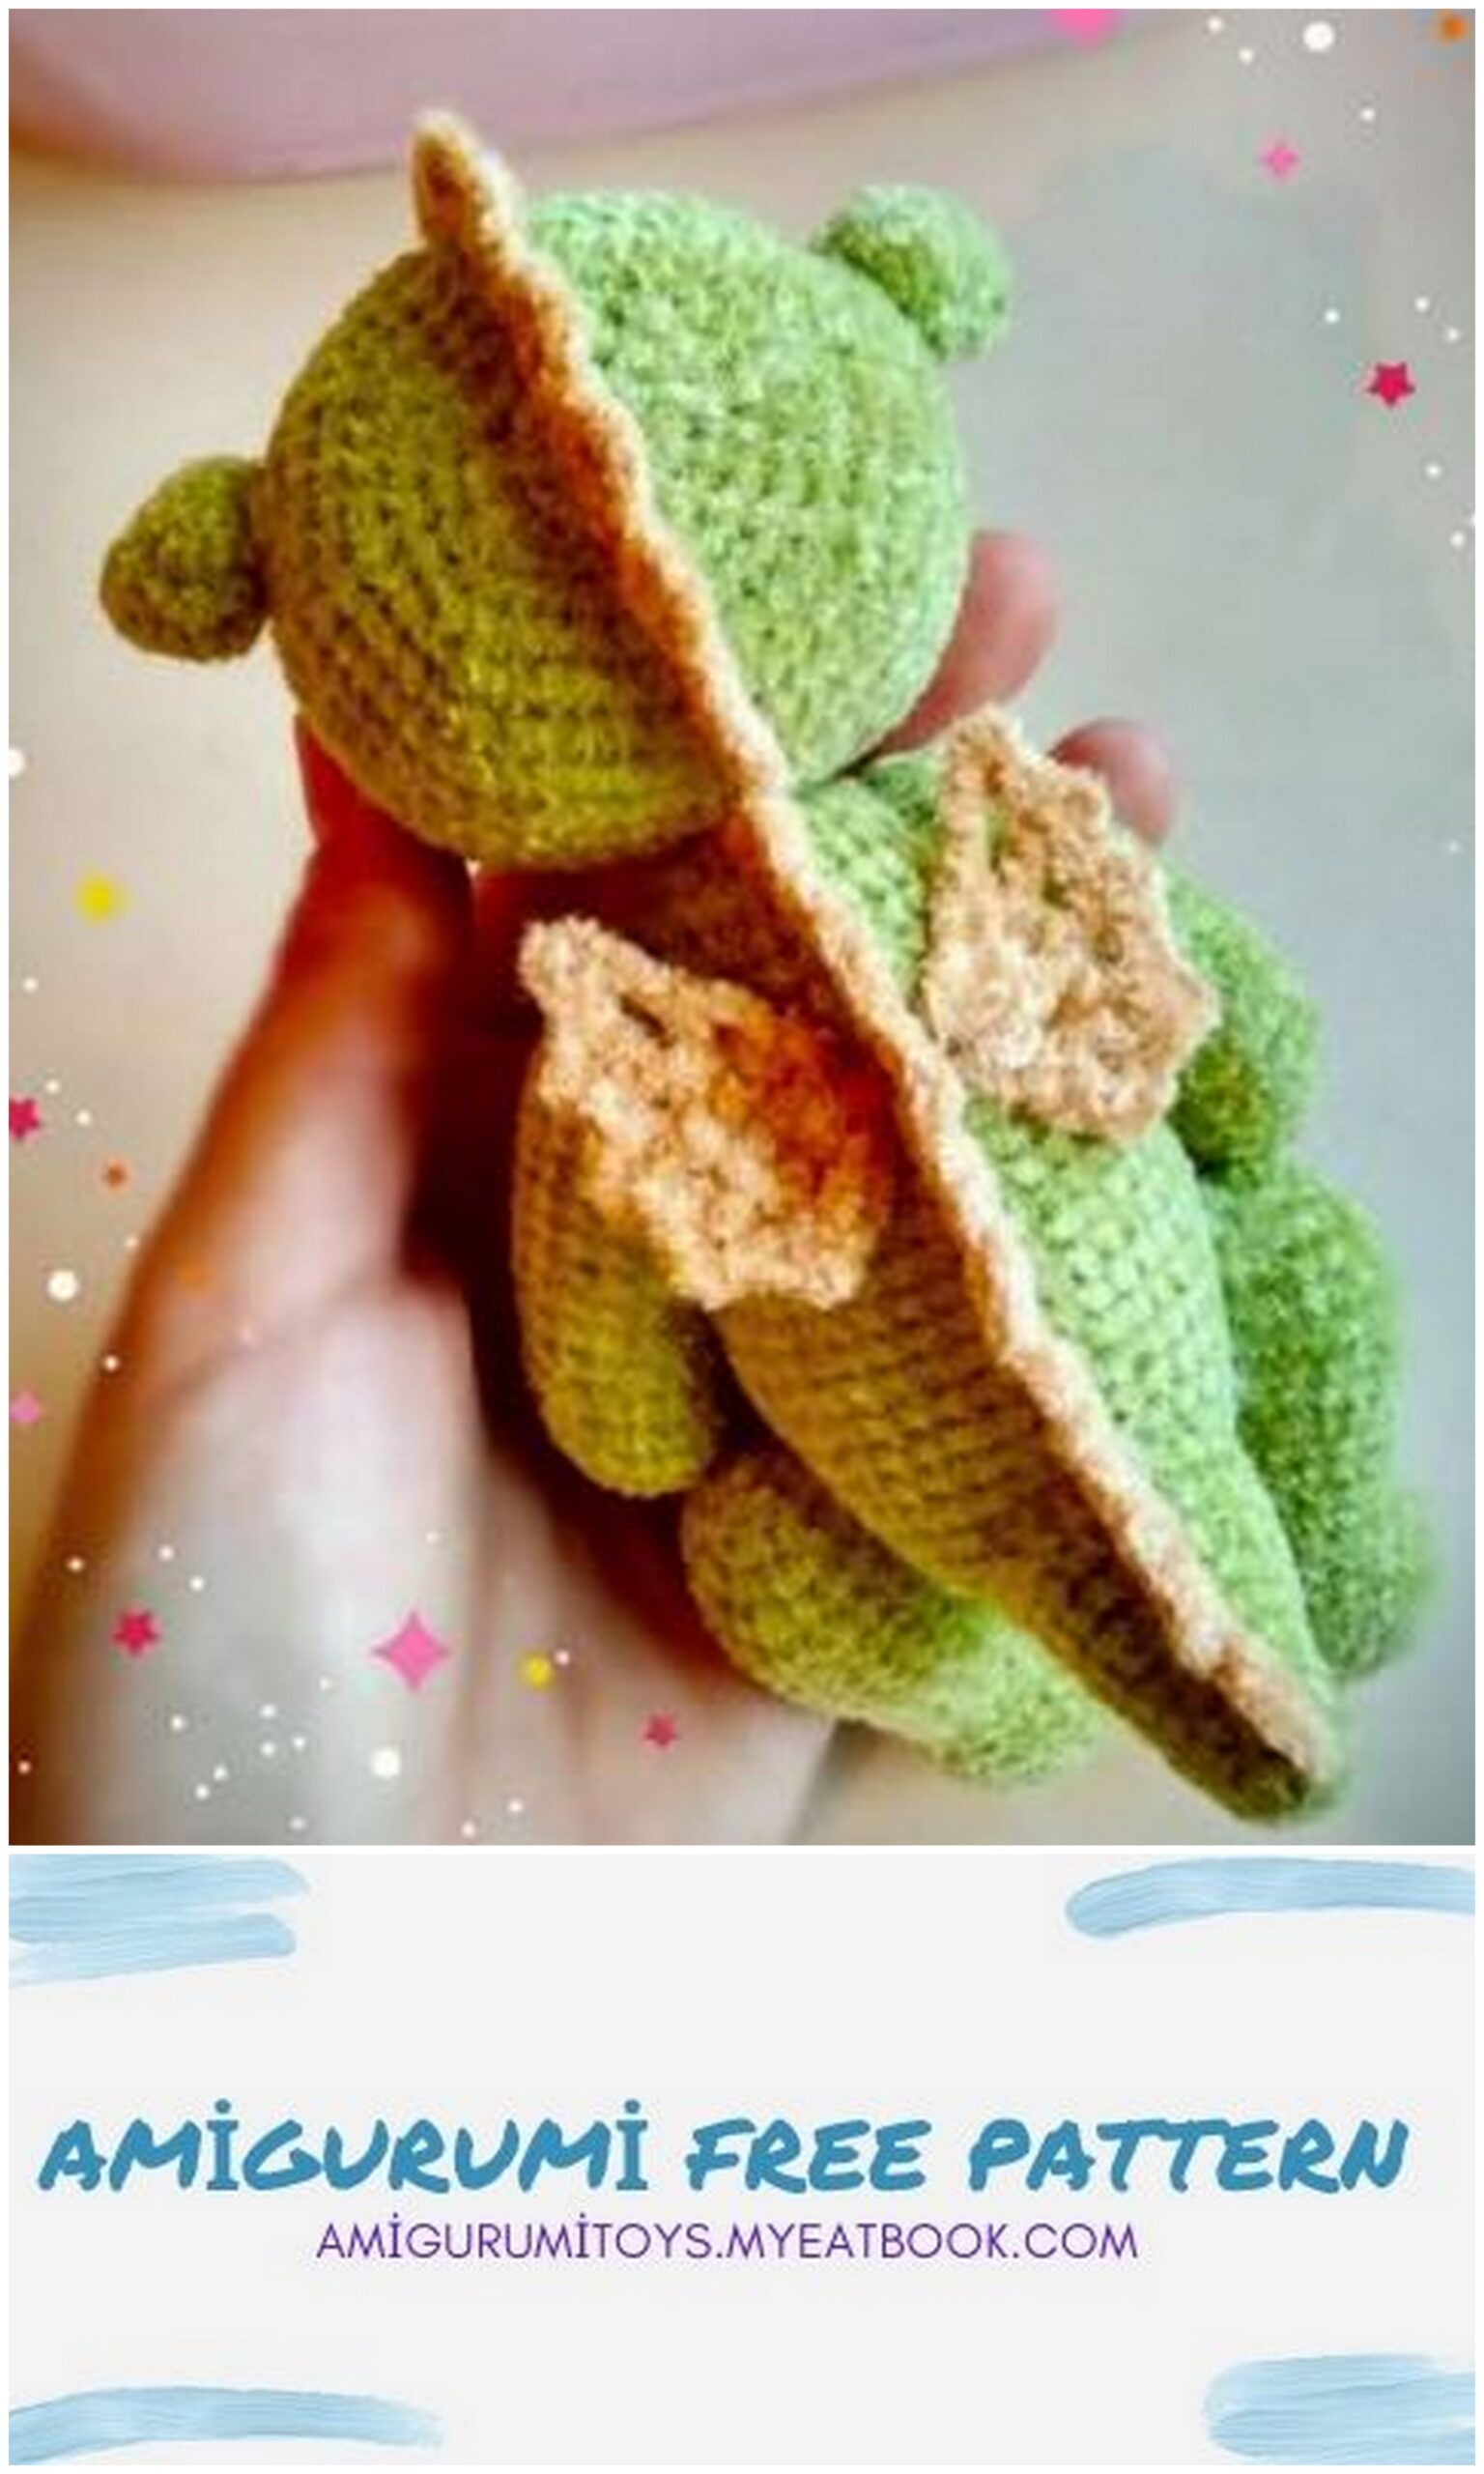
Fenders: 2 parts
1st row: 3ch
2nd row: 4dc in 3rd loop from hook
3rd row: 2ch, dc, ch, dc, ch, hdc, ch, sc
4th row: ch, connection st, ch, sc, ch, hdc, ch, dc, ch, c2h
5 row: (pico ch.z 2sc) * 4p, inc, 4sc
The thread can be left long for sewing on the wings.
Scallop: Be very careful !!!
Head:
1st row: 25ch
2nd row: in the 2nd loop from the hook we knit (“sc, ch, dc” –
knit in one loop, ch, “dc, ch, sc” – p knit in the next loop, connect st) * 8 times
Scallop pattern:
Body:
1st row: 29sc
2nd row: in the 2nd loop from the hook, (we knit according to the scheme).
Ekaterina Erdineeva 14
Well, the matter remains with the small, but perhaps the most interesting. Making a face and assembling our parts into a dragon.
I draw your attention to the fact that this is a description, not an MK. Therefore, nothing will be written in detail about the assembly and design of the toy! Act in the way that is most familiar to you.
I remind you once again that I use the button +
thread fastening. You can use the method that suits you best.
If you suddenly have any questions, please contact me.
I will be happy to help you!
Your dragon is ready !!!
I hope you enjoyed creating this miracle.

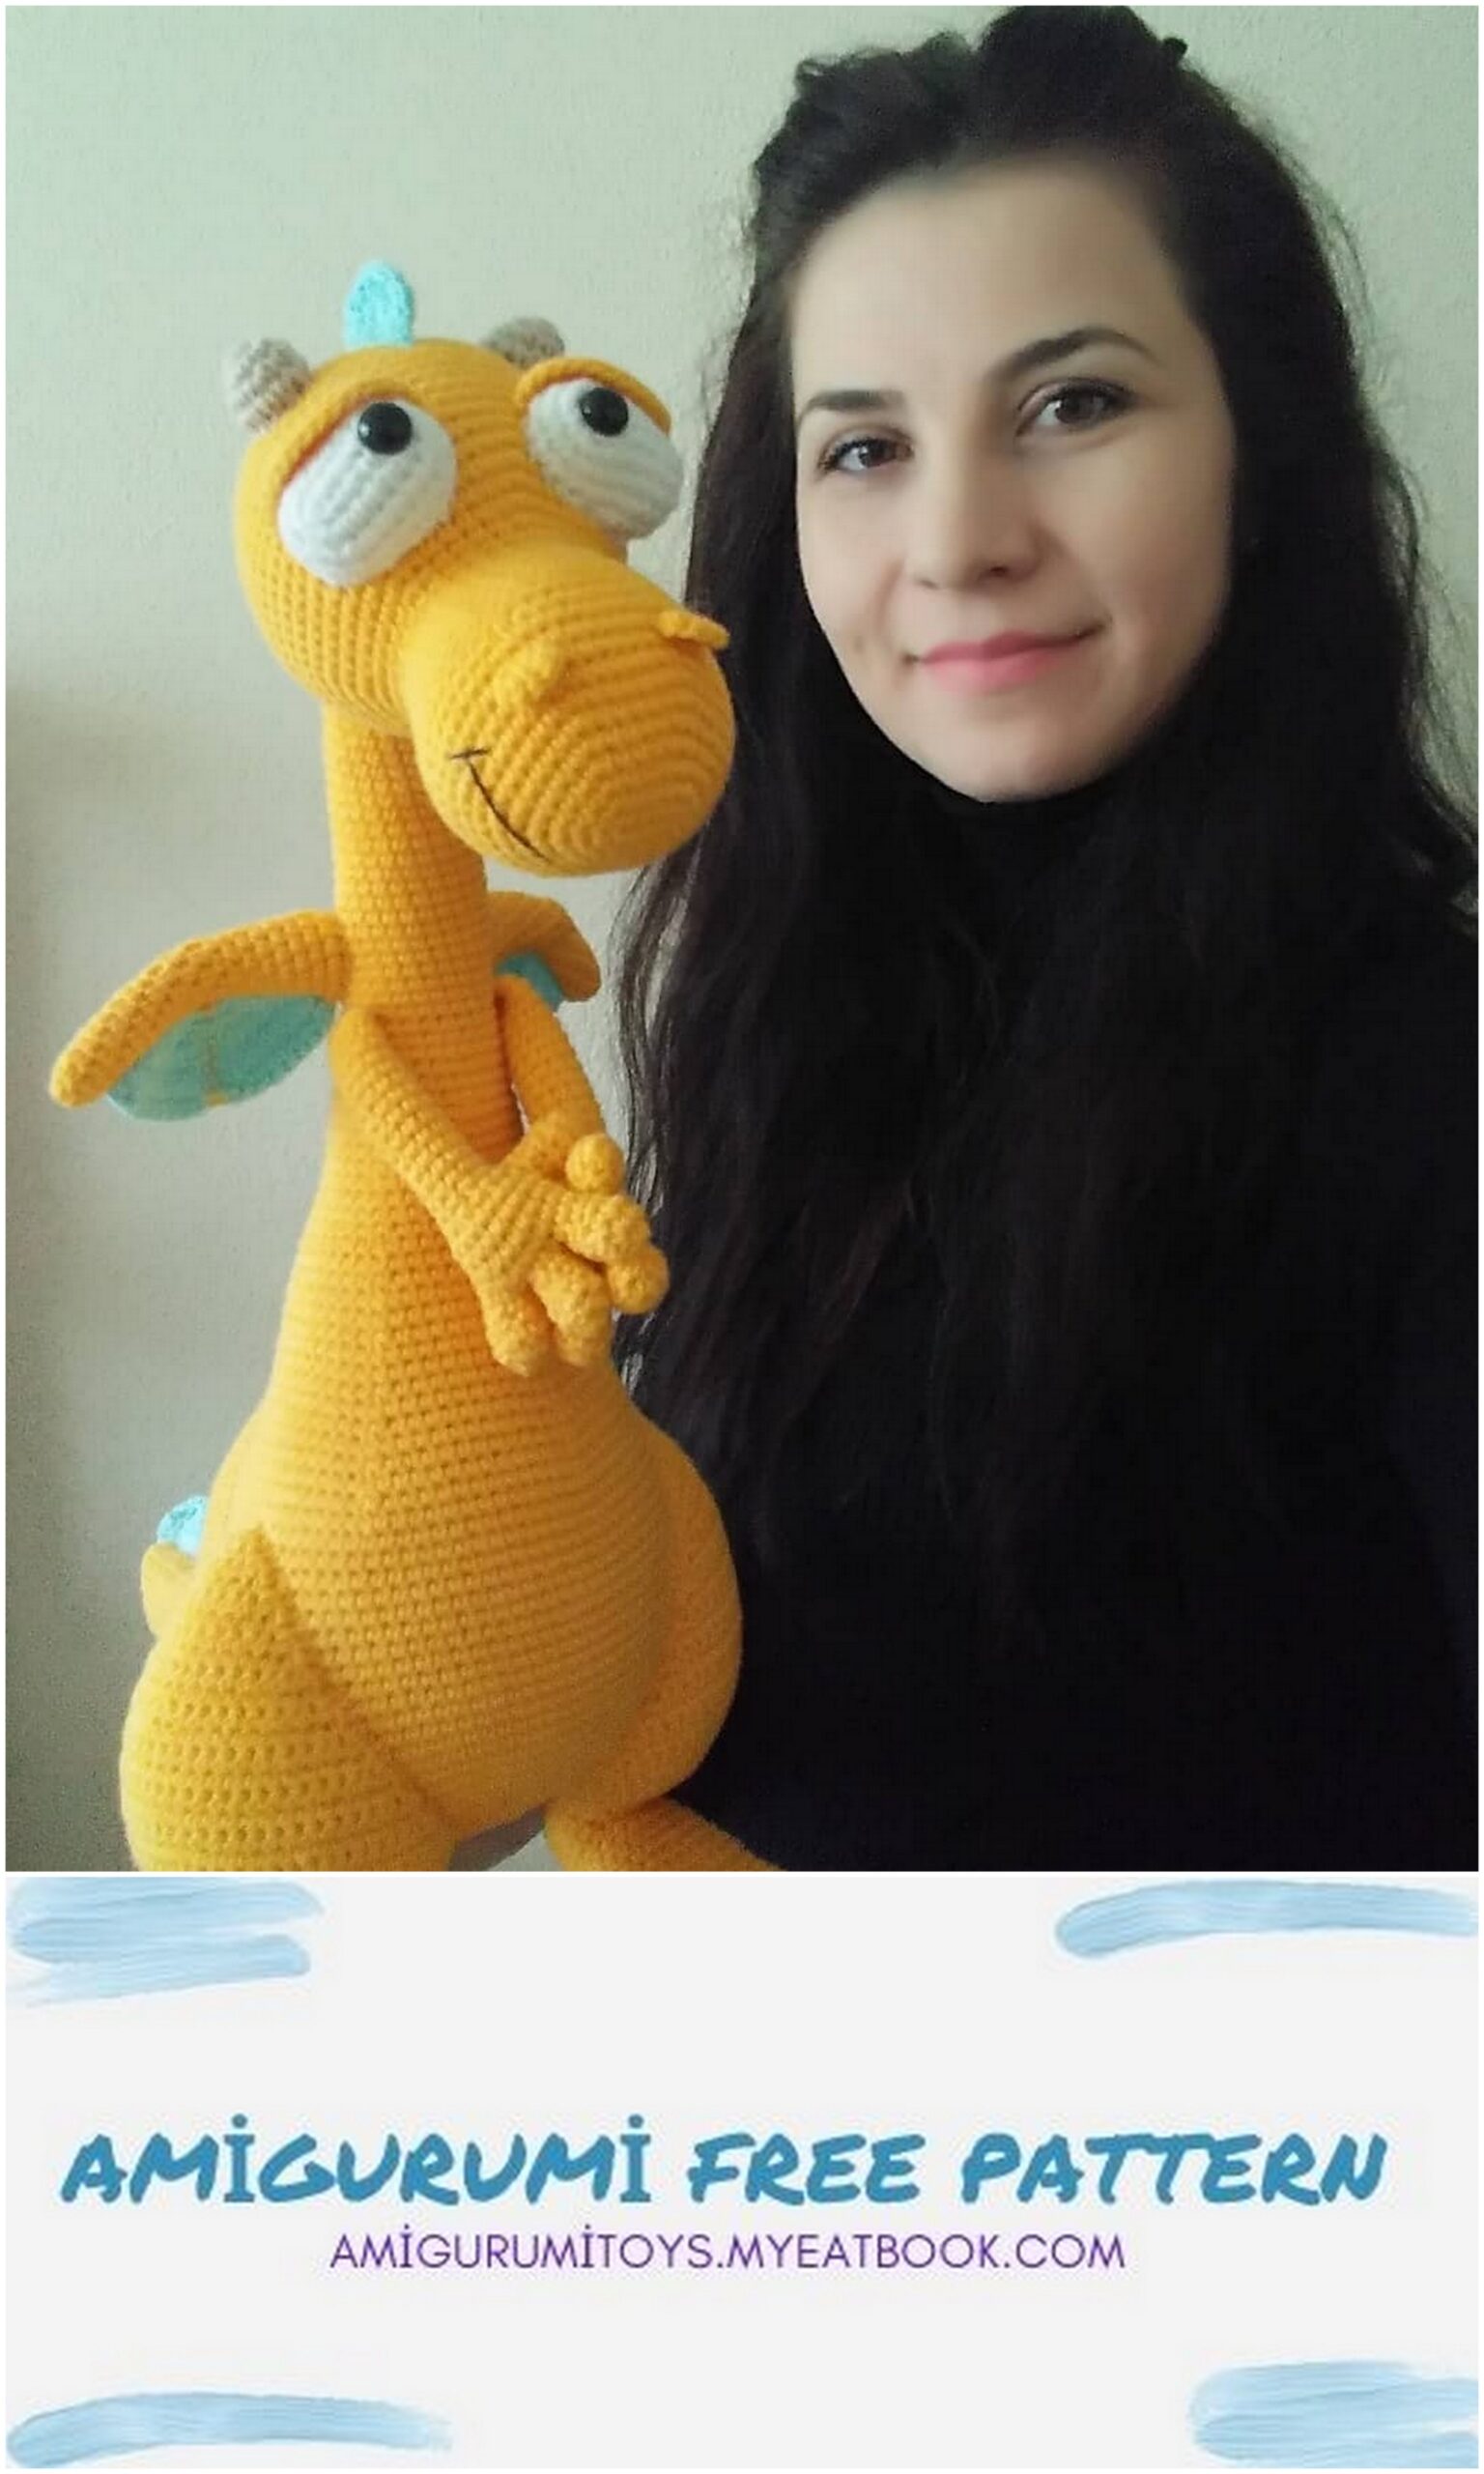
I wish you inspiration, creative success and even loops !!!
I really want to make the dragon but I don’t understand the instructions please can you help me 🙏😭 no