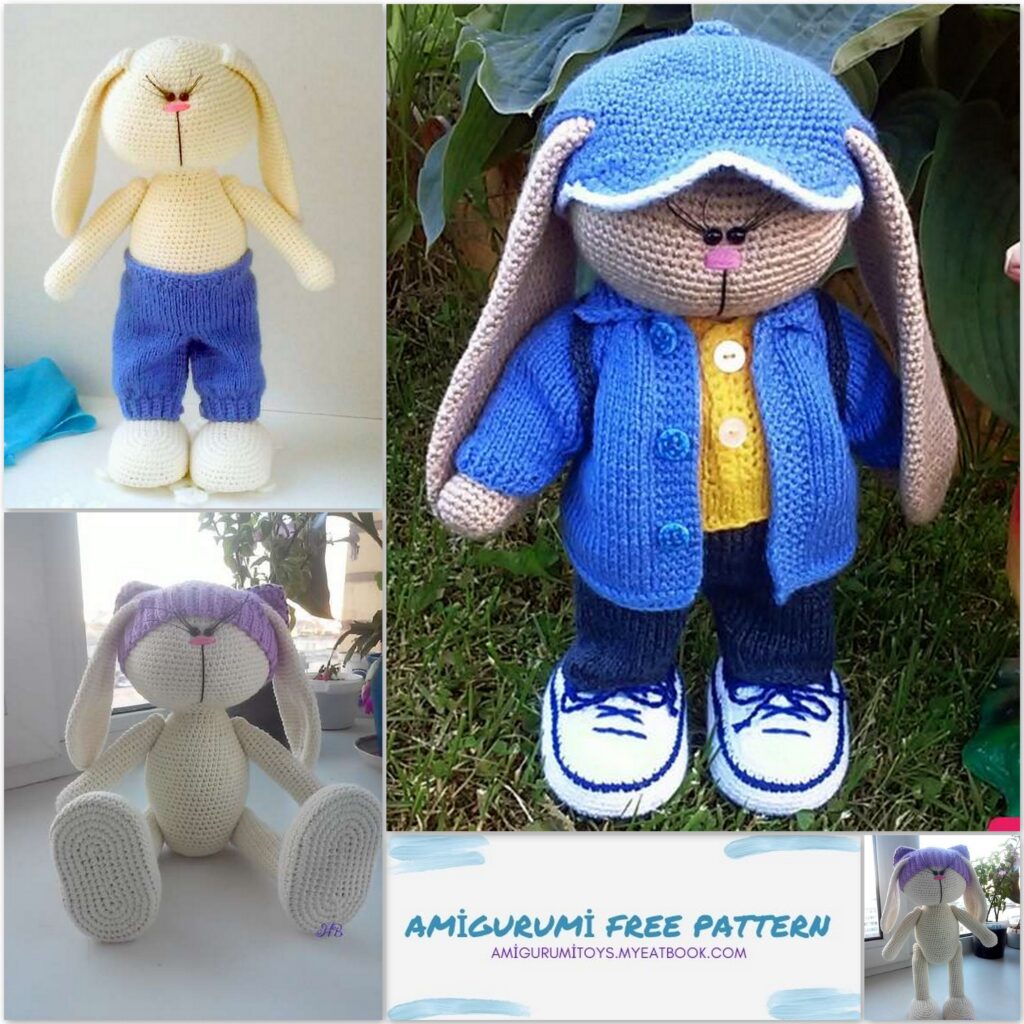
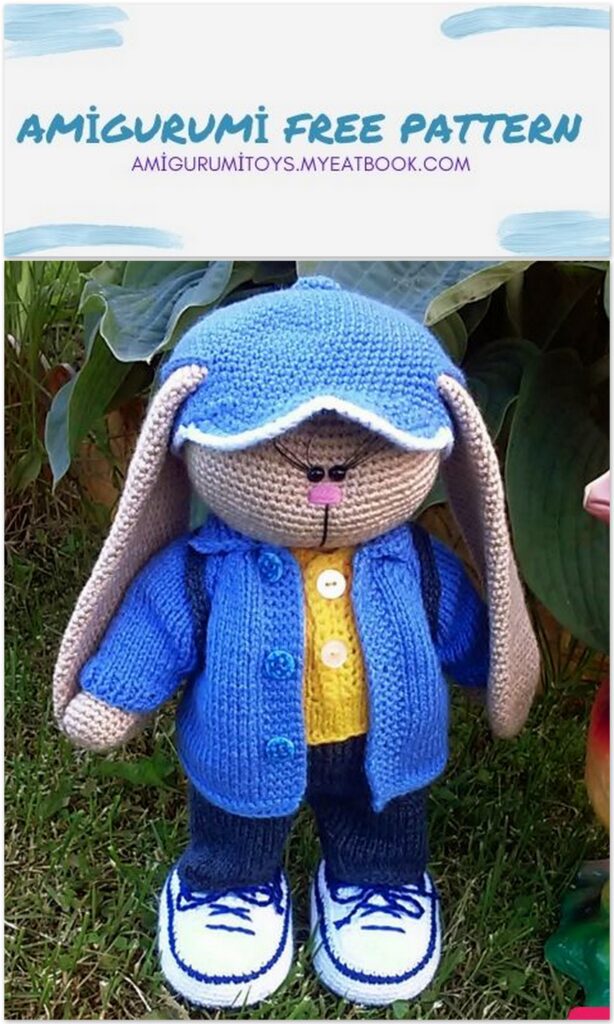
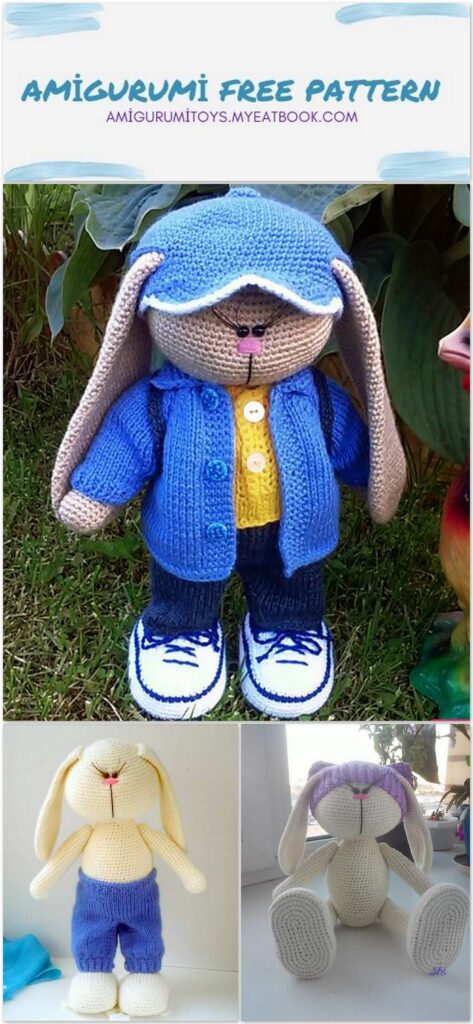
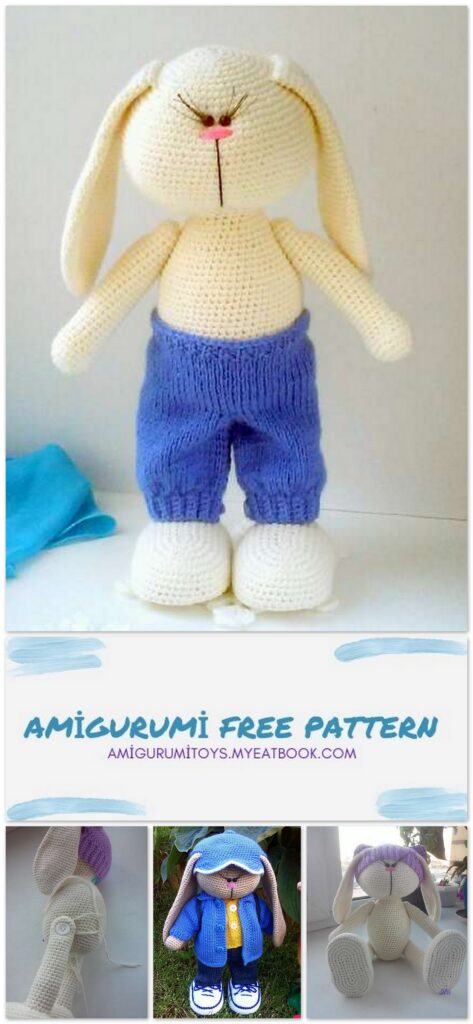
Amigurumi Bunny Tilda Free Pattern
This workshop contains a description of knitting the body Tilda’s bunnies without clothes. To work for us you will need the following materials and tools:
yarn of milky or light beige, 50 gr.
130 -160 meters. The size of the toy depends on the thickness of the yarn. I knit the body with Jan Art Elite or Jan Art Jeans. Hook number 2 (I have a hook 1,9), filler for stuffing, a long needle with a large eye, two half beads for the eyes, a little pink and black yarn for the nose and mouth, black line for eyelashes (or ready-made eyelashes), material for cutting insoles (I cut insoles from DVDs), 4 buttons for attaching handles and feet.
Legend
sc – single crochet
inc – an increase, we knit two from one column
dec – decrease, we grab the next two columns by the front half-loops, pull the thread from the ball through them, there are 2 loops on the hook, we knit them.
sl-st – connecting post.
We will knit in finished rows, at the end of each row we connect the first and last columns with sl-st.
Head-body
1r. amigurumi ring 6 sc, sl-st
2p. in each column inc, sl-st, 12 sc
3p. sc, inc, sl-st, 18sc
4p. 2sc, inc, sl-st, 24sc
5r. 3sc, inc, sl-st, 30sc
6p. 4sc, inc, sl-st 36sc
7p. 5 sc, inc, sl-st 42sc
8 p. 6sc, inc, sl-st 48sc
9r. 7sc, inc, sl-st 54sc
10 p. 8sc, inc, sl-st 60sc
11r. 9sc, inc, sl-st 66sc
12r. 10sc, inc, sl-st 72sc
13r. 11sc, inc, sl-st 78sc
14 p. 12sc, inc, sl-st 84sc
15 p. -23 P 84 sc
24 p. 12sc, dec, sl-st 78sc
25 p. 11sc, dec, sl-st 72sc
26r. 10sc, dec, sl-st 66sc
27r. 9sc, dec, sl-st 60sc
28r. 8sc, dec. sl-st 54sc
29r. 7sc, dec, sl-st 48sc
30r. 6sc, dec, sl-st 42sc
31r. 5sc, dec, sl-st 36sc
We partially fill the head, but not completely, otherwise it will be difficult to knit further.
32 p. 4sc, dec, sl-st 30sc
33 P 3sc, dec, sl-st 24sc
34 P 24sc
We do not tear off the thread, then we knit the body.
1r. 3sc, inc, sl-st 30sc
2p 4sc, inc, sl-st, 36sc
3p. 5sc, inc, sl-st 42sc
4p. -5r. 42sc
6p. 6sc, inc, sl-st, 48sc
7p. 7sc, inc, sl-st. 54sc
8 p-9 p 54sc
10 p. 8sc, inc, sl-st, 60sc
At this stage, we fill the head and part of the body to the end. We stuff the neck more tightly so that the head does not dangle.
We also do a face tightening.
Face tightening is performed as follows:
count 15 rows from the crown of the head, stick 2 pins between 15 and 16 rows, 3 columns between the pins. In the lower part of the head, there are 2 more pins symmetrically with the upper one, 1 column between the pins.
We take a long needle and thread with which you knit the body,
stick in a column with the lower right pin, we bring the needle into the upper right column with a pin, insert a needle into the upper left column with a pin and
we output to the lower left column with a pin, we tighten the strings and tie a knot. Threads we remove the crochet in the neck.
We continue to knit the body.
Knit 20 rows sc unchanged 60 sc.
Gradually fill the body. The body should be packed very tightly.
31r. 8sc, dec, sl-st
32 p. 7sc, dec, sl-st
33 P 6sc, dec, sl-st
34 P 5sc, dec, sl-st
35 p. 4sc, dec, sl-st
36 p. 3sc, dec, sl-st
36 p. 2sc, dec sl-st
We leave a hole, we will tighten it during assembly.
The hole is needed so that you can add filler after the legs are sewn on. Cut the thread, leaving the end of 50 centimeters for tightening.
The bunny’s body is ready !!!!
We will deal with the design of the face a little later.
Part 2 Handles, legs, ears
Fig1p. in the ring amigurumi 6sc, sl-st
2p. in each column inc, sl-st, 12sc.
3p. 1sc, inc, sl-st 18sc
3p. make 2 increments evenly, sl-st 20sc
4p. 20 sc
5r. 2sc, dec, sl-st 15 sc
6p. -27 P 15sc
In the process of knitting, we gradually stuff the handle, not very tightly.
28r. 1dec, 14sc
29r. 14sc
30r. 7dec, pull off the hole.
The second handle is knitted in the same way.
Pens
The leg consists of an upper part, a sole and an upper part of the foot. We knit all parts separately.
We knit the upper part of the leg:
1r. in the ring amigurumi 6sc, sl-st
2p. 6inc, sl-st! 2sc
3p. 1sc, inc, sl-st 18sc
In the process of knitting, gradually fill it tightly.
4p. – 30r. 18sc
Cut the thread, leaving the end 30 cm. For sewing
We knit the second in the same way.
We knit a foot:
1r. cast on 10 ch, in the second st from the hook inc, 7sc, in the last st 4sc, sl-st
2p. inc in the first column, 8sc, 4inc, 8sc, inc.
3p. 2inc, 8sc, (inc, sc) 4 times, 8sc, 2inc. 36sc
4p. (sc, inc) 3 times, 8sc, (inc, sc) 5 times, 8sc, (inc, sc) 2 times 46sc
5r. (sc, inc) 4 times, 9sc, (inc, sc) 6 times, 9sc, (inc, sc) 4 times 60 sc
6p. 60sc.
Ears
1r. in the ring amigurumi 6sc, sl-st
2p. 6inc. sl-st
3p. 1sc, inc, sl-st 18sc
4p. 18sc
5r. 2sc, inc, sl-st 24sc
6p. 24sc
7p. 3sc, inc, sl-st 30sc
8 p. 30sc
9r. 4sc, inc, sl-st 36sc
10 p. 36sc
11r. 17sc, inc, 17sc, inc, sl-st 38sc
12r. -15 P 38sc
16 p. 17sc, dec, 17sc, dec, sl-st 36sc
17 p – 18 p 36sc
We knit the second sole in the same way.
To get the top of the foot, you need to knit 4 more rows of 60 sc. Cut the thread, leaving the end about 60 cm for sewing.
19 p. uniformly 2dec 34sc
20 p-21 p 34sc
23 p. uniformly 2dec 32sc
24 p – 25 p 32sc
26r. uniformly 2dec, sl-st 30sc
27 p – 28 p 30sc
29 – 40 p. we knit like this: in every third row we do 2 dec, until 22 sc remains.
41 P – 55r 22sc
56 P fold the eyelet in half and knit together the loops of both halves 11sc. cut off the thread leaving the end 25cm for sewing.
The ears need to be steamed slightly, so they will look better.
Photo 10 shows the ears of a slightly smaller size, because For some reason I didn’t have enough threads, but it didn’t spoil the general view, it even turned out interestingly. I gave you a diagram of how I usually knit ears. But each craftswoman has her own vision, her own fantasy. So, go for it !!!!!
Well, all the parts of our bunny are connected. It’s time to start assembling !!!
Part 3 Build.
Face decoration
Let’s start the design of the face by gluing the eyelashes and the eyelet. I do it like this:
I cut several pieces of fishing line 10 centimeters each, insert them all together into a needle (photo 11). In photo 12, a dot is drawn, this is the middle column at the place of the tightening. We stretch a needle with a fishing line through this column. It’s not very easy, but you should try. You can use pliers. I align future cilia, pin it with pins, align with a needle, as you like
At the beginning of the cilia, drip a couple of drops of glue (I have a super Moment) and glue the eyes. Eyelashes and eyes are immediately fixed. Done !!!!!
Now we embroider, first the mouth with black thread, then the spout with pink thread.
We trim the eyelashes to the desired length.
Sew on the ears
From the crown of the head, count 10 rows, to the sides of the peephole
10 columns and sew, as shown in the photo.
Assembling the legs
We cut insoles from the material at hand, I use .plastic bucket covers or old DVDs.
We connect the middle of the top and bottom of the foot from the heel side and we begin to sew for each loop. Sewing more half, insert the insole and start stuffing. Stuff follows very tightly. We connect the parts to the end. Not forget to add filler.
On the heel, we count 7 rows up and sew on the top of the leg.
Add filler if necessary.
Sew on legs and handles
We will need: a long needle with a wide eye, pins, 4 buttons, check that the needle and thread goes through the holes, And a good mood!
Thread fastening of the legs is a very important point, since it depends on how stable the standing and sitting will be. We will fasten the legs by threading the needle through the body, so the needle should be long, I have 10 cm.
In order for the legs to be straight, on one straight line, I use a needle 18 cm long. You can use a thin knitting needle. I pierce the body with a needle (between 12 and 13 near the bottom and in the middle of the body from the side) On both sides I string the legs onto the knitting needle. Place the bunny on the surface to make sure that the legs are strung correctly. The thread I use is the same one that I knitted the body with in two folds.
We insert the needle into the body between 12 and 13 near the bottom, pierce through, insert the needle into the leg in the middle at the level between 3 and 4 next to the top, pierce through, string a button
19 ) . We again insert the needle into the leg and into the body at the same place where the needle came out from . We withdraw the needle in the same place where it was inserted. We string the second leg in the same way as the first.
21) .Tighten the threads. Check if the legs are positioned correctly. If something went wrong, it’s better to redo it right away.
If everything is in order, we do all the operations again. It is not so easy, sometimes you have to use pliers to pull the needle out.
As a result, we have both ends of the thread under the second leg. We tie the ends of the thread and tighten it well.
The legs should fit snugly against the body, otherwise the bunny will not stand.
The legs were pulled together. We tie the threads into several knots.
We remove the threads into the body. I clean with a needle. We tighten the hole between the legs. You can knit one row with decreases across the column and one row with decreases until the hole closes.
The handles are sewn on the same principle.
It is not necessary to tighten the handles strongly, otherwise they will stick out to the sides.
Our bunny is ready !!!
Wish you luck and even loops!
