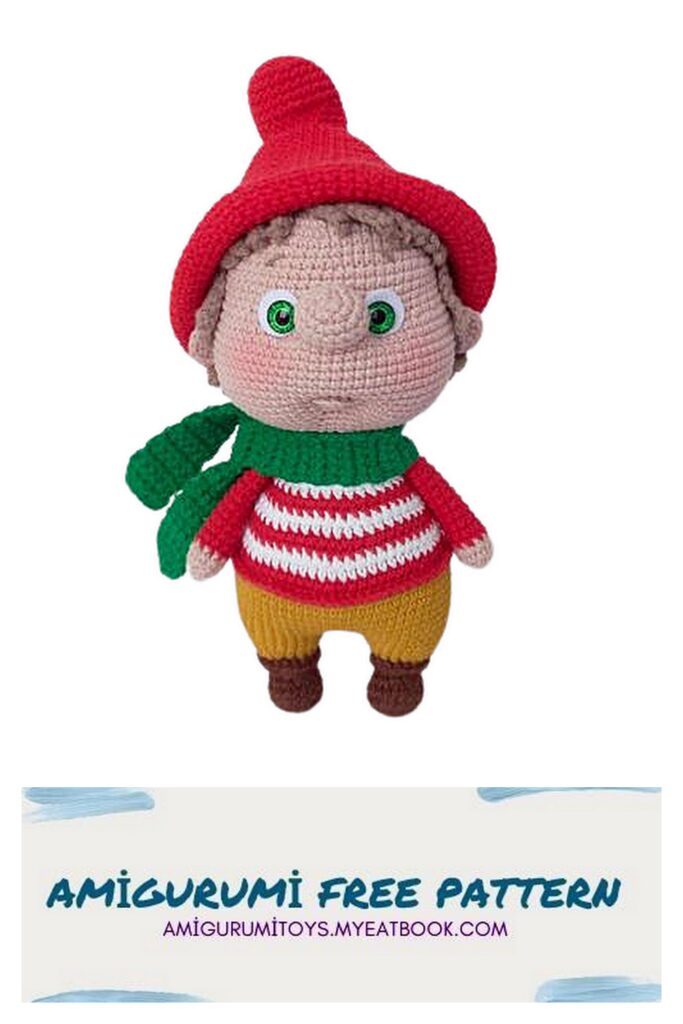
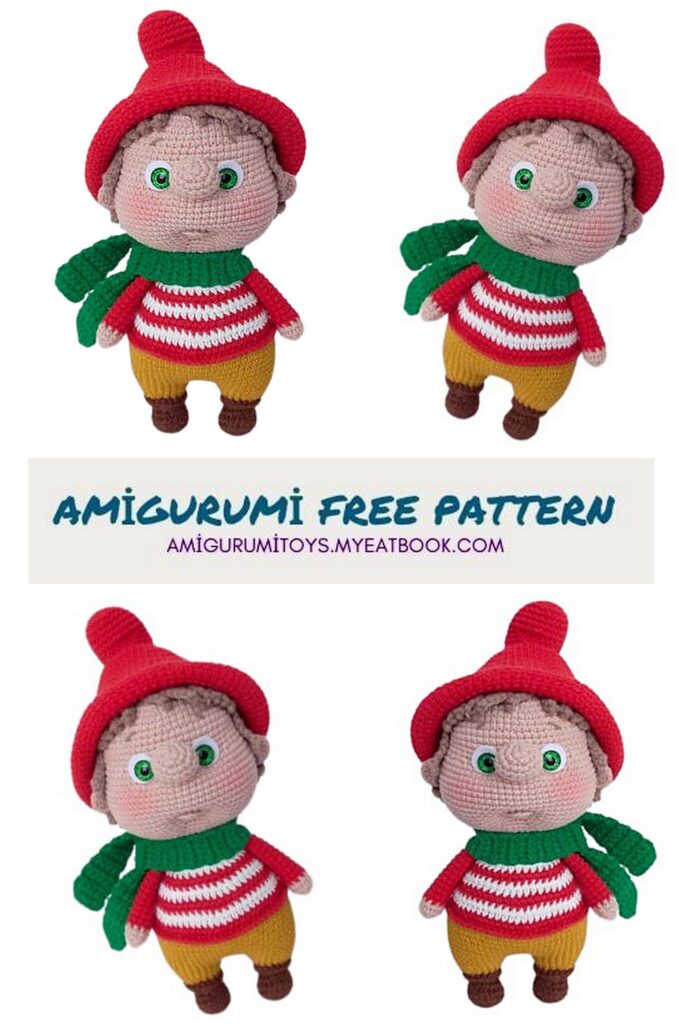
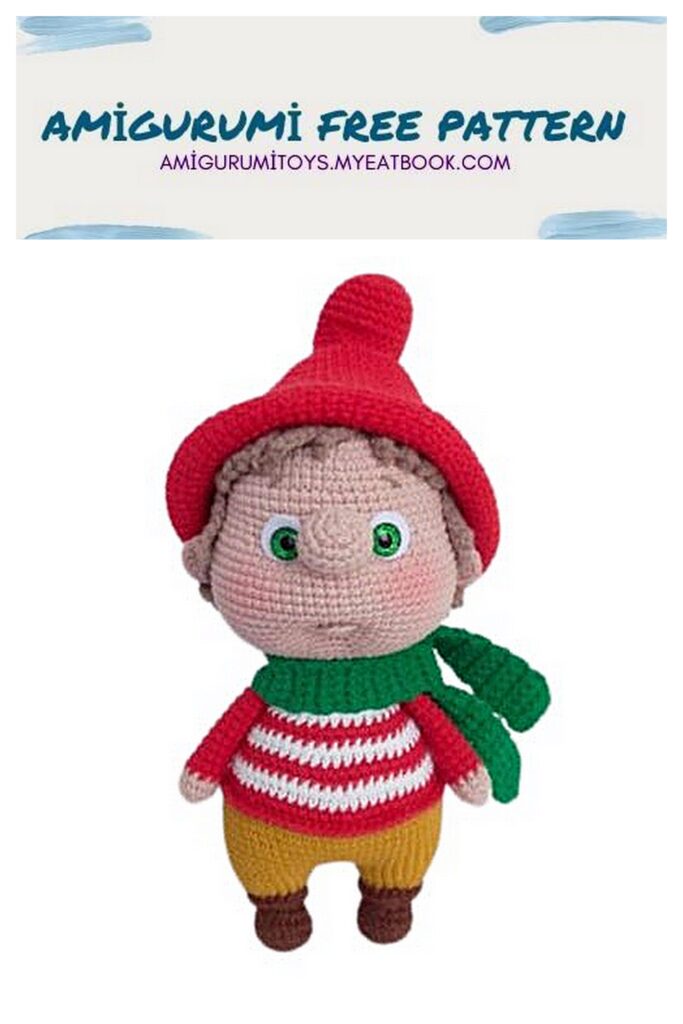
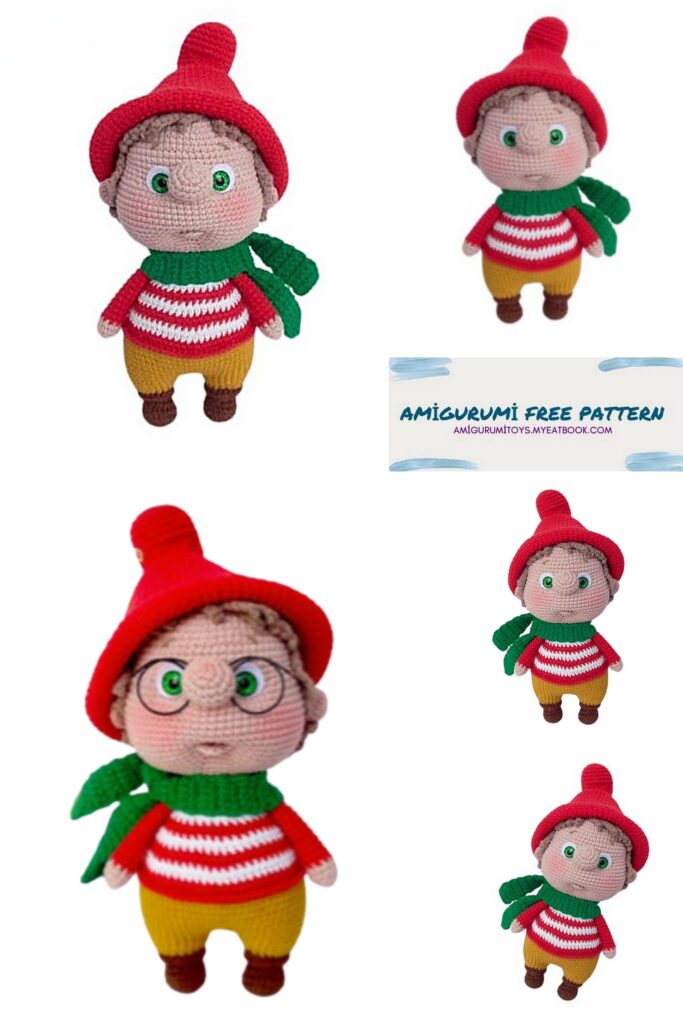
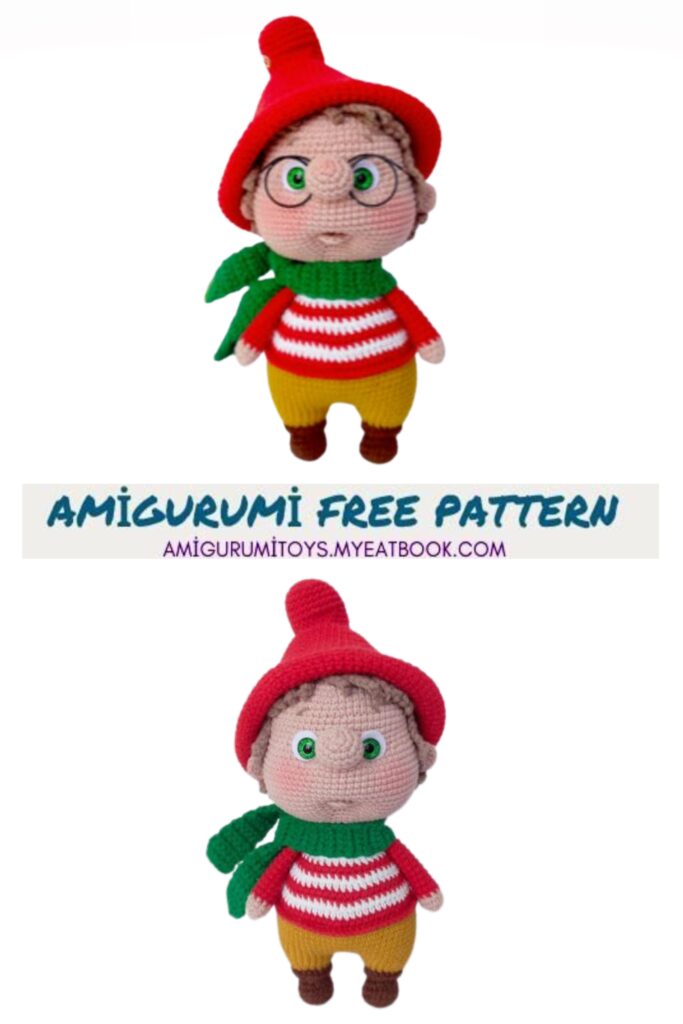
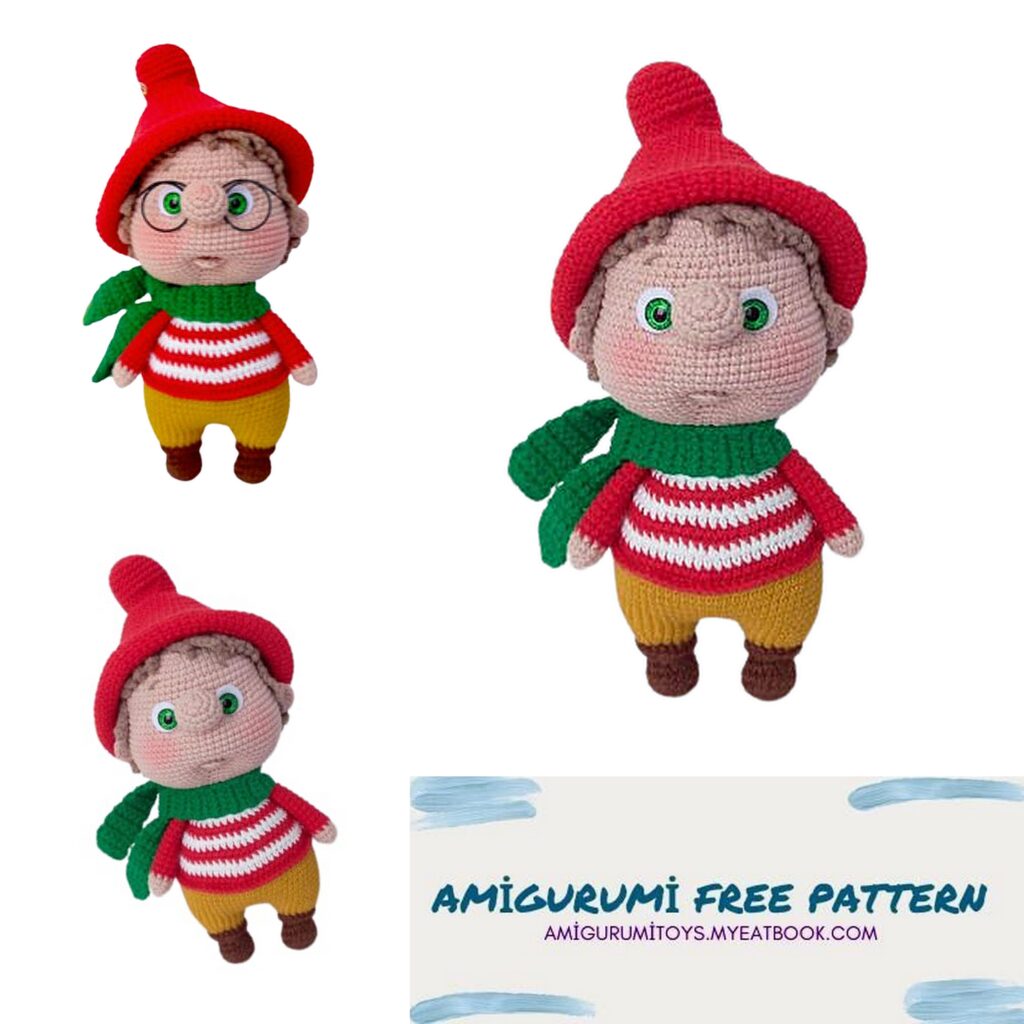
Step into the festive spirit of the holiday season with our adorable creation, the Amigurumi Cute Christmas Gnome! If you’re a fan of charming and festive crochet projects, you’re in for a joyful experience. This amigurumi gnome isn’t just a project; it’s a whimsical addition to your holiday décor. With simple stitches and step-by-step instructions, you’ll craft your very own festive gnome to spread holiday cheer.
Our Amigurumi Cute Christmas Gnome crochet pattern is perfect for crocheters of all levels, offering a delightful and rewarding experience. The pattern is thoughtfully designed with the holiday season in mind, making it a perfect decoration or a heartfelt handmade gift.
So, grab your crochet hook, choose your favorite festive yarn, and let the Amigurumi Cute Christmas Gnome be your companion for a season filled with joy and crochet magic.
Materials and Tools Needed:
Crochet hook suitable for your yarn.
YarnArt JEANS yarn in colors of your choice.
Filling.
Safety eyes with a 10 mm attachment, or sew-on or adhesive eyes.
White felt circles with a diameter of 15 mm for eyes.
Needle for sewing details, scissors, pins, marker thread. Strong thread for tightening, transparent glue (e.g., “Moment Crystal” Universal).
Optional: ready-made glasses with a width of 57-60 mm.
Abbreviations:
MR: Magic Ring
sc: single crochet
hdc: half-double crochet
ch: chain
st: stitch
inc: increase
dec: decrease
sl st: slip stitch
(…)*X: repeat the instructions in parentheses X times
The number after the equal sign (=) indicates the final stitch count in the row
Arms:
Row 1: 5 sc in MR
Row 2: 5 inc = 10
Rows 3-4: 10 sc
In Row 5, change the yarn color for the sleeves
Rows 5-16: 10 sc
Work only on the bottom part. Fold in half and crochet 5 sc through both sides. Secure the thread and cut it.
Nose:
Row 1: 6 sc in MR
Row 2: 6 inc = 12
Row 3: (1 sc, inc)*6 = 18
Rows 4-5: 18 sc
Row 6: (1 sc, dec)*6 = 12
Secure the thread and cut it.
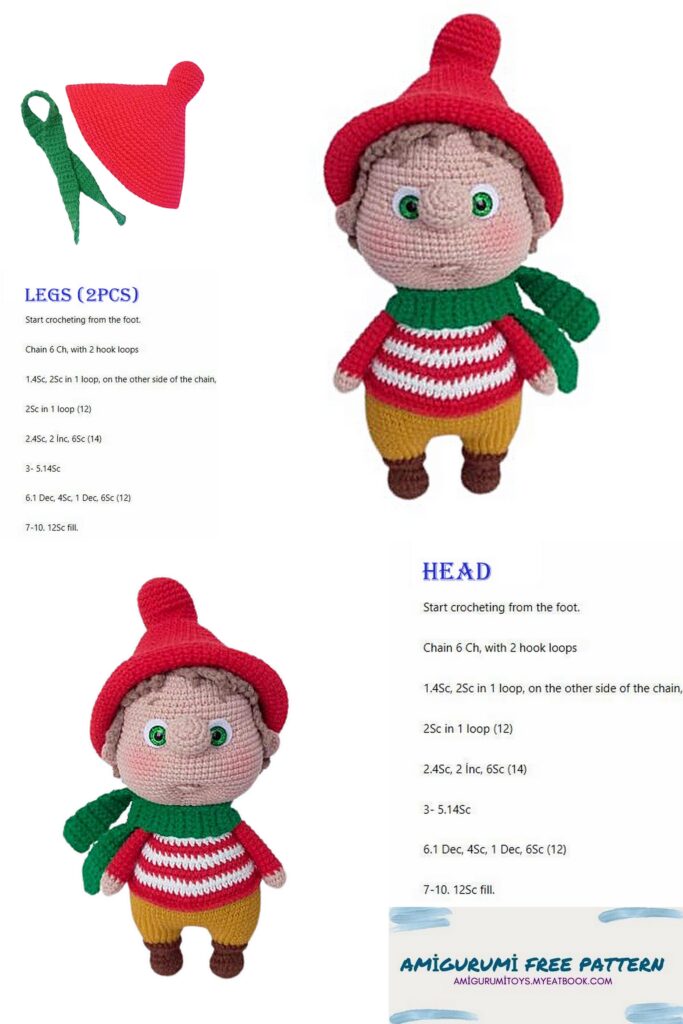
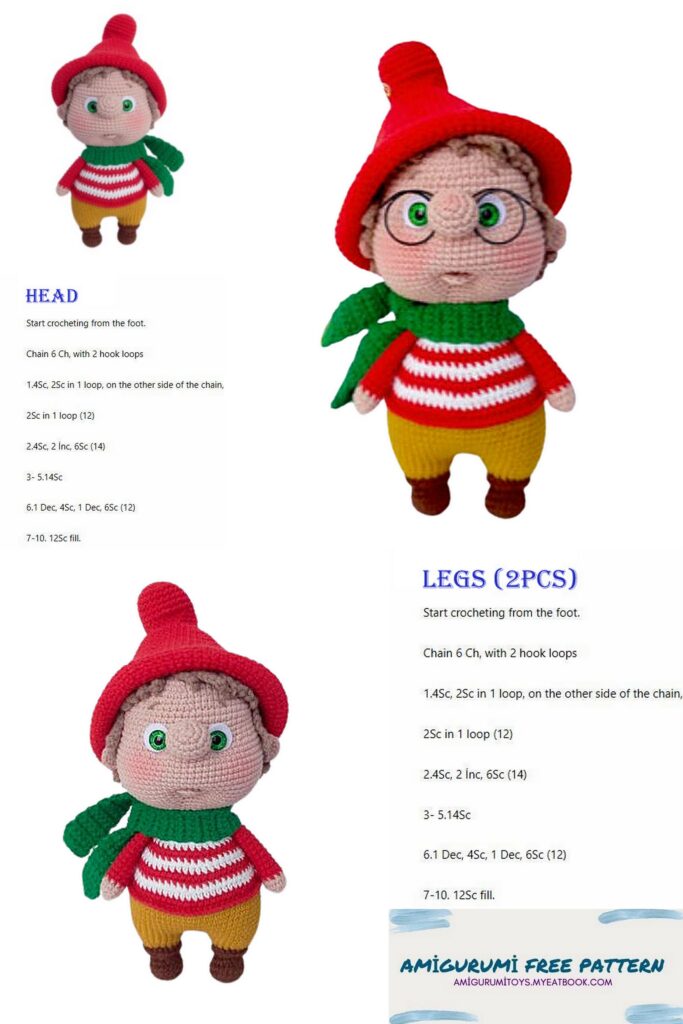
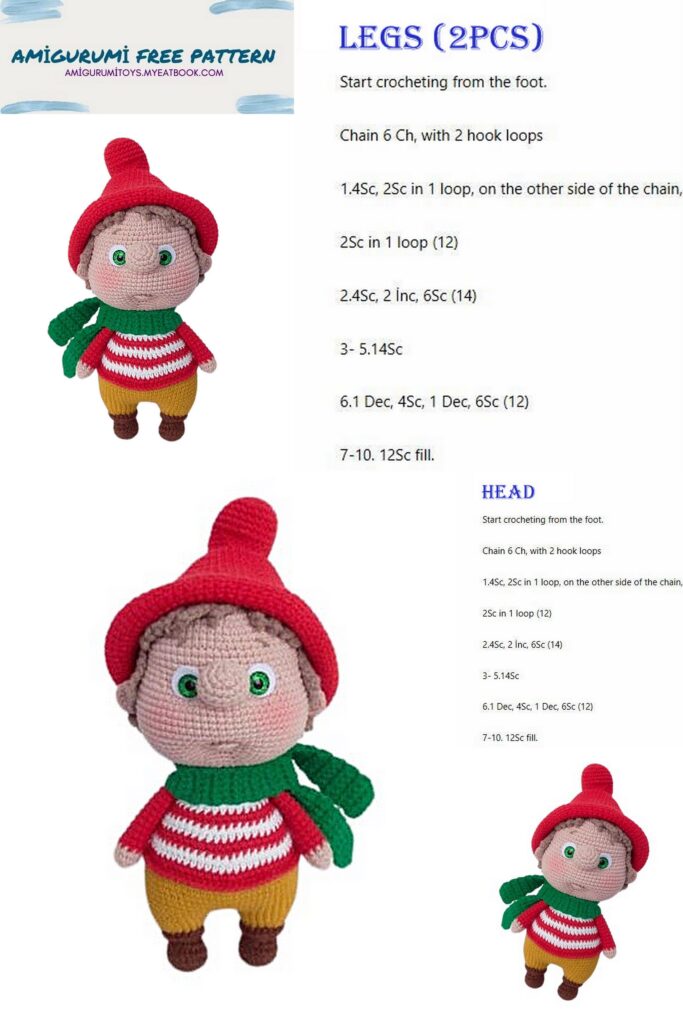
Head:
Rows 1-12: Follow the increasing pattern to create the head shape.
Row 13: (9 sc, inc)*6 = 66
Rows 14-18: 66 sc
In the next row, shape the cheeks and insert the nose.
Row 19: Follow the specified pattern = 78
Row 20: Follow the specified pattern = 78
Rows 21-30: 78 sc
If using safety eyes, install them at this stage. If using adhesive eyes, follow the additional instructions after the main text.
Row 31: (11 sc, dec)*6 = 72
Row 32: (7 sc, dec)*8 = 64
Row 33: (6 sc, dec)*8 = 56
Row 34: (5 sc, dec)*8 = 48
Row 35: (4 sc, dec)*8 = 40
Row 36: (3 sc, dec)*8 = 32
Row 37: (2 sc, dec)*8 = 24
Stuff the head tightly. Secure and hide the thread inside.
Legs:
Row 1: 6 sc in MR
Row 2: 6 inc = 12
Row 3: (1 sc, inc)*6 = 18
Rows 4-5: 18 sc
Row 6: 3 sc, 6 dec, 3 sc = 12
Rows 7-8: 12 sc
Row 9: (1 sc, inc)*6 = 18
Change the yarn color for the pants and crochet the next row through the back loops:
Row 10: 18 sc
Row 11: (2 sc, inc)*6 = 24
Row 12: 24 sc
Crochet an additional 6 sc on the first leg, secure the thread, and cut it. Count back 12 sc, place a marker. Repeat the process for the second leg.
Body:
Fill the body tightly during the crochet process.
Chain 3, connect the second leg to the first leg in the marked loop.
Row 1: 24 sc on the first leg, 3 sc on the chain, 24 sc on the second leg, 3 sc on the chain. The final stitch count = 54.
Place a marker thread.
Row 2: (8 sc, inc)*6 = 60
Row 3: 60 sc
Row 4: (9 sc, inc)*6 = 66
Rows 5-10: 66 sc
From Row 11, start crocheting the shirt. Alternate colors every 2 rows:
Row 11: 66 sc in the back loops
Row 12: (9 sc, dec)*6 = 60
Change the color
Row 13: 60 sc
Row 14: (8 sc, dec)*6 = 54
Change the color
Row 15: 54 sc
Row 16: (7 sc, dec)*6 = 48
Change the color
Row 17: 48 sc
Row 18: (6 sc, dec)*6 = 42
Change the color
Row 19: 42 sc
Row 20: (5 sc, dec)*6 = 36
Change the color
Row 21: 36 sc
Row 22: (4 sc, dec)*6 = 30
Change the color
Row 23: 30 sc
In Row 24, insert the arms. Stuff the main part of the body fairly tightly, leaving about 1 cm for ease of arm insertion and to prevent filling from getting between the stitches. Determine the insertio points strictly on the sides: 5 sc each for the arms, with 10 sc between them.
Row 24: 7 sc, 5 sc with the arm, 10 sc, 5 sc with the arm, 3 sc = 30
Change the color
Row 25: 30 sc
Row 26: (3 sc, dec)*6 = 24
In the next row, change the yarn color to match the body:
Row 27: 24 sc
Crochet more stitches if needed (for me, it was 1 sc and sl st in the next loop), secure the thread
behind the center of the back. Leave about 50 cm for sewing the head. Remove the marker thread.
Fill the detail tightly.
At this stage, crochet the sweater and shoes using single crochets. Crochet the sweater around the remaining outside loops of Row 11 and the shoes around the remaining loops of Row 10. Hold the toy with the legs away from you.
Sew the head. When sewing, remember to stuff the head firmly and evenly. For convenience, you can secure the head to the body with a knitting needle.
Final Touch:
Create the final touch independently, whether you’re using installed eyes or adhesive ones. As an example, here’s a scheme for the teddy bear Moni (on the right, with installed eyes).
Shape the mouth and eye sockets with the final touch. Mark 6 points on the face with pins.
Determine the center of the face by using a thread, knitting needle, or needle down from the nose center. Place marks between Rows 29 and 30. Between the pins, include 2-3 sc.
Between Rows 18 and 19, mark 4 points from the outer and inner corners of the eyes. From the inner corners, this is the beginning and end of the inserted nose. Between the inner and outer points, include 2-3 sc.
Insert the needle into point 1, leaving a thread end about 25-30 cm long. Pull it out at point 2. Then to point 3, pull it out at point 6. Adjust the thread so tha t it is under the eye and felt circle (if the eyes are already installed), tighten, tie two knots. Without cutting the thread, insert it into point 6, pull it out at point 5, then to point 4, pull it out at point 1. Tighten, tie a couple of knots. Hide the threads inside the head.
The last knot and the points of entry and exit of the threads can be neatly glued with universal transparent glue. I used “Moment Crystal.”
Ears:
Leave a yarn tail of about 25 cm, start by making
1st row: 6 single crochets (sc) in a magic ring Tighten the ring, do not close the stitch, make a chain for lifting, turn, and crochet:
2nd row: (1 sc, inc)*3 = 9
Leave a yarn tail of about 25 cm for sewing, cut the yarn.
Sew the tops of the ears between rows 22-23 (from the crown).
Between the ears, in the front, make 40 sc (20 stitches on each side of the center under the nose).
Secure the remaining threads and hide them inside the head.
Lower Lip:
Leave a yarn tail of about 30 cm, start by making 6 sc in a magic ring, tighten.
Leave a yarn tail of about 40-45 cm, cut the yarn.
Shape the piece into a form close to a semicircle.
Fit the piece, attach it 2-3 rows down from the mouth’s drawstring. Fix the middle of the lips slightly below the edges. When sewing, the thread tension should be moderate. Do not pull too tight. Pull the middle thread into the nape (in the magic ring) and back through any adjacent stitch.
Repeat if necessary. Make the stitch tight but not too tight. Hide the thread inside the head with a few entangling stitches.
Fix the other end of the lips with another yarn tail. Make stitches upwards and downwards. Pull out at the point of nose attachment (between rows 18 and 19). Thanks to the drawstrings, they will be inconspicuous there.
Attaching Eyes:
Fit and glue the eyes closer to the nose, covering the drawstring area. It’s more convenient to first glue the eyes to pieces of felt and then to the toy. Before gluing, don’t forget to degrease the contact surface of the eyes. I used universal transparent glue “Moment Crystal.”
Hair:
Crochet not too tightly, using “V stitches.” If it’s challenging to control the density, use a larger hook. The hair should snugly fit but not too loosely. Check the size during crocheting.
1st row: 6 sc in a magic ring
2nd row: 6 inc = 12
3rd row: (1 sc, inc)*6 = 18
4th row: (2 sc, inc)*6 = 24
5th row: (3 sc, inc)*6 = 30
6th row: (4 sc, inc)*6 = 36
7th row: (5 sc, inc)*6 = 42
8th row: (6 sc, inc)*6 = 48
9th row: (7 sc, inc)*6 = 54
10th row: (8 sc, inc)*6 = 60
11th-12th rows: 60 sc
13th row: (9 sc, inc)*6 = 66
14th-19th rows: 66 sc
Fit the resulting “cap” to the toy. It should reach the ears. Add or skip rows as needed. Do not cut the thread; turn the hair inside with the inner part facing you. Remove the marker thread. To make the strands bend in the right direction, crochet them on the reverse side of the left ear (relative to the toy).
1st strand:
Chain 5, go back along the chain with 4 sc, slip stitch (ss) in the 2nd stitch.
2nd strand:
ss in the 3rd stitch, chain 6, go back along the chain with 5 sc, ss in the 4th stitch.
3rd strand:
ss in the 5th stitch, chain 7, go back along the chain with 6 sc, ss in the 6th stitch.
4th strand:
ss in the 7th stitch, chain 3, go back along the chain with 2 sc, ss in the 8th stitch.
5th strand:
ss in the 9th stitch, chain 4, go back along the chain with 3 sc, ss in the 10th stitch.
6th strand:
ss in the 11th stitch, ss, chain 5, go back along the chain with 4 sc, ss in the 12th stitch.
7th strand:
ss in the 13th stitch, chain 6, go back along the chain with 5 sc, ss in the 14th stitch.
8th strand:
ss in the 15th stitch, chain 7, go back along the chain with 6 sc, ss in the 16th stitch.
9th strand:
ss in the 17th stitch, chain 8, go back along the chain with 7 sc, ss in the 18th stitch.
Try the wig; the 9th strand should be in the middle of the face. If not, crochet an additional strand
with 8 chains or leave it unfinished. In this case, remember to adjust the row count accordingly.
10th strand:
ss in the 19th stitch, chain 7, go back along the chain with 6 sc, ss in the 20th stitch.
11th strand:
ss in the 21st stitch, chain 6, go back along the chain with 5 sc, ss in the 22nd stitch.
12th strand:
ss in the 23rd stitch, chain 5, go back along the chain with 4 sc, ss in the 24th stitch.
13th strand:
ss in the 25th stitch, chain 4, go back along the chain with 3 sc, ss in the 26th stitch.
14th strand:
ss in the 27th stitch, chain 3, go back along the chain with 2 sc, ss in the 28th stitch.
15th strand:
ss in the 29th stitch, chain 7, go back along the chain with 6 sc, ss in the 30th stitch.
16th strand:
ss in the 31st stitch, chain 6, go back along the chain with 5 sc, ss in the 32nd stitch.
17th strand:
ss in the 33rd stitch, chain 5, go back along the chain with 4 sc, ss in the 34th stitch.
35th loop should be above the ear; crochet in it with ss and continue to 65 loops until the next ear, with 15 identical strands of 5 chains each (going back with 4 sc in the chains). Do not crochet over loop 66; leave this space free for the second ear
Fasten the thread in loop 65 and cut it, leaving a tail for attaching the hair. Secure the wig with needles and sew it. Alternatively, you can glue it.
Your boy is almost ready. Let’s knit a couple of accessories.
Scarf:
Knit with turning rows, not too tightly, using “V stitches.” The scarf is knitted with a width of 5 sc and a length of about 30 cm.
Hat:
Crochet not t oo tightly, using “V stitches.” If it’s challenging to control the density, use a larger hook. Fit the hat during crocheting.
1st row: 6 sc in a magic ring
2nd row: 6 inc = 12
3rd row: (1 sc, inc)*6 = 18
4th row: (2 sc, inc)*6 = 24
5th-8th rows: 24 sc
9th-13th rows: 8 sc, 7 ss, 9 sc = 24
14th row: (3 sc, inc)*6 = 30
15th row: 30 sc
16th row: (4 sc, inc)*6 = 36
17th row: 36 sc
18th row: (5 sc, inc)*6 = 42
19th row: 42 sc
20th row: (6 sc, inc)*6 = 48
21st row: 48 sc
22nd row: (7 sc, inc)*6 = 54
23rd row: 54 sc
24th row: (8 sc, inc)*6 = 60
25th row: 60 sc
26th row: (9 sc, inc)*6 = 66 27th row: 66 sc
28th row: (10 sc, inc)*6 = 72
29th row: 72 sc
30th row: (11 sc, inc)*6 = 78
31st-36th rows: 78 sc
Fit the hat. If its height is sufficient, cut and secure the thread.
ADDITIONAL NOTE 1
To the main tutorial.
Setting eyes with secure fastening.
Description and photos are taken from the master class “Monya Pryanikov.”
Install the eyes between rows 17 and 18. Leave 6-8 sc between the installation points. Center the eyes relative to the nose.
Take felt circles. Fold them in half, making small notches slightly off-center towards the edge. Turn the circles and make perpendicular notches (resulting in a cross). Insert the eyes and secure them in the fabric. Later, after tightening, you can fix the felt neatly with glue.