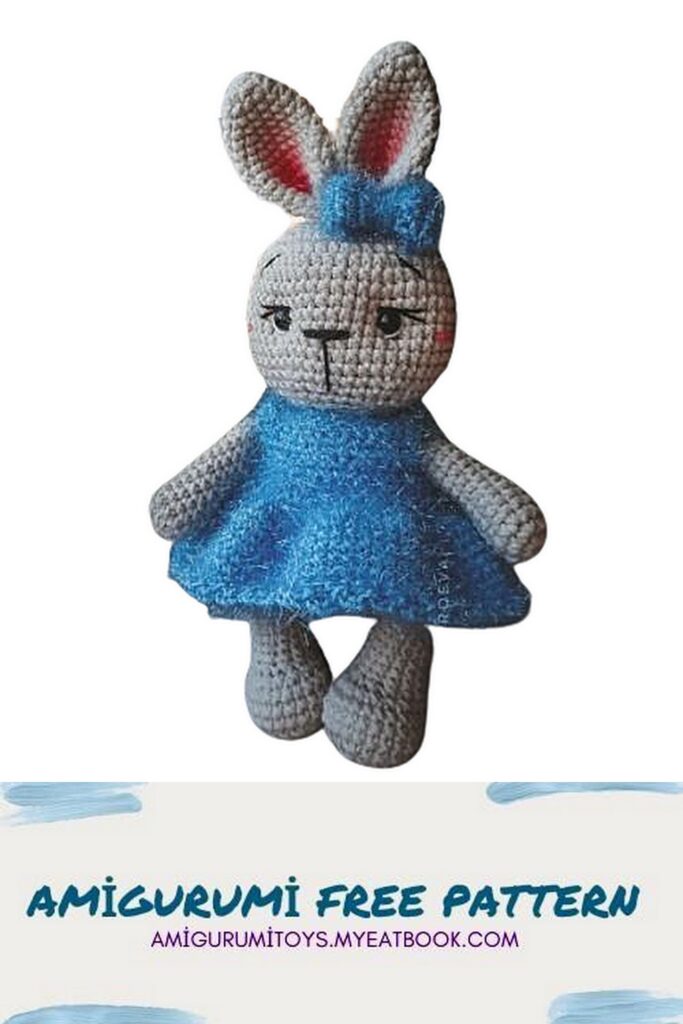
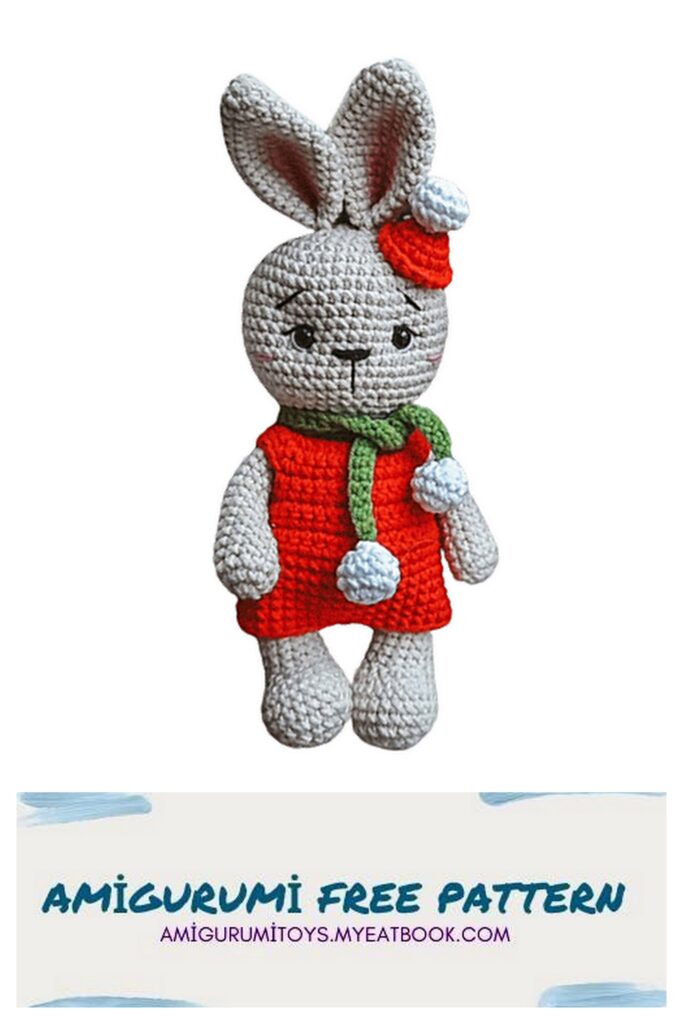
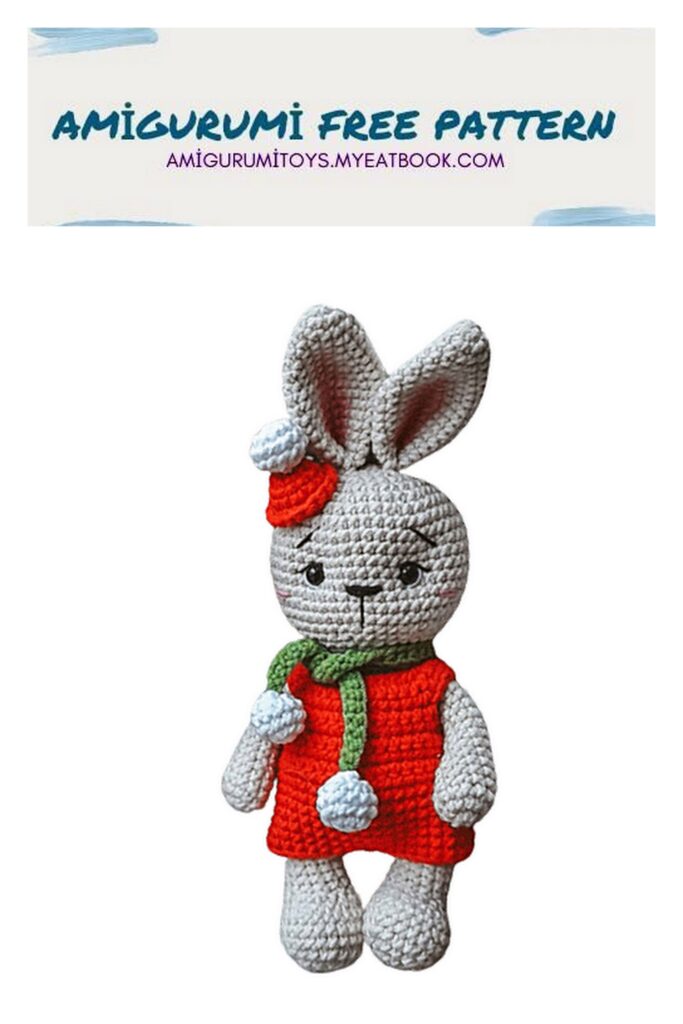
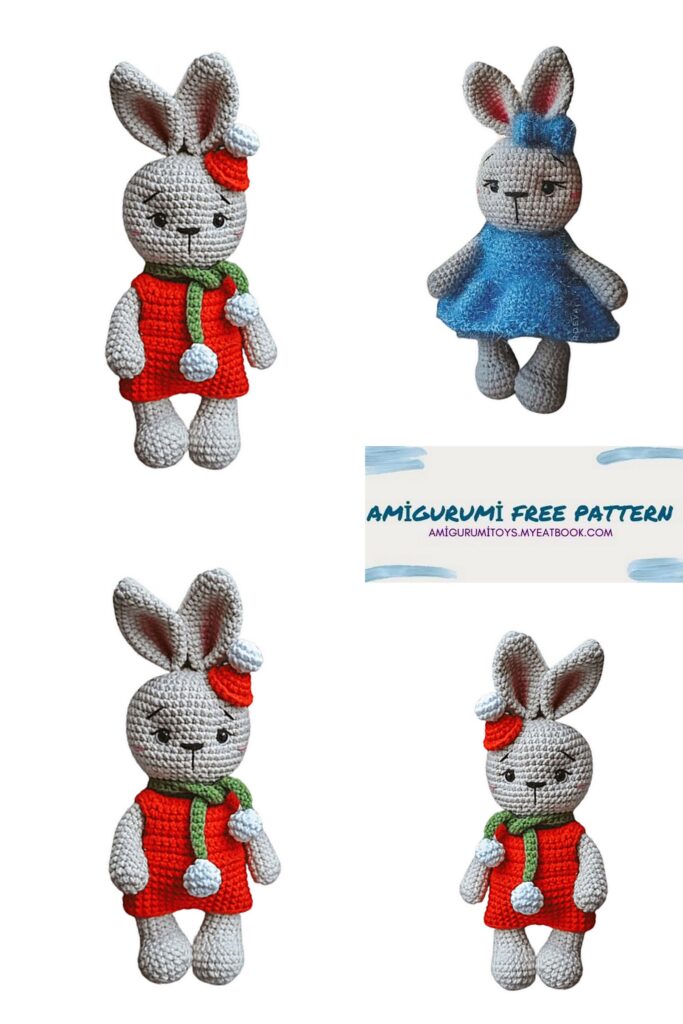
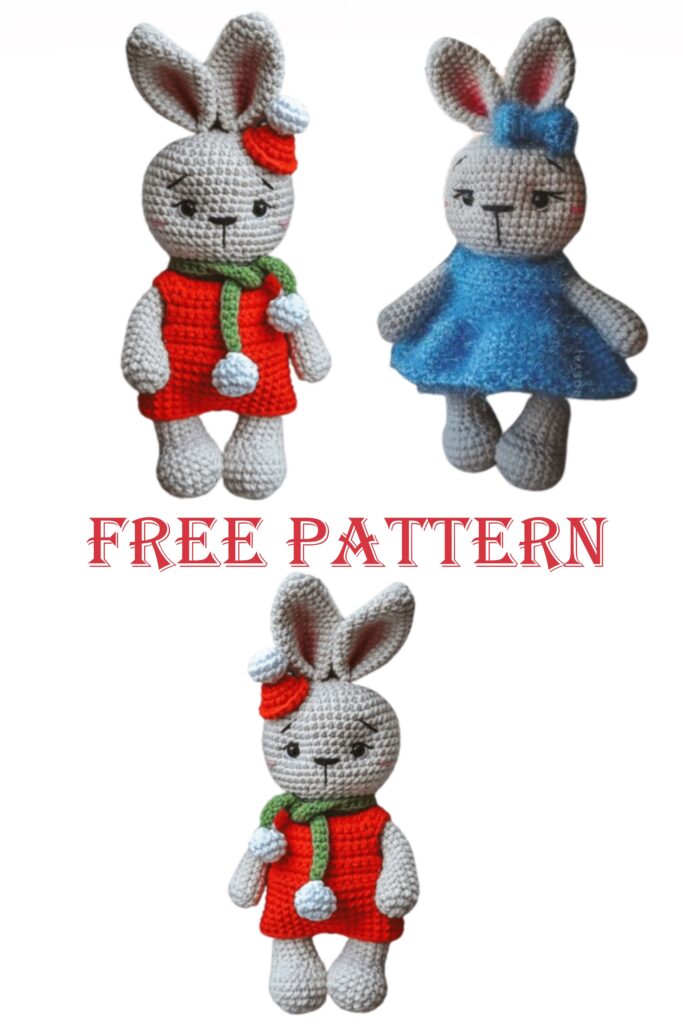
Get ready to spread holiday cheer with our festive creation, the Amigurumi Bunny in a Christmas Costume! If you’re a fan of adorable and holiday-themed crochet projects, you’re in for a treat. This amigurumi bunny, dressed in a charming Christmas costume, is more than just a project; it’s a whimsical addition to your holiday decorations. With simple stitches and detailed instructions, you’ll craft your very own festive bunny to bring joy to your festive celebrations.
Our Amigurumi Bunny in a Christmas Costume crochet pattern is suitable for crocheters of all skill levels, ensuring a joyful and satisfying experience. The pattern captures the magic of the holiday season, making it a perfect decoration or a delightful handmade gift.
Materials:
– YarnArt Jeans, Alize Cotton gold and the like
– filler
– hook number 2 (the number of the hook is the one that I crochet with)
– eyes on a secure mount
– sewing needle
– black and white thread for sewing eyes and muzzle decoration
Abbreviations
sc : Single Crochet
inc : Increase
dec : Decrease
st: Stitch
hdc: Half Double Crochet
sl-st : Slip Stitch
ch : Chain
..in : make increase into same stitch as many as the number which is given in front of “inc” abbreviation (exp; 3inc, 4inc..).
FLO : Crochet into front loops only
BLO : Crochet into back loops only
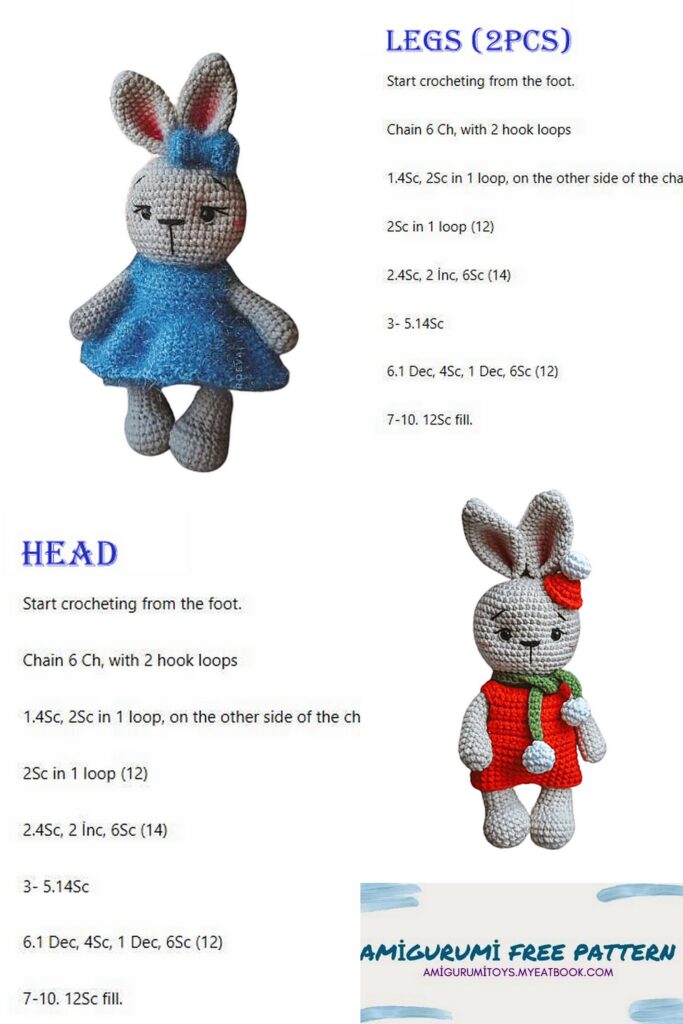
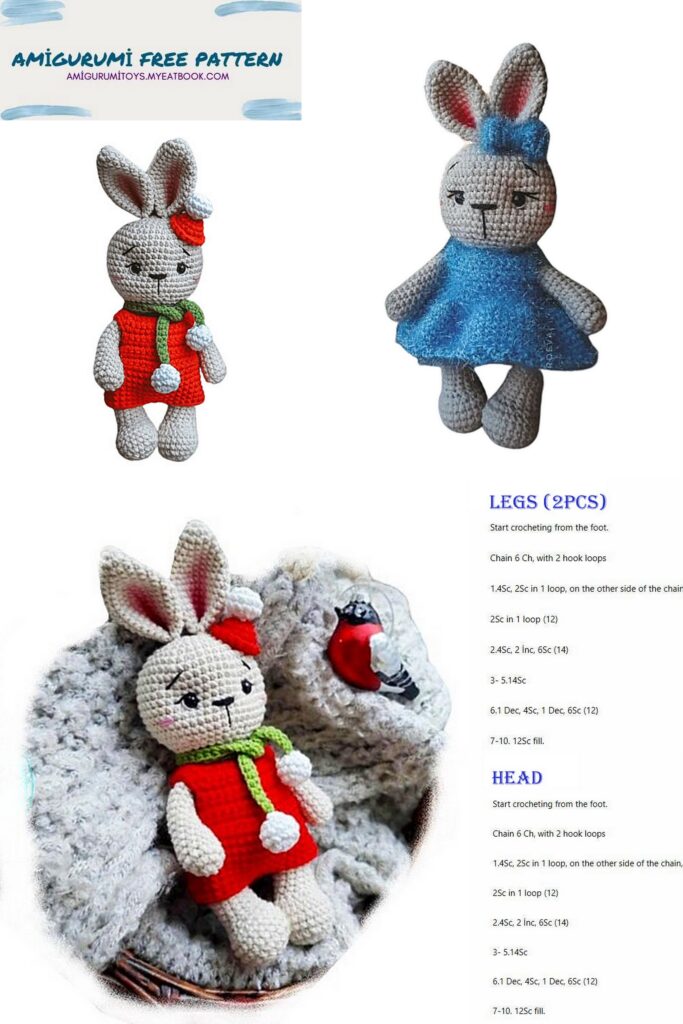
Head
1) 6 sc in MR
2) 6 inc (12sc)
3) (1 sc, inc) *6 (18 sc)
4) 1 sc, inc, (2 sc, inc) *5, 1 sc (24 sc)
5) (3 sc, inc) *6 (30 sc)
6) 2 sc, inc, (4 sc, inc) *5, 2 sc (36 sc)
7) (5 sc, inc) *6 (42 sc)
8) 3 sc, inc, (6 sc, inc) *5, 3 sc (48 sc)
9-16) 48 sc (8 rnds)
17) 3 sc, dec, (6 sc, dec) *5, 3 sc (42 sc)
18) (5 sc, dec) *6 (36 sc)
19) 2 sc, dec, (4 sc, dec) *5, 2 sc (30 sc)
20) (3 sc, dec) *6 (24 sc)
21) 1 sc, dec, (2 sc, dec) *5, 1 sc (18 sc)
Fill. Leave the thread for sewing Eyes at the 12-13 rows, 9 sc between the eyes (you can arrange as you like)
Upper paws
1) 6 sc in MR
2) 6 inc (12 sc)
3-5) 12 sc
6) dec, 10 sc (11 sc)
7) 11 sc
8) dec, 9 sc (10 sc)
9-16) 10 sc
Fill only the bottom part of the part. Fold and crochet 5 sc. Cut the thread, fasten off. If you are sewing on details, leave the thread for sewing.
Lower paws
1) 6 sc in MR
2) 6 inc (12 sc)
3) (1 sc, inc) *6 (18 sc)
4) 1 sc, inc, (2 sc, inc) *5, 1 sc (24 sc)
5-7) 24 sc
8) 6 sc, 6 dec, 6 sc (18 sc)
9) 5 sc, 4 dec, 5 sc (14 sc)
10-18) 14 sc . Crochet another 1sc, so that when folded, the sock looks straight ahead. Fill only the bottom part of the part.
Fold and crochet 7 sc. Cut the thread, fasten off. If you are sewing on details, leave the thread for sewing.
Ears
1) 6 sc in MR
2) 6 inc (12 sc)
3) 12 sc
4) (3 sc, inc) *3 (15 sc)
5) 15 sc
6) (4 sc, inc) *3 (18 sc)
7) 18 sc
8) (5 sc, inc) *3 (21 sc)
9) 21 sc
10) (6 sc, inc) *3 (24 sc)
11) 24 sc
12) (6 sc, dec) *3 (21 sc)
13) – 14) 21 sc
15) (5 sc, dec) *3 (18 sc)
16) -17) 18 sc
Fold in half, then in half again, crochet over both edges. Leave the thread for sewing.
Body
1) 6 sc in MR
2) 6 inc (12 sc)
3) (1 sc, inc) *6 (18 sc)
4) 1 sc, inc, (2 sc, inc) *5, 1 sc (24 sc)
5) (3 sc, inc) *6 (30 sc)
6) 2 sc, inc, (4 sc, inc) *5, 2 sc (36 sc)
7) (5 sc, inc) *6 (42 sc)
8) In this row, crochet the lower paws 8 sc, 7 sc with a paw, 12 sc, 7 with a paw, 8 sc (42 sc)
9) We crochet the tail. In the first loop, crochet 6 double crochets with one top, then to the end of the row 41 sc.
If you don’t know how, don’t understand, or just don’t like it, then the tail can be tied in a separate part like this:
1) 6 sc in MR
2) 6 inc (12 sc)
3) 12 sc Leave thread for sewing.
10) 42 sc
11) (5 sc, dec) *6 (36 sc)
12) 2 sc, dec, (4 sc, dec) *5, 2 sc (30 sc)
13-15) 30 sc
16) (3 sc, dec) *6 (24 sc)
17-18) 24 sc
19) crochet upper paws 5 sc, 5 sc with paw, 7 sc, 5 sc with paw, 2 sc (24 sc)
These figures may differ for you, check that the paws are exactly on the sides.
20) 1 sc, dec, (2 sc, dec) *5, 1 sc (18 sc)
Stuff the body, fasten the thread, cut off.
Clothing
For her, you need to take a thinner yarn, or a smaller hook.
We crochet in rotary rows, each row starting with 1 ch of turning.
Make a chain of 30ch + 1ch turning. When tying on, leave a long end of the thread so that at the end of work you can make a buttonhole from it.
1) From the second loop from the hook: 4sc, inc out of 3 sc, 5sc, inc out of 3 sc, 8sc, inc out of 3 sc, 5sc, inc out of 3 sc, 4sc (38sc)
2) 38sc
3) 5sc, inc out of 3 sc, 7sc, inc out of 3 sc, 10sc, inc out of 3 sc, 7sc, inc out of 3 sc, 5sc (46sc)
4) 7sc, 6sc, Skip 9 loops of the previous row, continue crochetting in the next loop, 14sc, 6ch, skip 9 loops of the previous row, continue crochetting in the next loop, 7sc (40sc)
5-8) 40 sc
9) 5 sc, inc, 28 sc, inc, 5 sc (42 sc)
Connect the slst part and continue to knit in the same way in a circle
10-14) 42 sc
Divide the loops evenly and knit 2 slst in the middle. Cut the thread, fasten.
Return to the beginning of crochetting and make a buttonhole from the remaining thread.
Make the number of ch you need and attach the thread to the row below. Sew on a button.
Cap
1) 6 sc in MR
2) 6 inc (12 sc)
3) 12 sc
4) (1 sc, inc) *6 (18 sc)
5) 18 sc
6) 18 sc only for the front wall of the loop. Leave the thread for sewing.
Roll up the edge of the cap
White bomb
1) 6 sc in MR
2) 6 inc (12 sc)
3) – 4) 12 sc
5) 6 dec. Stuff the part and sew to the cap.
Sew a cap to the bunny’s head.
Scarf
80 sc + 1 turning chain. crochet 80 sc.
Tie two bombs, like a cap and sew.