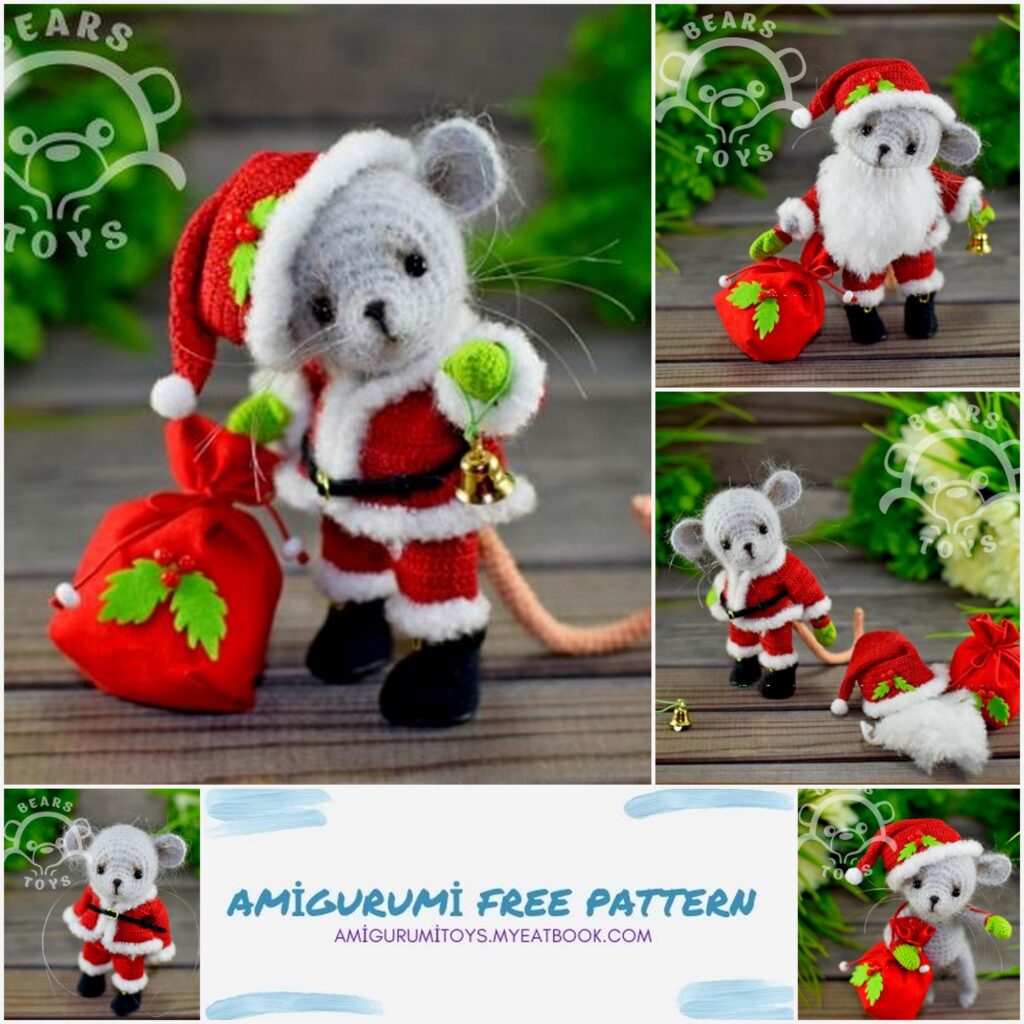
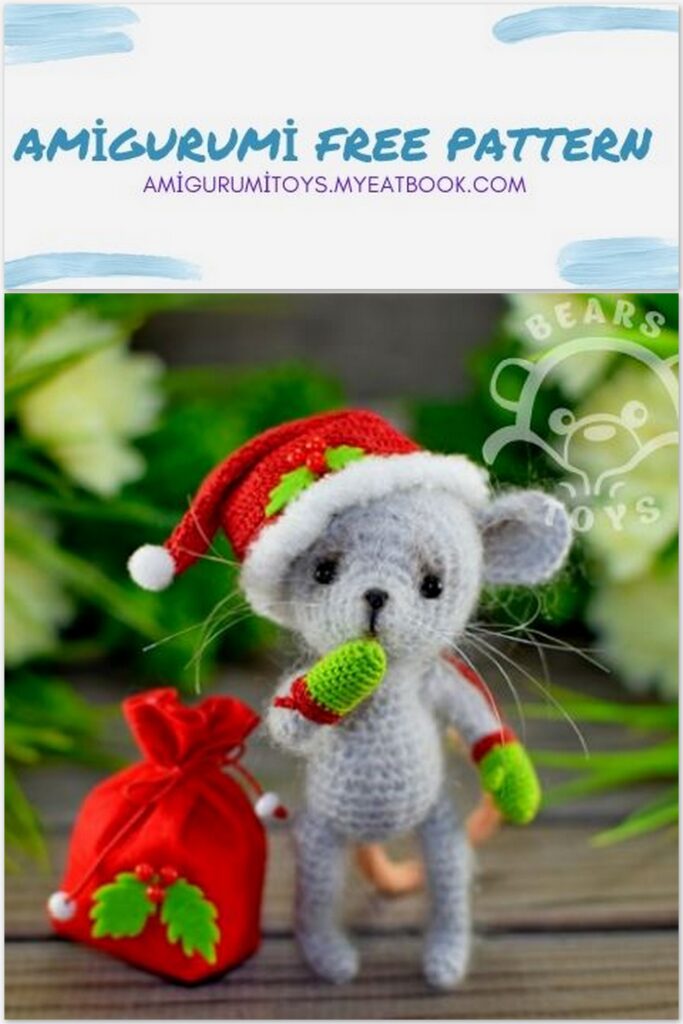
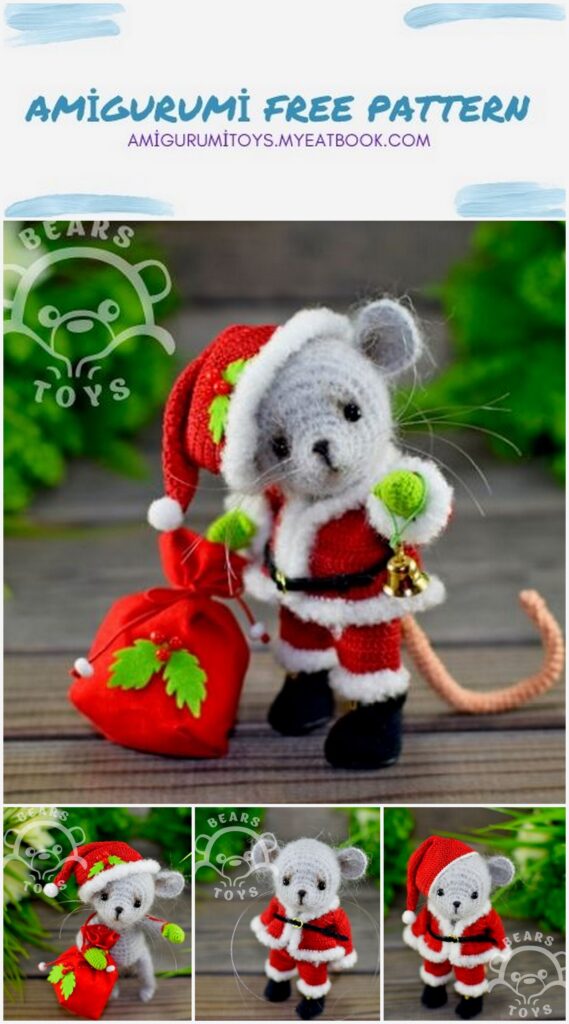
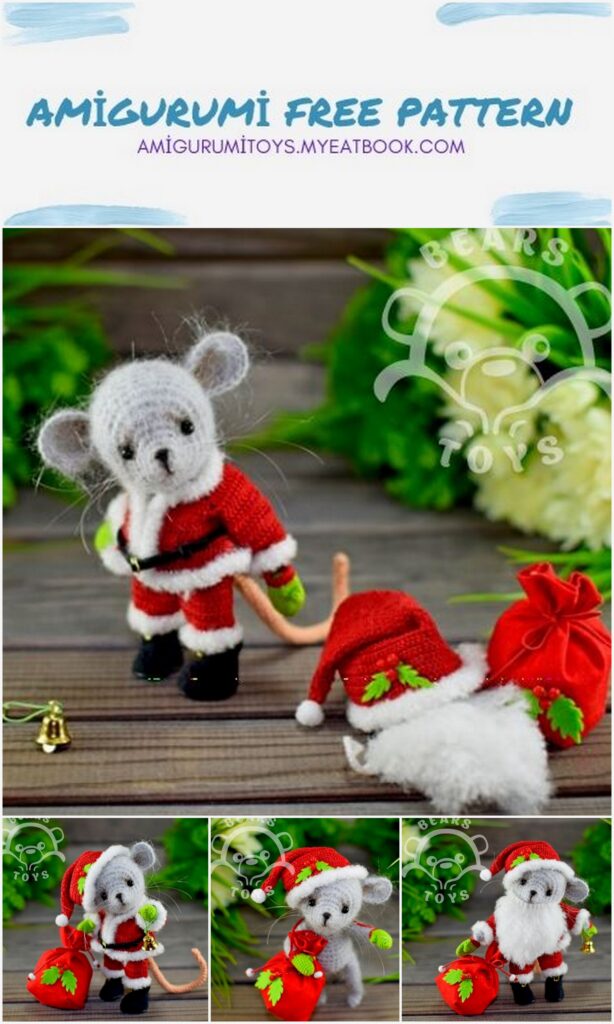
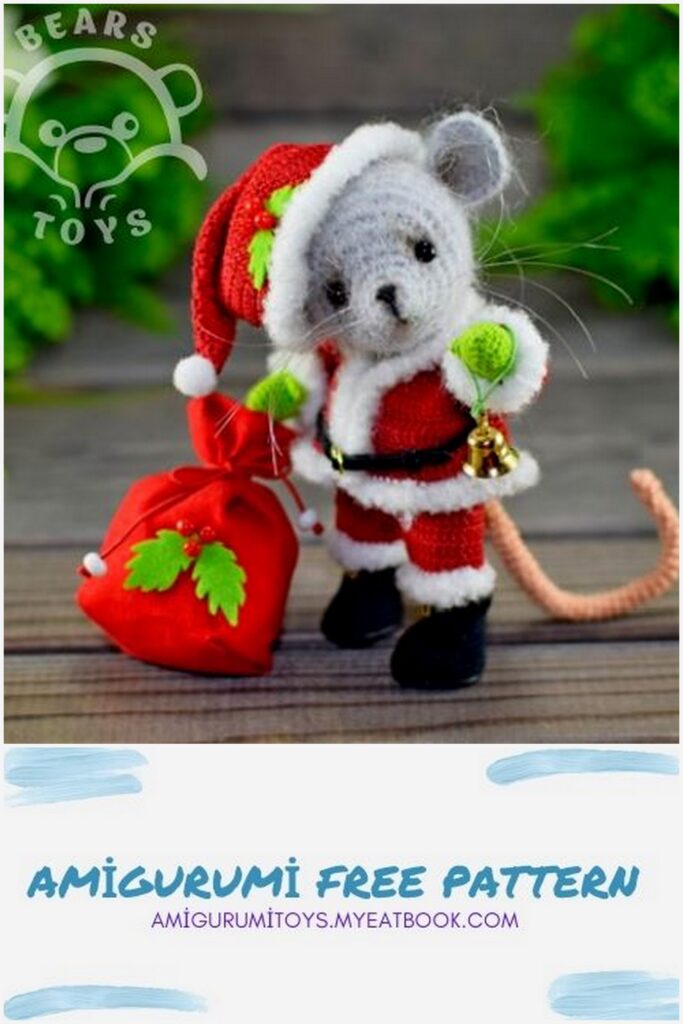
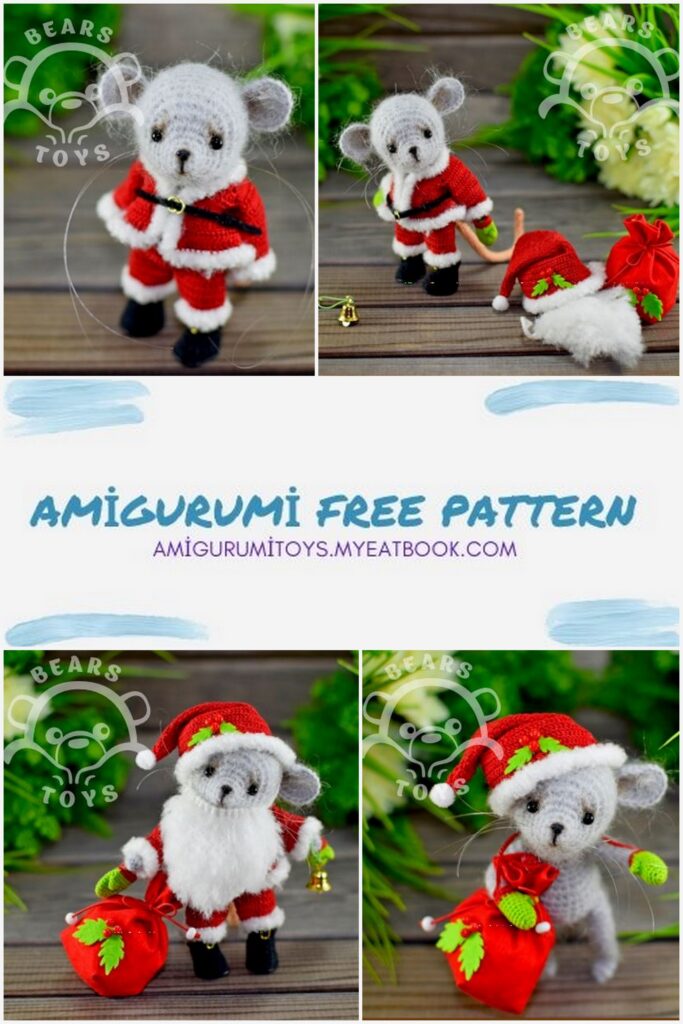
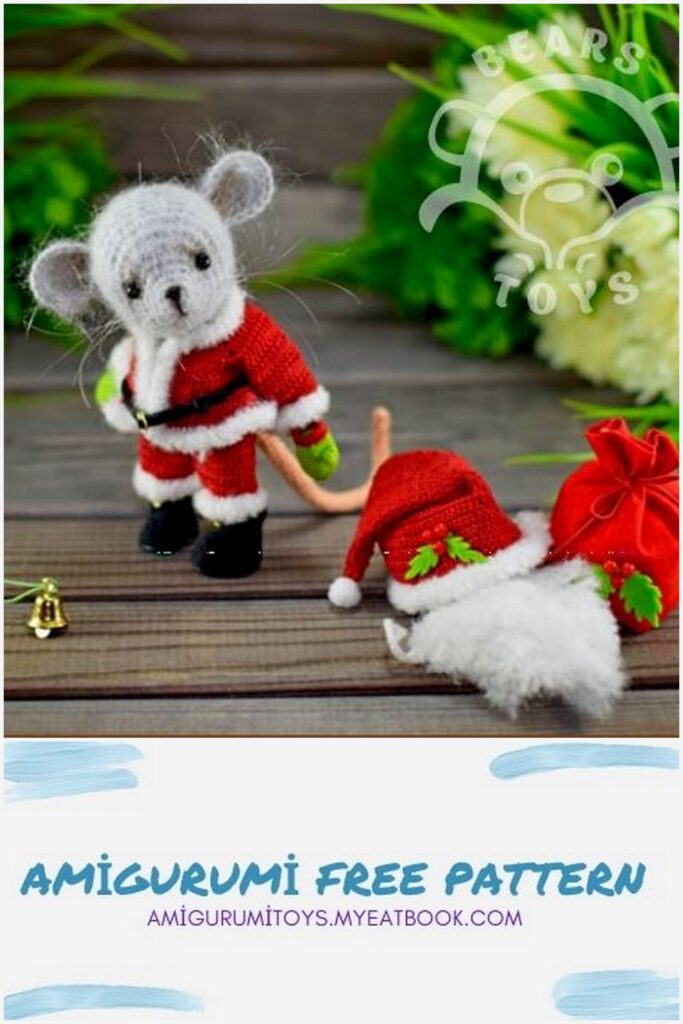
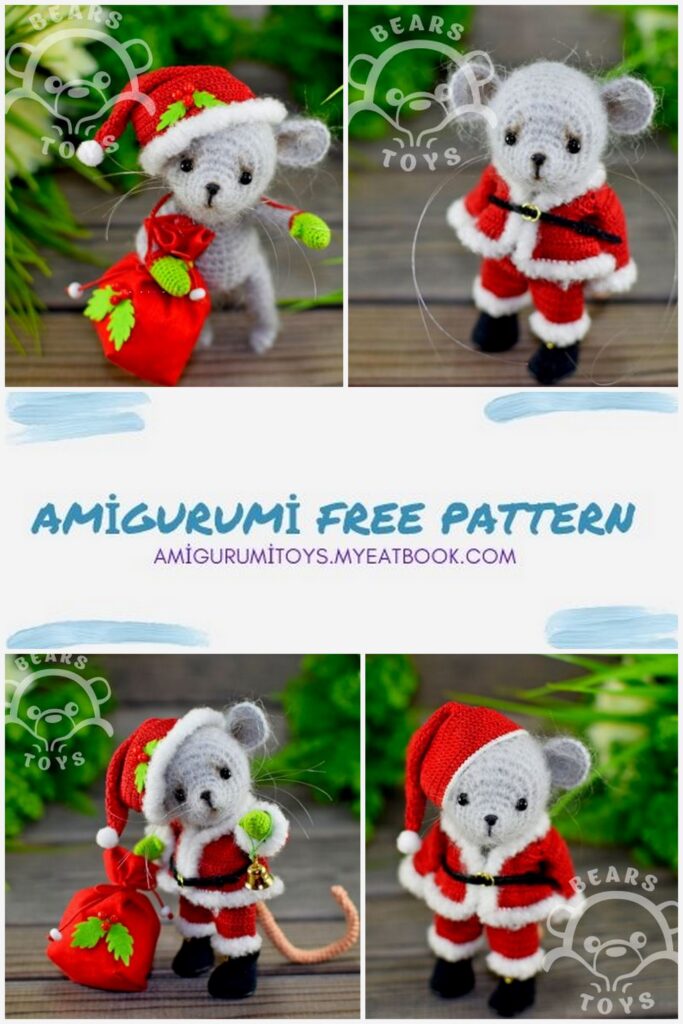
Amigurumi Santa Mouse Free Pattern
SANTA MOUSE (4.5 INCHES)
Let’s create a Santa Mouse. When creating the Mouse, please take into account your density
of crocheting (it differs for everyone). My density is average. If you use a different yarn, the
size of the toy may slightly change, but it will remain the same cute baby mouse.
ABBREVIATIONS
MR – magic ring
sc – single crochet
dec – decrease (make two stitches together)
inc – increase (make two stitches in the same stitch of the previous round)
dc dec – double crochet decrease
dc inc – double crochet increase
sl st – slip stitch
dc – double crochet
ch – chain stitch
(.) – total number of stitches after the round
MATERIALS FOR THE MOUSE
1. Yarn (50 g – 250 m) of gray color; thread (20 g – 195 m) of body color for tail
2. 2.0 mm crochet hook (4.5 USA, 14 GB)(for mouse), 0.8 mm crochet hook (13 USA, 61/2 GB) for tail.
3. 2 buttons (1.5 cm and 1 cm in diameter), strong thread of 20cm long
4. Tapestry needle
5. Scissors
6. Stuffing material
7. 4 mm eyes
8. Pet brush (to brush out the toy) – optional
9. Black thread to embroider nose and mouth
(it is also possible to use a ready nose or mold it with polymer clay)
10. Wire (2 mm in diameter) – 5 pieces, each piece of approximately 15-20 cm long
11. Pliers
12. Awl
13. glue “Moment Gel”
14. mono thread for whiskers
15. dry pastel to tint eyes, arms, legs, ears and tail (optional)
HEAD
1 round: 6 sc into MR
2 round: (sc, inc)х3 (9)
3 round: (2 sc, inc)х3 (12)
4 round: (sc, inc)х6 (18)
5 round: 2 sc, inc, sc, inc*4, sc, inc, 8 sc (24)
6 round: 4 sc, (inc, sc)х6, 8 sc (30)
7-10 rounds: 30 sc (this is a place of head attachment to the body, mark it with a thread of contrasting color)
11-14 rounds: 30 sc
15 round: (3 sc, dec)х6 (24)
Take a button and a strong thread. Draw the thread through the button’s holes. Insert
the button into the head.
16 round: (2 sc, dec)х6 (18)
do the needle sculpting for eyes: insert the threaded needle into the back of the head
and withdraw it above the first eye, insert the needle under the first eye and withdraw
it above the second eye, insert the needle under the second eye and move it again to the first eye. Gradually tighten the thread. Repeat these actions 2-3 times. Next, using the same thread, deepen the first eye (pull the first eye closer to the back of the headwith the help of the needle sculpting stitch), do the same for the second eye, repeat 2-3 times. Glue the eyes.
– insert the black thread from the back of the head and embroider mouth and nose
(it is also possible to glue a ready nose)
– add stuffing material into the head and continue crocheting
17 round: (sc, dec)х16 (12)
18 round: dec*6 (6)
Tighten the final hole with the help of needle. Hide the yarn tail inside the head.
EARS
Work in back-and-forth semi-circle rows
1 row: ch 4
2 row: starting in the second chain from the hook: inc, 2 sc, turn
3 row: Work in semi-circle row around the previous row: ch 1, 2 sc, inc*2; along the other side of the previous row: inc, 2 sc, turn (10)
4 row: ch 1, 3 sc, inc*4, 3 sc, turn (14)
5 row: ch 1, 4 sc, (inc, sc)х3, inc, 3 sc (18)
– leave a yarn tail for sewing. Slightly tighten the edge of the ear
– Find the best place for ears. Pin and sew the ears to the head.
BODY
1 round+: 6 sc into MR
2 round: inc*6 (12)
3 round: (3 sc, inc)х3 (15)
4, 5 rounds: 15 sc
– attach the head to the body (insert the thread ends coming from the head into the
needle, insert the threaded needle into the body, push the button down over the thread
ends, tighten the thread firmly and tie several knots. Cut the thread ends, leaving approximately 1 cm of each end)
6 round: (4 sc, inc)х3 (18)
7 round: 18 sc
8 round: 14 sc, inc, inc (the middle of the tummy, place a marker here), inc, sc (21)
9 round: 14 sc, (inc, sc)х2, inc, 2 sc (24)
10-14 rounds: 24 sc
15 round: (2 sc, dec)х6 (18)
16 round: (sc, dec)х6 (12)
– stuff the body firmly
17 round: dec*6 (6)
– tighten the final hole with the help of the needle and hide the yarn tail inside the body.
ARMS
1 round: 6 sc into MR
2-7 rounds: 6 sc
8, 9 rounds: 3 dc, 3 sc (6)
10 round: sc, inc, 4 sc (7)
11-13 rounds: 7 sc
– leave a yarn tail for sewing
LEGS
1 round: 6 sc into MR
2, 3 rounds: 6 sc
4, 5 rounds: 3 dc, 3 sc (6)
6 round: sc, inc, 4 sc (7)
7, 8 rounds: 7 sc
9 round: 2 sc, inc, 4 sc (8)
10-11 rounds: 8 sc
12 round: 3 sc, inc, 4 sc (9)
13-14 rounds: 9 sc
– leave a yarn tail for sewing
TAIL
1 round: 4 sc into MR
2 round: 4 sc
3 round: inc, 3 sc (5)
4-7 rounds: 5 sc
8 round: inc, 4 sc (6)
9-16 rounds: 6 sc
17 round: inc, 5 sc (7)
18-25 rounds: 7 sc
26 round: inc, 6 sc (8)
27-33 rounds: 8 sc,
34 round: inc, 7 sc (9)
35-40 rounds: 9 sc
41 round: inc, 8 sc (10)
42-46 rounds: 10 sc
47 round: inc, 9 sc (11)
48, 49 rounds: 11 sc
50 round: inc, 10 sc (12)
51 round: 12 sc
– leave a yarn tail for sewing
ASSEMBLY
1. prepare 4 pieces of wire for arms and legs:
– apply glue to the middle of the wire and wind the thread around it (approximately 1.5 cm)
– bend the wire in half
– continue winding the thread around the whole length of the arm / leg (the thread
should not protrude beyond the length of the arm / leg), leave the ends of the wire not
covered by the thread
– repeat the same for all arms and legs
– insert the wire into the arm / leg
– bend the arms / legs (optional)
– find a place for arms and legs, make holes with the awl
– cut the wire, leaving loose ends of 1.5 cm long
– insert the ends of the wire into the body
– sew the arms and legs to the body around their perimeter
– bend one end of the last piece of the wire and insert it into the tail (the bent end of the wire should be at the tip of the tail)
– sew the tail to the body around the tail’s perimeter
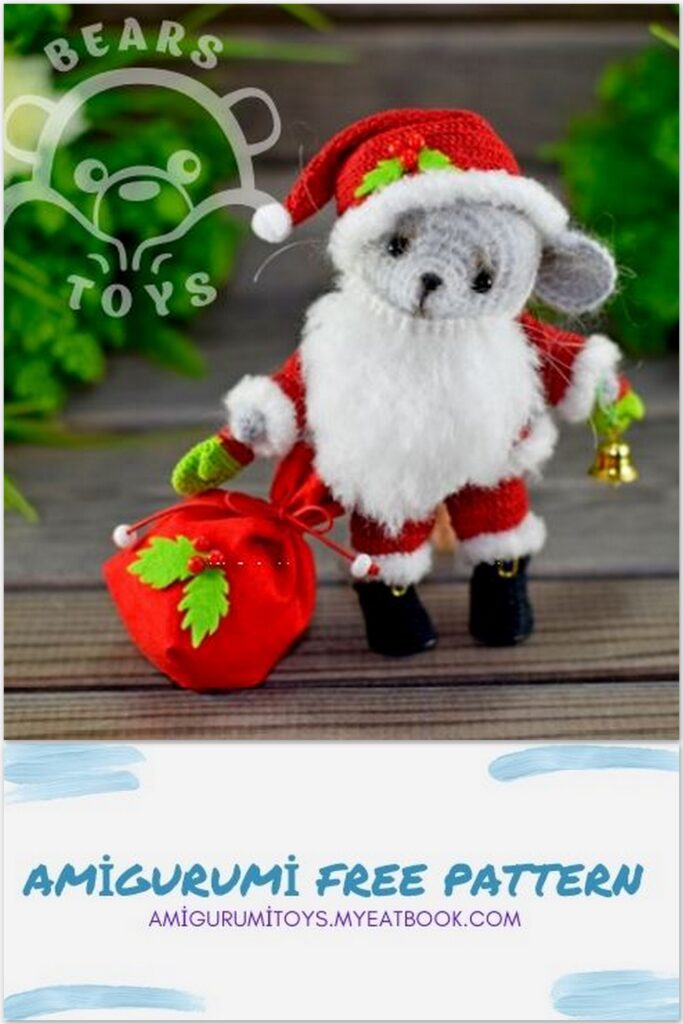
SANTA BEARD
Materials:
1. Yarn (100g – 800mt) of white color
2. 0.8 mm crochet hook
1 row: ch 28 (the number of chain stitches can vary – the length of the chain depends
on the ears location and on the density of crocheting; apply the chain to the toy’s face) –
it will be the first loop to fix the Santa beard on the ear
– Make a sl st in the first chain
– Continue working chain stitches: ch 16 (it will be the middle of the Santa beard)
– Work another 28 chain stitches and make 1 sl st in the 16th stitch of the beard’s middle (it will be the second loop to fix the Santa beard on another ear)
DESCRIPTION
Continue crocheting in back-and-forth rows
2 row: work 16 dc along the middle of the beard
(from the first ear loop to the second ear loop)
3 row: ch 2, 7 dc, dc dec, 7 dc (15)
4 row: ch 2, 5 dc, (dc dec)*2, 6 dc (13)
5 row: ch 2, 5 dc, dc dec, 6 dc (12)
6 row: ch 2, 4 dc, (dc dec)*2, 4 dc (10)
7 row: ch 2, 3 dc, (dc dec)*2, 3 dc (8)
8 row: ch 2, 2 dc, (dc dec)*2, 2 dc (6)
9 row: ch 2, dc, (dc dec)*2, dc (4)
SANTA BEARD ASSEMBLY
– cut white yarn into pieces of about 10-12 cm long (I needed 108 pieces)
– attach one piece of yarn to each dc of the beard
– start from the bottom of the beard (you can use a needle or a crochet hook to help you)
– it is possible to make the beard thicker (use more pieces of yarn) or thinner
– shape the beard if desired (cut the excess yarn)
– you can fluff the beard with the help of pet brush, starting from the yarn ends (at the
same time, it is better to alternate fluffing and cutting)
SANTA CLOTHES
MATERIALS (for jacket, pants, boots, cap, waist belt)
1. yarn (20 g – 195 m) of red, white, and black colors
2. tapestry needle, scissors
3. 0.8 mm crochet hook
4. a small piece of black or dark felt for boots soles
5. black ribbon or black flat cord (3-4 mm wide) for boots straps and waist belt
6. 1 button
7. 4 small connecting rings for jewelry – to imitate buckles (one ring for each boot and two rings for the waist belt)
8. one pompon of any size for the cap
9. a small amount of fluffy yarn of medium thickness for clothes (to imitate fur)
IMPORTANT!!!!!!!!!!!! (right, wrong)
right
wrong
JACKET (WORK IN BACK-AND-FORTH ROWS)
1 row: ch 26
2 row: Starting in the 3rd chain from the hook: 2 dc, dc inc, (ch 2, dc inc, 4 dc, dc inc)х3, 2 dc
3 row: ch 2, 4 dc, (2 dc into the arc of 2 chains, ch 2, 2 dc into the same arc, 8 dc)х3, 4 dc
4 row: ch 2, 6 dc, (2 dc into the arc of 2 chains, ch 2, 2 dc into the same arc, 12 dc)х3, 6 dc
5 row: ch 2, 8 dc, (2 dc into the arc of 2 chains, ch 2, 2 dc into the same arc, 16 dc)х3, 8 dc
6 row: ch 2, 10 dc, (2 dc into the arc of 2 chains, ch 2, 2 dc into the same arc, 20 dc)х3, 10 dc
Cut the yarn (we will come back here after crocheting the jacket’s sleeves), start crocheting the first sleeve.
The jacket’s sleeve (work in back-and-forth rows)
1 row (attach the yarn to the arc of 2 chains): make 2 chain stitches and 1 dc into the
arc, then work 24 dc, 1 dc into the arc (26)
2-6 rows: ch 2, 26 dc
– without cutting the yarn, fold the sleeve in half and seam it. Cut the yarn and hide the
yarn tail. Turn the sleeve right side out.
– crochet the second sleeve in the same way
CONTINUE CROCHETING THE JACKET
return to the cut yarn and continue crocheting
7 row: ch 2, 11 dc, (dc inc)*2, 23 dc, (dc inc)*2, 11 dc
8 row: ch 2, 2 dc, dc inc, (5 dc, dc inc)х8,2 dc (62)
9-10 rows: ch 2, 62 dc
– without cutting the yarn, make sc stitches along all edges of the jacket (2 sides and collar), cut the yarn and hide the yarn tail
– take the same yarn of white color and work sc stitches along all edges of the jacket + sleeves. (You can finish the jacket after this)
– to imitate fur, you can take any fluffy yarn of medium thickness, insert it into a needle and make whip stitches along all edges of the jacket and sleeves (optional)
PANTS
Start working in back-and-forth rows from the waistband to the tail
1 row: ch 52
2 row: Starting in the 3rd chain from the hook: 50 dc
3-6 rows: ch 2, 50 dc, ch 2, sl st to join the two sides together. Continue working in rounds
7-8 rounds: ch 2, 52 dc, sl st
Crochet the first pants leg
1 round: ch 2, 25 dc, dc (in the stitch located before ch-2), sl st to join the round
2, 3 rounds: ch 2, 26 dc, sl st
– cut the yarn and hide the yarn tail
– crochet the second pants leg in the same way
– with white yarn, work sc stitches along the edges of the pants
– with fluffy yarn, make whip stitches along the edges of the pants (optional)
– seam the hole between the pants legs
– sew on a button and make a buttonhole at the waistband
BOOTS
1 row: ch 6
2 round: starting in the second chain from the hook: inc, 3 sc, 3 sc in the last stitch of
the chain; along the other side of the chain: 3 sc, inc (13)
3 round: inc*2, 3 sc, inc*3, 3 sc (18)
4 round: (inc, sc)х3, 3 sc, (inc, sc)х3, 3 sc (24)
5 round: 2 sc, inc, sc, inc, 9 sc, inc, sc, inc, 7 sc (28)
6 round: front loop only: 28 sc
7-10 rounds: 28 sc
11 round: (dc dec)*4, 20 sc (24)
12 round: (dc dec)*2, 20 sc (22)
13-17 rounds: 22 sc. Cut the yarn and hide the yarn tail.
– cut out soles from felt and glue them
– glue the flat cord or black ribbon to the place of sole and boot junction
– make boots straps from the black ribbon or flat cord
– to make buckles, you can use small connecting rings (for jewelry)
– to make a waist belt, use the same materials (a ribbon or a flat cord, and connecting
rings for jewelry)
CAP
1 round: ch 70, sl st in the first chain
2 round: ch 2, 70 dc, sl st to join the round
3 round: ch 2, 21 dc, dc dec, 21 dc, dc dec, 22 dc, dc dec, sl st to join the round (67)
4 round: ch 2, dc dec, 64 dc, sl st to join the round (66)
5 round: ch 2, (20 dc, dc dec)х3, sl st to join the round (63)
6 round: ch 2, (19 dc, dc dec)х3, sl st to join the round (60)
7 round: ch 2, (18 dc, dc dec)х3, sl st to join the round (57)
8 round: ch 2, (17 dc, dc dec)х3, sl st to join the round (54)
9 round: ch 2, (16 dc, dc dec)х3, sl st to join the round (51)
10 round: ch 2, (15 dc, dc dec)х3, sl st to join the round (48)
11 round: ch 2, (14 dc, dc dec)х3, sl st to join the round (45)
12 round: ch 2, (13 dc, dc dec)х3, sl st to join the round (42)
13 round: ch 2, (12 dc, dc dec)х3, sl st to join the round (39)
14 round: ch 2, (11 dc, dc dec)х3, sl st to join the round (36)
15 round: ch 2, (10 dc, dc dec)х3, sl st to join the round (33)
16 round: ch 2, (9 dc, dc dec)х3, sl st to join the round (30)
17 round: ch 2, (8 dc, dc dec)х3, sl st to join the round (27)
18 round: ch 2, (7 dc, dc dec)х3, sl st to join the round (24)
19 round: ch 2, (6 dc, dc dec)х3, sl st to join the round (21)
20 round: ch 2, (5 dc, dc dec)х3, sl st to join the round (18)
21 round: ch 2, (4 dc, dc dec)х3, sl st to join the round (15)
22 round: ch 2, (3 dc, dc dec)х3, sl st to join the round (12)
23 round: ch 2, (2 dc, dc dec)х3, sl st to join the round (9)
24 round: ch 2, (dc, dc dec)х3, sl st to join the round (6)
– leave a yarn tail to sew a pompon to the cap
– with white yarn, work sc stitches along the edge of the cap. With fluffy yarn, make
whip stitches along the edge of the cap (optional)
– using dry pastel, slightly tint eyes and ears
MITTENS
1 round: 5 sc into MR
2 round: inc*5 (10)
3 round: (sc, inc)х5 (15)
4-7 rounds: 15 sc
– next, crochet a thumb in back-and-forth
rows
1. 3 sc
2. ch 1, 3 sc
3. 2 sc
4. sc
5. ch 1
6. inc
7. ch 1, sc, inc (3)
– fold the thumb in half, remove the hook and insert it into the thumb foundation, grab
the loop and draw it through the thumb foundation (sl st), continue crocheting the mitten.
8 round: 12 sc, turn the thumb down and work 3 sc along the thumb’s second half
foundation (15)
9, 10 rounds: 15 sc
– cut the yarn, seam the thumb
– change the yarn color to red
11, 12 rounds: 15 sc
– do not cut the yarn. Work chain stitches to connect the first mitten with the second one (the number of chain stitches depends on the distance from mitten to mitten)
– crochet the second mitten in the same way and sew it to the chain
BAG
(you can put a gift into it or stuff it with the stuffing material)
– For Santa bag you will need a red fabric measuring 13×9 cm (0.5 cm for seam allowances and hem are already included)
– fold down the edge of 13 cm side to hem and stitch all the way across
– Fold the fabric in half, wrong side out. Sew the two sides of the bag (you can use a sewing machine or sew by hand)
– sew the rounded corners of the bag, cut the excess fabric, turn the bag right side out
– sew a cord or elastic band to tie, decorate it with beads
DECORATION
– cut out leaves of green felt
– glue the leaves and beads to the bag

Mais j’adore c’est la plus jolie que je vois bravo et merci de nous faire plaisir aussi