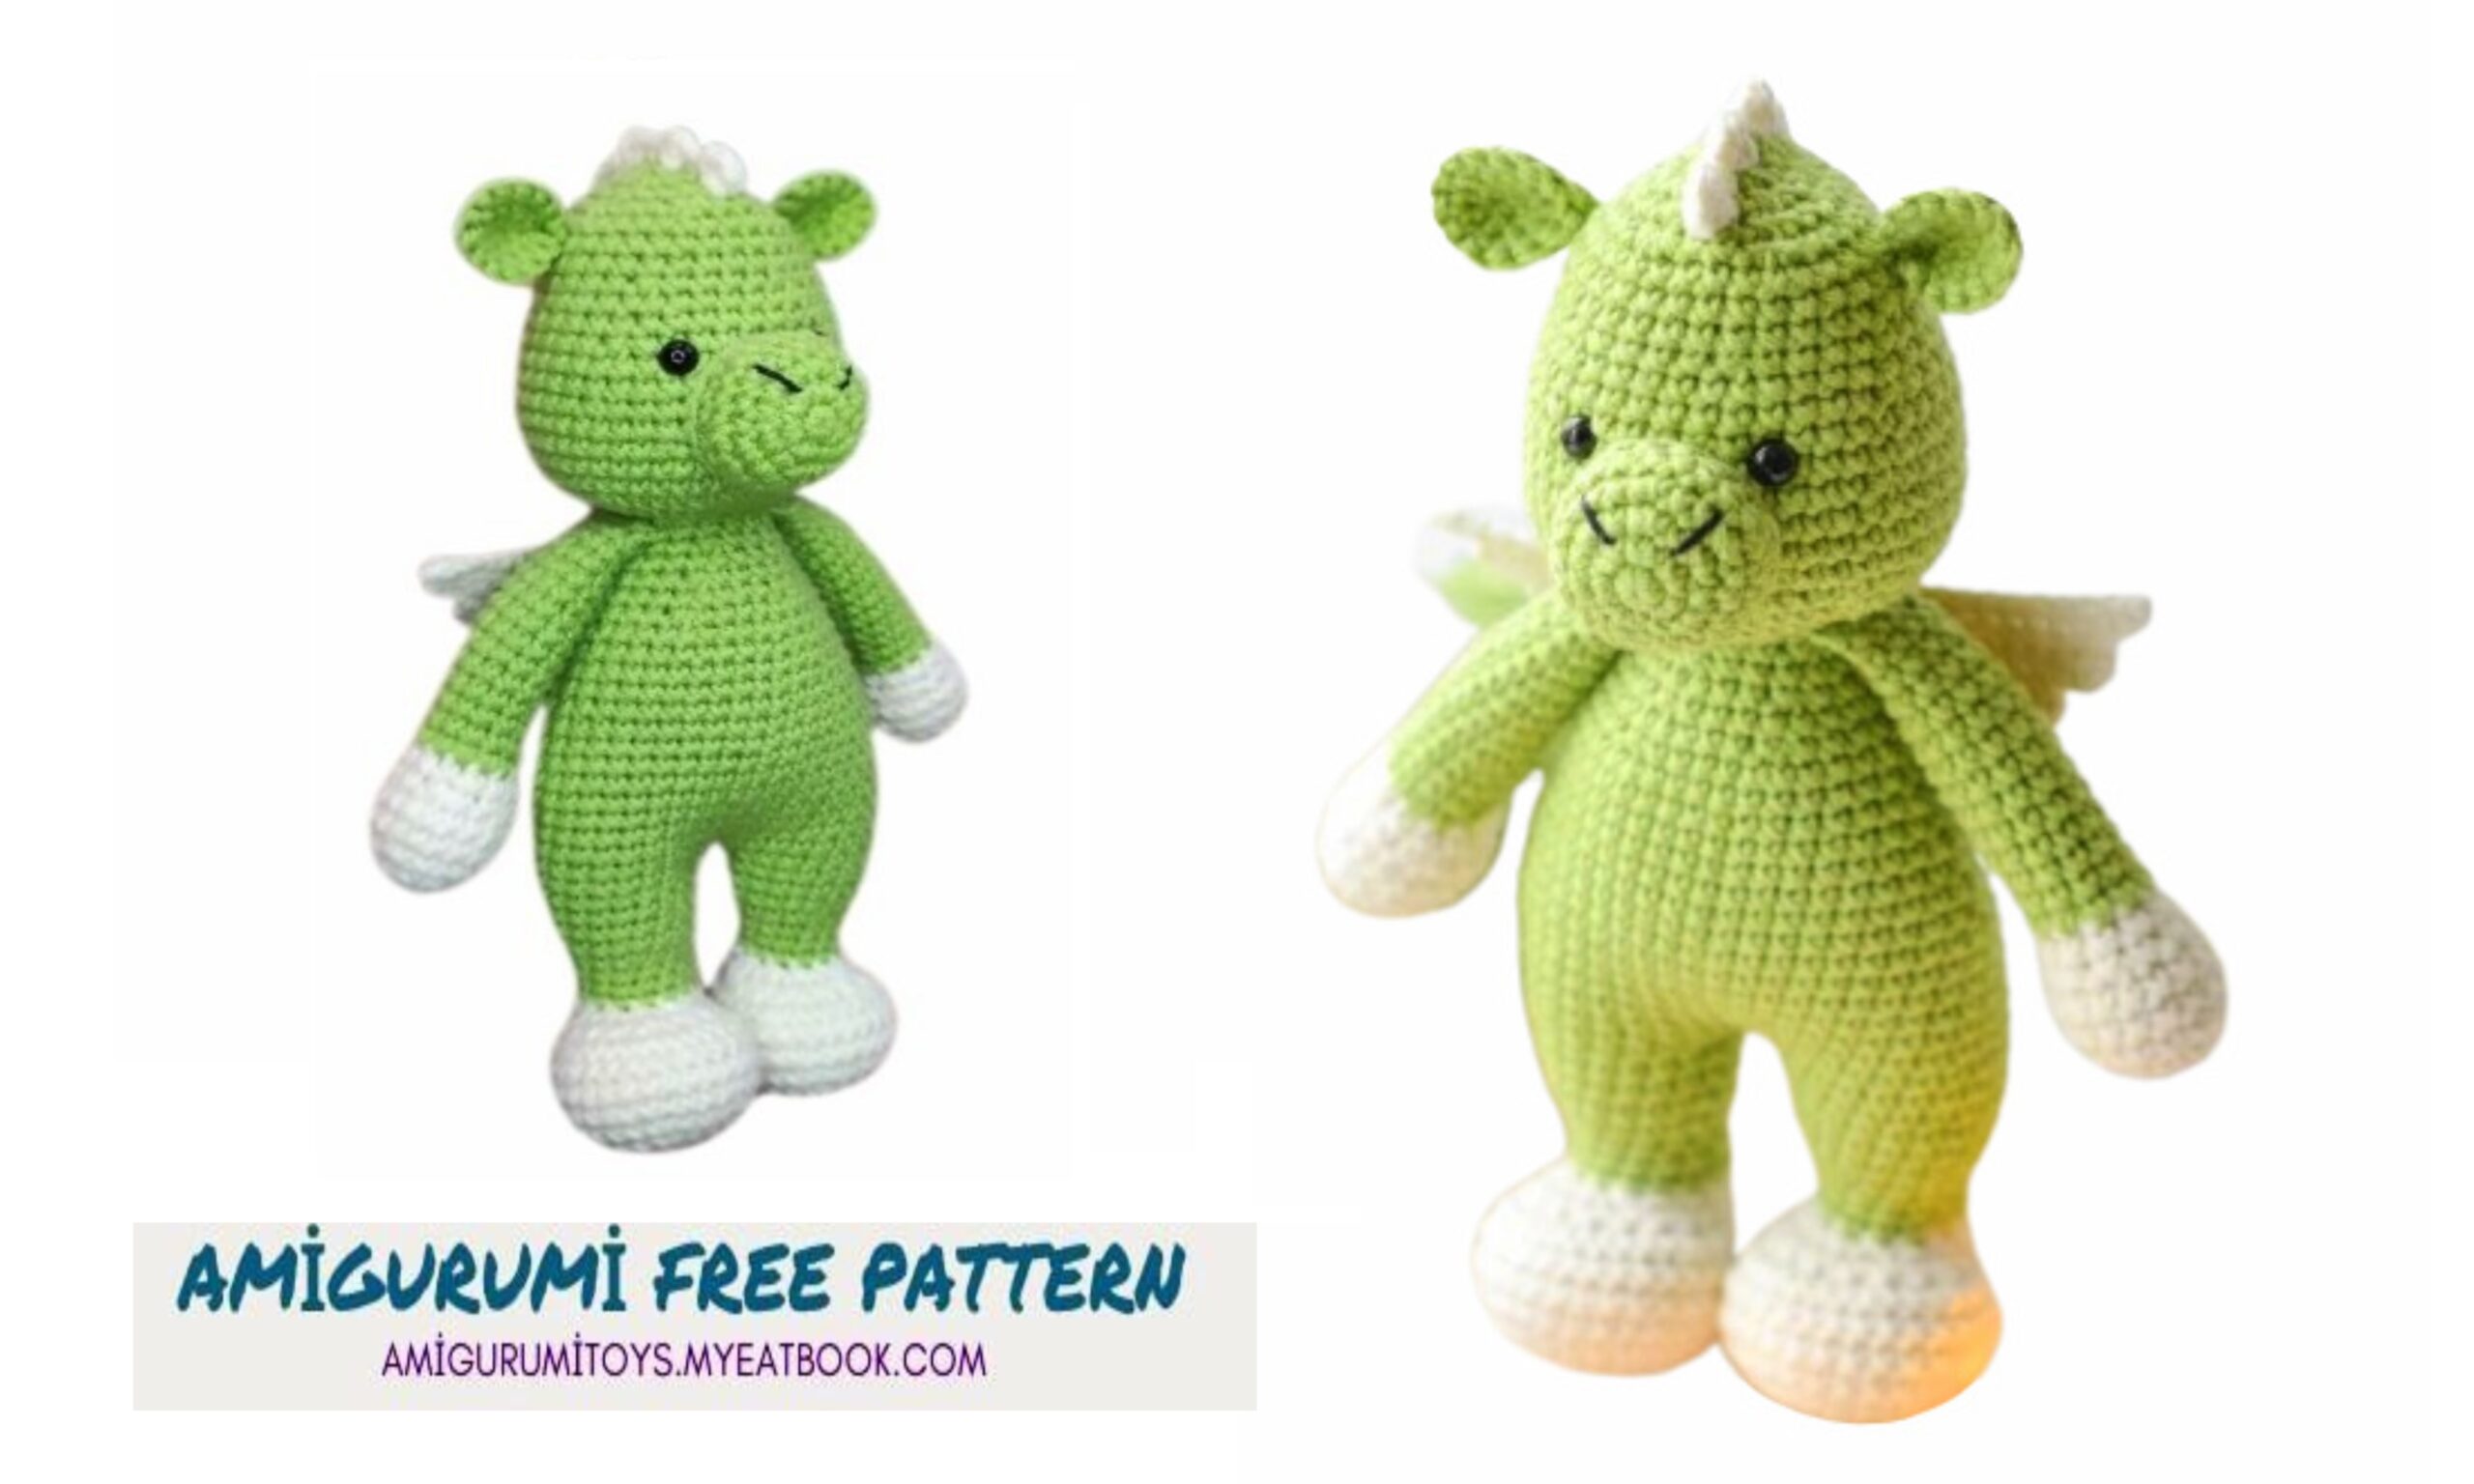
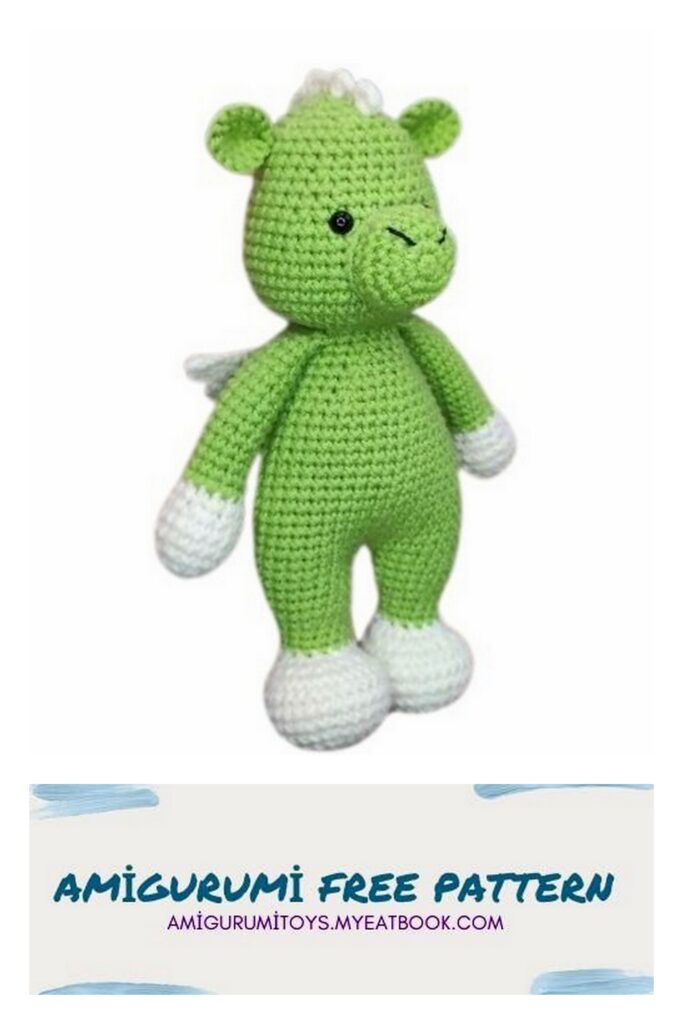
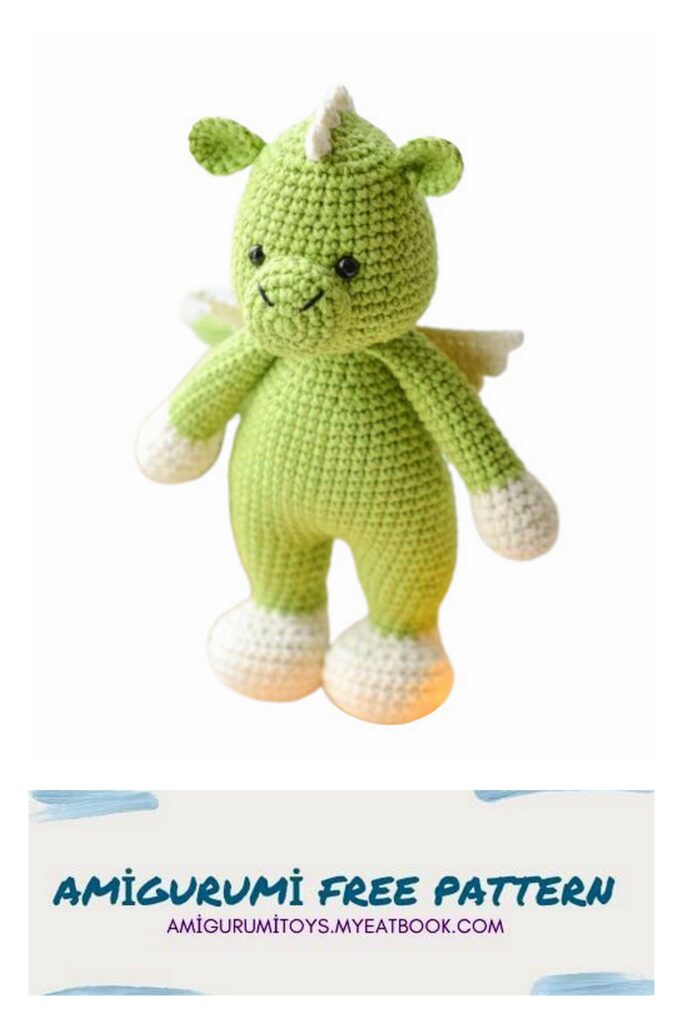
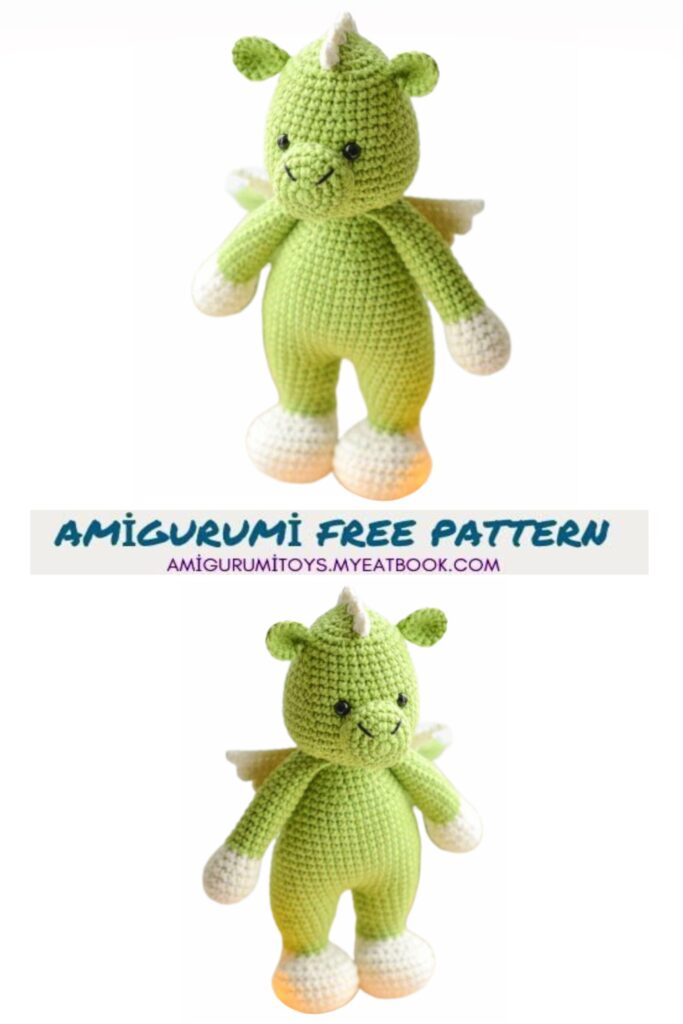
Welcome to the enchanting world of Amigurumi Big Dragon Crochet! If you’re a fan of creating mythical and larger-than-life amigurumi creatures, you’re in for a treat. Amigurumi, the Japanese art of crafting adorable stuffed toys through crochet, takes a majestic turn with our Big Dragon. This larger-than-life dragon amigurumi combines the magic of amigurumi with a dash of fantasy, making it a captivating project for crocheters of all levels.
Our free crochet pattern empowers you to breathe life into this magnificent Big Dragon. Whether you’re a crochet novice or an experienced crocheter, the pattern is thoughtfully designed with detailed, easy-to-follow instructions and vibrant images to guide you every step of the way.
The toy’s height is 19 cm when using the specified
Materials
1) Yarn “YarnArt Jeans” – two colors: main and additional
2) Hook No. 2
3) Filler (holofiber)
4) Eyes 6 mm
5) Black thread for embroidering nostrils
6) Needle
7) Scissors
Abbreviations
MR – amigurumi ring
S.C. – single crochet
HDC. – half double crochet
DC. – double crochet
INC. – increase
DEC – decrease
(6) – number of SC. in a row
*5 – number of repetitions
CH – air loop
Sl-st – connecting post
Handles (2 parts)
Knitting in an additional color
1) 6 SC. in MR
2) 6 İNC. (12)
3) 12 SC.
4) (1 SC. + İNC.) *6 (18)
5-6) 18 SC.
7) (1 SC. + DEC) *6 (12)
8) 12 SC.
Stuffing the pen
Changing thread
9-19) 12 SC.
20) DEC, 4 SC., DEC, 4 SC. (10)
21-22) 10 SC.
Fold the handle in half and knit 5 SC.
Legs (2 parts)
Knitting in an additional color
1) 6 SC. in MR
2) 6 İNC. (12)
3) (1 SC. + İNC.) *6 (18)
4) (2 SC. + İNC.) *6 (24)
5) (3 SC. + İNC.) *6 (30)
6-9) 30 SC.
10) 5 SC., 10 DEC, 5 SC. (20)
11) 5 SC., 5 DEC, 5 SC. (15)
Stuffing the leg
Changing thread
12-14) 15 SC.
15) (2 SC. + İNC.) *5 (20)
16-17) 20 SC.
18) 20 SC. + 6 SC. to offset the row at the first leg
+ 16 SC. to shift the row at the second leg
We cut the thread and fasten it. We stuff the leg until end.
We perform the second leg according to the same pattern, but the thread
don’t cut off at the end.
We dial 2 CH and attach it to the first leg.
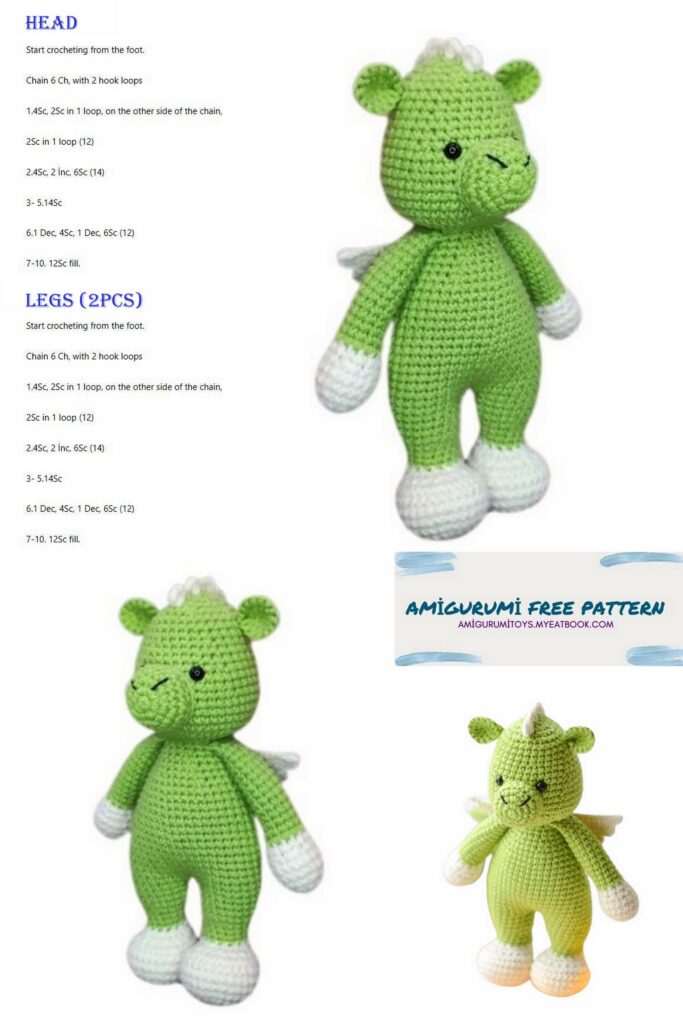
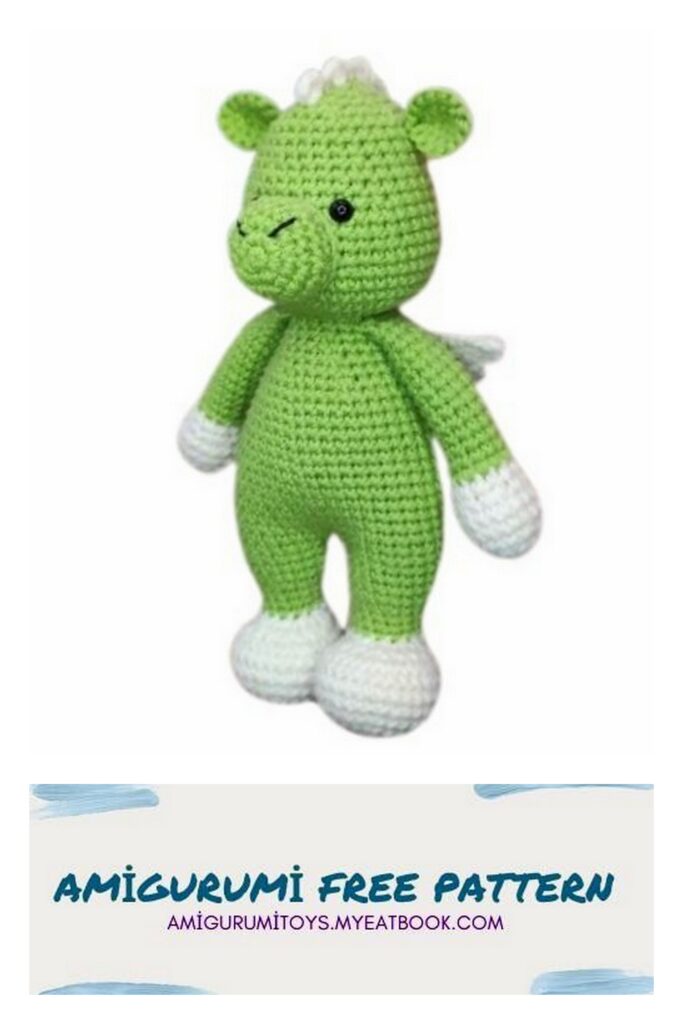
Body
1) 20 SC. along the right leg, 2 SC. along the chain, 20 SC.
along the left leg, 2 SC. chain (44)
2-8) 44 SC.
Stuffing the body
9) 10 SC., DEC, 21 SC., DEC, 9 SC. (42)
10) 42 SC.
11) 10 SC., DEC, 20 SC., DEC, 8 SC. (40)
12) 40 SC.
13) 10 SC., DEC, 19 SC., DEC, 7 SC. (38)
14) 38 SC.
15) 10 SC., DEC, 18 SC., DEC, 6 SC. (36)
16) 36 SC.
17) (4 SC. + DEC) *6 (30)
18) 30 SC.
19) (3 SC. + DEC) *6 (24)
20) 24 SC.
21) (2 SC. + DEC) *6 (18)
22) 4 SC., knit a handle 5 SC., 4 SC., knit
handle 5 SC. (18)
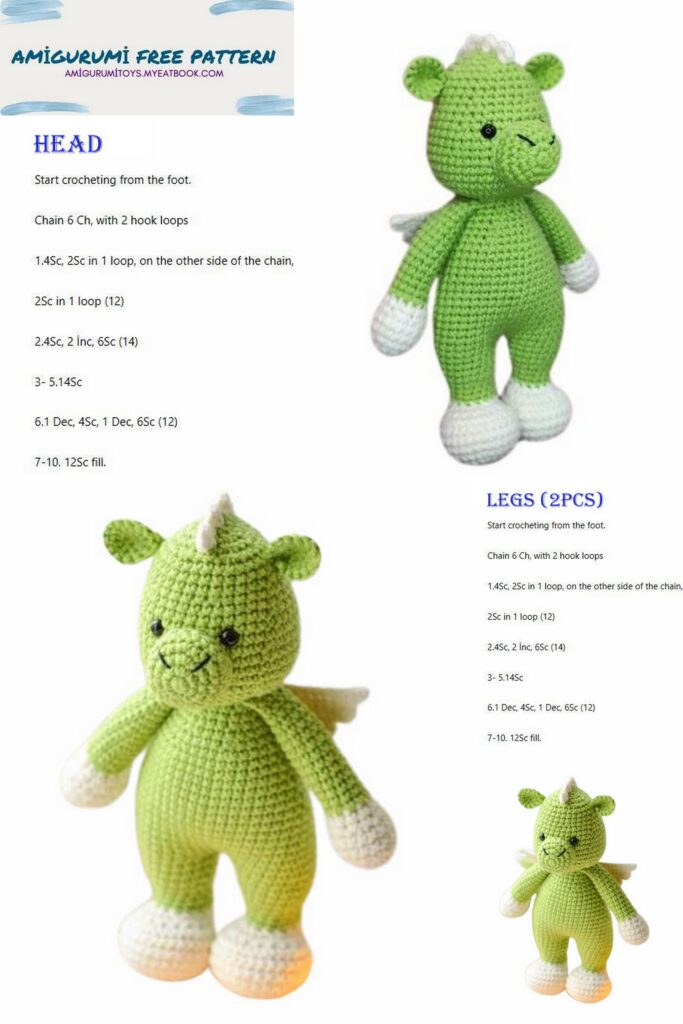
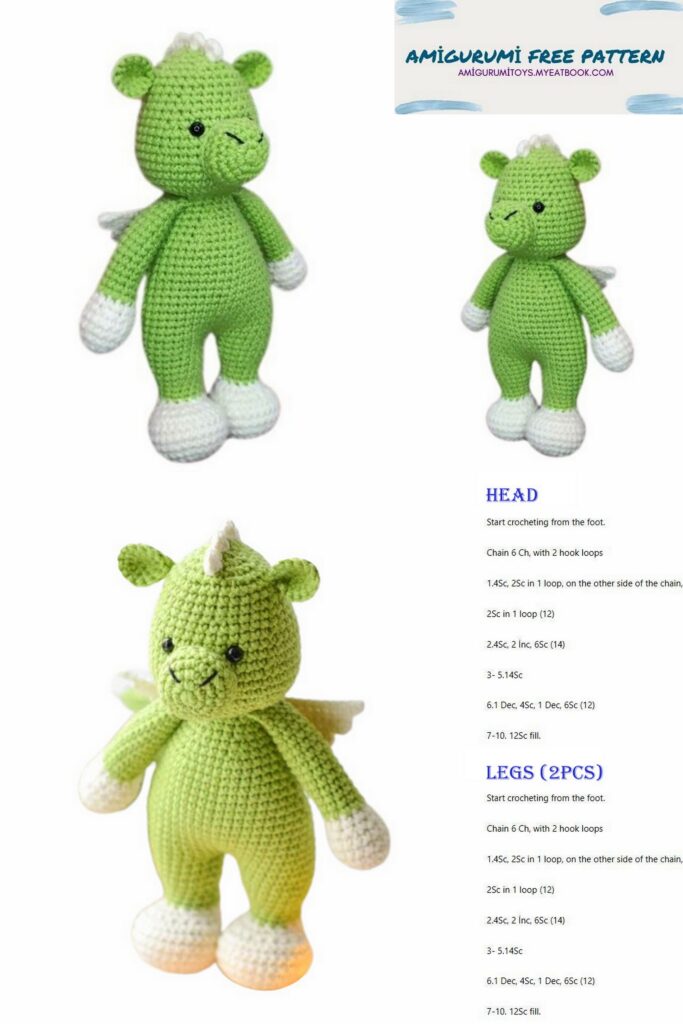
Head
We continue knitting
1) 18 SC.
2) 18 İNC. (36)
3) (5 SC. + İNC.) *6 (42)
4) (6 SC. + İNC.) *6 (48)
5-8) 48 SC.
9) (6 SC. + DEC) *6 (42)
10-11) 42 SC.
12) (5 SC. + DEC) *6 (36)
13-14) 36 SC.
15) (4 SC. + DEC) *6 (30)
16-18) 30 SC.
Insert eyes between 11 and 12 rows from the beginning
knitting heads. The distance between the eyes is 5 SC.
We fill our heads
19) (3 SC. + DEC) *6 (24)
20) (2 SC. + DEC) *6 (18)
21) (1 SC. + DEC) *6 (12)
22) 6 DEC
Cut the thread and tighten the hole.
Spout
1) 6 SC. in MR
2) 6 İNC. (12)
3) (3 SC. + İNC.) *3 (15)
Fold the bottom of the ear in half, sew it to the head in the 7th row from the one pulled from above holes.
Scallop
Insert the hook in the center of the forehead. Next we knit according
diagram to the end of the head. We cut the thread and fasten it.
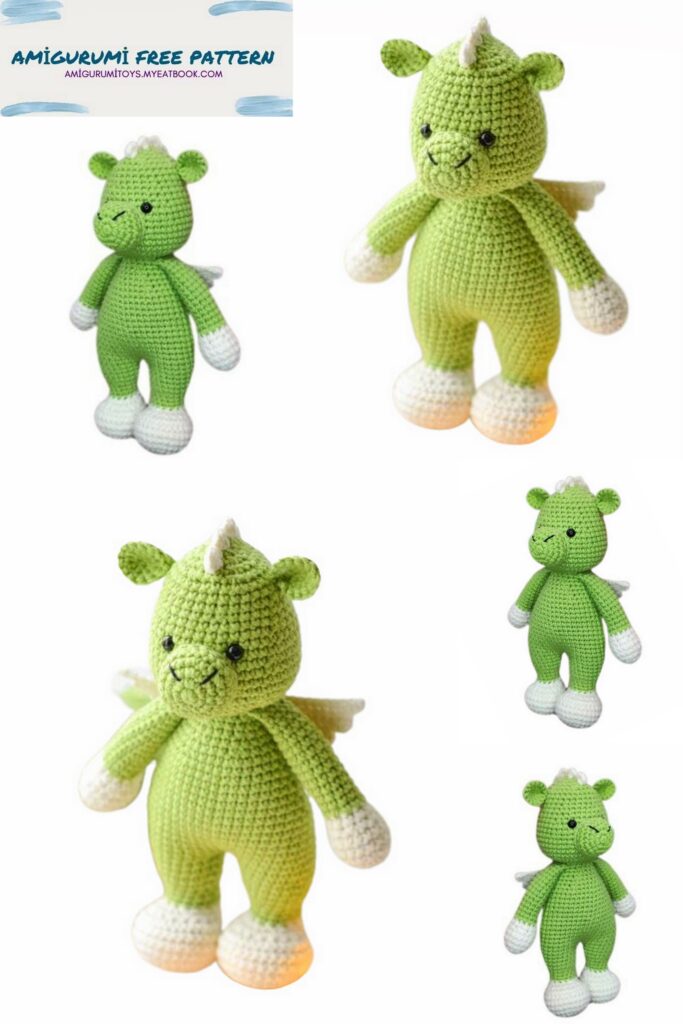
Ears (2 parts)
1) 6 SC. in MR
2) 6 İNC. (12)
3) (1 SC. + İNC.) *6 (18)
4) (2 SC. + İNC.) *6 (24)
5) 24 SC.
6) (2 SC. + DEC) *6 (18)
Sew the nose in the center. We embroider the nostrils.
Tail
1) 6 SC. in MR
2) 6 SC.
3) (1 SC. + İNC.) *3 (9)
4) 9 SC.
5) (2 SC. + İNC.) *3 (12)
6) 12 SC.
7) (3 SC. + İNC.) *3 (15)
8) 15 SC.
Stuffing the tail as you knit
9) (4 SC. + İNC.) *3 (18)
10) 18 SC.
11) (5 SC. + İNC.) *3 (21)
12) 21 SC.
Sew the tail to the back from the bottom center.
Wings
1) We collect a chain of 14 CH + 1 Sl-st
2) From the second loop from hook 14 SC. + 1 Sl-st
We knit in rotating rows
3) 12 SC. + 1 Sl-st (12)
4) 12 SC. + 1 Sl-st (12)
5) 10 SC. + 1 Sl-st (10)
6) 10 SC. + 1 Sl-st (10)
7) 8 SC. + 1 Sl-st (8)
8) 8 SC., continue by tying all rows on the side –
6 SC. We do not cut the thread.
We collect a chain of 14 CH + 1 Sl-st
Turn the crocheting so that the rows can be joined together.
Crochet according to the same scheme as the first wing.
Instead of the chain, make a slip stitch in the next row to connect the first and second wings.
Cut the thread and leave the end for sewing.
Sew the wings in the center of the back.
The toy is readyThe toy is ready!
