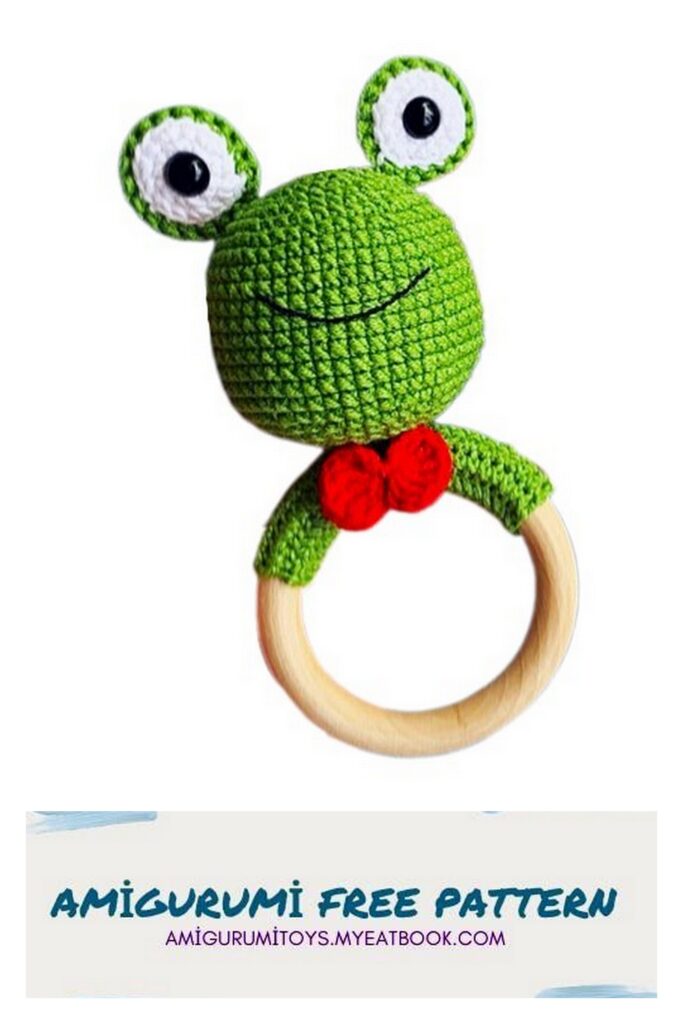
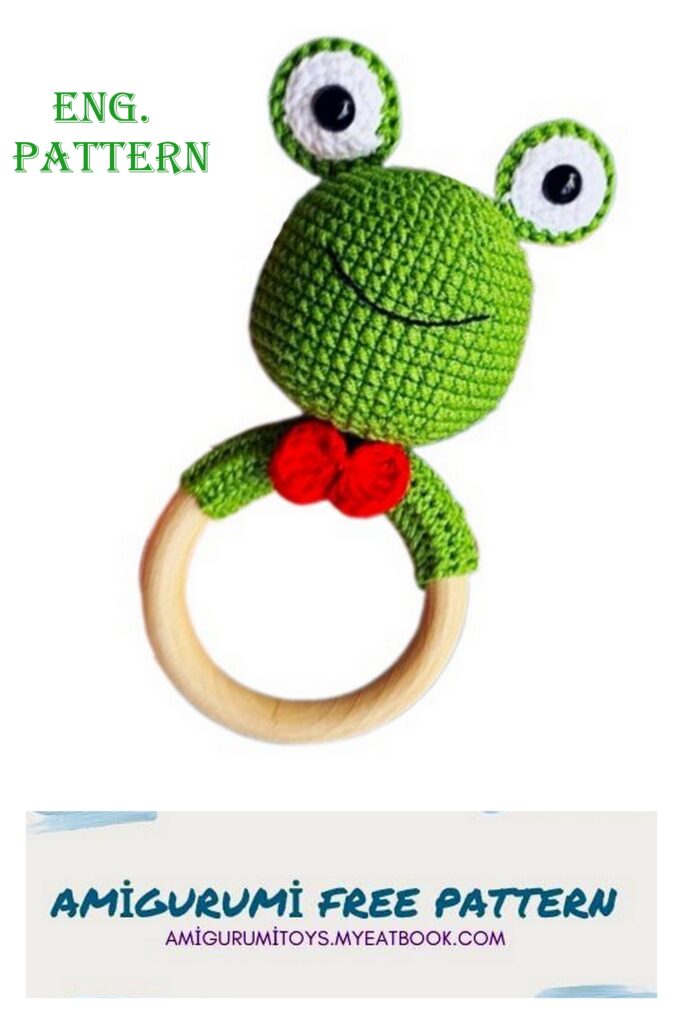
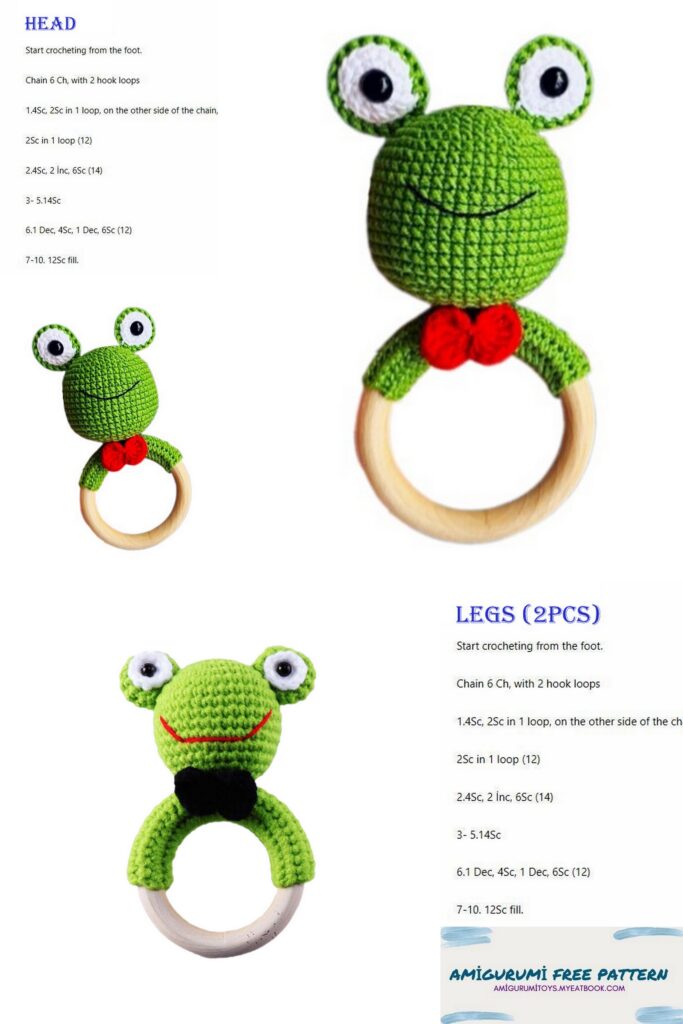
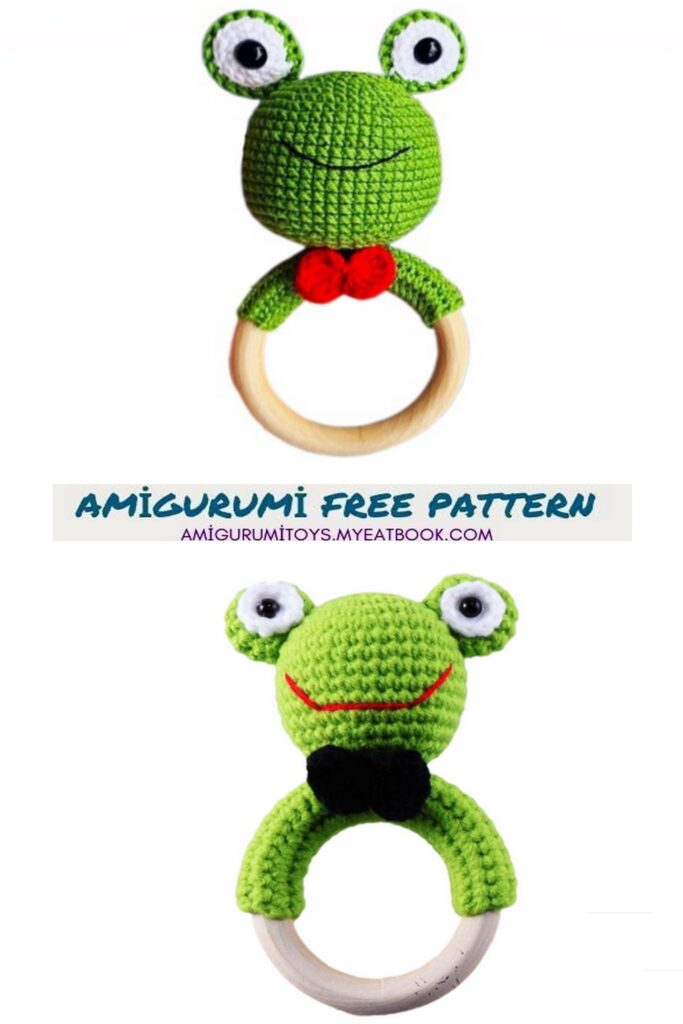
Pattern Hello, your child will like the Crochet Rattle Frog Amigurumi Free pattern, follow it for the most beautiful current patterns.
Necessary materials
– YarnArt Jeans (55% cotton, 45% acrylic, 50gr/160m): green (#69), white (#62), red (56)
– Hook #2
– Eyelets on a 9mm safety mount
– Rattler
– Filler (holofiber or sintepukh)
– Wooden ring
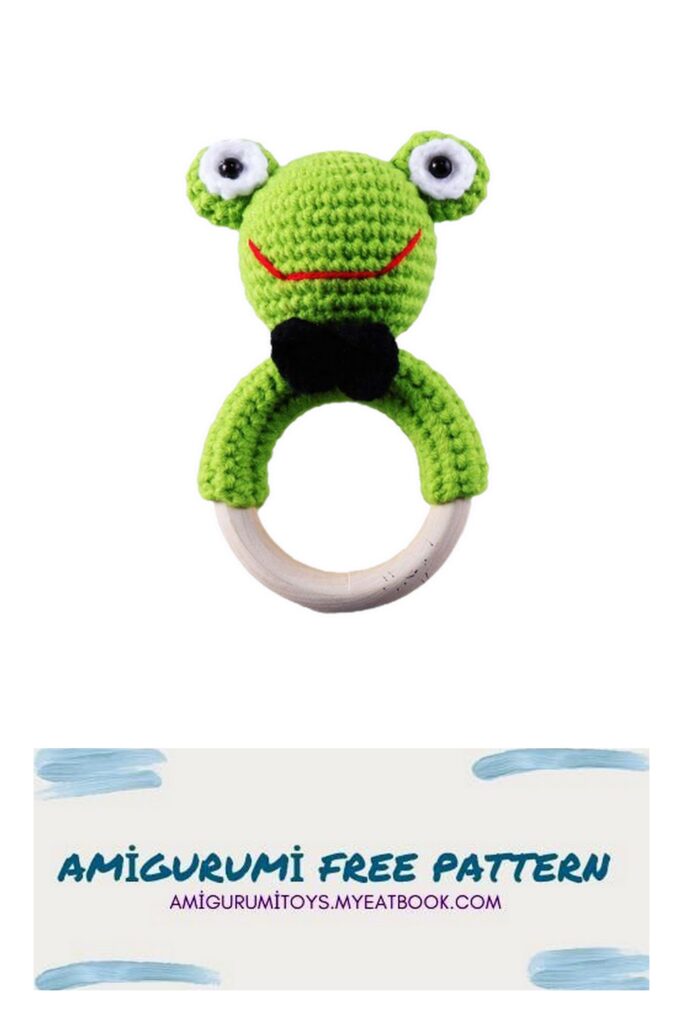
– Black sewing thread for mouth decoration
– Needle for sewing details
– Scissors
Abbreviations
AR – Amigurumi Magic ring
MR – Amigurumi Magic ring
3in1 – crochet 3 columns in one loop
sc : Single Crochet
inc : Increase
dec : Decrease
tr : Triple Crochet/ Treble Crochet
st: Stitch
dc : Double Crochet
hdc: Half Double Crochet
sl-st or Slst: Slip Stitch
ch : Chain
tch: Turnin chain crochet
..in : make increase into same stitch as many as the number which is given in front of “inc” abbreviation (exp; 3inc, 4inc..).
FLO : Crochet into front loops only
BLO : Crochet into back loops only
I’m Natalya Shved, nice to meet you (I hope this will be mutual).
Thank you for your interest in my frog pattern.
In it you will find a detailed description of crocheting a rattle “Frog”, supplemented by explanatory photographs.
I am sure you will definitely succeed in creating a unique handmade toy!
I wish you pleasant creativity and even loops!
Important
Frog pattern does not contain crochet lessons and is designed for those who have basic crocheting skills.
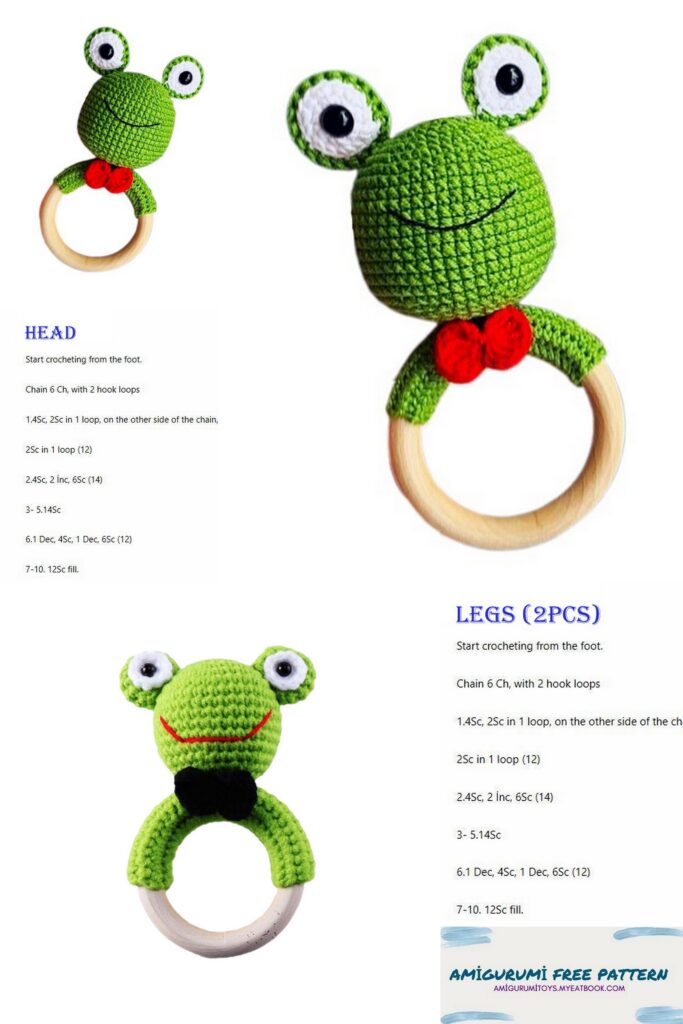
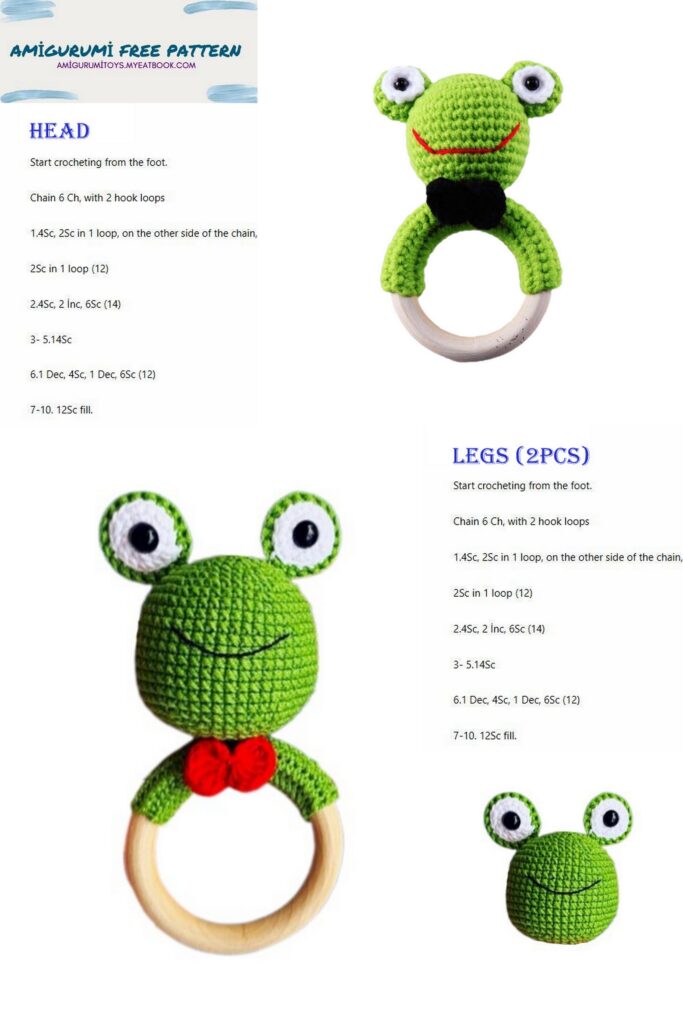
Head
1. 6 sc in MR
2. 6 inc (12)
3. (1sc,inc)*6 (18)
4. 1sc, inc, (2sc,inc)*5, 1sc (24)
5. (3sc,inc)*6 (30)
6. 2sc, inc, (4sc,inc)*5, 2sc (36)
7. (5sc,inc)*6 (42)
8. 3sc, inc, (6sc,inc)*5, 3sc (48)
9-18. 48sc (10 рядов)
19. 3sc, dec, (6sc,dec)*5, 3sc(42)
20. (5sc,dec)*6 (36)
at this stage it is convenient to start stuffing the part and insert the rattle
21. 2sc, dec, (4sc,dec)*5, 2sc (30)
22. (3sc,dec)*6 (24)
23. 1sc, dec, (2sc,dec)*5, 1sc (18)
24. (1sc,dec)*6 (12)
add filler
25. 6dec (6)
pull the hole with a needle, leave the thread for sewing to the base. We outline the points along which we will embroider the mouth:
The central one (the very bottom of the mouth) is located between the 13th and 14th rows;
From it, 1 row higher (between 12 and 13 rows) are the middle points between them, the distance is 6 columns;
And the top ones 1 row higher (between 11 and 12 rows) are the corners of the mouth between them, the distance is 10 loops.
Embroider the mouth with black thread.
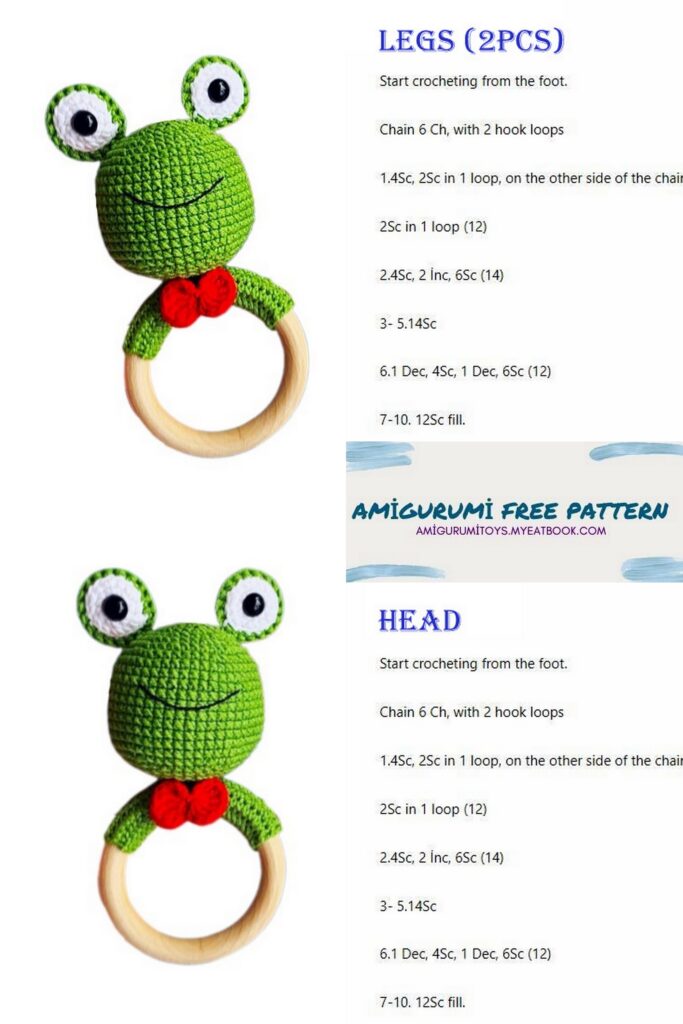
Eyes
We crochet with white yarn
1. 6sc in MR
2. 6inc (12)
3. (1sc,inc)*6 (18), slst
fasten and cut the thread In the center we insert the eyes on a safe mount
We crochet with green yarn
1. 6sc in MR
2. 6inc (12)
3. (1sc,inc)*6 (18)
4.-6. 18sc (3 rnds)
DO NOT cut the thread!
We attach a piece of white yarn to the part from green yarn and crochet 18sc (capturing ONE! side of the part from white yarn, see photo)
Sew on the eyes.
Wooden side.
We collect a chain of 25 ch, from the second loop from the hook we begin to crochet 24 sc, ch;
We turn crocheting and crochet 24 sc, ch again;
And so we continue crocheting until we get 7 rows.
We leave the thread, about 25 cm for stitching the base.
We sew a wooden ring.
Sew on the head of the frog.
Bowtie
We collect 3ch into the amigurumi ring, then we crochet 5 tr into the ring. Again we dial 3 ch, and we crochet slst in the ring. One half of the bow is ready.
The second part of the bow is crocheted in a mirror, i.e immediately after slst we make 3 ch, we make 5 tr, 3 ch, slst into the ring. Fasten the thread. Pull off the ring.
Wrap the middle of the bow with the remaining thread and secure.
The bow is ready! It remains to dress up the Frog.