The toy is knitted from the bottom up, in half-cross stitches, in a spiral, (unless otherwise indicated).
The handles and patch are tied in, the tail is tied out of the body, the head and ears are sewn on.
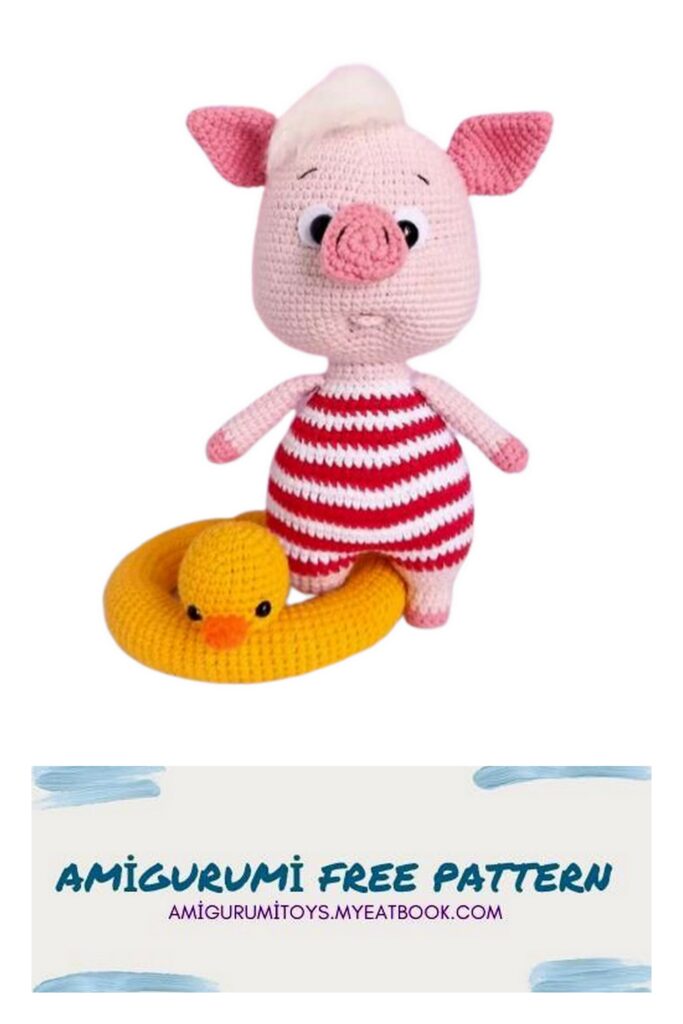
When using these materials, the height of the finished toy is about 20 cm.
Mark the beginning of each row with a contrasting thread thinner than the one from
Required materials and tools:
1. Hook suitable for your yarn.
2. I have YarnArt JEANS yarn No. 18 main, No. 78 for ears, hooves and patch, No. 90 and
No. 62 (or No. 1) for a bathing suit. For lifebuoy No. 35 and 77. You
You can always take any yarn, any colors that you think are suitable.
3. For bangs, a small piece of acrylic yarn of any color you choose. I have a “Children’s novelty” from “Pekhorka” milky.
4. A little black or dark brown thread to decorate the muzzle. Take it thinner than the main one from which you will knit a toy. I used “Openwork” from “Pekhorka” No. 02 (black 280 m / 50 gr.) Do not take the entire thickness for embroidery
YarnArt JEANS, it will look rough on the face. You can split it.
5. Filler.
6. Eyes on a secure fastening 10 mm, either sewn on or glued on (beads, half beads – your choice).
7. White felt circles with a diameter of 15 mm for proteins.
8. Strong thread for tightening.
9. Sewing needle, scissors, pins, marker thread, slicker or
Velcro for combing bangs.
abbreviations
MR – amigurumi ring
SC – single crochet
CH – air loop
İNC – increase
DEC – decrease
SL-ST – connecting post
(…)*X – repeat X times the action indicated in brackets
The number after the = sign means the total number of loops in the row
Pens.
We start knitting with color No. 78
1 row: 5 SC in MR
2 row: 5 İNC = 10
3 row: 10 SC for the back half loops
4th row: 10 SC
Change color to #18
5-16 rows = 10 SC
We knit 1-2 more loops, so that later, when attached to the calf, the place of color change is on the inside.
We lightly stuff the handles, mainly the lower part. Fold in half and knit 5 SC behind both walls.
Fasten the thread and cut. We will tie the paws.
Piglet
We start knitting with color No. 78,
leave a piece of thread about 30 cm
1 row: 12 SC in MR
2nd row: (3 SC in 1 st, 3 SC) * 3 = 18
3rd row: 2 SC, (3 SC in 1 st, 5 SC)*2, 3 SC in 1 st, 3 SC = 24
from the wrong side of the part, we thread the piece of thread remaining after the set of loops into the needle, and sew several stitches in a circle in 1 row to tighten the ring tighter and we don’t have a hole left
4th row: 24 sts in concave single crochet (or 24 SC for back half sts)
5 row: 24 SC change color to No. 18
6 row: 24 SC
7 row: 12 DEC = 12 fasten the thread and cut
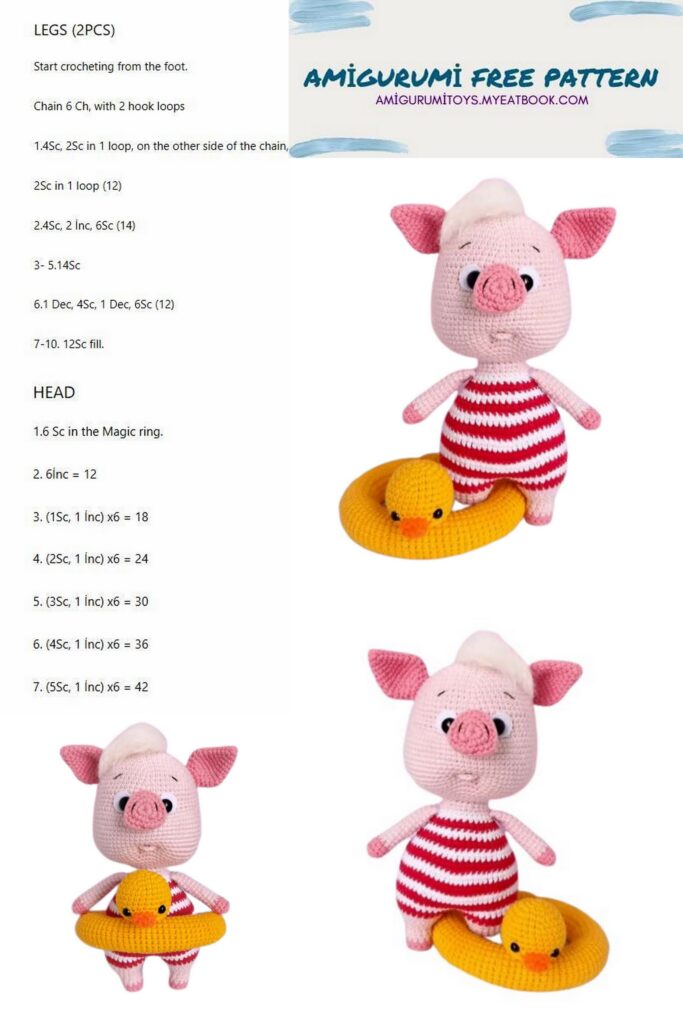
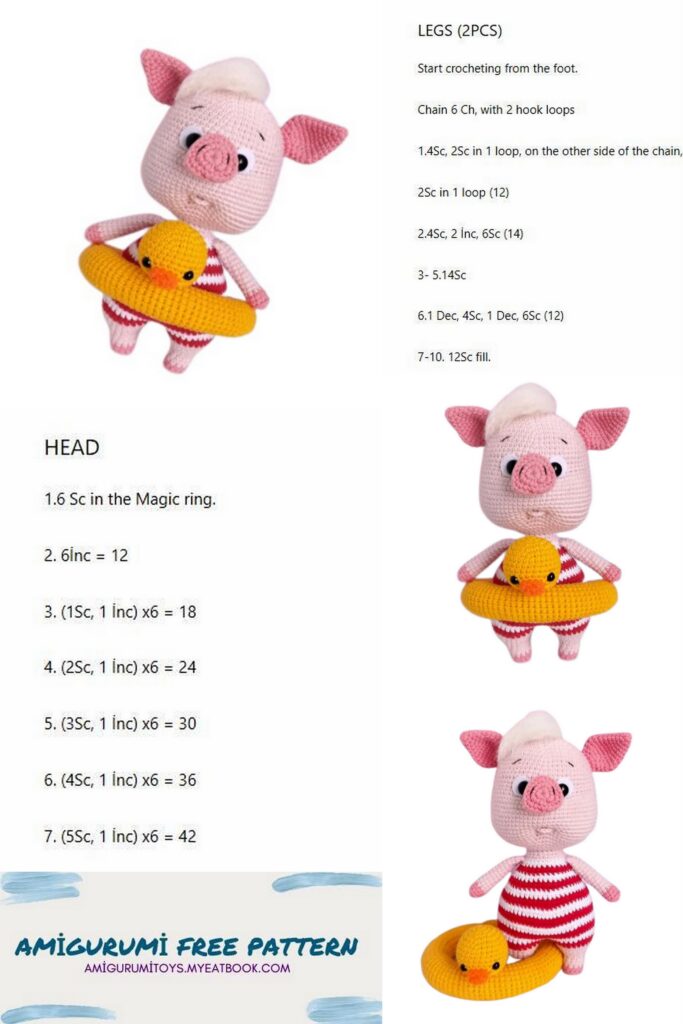
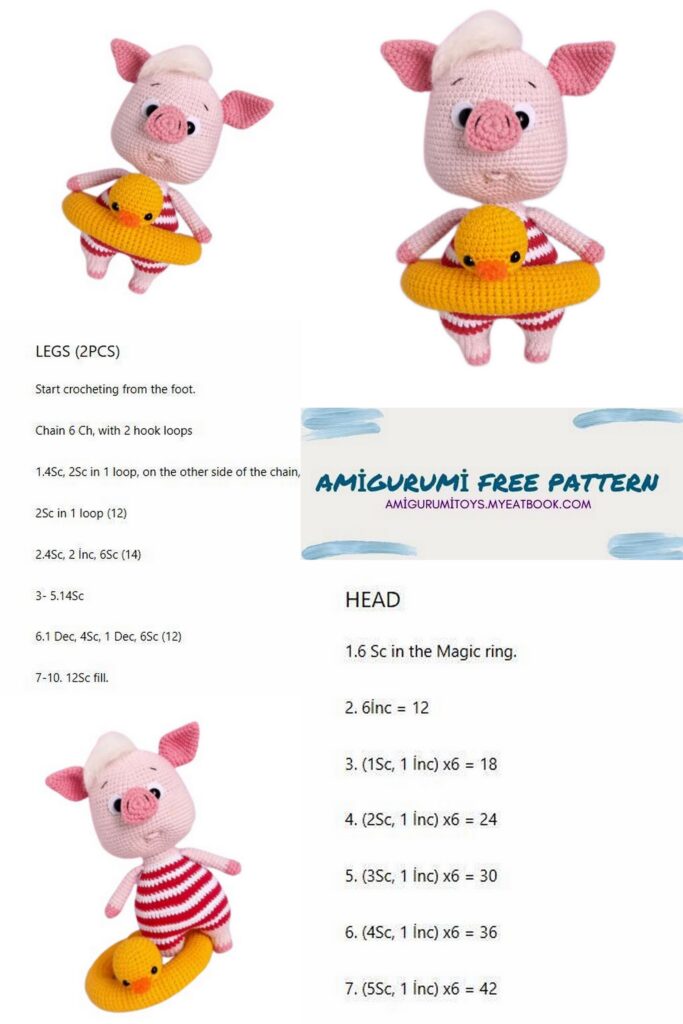
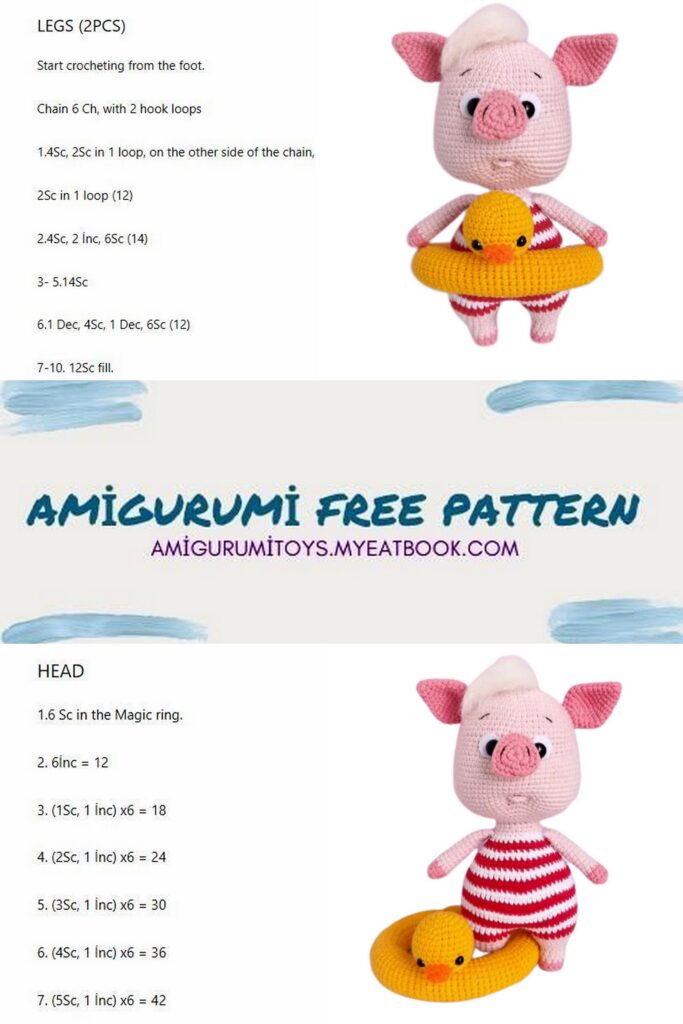
Head
We knit in light pink color (No. 18)
1 row: 6 SC in MR
2 row: 6 İNC = 12
3 row: (1 SC, İNC) * 6 = 18
4 row: (2 SC, İNC) * 6 = 24
5 row: (3 SC, İNC) * 6 = 30
6 row: (4 SC, İNC) * 6 = 36
7 row: (5 SC, İNC) * 6 = 42
8 row: (6 SC, İNC) * 6 = 48
9 row: (7 SC, İNC) * 6 = 54
10 row: (8 SC, İNC) * 6 = 60
11-12 rows: 60 SC
13 row: (9 SC, İNC) * 6 = 66
14-18 rows: 66 SC
In the next row, we will tie out the cheeks and knit a patch.
We find the top opposite the side with the end of the knitting of the spout. She will be on top of us. Define and mark
2 center loops on top. When knitting a patch in the 19th row, they will be 3 and 4 loops from 6 Piglet, turn the top away from you.
19 row: 18 SC, (1 SC, İNC) * 6, 6 SC with 6 nose loops, (İNC, 1 SC) * 6, 18 SC = 78
20 row: 36 SC, 6 SC on the remaining
nose loops, 36 SC = 78
The nose is slightly stuffed.
21-30 rows: 78 SC
If you use eyes on a secure mount, then install them on this
stage. Between 17 and 18 rows. Between installation sites 7-8 SC (center the eyes on the nose).
We take circles of felt, carefully so that there is no wrinkling, fold in half and make small cuts, slightly shifting them from the center to the edge.
We turn the circles and make perpendicular cuts (as a result, we get a crosswise pattern). We insert eyes into them and fix them in the canvas.
Later, after tightening, the felt can be carefully fixed with glue.
31 row: (11 SC, DEC) * 6 = 72
32 row: (7 SC, DEC) * 8 = 64
33 row: (6 SC, DEC) * 8 = 56
34 row: (5 SC, DEC) * 8 = 48
35 row: (4 SC, DEC) * 8 = 40
36 row: (3 SC, DEC) * 8 = 32
37 row: (2 SC, DEC) * 8 = 24
We stuff the head tightly, but without too much zeal
Keep in mind that there will be stretch marks. We fix the thread and hide it inside.
Ears
1 row: 6 SC in MR
2 row: (1 SC, İNC) * 3 = 9
3rd row: 9 SC
4 row: (2 SC, İNC) * 3 = 12
5 row: (3 SC, İNC) * 3 = 15
6 row: (4 SC, İNC) * 3 = 18
7 row: (2 SC, İNC) * 6 = 24
8 row: (3 SC, İNC) * 6 = 30
9 row: 30 SC
10 row: (3 SC, DEC) * 6 = 24
11 row: (2 SC, DEC) * 6 = 18
12 row: (1 SC, DEC) * 6 = 12
13 row: 1 SC, fold in half, knit 6 SC behind both walls of the ear Fasten the thread, leave about 45-50 cm for sewing, cut.
legs
We start knitting with color No. 78
1 row: 6 SC in MR
2 row: 6 İNC = 12
3 row: 12 SC for back half loops or
concave single crochet
4th row: 12 SC
change color to number 18
5-8 rows: 18 SC
9 row: (1 SC, İNC) * 6 = 18
10 row: 18 SC
11 row: (2 SC, İN C)*6 = 24
12 row: 24 SC
On the first leg, we temporarily fix the thread and cut it, leaving about 20 cm. On the second, we do not cut it yet. We add the parts side by side and determine the degree of displacement of the loops. The places where the thread color changes should be turned towards each other and slightly shifted back. On the first leg, the offset turned out as it should, and on the second leg I knitted an additional 4 SC. Please note that your degree of bias may differ from mine. In this case, adjust the number of additional columns in your own way.
On the first leg, we also knit 4 SC. We do this so that the details
were the same height. Now we can fasten the thread and cut it short. We remove the marker threads. We count on the first paw
back the number of additional columns you added, (in my case it is 4). This is the junction of the first part with the second.
Body
If you will knit a striped swimsuit, then you can not use the marker thread. When changing colors, it will be easy to navigate. But with a plain swimsuit or from a melange or sectionally dyed yarn, it is better to use a thread marker.
We stuff the body tightly, in the process of knitting.
We attach the red color of the thread of the swimsuit No. 90, cut off the pink. We knit a chain of 3 in / p, connect the legs.
1st row: 24 SC in the first leg, 3 SC in the chain of CH, 24 SC in the second leg, 3 SC in the chain of CH.
Total number of loops in a row = 54
2 row: (8 SC, İNC) * 6 = 60
Now and in the future we will alternate colors every 2 rows. Change the color to white (I have 62).
3rd row: 60 SC
4 row: (9 SC, İNC) * 6 = 66
change to red
5-6 rows: 66 SC
change to white
7-8 rows: 66 SC
change to red
9-10 rows: = 66 SC
change to white
11 row: 66 SC,
12 row: (9 SC, DEC) * 6 = 60
change to red
13 row: 60 SC
14 row: (8 SC, DEC) * 6 = 54
change to white
15 row: 54 SC
16 row: (7 SC, DEC) * 6 = 48
change to red
17 row: 48 SC
18 row: (6 SC, DEC) * 6 = 42
change to white
19 row: 42 SC
20 row: (5 SC, DEC) * 6 = 36
change to red
21 row: 36 SC
22 row: (4 SC, DEC) * 6 = 30
change to white
23 row: 30 SC
In the 24th row we will knit the upper paws. Stuff the main part of the calf quite tightly, but not completely. Leave about 1 cm so that when knitting the legs you are comfortable and the filler does not fall between the posts. Determine the knitting points strictly on the sides: 5 SC along with the paws, 10 SC between them.
Given my offset, I ended up with this:
24 row: 8 SC, 5 SC with the foot, 10 SC, 5 SC with the foot, 2 SC = 30
change color to body color, #18
25 row: 30 SC
26 row: (3 SC, DEC) * 6 = 24
27 row: 24 SC
Knit a few more columns (I got 2 SC and SL-ST in the next loop) and fasten the thread at the back in the center of the back.
Leave about 50 cm for sewing on the head. Remove the marker thread (if you used it). Stuff the part tightly to the end. When sewing on the head, do not forget to knock the filler into the neck. For convenience, you can fix the head to the body with two knitting needles.
Sew on the head.
Utyazhka
We will form the mouth and eye sockets with a tightening. Mark with pins on the muzzle 6 points.
Define the middle of the muzzle. This can be done conveniently by placing a thread, needle or needle down from the center of the nose. We put marks between 29 and 30 rows.
Between pins 2 SC. These are points 1 and 6.
Between the 18th and 19th rows we also mark
4 points (2, 3, 4, 5) from the outer and inner corners of the eyes as close as possible to each installed eye.
We insert the needle at point 1, leave the end of the thread about 25-30 cm, we bring it out at point 2. Then we go to point 3, we bring it out at point 6.
We correct the thread so that it is under the eye and a felt circle, tighten it, tie it into 2 knots. Without cutting the thread, we enter at point 6, bring it out at point 5, then to point 4, bring it out at point 1. Tighten it, tie it into a couple of knots, hide the threads inside the head. The last knot and the entry and exit points of the threads can be carefully smeared with universal transparent glue. I have Moment Crystal.
Underlip
We leave a piece of thread about 30 cm, we collect it in MR 6 SC, we tighten it. We leave a segment of about 40-45 cm, cut the thread. We got a detail close in shape to a semicircle.
We try on the part, fasten it at a distance of 2-3 rows down from the mouth tightening. We fix the middle of the lip a little below the edges. When sewing, the thread tension should be moderate. We don’t tighten it too much. We bring the middle thread (left when casting on in MR) to the back of the head to any place at a distance of a row from the center of MR and make a stitch through the row to the center of MR inside the head. You can repeat it again. We make the stitch tightly, but do not tighten. We hide the thread
inside the toy with a few tangled stitches.
With the second segment of the thread we fix both edges of the lip. We make stitches up and back. We bring it to the place where the nose is knitted (between the 18th and 19th rows). Thanks to the tightening, they will be invisible there.
Sew on the ears
The upper part of the ears is sewn at a level between 9 and 10 rows from the crown. The distance between the ears along the 10th row is 30 loops, (I counted the increase as 2 loops). That is, 14 loops to the sides of the center of the muzzle.
Tail
We knit the tail directly from the body of the toy.
We define m Finally, insert your hook and cast on 7-8 CH. We go back, we knit 2 SC chains in each CH chain. We reach the base, tie a couple of knots and hide the threads inside the toy.
We embroider eyebrows and nostrils with a thin dark thread. Optionally, you can make tinting on the cheeks, patch and ears.
Chubchik
For a chubchik, it is better to use acrylic yarn. She brushes easily.
I fastened the hairs in the front semicircles of 1 and 2 rows according to the principle of tassels on a scarf.
Enough 10-12 segments.
Determine the length of the forelock before combing.
Trim, if required, the length at this stage. After combing, the haircut will look rough and unnatural.

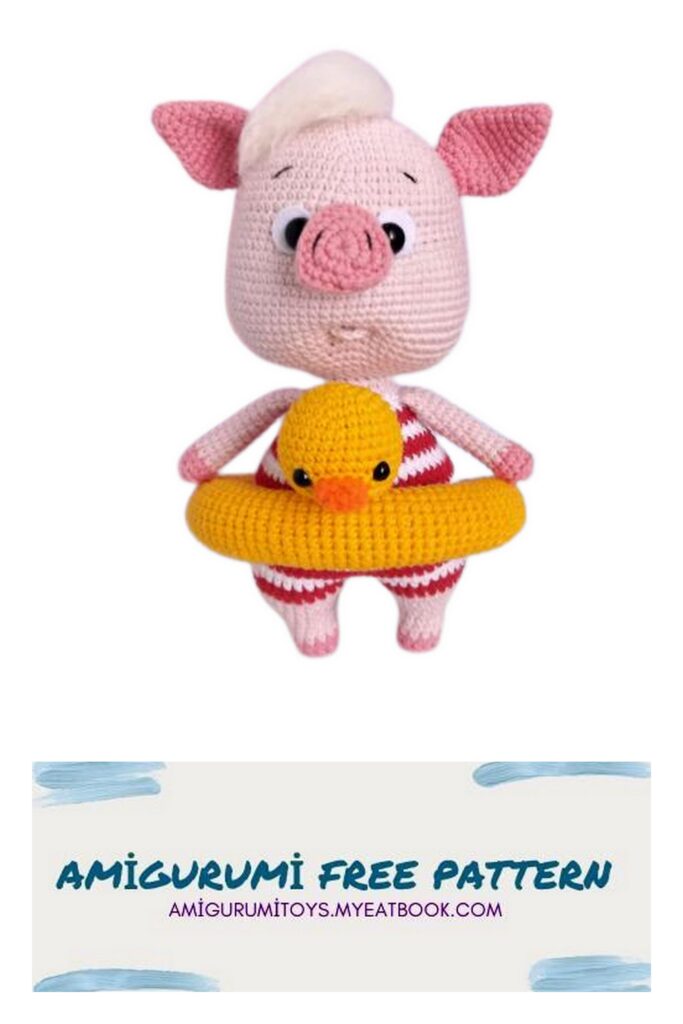
Lifebuoy
For the circle, you can use a variety of colors. Can you make it
multi-colored, in the form of any animal, fruit or berry. I decided to knit a classic duck
We collect a chain of 17 CH with yellow yarn (No. 35), close it in a ring and knit a kind of pipe in a spiral. We fill in the process. Periodically try on the waist of our puff to the desired length and connect the circle. I got the detail about 28-29 cm
Now we will knit the head of the duckling. Let’s start with the beak. We take orange yarn (No. 77)
We collect a chain of 5 CH, we knit from the second loop from the hook:
1 row: 4 SC on the first side and 4 SC on the second side of the chain = 8
2-3 rows: 8 SC
Fasten the thread and cut.
For the head we take yellow (No. 35)
1 row: 6 SC in MR
2 row: 6 İNC = 12
3 row: (1 SC, İNC) * 6 = 18
4 row: (2 SC, İNC) * 6 = 24
5 row: (3 SC, İNC) * 6 = 30
6-9 rows: 30 SC
In the next row, we begin to knit a beak.
10 row: 13 SC, 5 SC with beak,
12 sc = 30
11 row: 13 SC, 5 on the remaining loops
beak, 12 SC = 30
12 row: 30 SC
13 row: (3 SC, DEC) * 6 = 24
14 row: 12 DEC = 12
15 row: 6 DEC = 6
We cut the thread, leaving a segment for sewing, close the hole.
We embroider or glue eyes and sew the head to the circle.
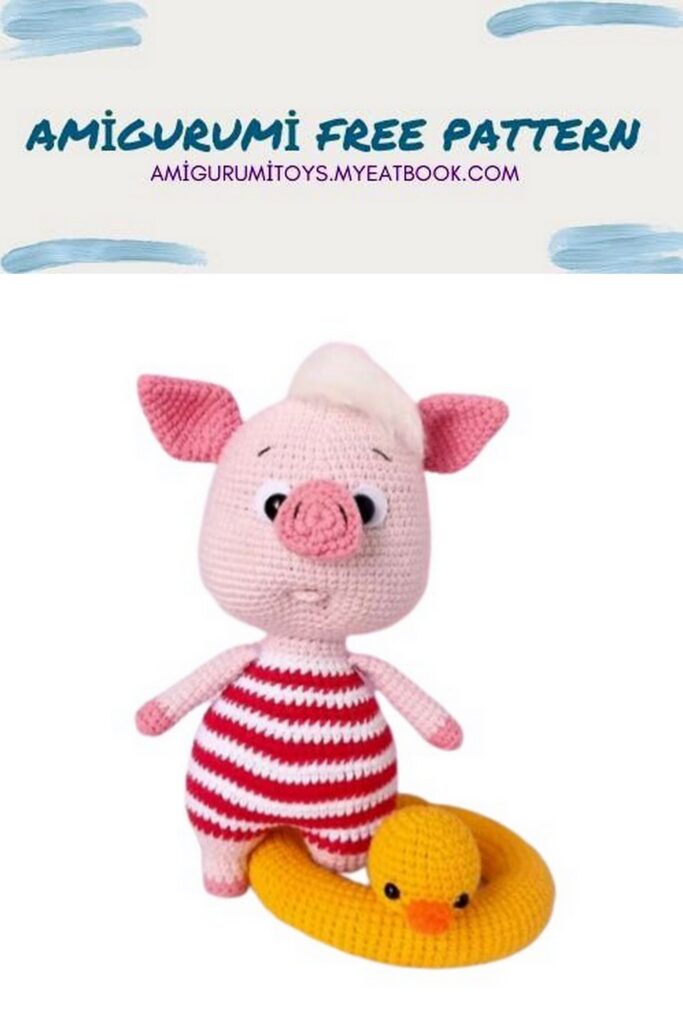
All! Your Sugar is ready to go to the beach!
I sincerely hope that you enjoyed both the process and the result.