Amigurumi Dress Grizzly Bear Free Patter
Amigurumi Dress Grizzly Bear Free Patter
At the beginning of the row, use a marker or thread of a different color.
Materials:
1. Yarn – Alize Cotton Gold (brown about 70 g, purple, light green, white, milky).
2. For the face – Yarnart Baby.
3. Eyes – 10 mm, plastic nose (optional, you can embroider).
4. Thick cardboard for insoles.
5. Threads floss (for embroidering eyebrows, muzzles).
6. Beads – 2 pcs (for lace decoration).
7. Holofiber, glue, scissors, stitching needle, well and of course the hook (in my case 1.5 mm)
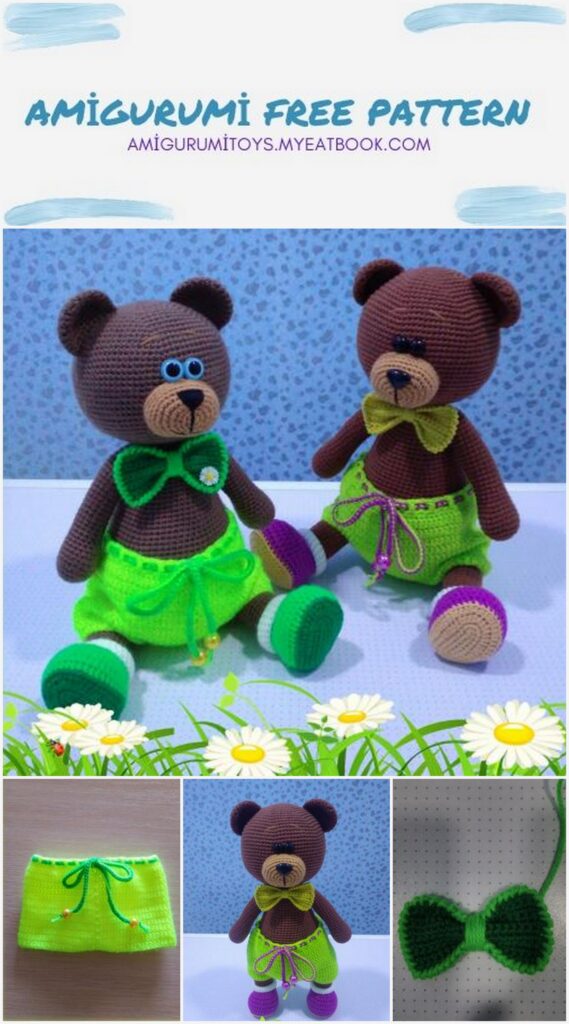
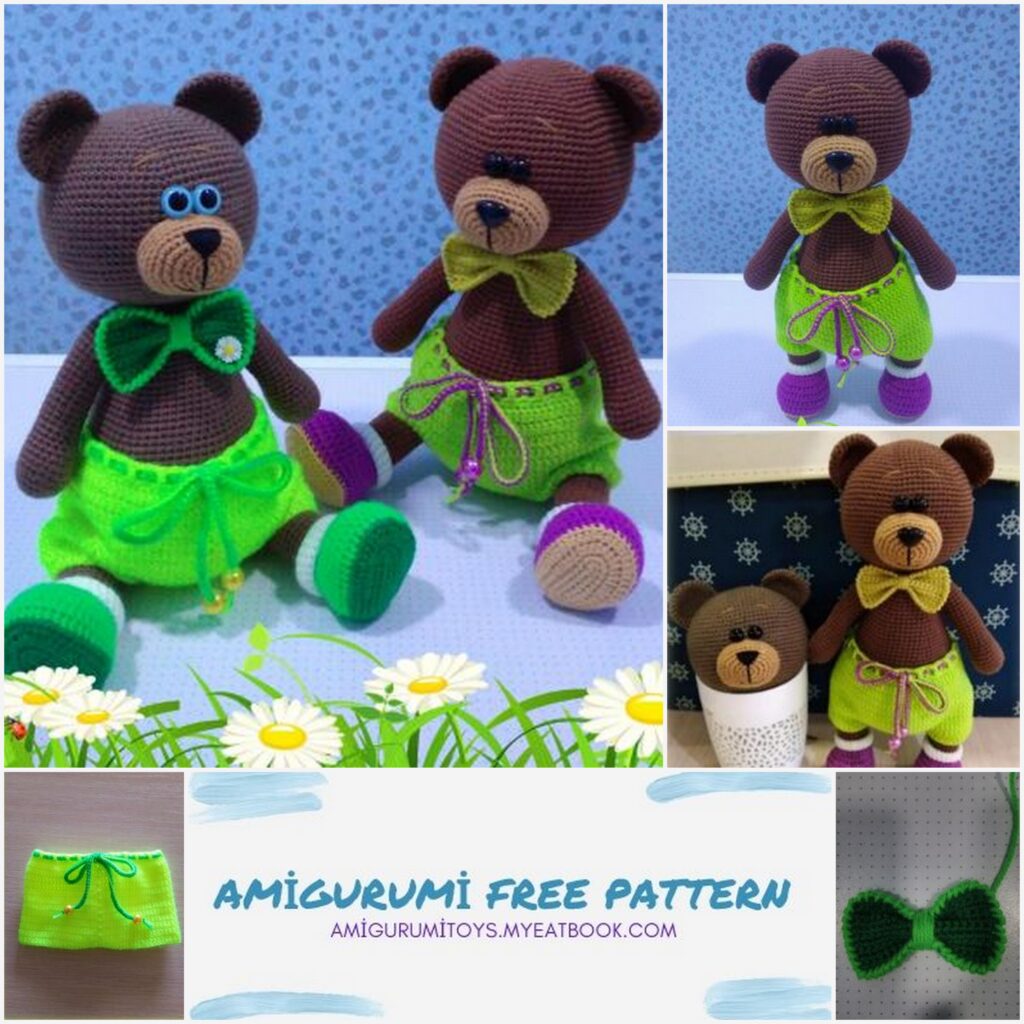
With my materials, the height of the toy is 30 cm.
The second bear was tied using Pekhorka yarn
Children’s novelty (the height of the toy is 27 cm, hook 1.25 mm).
Legend:
MR – amigurumi ring
İnc – increase
Dec – decrease
Sc – single crochet
Hdc – half double crochet
Dc – double crochet
Sl-st – connecting post
Ch – air loop
Head
1.6 Sc in MR
2.6 İnc (12)
3. (1 Sc, İnc) × 6 (18)
4. (2 Sc, İnc) × 6 (24)
5. (3 Sc, İnc) × 6 (30)
6. (4 Sc, İnc) × 6 (36)
7. (5 Sc, İnc) × 6 (42)
8. (6 Sc, İnc) × 6 (48)
9. (7 Sc, İnc) × 6 (54)
10. (8 Sc, İnc) × 6 (60)
11. (9 Sc, İnc) × 6 (66)
12. (10 Sc, İnc) × 6 (72)
13. (11 Sc, İnc) × 6 (78)
14.78 Sc
15. (12 Sc, İnc) × 6 (84)
16-27. (12 rows) 84 Sc
Who has eyes on the secure mount, insert between
18-19 rows
28. (12 Sc, Dec) × 6 (78)
29. (11 Sc, Dec) × 6 (72)
30. (10 Sc, Dec) × 6 (66)
31. (9 Sc, Dec) × 6 (60)
32. (8 Sc, Dec) × 6 (54)
33. (7 Sc, Dec) × 6 (48)
34. (6 Sc, Dec) × 6 (42)
35. (5 Sc, Dec) × 6 (36)
36. (4 Sc, Dec) × 6 (30)
37. (3 Sc, Dec) × 6 (24)
We fix the thread, leave the long end of the thread for sewing (if you sew the head with a thread from the body, then you can hide the thread). We stuff our head tight.
Muzzle.
1.6 Sc in MR
2.6 İnc (12)
3.4 Sc, 2 İnc, 4 Sc, 2 İnc (16)
4.4 Sc, 4 İnc, 4 Sc, 4 İnc (24)
5.6 Sc, (1 Sc, İnc) × 3, 6 Sc, (1 Sc, İnc) × 3 (30)
6.6 Sc, (2 Sc, İnc) × 3, 6 Sc, (2 Sc, İnc) × 3 (36)
7-9. (3 rows) 36 Sc
We fix the thread with a connecting post, leave the long end of the thread for sewing. Sew the muzzle from the 21-30th row.
Ears.
1.6 Sc in MR
2.6 İnc (12)
3. (1 Sc, İnc) × 6 (18)
4. (2 Sc, İnc) × 6 (24)
5. (3 Sc, İnc) × 6 (30)
6-8 (3 rows) 30 Sc
9. (3 Sc, Dec) × 6 (24)
Fold in the eyelet, close both edges 11 Sc, leave the thread for sewing.
Sew on the ears from the 7-16th row (I also take MR into account for the row) We glue the eyes, embroider the eyebrows, the nose (or ready-made with glue).
When embroidering, I use floss thread (4 strands), you can use a different thread as you see fit.
Pens.
1.6 Sc a MR
2.6 İnc (12)
3. (1 Sc, İnc) × 6 (18)
4. (2 Sc, İnc) × 6 (24)
5-7. (3 rows) 24 Sc
8. (10 Sc, Dec) × 2 (22)
9. (9 Sc, Dec) × 2 (20)
10. (8 Sc, Dec) × 2 (18)
11. (7 Sc, Dec) × 2 (16)
12-31. (20 rows) 16 Sc
We fill the handle while knitting, the last 4-5 rows are not we stuff.
Knit 4 offset stitches, close handle 7 Sc. We will knit the handles.
Legs.
We start knitting with the color of the sole
1.We collect a chain of 10 air loops, with 2 loops from crochet 8 Sc, 3 Sc in one loop, on the other side of the chain 7 Sc, İnc (20)
2. İnc, 7 Sc, 3 İnc, 7 Sc, 2 İnc (26)
3.1 Sc, İnc, 3 Sc, (Hdc, İnc Hdc) × 7 times, 4 Sc, İnc, 1 Sc, İnc (36)
4.2 Sc, İnc, 9 Hdc, (İnc Hdc, 2 Hdc) × 4, 6 Hdc, 2 Sc, İnc, 2
Sc. It turns out that we did not tie 1 column to the end rows, we move the marker, it should go exactly along the middle. Cut out the insoles along the foot.
Change the thread to the color of the boot.
5. Knit by the back wall of loops 9 Sc, 24 Hdc, 9 Sc (42)
6-8. (3 rows) 9 Sc, 24 Hdc, 9 Sc (42)
9.9 Sc, (2 Hdc, Dec Hdc) × 6 times, 9 Sc (36)
10.9 Sc, 18 Hdc, 9 Sc (36)
Insert the insole
11.9 Sc, (Dec, 1 Sc) × 6.9 Sc (30)
12.3 Sc, Dec, 4 Sc, (Dec) × 6 times, 4 Sc, Dec, 3 Sc (22)
13. Attach the thread of the color of the bear and knit for the back hinge wall 22 Sc We fill our shoe tightly, while knitting the leg we fill to the end
14-31. (18 rows) 22 Sc
32. Dec, 20 Sc (21)
33. (5 Sc, Dec) × 3 (18)
34. (1 Sc, Dec) × 6 (12)
35.6 Dec
Pull off the remaining loops, hide the thread.
We knit a sock from the bottom up. Knit not too tight to then you could easily twist our sock. We attach white thread to the left half-loops of the 13th row
1.6 Sc, İnc, 7 Sc, İnc, 6 Sc, İnc (25)
2-6. (5 rows) 25 Sc.
We fix the thread with a connecting post, hide the thread, We turn out the sock.
Body.
1.6 Sc in MR
2.6 İnc (12)
3. (1 Sc, İnc) × 6 (18)
4. (2 Sc, İnc) × 6 (24)
5. (3 Sc, İnc) × 6 (30)
6. (4 Sc, İnc) × 6 (36)
7. (5 Sc, İnc) × 6 (42)
8. (6 Sc, İnc) × 6 (48)
9. (7 Sc, İnc) × 6 (54)
10. (8 Sc, İnc) × 6 (60)
11. (9 Sc, İnc) × 6 (66)
12. (10 Sc, İnc) × 6 (72)
13. (11 Sc, İnc) × 6 (78)
14-24. (11 rows) 78 Sc
25. (11 Sc, Dec) × 6 (72)
26-28. 72 Sc
29. (10 Sc, Dec) × 6 (66)
30-32. 66 Sc
33. (9 Sc, Dec) × 6 (60)
34-35. 60 Sc
36. (8 Sc, Dec) × 6 (54)
In the course of knitting, we stuff the body.
37-38. 54 Sc
39. (7 Sc, Dec) × 6 (48)
40-41. 48 Sc
42. (6 Sc, Dec) × 6 (42)
43-44. 42 Sc
45. (5 Sc, Dec) × 6 (36)
46-47. 36 Sc
48. (4 Sc, Dec) × 6 (30)
49-50. 30 Sc
51. (3 Sc, Dec) × 6 (24)
In row 52 we knit handles (I knitted 3 loops offsets, centered the marker, and thenunderstood that it doesn’t affect anything anyway, so you can and do not knit offset loops.
52.2 Sc, 7 Sc along the loops of the arm and body together, 6 Sc, 7 Sc
on the loops of the second arm and body together, 2 Sc (24)
53-54. 24 Sc
We fix the thread with a connecting post, leave the long end of the thread for sewing.
To attach the legs, we need a long needle, thread we take in 2 additions (I use the same thread, which knitted a bear), you can take the thread stronger for reliability.
We fasten the legs at the level of 14-15 rows of the body, from the top of the leg 5-6 rows recede, mark all with needles.
The legs can be fastened through piercing, or only for the inside of the leg (I have 2 bears each legs are attached differently)
We take the first leg, insert the needle from the inside, leaving the end of the thread so that later you can to tie a knot. We bring the needle with thread to the outside legs, retreat 1-2 columns, insert the needle back, connect to the body, bring the needle to the opposite side of the body.
We do the same with the second leg, then we connect to the body, bring the needle to the other side body, where we have left the tip of the thread.
We pull up well legs, tighten it tighter so that our legs are not strongly poked at the sides and tie with several knots, cut off the thread, hide the tips inside the toy. So can be repeated 2 times for strength.
Shorts.
Who wants to tie with a ponytail, then the seam on the shorts will be in front, without a ponytail in the back. I will write 2 options. Option 1 (no tail)
We collect a chain of 87 air loops, we close in ring connecting post
1-12. 3 Ch rise, 86 Dc, Sl-st
13.1 Sc, (12 Sc, Dec) × 6, 1 Sc (80)
14. 4 Ch lifts, skip one column (Dc, Ch),
skip one column, (Dc, Ch), skip one column, so to the end.
We fasten the thread with a connecting post.
We turn the shorts inside out, sew the middle in distance of 12 columns.
We knit a lace, we collect a chain of air loops (at I got 55 cm long), you may have less or more, at your discretion.
Option 2 (we knit like the first, except for rows 9-10)
9.3 Ch ups, 40 Dc, 6 Ch, skip 6 columns, 40 Dc, Sl-st.
10.3 Ch ups, 40 Dc, 6 Dc stitches along Ch, 40 Dc, Sl-st.
Tail.
1.6 Sc in MR
2. (1 Sc, İnc) × 3 (9)
3. (2 Sc, İnc) × 3 (12)
4. (3 Sc, İnc) × 3 (15)
5-8. (4 rows) 15 Sc
9. (3 Sc, Dec) × 3 (12)
Do not fill tightly, fold, knit at both edges 5 Sc, leave the end of the thread to be sewn on.
Sew the tail at the level of the 18th row, and preferably with start tie the shorts, try on at what level the tail will be located (for all the density knitting and stuffing is different).
Bow.
We put on a chain of 19 Ch, knit from 2 loops from the hook
1-10.18 Sc, Ch, turn
We tie it with a crustacean step. We fold the bow, middle we wrap with thread, on the seamy side of the thread we fix and sew on it.
Congratulations!
Your Teddy Bear is ready!
