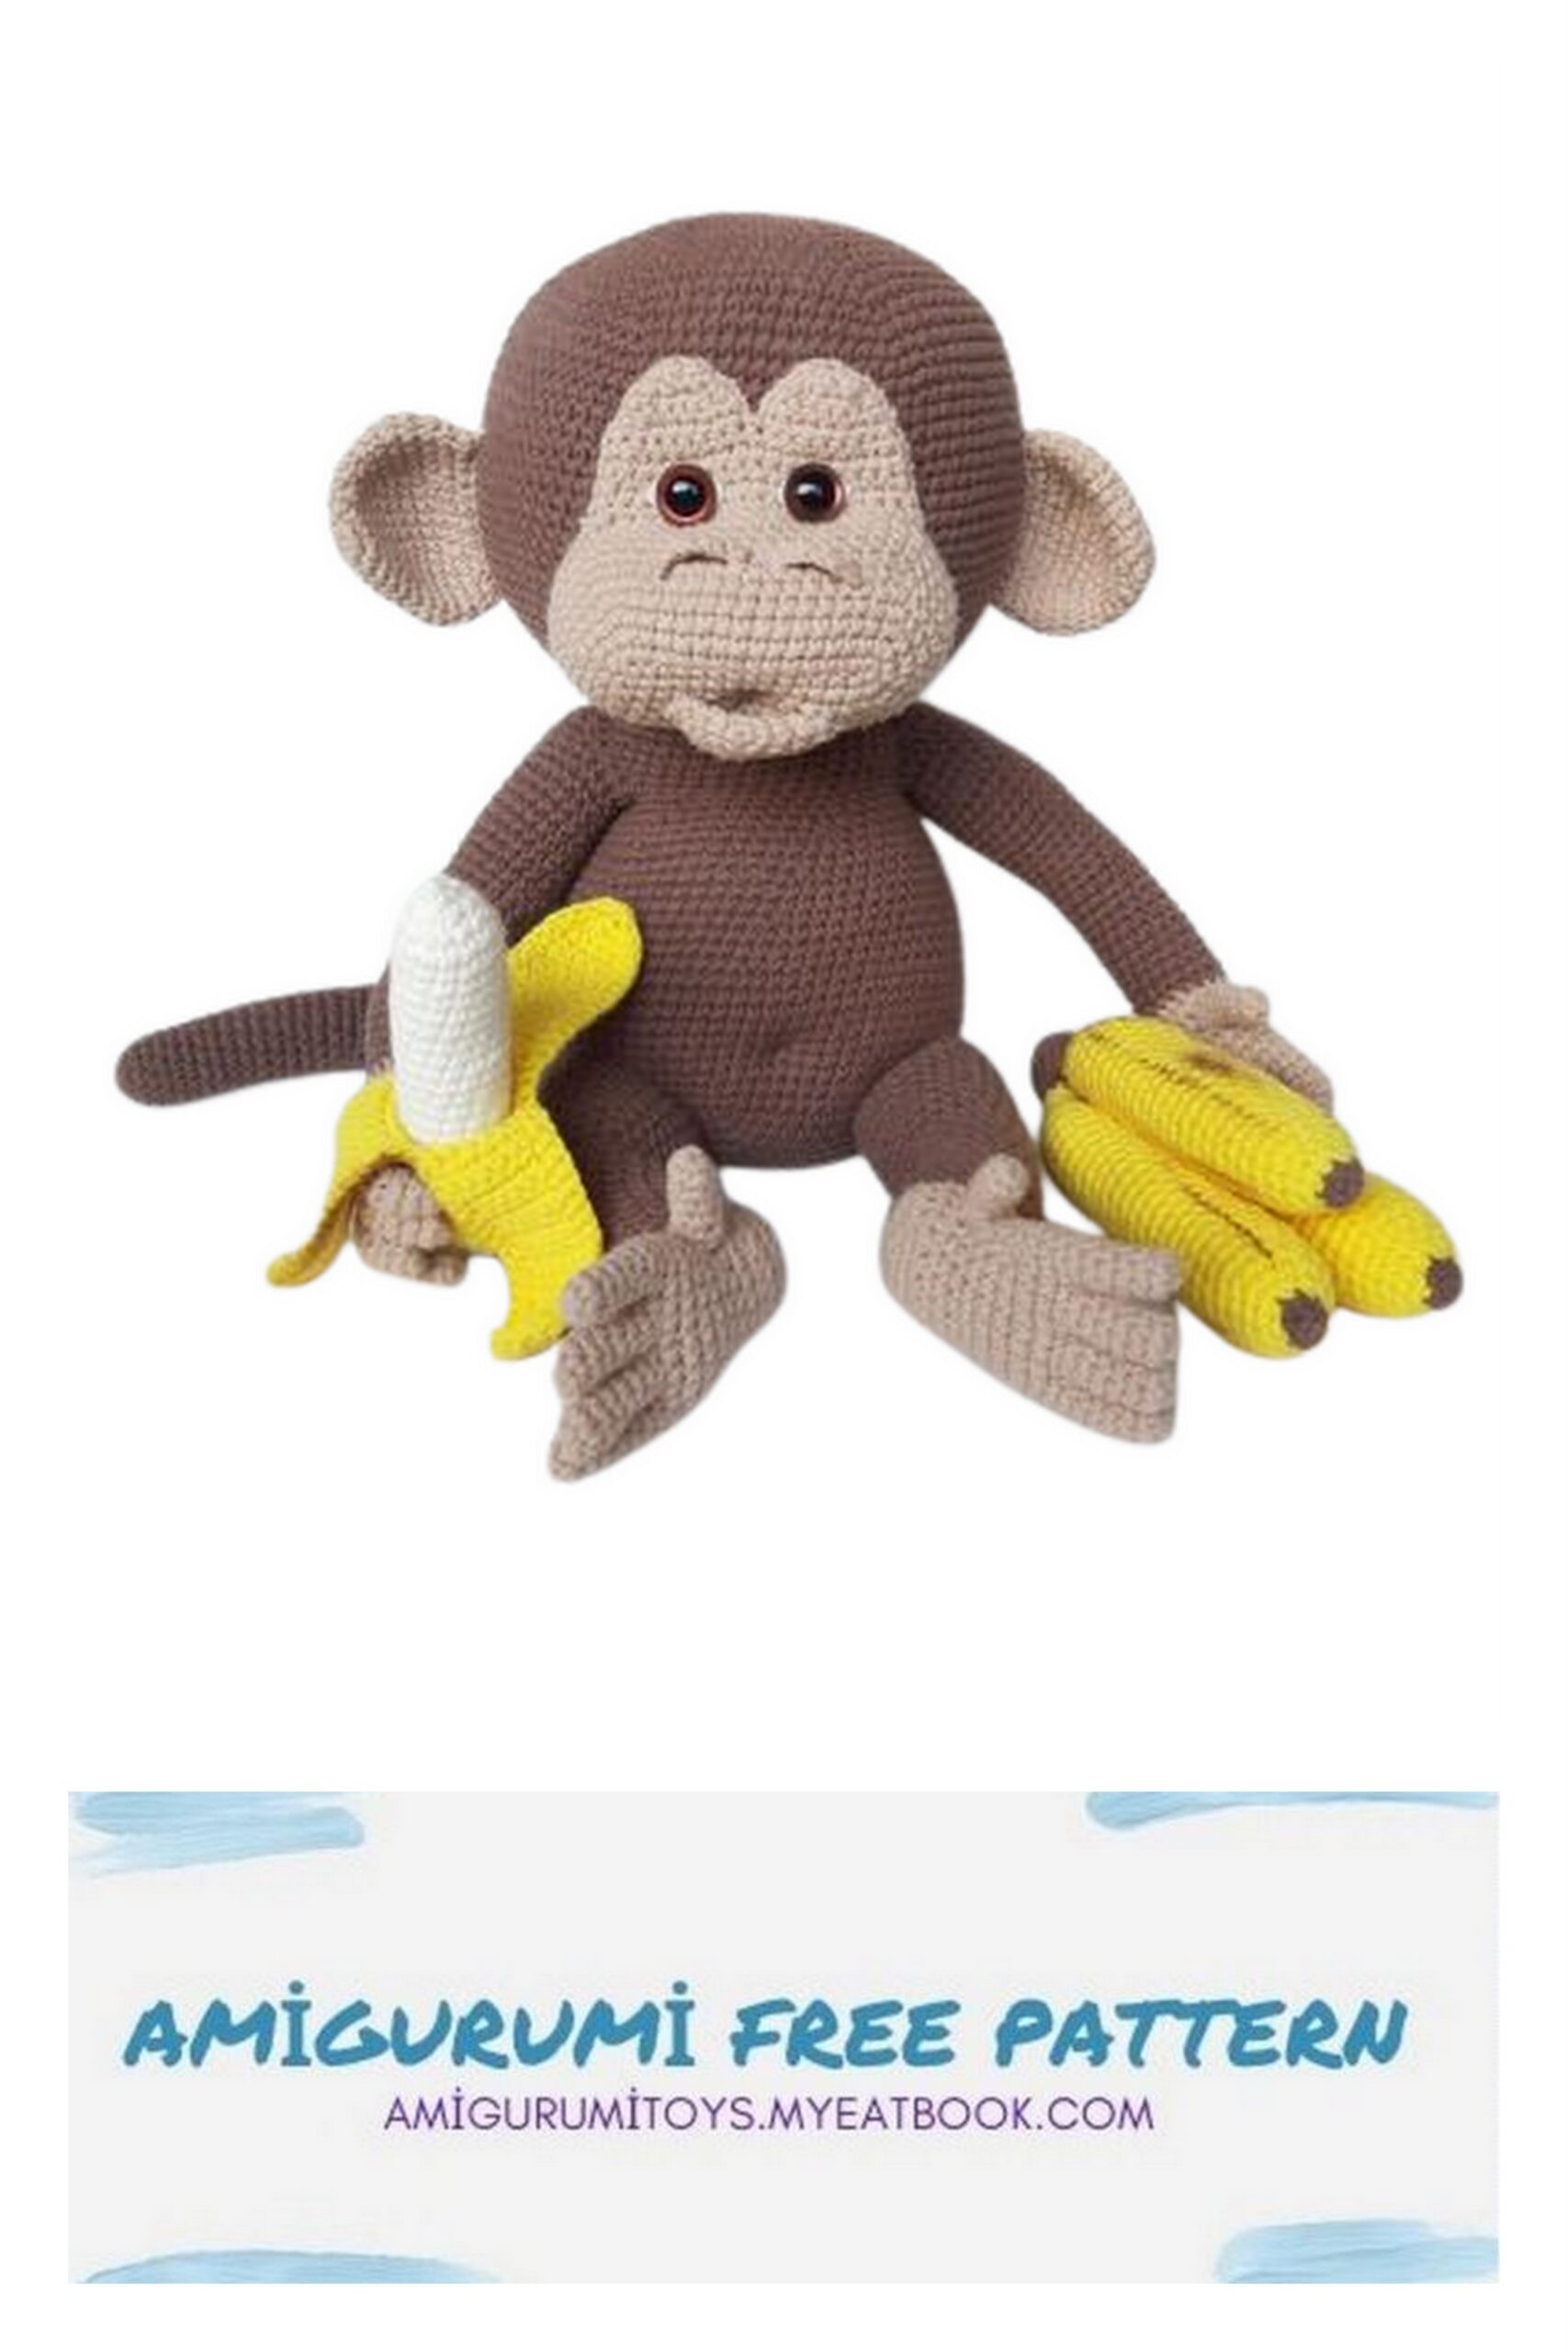
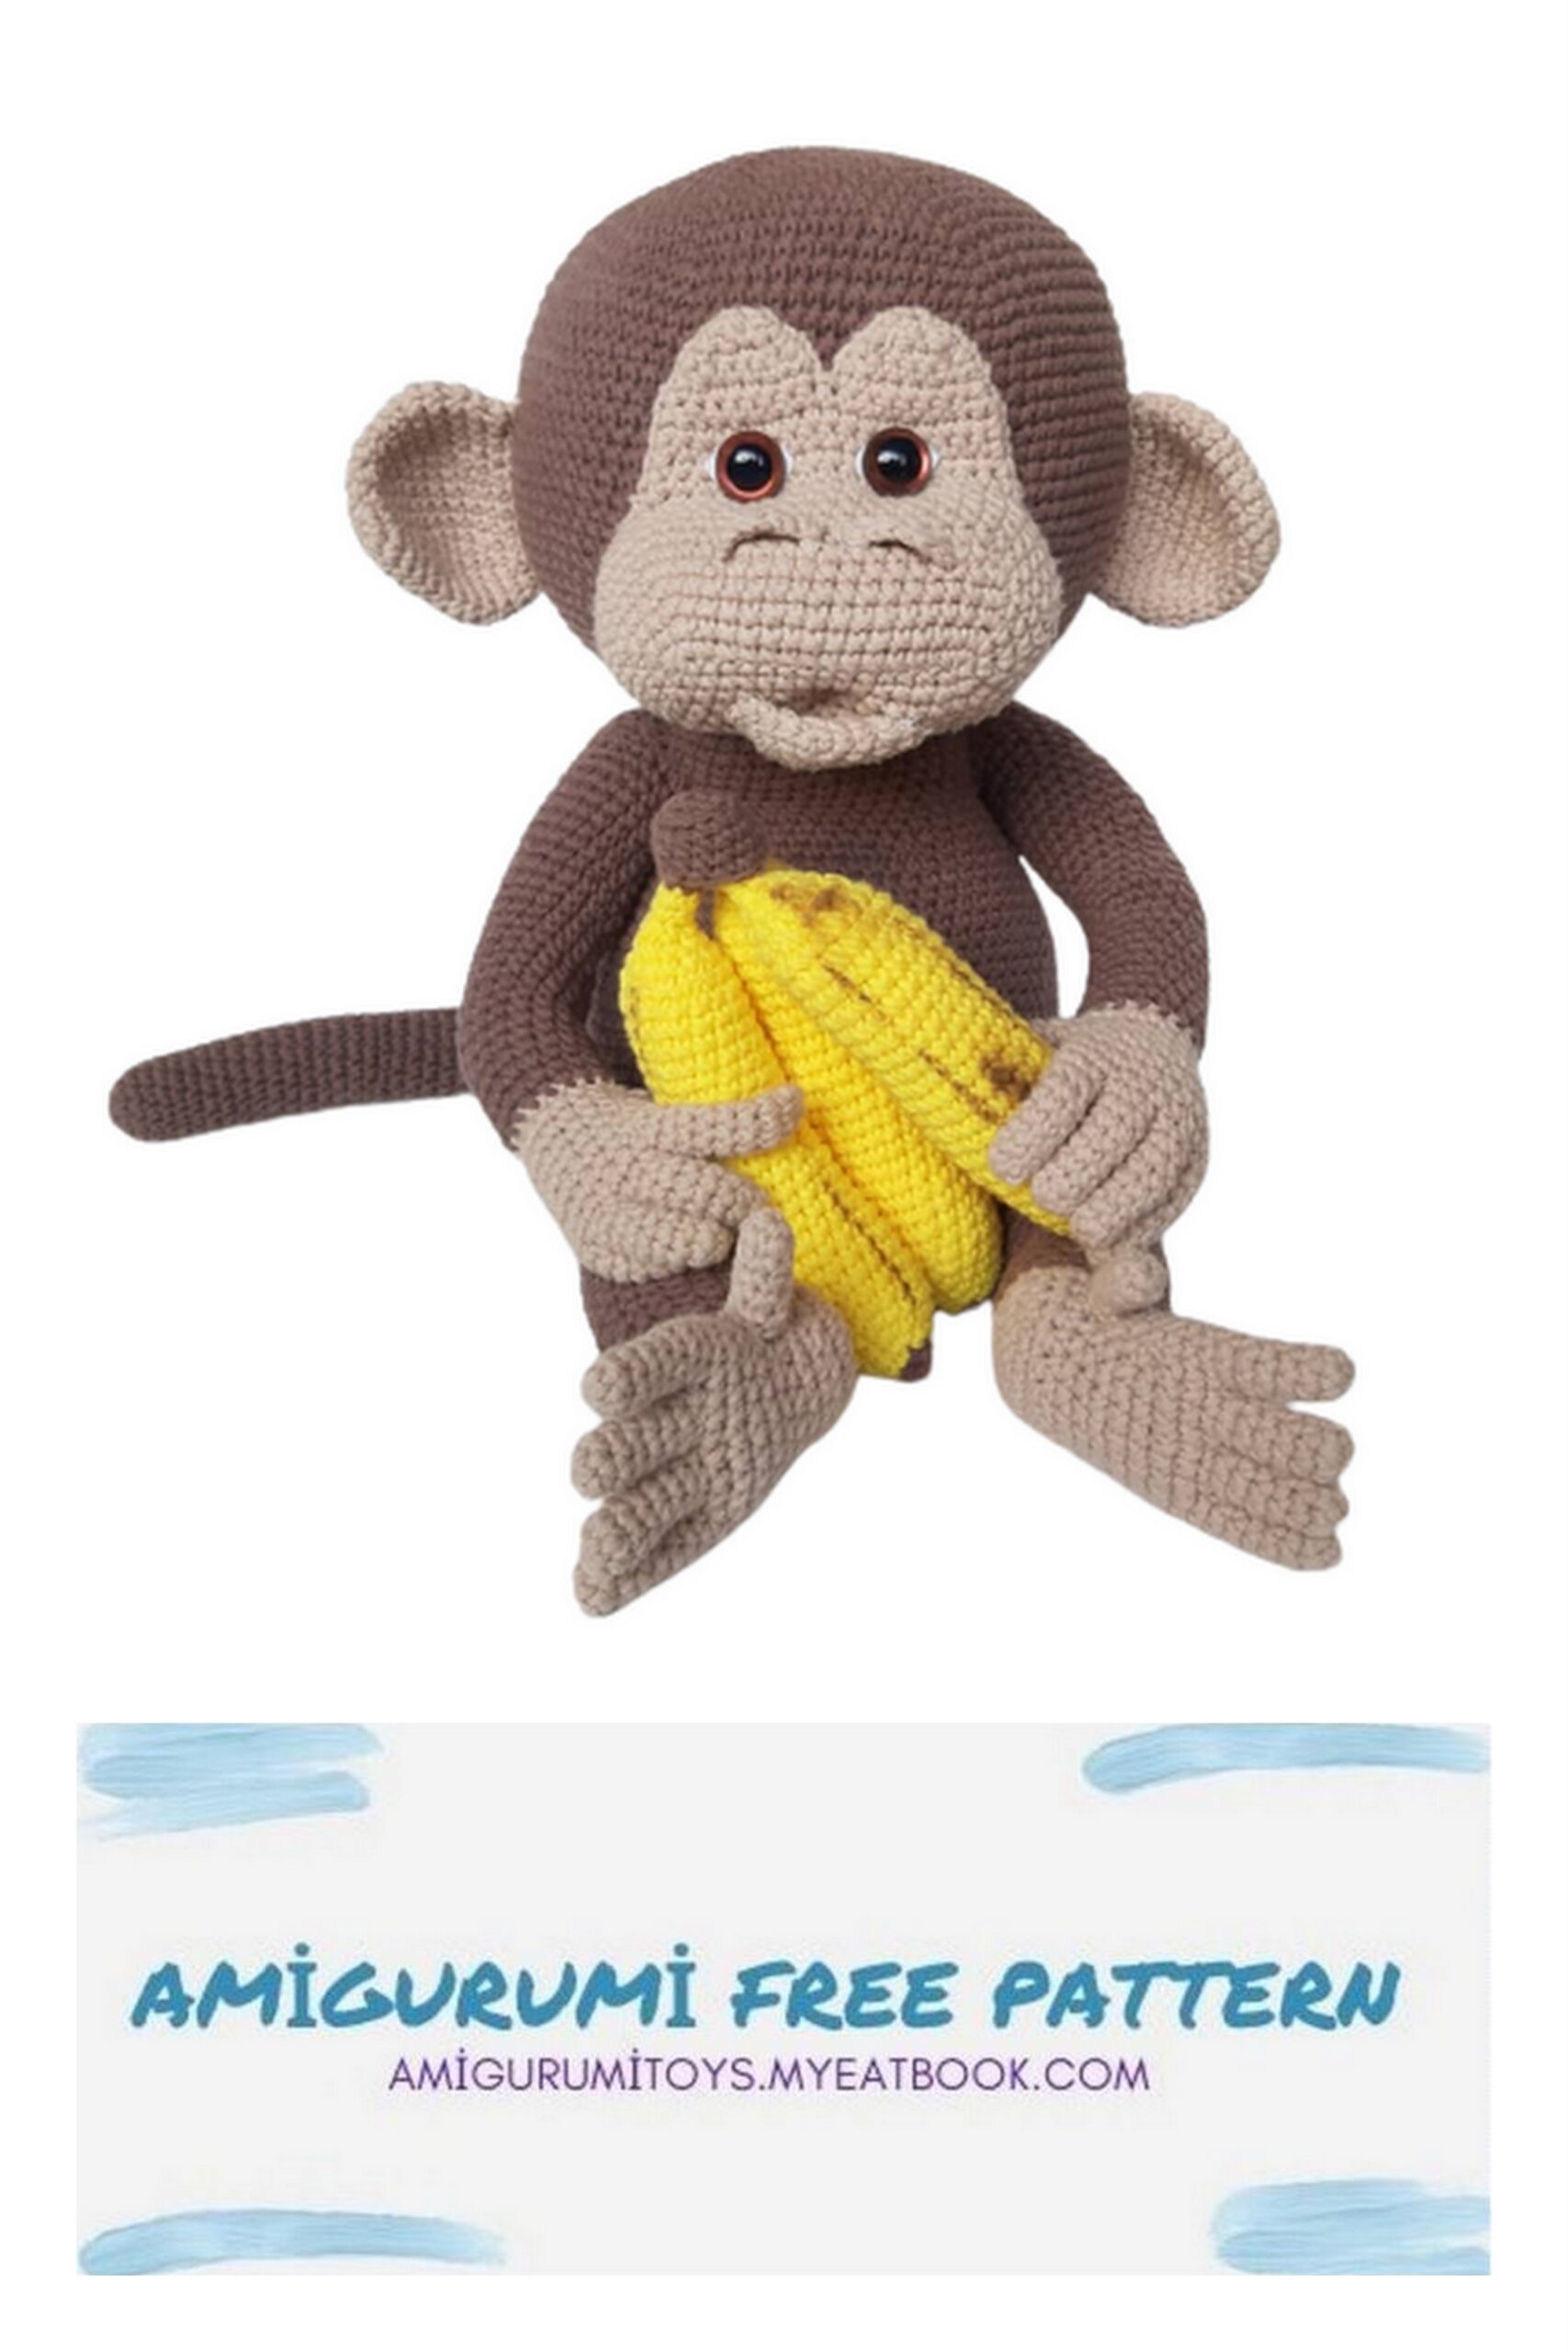
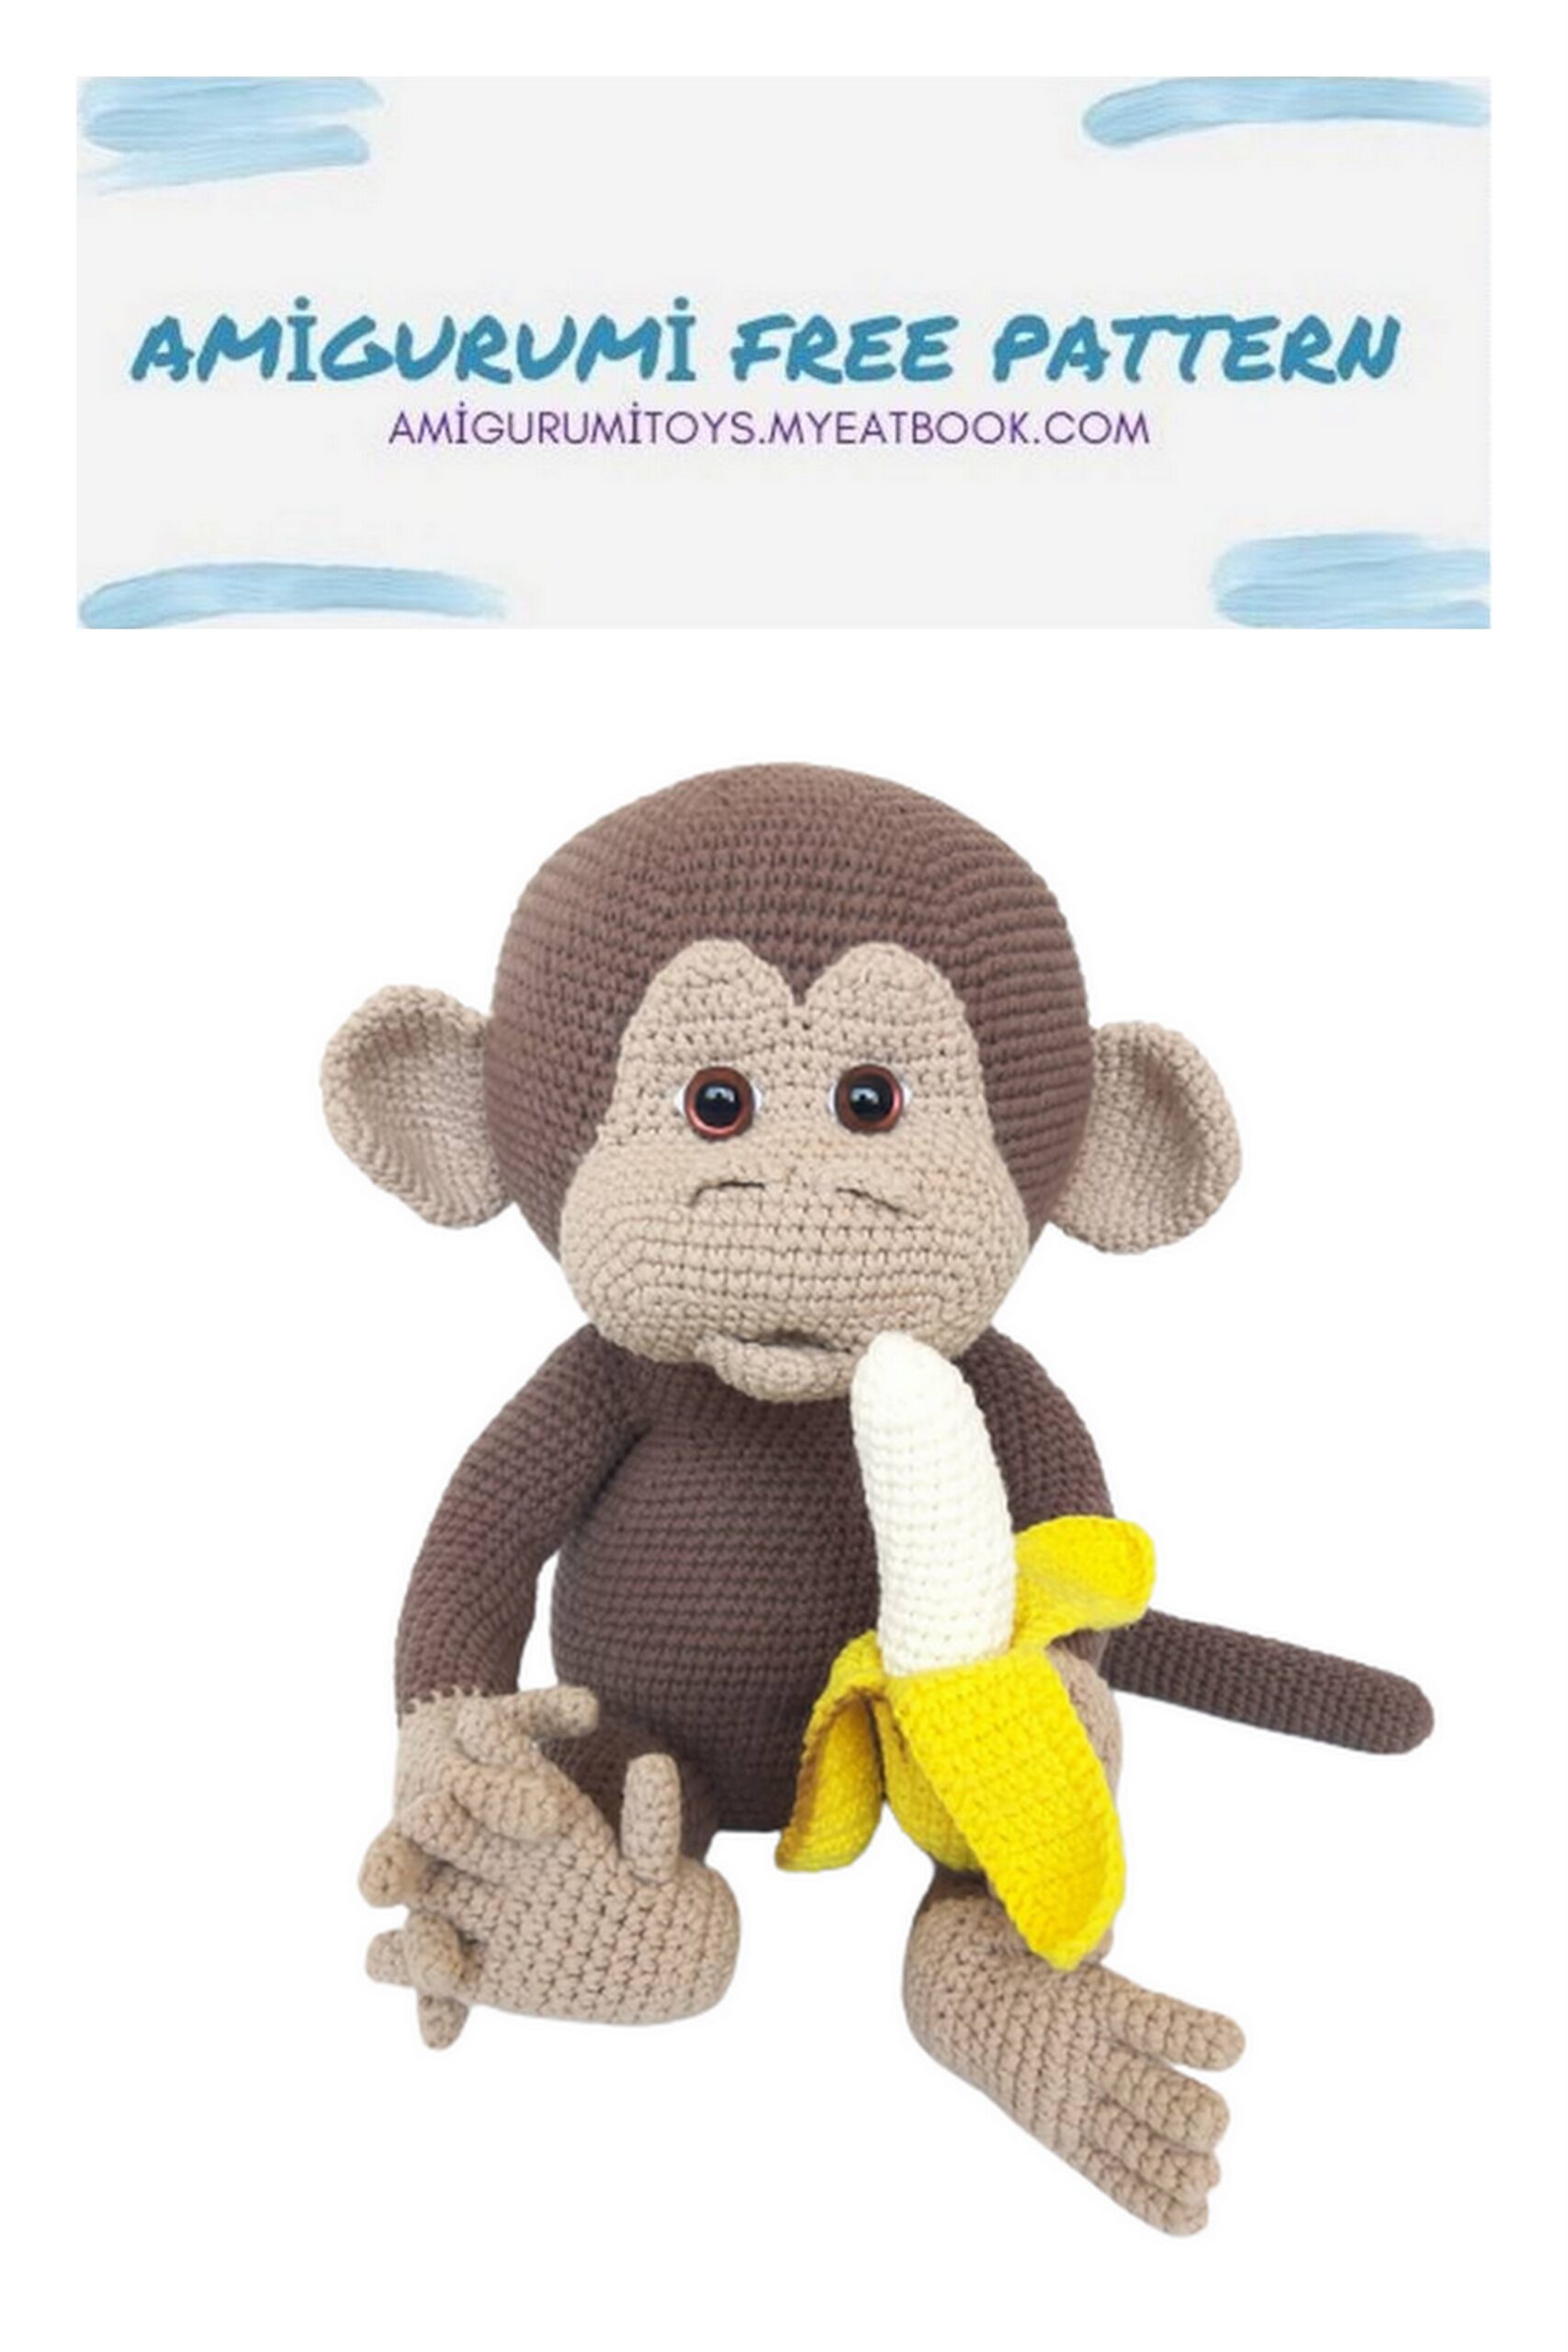
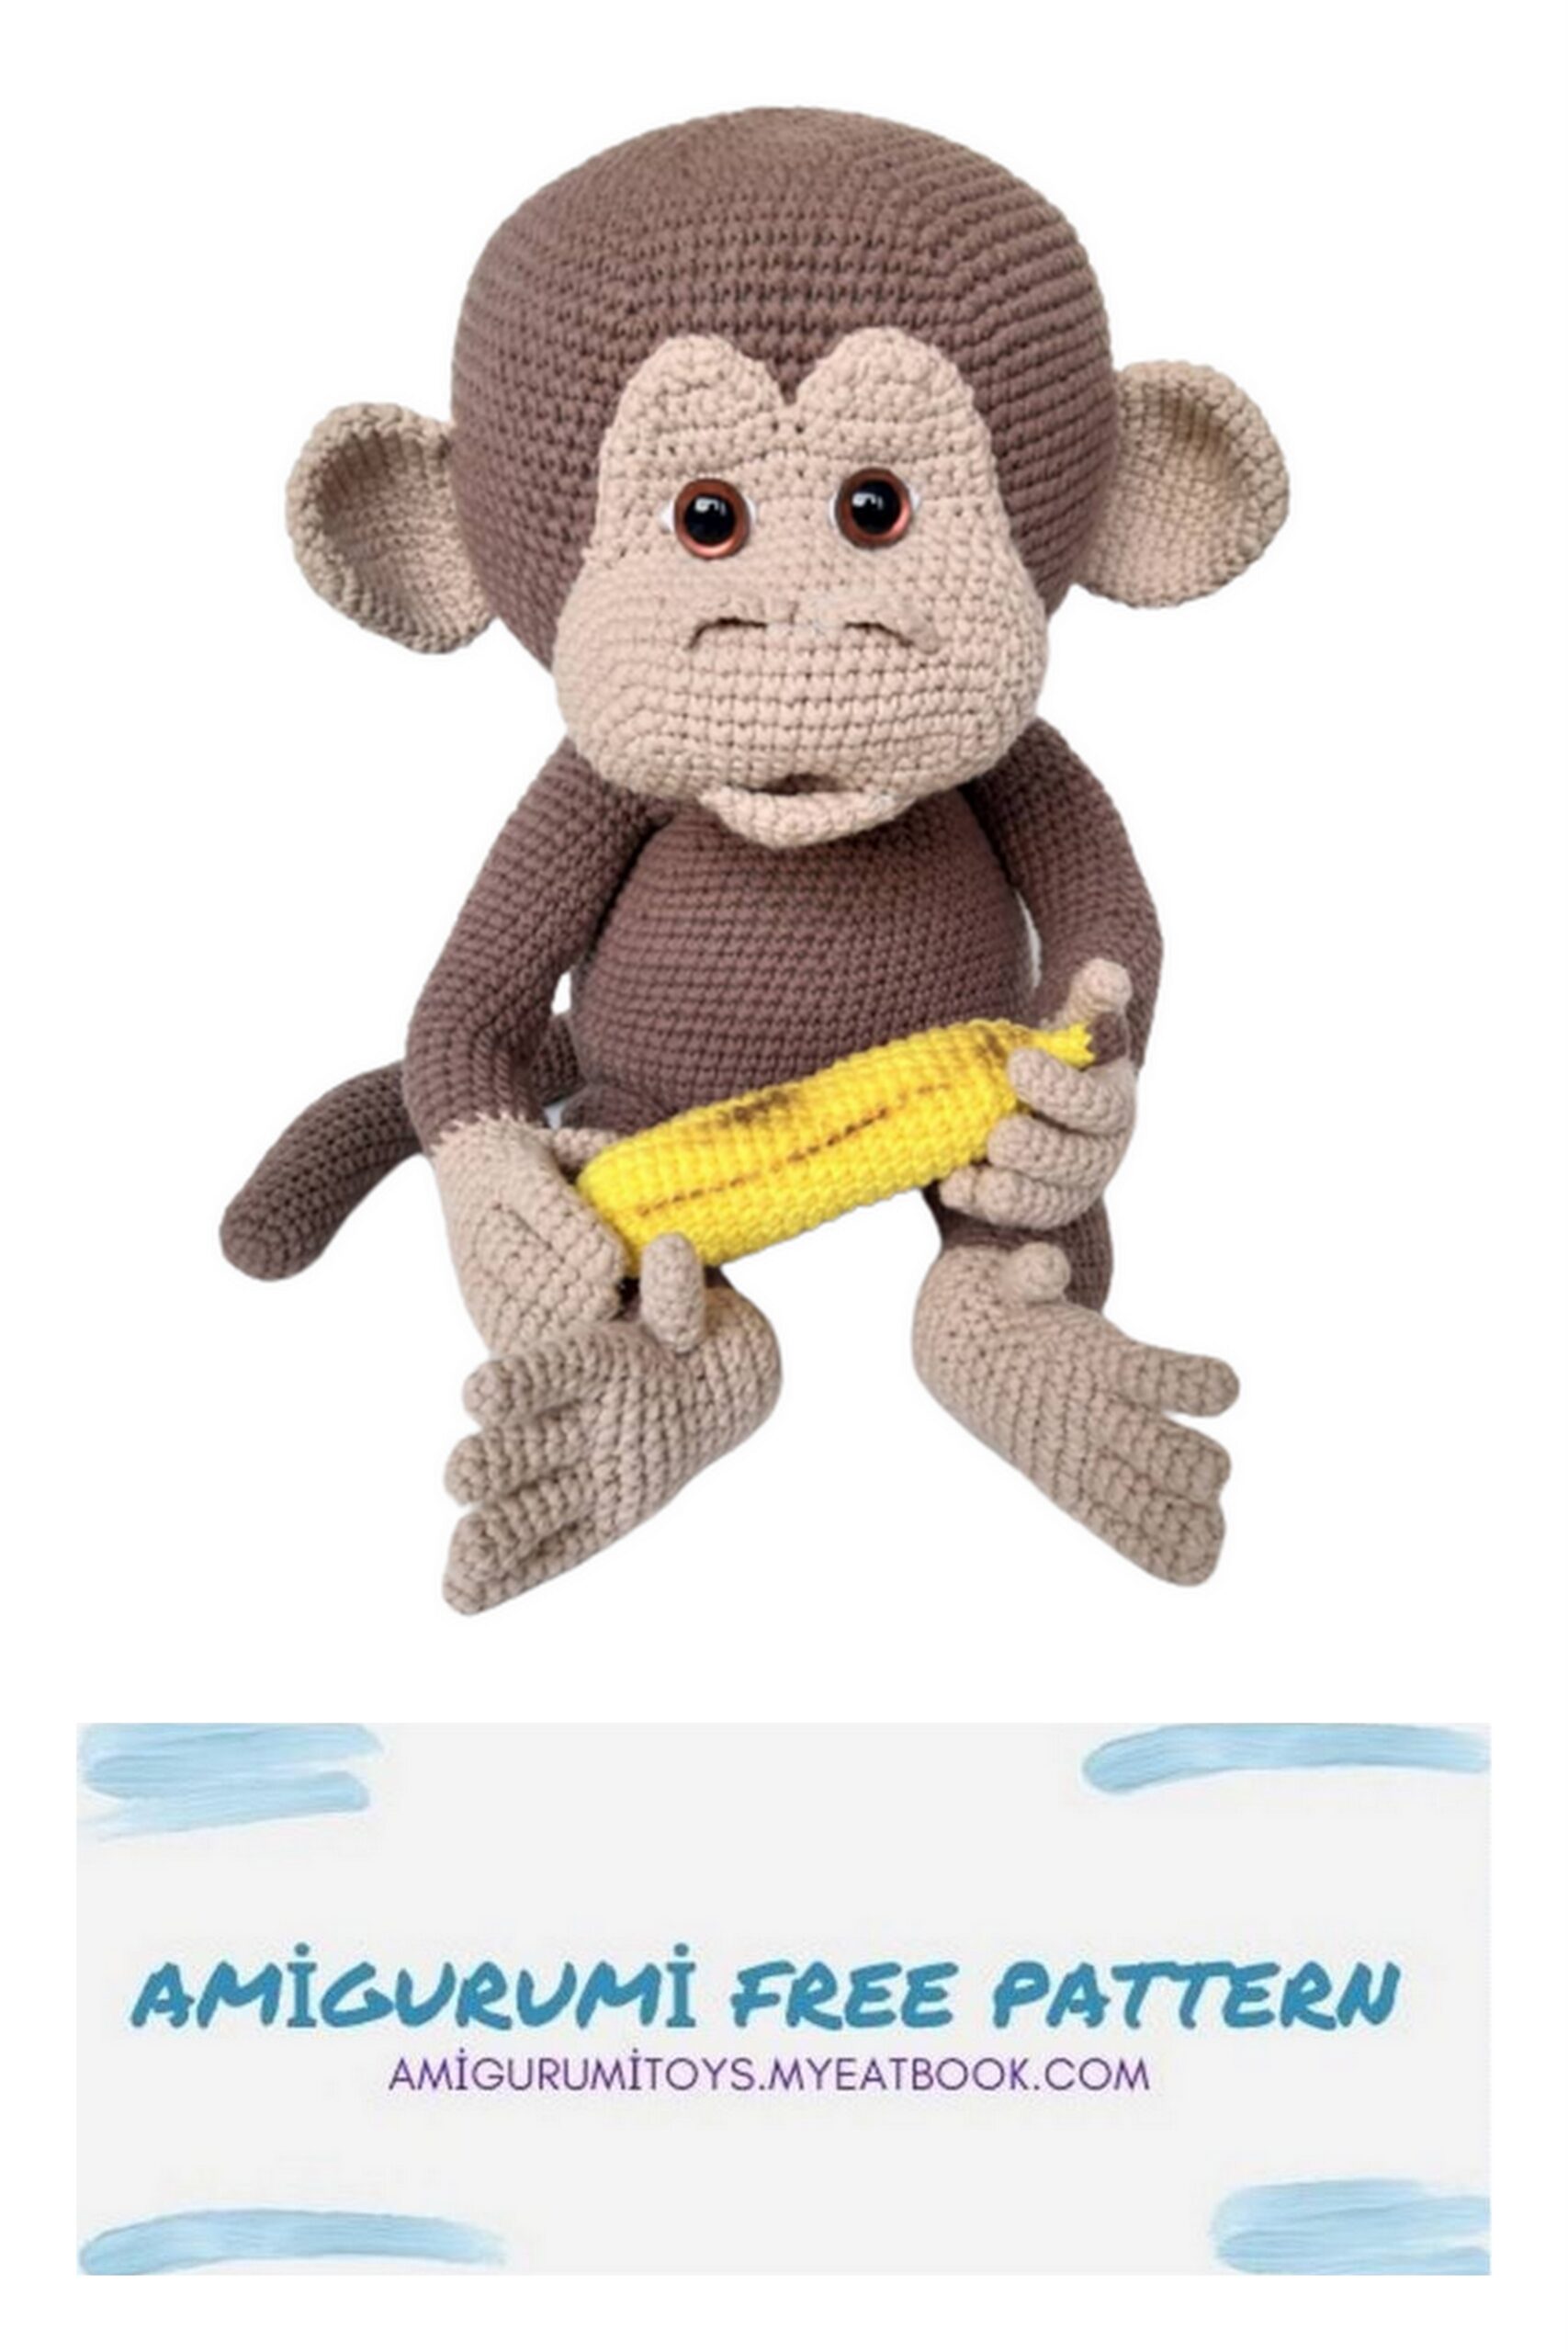
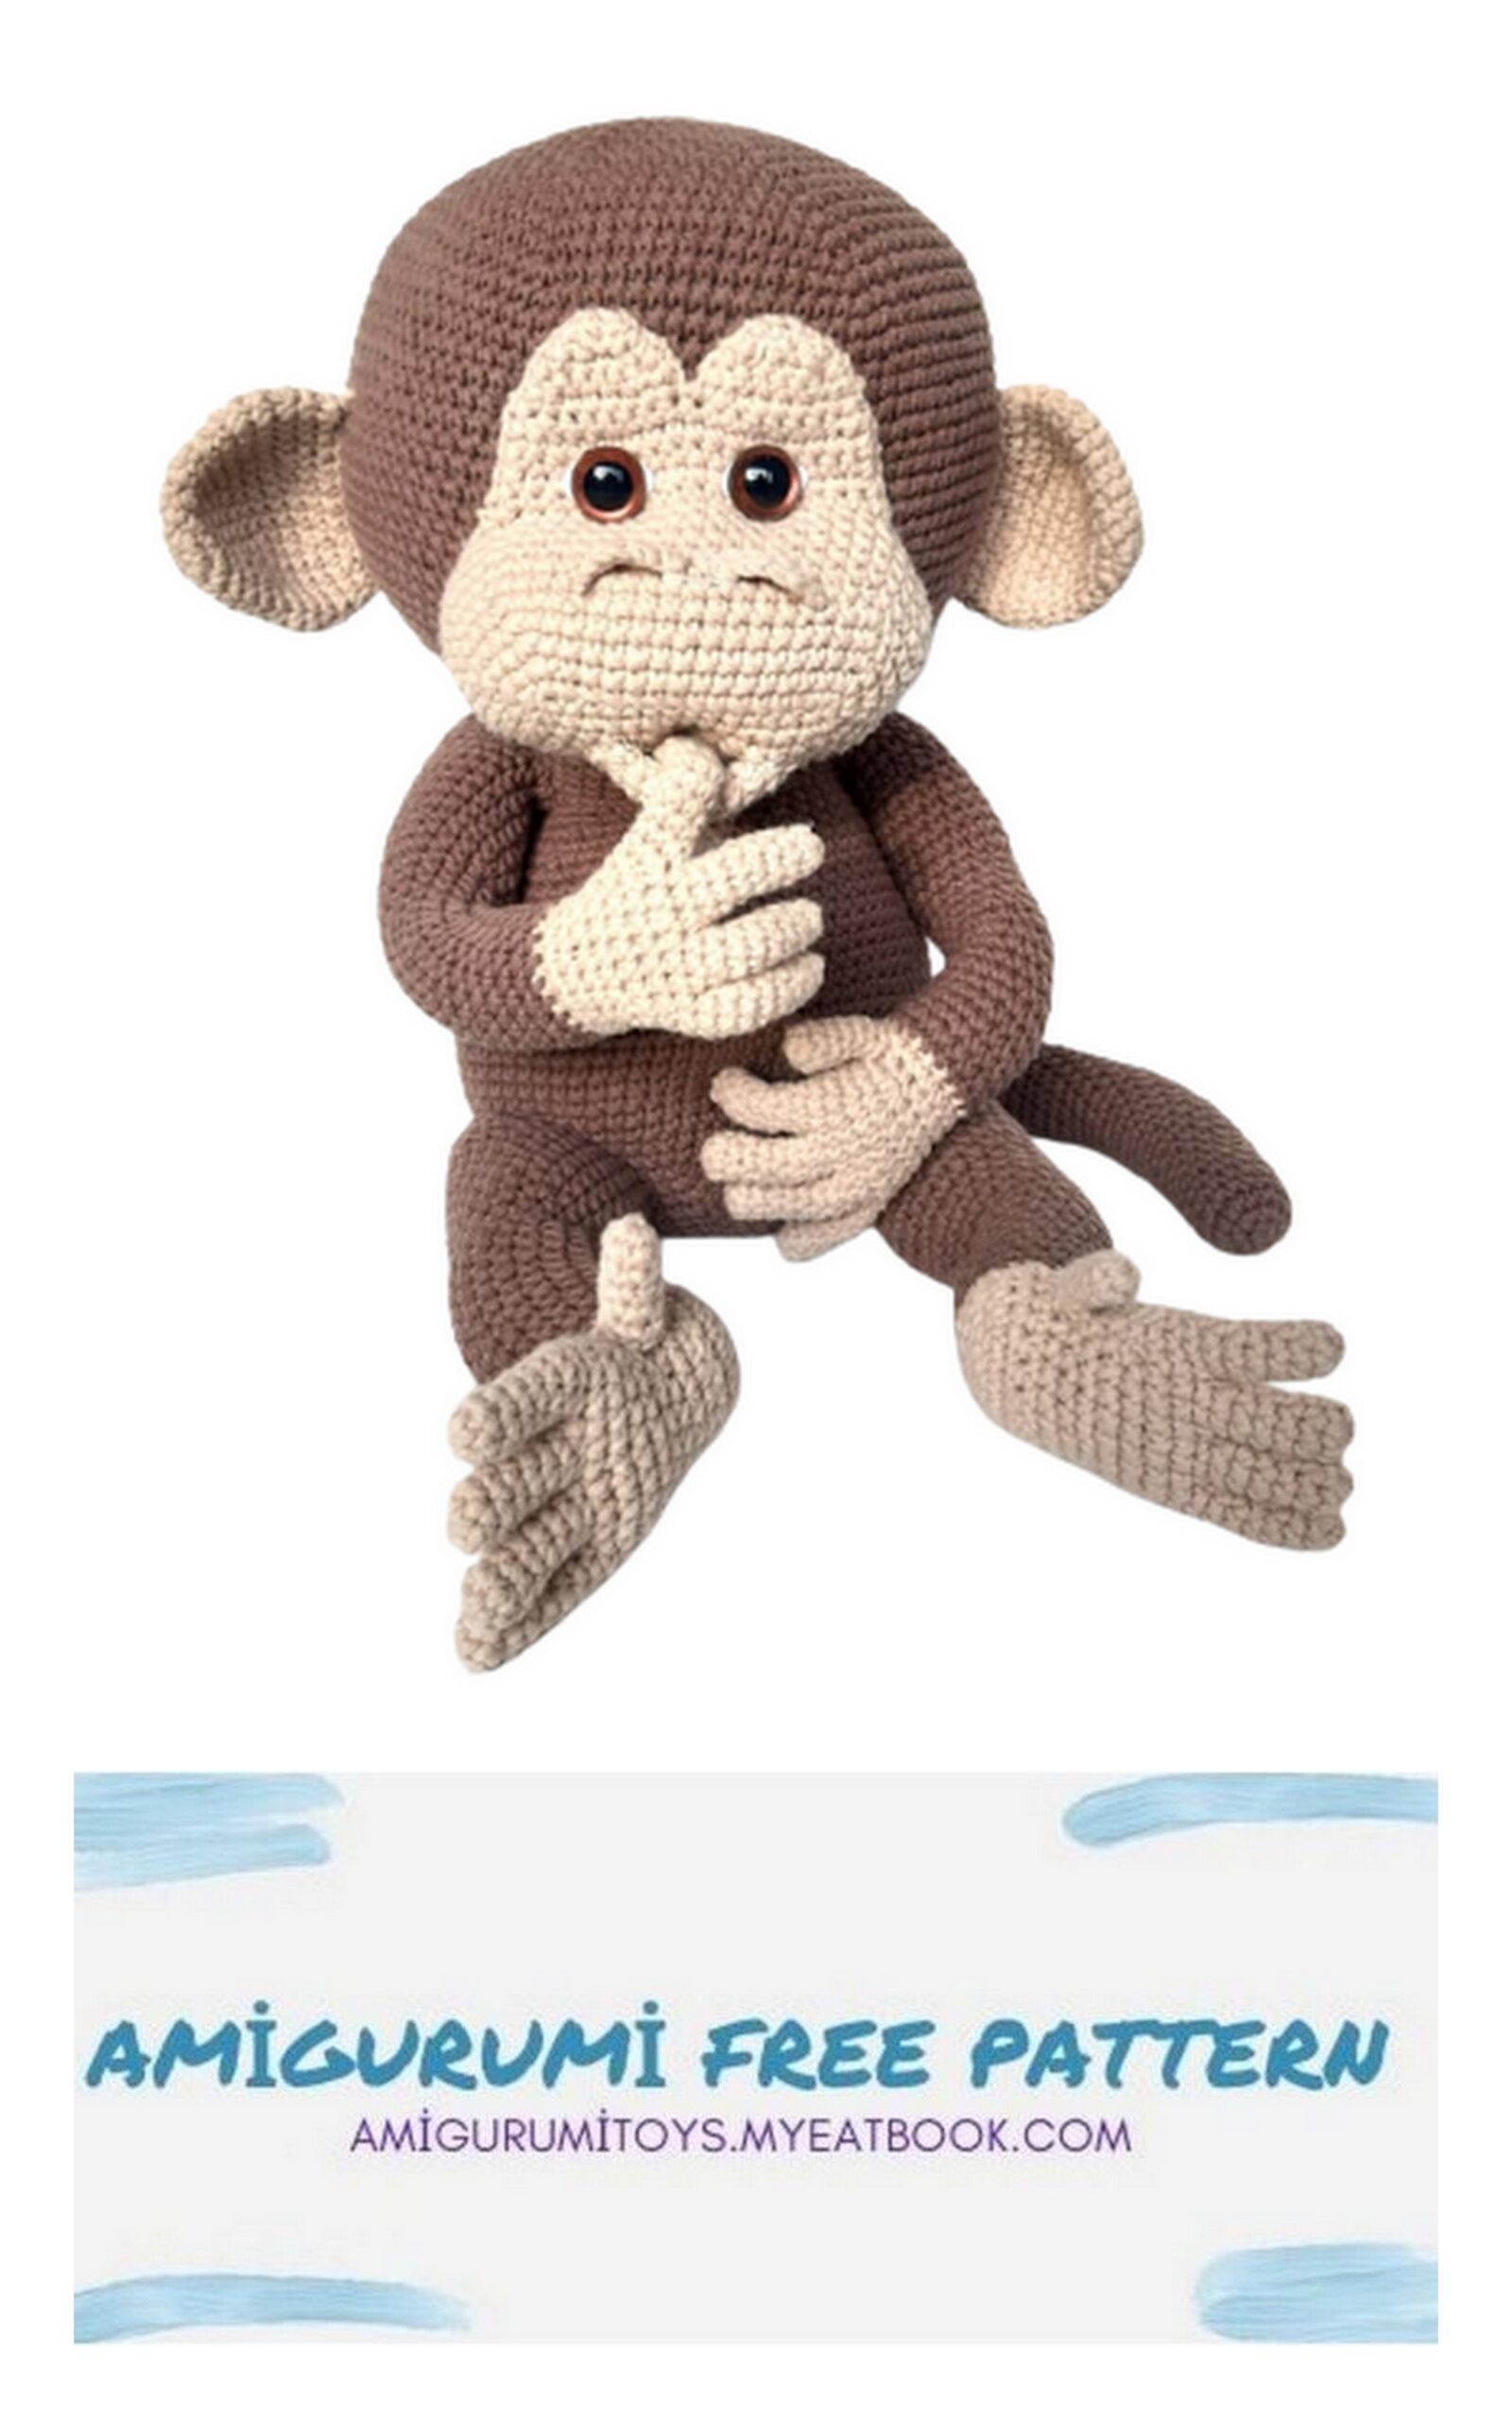
We continue to share the most beautiful and free amigurumi patterns for you. You can visit our website for Amigurumi Monkey Charly Free Pattern and more patterns.
MATERIALS
Gründl King Cotton (LL 78 m/50 g): 7x mocca (04), 3x sand (03),
2x zitrone (10), 1x creme (02)
1 pair bronze 24 mm safety eyes
Fiberfill
Crochet hook 3,5 – 4,0
Stitch marker or sth. similar
Hot glue
Sewing needle, Scissors, pins
5x pipe cleaner (if desired)
2x 20 cm, 2x 30 cm aluminum wire (if desired)
White felt 6 x 3 cm
ABBREVIATIONS (US)
st stitch
ch chain
sc single crochet
sl.st slip stitch
MR magic ring
inc. increase, 2 sc in one stitch
dec. decrease, two stitches together
cc Color change
tch turning chain
t turn
hdc half double crochet
dc double crochet
FLO front loop only
BLO back loop only


WARNINGS
My finished products are only for decoration and are not a toy. They contain small pieces and are not suitable for small children and animals.
With the stated yarn and crochet hook the finished figures are approx. 42 cm tall.
The size also depends on how tight or loose you crochet. If you use another yarn as stated, you have to match the size of your crochet hook accordingly to the yarn size and also the amount of yarn balls, whereby the size can also vary.
HEAD
Crochet in continuous rounds with a 4 mm crochet hook and in mocca.
1. 6 sc in MR (6)
2. 6x inc. (12)
3. [1 sc, 1x inc.] 6x (18)
4. [2 sc, 1x inc.] 6x (24)
5. [3 sc, 1x inc.] 6x (30)
6. [4 sc, 1x inc.] 6x (36)
7. [5 sc, 1x inc.] 6x (42)
8. [6 sc, 1x inc.] 6x (48)
9. [7 sc, 1x inc.] 6x (54)
10. [8 sc, 1x inc.] 6x (60)
11. [9 sc, 1x inc.] 6x (66)
12. [10 sc, 1x inc.] 6x (72)
13. [11 sc, 1x inc.] 6x (78)
14. [12 sc, 1x inc.] 6x (84)
15. [13 sc, 1x inc.] 6x (90)
16. [14 sc, 1x inc.] 6x (96)
17. – 36. 20 rounds with 96 sc (= 1920 in total)
37. [14 sc, 1x dec.] 6x (90)
38. [13 sc, 1x dec.] 6x (84)
39. [12 sc, 1x dec.] 6x (78)
40. [11 sc, 1x dec.] 6x (72)
41. [10 sc, 1x dec.] 6x (66)
42. [9 sc, 1x dec.] 6x (60)
43. [8 sc, 1x dec.] 6x (54)
44. [7 sc, 1x dec.] 6x (48)
45. [6 sc, 1x dec.] 6x (42)
46. [5 sc, 1x dec.] 6x (36)
47. [4 sc, 1x dec.] 6x (30)
48. [3 sc, 1x dec.] 6x (24)
Stuff the head in shape.
49. [2 sc, 1x dec.] 6x (18)
50. [1 sc, 1x dec.] 6x (12)
51. 6x dec. (6)
Fasten off. Weave in the end. (picture 1)

BODY
Crochet in continuous rounds with a 4 mm crochet hook and in mocca.
1. 6 sc in MR (6)
2. 6x inc. (12)
3. [1 sc, 1x inc.] 6x (18)
4. [2 sc, 1x inc.] 6x (24)
5. [3 sc, 1x inc.] 6x (30)
6. [4 sc, 1x inc.] 6x (36)
7. [5 sc, 1x inc.] 6x (42)
8. [6 sc, 1x inc.] 6x (48)
9. [7 sc, 1x inc.] 6x (54)
10. [8 sc, 1x inc.] 6x (60)
11. [9 sc, 1x inc.] 6x (66)
12. [10 sc, 1x inc.] 6x (72)
13. [11 sc, 1x inc.] 6x (78)
14. [12 sc, 1x inc.] 6x (84)
15. – 24. 10 rounds with 84 sc (= 840 in total)
25. [12 sc, 1x dec.] 6x (78)
26. – 27. 2 rounds with 78 sc (= 156 in total)
28. [11 sc, 1x dec.] 6x (72)
29. – 30. 2 rounds with 72 sc (= 144 in total)
31. [10 sc, 1x dec.] 6x (66)
32. – 33. 2 rounds with 66 sc (= 132 in total)
34. [9 sc, 1x dec.] 6x (60)
35. 60 sc (60)
36. [8 sc, 1x dec.] 6x (54)
37. 54 sc (54)
38. [7 sc, 1x dec.] 6x (48)
39. – 44. 6 rounds with 48 sc (= 288 in total)
45. [2 sc, 1x inc.] 16x (64)
Fasten off. Leave a long tail for sewing. (picture 2) Stuff the body in shape.
(picture 3) Form a belly button with mocca yarn between round 18 and 19.*
(picture 4)
* Explanations at the end of the pattern. (page 23)
FACE
First, crochet in continuous (oval) rounds and then in rows with a 4 mm
crochet hook and in sand.
1. Chain out of 16 ch (15 ch + 1 tch = 15)
2. From the 2nd ch of the hook: 1x inc., 13 sc, 3 sc in one st
continue on the other side of the chain: 14 sc (32)
3. 2x inc., 13 sc, 3x inc., 13 sc, 1x inc. (38)
4. [1 sc, 1x inc.] 2x, 13 sc, [1 sc, 1x inc.] 3x, 14 sc, 1x inc. (44)
5. [2 sc, 1x inc.] 2x, 13 sc, [2 sc, 1x inc.] 3x, 15 sc, 1x inc. (50)
6. [3 sc, 1x inc.] 2x, 13 sc, [3 sc, 1x inc.] 3x, 16 sc, 1x inc. (56)
7. – 11. 5 rounds with 56 sc (= 280 in total)
12. [3 sc, 1x dec.] 2x, 13 sc, [3 sc, 1x dec.] 2x, 23 sc (52)
This round should end at the marked spot in picture 5 (arrow).
Continue to crochet the eye area in rows along the long side:
13. 1 tch, t, 18 sc, 1 tch, t (18)
14. – 16. 3 rows with [18 sc, 1 tch, t] (= each 18)
17. 1x dec., 14 sc, 1x dec., 1 tch, t (16)
Now crochet the bows for each eye, one after the other:
18. 8 sc, 1 tch, t (8)
19. 1x dec., 4 sc, 1x dec., 1 tch, t (6)
20. 1x dec., 2 sc, 1x dec., 1 tch, t (4)
21. 2x dec. (2)
Fasten off. Weave in the end. (picture 6)
Restart in the next st of row 17 (picture 7) and repeat row 18 to 21 for the second bow. (picture 8)
Crochet with sc around the eye area made in rows. Restart in one edge..
(pictures 9 and 10)
Stuff the snout, the part crocheted in continuous rounds, in shape. Then attach the face with pins between round 16 and 39 to the head. The transition of snout to eye area should be placed around round 25. Then sew the face to the head and stuff while sewing. I glued the eye area with hot glue, so it’s fixed.
Now form the eyeholes and place the eyes:
Use some scissors, a chopstick or sth. similar to prepare two holes for the pins of the safety eyes, between round 13 and 14 and with 6 st to the edge.
Then form the eye holes in the same place with sand colored yarn and a long sewing needle.*
* Explanations at the end of the pattern.
Cut two eye shaped pieces out of white felt and attach them behind the safety eyes.
Place and glue the eyes in the prepared spots.
Form a mouth with a new sand colored thread between the lower round 3 and 4 of the snout and centered to the eyes.* (picture 17)
* Explanations at the end of the pattern.

NOSTRIL (2x)
Crochet in rows with a 4 mm crochet hook and in sand.
1. Chain out of 8 ch (7 ch + 1 tch = 7)
2. From the 2nd ch of the hook: 1 sl.st, 1 sc, 1 hdc,
1 dc, 1 hdc, 1 sc, 1 sl.st (7)
Fasten off. Leave a tail for sewing.
LOWER LIP
Crochet in continuous rounds with a 4 mm crochet hook and in sand.
1. 6 sc in MR (6)
2. 6x inc. (12)
3. [1 sc, 1x inc.] 6x (18)
4. [2 sc, 1x inc.] 6x (24)
5. 24 sc (24)
6. Fold the lip in half and close it with 12 sc (12)
Fasten off. Leave a tail for sewing.
Sew or glue the nostrils lightly slanting and bend to the upper round 6 and 7
to the snout and with 1 visible st between.
Sew the lower lip between round 3 and 7 above the formed mouth.
EAR (2x)
Crochet in continuous rounds with a 4 mm crochet hook and in sand.
1. 6 sc in MR (6)
2. 6x inc. (12)
3. [1 sc, 1x inc.] 6x (18)
4. 18 sc (18)
5. [2 sc, 1x inc.] 6x (24)
6. 24 sc (24)
7. [3 sc, 1x inc.] 6x (30)
8. [4 sc, 1x inc.] 6x (36)
9. – 10. 2 rounds with 36 st (= 72 in total)
11. [4 sc, 1x dec.] 6x (30)
12. 30 sc (30)
13. [3 sc, 1x dec.] 6x (24)
Fasten off. Leave a tail for sewing. Don’t stuff the ears.
Sew the ears lightly curved between round 21 and 34 to the right and left of the head, with a 11 st distance on the top and lower edge to the face and a
12 st distance in the middle. (picture 22)
HAND/ARM (2x)
I will distinguish in left and right by attaching the thumb and crocheting the shoulder at the hands and arms. I will explicitly mention these rounds.
HAND
Start crocheting the fingers as follows:
THUMB
Crochet in continuous rounds with a 4 mm crochet hook and in sand.
1. 6 sc in MR (6)
2. – 7. 6 rounds with 6 sc (= 36 in total)
Fasten off. Weave in the end. (picture 23)
FINGER (4x)
Crochet in continuous rounds with a 4 mm crochet hook and in sand.
1. 6 sc in MR (6)
2. – 8. 7 rounds with 6 sc (= 42 in total)
Fasten off and leave a tail at three fingers. I hid the tails inside the fingers.
Don’t fasten off at the last finger, finger 1 in the picture.
Insert a doubled and twisted peace of pipe cleaner in each finger and the thumb so the monkey can hold his banana at the end.
Crochet the 4 fingers together as follows:
9. 3 sc on the last crocheted finger (here: finger 1), 3 sc on the next finger (finger 2), 3 sc on the next finger (finger 3), 6 sc on the last finger (finger 4), 3 sc on finger 3, 3 sc on finger 2 and 3 sc on finger 1 (24)
10. 24 sc (24)
Sew the occurred little holes by using the tails of the fingers 2 to 4.
Continue crocheting:
11. [6 sc, 1x dec.] 3x (21)
12. 21 sc (21)
13. [5 sc, 1x dec.] 3x (18)
The thumb will be attached in the next two rounds. Here you have to
differentiate between left and right hand:
Left hand:
14. 1 sc on the hand, 3 sc on both – hand and thumb at the same time (these 3 st won’t be worked anymore), 14 sc on the hand (18)
15. 1 sc on the hand, 3 sc on the remaining st of the thumb, 14 sc on the hand (18)
Right hand:
14. 7 sc on the hand, 3 sc on both – hand and thumb at the same time
(picture 27) (these 3 st won’t be worked anymore), 8 sc on the hand (18)
15. 7 sc on the hand, 3 sc on the remaining st of the thumb, 8 sc on the hand (18)
From here up to the shoulders both arms will be crocheted in the same way:
16. 9 sc, 1 sl.st (10)
This round isn’t crocheted to the end.
Fasten off. Weave in the end. (pictures 28 and 29)
Restart with mocca colored yarn in one FL at the outer side of the hand
(picture 30) and crochet as follows:
17. 18 sc, in FLO (18)
Stuff the hand lightly in shape.
18. – 32. 15 rounds with 18 sc (= 270 in total)
33. [5 sc, 1x inc.] 3x (21)
34. – 42. 9 rounds with 21 sc (= 189 in total)
Continue to crochet the shoulder in rows:
At first, you have to replace the beginning of the round. It has to be exactly at the side. The shoulder will be parallel to the back of the hand and on the same side. To do so, flatten the arm and add or remove the needed number of stitches, so the beginning is in one line with the thumb. I removed 2 sc.
The first row of the shoulder differs between right and left in the tch at the
beginning of the row:
Left arm:
43. 1 tch, t, 12 sc, 1 tch, t (12)
Right arm:
43. 12 sc, 1 tch, t (12)
Now both arms will be crocheted identically:
44. 1x dec., 8 sc, 1x dec., 1 tch, t (10)
45. 1x dec., 6 sc, 1x dec., 1 tch, t (8)
46. 1x dec., 4 sc, 1x dec., 1 tch, t (6)
47. 1x dec., 2 sc, 1x dec., 1 tch, t (4)
48. 2x dec. (2)
49. Crochet around completely with sc.
Fasten off. Leave a tail for sewing. (picture 33)
Prepare two 30 cm wires as you can see in picture 34 and insert them into the arms. Then stuff the arms in shape.
Sew the arms between round 38 and 45 to the left and right of the body. The arms are pointing slightly to the front. Pay attention that the belly button is centered to the arms. Finish stuffing while sewing.
Now you can sew the body between round 41 and 42 to the head. Finish stuffing while sewing. (pictures 37 and 38)
FOOT/LEG (2x)
I will differentiate in left and right foot by attaching the fifth toe. I will explicitly mention these rounds.
Crochet in continuous rounds and in rows with a 4 mm crochet hook, in sand and mocca.
Start in continuous rounds and in sand.
Crochet the toes as follows:
TOE (5x)
1. 6 sc in MR (6)
2. – 7. 6 rounds with 6 sc (= 36 in total)
Fasten off and leave a tail at four toes. I hid the tails inside the toes. Don’t fasten off at the last toe, toe 1 in the picture. You can stuff the toes lightly in shape if you want. I did not. (
Crochet 4 toes together as follows:
8. 3 sc on the last crocheted toe (here: toe 1), 3 sc on the next toe (toe
2), 3 sc on the next toe (toe 3), 6 sc on the next toe (toe 4), 3 sc on
toe 3, 3 sc on toe 2 and 3 sc on toe 1 (24)
9. – 10. 2 rounds with 24 sc (= 48 in total)
Here also occurred little holes between the toes while crocheting them
together. Sew the holes using the tails of the toes 2 to 4.
11. [6 sc, 1x dec.] 3x (21)
12. 21 sc (21)
13. [5 sc, 1x dec.] 3x (18)
The 5th toe is attached in the next two rounds. Here you have to differentiate
between left and right foot. Left foot:
14. 9 sc on the foot, 3 sc on both – foot and toe at the same time (these 3 st won’t be worked anymore) (picture 42), 6 sc on the foot (18)
15. 9 sc on the foot, 3 sc on the remaining st of the toe, 6 sc on the foot (18)
Right foot:
14. 3 sc on both – foot and toe at the same time (these 3 st won’t be worked anymore) (picture 42), 15 sc on the foot (18)
15. 3 sc on the remaining st of the toe, 15 sc on the foot (18)
Now both feet/legs are crocheted identically up to the end:
Continue in rows:
Crochet 4 sc, 1 tch and turn your work to get to the right beginning point.
16. – 18. 3 rows with [12 sc, 1 tch, t] (= each 12)
19. 6x dec., 1 tch, t (6)
20. 3x dec., 1 tch, t (3)
21. Crochet 3 st together (1) (picture 45)
22. Crochet around the whole foot with 20 sc, start with 1 ch. (20)
If you don’t get 2{ st in this round, you can compensate the number
of stitches with inc./dec. in the next round.
Cc to mocca and continue in continuous rounds:
23. 20 sc, in FLO (20)
Stuff the foot lightly in shape.
24. – 35. 12 rounds with 20 sc (= 240 in total)
36. [3 sc, 1x inc.] 5x (25)
37. – 42. 6 rounds with 25 sc (= 150 in total)
Continue in rows:
At first, you have to replace the beginning of the round if needed. It has to be exactly at the side as you can see in picture 45. Mine was in the correct place so there was no need to move it. The rows have to be on the same side of the leg as the arch of the foot. To do so, flatten the leg and shift the beginning by adding or removing the needed number of stitches.
Now crochet as follows:
43. 1 tch, t, 13 sc, 1 tch, t (13)
44. 1x dec., 9 sc, 1x dec., 1 tch, t (11)
45. 1x dec., 7 sc, 1x dec., 1 tch, t (9)
46. 1x dec., 5 sc, 1x dec., 1 tch, t (7)
47. 1x dec., 3 sc, 1x dec., 1 tch, t (5)
48. 1x dec., 1 sc, 1x dec. (3)
49. Crochet around completely with sc.
Fasten off. Leave a tail for sewing.
Prepare two 20 cm wires as you can see in picture 47 and insert them in the legs. Then stuff the legs in shape. (picture 48)
Sew the legs between round 10 and 19 to the left and right of the body, in one line with its side. The legs are pointing to the front and the 5th toe up. Finish
stuffing while sewing. (pictures 49 and 50)
TAIL
Crochet in continuous rounds with a 4 mm crochet hook and in mocca.
1. 5 sc in MR (5)
2. 5x inc. (10)
3. [1 sc, 1x inc.] 5x (15)
4. – 45. 42 rounds with 15 sc (= 630 in total)
Stuff the tail in shape while crocheting these rounds.
46. 1x inc., 14 sc (16)
47. 1x inc., 15 sc (17)
48. 1x inc., 16 sc (18)
49. 1x inc., 17 sc (19)
50. 1x inc., 18 sc (20)
Fasten off. Leave a tail for sewing. Finish stuffing. If you want, you can also
insert a piece of wire inside the tail, so you can bend it in shape.
Sew the tail to the back between round 11 and 18 centered to the body.
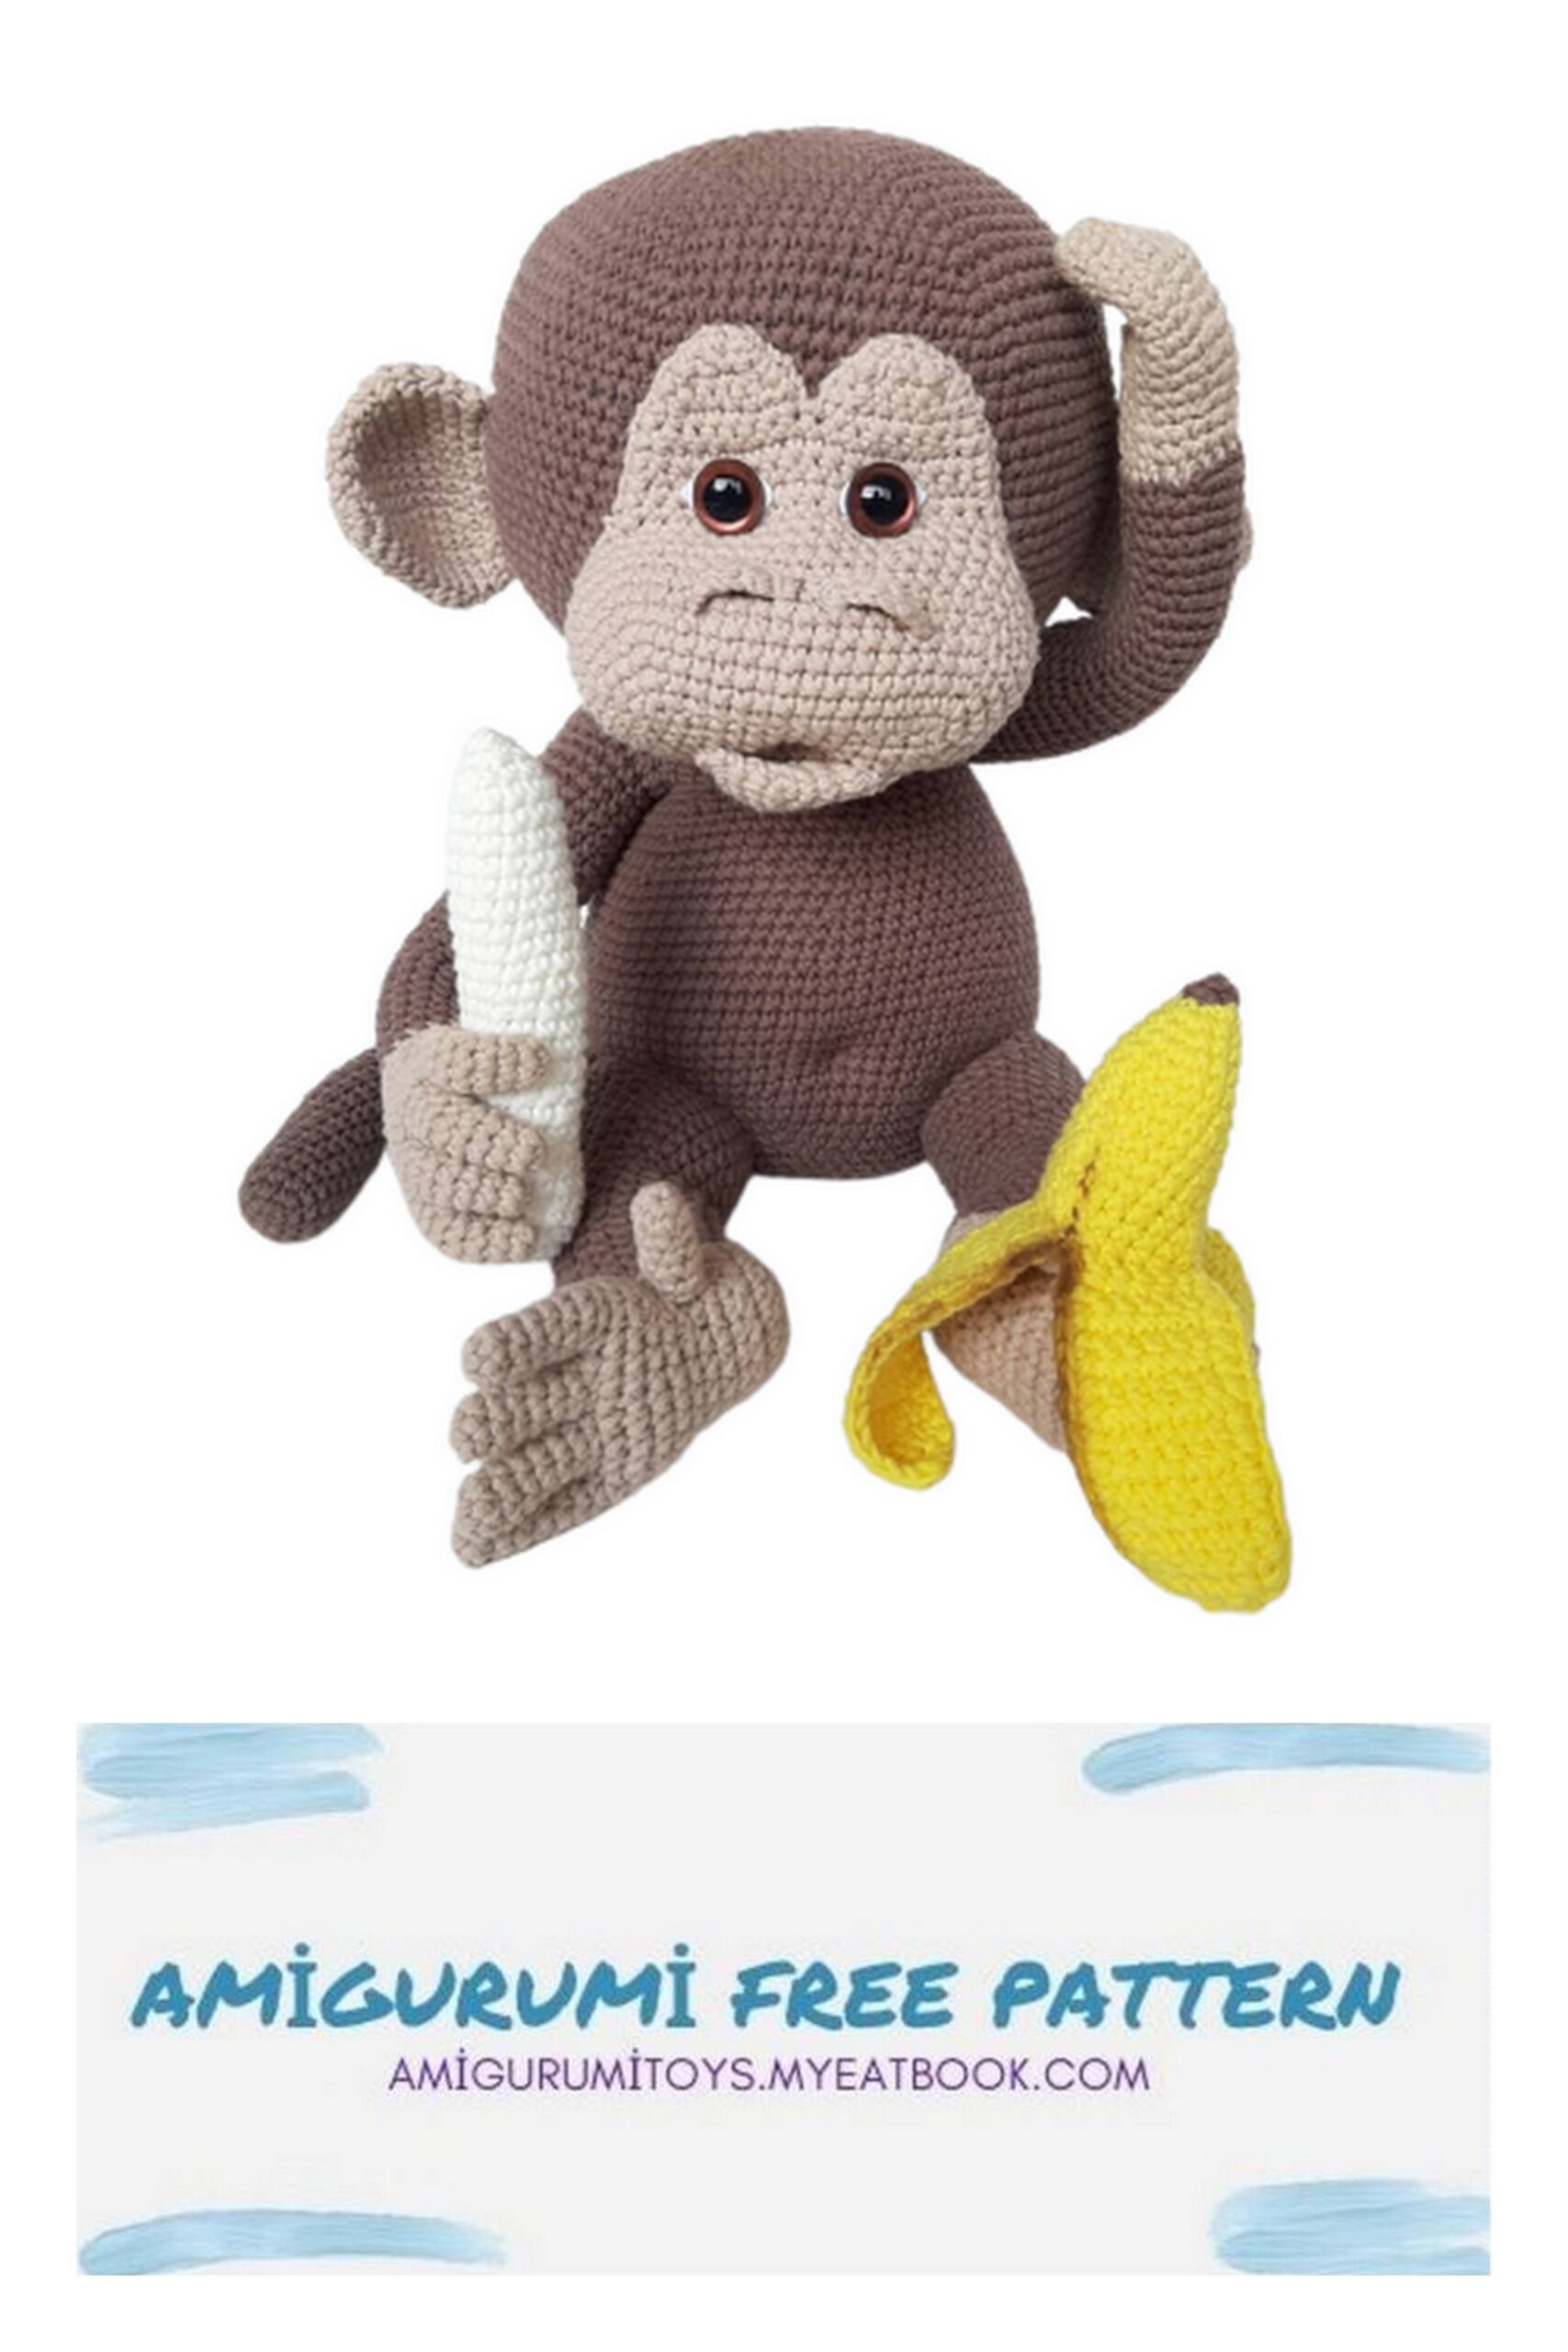
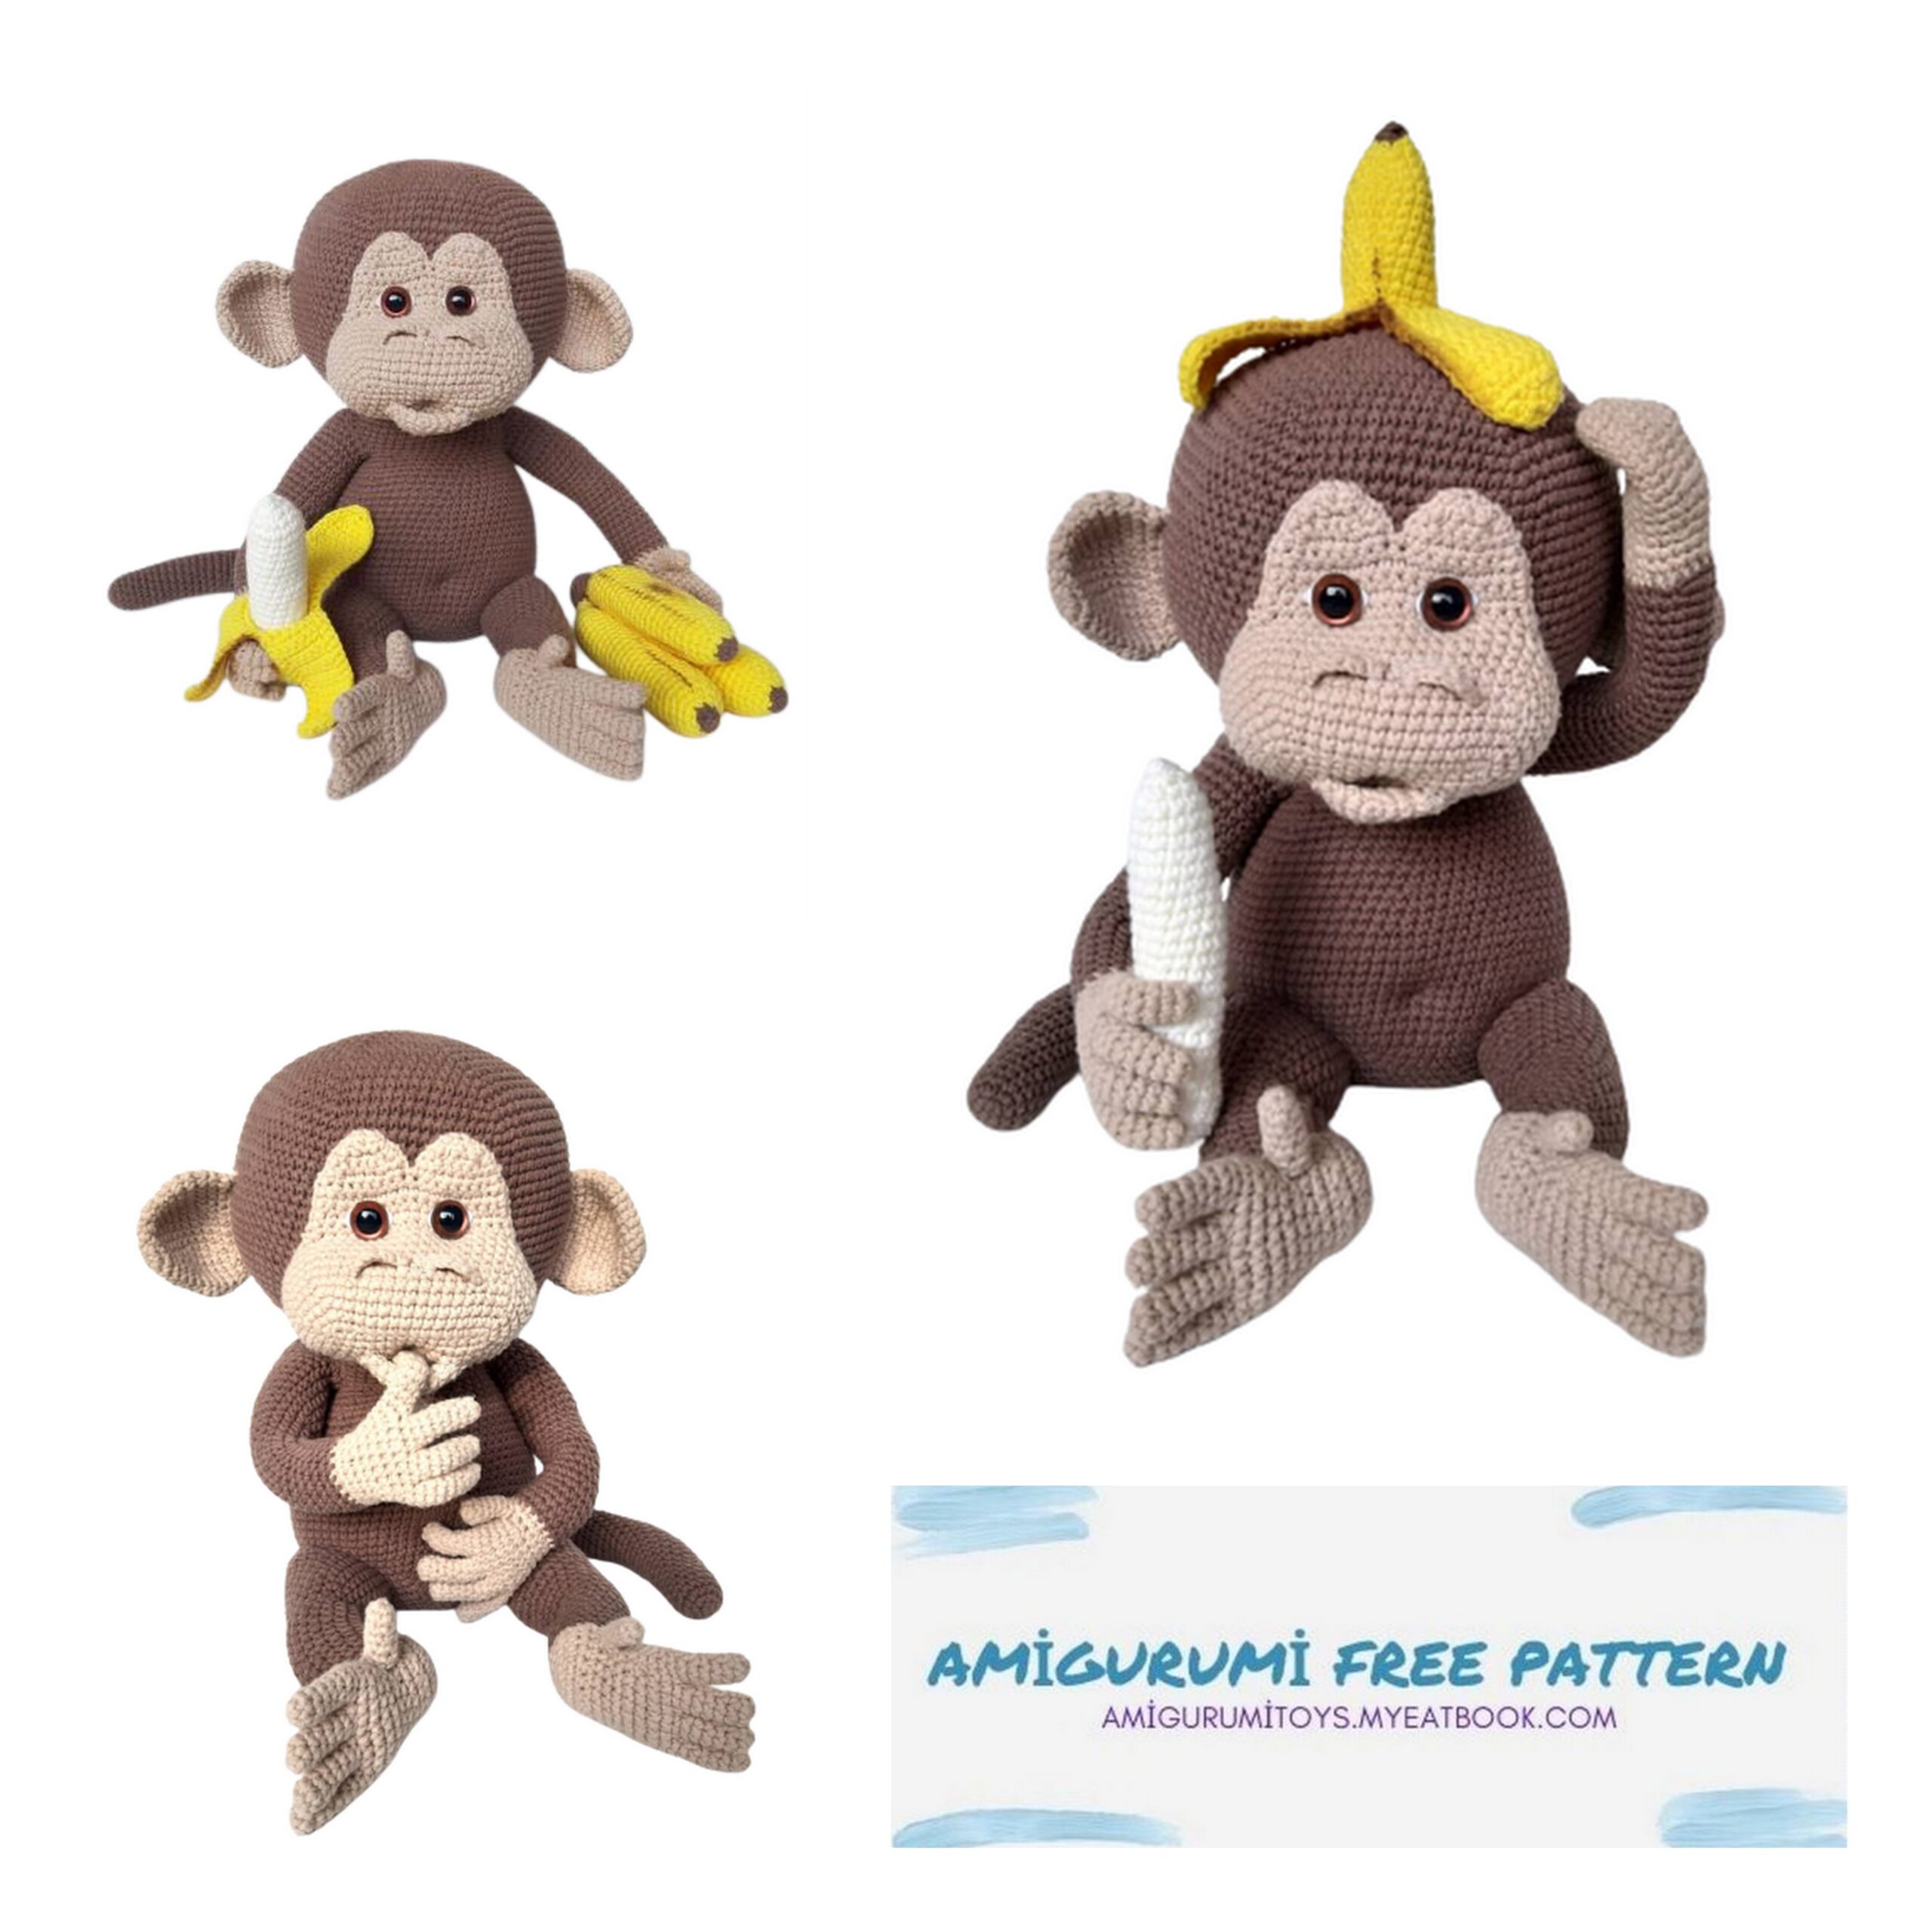
What would be a monkey without its bananas? I made a variation of bananas
in a small bunch, a peeled banana and a banana peel. It’s up to you, which and
how many bananas you make.
PEELED BANANA
Crochet in continuous rounds with a 4 mm crochet hook and in creme.
1. 6 sc in MR (6)
2. [1 sc, 1x inc.] 3x (9)
3. [2 sc, 1x inc.] 3x (12)
4. [3 sc, 1x inc.] 3x (15)
5. – 26. 22 rounds with 15 sc (= 330 in total)
Stuff the banana in shape.
27. [3 sc, 1x dec.] 3x (12)
28. [2 sc, 1x dec.] 3x (9)
29. [1 sc, 1x dec.] 3x (6)
Fasten off. Close the hole and weave in the end. (picture 53)
BANANA PEEL
Crochet in continuous rounds and in rows with a 4 mm crochet hook, in mocca and zitrone.
Start with mocca and in continuous rounds.
1. 4 sc in MR (4)
2. 4x inc. (8)
Cc to zitrone.
3. 8 sc, in BLO (8)
4. [1 sc, 1x inc.] 4x (12)
5. [3 sc, 1x inc.] 3x (15)
6. [4 sc, 1x inc.] 3x (18)
7. – 16. 10 rounds with 18 sc (= 180 in total)
From here each peel stripe is worked separately.
Continue in rows:
17. – 31. 15 rows with [6 sc, 1 tch, t] (= each 6)
32. 1x dec., 2 sc, 1x dec., 1 tch, t (4)
33. 2x dec., 1 tch, t (2)
34. 1x dec. (1)
Fasten off. (picture 54)
Repeat rows 17 to 34 two more times. Therefore, restart in the next st of round
Crochet with sc around each stripe. (picture 56)
BANANA (3x)
Crochet in continuous rounds with a 4 mm crochet hook, in mocca and zitrone.
Start with mocca.
1. 4 sc in MR (4)
2. 4x inc. (8)
Cc to zitrone.
3. 8 sc, in BLO (8)
4. [1 sc, 1x inc.] 4x (12)
5. [3 sc, 1x inc.] 3x (15)
6. [4 sc, 1x inc.] 3x (18)
7. – 26. 20 rounds with 18 sc (= 360 in total)
27. [4 sc, 1x dec.] 3x (15)
Stuff the banana in shape.
28. [3 sc, 1x dec.] 3x (12)
29. [2 sc, 1x dec.] 3x (9)
30. [1 sc, 1x dec.] 3x (6)
31. – 32. 2 rounds with 6 sc (= 12 in total)
Cc to mocca.
33. – 34. 2 rounds with 6 sc (= 12 in total)
Fasten off. Close the hole through the BLO and weave in the end.
Paint with brown pastell chalk and a brush some lines and spots on the closed
bananas and the banana peel. (pictures 57 and 58)
Connection for a small bunch of three bananas
Crochet in continuous rounds with a 4 mm crochet hook and in mocca.
1. 6 sc in MR (6 )
2. 6x inc. (12)
3. 12 sc, in BLO (18)
4. – 5. 2 rounds with 12 sc (= 24 in total)
6. [4 sc, 1x dec.] 2x (10)
If you crochet rather tight, I admit to crochet
12 sc in this round.
Fasten off. Weave in the end. (picture 59)
* FORMING THE BELLY BUTTON, THE EYEHOLES AND THE MOUTH
BELLY BUTTON
Pierce with a new mocca colored thread and a long needle from the lower back in the stuffed body. Get out in the front between round 18 and 19 and back inside the stitch next to it. Pierce out through the same stitch of the beginning at the back. Pull both ends at the same time so the belly button gets its form. Tie a knot and hide the tails in the body.
EYEHOLES
Pierce with a new sand colored thread and a long needle from the neck end in the head. Get out at the first eye in the prepared spots between round 13 and 14 of the eye area and back in the stitch next to it. Repeat it directly for the second eye.
Pierce out through the same stitch of the beginning at the neck end of the head. Pull both ends at the same time so the eyeholes get its form. Tie a knot and hide the tails in the head.
MOUTH
Pierce with a new sand colored thread and a long needle from upper side in the rear part of the snout. Get out between the lower round 13 and 14 of the snout and back in two stitches next to it. These two stitches should be centered to the eyes. Pierce out through the same stitch of the beginning at snout. Pull both ends at the same time so the mouth gets its form. Tie a knot and hide the tails in the snout.