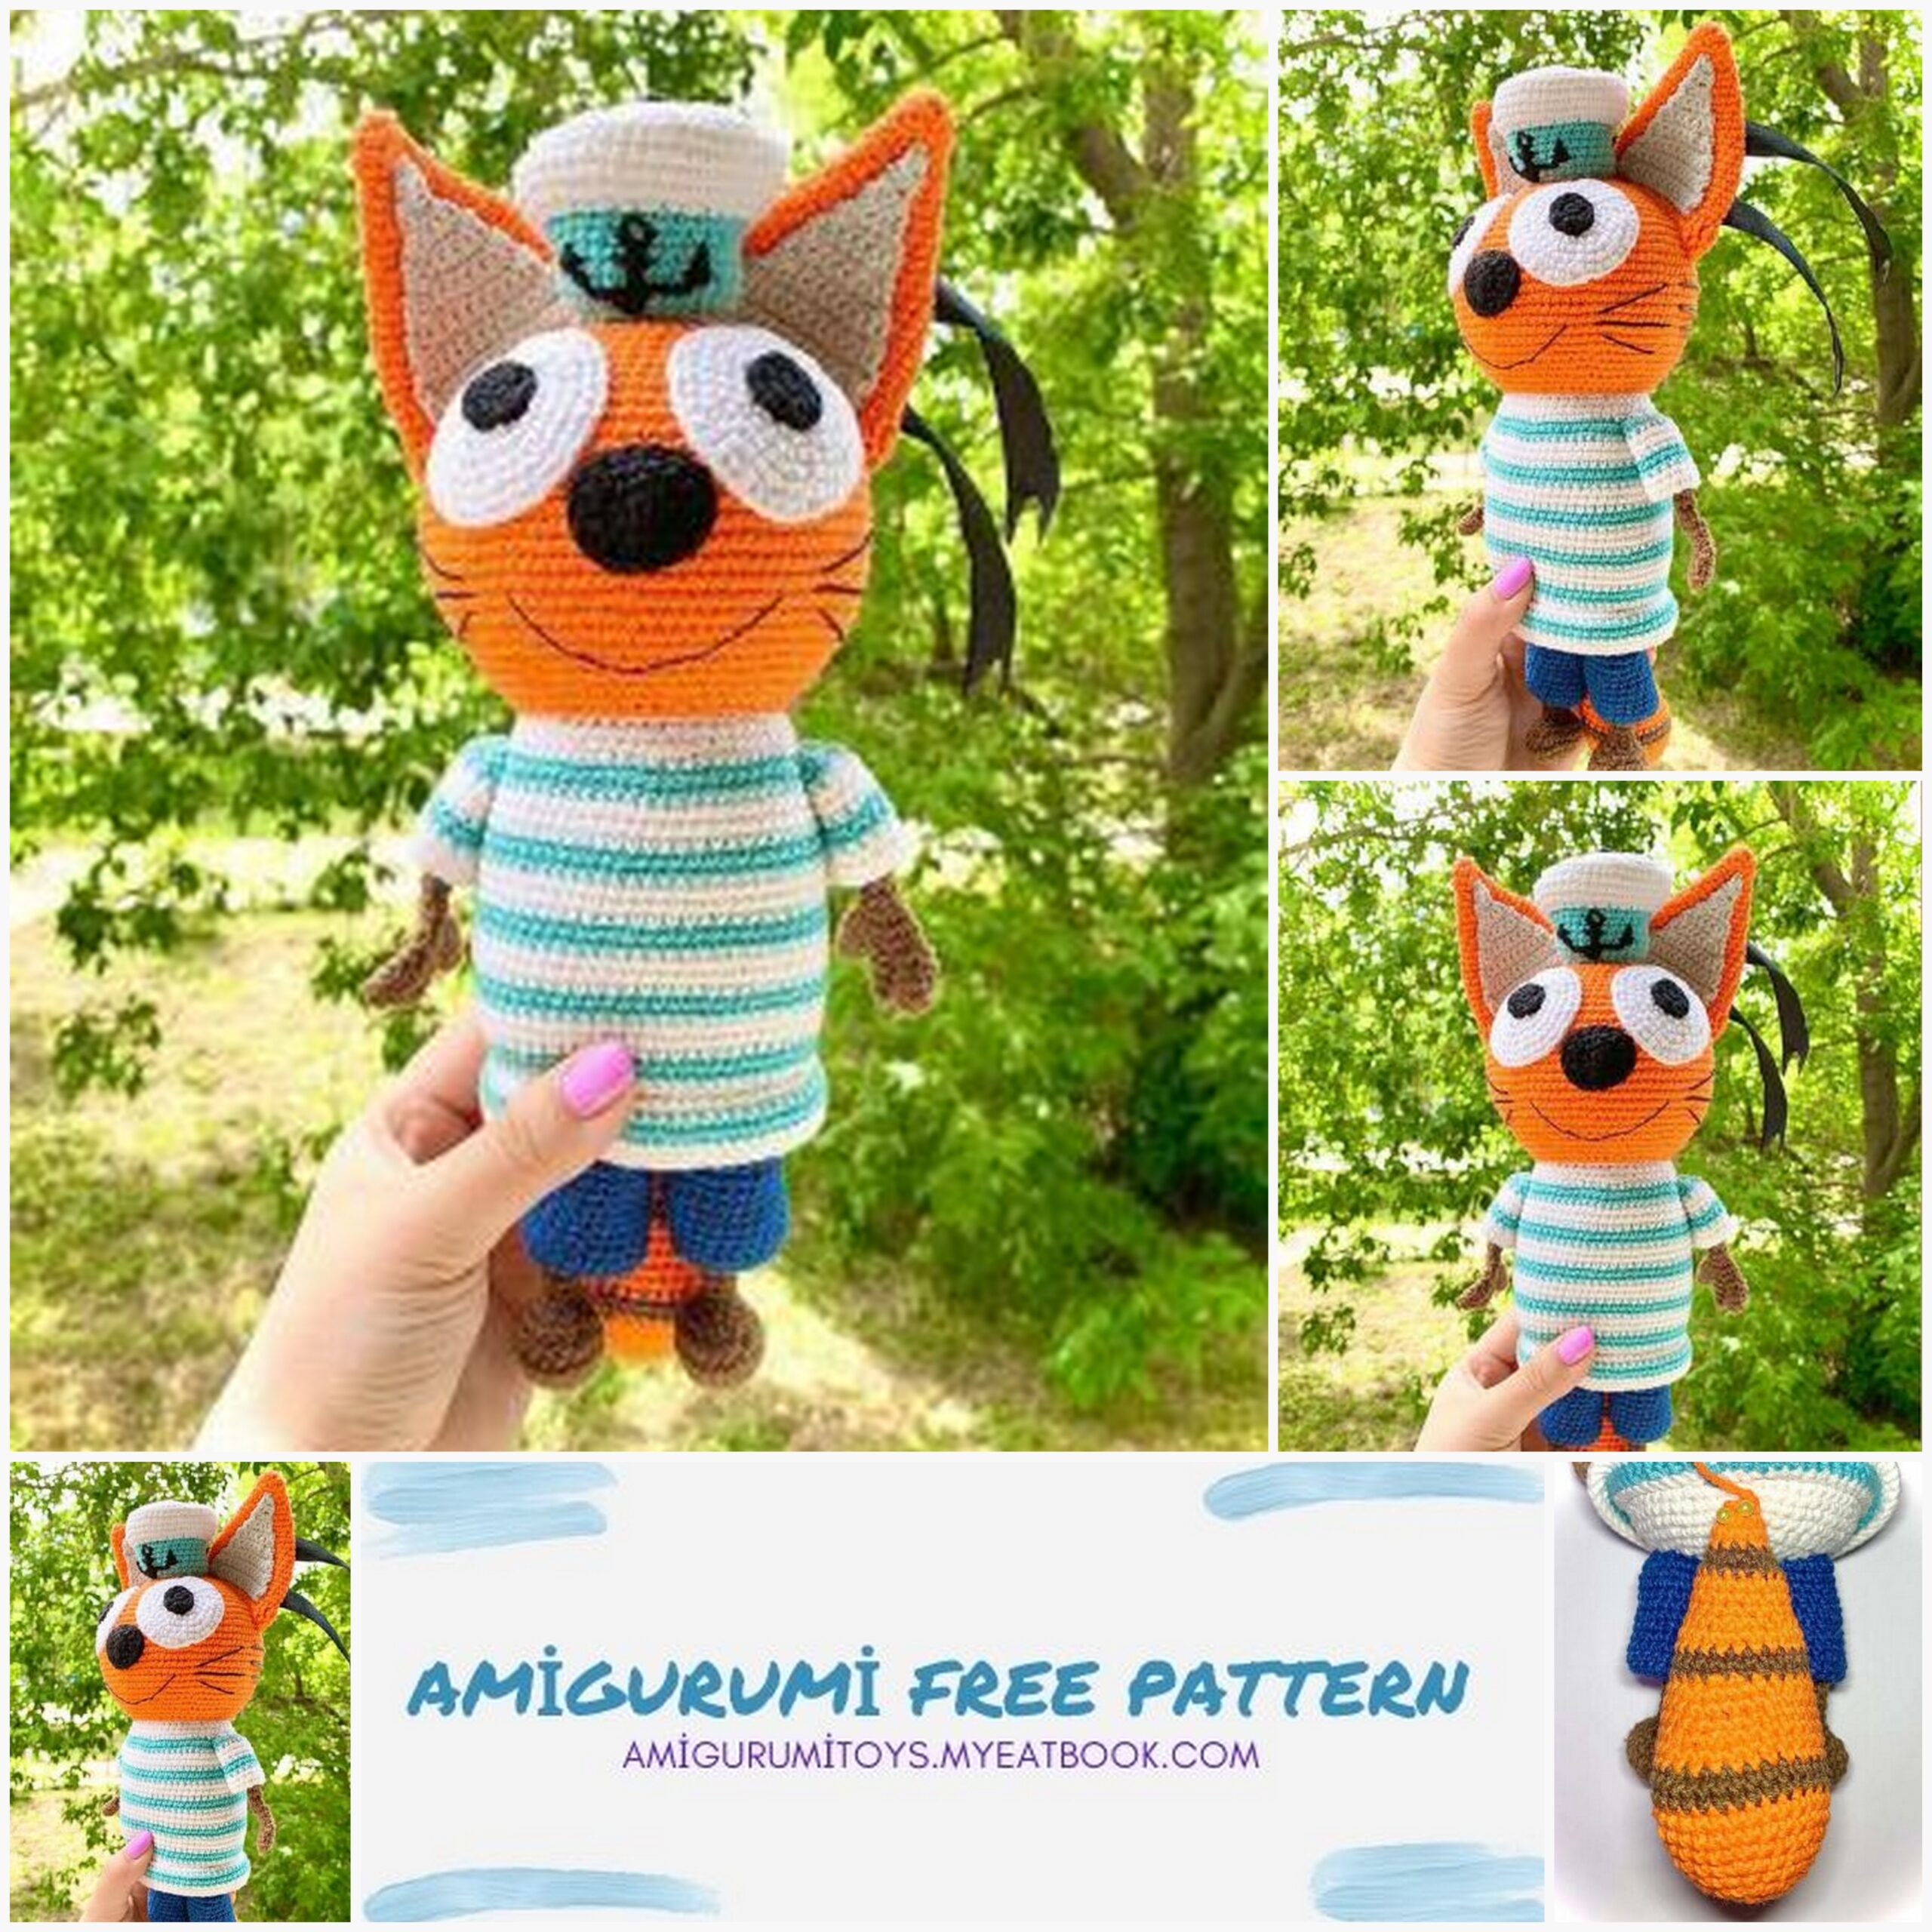
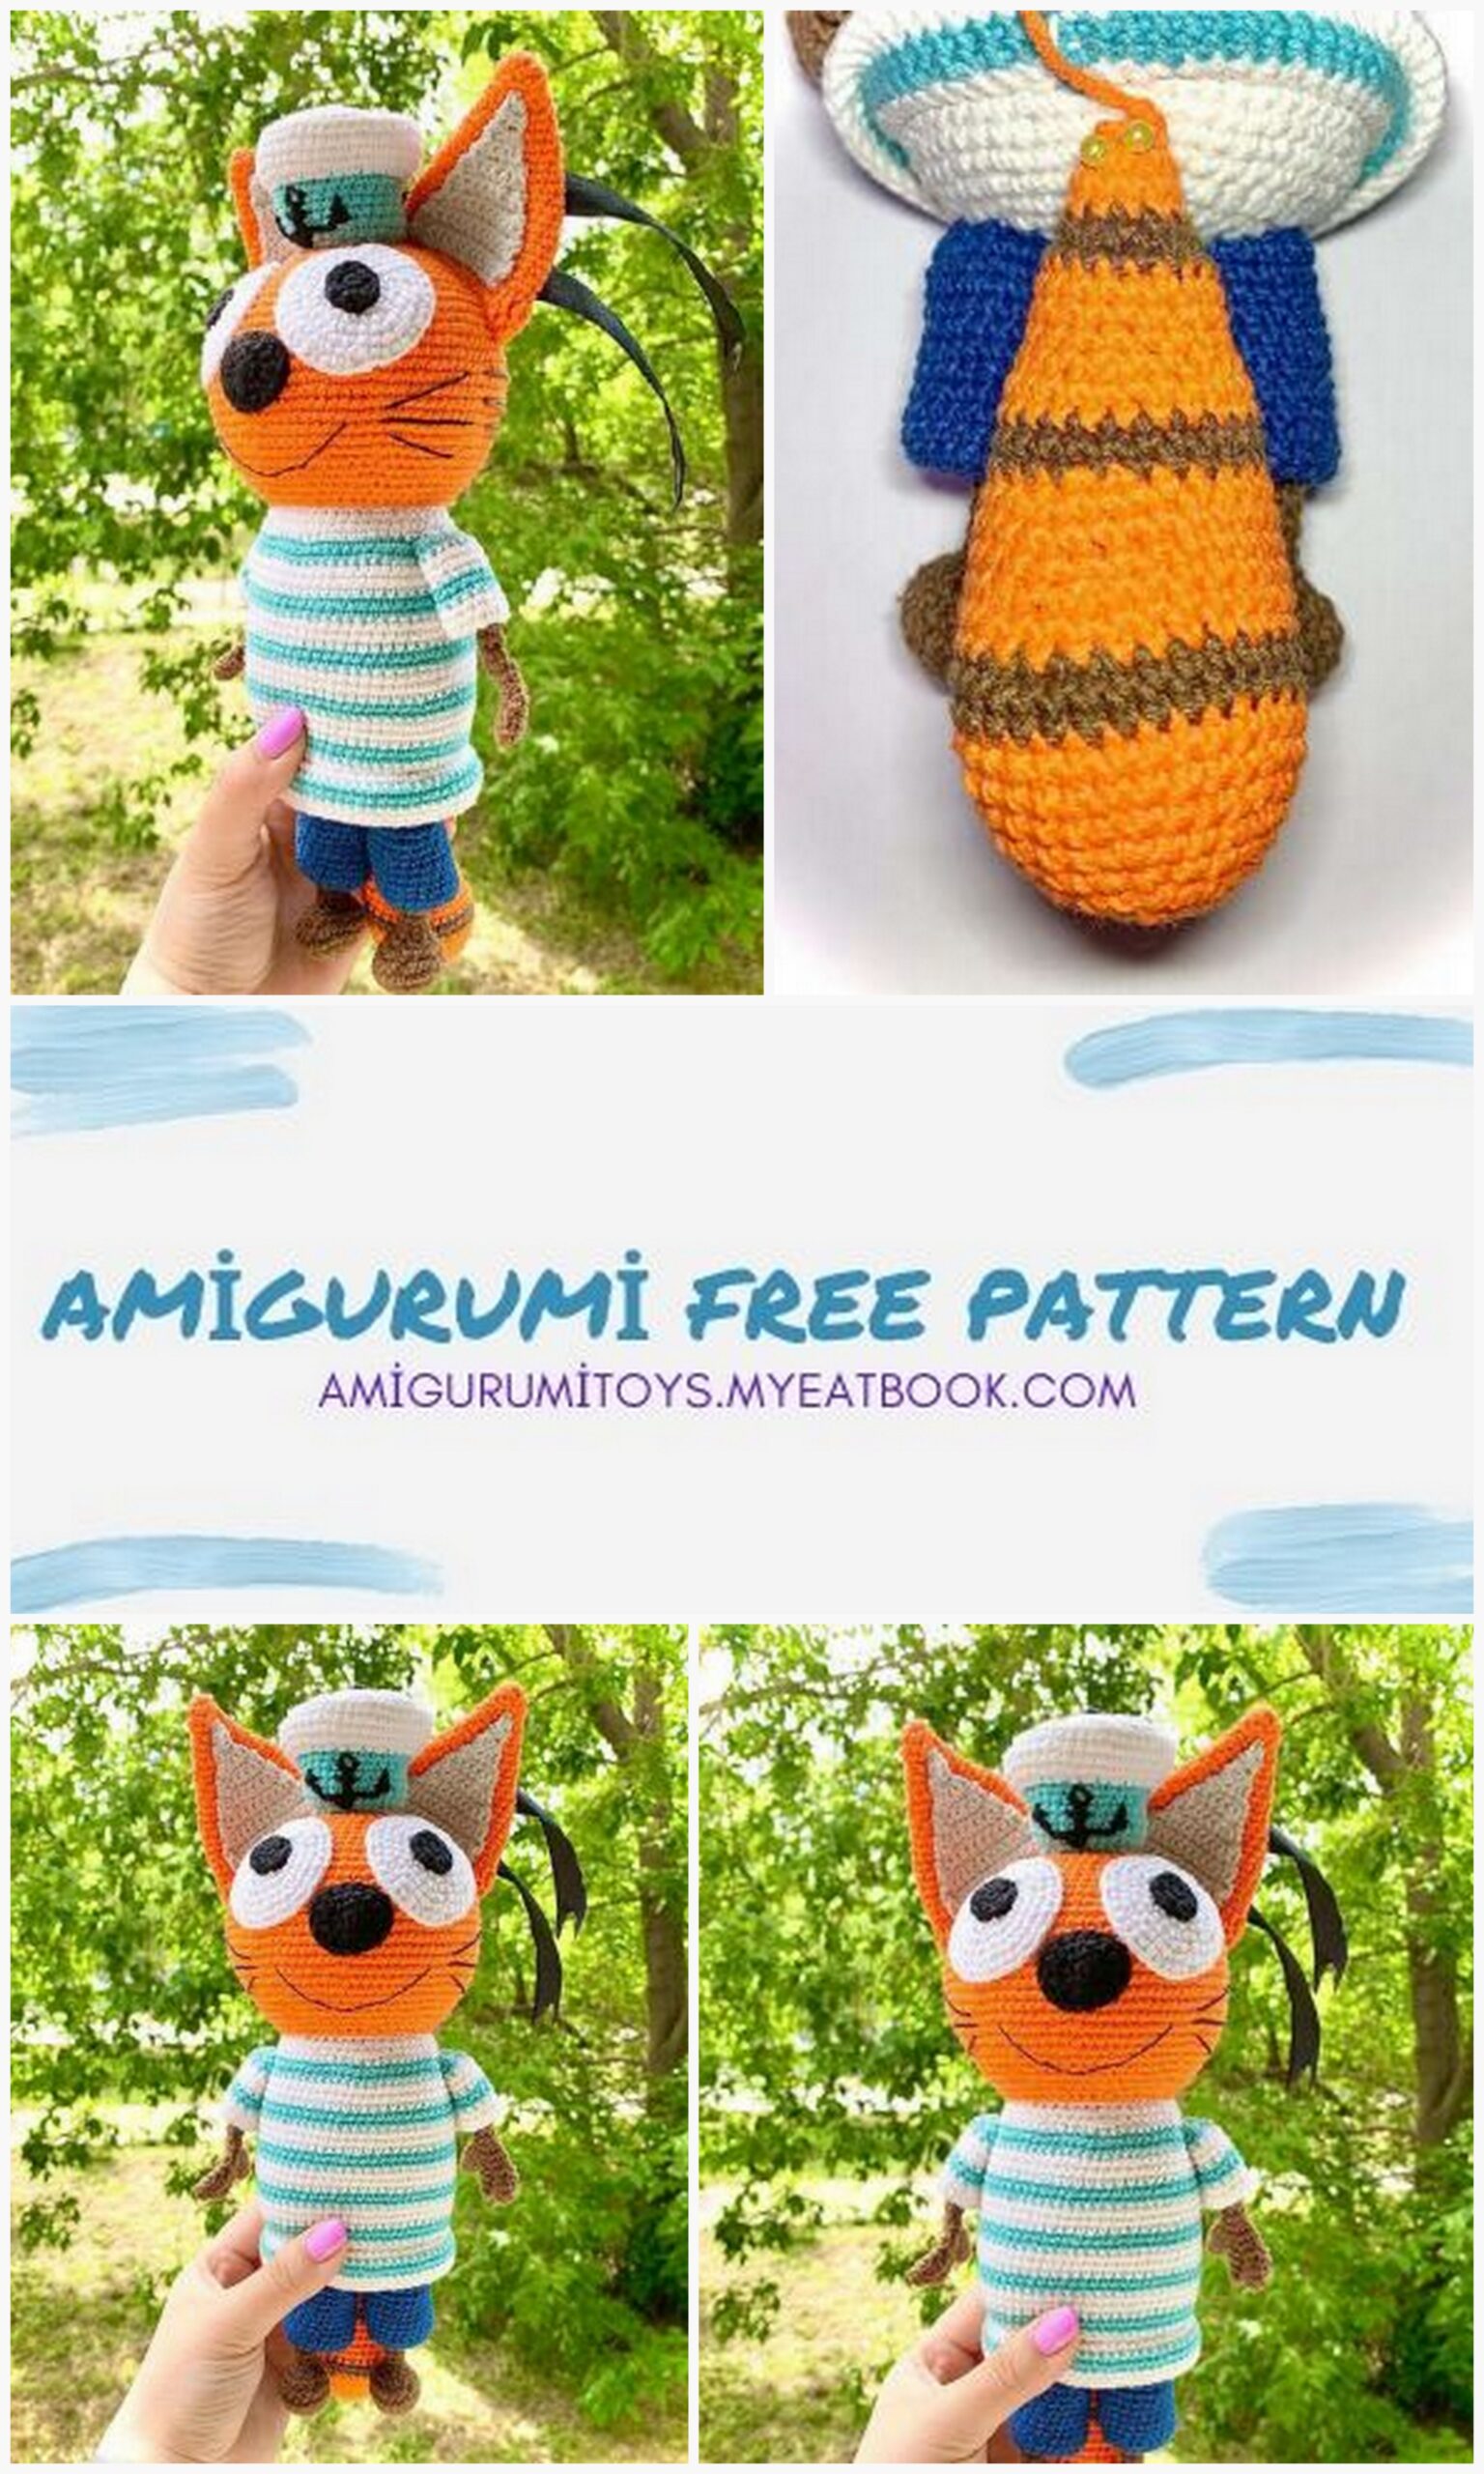
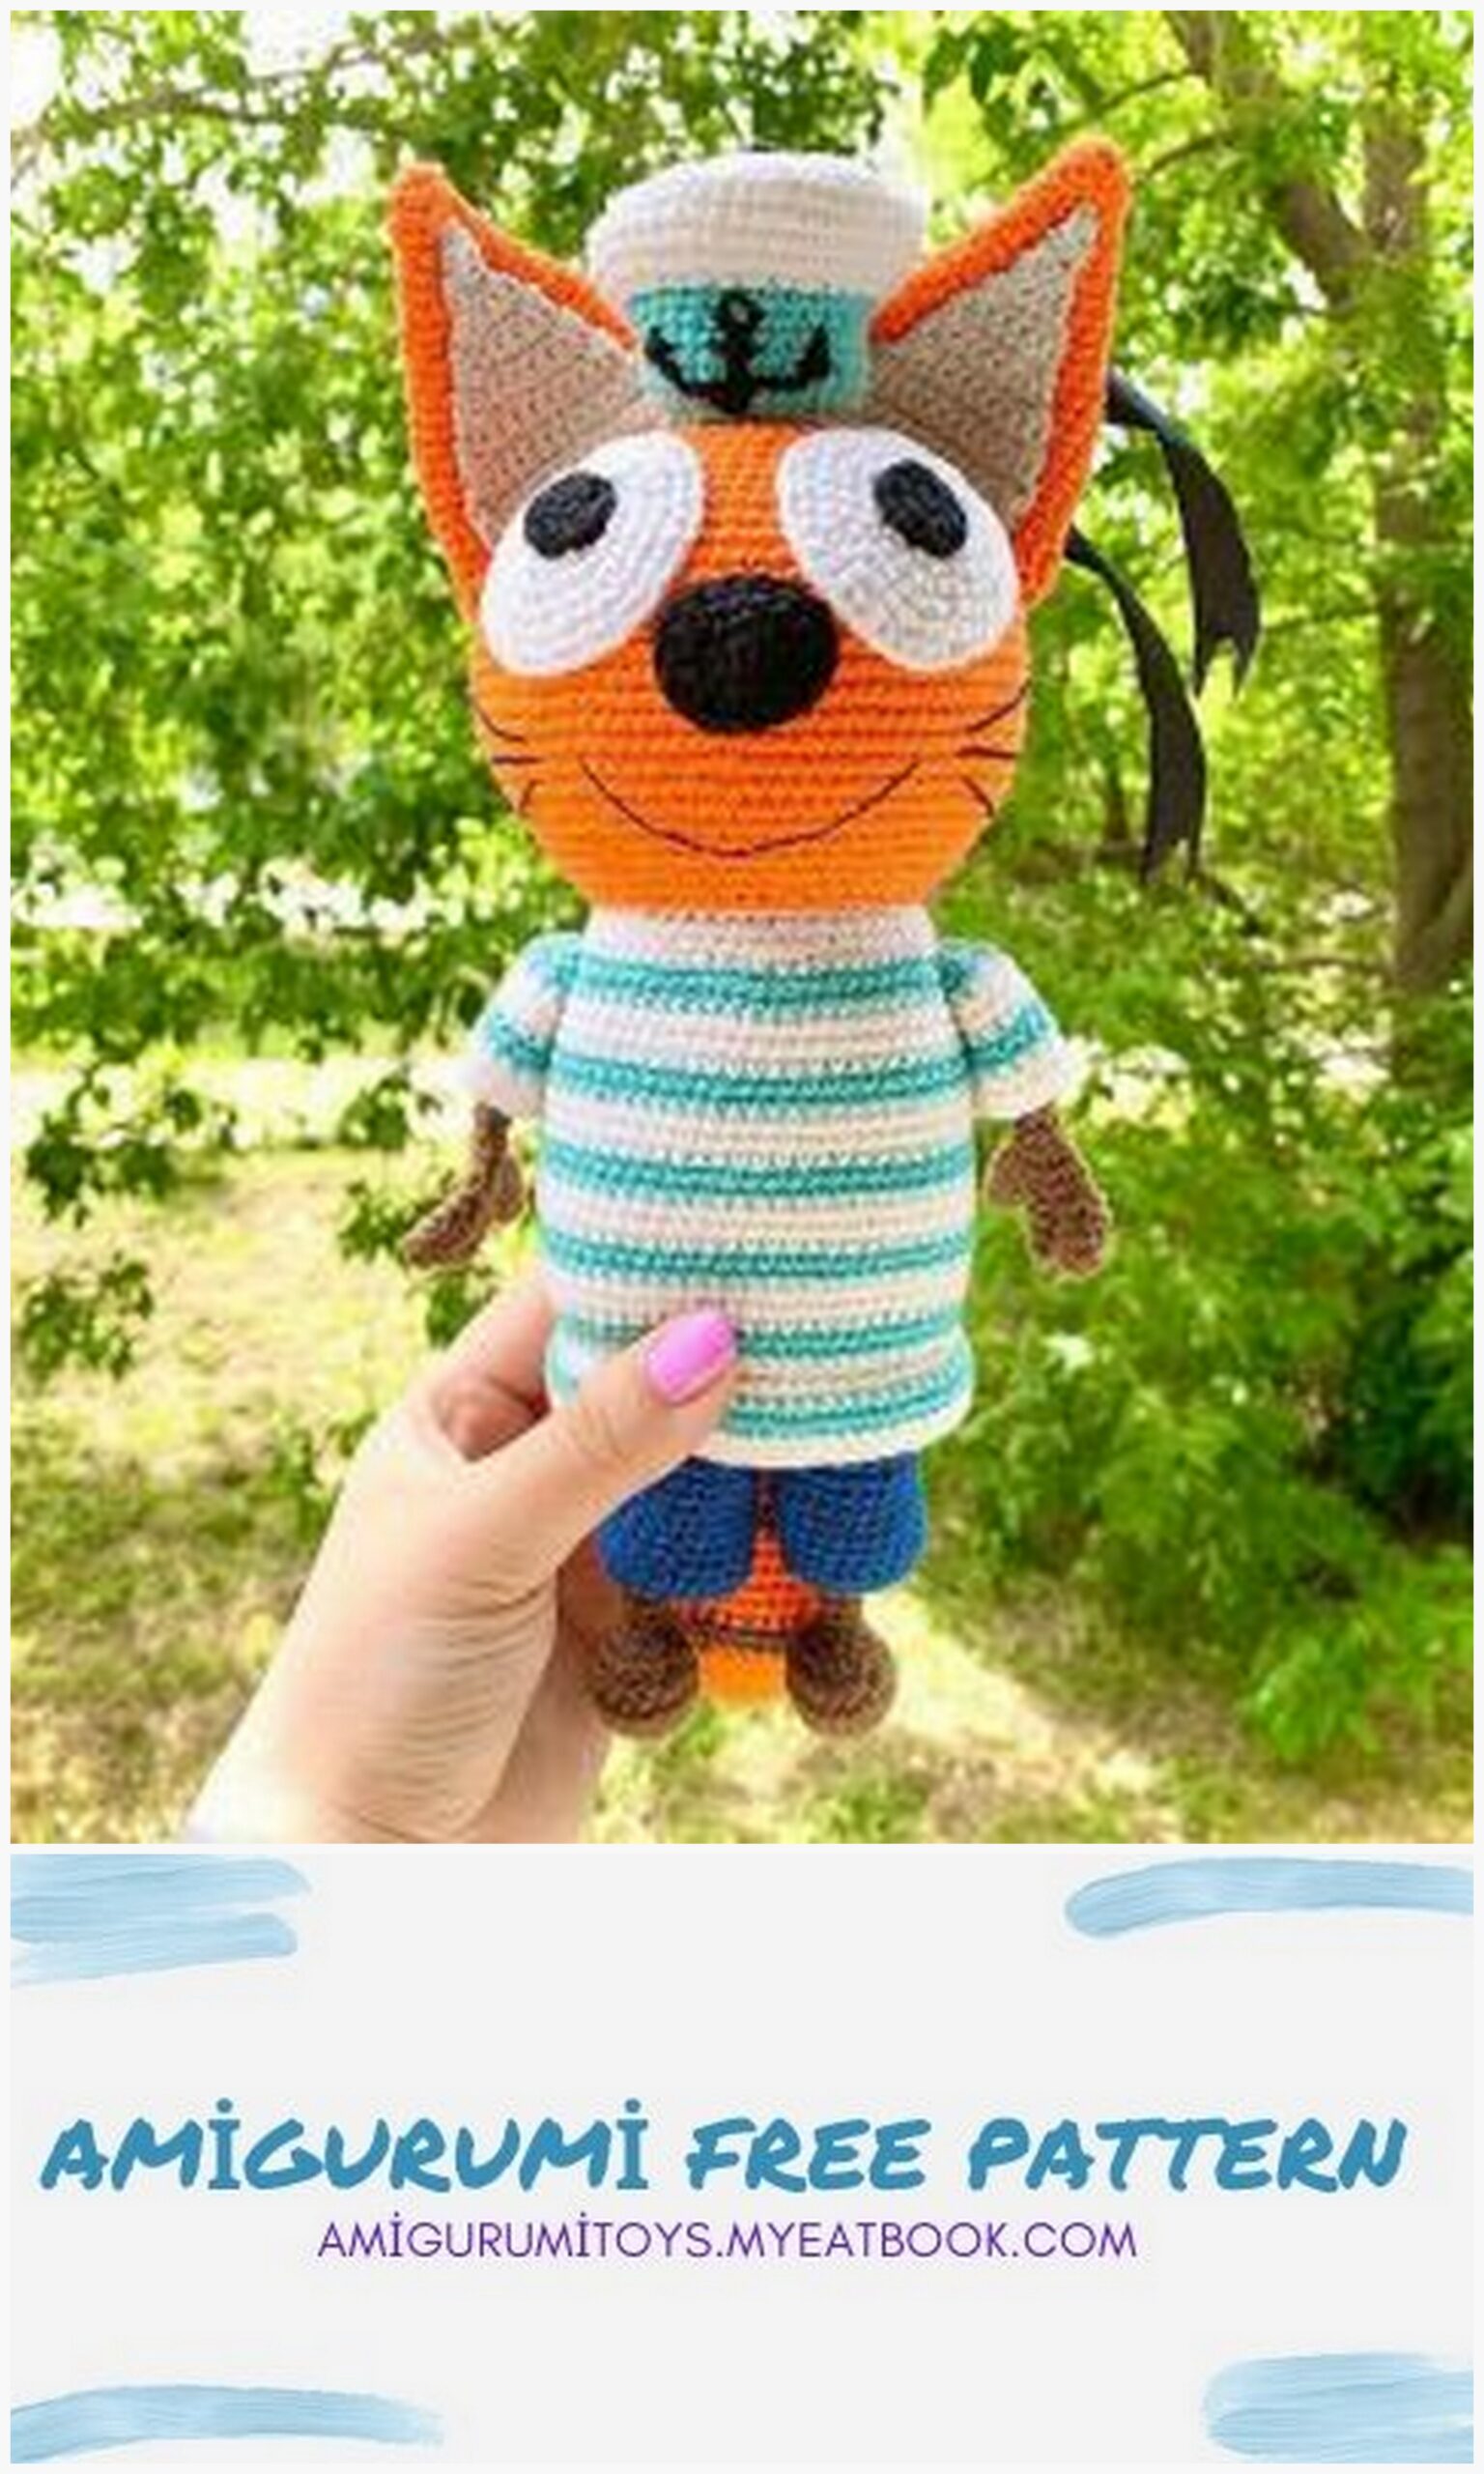
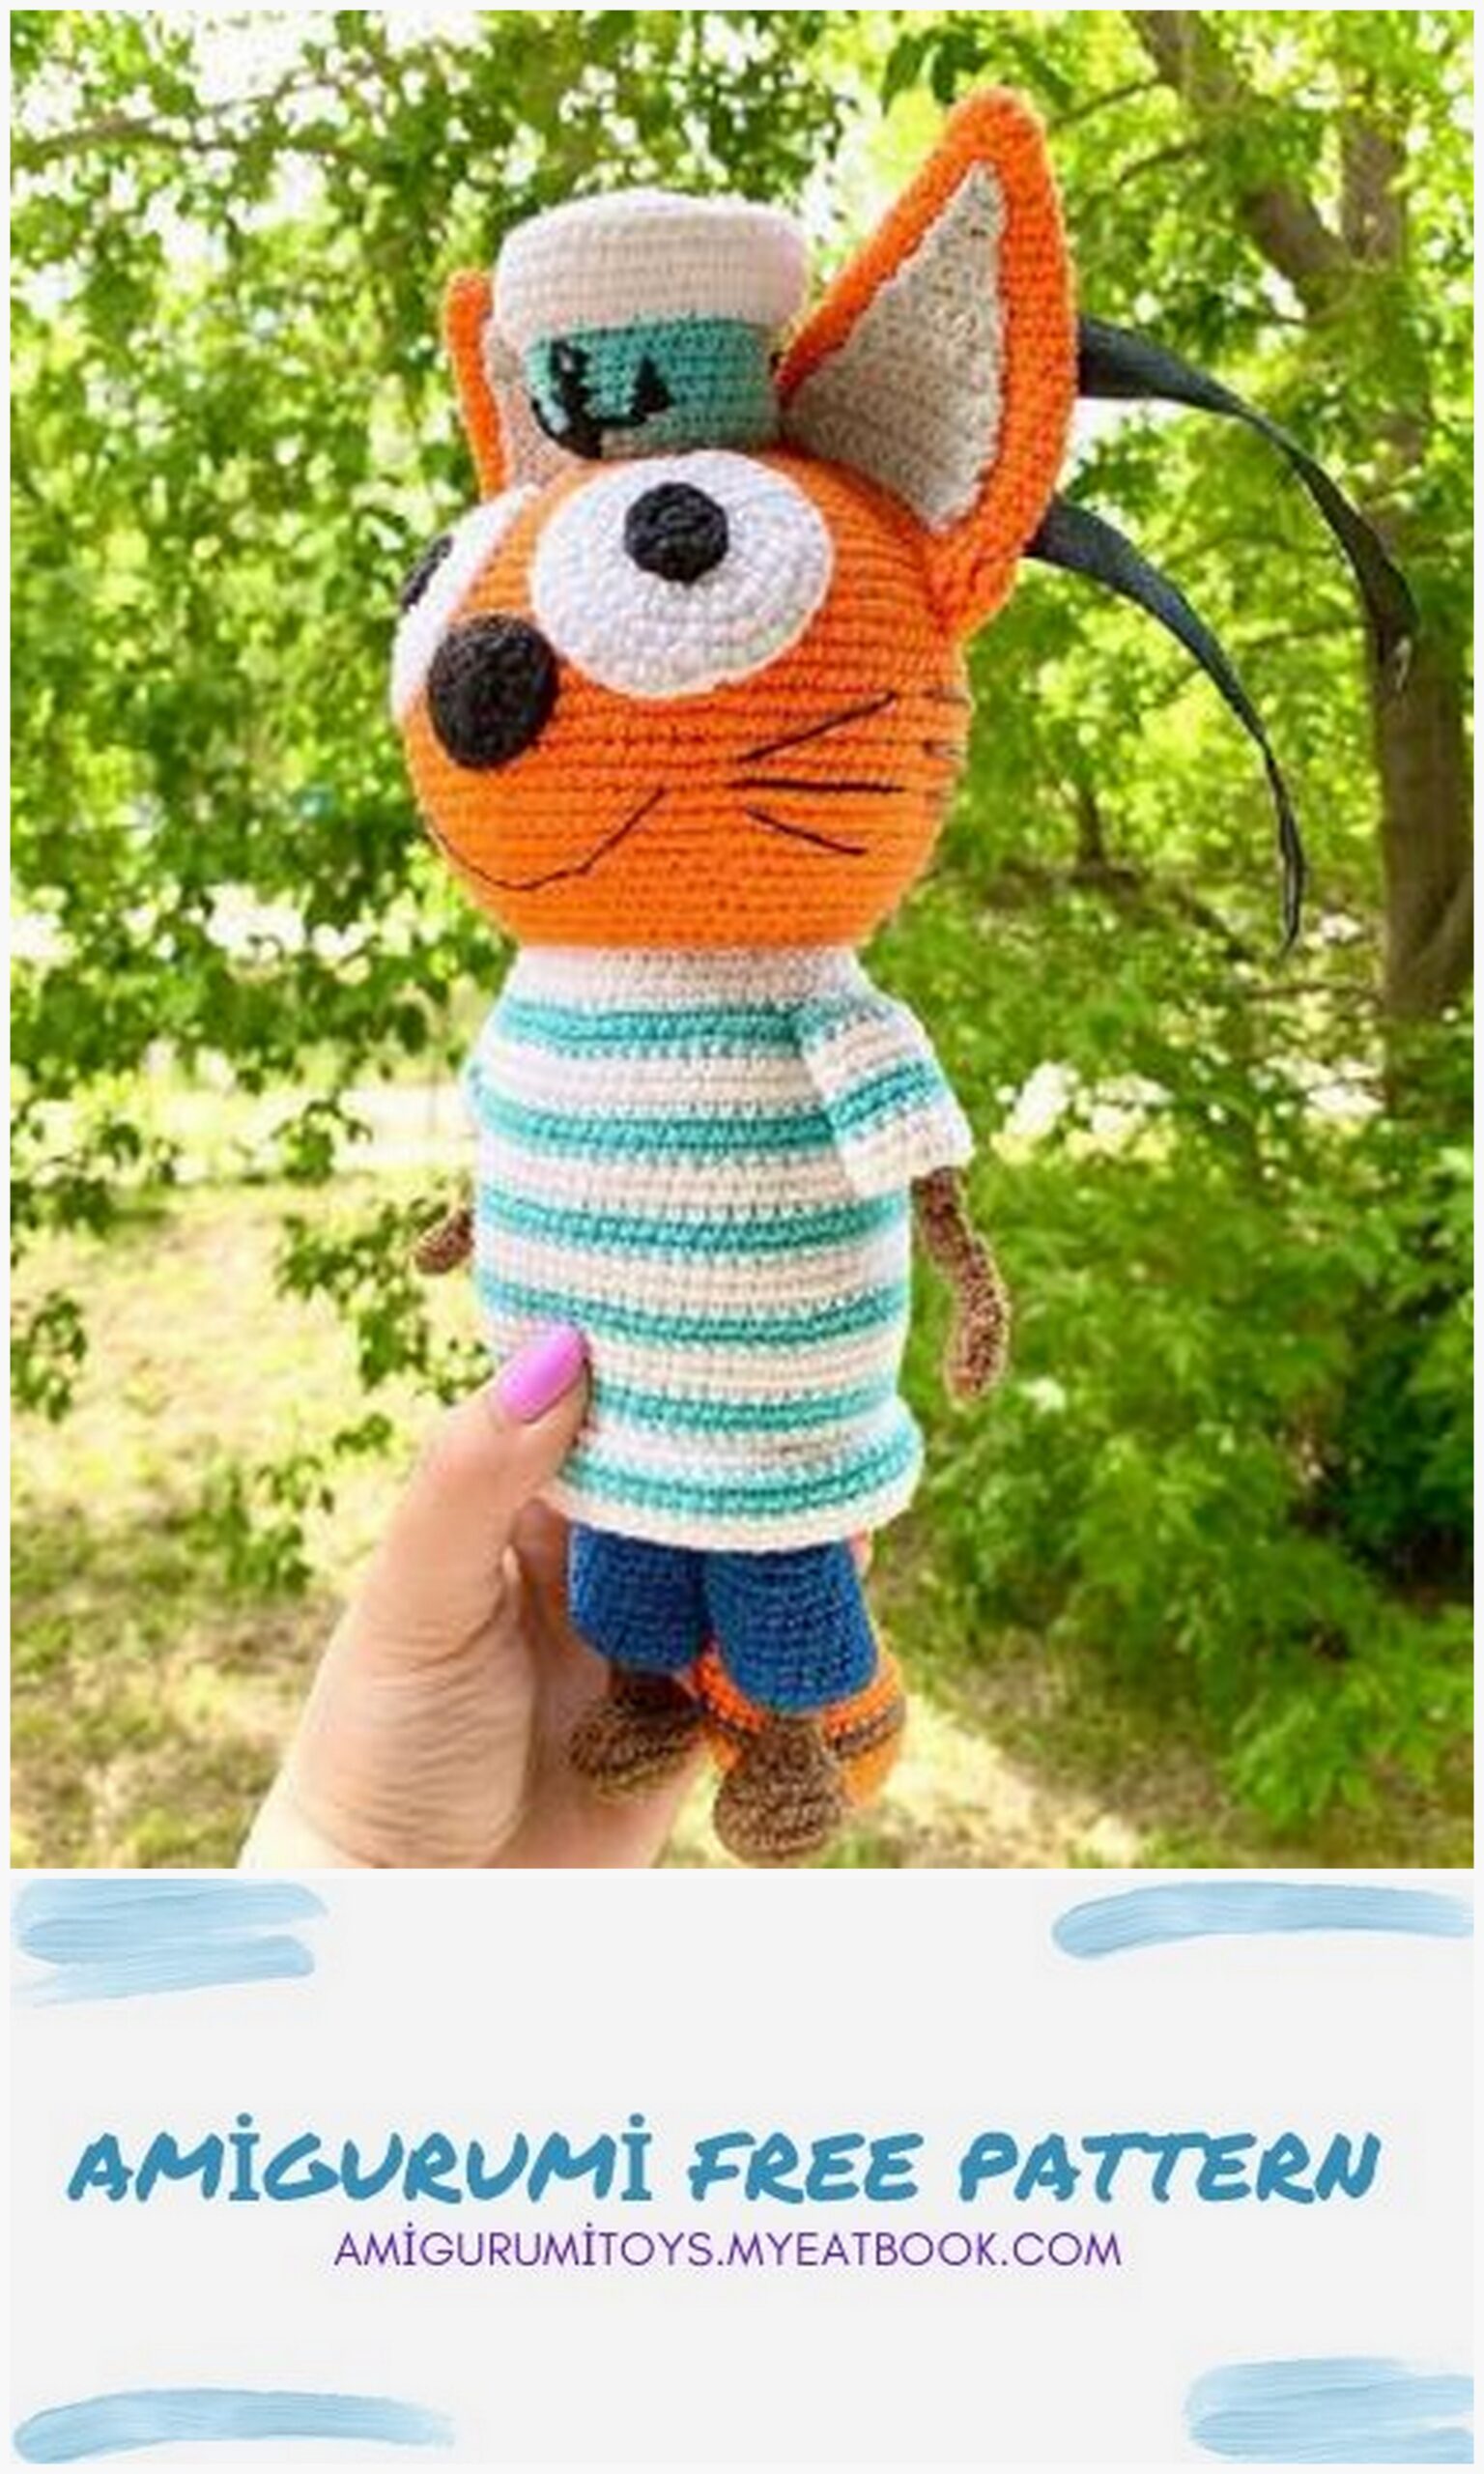
Amigurumi Cat Free Pattern cat
Materials:
1. YarnArt Jeans yarn
No. 77 – 1.5 skeins
No. 01 and 81 – 0.5 skein
No. 17 and 40 – less than half a skein
No. 53 and 62 (01) for peephole and nose
No. 49 for the middle of the ears
2. Sewing thread or floss, black
3. Black satin ribbon 30 cm
4. Hook 2.5
5. Needle for stitching parts
6. Holofiber (filler)
Legend:
MR – amigurumi ring
SC – single crochet
DC – column with 1 crochet
HDC – half double crochet
İNC – increase
DEC – decrease
SL-ST – connecting rod
CH (p) – air loop (lift)
HEAD: (orange)
1) 6 SC in MR
2) 6 İNC (12)
3) (1 SC, İNC) * 6 (18)
4) (2 SC, İNC) * 6 (24)
5) (3 SC, İNC) * 6 (30)
6) (4 SC, İNC) * 6 (36)
7) (5 SC, İNC) * 6 (42)
8) (6 SC, İNC) * 6 (48)
9) (7 SC, İNC) * 6 (54)
10) 54 SC
11) (8 SC, İNC) * 6 (60)
12) (9 SC, İNC) * 6 (66)
13) (10 SC, İNC) * 6 (72)
14) (11 SC, İNC) * 6 (78)
15) (12 SC, İNC) * 6 (84)
16) (13 SC, İNC) * 6 (90)
17 – 26) 90 SC (10 rows)
27) (13 SC, DEC) * 6 (84)
28) (12 SC, DEC) * 6 (78)
29) (11 SC, DEC) * 6 (72)
30) (10 SC, DEC) * 6 (66)
31) 66 SC
32) (9 SC, DEC) * 6 (60)
33) (8 SC, DEC) * 6 (54)
34) 54 SC
35) (7 SC, DEC) * 6 (48)
36) (6 SC, DEC) * 6 (42) Fill tightly
37) (5 SC, DEC) * 6 (36)
38) (4 SC, DEC) * 6 (30)
39) (3 SC, DEC) * 6 (24)
40) (2 SC, DEC) * 6 (18)
41) (1 SC, DEC) * 6 (12)
42) 6 DEC Cut the thread, end hide.

PANTS: (blue color)
Dial 22 CH, connect in a circle and then knit along circle
1 – 10) 22 SC (10 rows)
11) 11 SC, 1 HDC, 6 DC, 1 HDC, 3 SC (22) + 1 SL-ST
Cut the thread, leave end for sewing.
BODY: (white and blue)
1) 6 SC in MR
2) 6 İNC (12)
3) (1 SC, İNC) * 6 (18)
4) (2 SC, İNC) * 6 (24)
5) 3 HDC, İNC HDC, 2 HDC, 1 SC, İNC, 3 SC, İNC, 3 HDC, İNC HDC, 2 HDC, 1 SC, İNC, 3 SC, İNC (30)
6) 1 SC, 1 HDC, İNC HDC, 4 HDC, İNC HDC, 4 SC, İNC, 2 SC, 2 HDC, İNC HDC, 4 HDC, İNC HDC, 4 SC, İNC, 2 SC (36)
7) (5 SC, İNC) * 6 (42)
8) 3 HDC, İNC HDC, 6 HDC, İNC, 6 SC, İNC, 3 SC, 3 HDC, İNC HDC, 6 HDC, İNC, 6 SC, İNC, 3 SC (48)
9) 5 SC, İNC, (7 SC, İNC) * 5, 2 SC (54)
10) (İNC, 4 SC) * 3, 11 SC, (İNC, 4 SC) * 3, 13 SC (60)
11) (9 SC, İNC) * 6 (66) Knit 22 loops displacement.
12) 66 SC for rear half loops Marker and color change should always be on the back.
Change to blue thread
13 – 14) 66 SC (2 rows)
Change to white thread
15 – 17) 66 SC (3 rows)
Change to blue thread
18 – 19) 66 SC (2 rows) + 1 offset loop
Change to white thread
20 – 22) 66 SC (3 rows)
Change to blue thread
23 – 24) 66 SC (2 rows) + 1 offset loop Change to white thread
25 – 27) 66 SC (3 rows) Change to blue thread
28 – 29) 66 SC (2 rows) + 1 offset loop Change to white thread
30 – 32) 66 SC (3 rows) Change to blue thread
33 – 34) 66 SC (2 rows) + 1 offset loop
Change to white thread
35) (9 SC, DEC) * 6 (60)
36) (8 SC, DEC) * 6 (54)
37) (7 SC, DEC) * 6 (48)
Cut the thread, leave end for sewing.
The body is not very full tight.
VEST HALF:
In the 12th row behind the front we knit half loops in a circle.
The bottom of the body should be looking up. (photo below)
We knit with a white thread
1) 66 SC Change to blue thread
2 – 3) 66 SC (2 rows) + 1 offset loop Change to white thread
4 – 5) 66 SC Cut the thread, hide.
LEGS: (brown)
1) 6 SC in MR
2) 6 İNC (12)
3) (1 SC, İNC) * 6 (18)
4) (2 SC, İNC) * 6 (24)
5) (3 SC, İNC) * 6 (30)
6) 11 SC, 4 DEC, 11 SC (26)
7) DEC, 3 SC, DEC, 2 SC, 4 DEC, 2 SC, DEC, 3 SC, DEC (18)
Only fill the bottom of the leg.
8) 9 DEC (9)
9 – 23) 9 SC (15 rows)
Cut the thread, leave the end for sewing.
VEST SLEEVES: (white and blue thread)
Dial with white thread 18 CH, join in a circle and then knit in a circle.
We knit with a white thread
1 – 3) 18 SC (3 rows) Change to blue thread
4 – 5) 18 SC (2 rows) + 1 offset loop Change to white thread
6 – 8) 18 SC (3 rows) + 1 offset loop Change to blue thread
9) 6 SC, 6 HDC, 6 SC (18)
10) 6 SC, 3 DEC HDC, 6 SC (15) + 2 offset loops Cut the thread, leave the end for sewing.
HANDLES: (brown thread)
Fingers – 3 pcs.
1) 6 SC in MR
2 – 4) 6 SC (3 rows)
From the 3rd finger, the thread is not trim.
5) Attach the 2nd finger and knit 3 SC on it, attach 1st finger and knit 6 SC, then knit 3 SC over back side of the 2nd finger and 6 SC 1m each finger, thus you should get 18 SC
6) (1 SC, DEC) * 6 (12)
7) 12 SC
8) 6 DEC (6)
9 – 18) 6 SC (10 rows)
Cut the thread, leave the end for sewing.
EARS: (orange color)
1) 5 SC in MR
2) 5 İNC (10)
3 – 4) 10 SC (2 rows)
5) (1 SC, İNC) * 5 (15)
6 – 7) 15 SC (2 rows)
8) (2 SC, İNC) * 5 (20)
9 – 10) 20 SC (2 rows)
11) (3 SC, İNC) * 5 (25)
12 – 13) 25 SC (2 rows)
14) (4 SC, İNC) * 5 (30)
15 – 16) 30 SC (2 rows)
17) (5 SC, İNC) * 5 (35)
18 – 21) 35 SC (4 rows)
22) (6 SC, İNC) * 5 (40)
23) 40 SC
24) 3 DC, 1 HDC, 32 SC, 1 HDC, 2 DC, İNC DC (41)
25) 4 DC, 1 HDC, 31 SC, 1 HDC, 4 DC (41) + 2 DC, 1 HDC In place of the last increments there will be a fold (edges of the ears), cut, leave the end for sewing.
CENTER OF EARS: (gray)
Knits in swivel rows
1) Cast on 15 CH, from the 2nd loop from hook 14 SC + CH
2) DEC, 12 SC + CH (13)
3) DEC, 11 SC + CH (12)
4) DEC, 10 SC + CH (11)
5) DEC, 9 SC + CH (10)
6) DEC, 8 SC + CH (9)
7) DEC, 7 SC + CH (8)
8) DEC, 6 SC + CH (7)
9) DEC, 5 SC + CH (6)
10) DEC, 4 SC + CH (5)
11) DEC, 3 SC + CH (4)
12) DEC, 2 SC + CH (3)
13) DEC, 1 SC + CH (2)
14) 2 SC + CH (2)
15) DEC
Cut the thread, leave the end for sewing.
EYES (PROTEIN):
(White color)
1) 6 SC in MR
2) 6 İNC (12)
3) (1 SC, İNC) * 6 (18)
4) (2 SC, İNC) * 6 (24)
5) (3 SC, İNC) * 6 (30)
6) (4 SC, İNC) * 6 (36)
7) 36 SC
Cut the thread, leave end for sewing.
EYES (Pupil):
(black color)
1) 6 SC in MR
2) 6 İNC (12)
Cut the thread, leave the end for sewing.
SPOUT: (black color)
1) 6 SC in MR
2) İNC, İNC DC, 2 İNC,
İNC DC, İNC (12)
3) 1 SC, HDC, 2 İNC DC, HDC, 2 SC, HDC,
2 İNC DC, HDC, 1 SC (16)
4) 16 SC + 1 SL-ST
Cut the thread, leave end for sewing.
TAIL: (orange and brown)
1) 6 SC in MR
2) 6 İNC (12)
3) (1 SC, İNC) * 6 (18)
4) (2 SC, İNC) * 6 (24)
5) 24 SC
6) (3 SC, İNC) * 6 (30)
7) 30 SC
8) (9 SC, İNC) * 3 (33)
9) 33 SC
Change to Brown a thread
10 – 11) 33 SC + 2 loops offsets in the 11th row
Change to orange a thread
12) 14 SC, DEC, 1 SC, DEC, 14 SC (31)
13) 31 SC
14) 1 SC, İNC, 12 SC, DEC, 1 SC, DEC, 11 SC, İNC (31)
15) 31 SC
16) DEC, 29 SC (30)
17) (4 SC, DEC) * 5 (25) + 1 offset loop Change to brown thread
18) 12 SC, DEC, 11 SC (24)
19) 24 SC + 2 loops displacement
Change to orange thread
20 – 21) 24 SC (2 row)
Fill tightly
22) (2 SC, DEC) * 6 (18)
23 – 25) 18 SC (3 row)
Change to brown thread
26) 18 SC
27) (1 SC, DEC) * 6 (12) + 2 offset loops
Change to orange thread
28 – 29) 12 SC (2 row)
30) 6 DEC
Cut the thread, leave the end for sewing.
BLAZER: (White and blue color)
We start knitting in blue.
Leave the blue thread long, we will sew on it peakless cap to the head.
Cast on 30 CH, join in a circle and then knit in a circle.
1 – 7) 30 SC Change to white thread
8) For the front Wall half loop (1 SC, İNC) * 15 (45)
9 – 10) 45 SC
11) (4 SC, İNC) * 9 (54)
12) 54 SC
13) Behind the back Wall half loop 6 DEC, 8 SC, 2 DEC, 30 SC (46)
14) (3 SC, DEC) * 9, 1 SC (37)
15) DEC, 35 SC (36)
16) (4 SC, DEC) * 6 (30)
17) (1 SC, DEC) * 10 (20)
18) 10 DEC (5)
Next, we make decreases until the hole is will tighten.
BOMB
SPARKLES: (black color)
1) 6 SC in MR
2) 6 İNC (12)
3) 12 SC
4) 6 DEC
ASSEMBLING THE TOY:
Needles fix head to body and sew white thread.
Attach needles legs to body on distance 8-9 rows and sew on Brown thread
We put each pant leg on the already sewn one leg and fasten with needles. Sew on blue thread.
Attach the handle to the body at a distance of 4 rows from neck (on a blue strip vests)
Put on the sleeve vests on already sewn handle.
Sew on blue thread so that strips on sleeve coincided with stripes on the body.
We attach the ears with needles on distance of 2 loops from each other.
The ears should be right behind ring amigurumi (from which you started to knit the head
Fix needles middle ears on distance 2 rows from heads, sew on gray thread.
Sew the whites of the eye on a distance of 3-4 loops from each friend.
Sew on the pupils with black thread, attaching the pupils with needles.
I sewn in the middle, but you can sew anywhere like this this way you will correct your look.
Sew on the nose. The spout should close to the whites of the eyes.
We attach a peakless cap with needles in the very the center of the head so that it covers the distance between the ears.
We attach the ribbons to the back of the peakless cap, we sew with a thin needle of black sewing thread so that the arrow does not go along the ribbons.
Sew on the tail Face decoration
The bottom of the smile is at a distance of 6 rows from the spout.
The edges of a smile are 13 columns from each other.
I made a smile with sewing thread, folded in 2 times.
The length of the antennae and stripes (brown thread) adjust as you see fit. Antennae made with Mercerized cotton, you can replace with 4-fold sewing thread.
Don’t forget to embroider the anchor on the peak.
There is no embroidery pattern, rely on your fantasy.
The cookie is ready!