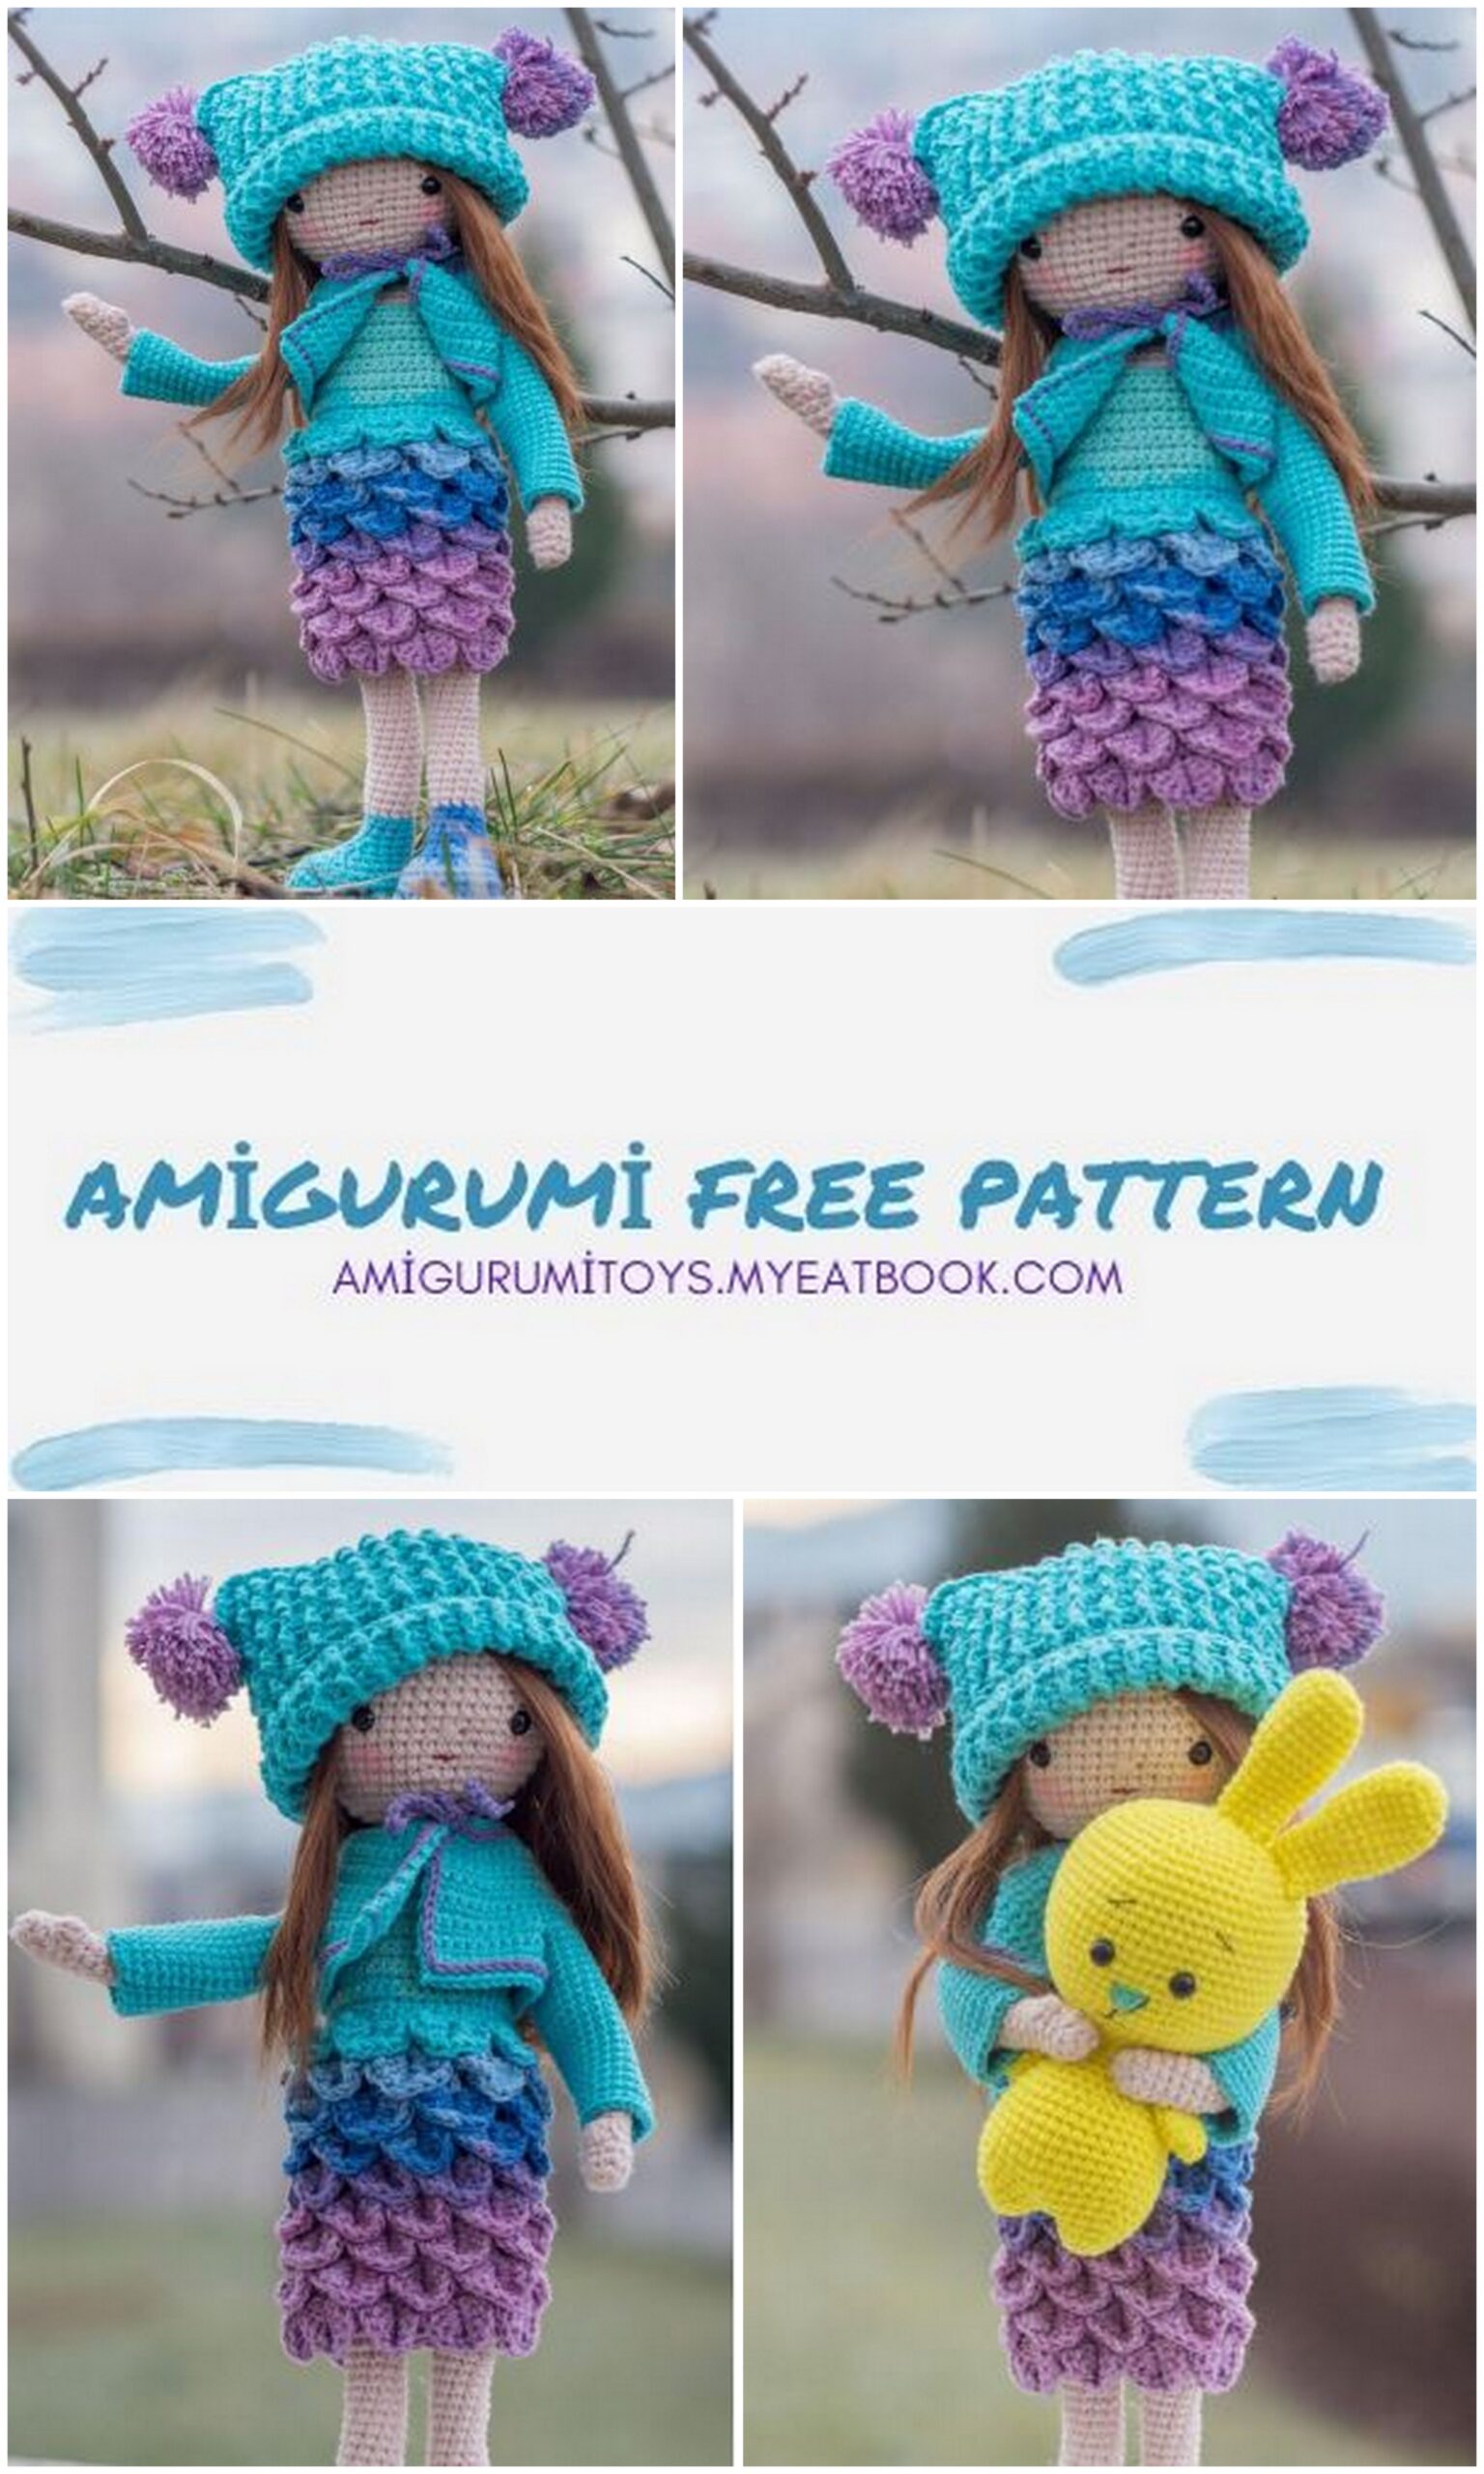
ABOUT THE PATTERN
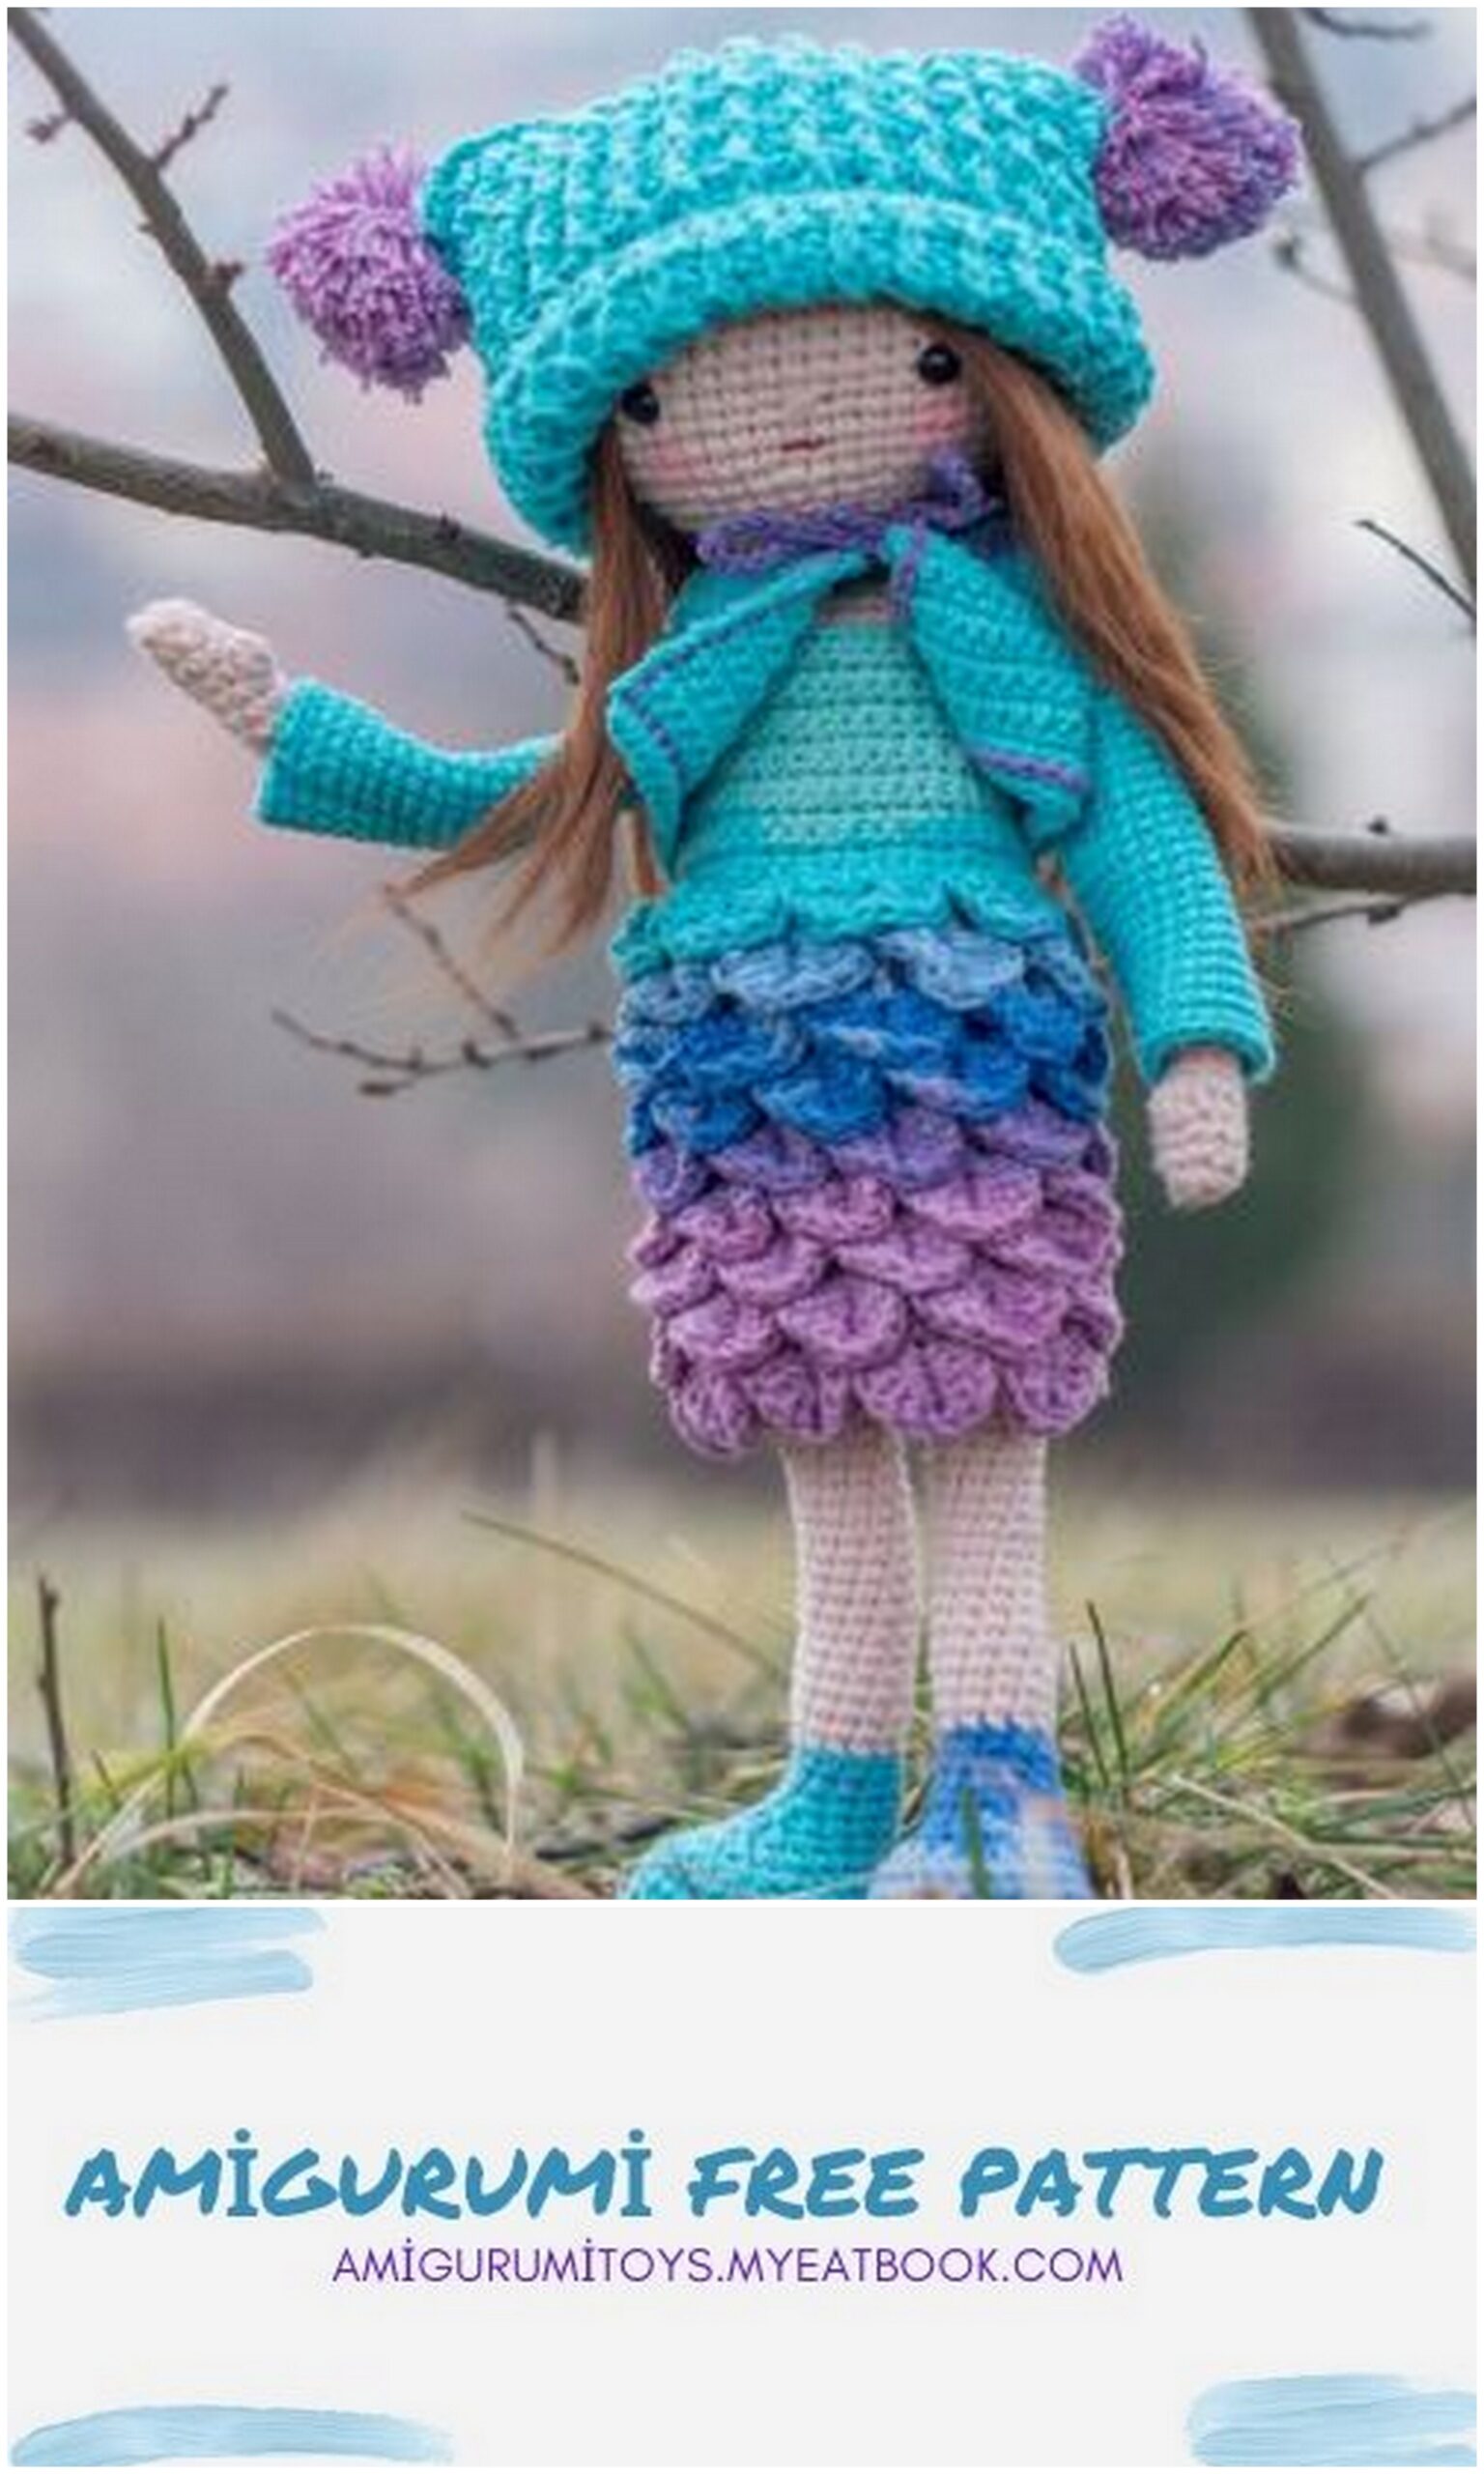
o The doll size is standing including the hat IS 40 cm. The doll can’t stand on its own
o Despite the choice of yarn size, you should adjust the hook size to avoid the stuffing from coming out between the stitches. To make a tight crochet, you can use a hook size half size or one size smaller than the hook recommended on the etiquette of the yarn
o This pattern is spiral crochet unless it is advised otherwise
o This pattern is designed to make decorative dolls, it is not intended to be used as toy for children under 3 years old, because has small parts that can be swallowed by small children. If you want to use it as a toy you must always use safety eyes (they have a lock to prevent them to turn off), and avoid using small parts (ex. button). Sew strong seams to prevent parts to be ripped apart.
WHAT YOU WILL NEED
o I used cream (skin color), gradient yarn from lila to turquoise (shoes, dress,panties), turquoise (for the coat and the hat). I used Alize Cotton Gold.
o Three buttons
o Hook size 2.75 mm (used for the body and hands) and 2 mm (used for the dress)
o Fiberfill
o 2 black safety eyes 9 mm diameter
o straight doll weft in light brown color (you’ll probably can find them in hobby stores, I ordered mine from Aliexpress)of 15 cm the length of the hair and 1 meter long
o cardboard
o metallic wire (something to sustain the doll, two pieces for the legs and body 40 cm long, and one for the hands 30-32cm long)
o Tapestry needle
o Sewing needle
o Stitch marker
o Scissors
o Pins
CROCHET TECHNIQUES
» Bubble stitch (puff stitch): * yarn over, insert hook …. pull through 2 loops* repeat 4 times, yarn
over pull through all 5 loops on the hook
» crocodile stitch, the best way and explanation I found it at
http://www.redheart.com/how-to/articles/ultimate-beginners-guide-to-the-crocodile-stitch
» Crochet in spiral rounds: work all the components of the doll (except the dress upper part ) in
spiral rounds (do not turn do not join)
» Crochet in rows: the dress is worked in rows. When you crochet rows, you have to turn your work
» Color change
» Finishing an open piece that is crocheted in spirals. When you finish working an open piece that was crocheted in spirals, you have a steep ramp on the round ends. So you have to join the round ends. This will help to minimize the jog in height, work the join as follows: 1 slip stitch in next stitch, fasten off
ABBREVIATIONS
o St-stitch
o sl -slip stitch
o Ch-chain
o Sc-single crochet
o Inc- increase
o Dec-decrease
o BLO-crochet in back loops only
o FLO-crochet in front loops only
o Sc3tog- The Single Crochet Three Together Decrease
HAND MAKE 2
With skin color yarn. do not fill.
Row 1. 6 sc in magic ring (6)
Row 2. (1sc, inc )x3 (9)
Row 3-5. sc around (9)
Row 6. bubble stitch, 8 sc (9)
Row 7-30 sc around (9)
LEG MAKE 2.
First of all you will have to make two soles. Both in gradient yarn. Crochet one of them, and leave a long yarn so that still crochet one more round after finishing the second one. After finishing the second sole don’t cut down the yarn, you will continue the shoe with it
Below you can find the pattern for the soles:
Row1. chain 6, strat in the second chain from the hook, 4 sc , 3 sc in the last chain. Now continues on the other part of the chain, with 3 sc, 2 sc in the last chain.(12)
Row 2. inc, 3 sc, 3 inc, 3 sc, 2 inc (18)
Row 3. (1sc, inc), 3 sc, (1sc,inc)x3, 3 sc,(1sc, inc)x2 (24)
Row 4. (2sc,inc), 3 sc, (2sc,inc)x3,3 sc, (2sc,inc)x2 (30) do not cut the yarn.
After having the soles ready, we cut out from the cardboard the exact shape and dimensions of the soles.
After making the second sole, you put the sole’s back to back, and unite them together crocheting on the side of them with the yarn from the first sole that we left long. You unite as follows: the first sole you go with the crochet through both loops, on the second sole you go through only the back loops of the sole (the front loops will be the base for the boot). Before finishing to unite the soles we insert the cardboard soles that we cut out between the crocheted soles After finishing we can cut the yarn with which we have united the soles. continue where we left off with the shoe.
Chain one, turn around and start the first row of the boot:
Row 1. 30 sc in the front loops of the second sole (30)
Row2-4 sc around (30)
Row 5 9 sc, 6 dec,9 sc (24)
Row 6. 7sc, 5dec, 7 sc (19)
Row 7. 6 sc, dec, Sc3tog, dec, 6 sc (15)
Row 8. 6sc,2 dec, 5sc (13)
Row 9. 5sc, dec, 6 sc (12)
Row 10-11 sc around change to skin color.
After finishing the shoe, you should cut yourself a wire of 40 cm long, bend one end in a small circle (this will be the sole, and after this circle bend again in a form of L (if you want to make sure it won’t get out of the doll you can seal the wire(also the bent ending) with duck tape. Before starting to work the leg put the wire in the shoe and stuff the shoe. if you don’t want to use wire to sustain the doll, you just simply stuff the shoe and stuff the leg while working up on it.
With skin color yarn.
Row 12.-32 sc around (12)
Row 33. inc, 11 sc (13)
Row 34. sc around (13)
Row 35. inc,12 sc (14)
Row 36. sc around(14)
Row 37. inc, 13 sc (15)
Row 38. sc around (15)
Row 39. inc,14 sc (16)
Row 40. sc around until you reach middle of the inner thigh. sl in the first leg that you make, for the second you change to gradient(color of the panties). Don not finish off on the second leg.

BODY
Start with gradient yarn. stuff while advancing with it. Chain 5 and attach the second leg in the slip
stitch that you made in the inner thigh of the first leg. this will be the first st of the first line.
Row 1. 16 sc in first leg, 5 sc in one side of the chain, 16 sc in second leg, 5 sc in the other part of the chain. (42)
Row 2-row 10. sc around (42) Change color to skin color. (bend the two wires from the two legs together in the middle of the body, it will be very helpful to spiral them or attach the together)
Row 11. sc BLO
Row 12. sc around (42)
Row 13. (5 sc, dec)x6 (36)
Row 14-15. sc around (36)
Row 16. (4 sc, dec)x6 (30)
Row 17-26. sc around (30)
Row 27. We start attaching the arms. 6 sc, 3 sc from the arm together with the next three stitches of the body(pay attention when you attach the arm that the thumb faces front of the doll), 12 sc in the body, 3 sc the arm and the body together (the same pay attention the thumb to be facing front of the doll, 6sc (30)
Row 28, continue attaching the upper part of the arm, 6 sc , 6 sc in the arm (the 6 stitches that remained not crocheted to the body from the previous row), 12 sc in the body, 6 sc in the second arm, 6 sc in the body (36).
After this row insert the wire that supports the arms. Using the same rule, we have to turn inside the ends, cover it with duct tape as in the image below and insert the wire into both arms and glue it place (I secures mine with duct tape to the wires that made up the spine of the body)
Row 29. 5 sc, dec, 4 sc, dec, 10 sc, dec, 4 sc, dec, 5 sc (32)
Row 30. 4 sc, (dec, sc)x2, dec, 8 sc, (dec,sc)x2, dec, 4 sc (26)
Row 31. 3 sc, dec, sc3tog, dec, 6 sc, dec, sc3tog, dec, 3 sc (18)
Row 32. (sc, dec)x6 (12)
Row 33-36 sc around (12)
Continue with the head
HEAD
Row 37 (1sc, inc)x6 (18)
Row 38. (1sc, inc, 1sc)x6 (24)
Row 39. (3sc, inc)x6 (30)
Row 40. (2sc, inc,2 sc)x6 (36)
Row 41. (5sc, inc)x6 (42)
Row 42. (3sc, inc,3 sc)x6 (48)
Row 43. (7sc, inc)x6 (54)
Row 44-53. sc around (54)
Row 54. (7sc, dec))x6 (48)
Row 55 sc around (48)
Insert the eyes between rows 46-47 10 stitches away and sew on the nose one row below the eyes, covering two stitches between the eyes. Sew one the mouth one row below the nose as wide as you want it
Row 56. (3sc, dec,3 sc)x6 (42)
Row 57. (5sc, dec)x6 (36)
Row 58. (2sc, dec,2sc)x6 (30)
Row 59. (3sc, dec)x6 (24)
Row 60. (1sc, dec,1sc)x6 (18)
Row 61.(1sc, dec)x6 (12)
Row 62. 6 dec
DRESS
You’ll need the gradient yarn, also we will us a hook smaller than the one used for the body (smaller with almost one size)I used a 2mm hook. same weight of yarn.
Also for the lower parts of the dress you’ll have to know how the crocodile stitch is worked. you can
learn following the instructions from the following link
(http://www.redheart.com/how-to/articles/ultimate-beginners-guide-to-the-crocodile-stitch) or just
simply search on youtube crocodile stitch to learn.
The hole dress is worked in rows.
For the lower part of the dress will work from down up the crocodile stitches . So we start with a chain of
50 +1.
Row 1. 2 dc in the 6th chain from the hook, chain one, skip 2 chains, 1 dc, chain 1, skip 2 chain 2 dc
(repeat until the end of the chain). you should have 8 2dc and dc (repeated 8 times the sequence from before).
Row 2. chain one and turn. Skip the first dc (which was the last dc of the previous row).Work 5 bpdc around the post of the second double crochet in the row.These are worked from the top down, so that the second bpdc is worked around the same post directly below the first bpdc. This makes the first half of the first crocodile scale. Crochet 5 dc post stitches around the next dc post in your row working from bottom to top. You will insert your hook from the left side to the right (if you are right-handed) and dc around the post. This creates the second half of the first crocodile scale.
Slip stitch in the next dc. This secures the crocodile scale to the row.
You are now ready to create the next set of alternating dc stitches that will look similar to the row that you had at the end of step five.Turn and chain 1. Slip st in center of first scale. Ch 42 dc in the next slip st. (You will notice that there are 2 dc in the row below. One has the texture of the five dc worked around it for half of a crocodile scale. The other has no texture and has a slip st at the top. Work your 2 dc into this slip st.)Ch 1, dc in center of scale. Ch 1, 2 dc in next slip st. Repeat steps across row. End with 2 dc in last stitch.
After finishing the first two rows in crocodile stitch we have to check if it will fit the doll (we’ll try it if it long enough the line to get it over the hips of the doll).
Work 18 rows from the crocodile stitch. working these 18 rows in crocodile stitch we continue with a the upper part of the dress. For the buttonholes chain 6 at the end of the row where you want the button holes to be and start the next row.
Row 19. sc around (46 st).
Row 20-25. sc around for the next 6 rows. (46 st)
Row 26. 5sc,dec, repeat until the end of the row(40st).
Row 27. 9 sc dec 18 sc dec 9 sc (38st)
Row 28-30. sc around (38st)
row 31 7sc chain 10 skip 5 14 sc chain 10 skip 5 7 sc
Row 32. 48 sc around
Leave along tail for sewing on the buttons and the back of the dress together
We sew together the two end of the crocodile stitches. (we don’t sew together the sc parts of the dress).
We sew on the buttons from the back and we have the dress ready.
HAT
The hat is worked with a crochet of 2.75, the same as the body and with turquoise yarn. Chain 60+3
Row 1.dc in the 4th chain from the hook, dc along the row.
Row 2. chain 3 turn, and alternate between front post dc and back post dc.
If you are ending in a front post double crochet , when you get to the next row you will have to start
with a back post double crochet.
Do the same for 16 rows. when finished leave a long tail for sewing the hat together.
With the gradient yarn do the fringes for the hat.
COAT
he coat as the dress is worked with a 2mm hook and with turquoise yarn. Chain 30+1
Row 1. 30 sc starting the second chain from the hook (30 st)
Row 2. (2sc, inc, 2 sc)x6 (36st)
Row 3. (2sc,inc,3 sc)x6 (42st)
Row 4. 42 sc
Row 5. (3 sc, inc, 3sc)x6 (48st)
Row 6. (3sc, inc,4sc)x6 (54st)
Row 7.-8. 54 sc
Row 9 (4sc,inc,4sc)x6 (60st)
Row 10. 60 sc (60st)
Row 11. 10 sc, chain 10,skip 10 stitches, 20sc, chain 10,skip 10 stitches,10 sc (60st)
Row 12-16. 60 sc(60st). In the chain of 10 we do10s.
Cut the yarn and weave all the ends.
Sleeves
Set the yarn in the lower center of the center of the sleeve hole. Work the sleeves in closed rounds.
Row 1-24. 22 sc
The lila edge is done with slip stitch all around the edge of the coat.
ATTACHING THE HAIR
We undo the weft, and we start sewing it to the head starting with row 4 from the top of the head,
advancing towards the top of the head.
When we arrive to the top of the head you’ll have to roll some of the weft and sew true it and sew it with the wefts ending on top of the head.
After you can adjust the hairdressing. For a better understanding take a look at the link below, the hair it is sewed to the head respecting the same principles like making a wig from the link
http://parabox.jp/eng_new/custom/custom-wig4.html
ASSEMBLY OF THE DOLL
So the body is ready, you just have to hide away the endings of the changes of color from the doll.
The dress is ready.
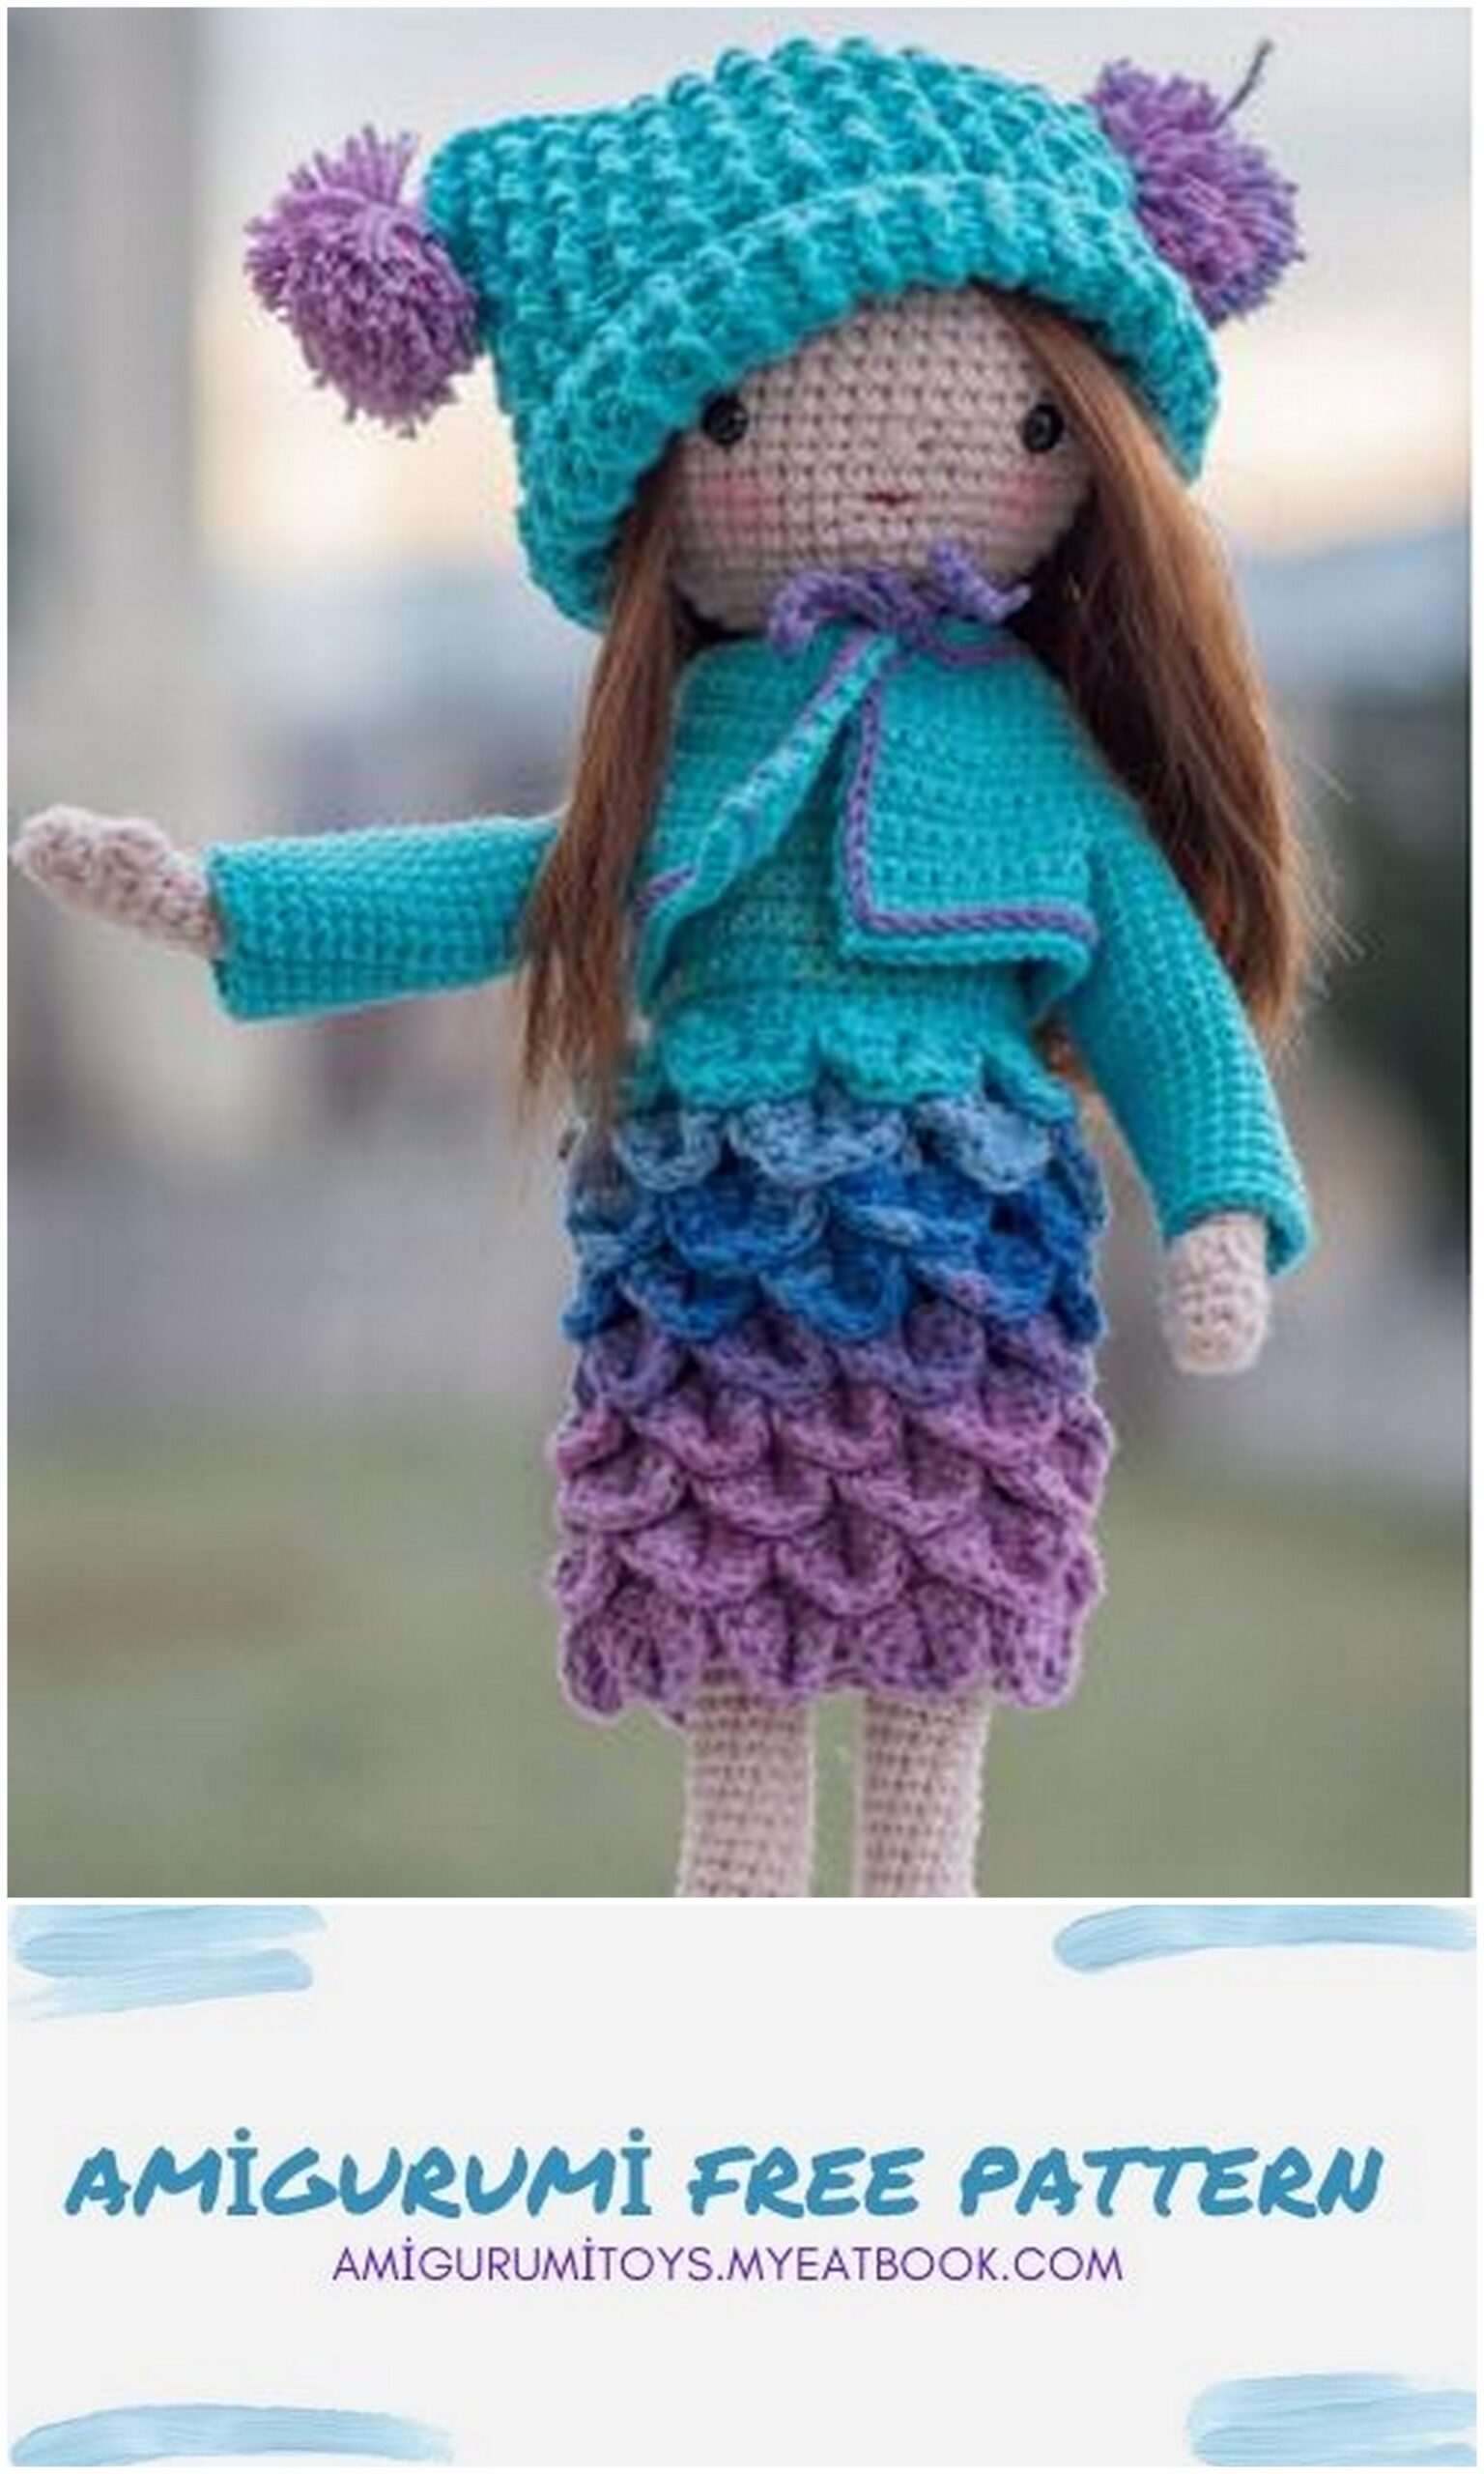
We put the dress on, the hat on and the coat on. We put some blush in the cheeks.
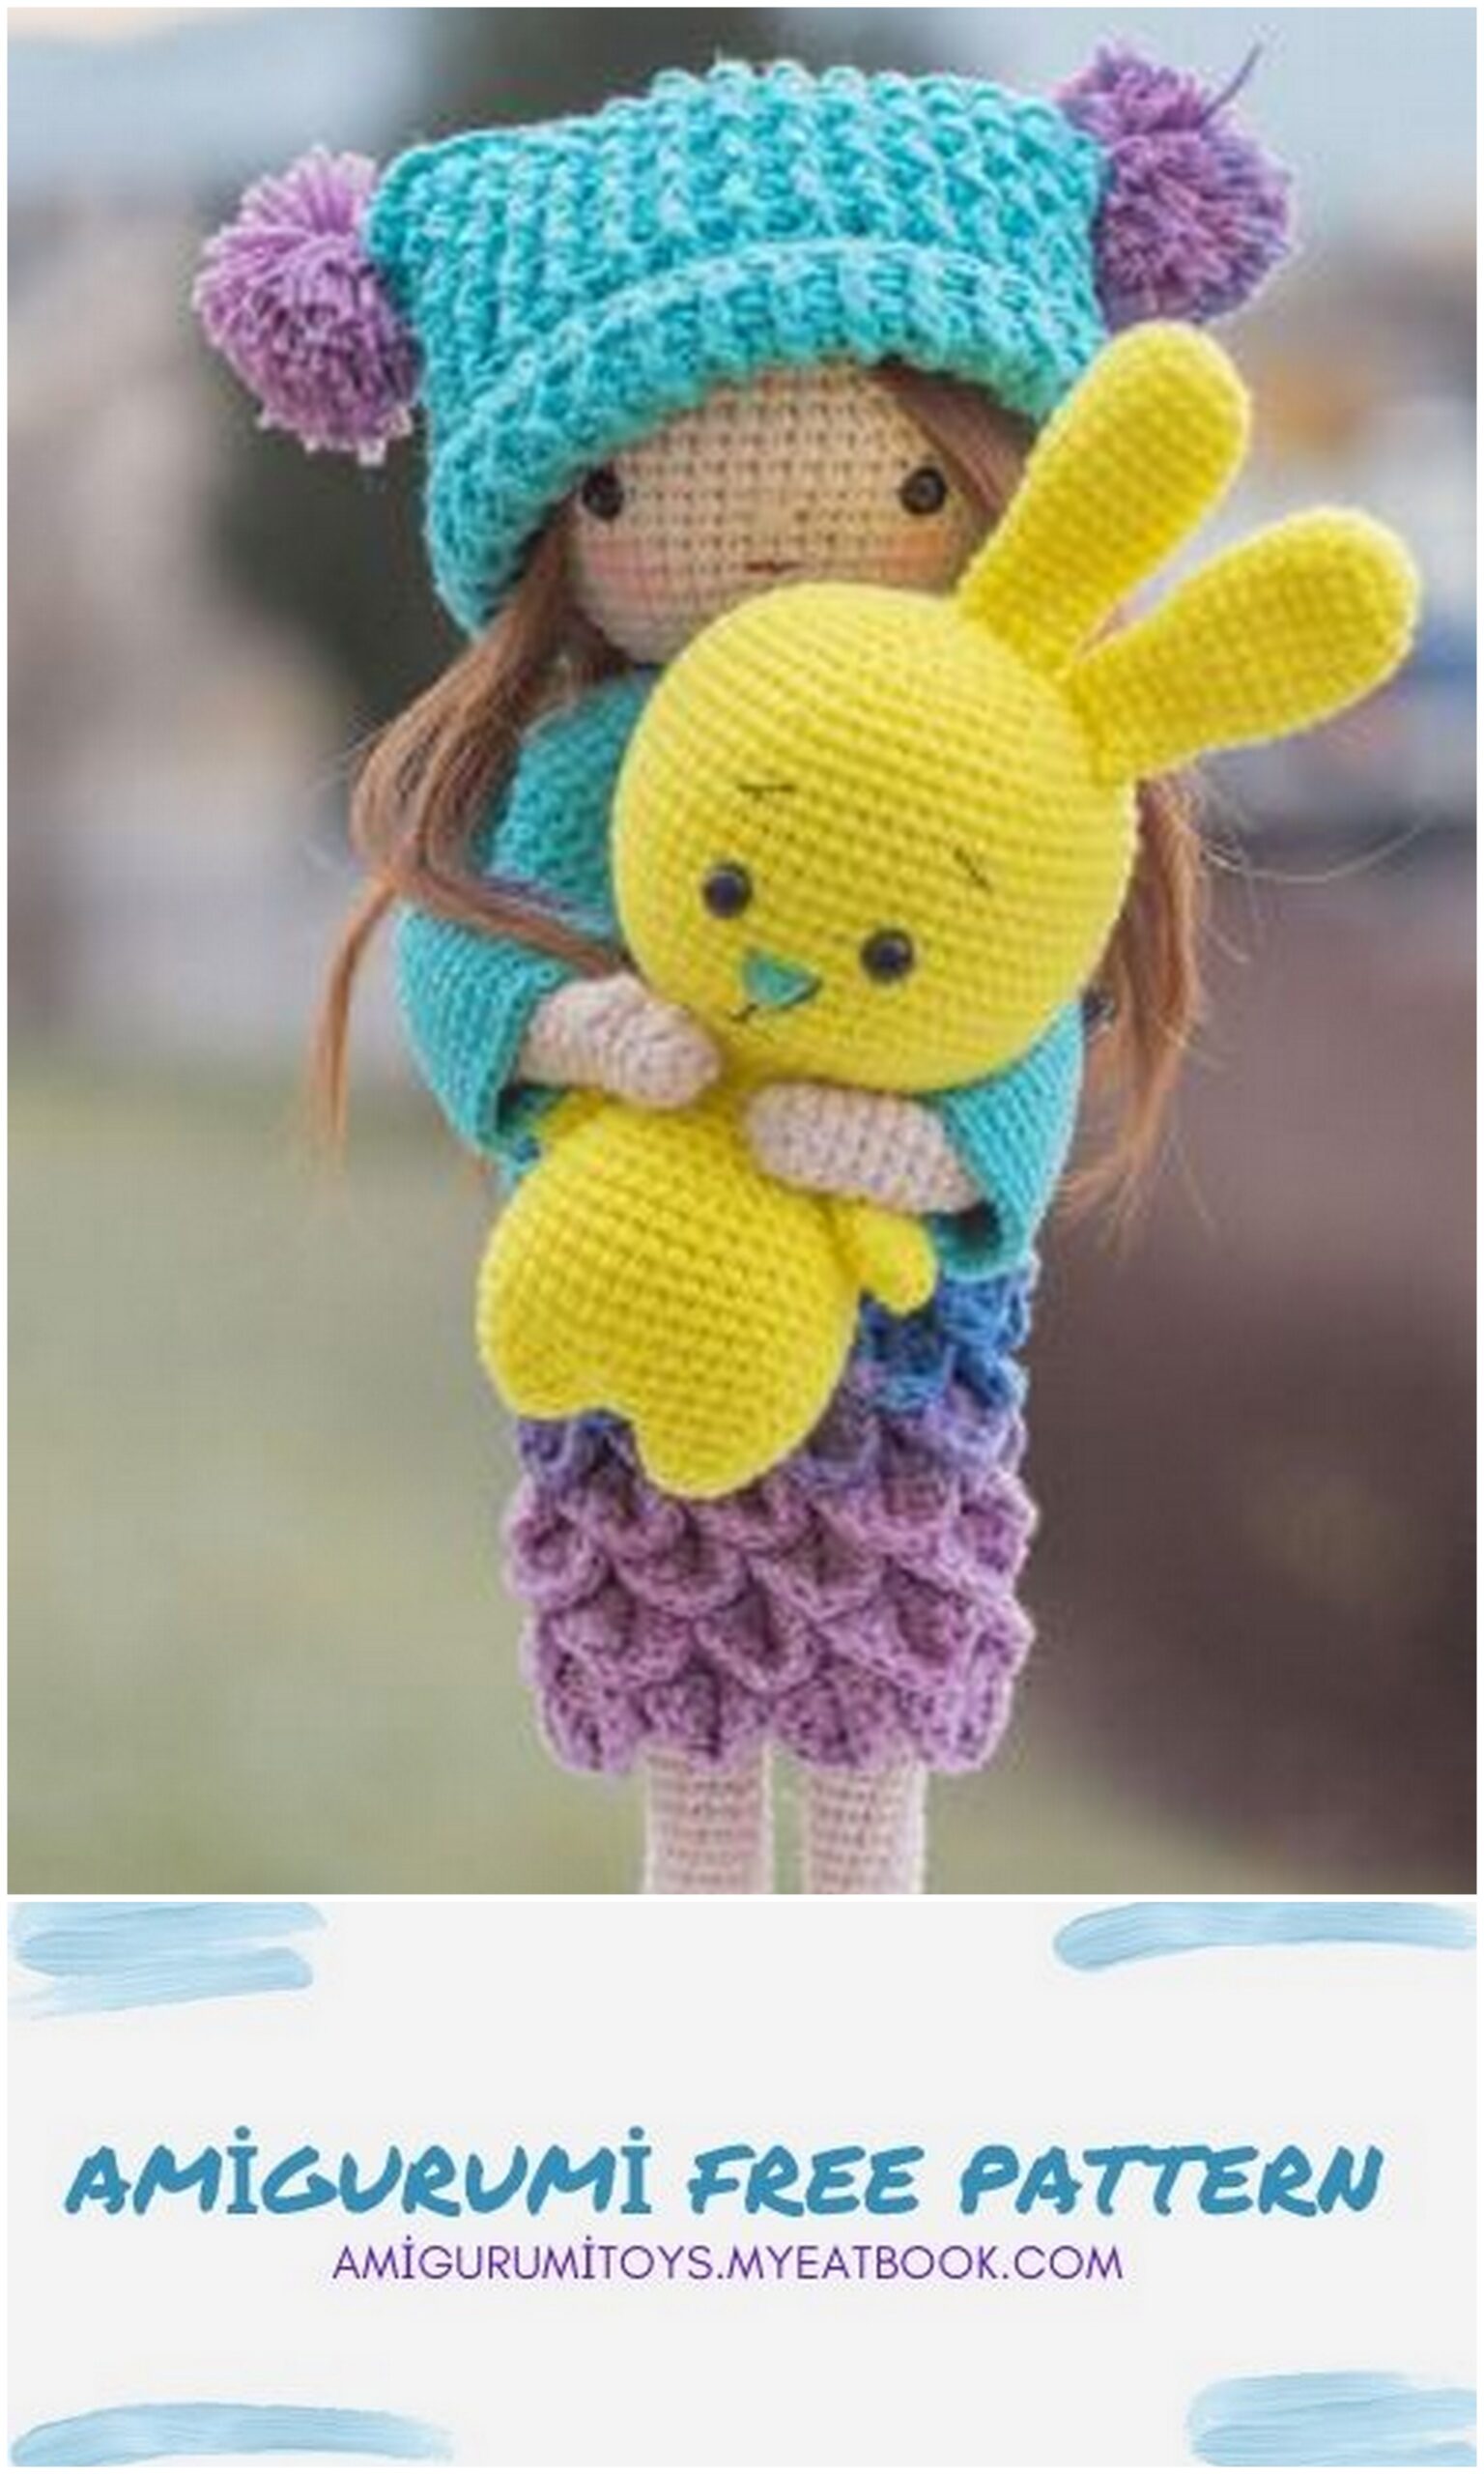
YOU HAVE DOLL CORAL READY!!