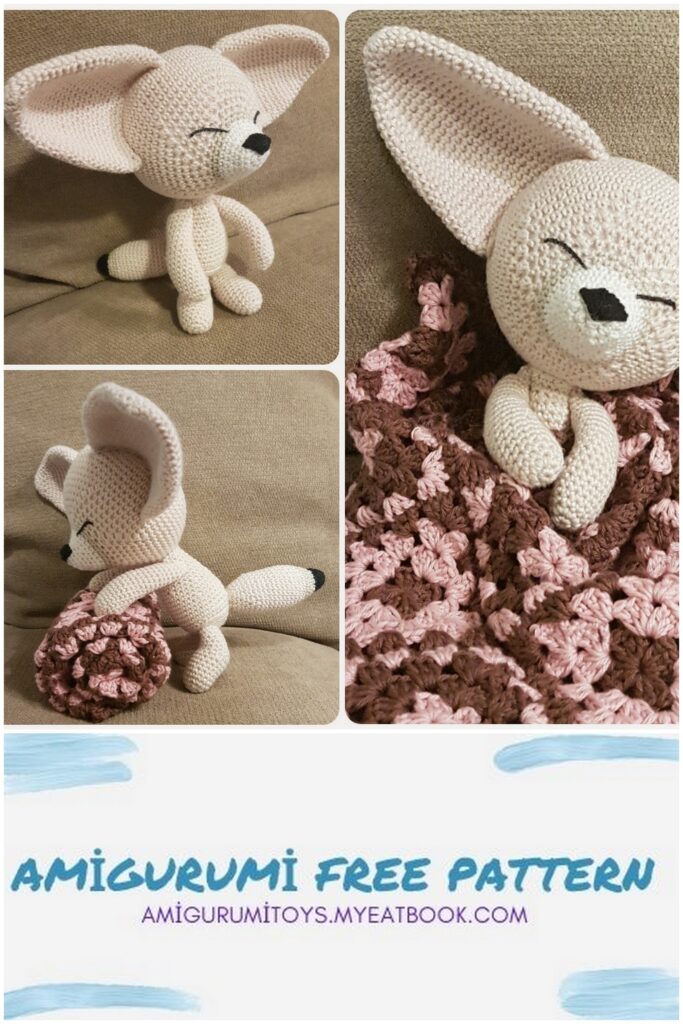
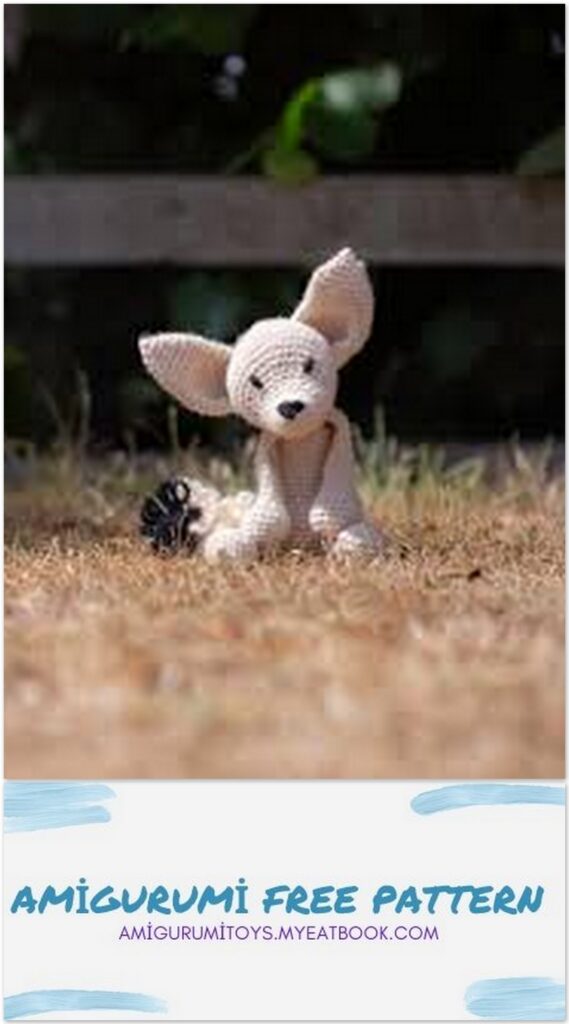
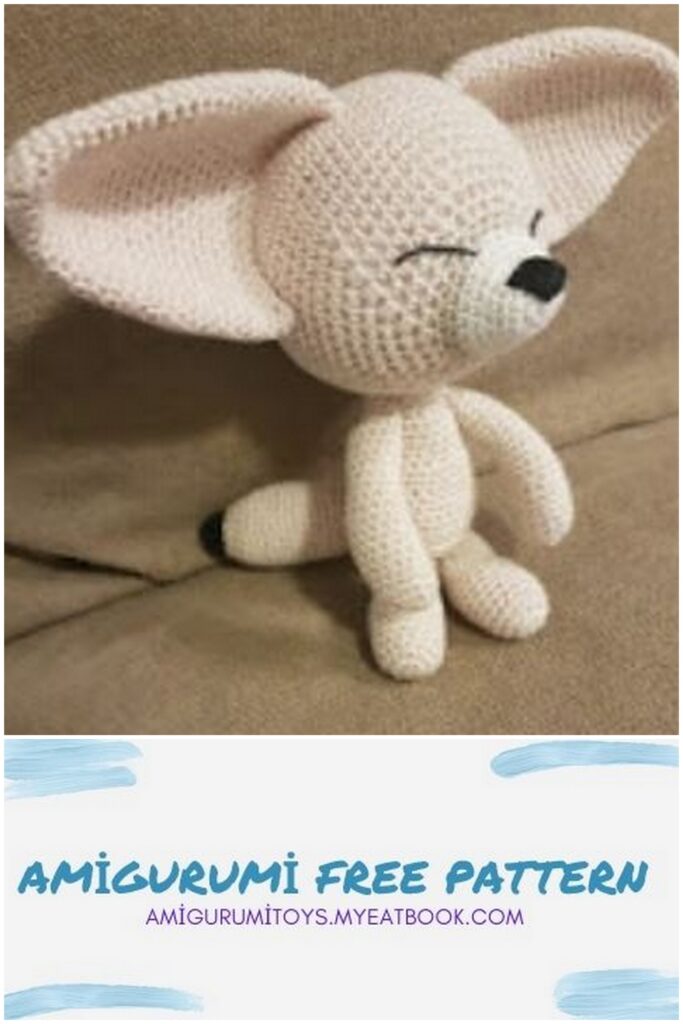
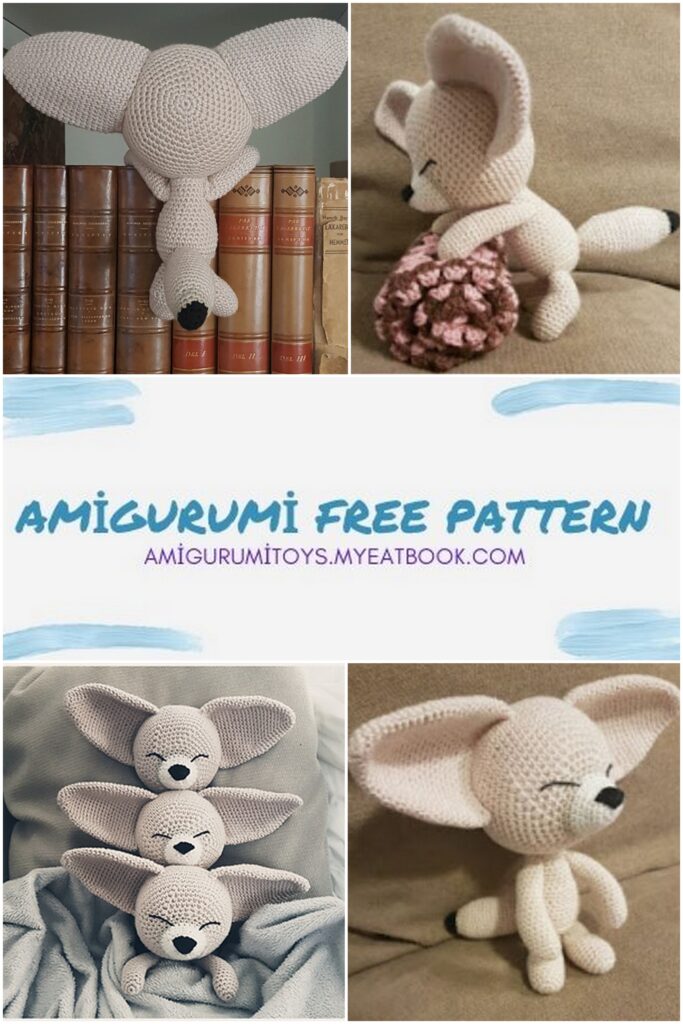
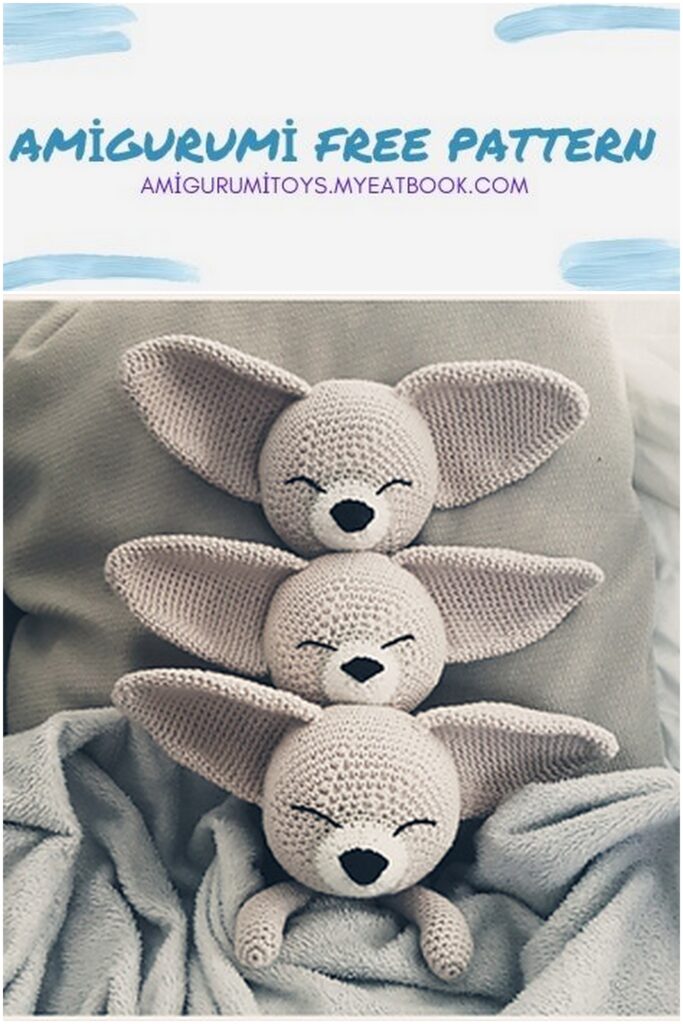
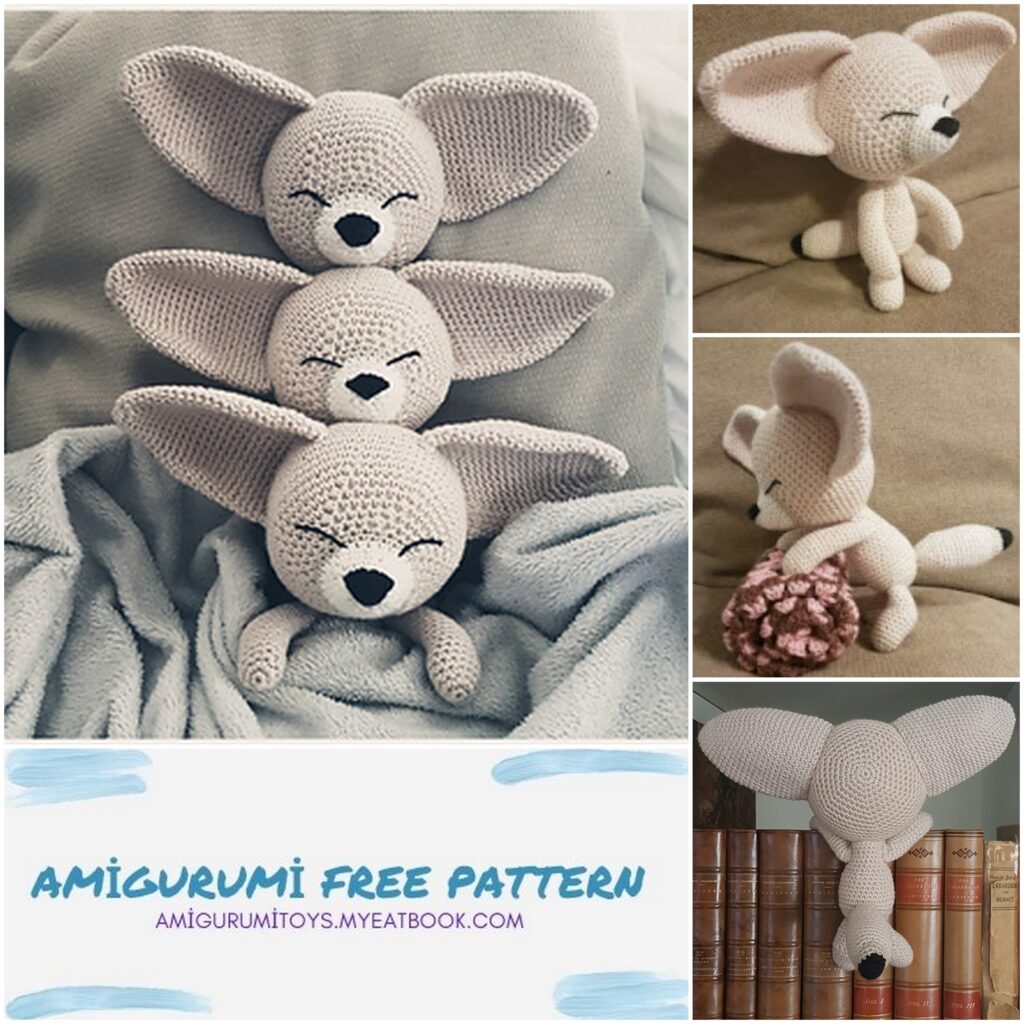
Amigurumi The Fennec Fox Free Pattern
So, this is the pattern for my original design The Fennec Fox. If you by any chance use it and want to share or sell your creation, please make a note about the gurus origin.
Height: Approx. 18 cm
Yarn: Tilda (by Svarta Fåret)
Yarn colours: light beige (base colour, 1 skein), beige, white and black (for details)
Hook size: 2,5 mm
Optional: If you want the arms to be bendable, put in a bent fluffy chenille in the arms while stuffing them.
Part I: The Head (Start with light beige)
1) Magic circle (6)
2) 2 sc in each st (12)
3) 1 sc in the next st then 2 in the next st (18)
4) 1 sc in the next 2 sts then 2 in the next st (24)
5) 1 sc in the next 3 sts then 2 in the next st (30)
6) 1 sc in the next 4 sts then 2 in the next st (36)
7) 1 sc in the next 5 sts then 2 in the next st (42)
8) 1 sc in the next 6 sts then 2 in the next st (48)
9) 1 sc in the next 7 sts then 2 in the next st (54)
10) 1 sc in the next 8 sts then 2 in the next st (60)
11) 1 sc in the next 9 sts then 2 in the next st (66)
12-19) I sc in each st for 8 rows (66)
20) 1 sc in the next 9 sts then 2 tog (60)
21) 1 sc in the next 8 sts then 2 tog (54)
22) 1 sc in the next 7 sts then 2 tog (48)
23) 1 sc in the next 6 sts then 2 tog (42)
24) 1 sc in the next 5 sts then 2 tog (36)
25) 1 sc in the next 4 sts then 2 tog (30)
26) 1 sc in the next 3 sts then 2 tog (24) – change colour on last st (beige)
27-28) I sc in each for 2 rows (24) – change colour on last st (white)
29-30) I sc in each for 2 rows (24) – stuff most of the head
31) 1 sc in the next 2 sts then 2 tog (18)
32-33) I sc in each st for 2 rows (18)
34) 1 sc in the next st then 2 tog (12)
35) 1 sc in the next 2 sts then 2 tog (9) – stuff and shape the rest of the head and muzzle
36) 2 tog, then f/o
Weave in and out of the remaining stitches and close the gap.
Sew the top of the nose on using black yarn and needle.
Part II: The Ears (light beige)
1) Magic circle (6)
2) 2 sc in each st (12)
3) 1 sc in each st for 1 row (12)
4) 1 sc in the next 3 sts then 2 in the next st (15)
5) 1 sc in the next 4 sts then 2 in the next st (18)
6) 1 sc in the next 5 sts then 2 in the next st (21)
7) 1 sc in the next 6 sts then 2 in the next st (24)
8) 1 sc in the next 7 sts then 2 in the next st (27)
9) 1 sc in the next 8 sts then 2 in the next st (30)
10) 1 sc in the next 9 sts then 2 in the next st (33)
11) 1 sc in the next 10 sts then 2 in the next st (36)
12) 1 sc in the next 11 sts then 2 in the next st (39)
13) 1 sc in the next 12 sts then 2 in the next st (42)
14-27) I sc in each st for 14 rows (42)
f/o and leave a long thread for sewing.
Part III: The Body (light beige – stuff as you go along)
1) Magic circle (6)
2) 2 sc in each st (12)
3) 1 sc in the next st then 2 in the next st (18)
4) 1 sc in the next 2 sts then 2 in the next st (24)
5) 1 sc in the next 3 sts then 2 in the next st (30)
6) 1 sc in the next 9 sts then 2 in the next st (33)
7) 1 sc in each in the back loop of each st (33) (this is for nicer folding – works without it as well; if so, just make a normal row.)
8-11) I sc in each st for 4 rows (33)
12) 1 sc in the next 9 sts then 2 tog (30)
13-14) I sc in each st for 2 rows (30)
15) 1 sc in the next 3 sts then 2 tog (24)
16-19) 1 sc in each st for 4 rows (24)
20) 1 sc in the next 4 sts then 2 tog (20)
21-22) 1 sc in each sts for 2 rows (20)
f/o, leave a long thread for sewing
Part IV: The Legs (light beige)
1) Magic circle (6)
2) 2 sc in each st (12)
3) 1 sc in the next 2 sts, then 2 in the next st (16)
4-9) 1 sc in each st for 6 rows. At the end of the last row: 1 ch, turn (this is the start of the heel)
10) 1 sc in the next 6 sts, then 1 ch, turn
11) 1 sc in each st for 1 row (20)
12) 1 sc in the next 3 sts, then 2 tog (16)
13-14) 1 in each for 2 rows (16)
15) I sc in the next 2 sts, then 2 tog (12)
16-17) 1 sc in each st for 2 rows (12)
Stuff the foot and leg and leave a thread for sewing
Part V: The Arms (light beige)
1) Magic circle with 5 sts (5)
2) 2 sc in each st (10)
3) 1 sc in the next 4 sts then 2 in the next st (12)
4) 1 sc in the next 5 sts, then 2 in the next (14)
5-8) 1 sc in each st for 4 rows (14)
9) 1 sc in the front loops for 7 sts, 1 sc in the rest (14) (this is for nicer folding of the palm, if you use fluffy chenilles to make the arms bendable – works without it as well; if so, just make a normal row.)
10-12) 1 sc in each st for 3 rows (14)
13) 1 sc in the next 5 sts, then 2 tog (12)
14-22) 1 sc in each st for 9 rows
f/o, leave a thread for sewing, stuff the arms lightly.
Optional: If you want the arms to be bendable, put in a bent fluffy chenille in the arms while stuffing them. Make sure there are no sharp ends sticking out.
Part VI: The Tail (start with black)
1) Magic circle (6)
2) I sc in the next st then 2 sc in the next st (9)
3) 1 sc in the next 2 sts then 2 in the next st (12)
4) 1 sc in each st for one row (12) – change colour on last st (beige)
5) 1 sc in the next 3 sts then 2 in the next st (15)
6) 1 sc in the next 4 sts then 2 in the nextst (18)
7) 1 sc in each st for one row (18) – change colour on last st (light beige)
8) 1 sc in the next 5 sts then 2 in the next st (21)
9) 1 sc in the next 6 sts then 2 in the next st (24)
10-18) 1 sc in each st for 9 rows (24)
19) 1 sc in the next 6 sts then 2 tog (21)
20) 1 sc in the next 5 sts then 2 tog (18)
21) 1 sc in each st for one row (18) (stuff most of the tail)
22) 1 sc in the next 4 sts then 2 tog (15)
23) 1 sc in each st for one row (15)
24) 1 sc in the next 3 sts then 2 tog (12)
25) 1 sc in the next 2 sts then 2 tog (9) (stuff the rest of the tail)
f/o, leave a thread for sewing
Now, assemble the Fennec! Good luck!
