Hello to everyone who loves amigurumi,
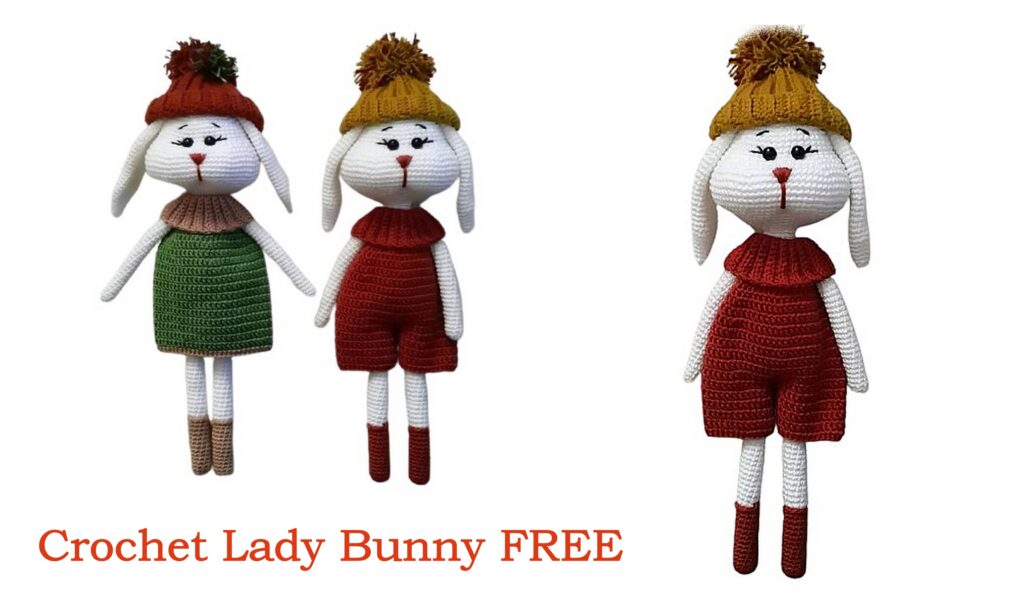
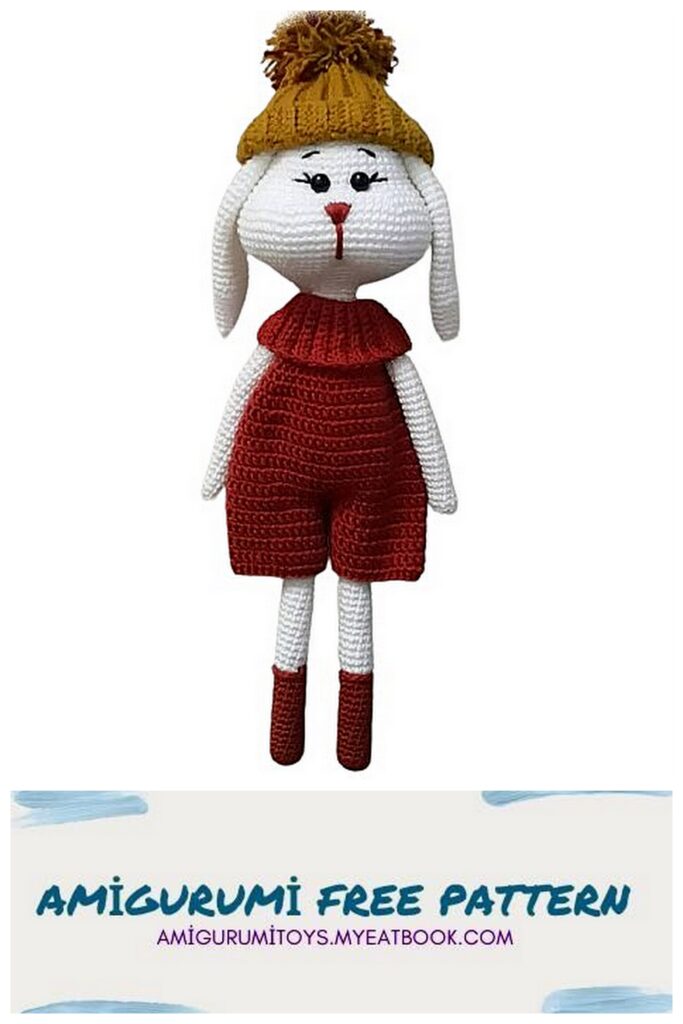
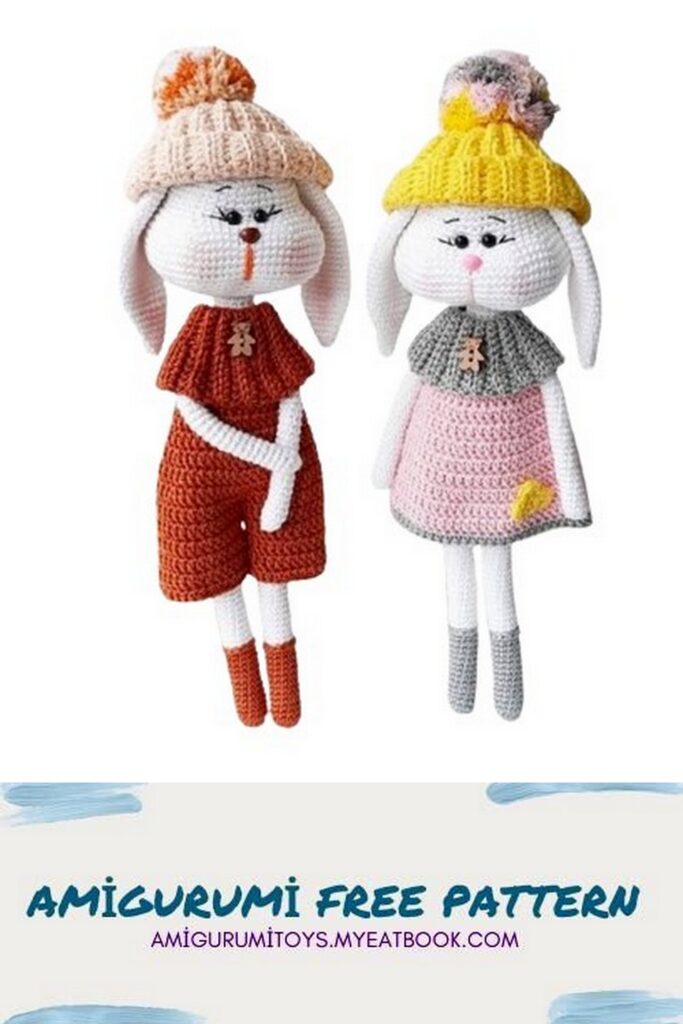
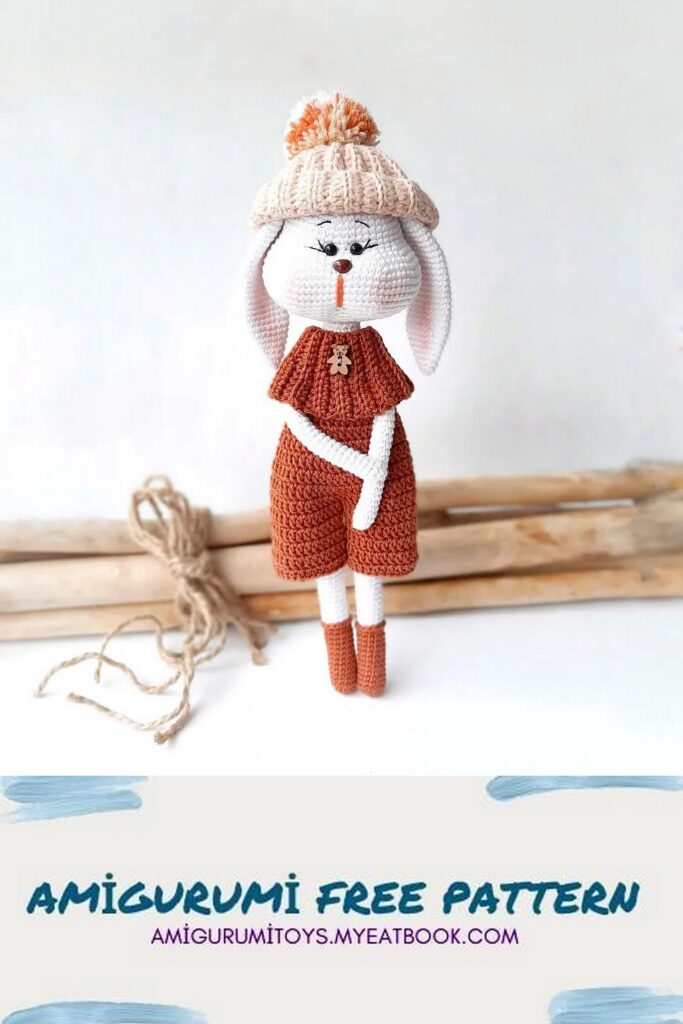
Today I shared the Crochet Lady Bunny amigurumi pattern for you. The free amigurumi pattern is easy to crochet step by step.
I continue to share animal and doll models. You can be informed about new amigurumi patterns by following our website.
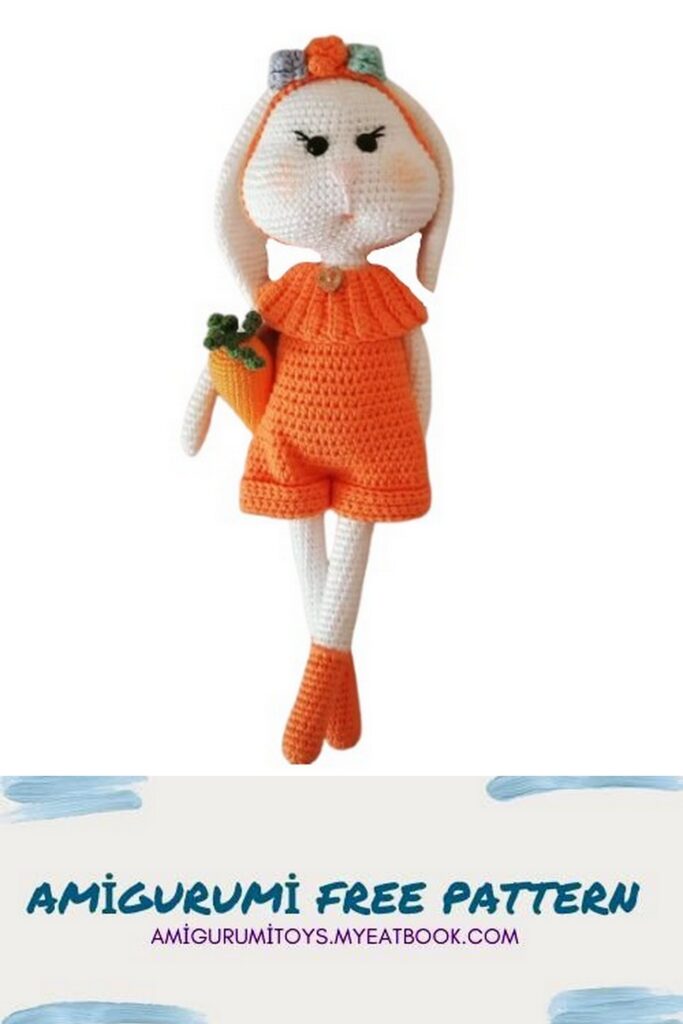
After completing the amigurumi bunny pattern, you can give gifts to children or loved ones.
Amigurumi Abbrevations:
ch – chain
sc – single crochet
sl-st – slip stitch
inc – increase (2 columns in one loop of the previous row)
dec – decrease (2 columns with one vertex)
Rope and crochet knowledge;
White rope; catania
Gray and pink; viburnum organica
Needle; 2.mm
Crochet Lady Bunny- HEAD
1) Into magic ring 6sc
2) 6inc (12sc)
3) (sc, inc) × 6 (18sc)
4) (2sc, inc) × 6 (24sc)
5) (3sc, inc) × 6 (30sc)
6) (4sc, inc) × 6 (36sc)
7) (5sc, inc) × 6 (42sc)
8) (6sc, inc) × 6 (48sc)
9/13) (48sc)
14) 11sc, (2sc, inc) × 3, 6sc, (2sc, inc) × 3, 13sc (54sc)
15) 11sc, (3sc, inc) × 3, 6sc, (3sc, inc) × 3, 13sc (60sc)
16) 11sc, (4sc, inc) × 3, 6sc, (4sc, inc) × 3, 13sc (66sc)
17) 11sc, (5sc, inc) × 3, 6sc, (5sc, inc) × 3, 13sc (72sc)
18/22) (72sc)
23) 11sc, (5sc, dec) × 3, 6sc, (5sc, dec) × 3, 13sc (66sc)
24) 11sc, (4sc, dec) × 3, 6sc, (4sc, dec) × 3, 13sc (60sc)
25) 11sc, (3sc, dec) × 3, 6sc, (3sc, dec) × 3, 13sc (54sc)
26) 11sc, (2sc, dec) × 3, 6sc, (2sc, dec) × 3, 13sc (48sc)
27) (6sc, dec) × 6 (42sc)
28) (5sc, dec) × 6 (36sc)
29) (4sc, dec) × 6 (30sc)
30) (3sc, dec) × 6 (24sc)
31) (2sc, dec) × 6 (18sc)
32) (4sc, dec) × 3 (15sc)
* The eyes (6 mm) are inserted between the 12th and 13th rows, leaving 3sc between them.
* The locked nose is attached between the 16th and 17th rows.
* The mouth pit is made between the 25th and 26th rows, the mouth pit construction is available in the highlights section!
Crochet Lady Bunny- EAR
1) Into magic ring 4sc
2) (sc, inc) × 2 (6sc)
3) (2sc, inc) × 2 (8sc)
4) (3sc, inc) × 2 (10sc)
5) (4sc, inc) × 2 (12sc)
6) (5sc, inc) × 2 (14sc)
7) (6sc, inc) × 2 (16sc)
8) (7sc, inc) × 2 (18sc)
9/22) (18sc)
23) (7sc, dec) × 2 (16sc)
24) (16sc)
25) (6sc, dec) × 2 (14sc)
26) (14sc)
27) (5sc, dec) × 2 (12sc)
28) (12sc)
29) (4sc, dec) × 2 (10sc)
30) (10sc)
31) (3sc, dec) × 2 (8sc)
32/33) (8sc)
Done, join the two edges with sc, cut the thread long to sew.
* ears are sewn between 5th and 6th rows on the head.
ARM
1) Into magic ring (4sc)
2) 4inc (8sc)
3/31) (8sc)
* join the two sides with sc, cut the thread long to sew.
* arms 69.-70. sewn between rows.
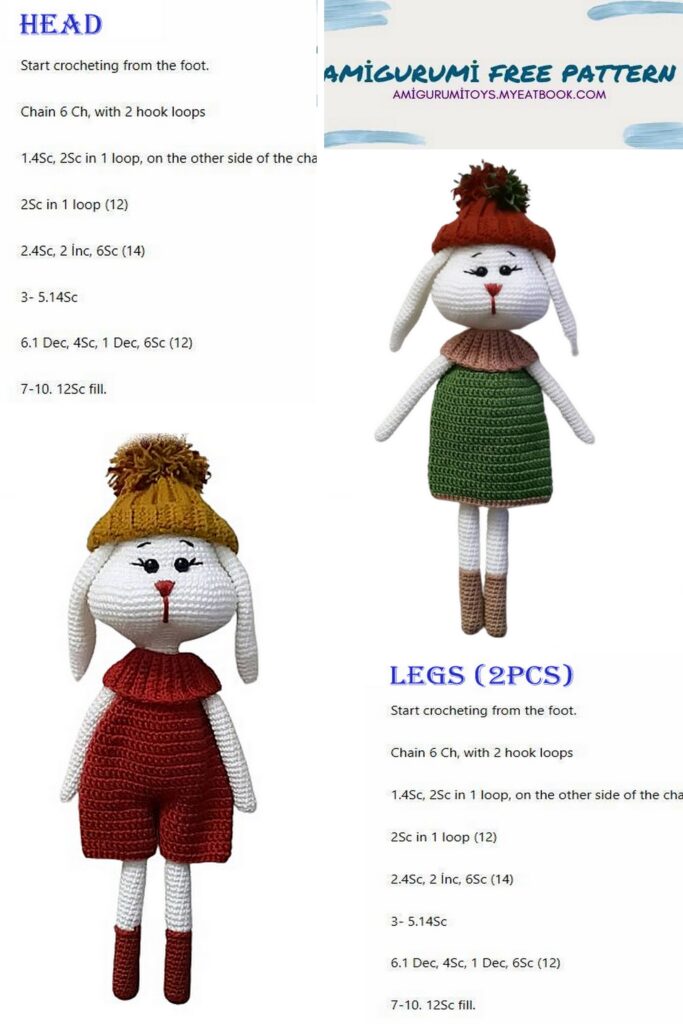
Crochet Lady Bunny- LEG
* We start with gray rope and loop scroll at the end of each row!
1) Into magic ring (6sc)
2) 6inc (12sc)
3/15) (12sc)
16) We do 12sc with gray rope from Flo, sl-st to the last loop and cut the gray rope a little longer, we make the white rope from blo (10sc, dec) = 11 ×. (We pull the gray rope we cut with the end of the Beyap rope to the inner part of the leg, tie it together and fix it.)
17/36) (11sc)
* we change color and go to gray rope! (We will create the shorts part)
37/40) (11sc)
* We knit one of the same, pull 3 chains and connect the two legs with a loop shift, we will continue to the torso after here!
Crochet Lady Bunny BODY
41) 12sc (there was 11sc in the leg, 1 sc in the loop we sl-st we do) 3sc (one side of the chain in between) 12sc (the other leg) 3sc (the other side of the chain) sl-st at the end of the row = (30sc)
42) (4sc, inc) × 6 (36sc)
43/48) (36sc)
* we change color and switch to white! (The shorts are partially finished)
49/54) (36sc)
55) Side decrease by 1 (34sc)
56/57) (34sc)
58) Side 1 decrease (32sc)
59) (32sc)
60) Side decrease by 1 (30sc)
61/62) (30sc)
63) (3sc, dec) × 6 (24sc)
64/65) (24sc)
66) (2sc, dec) × 6 (18sc)
67/69) (18sc)
70) (4sc, dec) × 3 (15sc)
71/72) (15sc)
* finished, we cut the rope long to connect the head and the body!

Gray / pink dress collar;
Pull 1-11 chains
2- We skip the first chain, we make 5 hdc from the second chain, we make one needle for each of the remaining 4 chains, sl-st to the last chain and pull a chain and turn back. * from here we will always knit from the back part of the loop (from blo) in all rows!
3-1 sl-st, 4 sc, 5 hdc, 1 chain pull back
4-5 hdc, 4 sc, 1 sl-st, 1 chain pull back. In this way, we measure the collar part of our rabbit and knit our collar section of sufficient length,
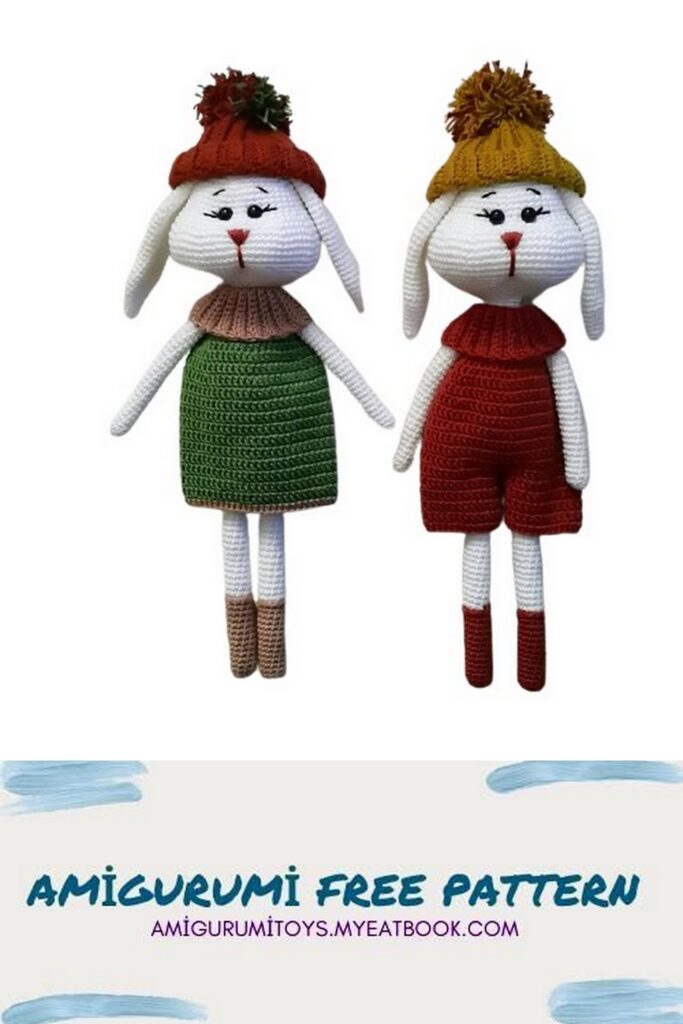
NOTE; The chain number I started with in the red dress is 13! You can change the number of chains according to your rope and hand!
1) We knit the collar of sufficient length by measuring it on our rabbit. The number of rows does not matter here, the number of rows may vary depending on the thickness of your rope and your hand. It is important that your rope remains at the top of the collar only when you knit the last row.
2) We sl-st from blo to the first loop.
3) We pull 8 chains for the buttonhole.
4) We make sl-st in the same loop and fix it.
5) We descend from the blo part by sl-st until 4 loops remain at the bottom.
6) We pull 3 chains
7) We turn to the inside of the dress!
8) We do a sc in the loop in the photo, pull 2 chains and make sc in the loop with the locator attached
9) We draw 6 chains to the arm space and continue at the level we determined with the locator.
10) at the end we pull 3 more chains
11) We connect the section that we created at the bottom of the collar with the loop shift.
12) We make 1 er hdc for all the chains and sclere we do.
13) We are making hdc without increasing 2 rows, the number of loops here will differ according to the width of the collar,
Skirt part.
1) In the section we created with chains for the skirt part, 38 hdc is formed when we make an hdc inside each chain. (The numbers I give here are the numbers for the gray / pink dress, the red dress is used for the description, the numbers are different!)
2) 38 hdc
3 (5dc, inc) × 6, 2dc = 44dc
4) 43 dc
5 (6dc, inc) × 6, 2dc = 50dc
6/7) 50dc
8) (7dc, inc) × 6, 2dc = 56dc
9/10) 56dc
11) 56hdc
Congratulations on finishing your lovely Crochet Lady Bunny amigurumi! We hope you enjoyed working through this Crochet Lady Bunny Amigurumi Free Pattern and found it both fun and rewarding. Your handmade bunny is a beautiful addition to any collection and a wonderful testament to your crochet skills. Don’t forget to share your finished project with fellow crafters and friends. If you loved this Crochet Lady Bunny Amigurumi Free Pattern, be sure to explore our other patterns for more creative and enjoyable crochet projects. Happy crocheting with our Crochet Lady Bunny Amigurumi Free Pattern!