To create a toy you will need:
– Original yarn description Yarn Art Dolce baby, 50g 85m and Wolans Bunny Sweather 100g 160m
You can use any plush or velor yarn with a similar footage.
Or yarn about 100 g 120 m (Dolce, Himalaya Dolphin baby, etc.)
– Hook I used 3 You can use a different one, depending on your knitting density.
– scissors
– filler (I have a holofiber, you can sintepukh)
– a needle with a large eye for sewing details
– eyes on a secure fastening (recommended eye size 8-10 mm or those that you like best) Can be embroidered with black thread
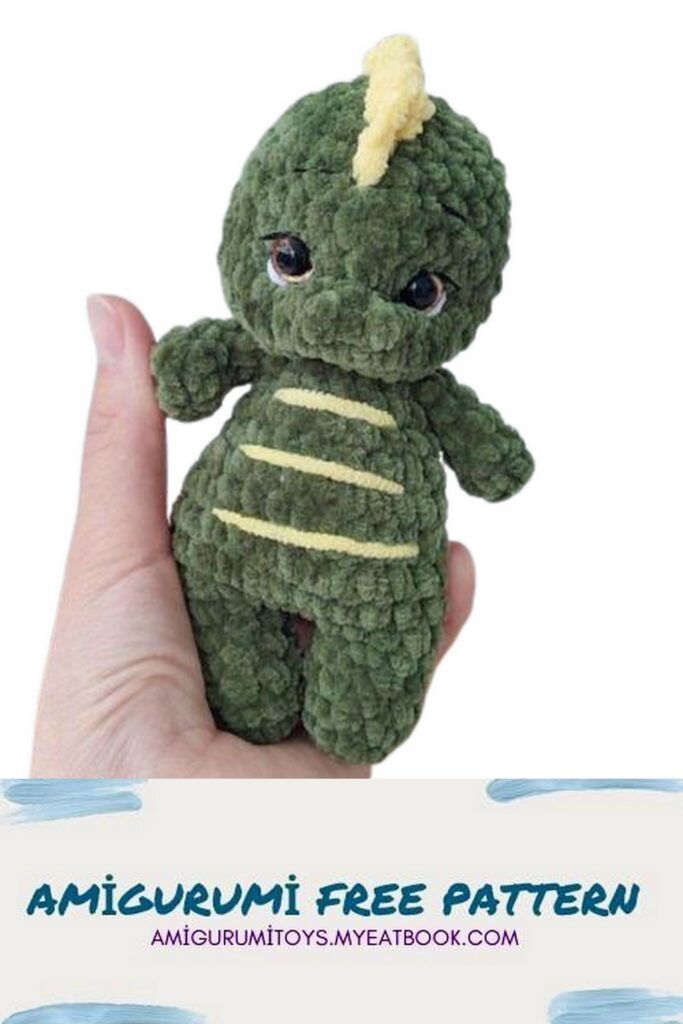
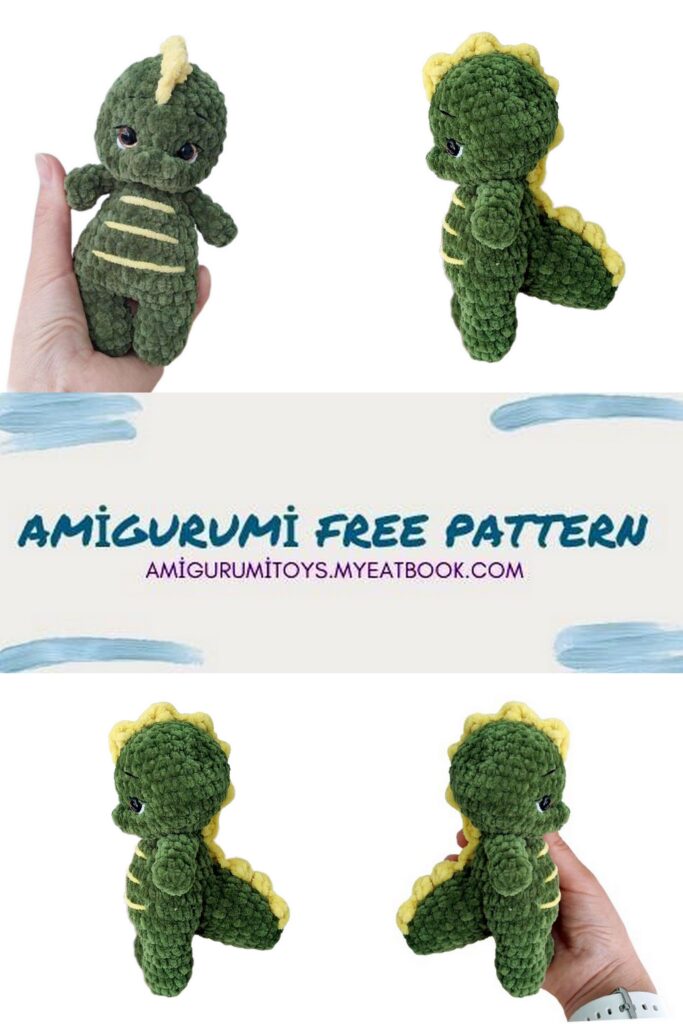
The growth of the toy is approximately 14-15 cm
Abbreviations
MR – amigurumi ring
CH – air loop
SC – single crochet
DC – double crochet
SL-ST – connecting post
İNC – increase (knit two columns into one)
DEC – decrease (knit 2 columns together
We start knitting with handles, since then we will knit them
Pens
In MR cast on 6SC or cast on 2CH and work 6 SC in the first st
Knit 5 rows of 6 SC
Then fold the handle in half and knit 3 SC (for both parts of the handle)
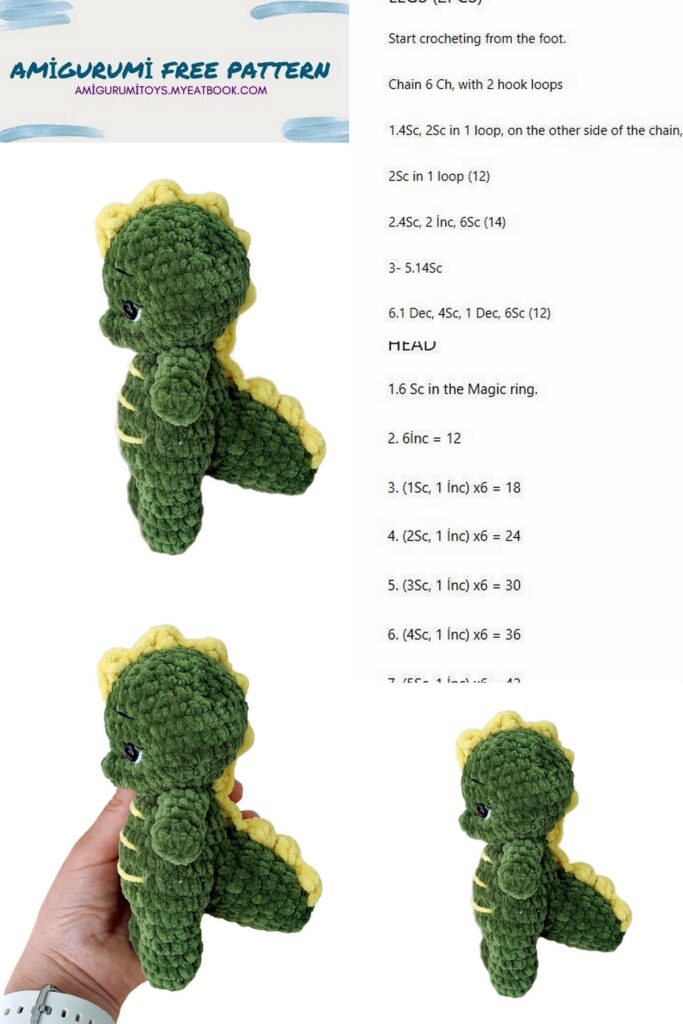
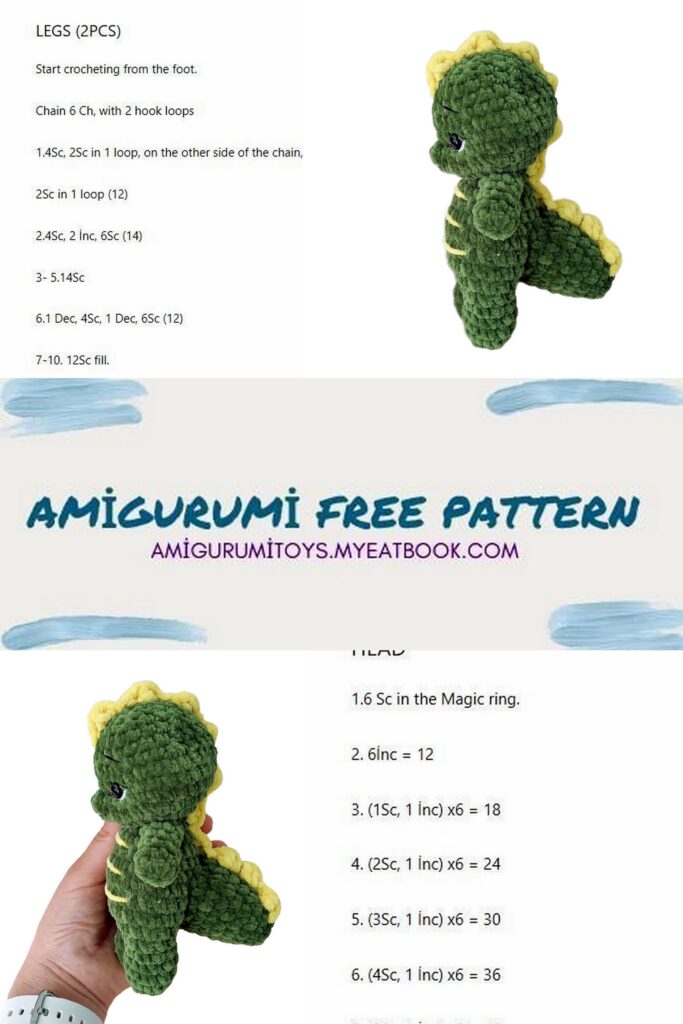
legs
In MR cast on 6SC or cast on 2CH and work 6 SC in the first st
1 row – (1 SC, İNC) * 3 (9)
2-5 row – 9 SC
We cut the thread at the first part of the leg. The second one does not.
We continue knitting: 3 CH, 9 SC on the first leg, 3 SC on the chain of CH, 9 SC on the second leg, 3 SC on the chain (24)
Here is the beginning of the series
We continue knitting the body
6-9 row – 4 rows of 24 SC
10 row – (2 SC, DEC) * 6 (18)
11-12 row – 18 SC
13 row – (1 SC, DEC) * 6 (12)
14 row – In this row we knit handles. We put the handle on the side and knit together with the body part 3 SC, between the handles 3-4 SC
Before that, be sure to fill the body!
15 row – 12 SC
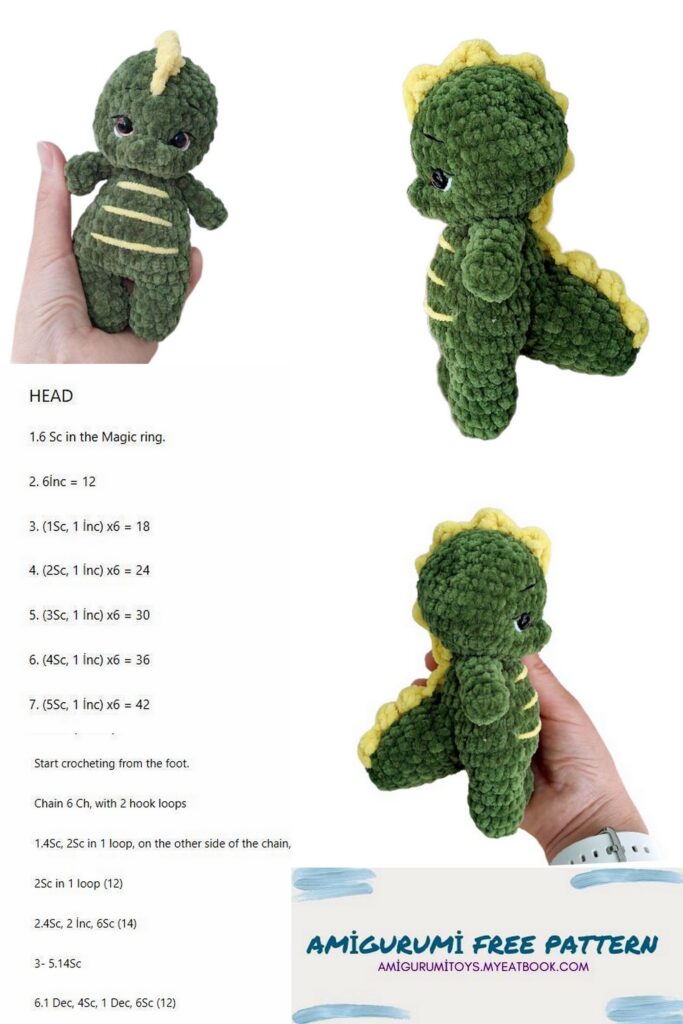
From the next row begins knitting the head
16 row – 12 increments (24)
17 row – (3 SC, İNC) * 6 (30)
18-20 row – 3 rows of 30 SC
21 row – (3 SC, DEC) * 6 (24)
22-23 row – 24 SC
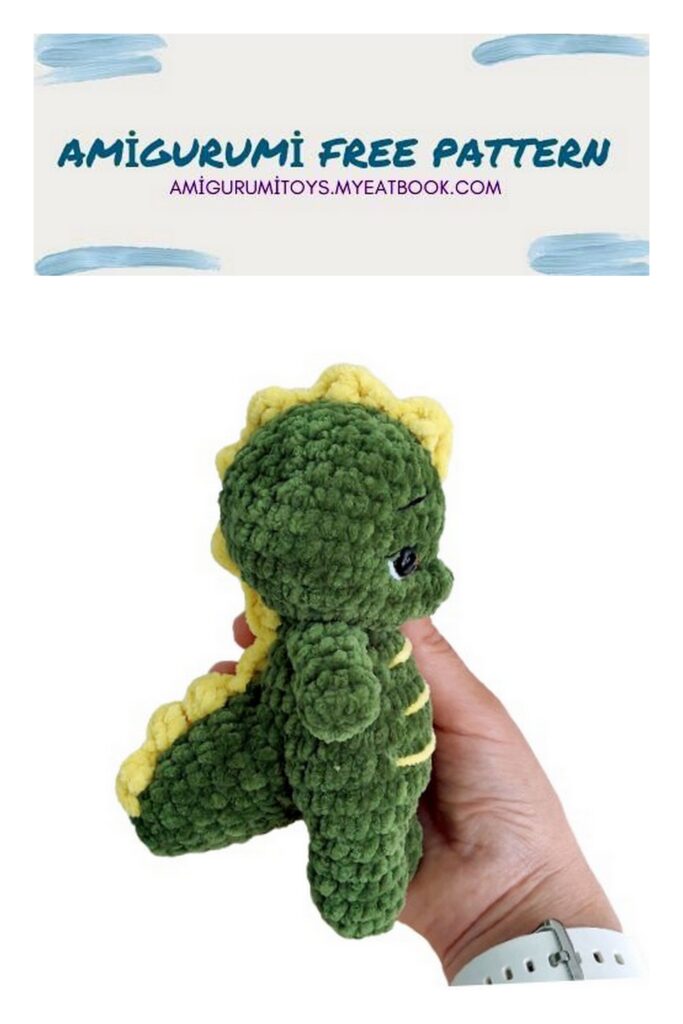
We insert the eyes approximately between 20 and 22 next to the row But be sure to try on your toy: make dimples under the eyes with your fingers and see where it is better to insert the eyes
24 row – (2 SC, DEC) * 6 (18)
25 row – 18 SC Fill with filler
26 row – (1 SC, DEC) * 6 (12) At this stage, I leave a hole and do not close it until I complete the design of the head
27 row – 6 decreases
Video about the tightening and the design of the muzzle here
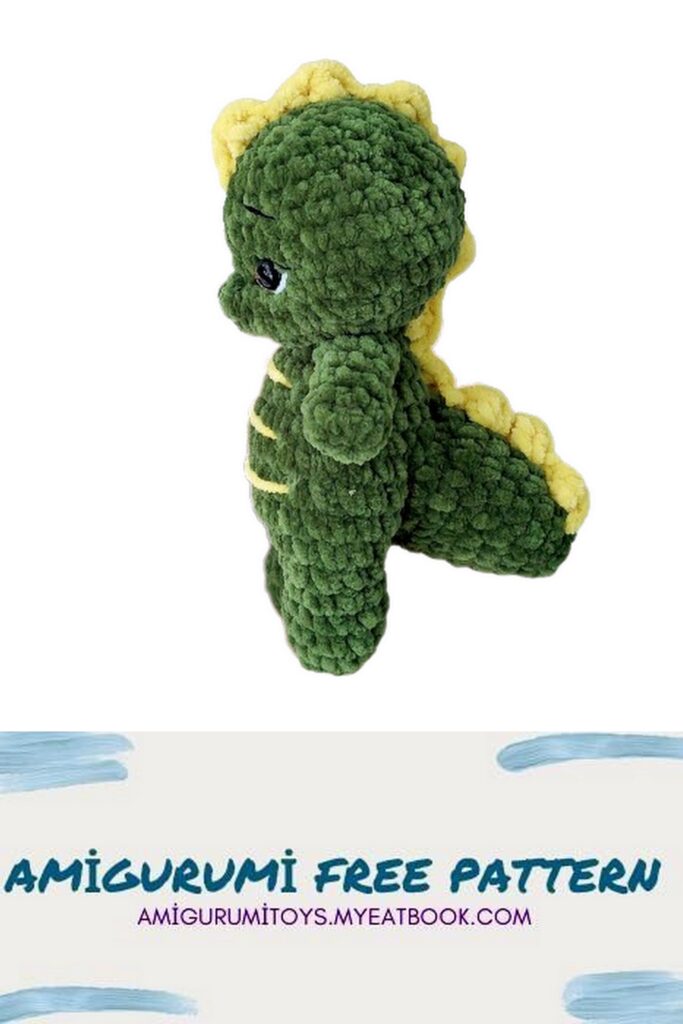
Tail
In MR 6 SC (or 2 CH and in the second loop)
1 row – (1 SC, İNC) * 3 (9)
2 row – 9 SC
3 row – (2 SC, İNC) * 3 (12)
4 row – 12 SC
5 row – (3 SC, İNC) * 3 (15)
6 row – 15 SC
7 row – (4 SC, İNC) * 3 (18)
8 row – 18 SC
Fill with filler, sew

Crest
We attach the thread of the desired color (start knitting from the beginning of the tail) and knit: 1 CH, (3 unfinished DC, knit all loops on the hook, 1 CH, 1 SC in the next column, 1 SL-ST in the next) repeat this combination to the middle