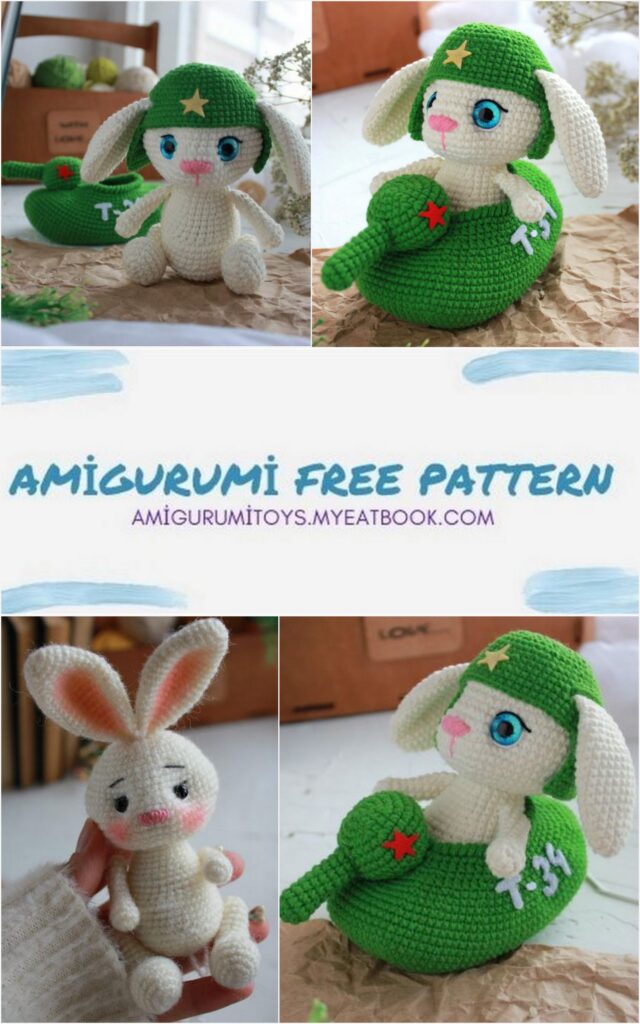
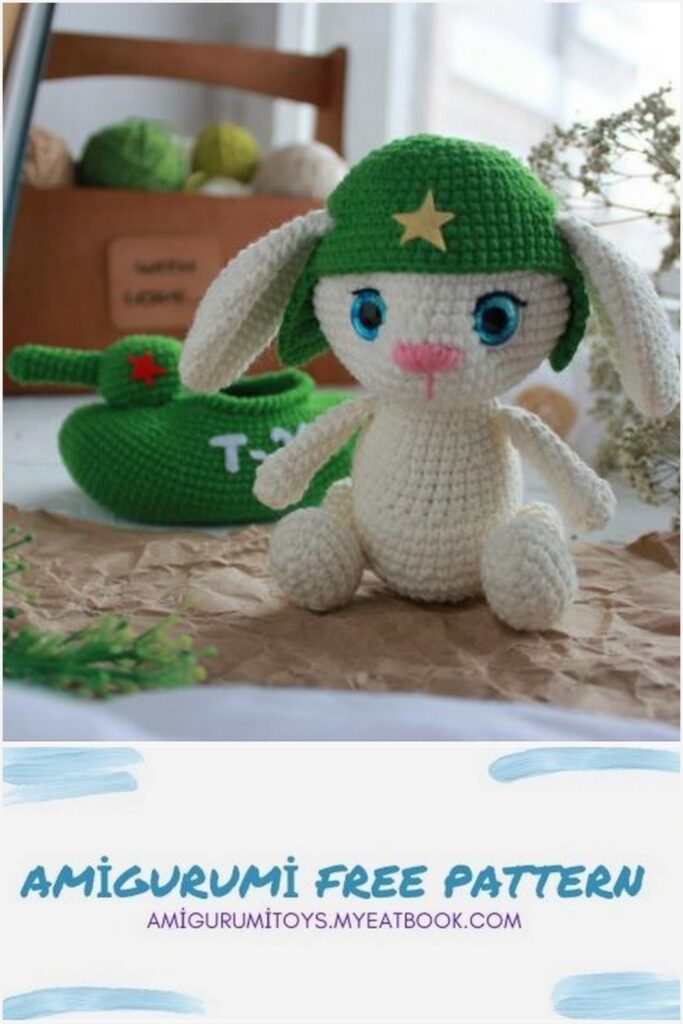
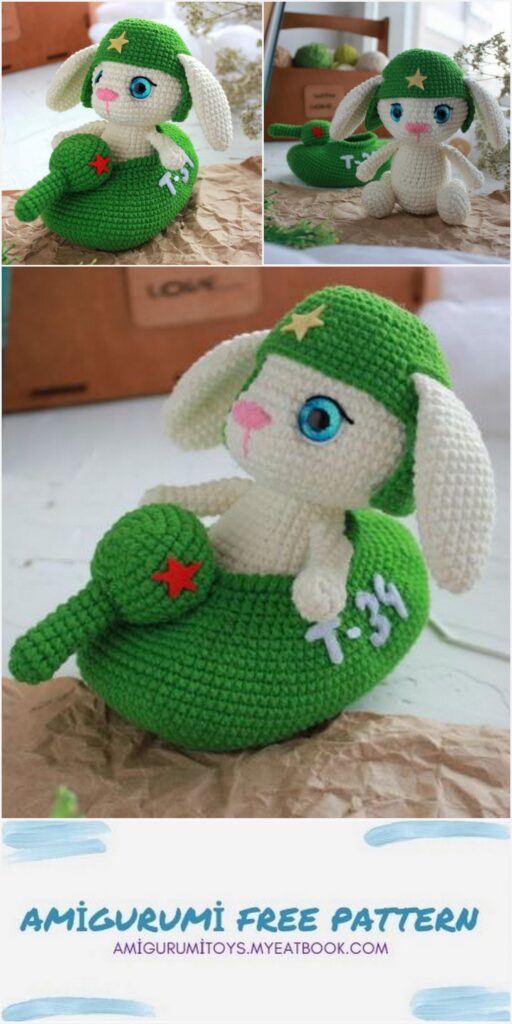
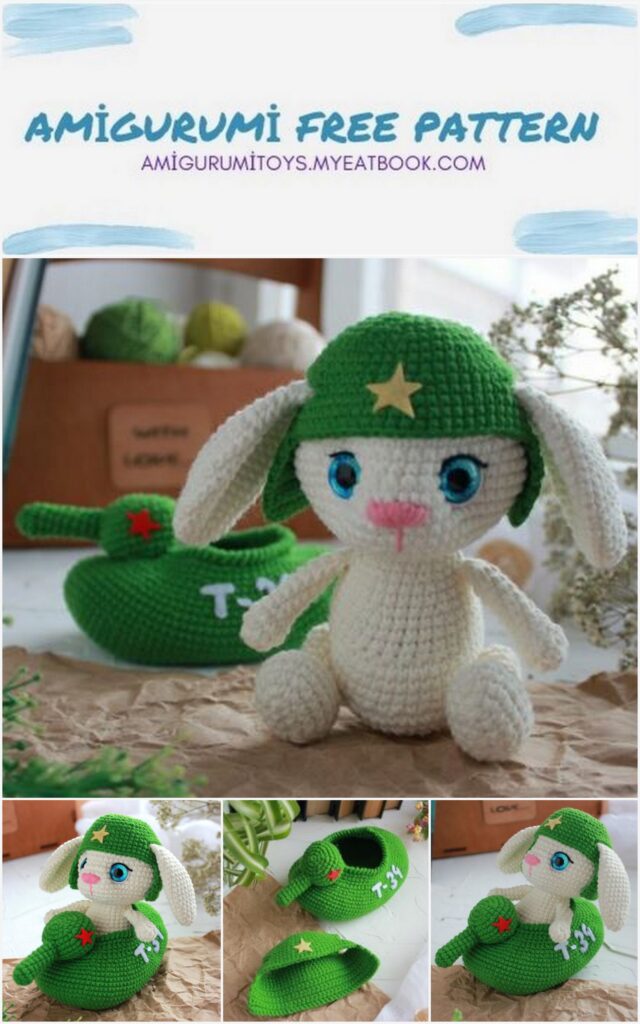
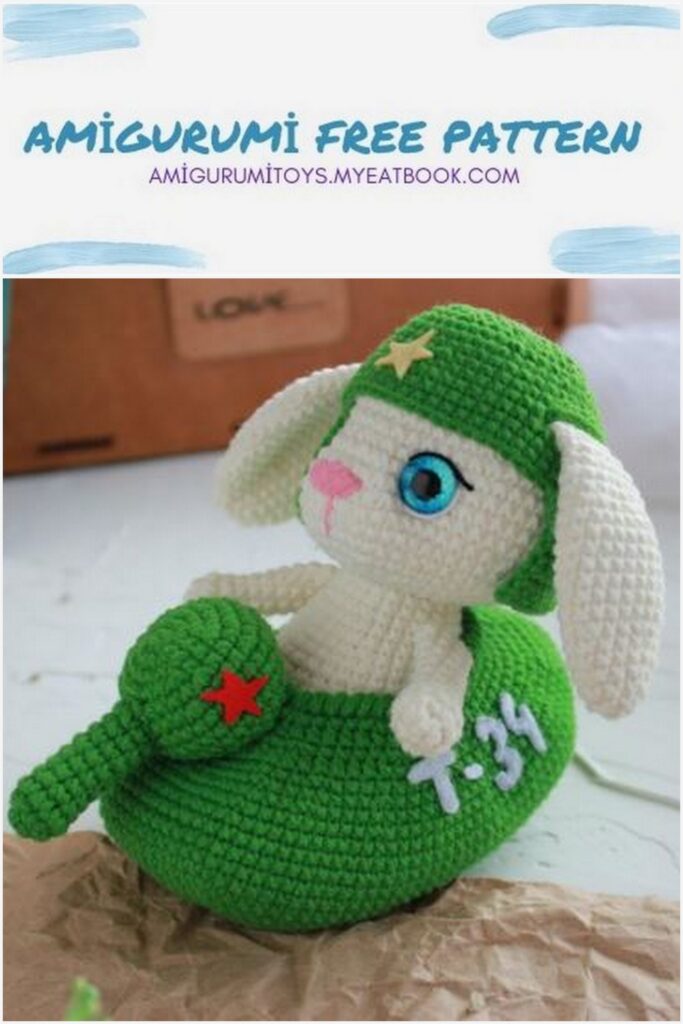
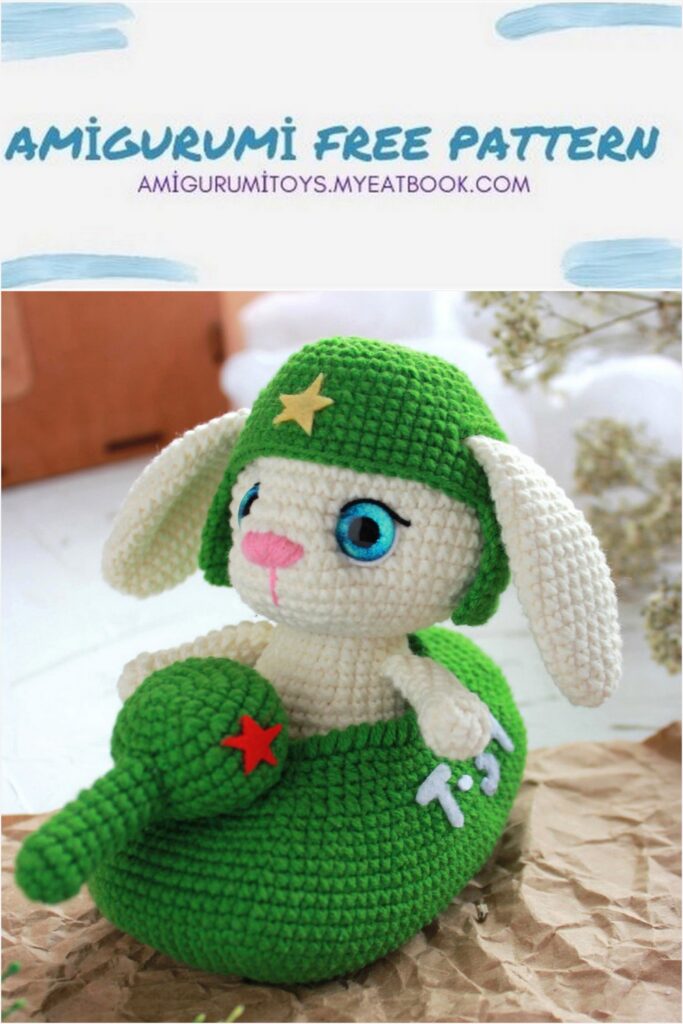
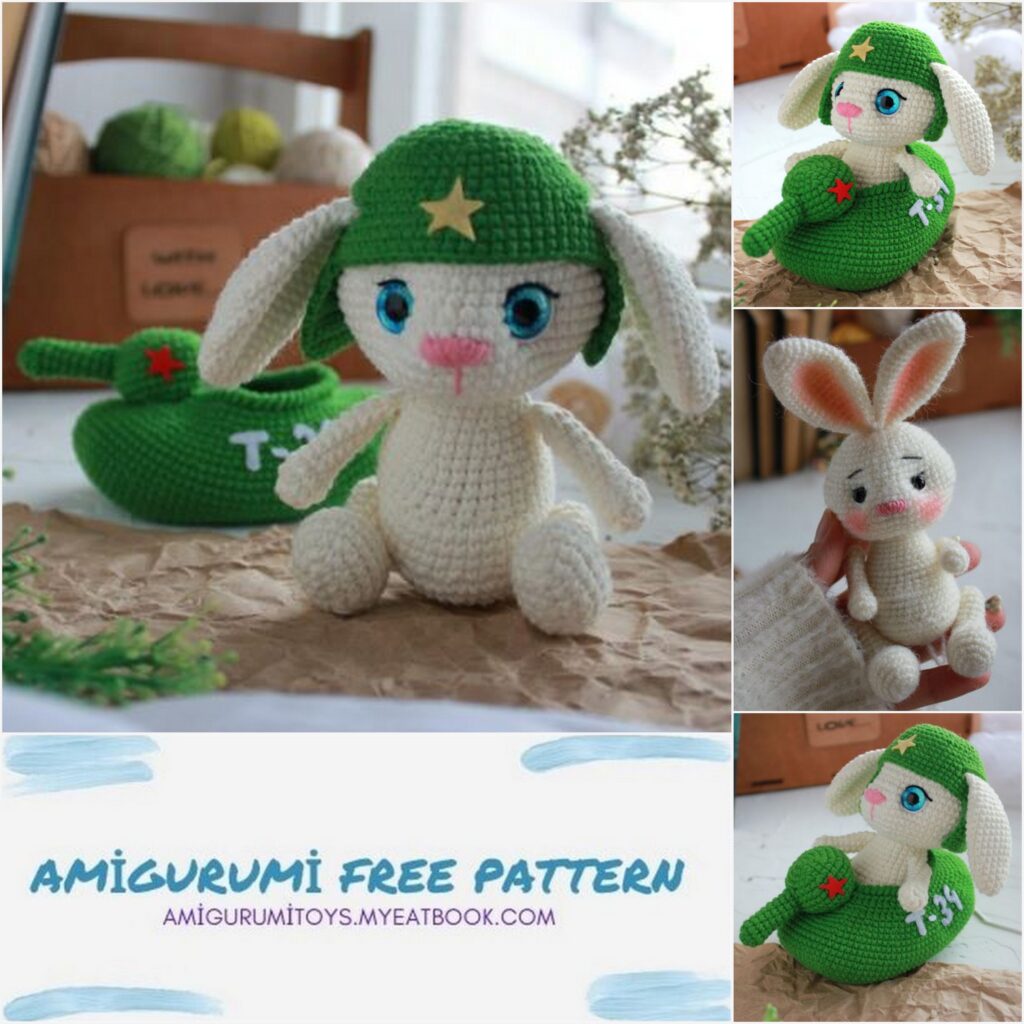
“Bunny tanker”
This master class does not contain crochet lessons. The complexity of this description is medium, one might even say easy, but there are small nuances. For knitting according to this MK, basic crochet skills are required. amigurumi bunny tanker
Necessary materials
• Yarn
– YarnArt Jeans 50g/160m, color: milky (03)
– Alize Cotton Gold 100g/330m, color: green (126)
• Filler
• Tools: hook 1.75 mm, scissors, sewing needle, glue
• Eyes 12 mm (I have carbochons)
• Thin black thread for embroidering eyebrows and on top of the eye, pink floss for embroidering the nose
• Felt a little (white, red, yellow)
When using these materials, the size of the toy is about 15 cm
Conventions
ch – air loop
sc – single crochet
inc – increase
dec – decrease
sl-st – connecting column
hdc – half double crochet
dc – double crochet
for blo – for the back half loop
(…) – the number in brackets indicates the number of loops in the row
(…)*n – repeat n times the value in parentheses
Note
o Body, arms, legs, knit in continuous rows in a spiral, do not attach at the end of the row with connecting posts and do not turn, unless indicated in the description.
o At the beginning of the row, use a marker or thread of a different color.
Invisible reductions
Happy knitting!
*If you have any questions, you can always contact me in private messages!
Head
1 row: 6 sc into magic ring
2nd row: 6 inc (12)
3 row: (1 sc, inc) * 6 (18)
4 row: 1 sc, inc, (2 sc, inc) * 5, 1 sc (24)
5 row: (3 sc, inc) * 6 (30)
6 row: 2 sc, inc, (4 sc, inc) * 5, 2 sc (36)
7 row: 36 sc
8 row: (5 sc, inc) * 6 (42)
9 row: 3 sc, inc, (6 sc, inc) * 5, 3 sc (48)
10-11 row: 48 sc (2 rows)
12th row: 11 sc, 3 inc, 20 sc, 3 inc, 11 sc (54)
13 row: 54 sc
14 row: 24 sc, 6 inc, 24 sc (60)
15-16 row: 60 sc (2 rows)
17 row: 11 sc, 3 dec, 26 sc, 3 dec, 11 sc (54)
18 row: 54 sc
19 row: (7 sc, dec) * 6 (48)
20 row: 3 sc, dec, (6 sc, dec) * 5, 3 sc (42)
21 row: (5 sc, dec) * 6 (36)
22 row: 2 sc, dec, (4 sc, dec) * 5, 2 sc (30)
23 row: (3 sc, dec) * 6 (24)
Fasten and cut the thread. Fill the head tightly with filler. Distribute the filler well in places of increase, this is the area of the cheeks and nose.
Ears
1 row: 6 sc into magic ring
2nd row: 6 inc (12)
3 row: 12 sc
4 row: (1 sc, inc) * 6 (18)
5-6 row: 18 sc (2 rows)
7 row: (2 sc, inc) * 6 (24)
8-14 row: 24 sc (7 rows)
15 row: (2 sc, dec) * 6 (18)
16-17 row: 18 sc (2 rows)
18 row: (1 sc, dec) * 6 (12)
19-20 row: 12 sc (2 rows)
Fold in half and knit together 6 sc.
We do tightening
We embroider a nose. With a black thin thread we embroider the eyebrows and above the eyes. White
embroider squirrels with threads. Pink thread
(YarnArt Jeans color: pink (78)) or
we embroider a spout with floss threads.
We sew the ears at the level of 8 and 9 rows.
torso
1 row: 6 sc into magic ring
2nd row: 6 inc (12)
3 row: (1 sc, inc) * 6 (18)
4 row: 1 sc, inc, (2 sc, inc) * 5, 1 sc (24)
5 row: (3 sc, inc) * 6 (30)
6 row: 2 sc, inc, (2 sc, inc) * 5, 2 sc (36)
7 row: (5 sc, inc) * 6 (42)
8 row: 3 sc, inc, (6 sc, inc) * 5, 3 sc (48)
9 row: 15 sc, (1 sc, dec) * 6, 15 sc (42)
10-12 row: 42 sc (3 rows)
13th row: 15 sc, 6 dec, 15 sc (36)
14-16 row: 36 sc (3 rows)
17 row: 2 sc, dec, (4 sc, dec) * 5, 2 sc (30)
18-19 row: 30 sc (2 rows)
20 row: (3 sc, dec) * 6 (24)
21-22 row: 24 sc (2 rows)
Fasten and cut, leaving the long end of the thread for sewing. With needles, I mark the middle of the belly (these are decreases).
Pens
1 row: 6 sc into magic ring
2nd row: 6 inc (12)
3 row: 12 sc
4 row: (1 sc, dec) * 4 (8)
5-11 row: 8 sc (7 rows)
We fill the filler not very tightly, half the handle so that the upper part is empty. Fold the handle in half and knit 4 sc together behind both walls.
Tail
1 row: 6 sc into magic ring
2nd row: 6 inc (12)
3 row: 12 sc
4 row: (2 sc, dec) * 3 (9)
Fasten and cut the thread, leaving a long end for sewing.
legs
We fill the leg during knitting.
Row 1: Cast on 5 ch, from 2nd st from hook 3 sc, 3 sc in last st, ch back, 2 sc, inc (10)
2nd row: inc, 2 sc, 3 inc, 2 sc, 2 inc (16)
3 row: 1 sc, inc, 2 sc, (1 sc, inc) * 3, 2 sc, (1 sc, inc) * 2 (22)
4-6 row: 22 sc (3 rows)
7 row: 8 sc, 3 dec, 8 sc (19)
8 row: 4 sc, 5 dec, 5 sc (14)
9 row: 5 sc, 2 dec, 5 sc (12)
10-15 row: 12 sc (6 rows)
16 row: 6 dec
Pull off the loops. Hide the thread.
Helmet
We knit with green yarn.
1 row: 6 sc into magic ring
2nd row: 6 inc (12)
3 row: (1 sc, inc) * 6 (18)
4 row: 1 sc, inc, (2 sc, inc) * 5, 1 sc (24)
5 row: (3 sc, inc) * 6 (30)
6 row: 2 sc, inc, (4 sc, inc) * 5, 2 sc (36)
7 row: (5 sc, inc) * 6 (42)
8 row: 3 sc, inc, (6 sc, inc) * 5, 3 sc (48)
9-10 row: 48 sc (2 rows)
11 row: (7 sc, inc) * 6 (54)
12 row: 9 sc, 8 ch, skip 8 loops in
9th, 18 sc, 8 ch, skip 8 sts in 9th, 11 sc (54)
13 row: (8 sc, inc) * 6 (60)
14-15 row: 60 sc (2 rows)
16 row: 17 sc, 1 ch lift, turn, 36 sc
17-23 row: 1 ch lift, turn, 36 sc (7 rows)
Fasten the thread and cut. Hide the end of the thread.
Tank
Item #1
1 row: cast on 25 ch, from the 2nd loop from the hook 23 sc, 3 sc in the last loop, then knit on the reverse air chain side, 22 sc, inc (50)
2 row: inc, 22 sc, 3 inc, 22 sc 2 inc (56)
3 row: 1 sc, inc, 22 sc, (1 sc, inc) * 3, 22 sc, (1 sc, inc) * 2 (62)
4 row: 2 sc, inc, 22 sc, (2 sc, inc) * 3, 22 sc, (2 sc, inc) * 2 (68)
5 row: 3 sc, inc, 22 sc, (3 sc, inc) * 3, 22 sc, (3 sc, inc) * 2 (74)
6 row: 4 sc, inc, 22 sc, (4 sc, inc) * 3, 22 sc, (4 sc, inc) * 2 (80)
7 row: 5 sc, inc, 22 sc, (5 sc, inc) * 3, 22 sc, (5 sc, inc) * 2 (86)
8 row: 6 sc, inc, 22 sc, (6 sc, inc) * 3, 22 sc, (6 sc, inc) * 2 (92)
9 row: 7 sc, inc, 22 sc, (7 sc, inc) * 3, 22 sc, (7 sc, inc) * 2 (98)
10 row: 8 sc, inc, 22 sc, (8 sc, inc) * 3, 22 sc, (8 sc, inc) * 2 (104)
11th row: 9 sc, inc, 22 sc, (9 sc, inc)*3, 22 sc, (9 sc, inc)*2 (110)
12-16 row: 110 sc (5 rows)
17 row: (9 sc, dec) * 10 (100)
18 row: 4 sc, dec, (8 sc, dec) * 9, 4 sc (90)
19 row: (7 sc, dec) * 10 (80)
20 row: 3 sc, dec, (6 sc, dec) * 9, 3 sc (70)
21 row: 21 sc, 25 hdc, 24 sc (70)
22 row: (5 sc, dec) * 10 (60)
23 row: 19 sc, 21 hdc, 20 sc (60)
24 row: (8 sc, dec) * 6 (54)
25 row: strapping “crustacean step”
Item #2
1 row: 6 sc into magic ring
2nd row: 6 inc (12)
3 row: (1 sc, inc) * 6 (18)
4 row: 1 sc, inc, (2 sc, inc) * 5, 1 sc (24)
5 row: (3 sc, inc) * 6 (30)
6 row: 2 sc, inc, (4 sc, inc) * 5, 2 sc (36)
7-9 row: 36 sc (3 rows)
10 row: 2 sc, dec, (4 sc, dec) * 5, 2 sc (30)
11 row: (3 sc, dec) * 6 (24)
Fasten and cut the thread, leaving a long end for sewing.
Fill with filler before stitching.
Item #3
1 row: 6 sc into magic ring
2 row: (1 sc, inc) * 3 (9)
3-10 row: 9 sc
We fill the part tightly. Fasten and cut the thread, leaving the long end of the thread for sewing. We sew the details, then cut out the inscription and stars from the felt.
Decoration of a toy
Sew the head to the body. The needles on the body are located in the middle of the front, just where the reductions are.
We sew handles at a level between 20 and 21 rows on the sides of the body.
We sew the legs with a thread fastener.
Sew on the tail.
Another way to decorate
Here the ears are sewn between the 4th and 9th rows.
Scarf
We collect a chain of 73 ch.
From the 3rd loop we knit in each loop dc. Total: 71 dc.
We fix the thread, hide.
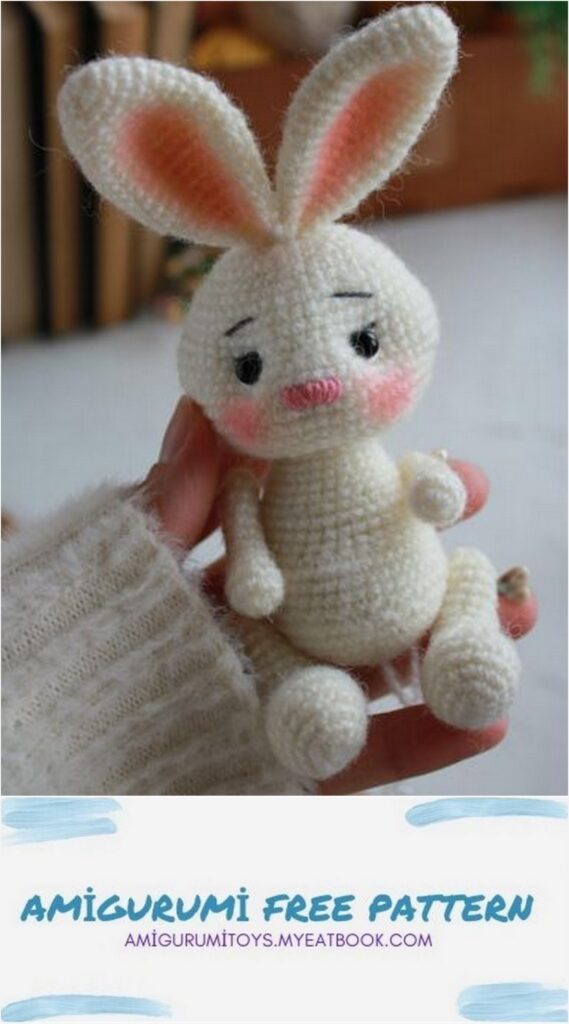
And here is another bunny according to the same description, only the design is completely different from the previous one.
Materials used for this bunny:
• Yarn: Alize Real 40 (100g – 480 m, composition: 60% acrylic, 40% wool)
• Hook 1.5 mm
• Eyes – beads 5 mm
The arms and legs are sewn on with thread fastening. The handles at the end of the row were pulled together by loops, and not tied together.
Example:
**** 11 row: 8 sc
Pull off all the loops, fill the part with filler a little.
The ears were folded in half and sewn together in the middle of the head.
Toning. Toned cheeks and ears with dry pastel.
So your bunny or bunny tanker is ready!
