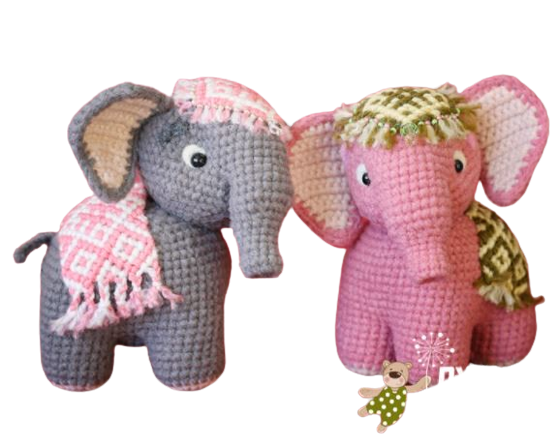
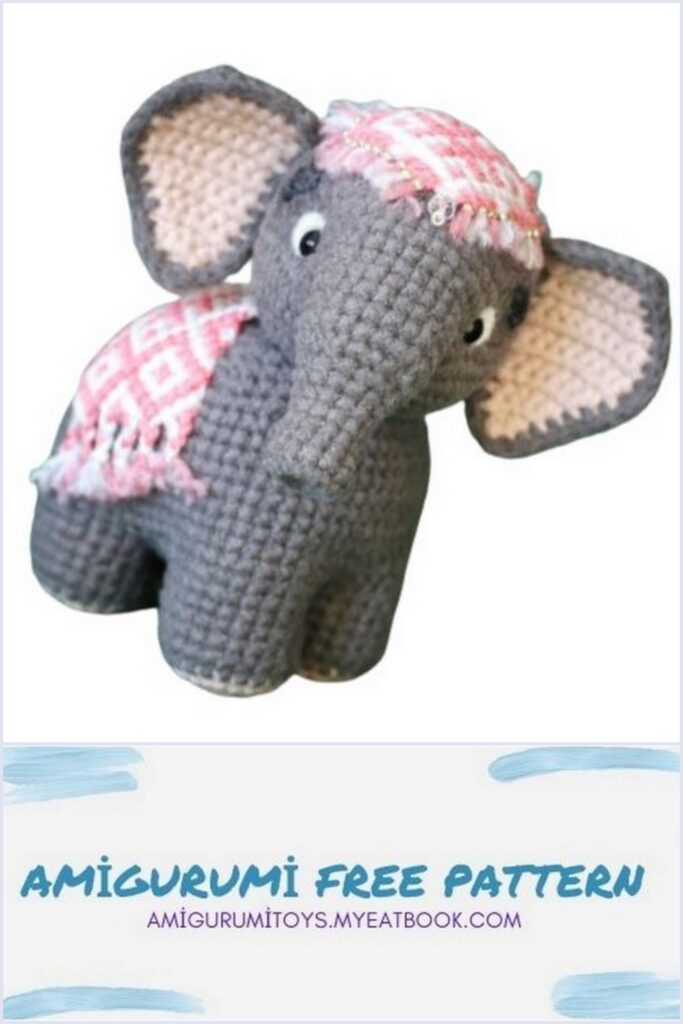
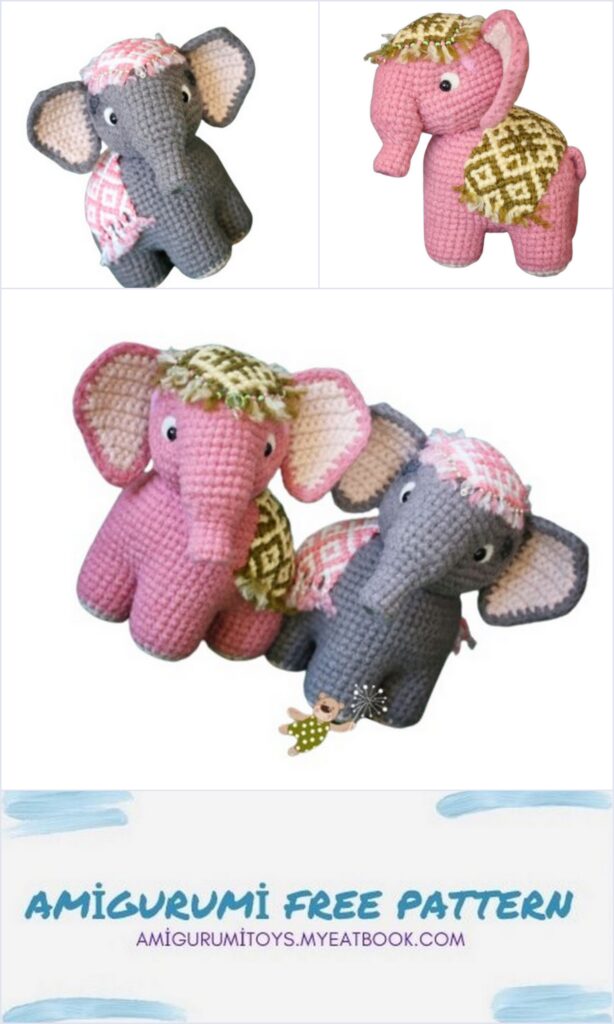
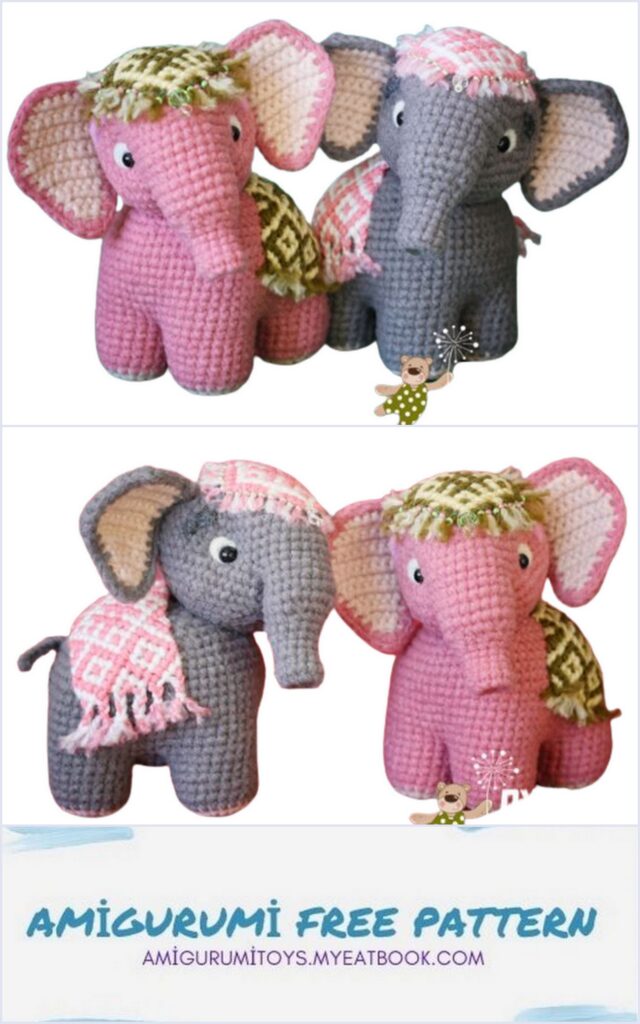
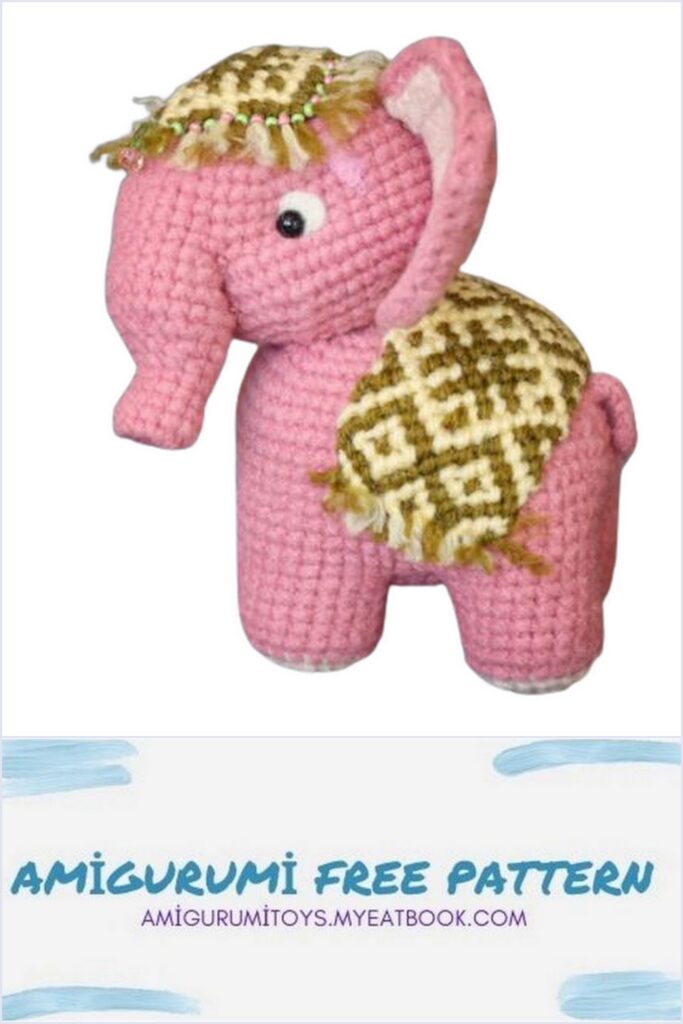
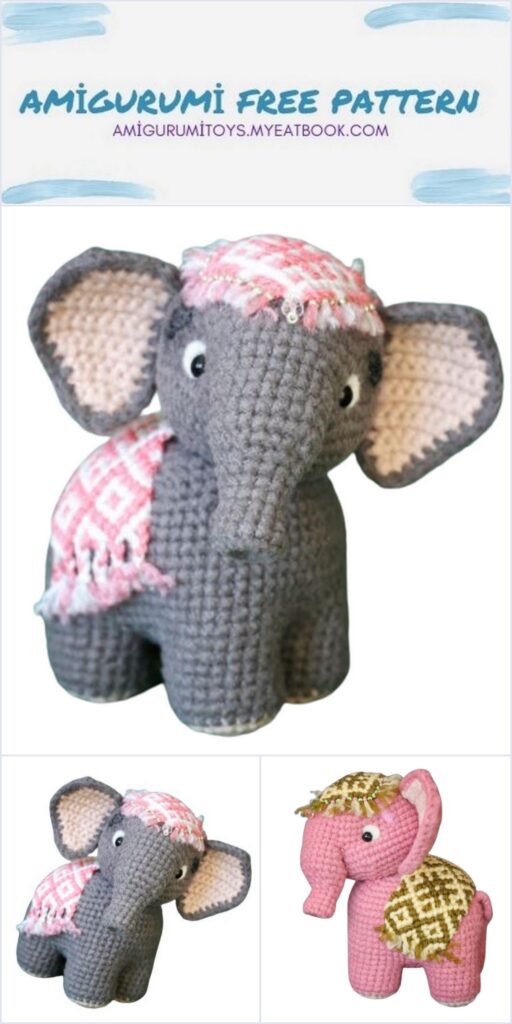
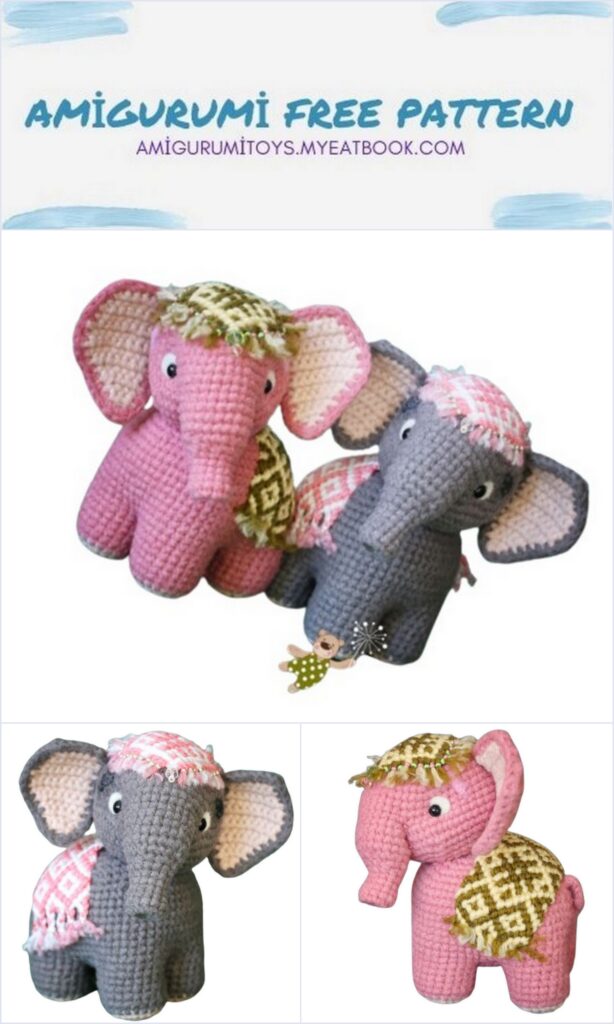
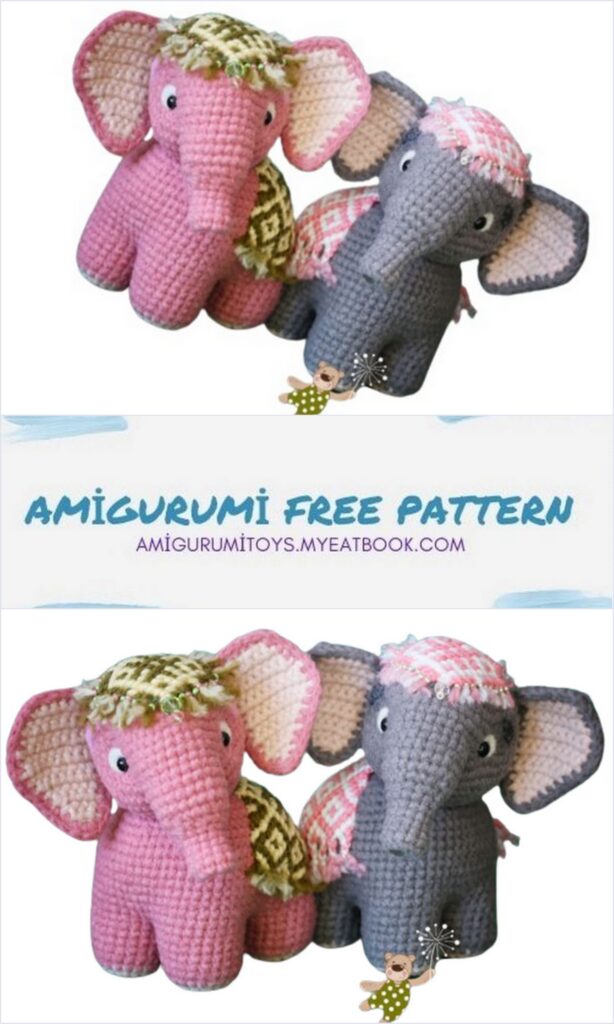
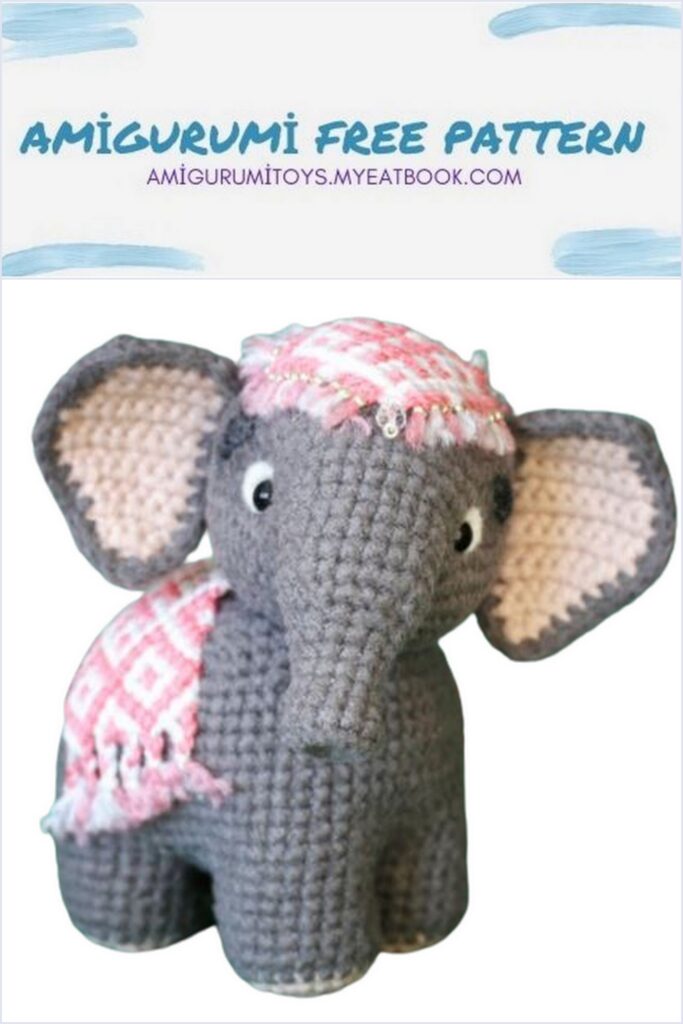
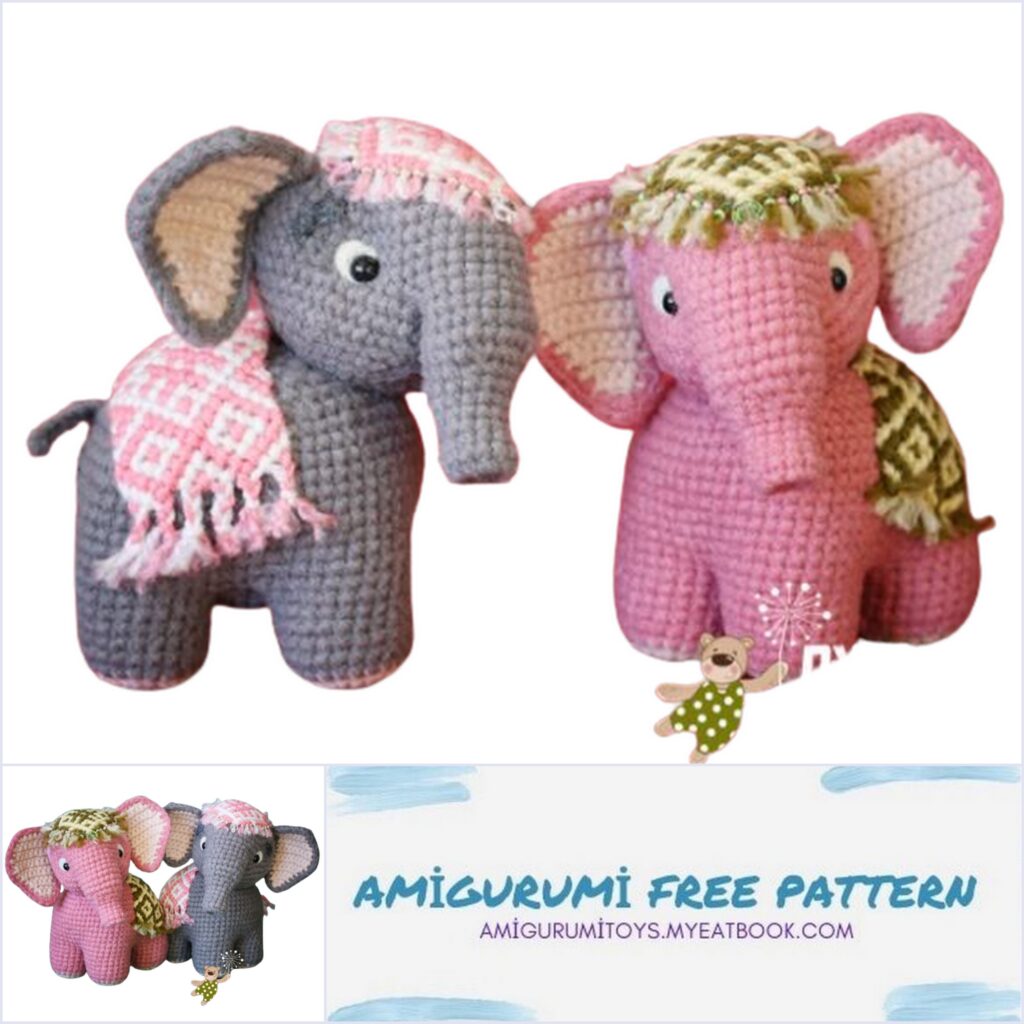
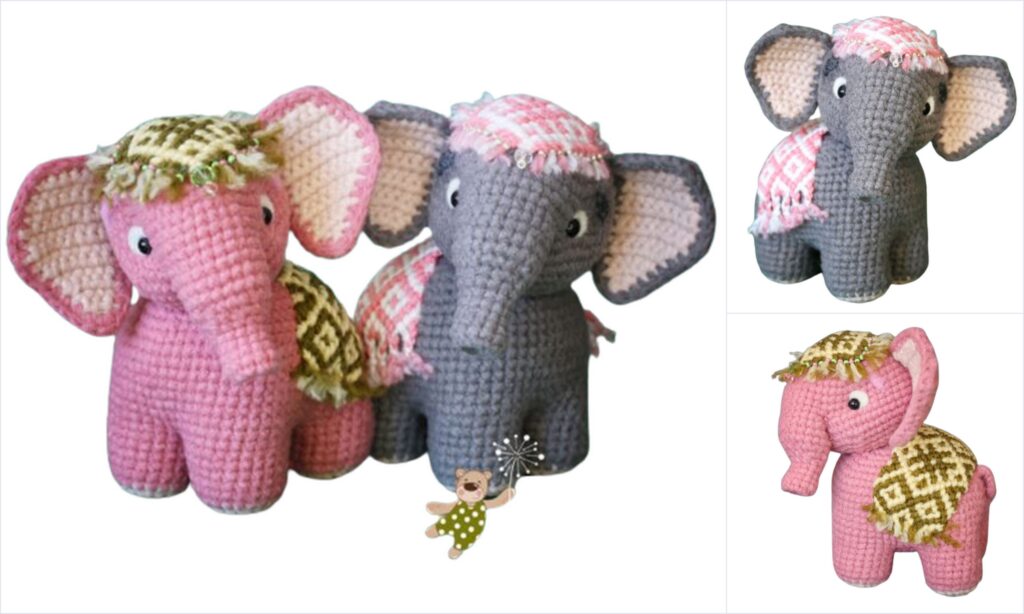
Amigurumi Elephant Lucky Free Pattern Materials and tools for crocheting an elephant.
Materials and tools for crocheting an elephant.
Yarn Adelia Kiss (Composition: 100% polyester, 50g = 145m) in two colors. The main color is gray and the yarn for knitting the inside of the ears and feet of the elephant is pale pink. You can use other yarn for knitting toys and experiment with colors.
Hook number 1.5.
Filler for soft toys.
Eyes-beads with a diameter of 5 mm.
Needle and thread for sewing.
For weaving blankets and capes, yarn Pekhorka “Children’s Novelty” (Composition: 100% high-volume acrylic, 50g = 200m).
The height of the toy, crocheted from the indicated yarn No. 1.5, is about 11 cm.
Knitting legs for an elephant.
All 4 legs for the elephant are knitted according to the same pattern. We start knitting with light pink yarn.
Row 1: Cast on 2 ch (in air loops) and knit 7 sc (single crochet) in the second loop from the hook. An alternative method to start knitting is to knit 7 sc into an amigurumi slip ring (7).
2 row: (1 inc) – repeat 7 times (14).
3 row: (1 inc, 1 sc) – repeat 7 times (21).
Next, we knit the detail with yarn of the main (gray) color.
Rows 4-8: Work 1 sc in each st of previous row (21).
Knitting a torso for an elephant.
We begin to knit the baby elephant’s tummy. We knit with yarn of the main color.
Row 1: Cast on 2 ch (ch) and work 6 sc (single crochet) in the second st from hook. An alternative method to start knitting is to knit 6 sc into an amigurumi slip ring (6).
2 row: (1 inc) – repeat 6 times (12).
3rd row: 3 inc, 3 sc, 3 inc, 3 sc (18).
4 row: (1 sc, 1 inc) – repeat 3 times, 3 sc, (1 sc, 1 inc) – repeat 3 times, 3 sc (24).
In the next 5th row, we will form one part of the torso from the paws and tummy of the elephant.
5 row: 5 sc we knit together the loops of the 1st foot and tummy, then immediately with the help of 5 sc we attach the second foot, 2 sc along the long side of the oval, 5 sc we knit together the loops of 3-1 legs and tummy, again immediately 5 sc, connecting the 4th foot and tummy, 2 sc.
6 row: now we knit single crochets in the outer circle:
16 sc – we tie the first leg;
16 sc – we tie the second leg;
2 sc – on the tummy;
16 sc – we tie the third leg;
16 sc – we tie the fourth leg;
2 sc – on the tummy (68).
Rows 7-9: Work 1 sc in each st of previous row (68).
10th row: 15 sc, 1 inc, 16 sc, 1 inc, 16 sc, 1 inc, 17 sc, 1 inc (72).
Rows 11-12: Work 1 sc in each st of previous row (72).
13 row: 36 sc, (1 dec, 4 sc) – repeat 6 times (66).
14 row: 36 sc, (1 dec, 3 sc) – repeat 6 times (60).
15 row: in this row we will knit a tail for an elephant calf. We knit 47 sc. We should be in the middle of the back of the torso. Now we collect a chain of 8 ch With the help of connecting posts we return to the base of the tail and continue knitting in a circle, we knit 13 sc.
16th row: 1 dec, 30 sc, 1 dec, 12 sc, 1 dec, 12 sc (57).
17th row: 7 sc, 1 dec, 6 sc, 1 dec, 6 sc, 1 dec, 32 sc (54).
18 row: (7 sc, 1 dec) – repeat 6 times (48).
19 row: (6 sc, 1 dec) – repeat 6 times (42).
20 row: (5 sc, 1 dec) – repeat 6 times (36).
21 row: (4 sc, 1 dec) – repeat 6 times (30).
22 row: (3 sc, 1 dec) – repeat 6 times (24).
We fill the detail.
23 row: (2 sc, 1 dec) – repeat 6 times (18).
24 row: (1 sc, 1 dec) – repeat 6 times (12).
25 row: we knit decreases until the hole is completely closed.
Knitting the head of an elephant.
We begin to knit the head of an elephant from the crown. We knit with yarn of the main color.
Row 1: Cast on 2 ch (ch) and work 6 sc (single crochet) in the second st from hook. An alternative method to start knitting is to knit 6 sc into an amigurumi slip ring (6).
2 row: (1 inc) – repeat 6 times (12).
3 row: (1 sc, 1 inc) – repeat 6 times (18).
4 row: (2 sc, 1 inc) – repeat 6 times (24).
5 row: (3 sc, 1 inc) – repeat 6 times (30).
6 row: (4 sc, 1 inc) – repeat 6 times (36).
7 row: (5 sc, 1 inc) – repeat 6 times (42).
8 row: (6 sc, 1 inc) – repeat 6 times (48).
9 row: (7 sc, 1 inc) – repeat 6 times (54).
Rows 10-12: Work 1 sc in each st of previous row (54).
13 row: in this row we will form a hole for the future elephant’s trunk. We knit 21 sc in a circle, then we dial 6 ch and, stepping back 12 loops of the previous row, we fix with 1 sc and then knit again in a circle 20 sc (48)
14 row: 15 sc, (1 inc, 1 sc) – repeat 3 times, over a chain of ch in knit 6 sc, (1 sc, 1 inc) – repeat 3 times, 15 sc (54).
15 row: knit 1 sc in each loop of the previous row (54).
16 row: (7 sc, 1 dec) – repeat 6 times (48).
17 row: (6 sc, 1 dec) – repeat 6 times (42).
18 row: (5 sc, 1 dec) – repeat 6 times (36).
19 row: (4 sc, 1 dec) – repeat 6 times (30).
20 row: (3 sc, 1 dec) – repeat 6 times (24).
21 row: (2 sc, 1 dec) – repeat 6 times (18).
22 row: (1 sc, 1 dec) – repeat 6 times (12).
23 row: we knit decreases until the hole is completely closed.
We stuff the head tightly through the hole for the trunk.
Trunk knitting.
We turn to knitting a trunk for an elephant. We fix the working thread in the place indicated in the photo.
1 row: knit in a circle clockwise. 6 sc on the underside, 1 sc at the junction of the chain and the head, 12 sc along the upper side of the hole, 1 sc at the junction of the chain of ch and the head (20).
Rows 2-5: Work 1 sc in each st of previous row (20).
Pay attention to where the beginning of the row is located. If you have it elsewhere, single crochet to even out the knit.
6th row: 10 sc, 1 dec, 3 sc, 1 dec, 3 sc (18).
The photo shows the location of the reductions.
7 row: 8 sc, (1 sc, 1 dec) – repeat 3 times, 1 sc (15).
8 row: knit 1 sc in each loop of the previous row (15).
9 row: 1 sc, 3 dec, 8 sc (12).
The wide part of the trunk can be stuffed with stuffing for soft toys. It’s better not to stuff too tightly. But the lower part of the trunk, which we will now begin to knit, does not need to be stuffed at all.
Rows 10-13: Work 1 sc in each st of previous row (12).
14 row: we knit decreases until the hole is completely closed.
We fill the end of the trunk inside. I used a gel pen refill for this purpose.
If you, like me, knit tightly, then the trunk may turn out sticking out. Look at the photo:
This can be easily fixed! Take a needle and thread to match the main yarn and with a few stitches draw the trunk to the head of the elephant.
Ear knitting.
The ears of the elephant will be knitted in turning rows. It will be necessary to knit 4 details: 2 main colors, 2 – pale pink (this is the inside of the elephant’s ears). It is more convenient to first knit 2 pink parts, then knit the gray one without cutting the working thread, connect the inner and outer parts of the ear with single crochets.
Row 1: Cast on 2 ch and work 3 sc in the second st from hook, 1 ch, turn work (3).
2 row: 1 inc, 2 sc, 1 ch, unfold knitting (4).
3 row: 3 sc, 1 inc, 1 ch, unfold knitting (5)
4 row: 1 inc, 4 sc, 1 ch, unfold knitting (6).
5 row: 5 sc, 1 inc, 1 ch, unfold knitting (7)
6 row: 1 inc, 6 sc, 1 ch, unfold knitting (8).
7 row: 7 sc, 1 inc, 1 ch, unfold knitting (9)
8-9 rows: 9 sc, 1 ch, unfold knitting (9).
10 row: skip 1 loop, 8 sc, 1 ch, unfold knitting (8).
11 row: knit 1 sc in each loop of the previous row, 1 ch, unfold knitting (8).
12 row: skip 1 loop, 7 sc, 1 ch, unfold knitting (7).
13 row: knit 1 sc in each loop of the previous row, 1 ch, turn knitting (7).
14 row: skip 1 loop, 6 sc (6).
We connect the pink and gray parts of the ears. To do this, we put the pink part on the gray one and knit single crochets along the contour. Please note that the ears must be symmetrical!
