Knitting designations:
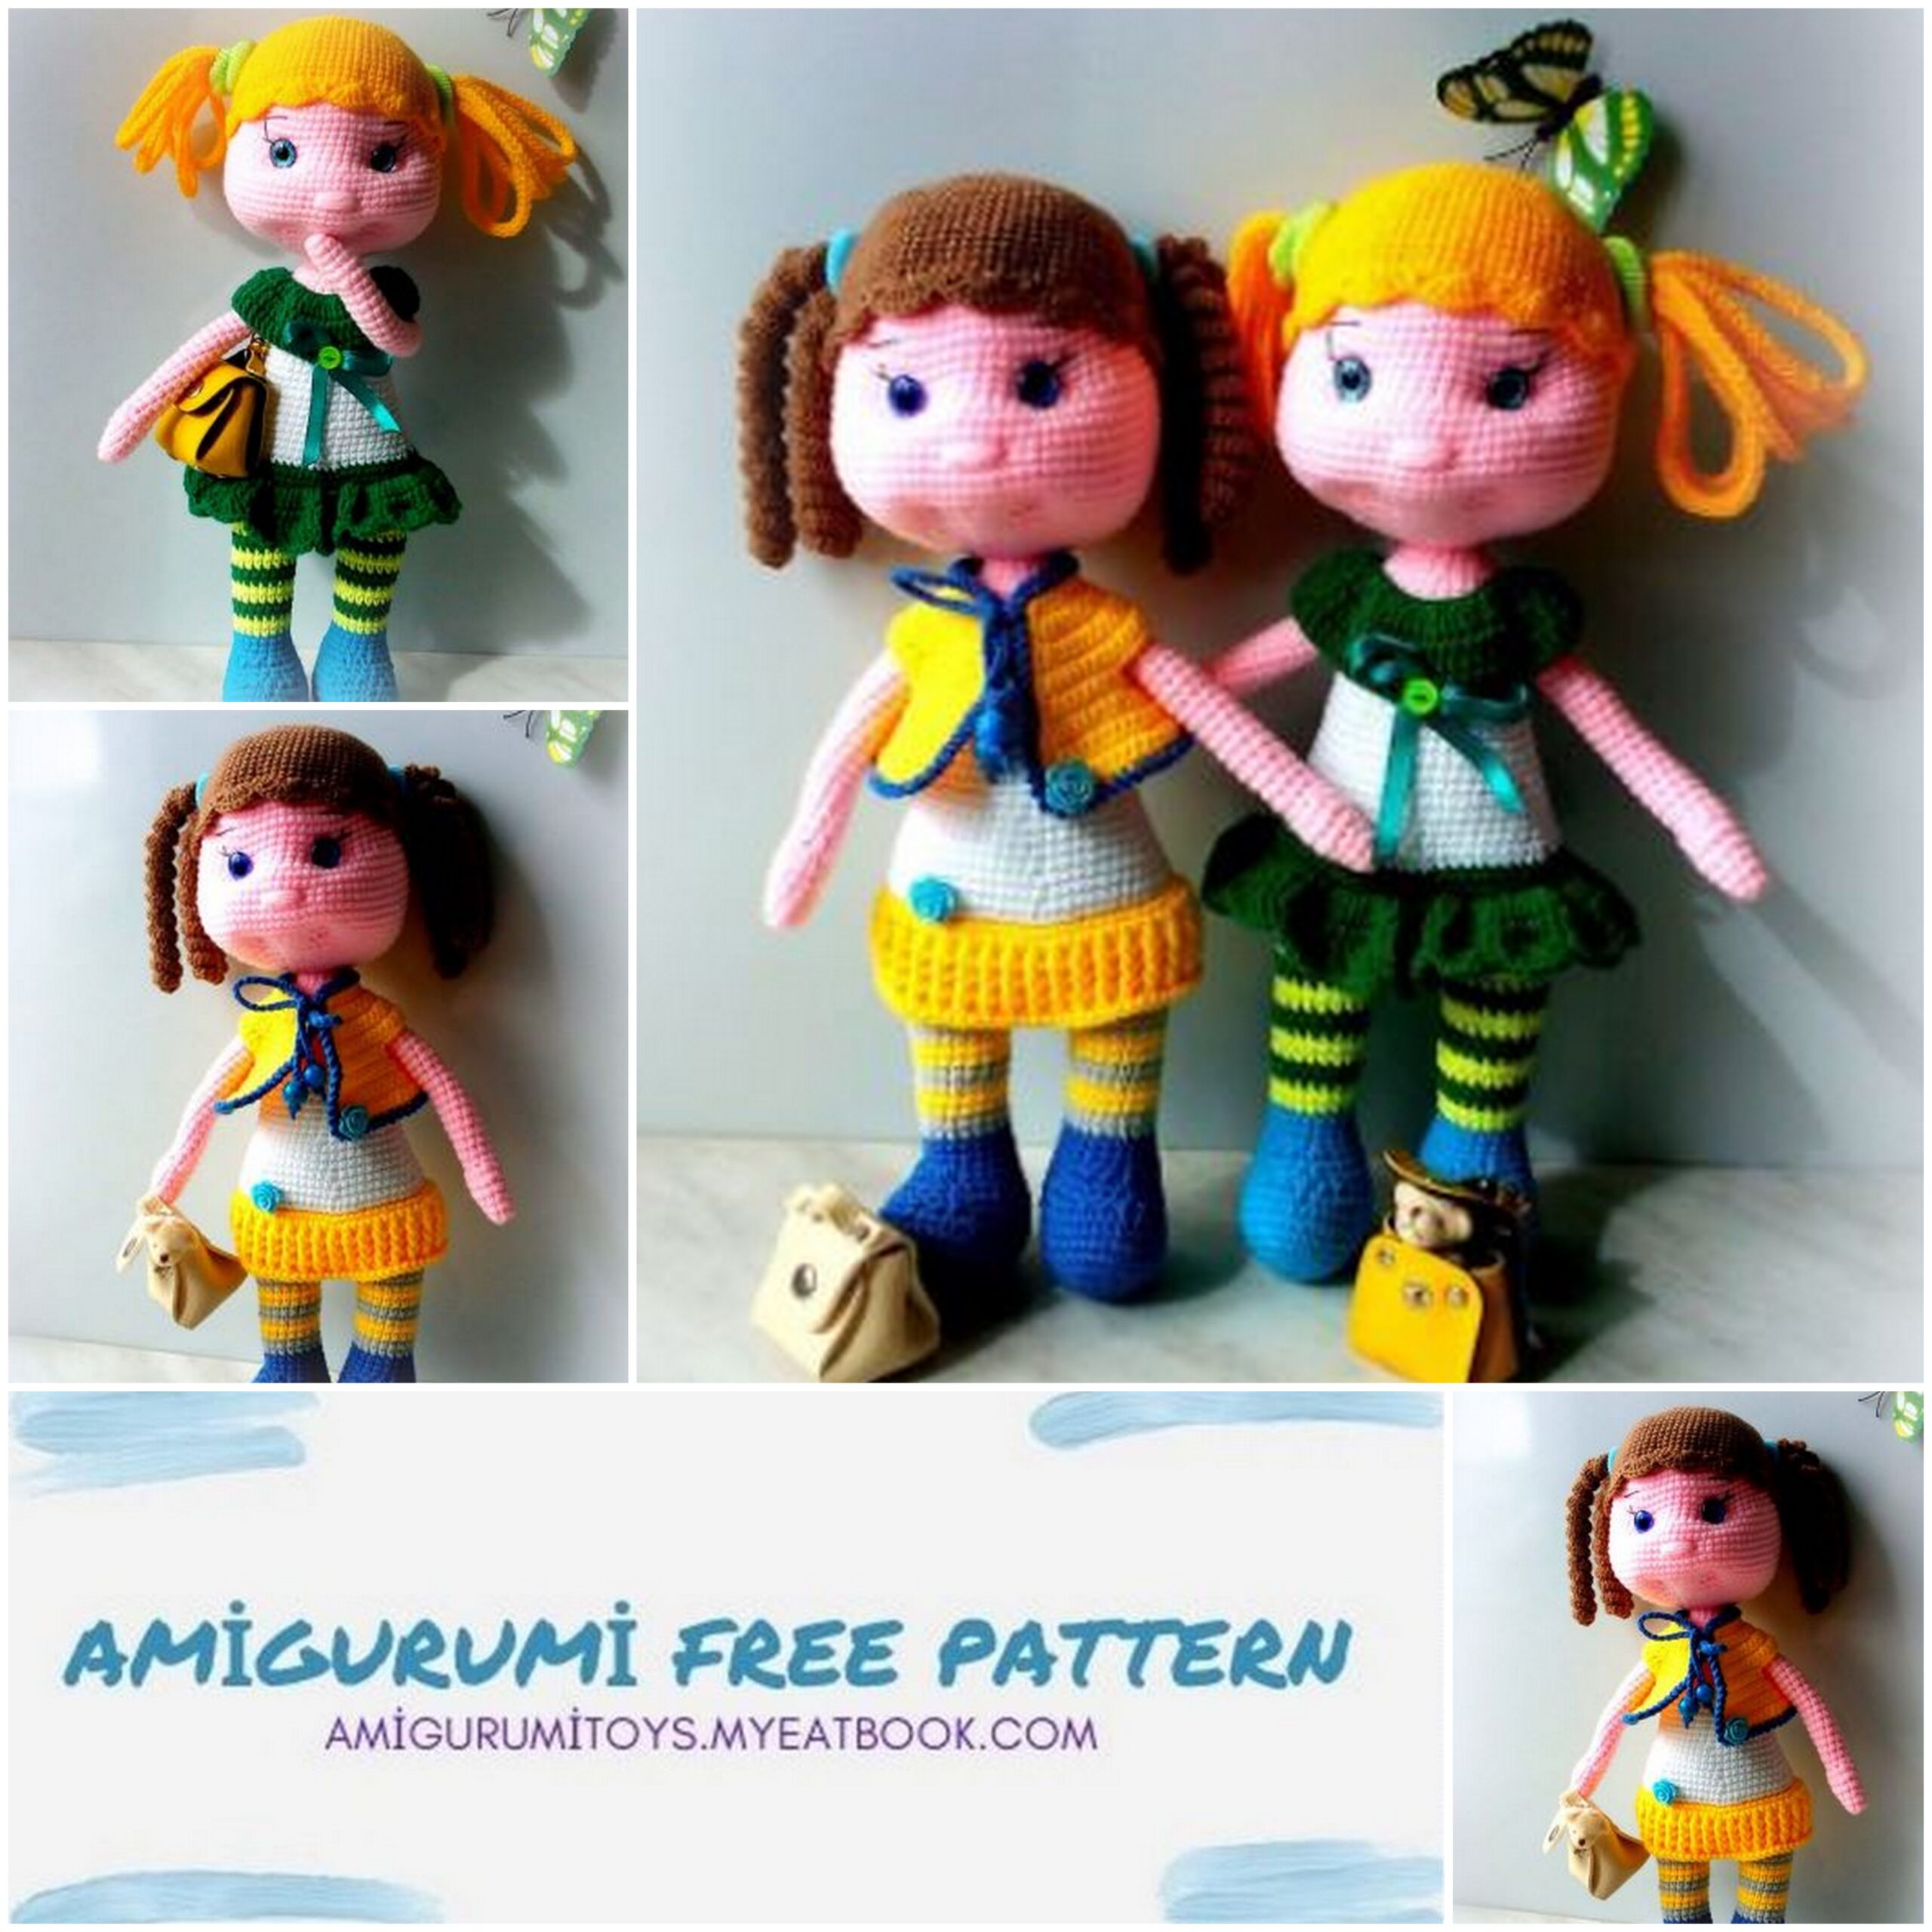
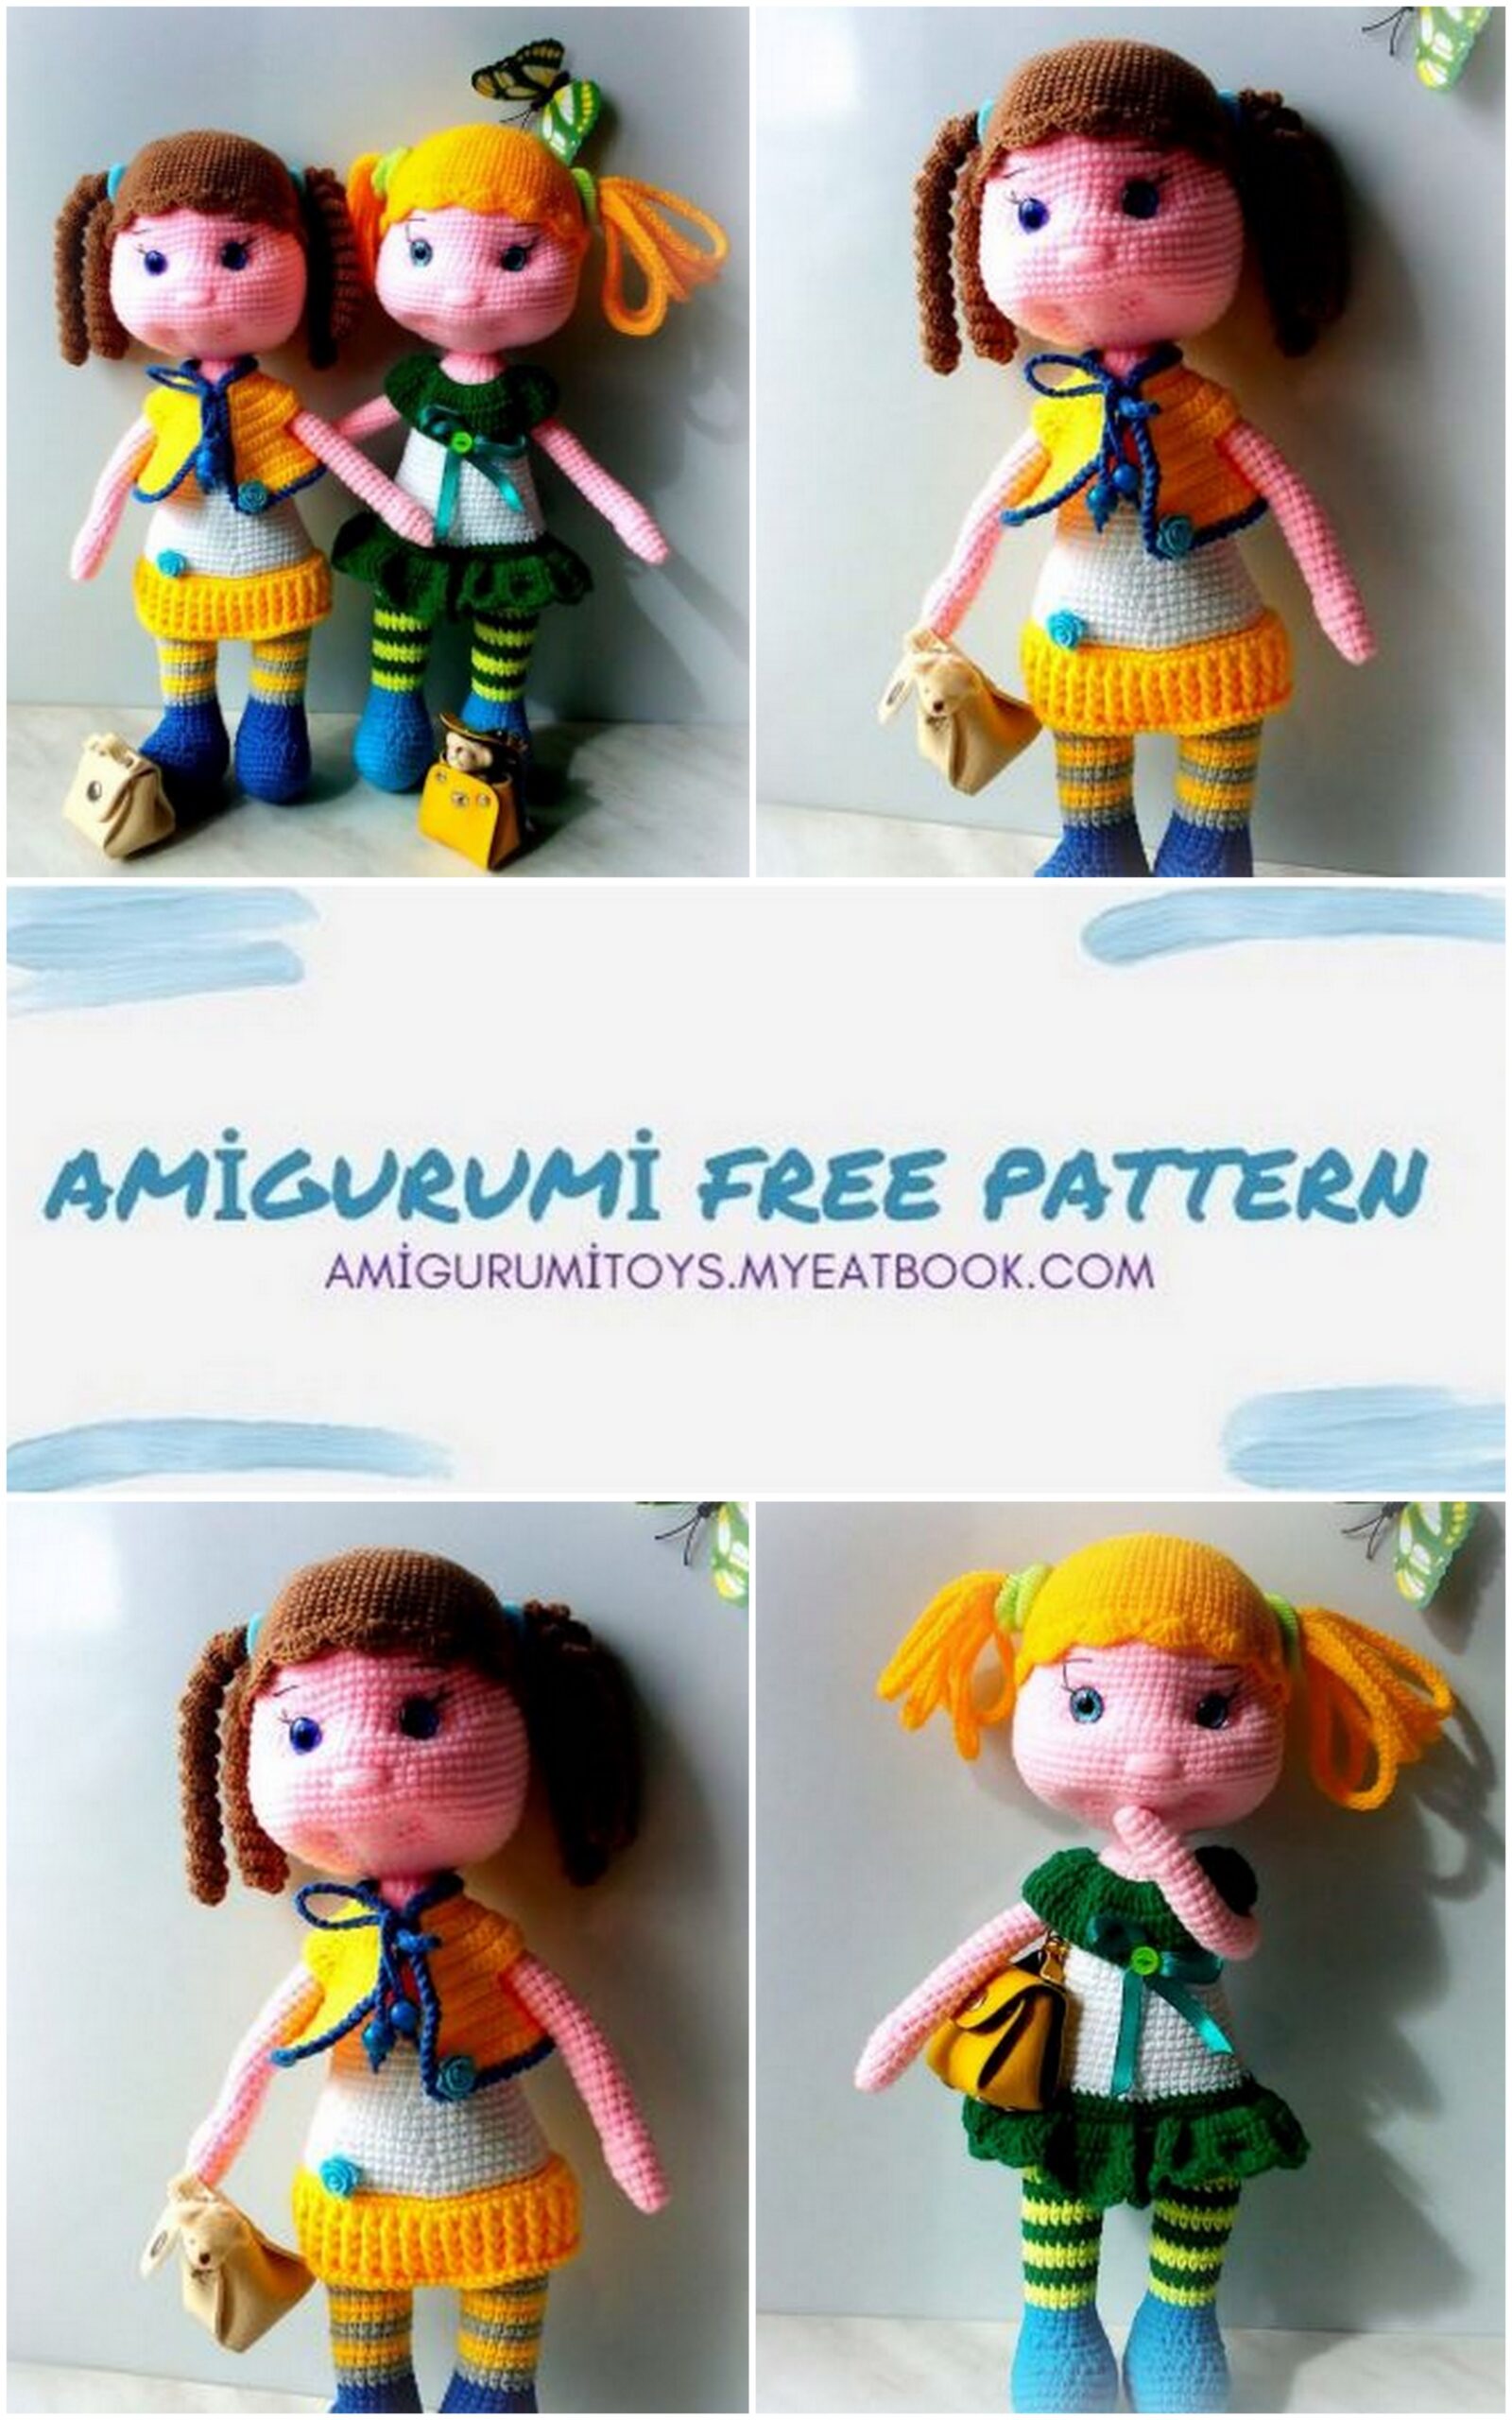
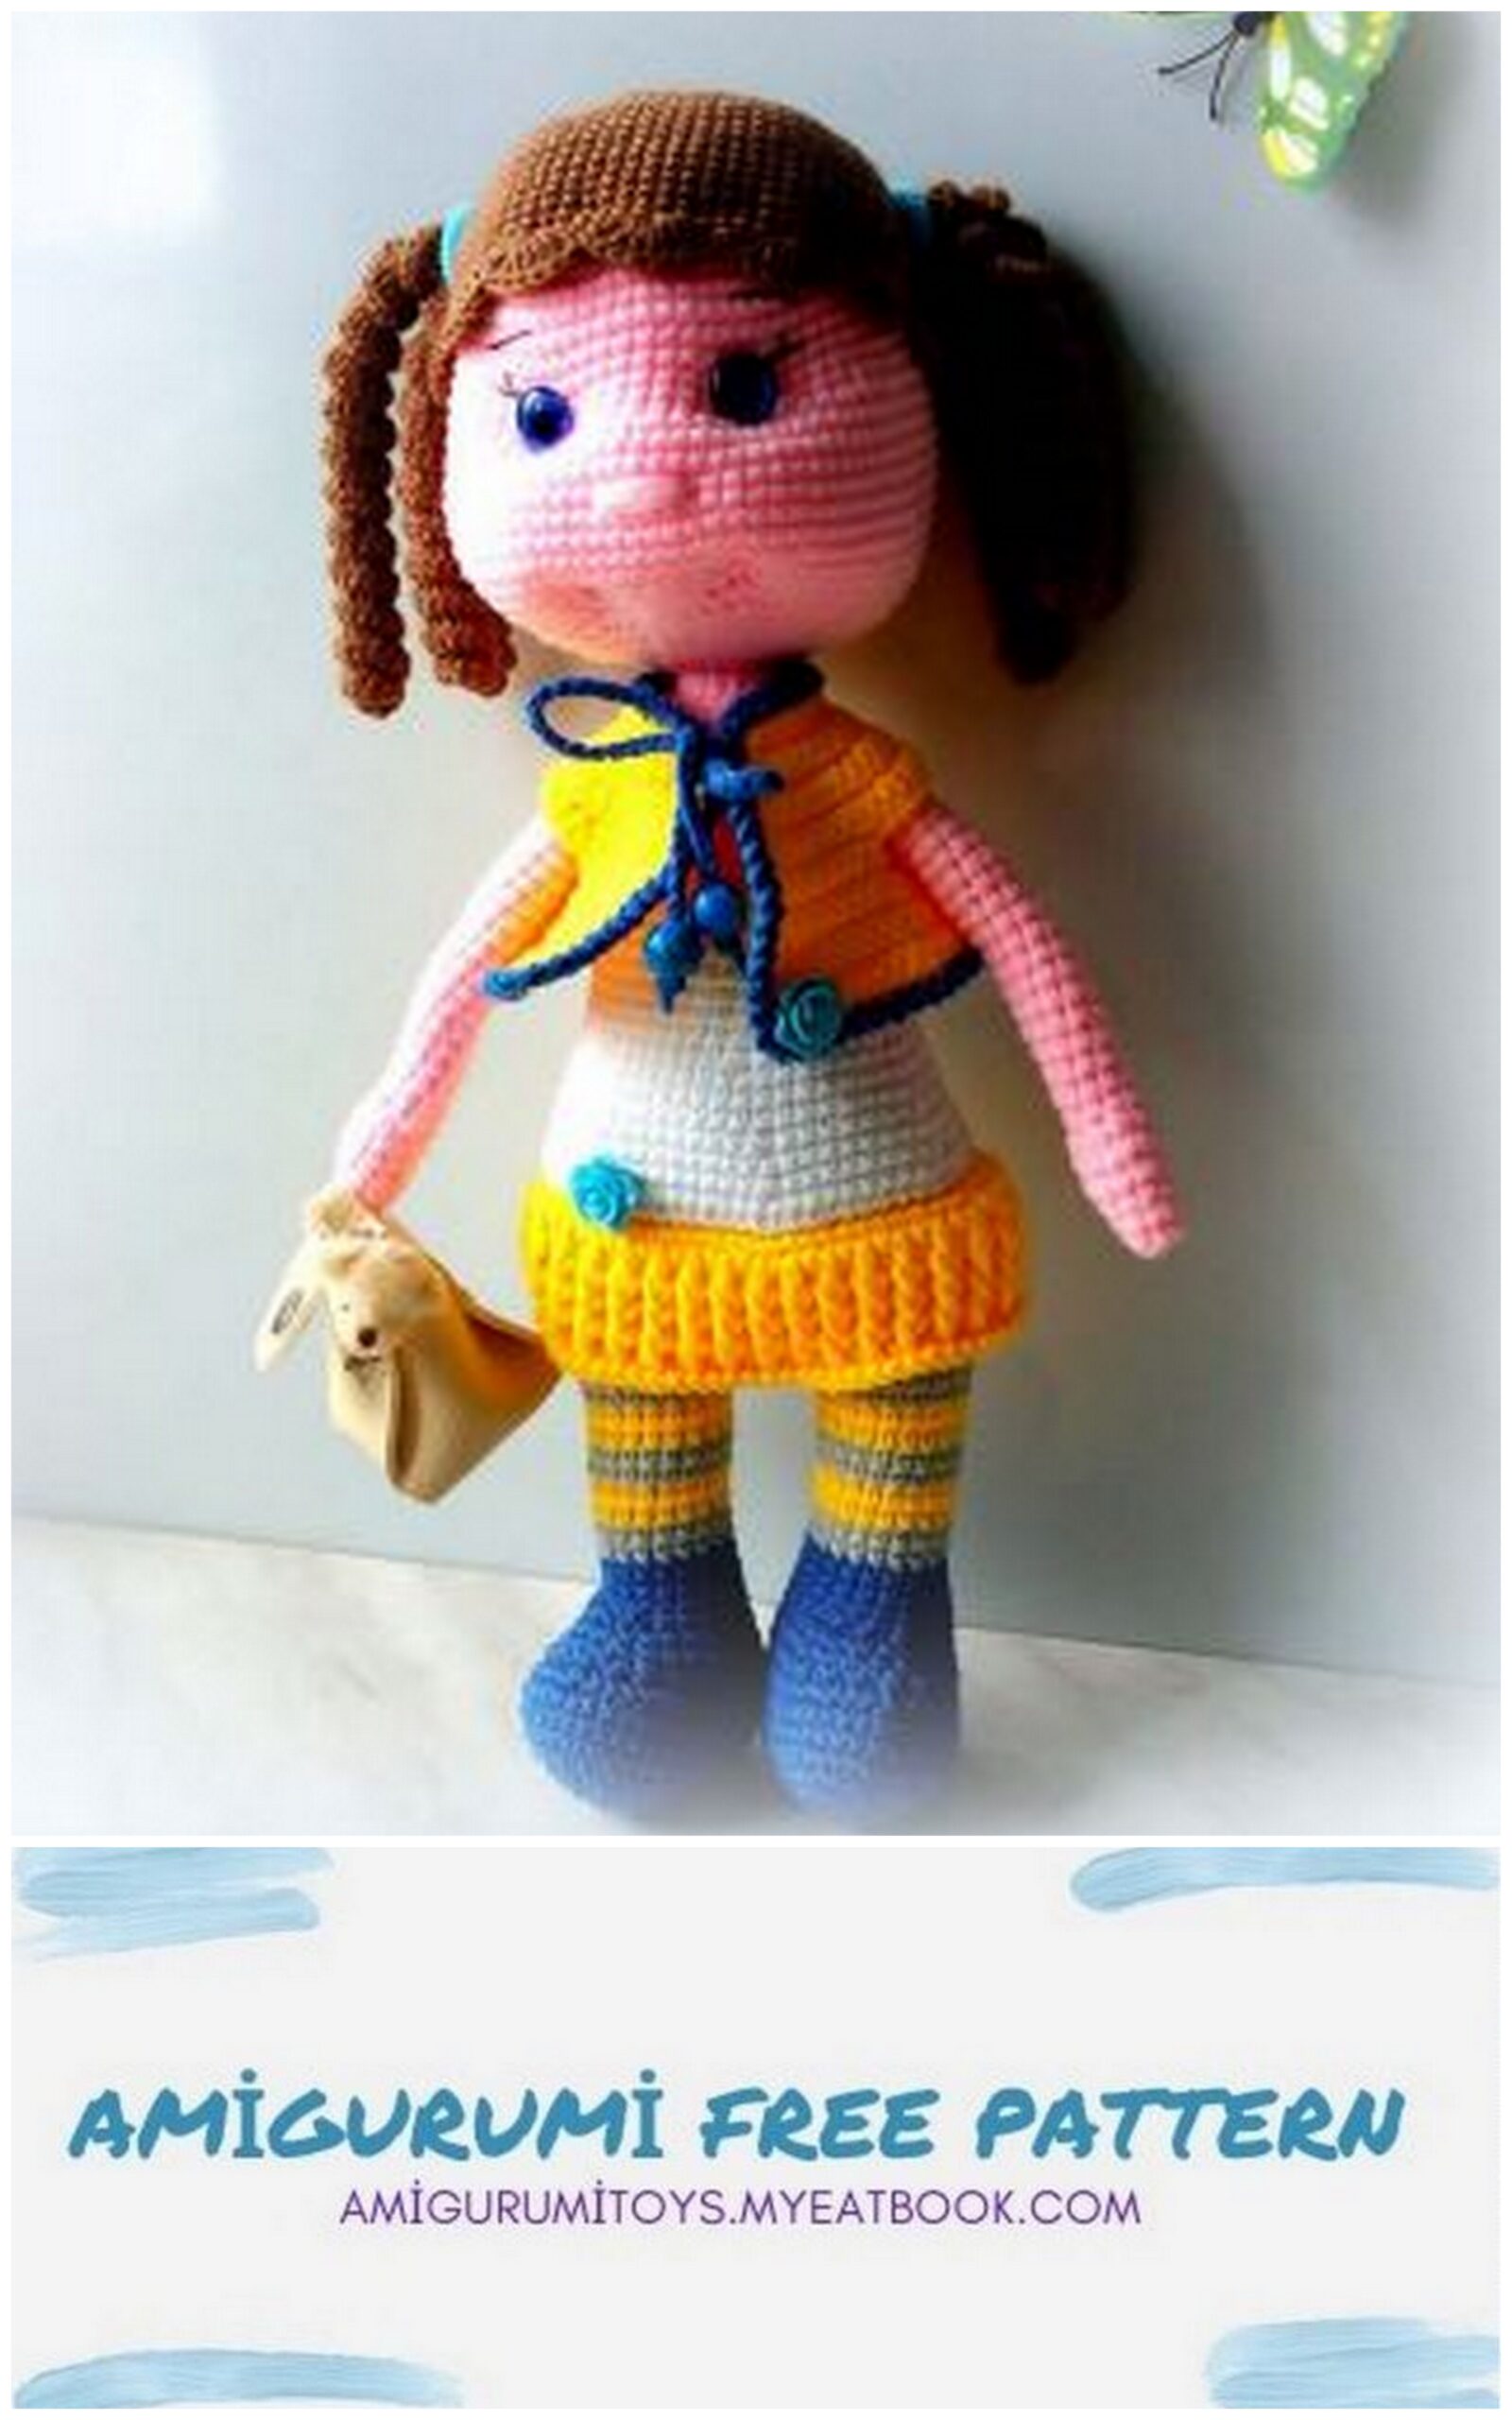
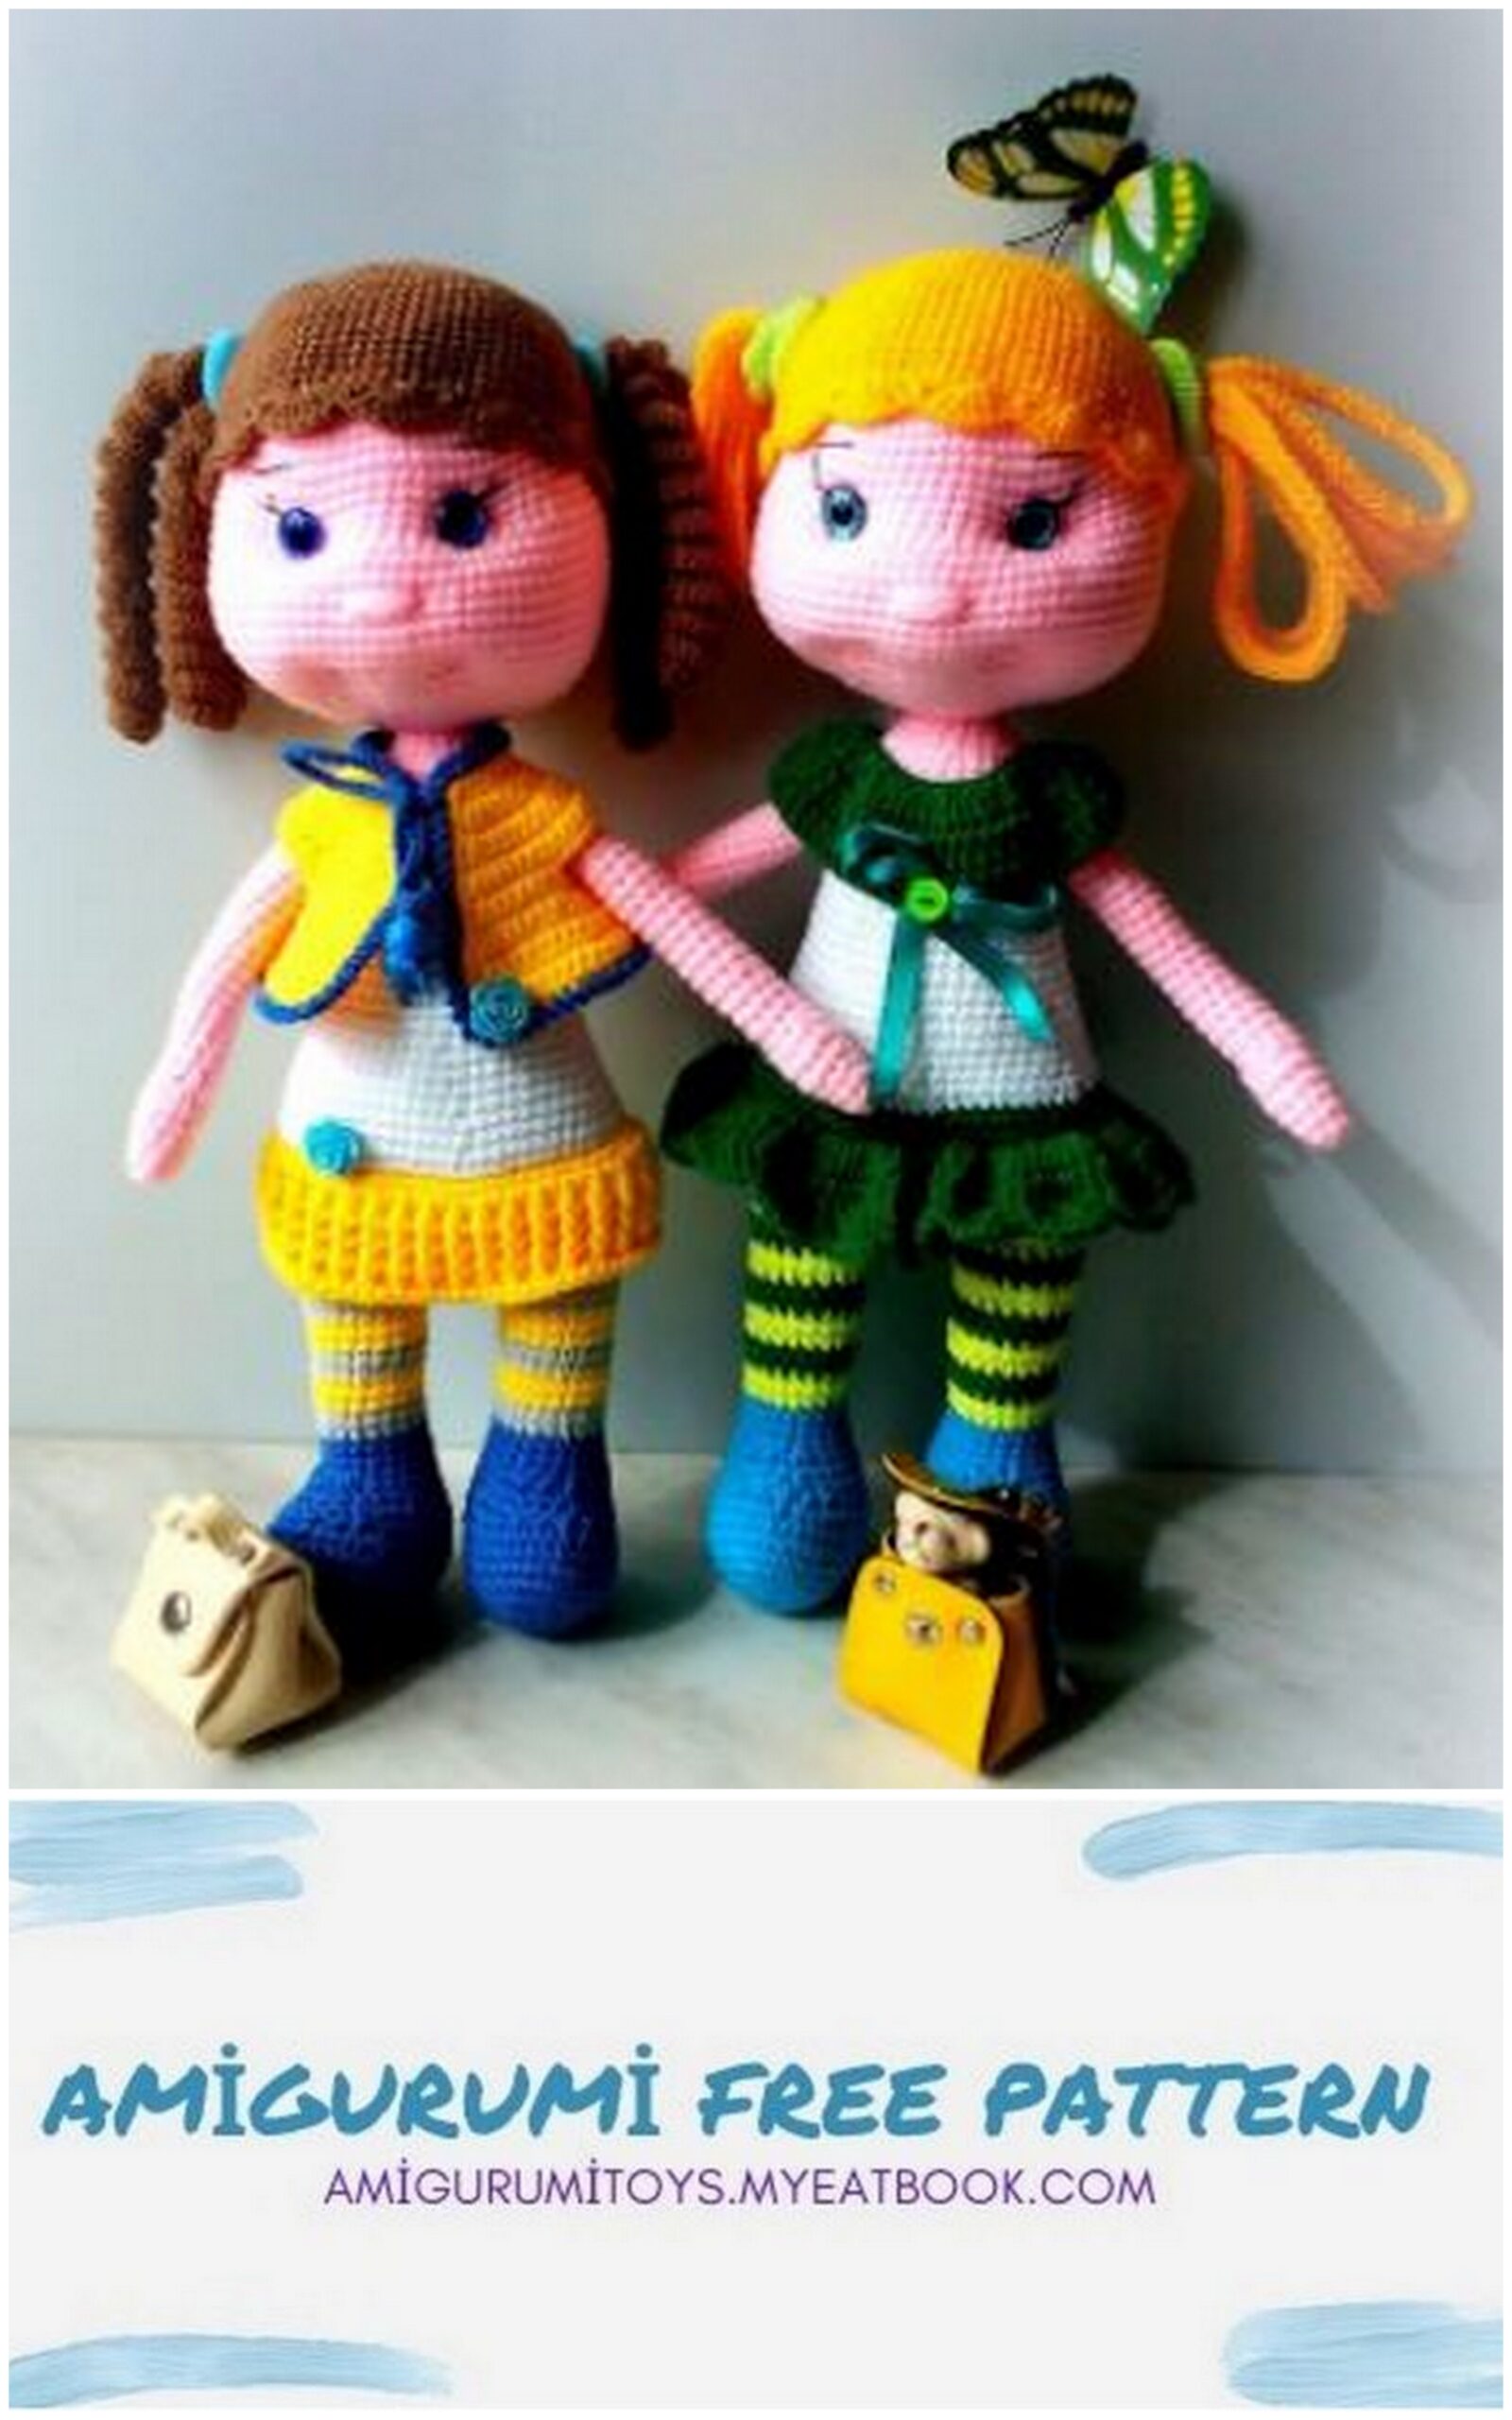
fashionista in a short skirt
Knitting materials
Knitting instructions for toys
Pens
Legs-body
Convex and concave double crochets
We knit the head
We make tightening for the face of our girl
We knit a hairstyle
Vest
Instructions for knitting toys
The size of the toy directly depends on the size of the hook and the thickness of the yarn. Do not use too thick yarn, the toy is loose and does not hold its shape. Also, for knitting, you must use a hook that is significantly smaller than indicated on the yarn label.
The toy can be knitted both in a spiral and in complete rows. If you are knitting in a spiral, do not forget about the marker for the beginning of the row.
If you knit in finished rows –
make an air lift loop at the beginning of each row, in this case, the row ends with a connecting post to a column next to the air lift loop.
Knit the details of the toy in the order in which they are described in master class.
Knitting materials
1. Yarn of your choice. To knit such dolls, I use Akatsia yarn from the Trinity Factory, Milk Cotton yarn or Yarn Art Jeans yarn. Yarn “Acacia” is much thinner than the other two types of yarn, so it is better to crochet a toy from it with crochet number 1 – 1.5. I use crochet hook # 1, crochet hook # 1.5 for the other two yarns.
2. Hook for your yarn.
3. Filler for toys (I use a synthetic winterizer, it holds the braces well).
4. Braided copper wire (no more than 30 cm, section 1-1.3 mm).
5. Artificial eyes (half-beads, beads can be used).
6. Scissors, glue, needle for stitching parts.
Knitting designations:
– Single crochet (SC);
– Column with a crochet (DC);
– air loop (CH);
– half double crochet HDC;
– connecting post (SL-ST);
– “Rachiy step” strapping method;
– DEC. – decrease, a single crochet is knitted, 1 loop of the previous row is skipped and again a single crochet;
– İNC. – in the loop of the previous row, tie 2 loops.
Pens
1st row: 6 SC per ring
2nd row: * 1 SC, İNC *, ** – knit to the end of the row (9)
3rd row: 9 SC (9)
4 row: * 2 SC, İNC *, ** – knit to the end of the row (12)
5 row: * 3 SC, İNC *, ** – knit to the end of the row (15)
6 row: * 3 SC, DEC *, ** – knit to the end of the row (12)
7 row: DEC., DEC., 8 SC (10)
8-26 rows: 10 SC (10)
27 row: DEC., 6 SC, DEC. (eight)
Legs-body
I knit the legs in complete rows (this way the transition of colors turns out to be neat), that is, each row begins with an air lifting loop and ends with a connecting post.
Tie a chain of 7 CH
1st row: Knit in the 2nd loop from the hook, İNC., 4 SC, 4 SC in the last loop of the chain, 4 SC, İNC. (16)
2nd row: İNC., 6 SC, 2 İNC., 6 SC., İNC (20)
3rd row: İNC., 8 SC, 3 İNC., 6 SC., 2 İNC. (26)
4th row: 2 İNC., 9 SC, 4 İNC., 9 SC, 2 İNC. (34)
5 row: 2 İNC., 13 SC, 4 İNC., 13 SC, 2 İNC. (42). This is the sole of our shoe, it will twist a little, but it should be so.
6-8 rows: 42 SC (42)
9 row: * 5 SC, DEC *, – ** – knit to the end of the row (36)
10 row: 12 SC, 6 DEC, 12 SC (30)
11 row: * 3 SC, DEC *, – ** – knit to the end of the row (24)
12 row: 24 SC
Row 13: 10 SC., 4 DEC., 6 SC (20). Stuff the leg with filler
Rows 14-16: 20 SC (20).
Cut the thread of the shoe color. Then we knit in the color of your choice. If you knit striped tights, then the thread changes every 2 rows. You will get 4 stripes of one color and three others.
Rows 17-30: 20 SC (in your chosen color or alternating colors) (20). We stuff the leg tightly as we knit. Fasten the thread, cut it off, hide it. We knit the second leg in the same way.
We attach the thread at the back in the center of the left leg (we continue to knit in stripes).
In row 31, connect both legs: 17 SC on the left leg, 4 CH, (attach the right leg 1 SC), 19 SC on the right leg, 4 SC along the chain, 3 SC on the left leg (48)
32 row: 48 SC (48)
33 row: * 7 SC, İNC *, – ** – knit to the end of the row (54)
34 row: * 8 SC, İNC *, – ** – knit to the end of the row (60)
35-36 rows: 60 SC (60)
37 row: 60 SC (in the color of the skirt, I have yellow) (60). Air loop, twist.
1 auxiliary row: We knit a skirt, we start behind the wall of the loops of the previous row farthest from us. * 9 SC, İNC *, – ** – knit to the end of the row (66)
2nd auxiliary row: 66 DC (66)
3 – 5 auxiliary rows: alternate convex and concave DC (66)
6 auxiliary row: Tie the bottom of the skirt with “Rach step”.
Convex and concave double crochets.
Concave (falling) double crochet:
The crochet hook is not inserted into the loop of the base, but carried out in front of the column of the previous
row. Having captured the working thread, they knit a double crochet.
Convex double crochet:
The crochet hook is inserted behind the column of the previous row and the crochet is knitted.
If you need a fluffy skirt:
1 auxiliary row: We knit a skirt, we start behind the wall of the loops of the previous row farthest from us. * 9 SC, İNC *, – ** – knit to the end of the row (66)
2nd auxiliary row: 2 DC in each loop of the previous row (132)
3 – 5 auxiliary rows: 132 DC (132)
6 auxiliary row: Tie the bottom of the skirt with “Rach step”. If you wish, you can knit a longer skirt and decorate the edge as you wish.
38 row: start from the middle of the cn Inca color of the blouse for the left wall of the loops (I have white), 60 SC (60). From here I knit in a spiral.
Fill the part with filler while knitting.
Row 39: 60 SC (60)
40 row: * 8 SC, DEC *, – ** – knit to the end of the row (54)
41 row: 54 SC (54)
42 row: * 7 SC, DEC *, – ** – knit to the end of the row (48)
43-45 rows: 48 SC (48)
46 row: * 6 SC, DEC *, – ** – knit to the end of the row (42)
47-50 rows: 42 SC (42)
51 row: * 5 SC, DEC *, – ** – knit to the end of the row (36)
52 row: 36 SC (36) Go to the thread of body color
53 row: 36 SC (36)
54 row: * 4 SC, DEC *, – ** – knit to the end of the row (30)
55-57 rows: 30 SC (30)
Fold the part in half
58 row: We knit hands, along the inner part of the arm together with the body 4 SC (30) A place for knitting a handle A place for knitting a handle
Row 59: On the outside of the arm 4 SC (30)
60 row: 30 SC (30)
Row 61: 30 SC (30)
62 row: * 3 SC, DEC *, – ** – knit to the end of the row (24)
63 row: * 2 SC, DEC *, – ** – knit to the end of the row (18)
Rows 64-65: 18 SC, leave thread to sew on head (18)
Places where there were 2 reductions
must look at
knitting forward
We knit the head
Close the 5CH chain into a ring.
1st row: 6SC into the ring.
2nd row: In each SC of the previous row, tie 2 SC (12). Increase – knit two from one loop.
3 row: * 1 SC, increase *, ** – knit to the end of the row (18).
4th row: * 2 SC, increase *, ** – knit to the end of the row (24).
5 row: * 3 SC, increase *, ** – knit to the end of the row (30).
6 row: * 4 SC, increase *, ** – knit to the end of the row (36).
7 row: * 5 SC, increase *, ** – knit to the end of the row (42).
8 row: * 6 SC, increase *, ** – knit to the end of the row (48).
9 row: * 7 SC, increase *, ** – knit to the end of the row (54).
10 row: * 8 SC, increase *, ** – knit to the end of the row (60).
11 row: * 9 SC, increase *, ** – knit to the end of the row (66).
12 row: * 10 SC, increase *, ** – knit to the end of the row (72).
Rows 13-20: 72 SC (72).
21 row: 19 SC, İNC., (2 SC, İNC.) * 11 times, 19 SC (84).
Mark the first and last increments with a contrasting thread (this will help in the future symmetrically attach hair, spout and tighten).
Rows 22 – 28: 84 SC (84).
29 row: * 12 SC, decrease *, ** – knit to the end of the row (78).
30 row: * 11 SC, decrease *, ** – knit to the end of the row (72).
31 row: * 10 SC, decrease *, ** – knit to the end of the row (66).
32 row: * 9 SC, decrease *, ** – knit to the end of the row (60).
33 row: * 8 SC, decrease *, ** – knit to the end of the row (54).
34 row: * 7 SC, decrease *, ** – knit to the end of the row (48).
35 row: * 6 SC, decrease *, ** – knit to the end of the row (42).
36 row: * 5 SC, decrease *, ** – knit to the end of the row (36).
Fill the part with filler a little.
Preparing the wire for the head-body attachment. I have a piece of wire 40 cm long (folded in half)
Step 5 cm from the edge of the wire and rewind it with adhesive tape or electrical tape. Tighten the ends of the wire with pliers.
We insert our frame into the head, it should be in the center of the head hole. And very carefully, little by little, we add filler to the head, making sure that the wire does not move. Do not stuff tightly yet, it will be inconvenient to tie.
37 row: * 4 SC, decrease *, ** – knit to the end of the row (30).
38 row: * 3 SC, decrease *, ** – knit to the end of the row (24).
We fill our head with filler tightly enough, but so that we can make tightening. Make sure the wire is centered on the hole.
39 row: * 2 SC, decrease *, ** – knit to the end of the row (18). Leave the thread for sewing on the head.
We make tightening for the face of our girl
• we count from the markers (which we made for attaching the hair) 11 columns to the left and right and two rows up, the eyes are between 19 and 20 row. (yellow marker – tailor’s pin);
• from the yellow marker we count 2 columns (blue marker);
• counting from the yellow marker 11 rows down and 2 columns to the left and to the right (green marker).
Take a long needle with nylon thread.
Left eye tightening:
1. Insert the needle through the hole in the head and draw it out in the place of the yellow marker (the tail of the thread should stick out in the hole of the head 15-20 cm, we do not tie any knots);
2. Insert the needle in the place of the blue marker and draw it out in the place of the green marker;
3. Insert the needle 1 column to the right of the green marker, draw it to the extreme corner of the eye (where the yellow marker was);
4. We insert the needle into the place where the blue marker was, we bring it out into the open hole of the head. We tighten the threads so that a tightening for the eye and the corner of the mouth is formed, we tie a couple of corners. Cut the thread.
Similarly, we tighten the right side of the face. The only thing in point # 4 is to insert the needle on 1 column of the LEFT green marker, and draw it to the extreme corner of the eye (where the yellow marker was).
Add some filler to your head if needed. Glue or sew on the eyes (I use super glue). Embroider the nose with body yarn, then the eyelashes and eyebrows with black thin cotton thread.
We knit a hairstyle
For the hairs (hairstyles), I use the Acacia yarn of the Troitsk factory, the yarn is thin, even (250m / 50gr).
Close the 5CH chain into a ring.
1st row: 6SC into the ring.
2nd row: In each SC of the previous row, tie 2 SC (12).
Increase – knit two from one loop. 3 row: * 1 SC, increase *, ** – knit to the end of the row (18).
4th row: * 2 SC, increase *, ** – knit to the end of the row (24).
5 row: * 3 SC, increase *, ** – knit to the end of the row (30).
6 row: * 4 SC, increase *, ** – knit to the end of the row (36).
7 row: * 5 SC, increase *, ** – knit to the end of the row (42).
8 row: * 6 SC, increase *, ** – knit to the end of the row (48).
9 row: * 7 SC, increase *, ** – knit to the end of the row (54).
10 row: * 8 SC, increase *, ** – knit to the end of the row (60).
11 row: * 9 SC, increase *, ** – knit to the end of the row (66).
12 row: * 10 SC, increase *, ** – knit to the end of the row (72).
13 row: * 11 SC, increase *, ** – knit to the end of the row (78).
Rows 14-24: 78 SC (78). Try on the resulting hat on your head, if it seems short, knit a few more rows.
25 row: 2 CH lifts, 5 DC in a loop, from where 2 CH are connected, * skip 2 loops of the previous row, SC, skip 2 loops of the previous row, 6 DC *, ** – knit to the end of the row. The last row of the cap should go up to the markers that we left on the sides.
Leave the thread for sewing.
The bottom edge of the cap should reach the markers that we left on the sides of our girl’s head.
Tie a few spirals to form a kind of tails for our pupa.
I knit the spirals like this (leave the tail of the thread 10 centimeters):
– Link a chain of 60 CH;
– 1 SC, 1 HDC, 1 DC in the second loop of the chain;
– 3 DCs in each loop of the chain, except for the very last one;
– 1 DC, 1 HDC, 1 SC in the last loop of the chain. Leave the tail of the thread for sewing. Now we have two protruding ponytails.
Tie 6 spirals (more if desired). Put a hat on your head, try on the places for the ponytails, carefully attach the ponytails to the hat, and sew the hat to the doll’s head with secret stitches.
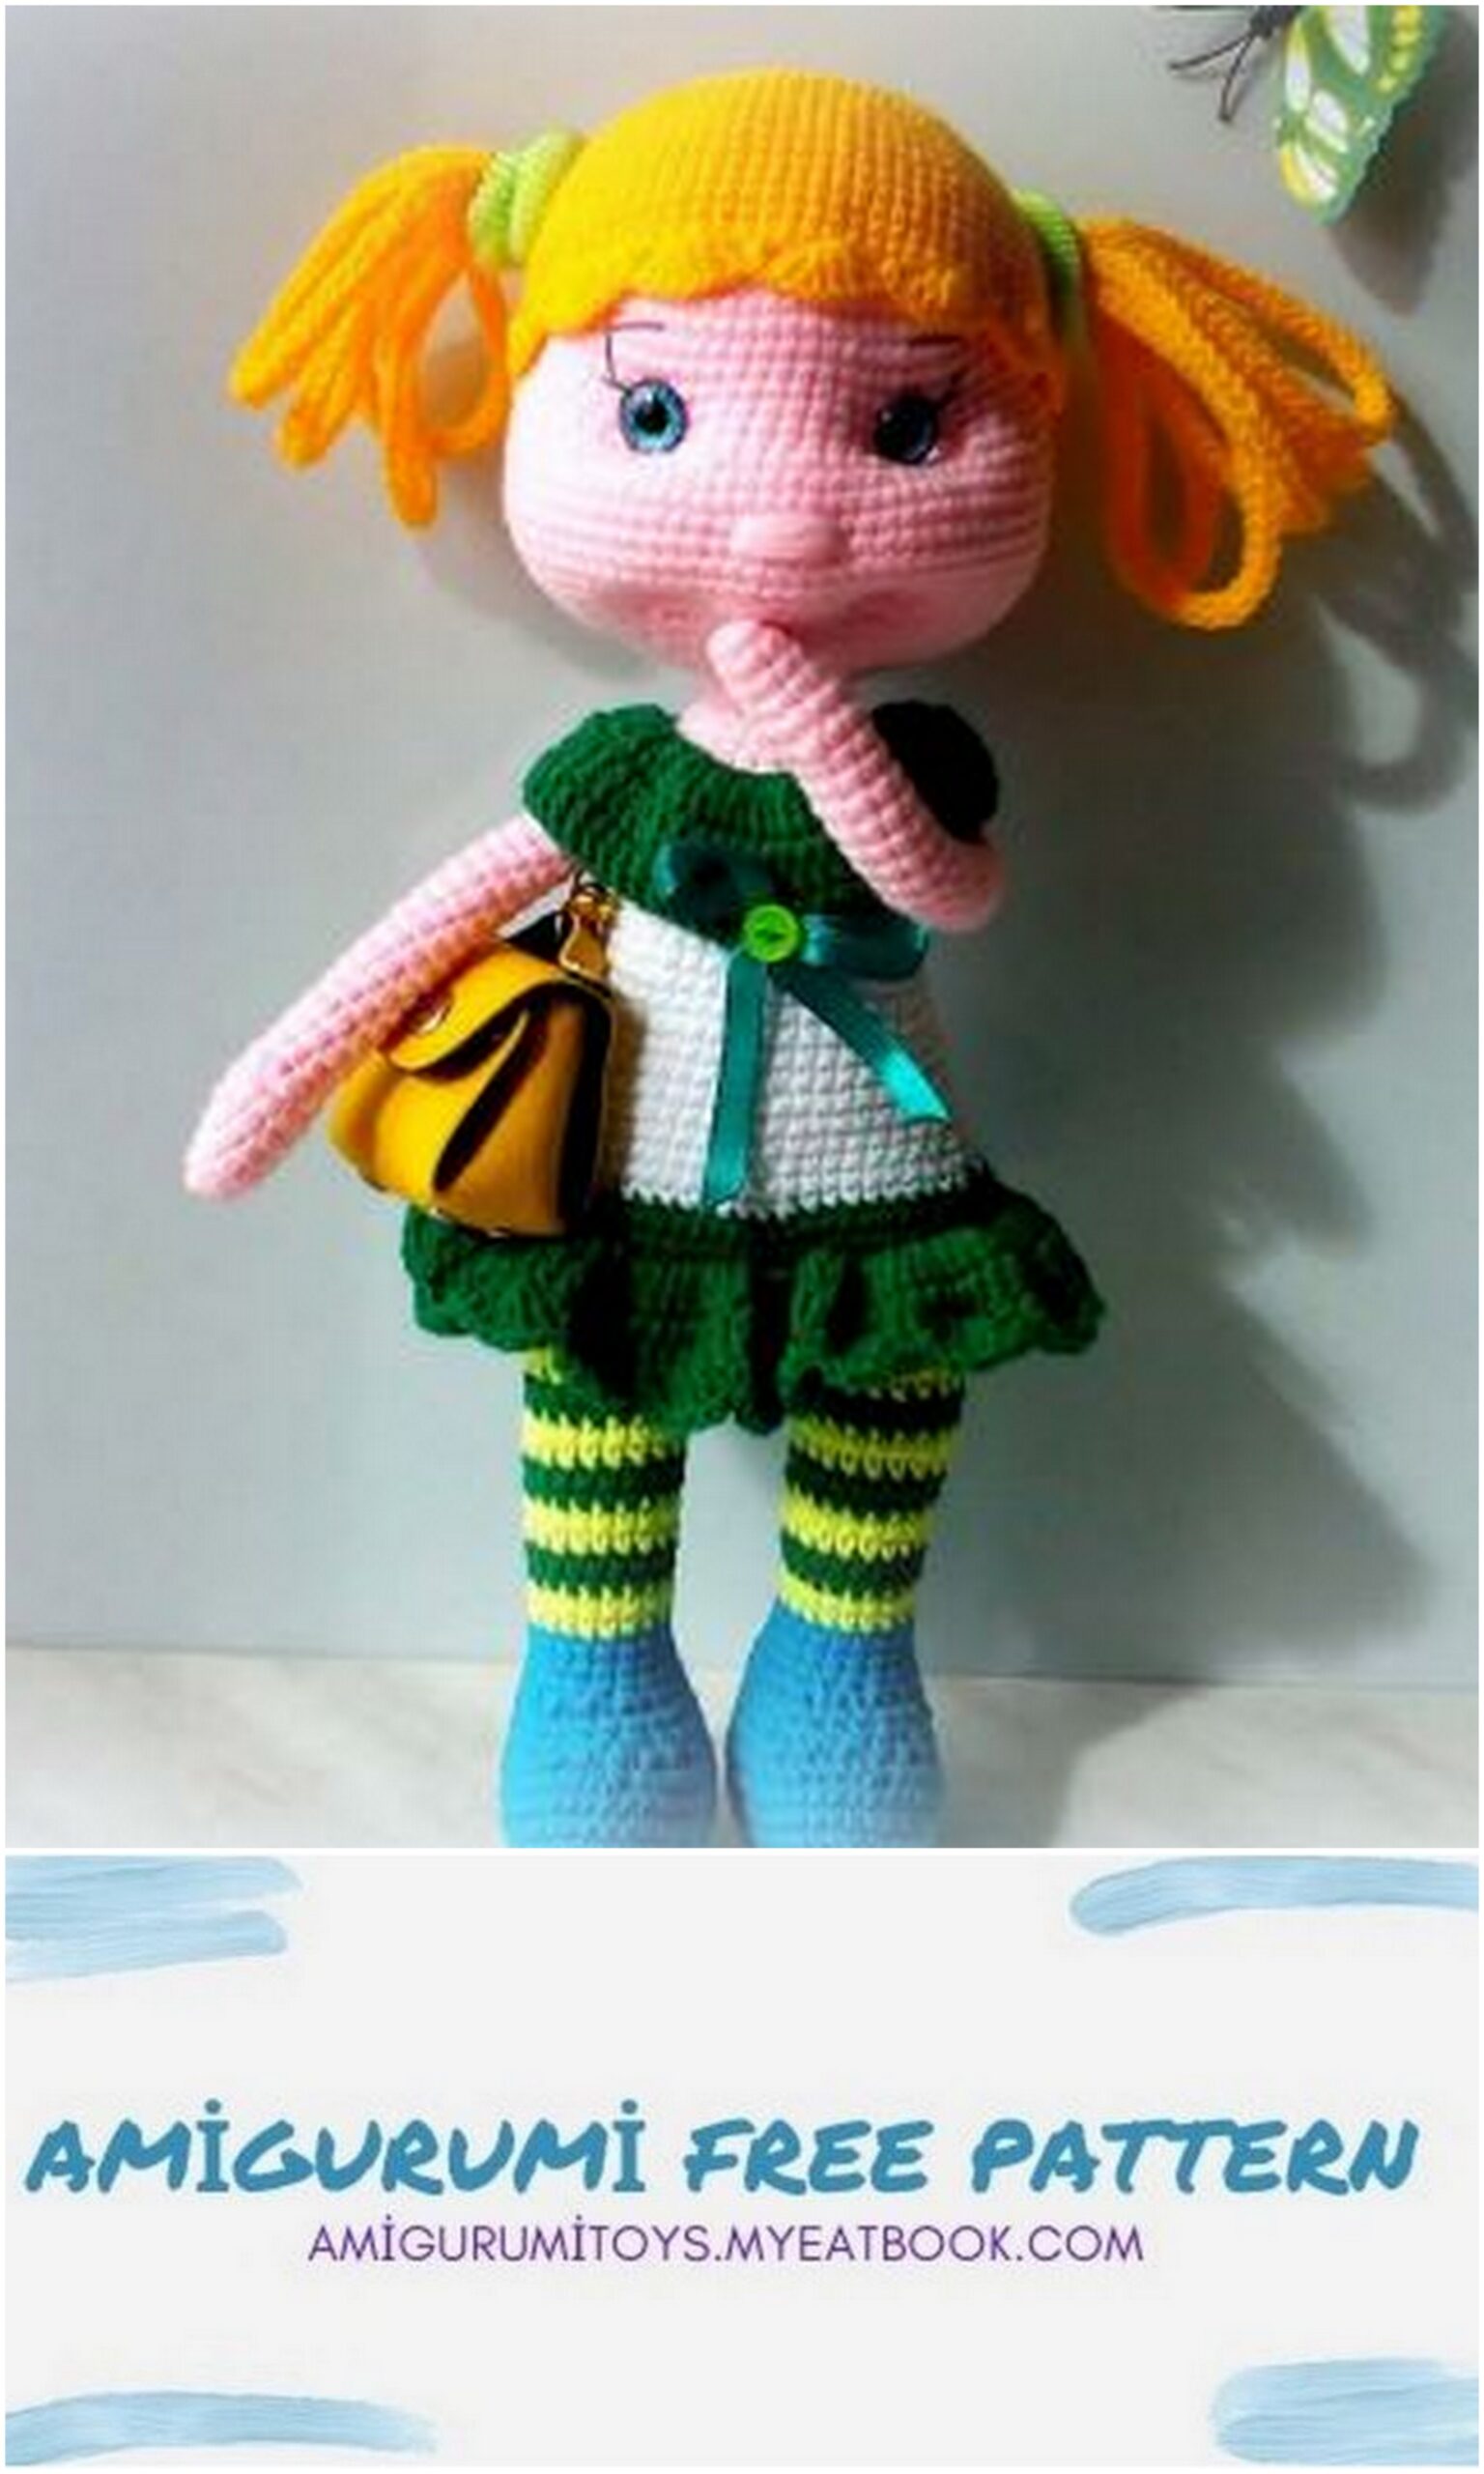
For a doll with yellow hair, the base is knitted as well.
Ponytails-laces: Leave the tip of 10 centimeters. A chain of 3 air loops is knitted. Without removing the 1st loop from the hook, pull the loop through the second loop (2 loops on the hook) and through the third loop, 3 loops are obtained on the hook. All of them are removed from the hook very carefully, then we pull the loop through the second loop (there are 2 loops on the hook) and through the third loop. And again on the hook 3 loops. Knit to the desired length)))). Leave a tip of 10 centimeters. The hair is folded in half and attached to the head. You can decorate with rubber bands.
We very carefully insert the wire sticking out of the head into the doll’s neck, sew the head to the body with the left thread.
Vest
We knit in rotary rows
Link a chain of 31 CH
1 row: knit in the second loop from the hook 30 SC (30)
2nd row: * 4 SC, increase *, ** – knit to the end of the row (36).
3 row: * 5 SC, increase *, ** – knit to the end of the row (42).
7 row: * 6 SC, increase *, ** – knit to the end of the row (48).
8 row: 48 SC (48)
9 row: * 7 SC, increase *, ** – knit to the end of the row (54).
10 row: 54 SC (54)
11 row: 8 SC, 5 CH, skip 10 loops, 18 SC, 5 CH, skip 10 loops, 8 SC (54)
12 row: 8 SC, 7 SC to arch from CH, 18 SC, 7 SC to arch from CH, 8 SC (48)
13 row: * 7 SC, increase *, ** – knit to the end of the row (54).
14 – 15 rows: 54 SC (54)
16 row: * 8 SC, increase *, ** – knit to the end of the row (60).
17 – 18 rows: 60 SC (54)
Tie the vest in a circle SC, then with a contrasting thread in the “Rachy step” fashion.
Tie a string, decorate it with beads. The vest is ready. You can try on our girl.
You can decorate the ponytails with bows or rubber bands, use decorative elements of your choice.
Our girl is ready: