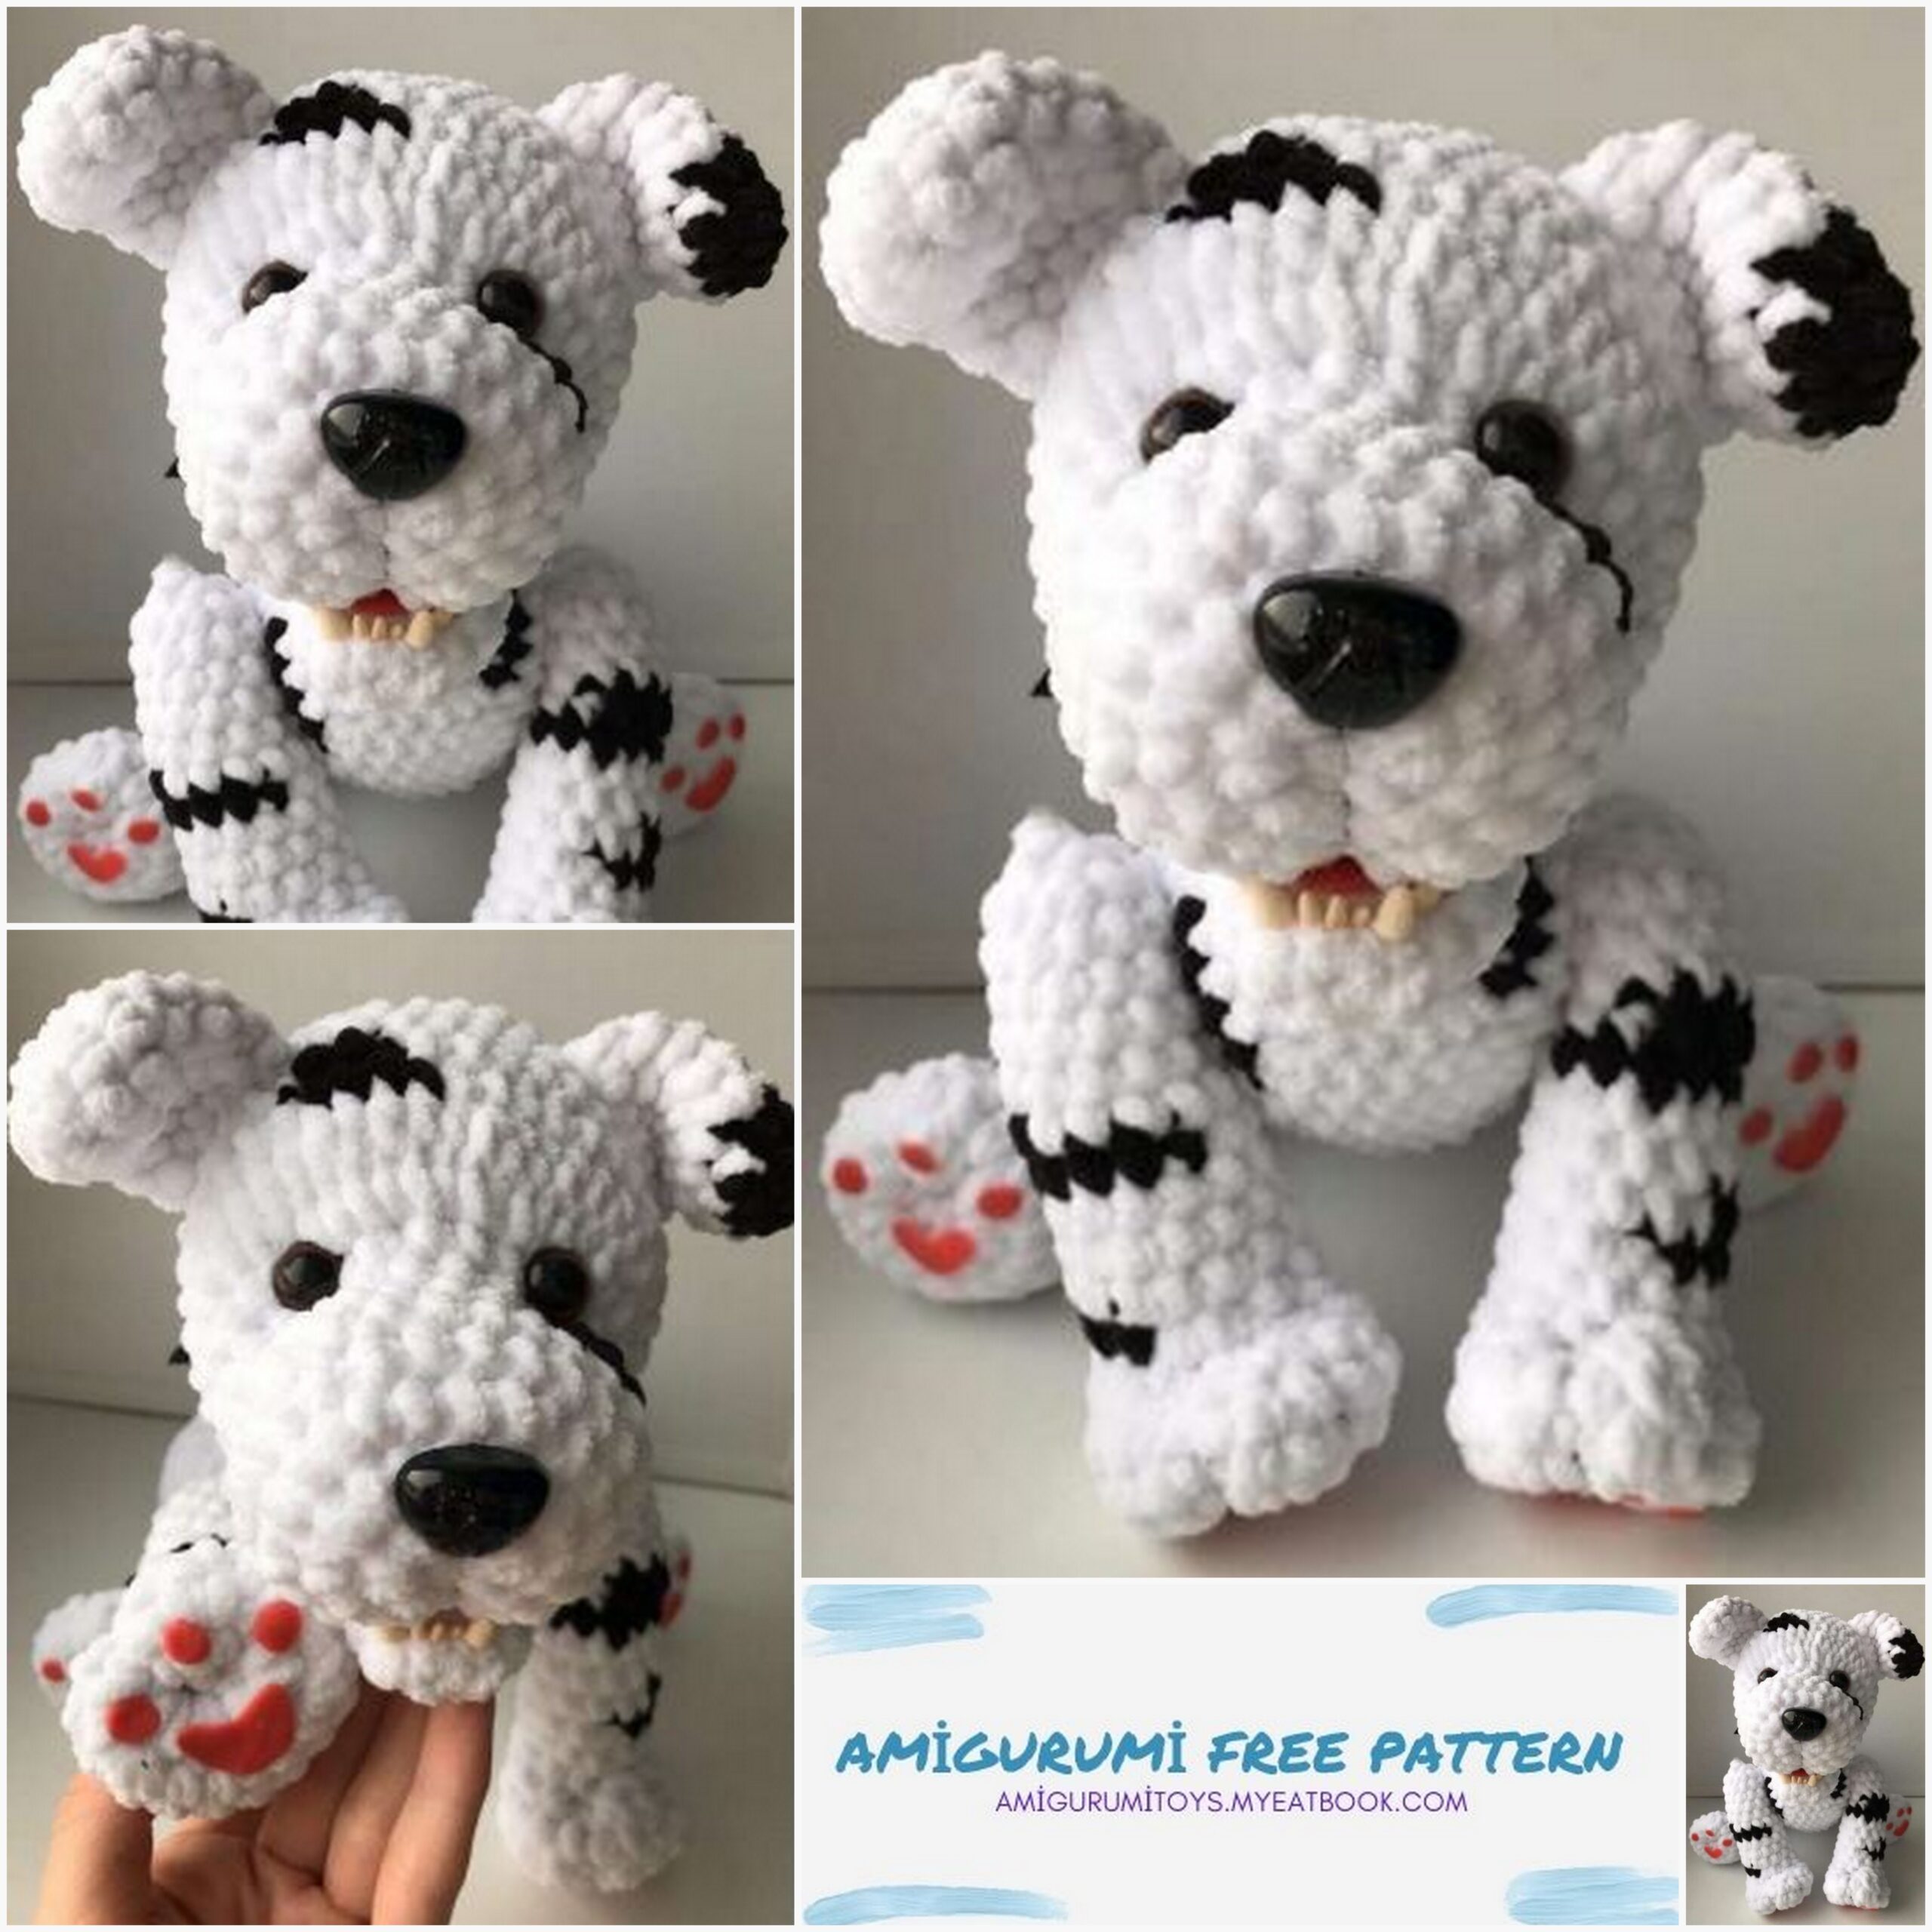
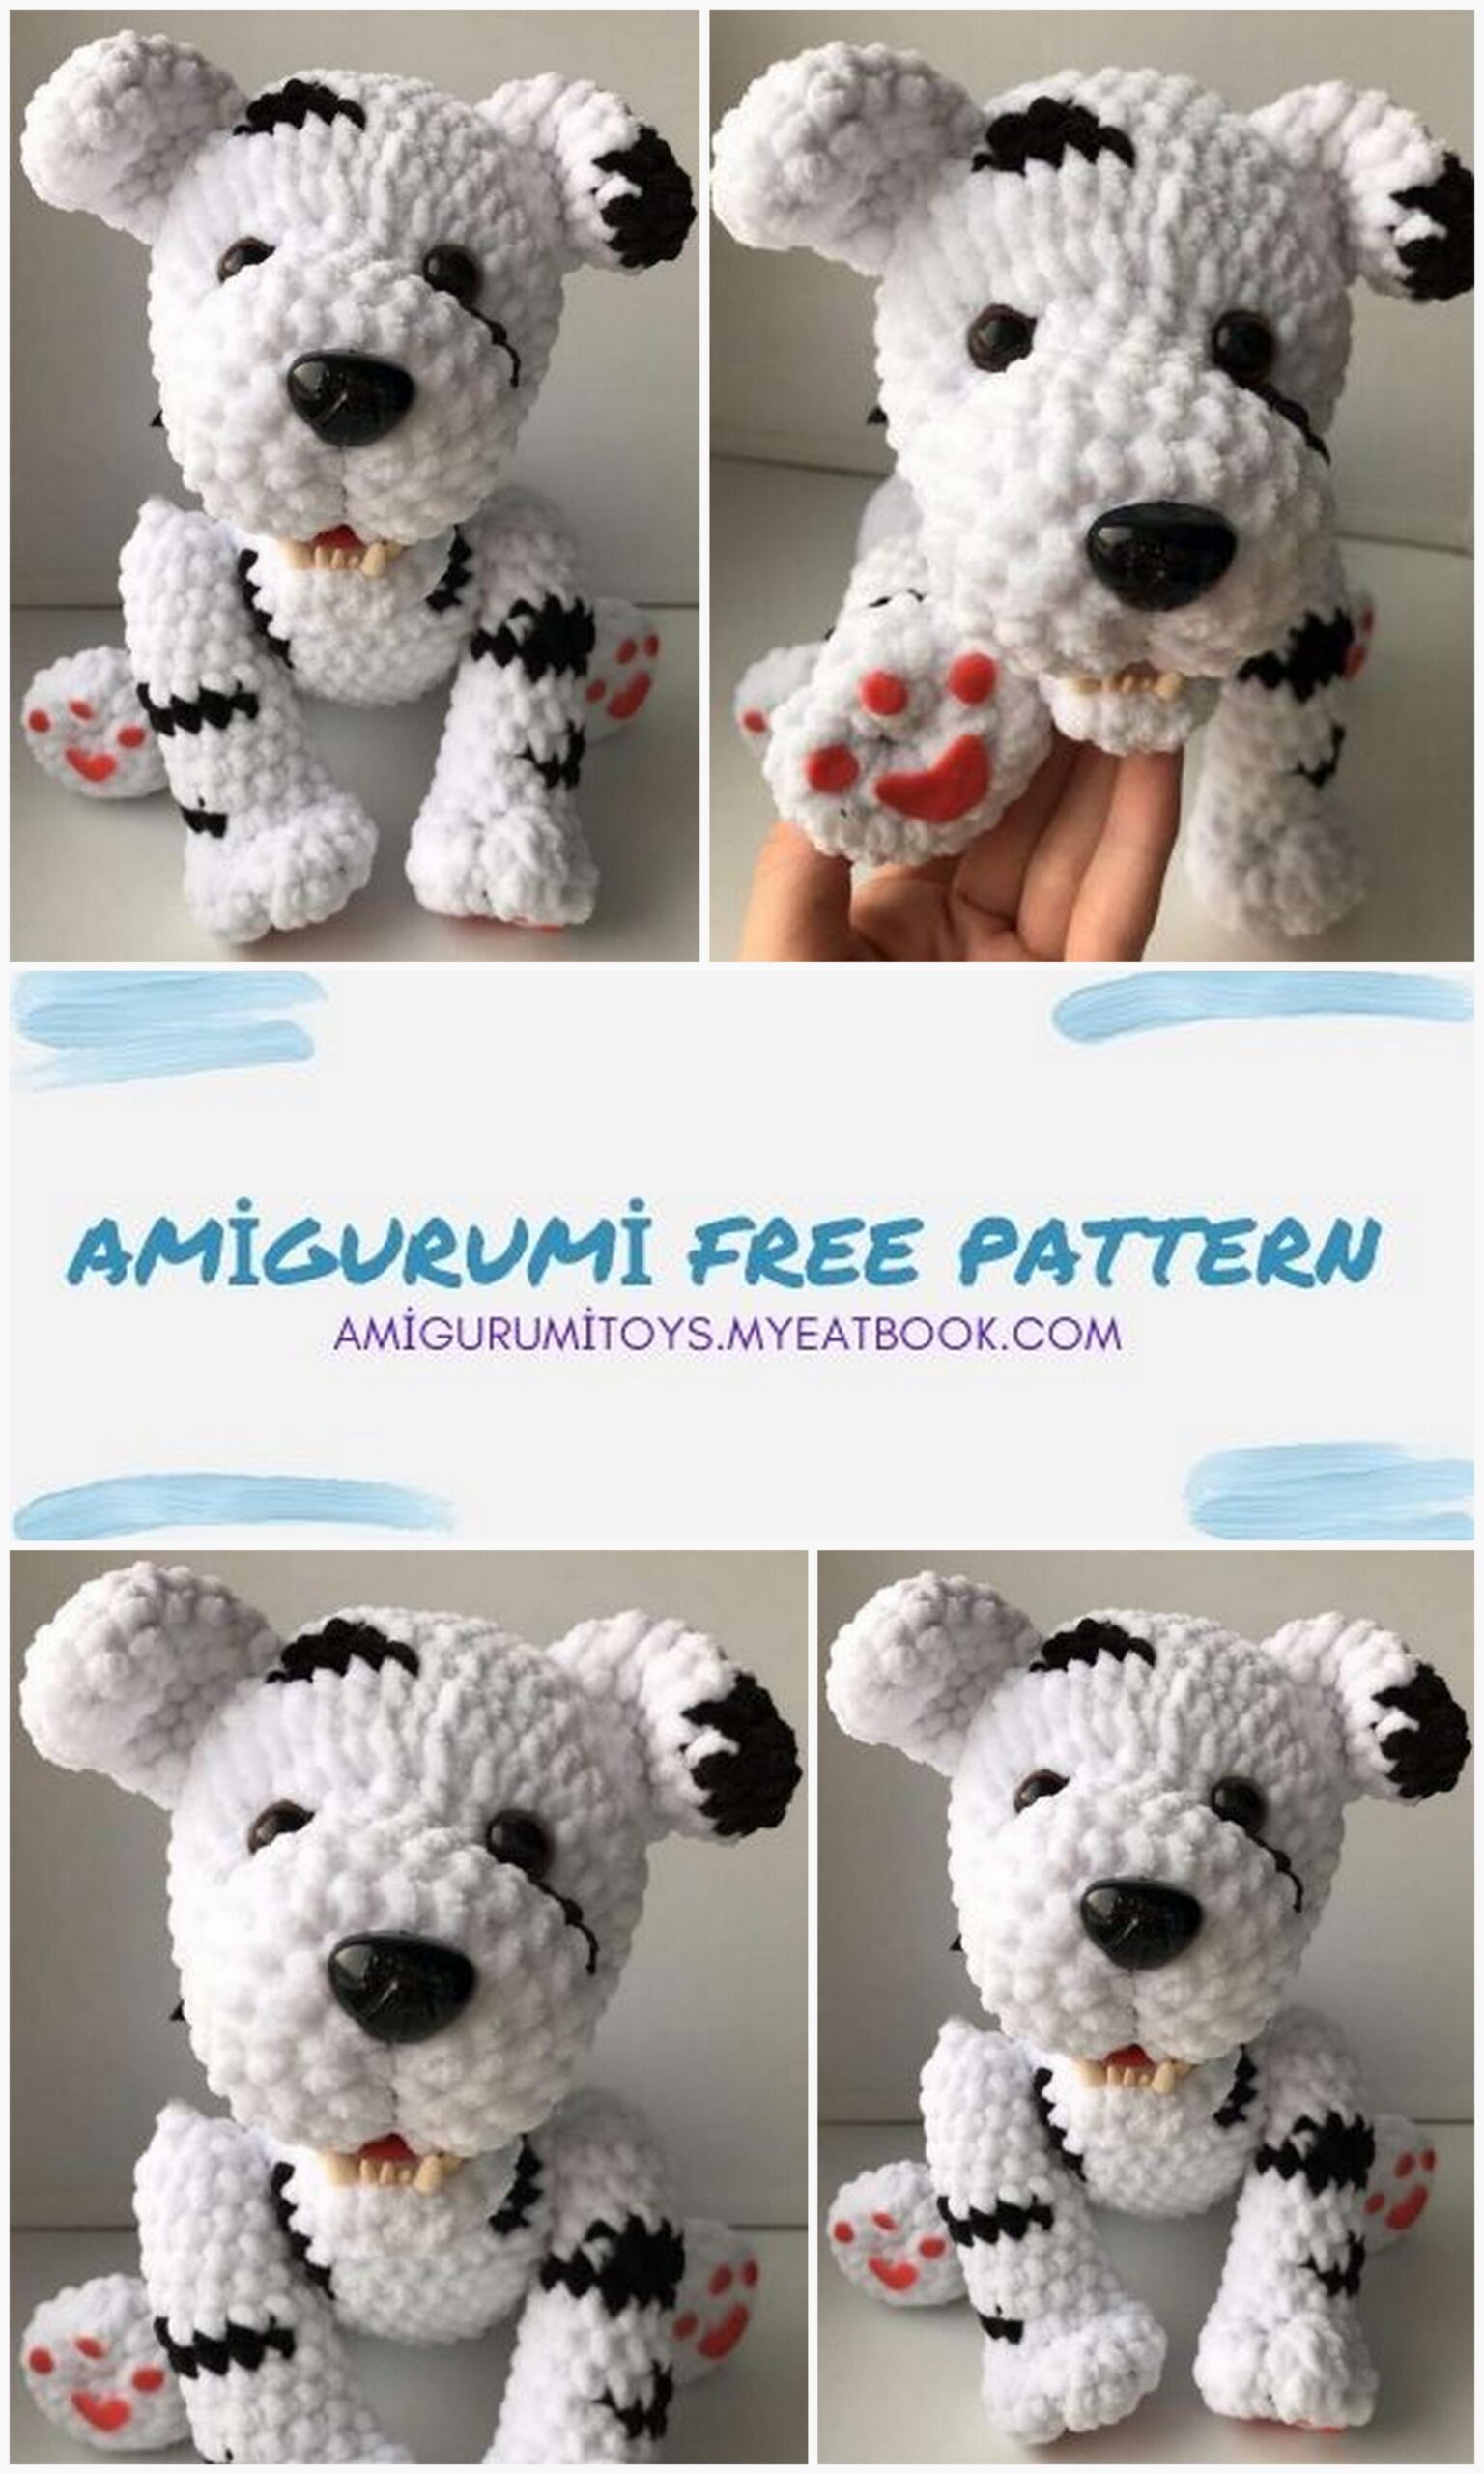
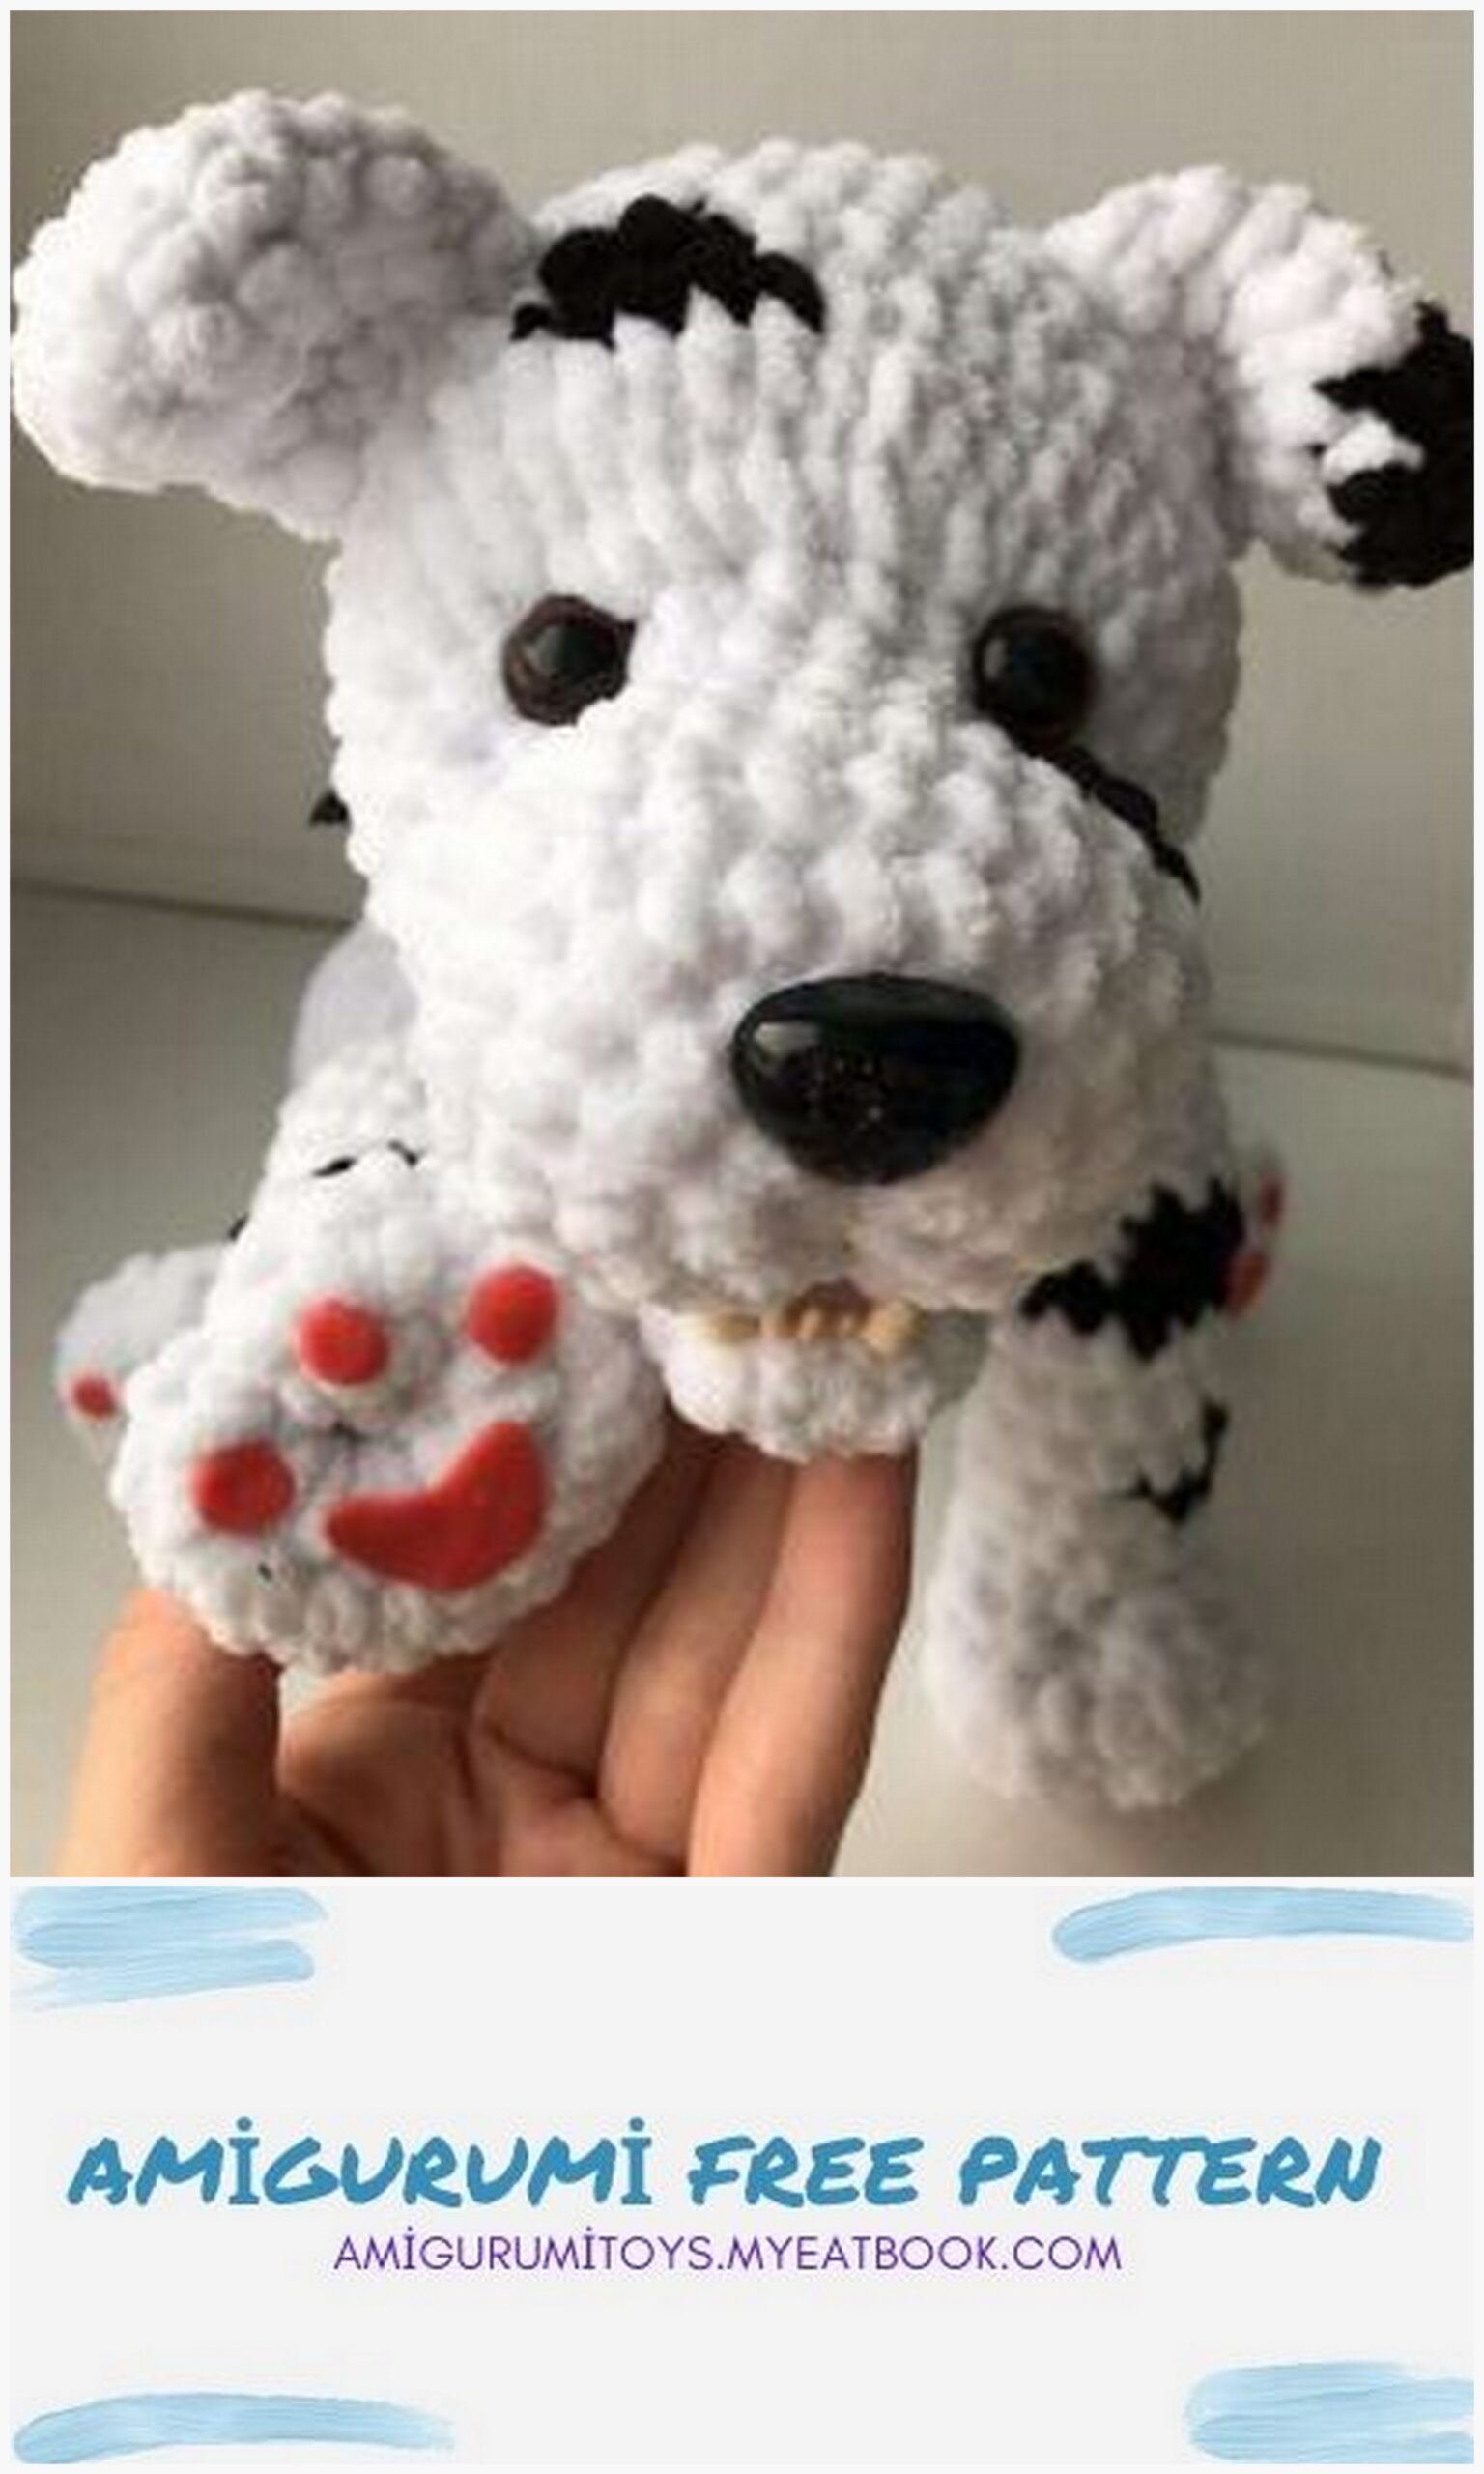
Necessary materials
Yarn YarnArt Dolce yarn 1 skein of base color (about 1/3 skein other color)
? hook number 4
? filler Threads for sewing in the color of the yarn
? cotter pin (if you want to make the legs movable, 3 cm for front legs and 4 cm for hind legs)
? eyes 1.3 cm
?nose
? polymer clay (white, pink, red for teeth , pads on paws and tongue) you can do without it, replace with felt Collar / bow (or nothing – of your choice)
HEAD
1st row: 6 SC in MR
2nd row: 6 İNC (12)
3rd row: 1 SC, 1 İNC (18)
4th row: 2 SC, İNC (24)
5 row – 8 row: 24 SC
9th row: 3 SC, İNC (30)
10 row: 10 İNC, 20 SC (40)
11 row: 20DC, 20 SC (40)
12 row – 15 row: 40 SC
16 row: 6 SC, DEC (35)
17 row: 35 SC
We insert the eyes and nose if they are screwed Place the eyes between 8 and 9 rows, the nose in the center between 2 and 3 rows
18 row: 3SC, DEC (28)
19 row: 2 SC, DEC (22)
20 row: 1 SC, DEC (14)
21 row: 7 DEC (close, hide thread)

EAR, do not fill
1st row: 5 SC in MR
2nd row: 5 İNC (10)
3rd row: 4 SC, İNC (12)
4 row-5 row: 12 SC
6 row: 5 SC, İNC (14)
7 row – 10 row: 14 SC
NECK
1st row: We collect 23 VP, connect ss in a ring
Row 2 – Row 4: 22 SC in a circle
MOUTH
1st row: 6 SC in MR
2nd row: 6 İNC (12)
3 row – 7 row: 12 SC
Do not fill. Connect the halves and knit on both sides close
BODY
1st row: 6 SC in MR
2nd row: 6 İNC (12)
3rd row: 1 SC, İNC (18)
4th row: 2 SC, İNC (24)
5 row: 3 SC, İNC (30)
6 row: 4 SC, İNC (36)
7 row-11 row: 36 SC
12 row: 4 SC, DEC (30)
13 row-15 row: 30 row
16 row: 3 SC, DEC (24)
17 row-20 row: 24 SC
21 row: 2 SC, DEC (18)
22 row: 18 SC
23 row: 1 SC, DEC (12)
24 row: 6 DEC
We knit the body up to 20 rows, then install the cotter pins, knit up to 23 rows,
fill
FRONT FOOT
1st row: 6 SC in MR
2nd row: 6 İNC (12)
3rd row: 1 SC, İNC (18)
4 row-5 row: 18 SC
6 row: 3 DEC, 12 SC (15)
7th row: 2 DEC, 11 SC (13)
8 row – 16 row: 13 SC
We fill in the detail. Insert the cotter pin between 16 and 17 row, continue to knit
17 row: 1DEC, 11 SC (12)
18 row: 6 DEC (6)
19 row: 3 DEC, close
REAR FOOT (2 parts)
1st row: 6 SC in MR
2nd row: 6 İNC. (12)
3rd row: 1 SC, 1 İNC. (18)
4 row-5 row: 18 SC
6 row: 3 DEC, 12 SC (14)
7 row: 2 DEC, 11 SC
8 row-11 row: 13 SC
12th row: 5 İNC, 2 SC, 2 DEC, 2 SC (16)
13th row: 3 SC, 4 İNC, 3 SC, 3 DEC (17)
14th row: 6 SC, 1 İNC, 10 SC (18)
15 row-16 row: 18 SC
17 row: 1 SC, 1 DEC (12)
Insert the cotter pin between 17 and 18 row
Row 18: 12SC
19 row: 1SC, DEC (6)
20 row: 3 DEC
TAIL
1st row: 6 SC in MR
2nd row: 6 SC
3rd row: 1 SC, İNC (9)
4 row-5 row: 9 SC
6 row: 1 DEC, 2 SC, 2 İNC, 2 SC (10)
7 row: 1 DEC, 3 SC, 1 İNC, 3 SC (9)
8 row – 10 row: 9 SC
11 row: 1 SC, DEC (6)
12 row: 3 DEC (close, hide the thread)
Assembly
We attach the legs to the body (the front part of the body is the one with which you begin to knit, it is wider than the back) as follows:
Place the front ones between the 7th and 8th row of the body, the distance along the abdomen is 15 SC
The hind legs are fastened between 19 and 20 near the body, the distance along the abdomen is 12 SC
We stuff the body tightly, finish knitting
We attach the neck – we place it with a ring in the center between 2 and 9 rows, we sew.
Sew on the ears between the 14th and 15th row, the distance of 6 columns
You can bend your ears to give them the look you want.
We make a face tightening
At the bottom of the head, we find the 7th row, determine the center and introduce the needle, we enter it in the lower corner of the right eye, then move the needle to the lower the corner of the left eye, then we take the needle down to row 7, we tighten with need again
We introduce the needle with black thread in the 7th row and lead to the center of the nose
Mouth. we take plastic and sculpt small teeth and tongue out of it. You can also to blind the pads on the feet, although they can be made from felt We shape the mouth, glue the tongue and teeth, you can blind another bone Sew on the tongue between the 11th and 12th rows of the head
Sew the head to the body
We make out the paws
We make a tightening as shown in the photo, then glue the pads, their can be cut from felt or fleece, can be molded from plastic
The dog is ready!