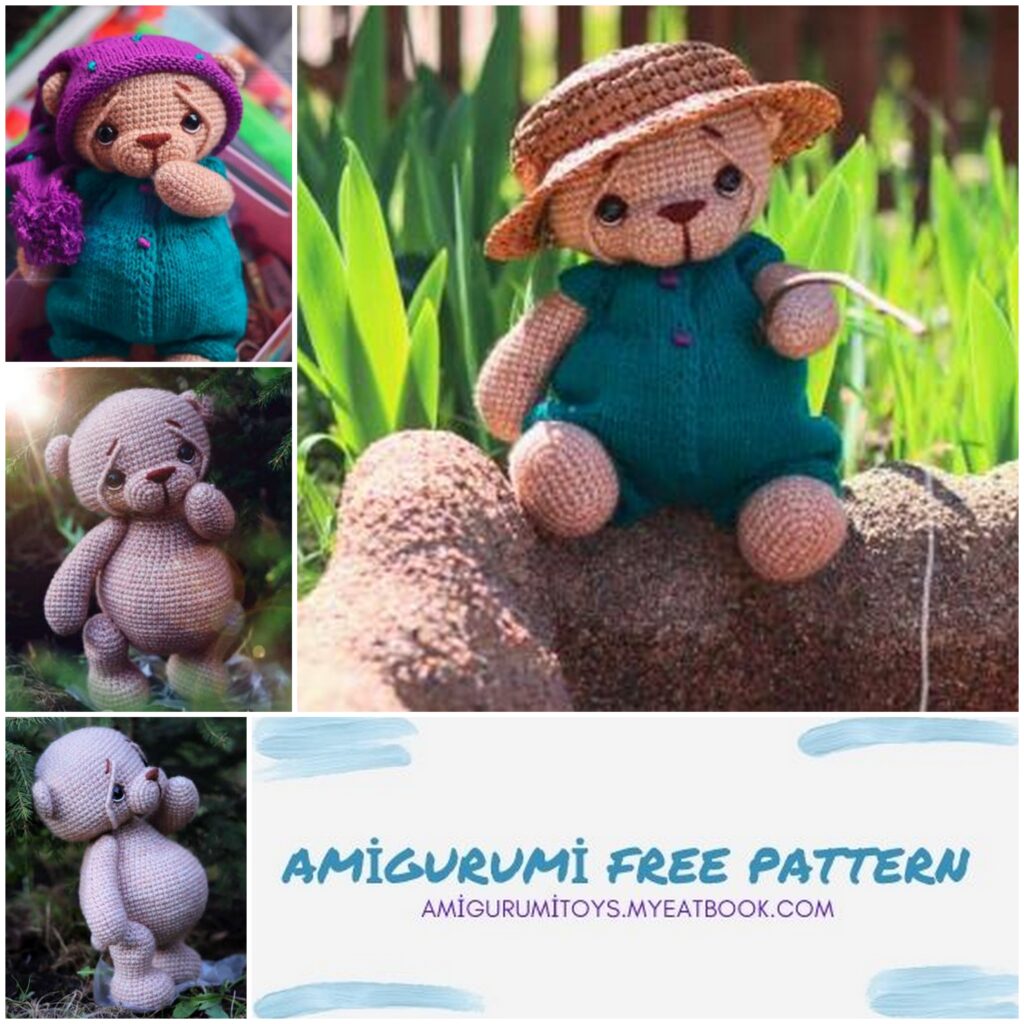
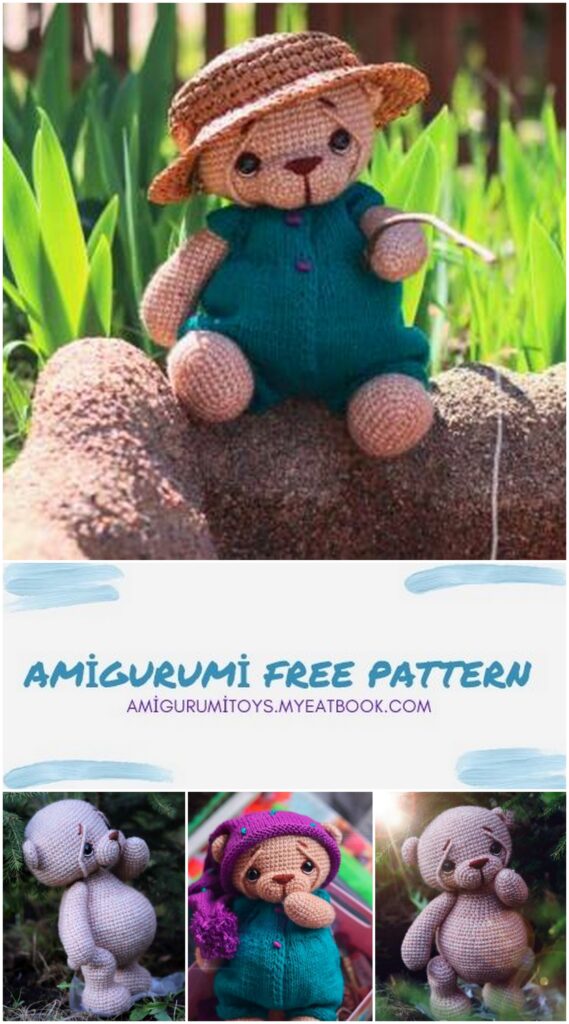
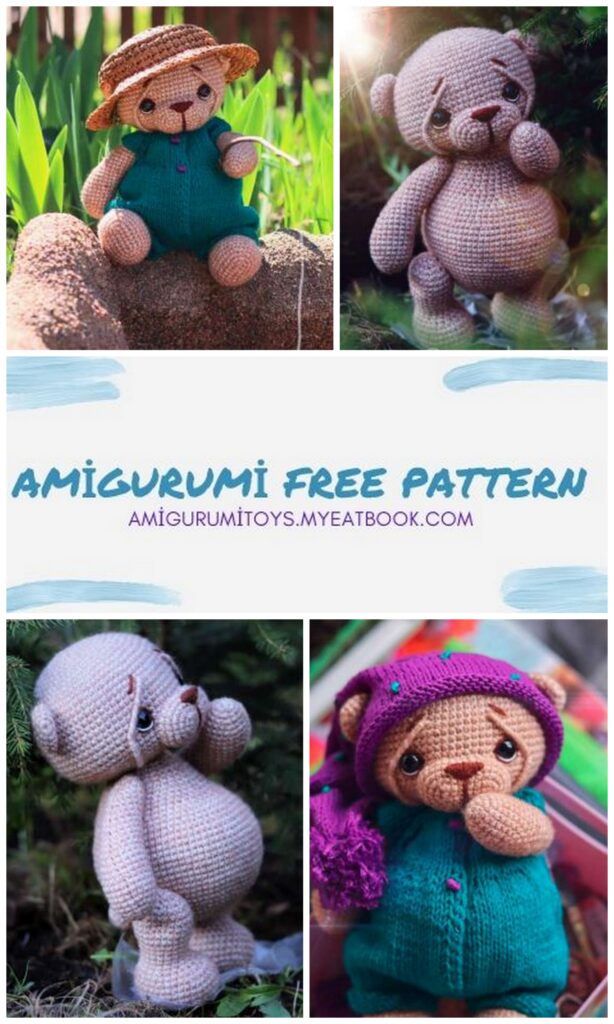
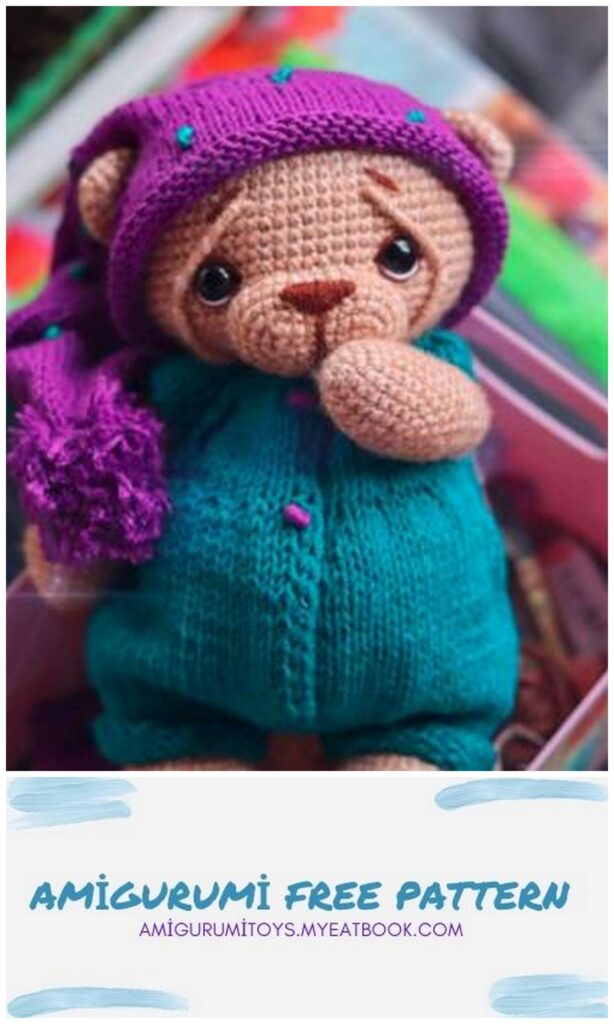
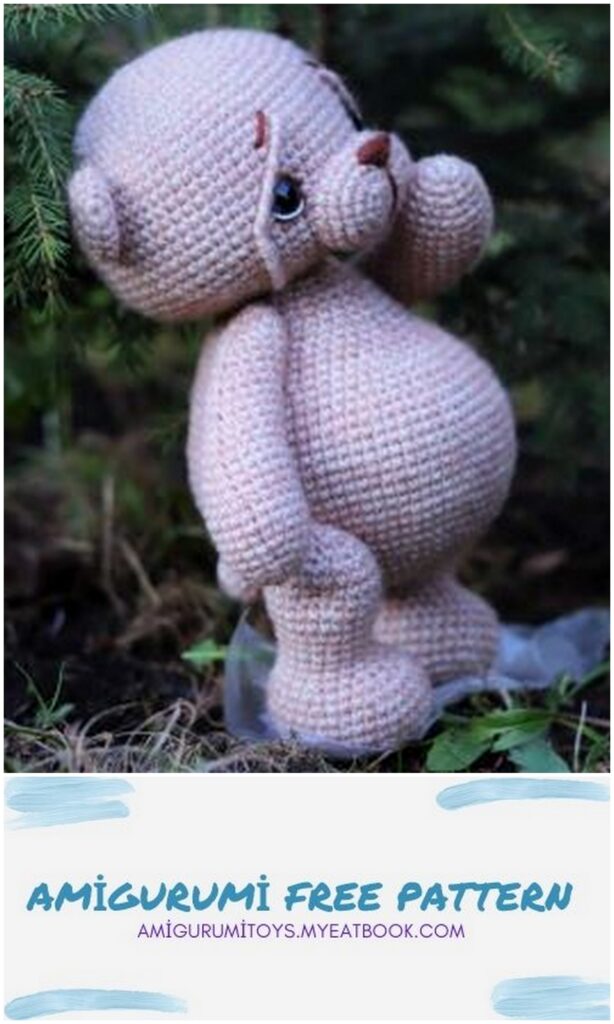
Amigurumi Teddy bear Free Pattern
Teddy bear
With a black button on the nose
This beast lives in the forest
All shaggy, in color
brown,
The face is a little gloomy.
He has crooked paws
Clumsy, clubfoot.
Loves to eat sweet honey,
This honey is stealing from bees.
List of required materials
1) The main yarn for the bear, mine is Adelia “Casual” 72% cotton, 28% acrylic, 50g 130m. It took me about one and a half skeins, the growth of the finished toy from the yarn I chose came out ~ 20cm while standing.
2) the remains of white yarn for the eyes;
3) remnants of dark brown yarn for embroidering the nose and decorating the eyelet;
4) two eyes, I have 12mm on a secure mount;
5) thread for tightening and sewing on limbs, I bought in Leroy in the department where jute and ropes;
6) markers (pins for marking)
7) holofiber for stuffing;
8) sewing needle
9) hook, I used # 2. Look at the density of your knit, if you see holes, then feel free to take one size smaller.
10) Oh, and most importantly, GOOD MOOD))
Abbreviations:
İNC – increase
MR-ring amigurumi * – number of repetitions
SC – single crochet
SL-ST- connecting post
DEC-decrease in-air loop
Greetings, my dear creators of the beautiful, namely all of our beloved amigurumi toys!) Thank you very much for choosing my bear!
Ears
1) 6SC in MR
2) 6İNC = 12SC
3) (2SC, İNC.) * 4 times = 16SC
4) 16SC
5) 16SC
6) DEC., 4SC, 2DEC., 4SC, DEC. = 12SC Fold in half and knit 6SC.
Tail
1) 6SC in MR
2) 6İNC. = 12SC
3) (2SC, İNC.) * 4 times = 16SC
4-5) 16SC
6) 8DEC. = 8SC
Pull off the hole, leave a small tail of thread for sewing to the body.
Important! All the details, except for the handles and the muzzle, I knitted with the help of knitting at the end of each row of SL-ST and a lifting loop!
Handles (knit in the usual way amigurumi in a spiral)
1) 6SC in MR
2) 6İNC. = 12SC
3) (2SC, İNC.) * 4 times = 16SC
4) (3SC, İNC.) * 4 times = 20SC
5) 19 SC, İNC. = 21SC
6-9) 21SC (4 rows)
10-13) DEC., 9SC, İNC., 9SC = 21SC (4 rows)
14) DEC., 8 SC, İNC, 8SC, DEC = 20SC
15) DEC, 8SC, İNC, 9SC = 20SC
16) DEC, 7SC, İNC, 8SC, DEC = 19SC
17) DEC, 8SC, İNC, 8SC = 19SC
18) DEC, 7SC, İNC, 7SC, DEC = 18SC
19) DEC, 7SC, İNC, 8SC = 18SC
20) DEC, 6SC, İNC, 7SC, DEC = 17SC
21) DEC, 7SC, İNC, 7SC = 17SC
22) DEC, 6SC, İNC, 6SC, DEC = 16SC
23) DEC, 6SC, İNC, 7SC = 16SC
24) (DEC, 2SC) * 4 times = 12SC
25) (DEC, 1SC) * 4 times = 8SC
26) 4DEC = 4SC
Fill in the handle, pull off the hole, hide and cut the thread. Similarly, we perform the second. The marker should pass from the outside of the handle.
Legs
1) Cast on 7 air loops, in the second loop from the hook we make an increase, 4SC, 4SC in one loop, 4SC, İNC = 16SC
2) 2İNC, 4SC, 4İNC, 4SC, 2İNC = 24SC
3) (3SC, İNC) * 6 times = 30SC
4) 2SC, İNC, (4SC, İNC) * 5 times, 2SC = 36SC
5-8) 36SC (4 rows)
9) (4SC, DEC) * 6 times = 30SC
10) 9SC, 6DEC, 9SC = 24SC
11) (2SC, DEC) * 6 times = 18SC
12) 8SC, DEC, 8SC = 17SC
13) 17SC
14) 8SC, İNC, 8SC = 18SC
15) 18SC
16) (2SC, İNC) * 6 times = 24SC
17-21) 24SC (5 rows)
22) (2SC, DEC) * 6 times = 18SC
23) (1SC, DEC) * 6 times = 12SC
24) 6DEC = 6SC Pull the hole, cut the thread and hide.
Muzzle (knit in the usual way amigurumi in a spiral)
1) We collect 7 air loops, in the second loop from the hook we make an increase, 4SC, 4SC in one loop, 4SC, İNC = 16SC
2) 1SC, İNC, 4SC, İNC, 3SC, İNC, 2SC, İNC, 3SC, İNC, 4SC, İNC, 1SC = 30SC
3) 1SC, İNC, 11SC, İNC, 2SC, İNC, 11SC, İNC, 1SC = 34SC
4) 34SC
5) 32SC, DEC = 33SC
Make a connecting post, fasten and leave the thread for sewing the muzzle to the head.
Head
1) 6SC in MR
2) 6İNC = 12SC
3) (1SC, İNC) * 6 times = 18SC
4) 1SC, İNC, (2SC, İNC) * 5 times, 1SC = 24SC
5) (3SC, İNC) * 6 times = 30SC
6) 2SC, İNC, (4SC, İNC) * 5 times, 2SC = 36SC
7) (5SC, İNC) * 6 times = 42SC
8) 3SC, İNC, (6SC, İNC) * 5 times, 3SC = 48SC
9) (7SC, İNC) * 6 times = 54SC
10) 4SC, İNC, (8SC, İNC) * 5 times, 4SC = 60SC
11) (9SC, İNC) * 6 times = 66SC
12) 5SC, İNC, (10SC, İNC) * 5 times, 5SC = 72SC
13-23) 72SC (11 rows)
24) 5SC, DEC, (10SC, DEC) * 5 times, 5SC = 66SC
25) (9SC, DEC) * 6 times = 60SC
26) 4SC, DEC, (8SC, DEC) * 5 times, 4SC = 54SC
27) (7SC, DEC) * 6 times = 48SC
28) 3SC, DEC, (6SC, DEC) * 5 times, 3SC = 42SC
29) (5SC, DEC) * 6 times = 36SC
30) 2SC, DEC, (4SC, DEC) * 5 times, 2SC = 30SC
31) (3SC, DEC) * 6 times = 24SC
32) 1SC, DEC, (2SC, DEC) * 5 times, 1SC = 18SC
33) 18SC
Run a connecting post (half-crochet), fasten and cut the thread.
Torso
1) 6SC in MR
2) 6İNC = 12SC
3) (1SC, İNC) * 6 times = 18SC
4) 1SC, İNC (2SC, İNC) * 5 times, 1SC = 24SC
5) (3SC, İNC) * 6 times = 30SC
6) 2SC, İNC (4SC, İNC) * 5 times, 2SC = 36SC
7) (5SC, İNC) * 6 times = 42SC
8) 3SC, İNC (6SC, İNC) * 5 times, 3SC = 48SC
9) (7SC, İNC) * 6 times = 54SC
10) 4SC, İNC (8SC, İNC) * 5 times, 8SC = 60SC
11) (9SC, İNC) * 6 times = 66SC
12) 5SC, İNC (10SC, İNC) * 5 times = 72SC
13) 72SC
14) 9SC, İNC, 11SC, İNC, 9SC, İNC, 8SC, İNC, 9SC, İNC, 11SC, İNC, 9SC = 78SC
15-21) 78SC (7 rows)
22) 9SC, DEC, 56SC, DEC, 9SC = 76SC
23) 4SC, DEC, 25SC, DEC, 10SC, DEC, 25SC, DEC, 4SC = 72SC
24) 8SC, DEC, 18SC, DEC, 12SC, DEC, 18SC, DEC, 8SC = 68SC
25) 22SC, DEC, 20SC, DEC, 22SC = 66SC
26) 4SC, DEC, 6SC, DEC, 14SC, DEC, 6SC, DEC, 14SC, DEC, 6SC, DEC, 4SC = 60SC 27) 6SC, DEC, 6SC, DEC, 5SC, DEC, 4SC, DEC, 2SC, DEC, 4SC, DEC, 5SC, DEC, 6SC, DEC,
6SC = 52SC
28) 18SC, DEC, 3SC, DEC, 2SC, DEC, 3SC, DEC, 18SC = 48SC
29) 48SC
30) 3SC, DEC (6SC, DEC) * 5 times, 3SC = 42SC
31) 42SC
Torso (continued)
32) (5SC, DEC) * 6 times = 36SC
33) 36SC
34) 2SC, DEC (4SC, DEC) * 5 times, 2SC = 30SC
35) 30SC
36) (3SC, DEC) * 6 times = 24SC
37) 24SC
38) 1SC, DEC (2SC, DEC) * 5 times, 1SC = 18SC
39) (1SC, DEC) * 6 times = 12SC
Knit a connecting post, leave a small piece of thread for sewing to the body. Stuff the torso.
Assembly
1) Sew on the ears and make out the muzzle
We mark the middle of the head with a thread (we draw the thread from the base of the head and through the center downward. We put several pins along the line, they will serve as markers for us to guide the sewing of the details. We count from the crown of the head (amigurumi ring)
down 11 rows, the ears will be sewn between the 11th and 12th rows, as well as from the previously marked center, we count to the right and left at 20SC, and put a marker. We count down six rows and put one more marker each, pin the ears, pressing them to the head, and sew with a mattress seam.
In the center, we count down 20 rows from the amigurumi ring (the eyes will be inserted between 20 and 21 rows). Put a marker, from it we count to the right and left by 7SC (there will be 14SC between the eyes), and put two markers. We carry out tightening: for this we insert the needle through the neck, draw it out between the 1st and 2nd SC (the distance from the columns between the eyes), insert the needle back between the 2nd and 3m SC, and bring it back into the neck. We do the same for the second eye, take a new thread, insert through the neck, output between 14 and 13SC, insert back between 13 and 12SC and output through the neck. Important! If you have eyes like mine on a secure attachment, then first we insert the eyes, fasten them, and after that we pull the withdrawn threads, make a knot and cut the thread, leaving a small tip, we will hide it later in our head. (This will make it easier to insert the eyes and fasten). Sew on the muzzle. We carry out the edging of the eye, for this we make a stitch with a white thread from the bottom, with a brown thread folded in half, we carry out a horizontal stitch, along the edge of the eye, we divide the thread into two and tighten it, it will turn over our eye itself.
Assembly (continued)
Sew the head to the body. For convenience, you can also put pins for a guide, we sew on the head between the first and second row, on the body between 2m and 3m next to it. I recommend fixing the head to the body so that the eyes and muzzle are centered and not “run away” to the side.
Similarly, as with the head, we outline the center on the body, for the handles we count in both directions at 10SC (in height I have sewn between 30 and 31 rows, according to the knitting pattern of the body) and put a marker. Sew on handles.
For the legs from the center, we count 19 loops in both directions, and along the height from the bottom of the MR upwards 12 rows (between 12 and 13 rows) and put markers. For the effect of bent legs like mine, and not upright ones, it is necessary to sew the legs at an angle, that is, first we insert the thread through the body, then from the inside of the leg we insert the needle between the 5th and 6th side and withdraw from the outside of the legs between the 6th and 7th side we return , grabbing 2SC from the outside, from the inside we bring it out into the same hole, then through the body and carry out similar manipulations with the other leg. Pull the threads, tie a knot, hide the threads.
Sew the tail between 11 and 12m next to the MR from below, and the center came out 18SC from the marker for sewing on the legs. WELL HERE OUR TEDDY “Puff” is READY!) Thank you all very much for knitting with me, I will look forward to your ready-made puffs!)
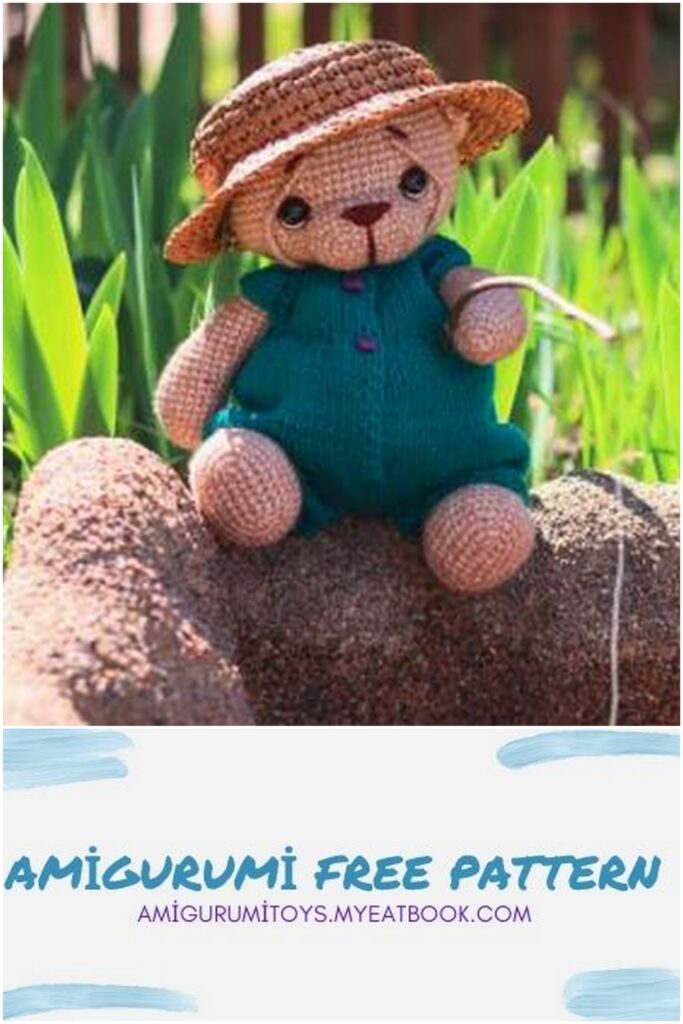
Chubby bear on
Fishing Goes slowly, waddle. The old fisherman senses that the rich are waiting for the catch!
