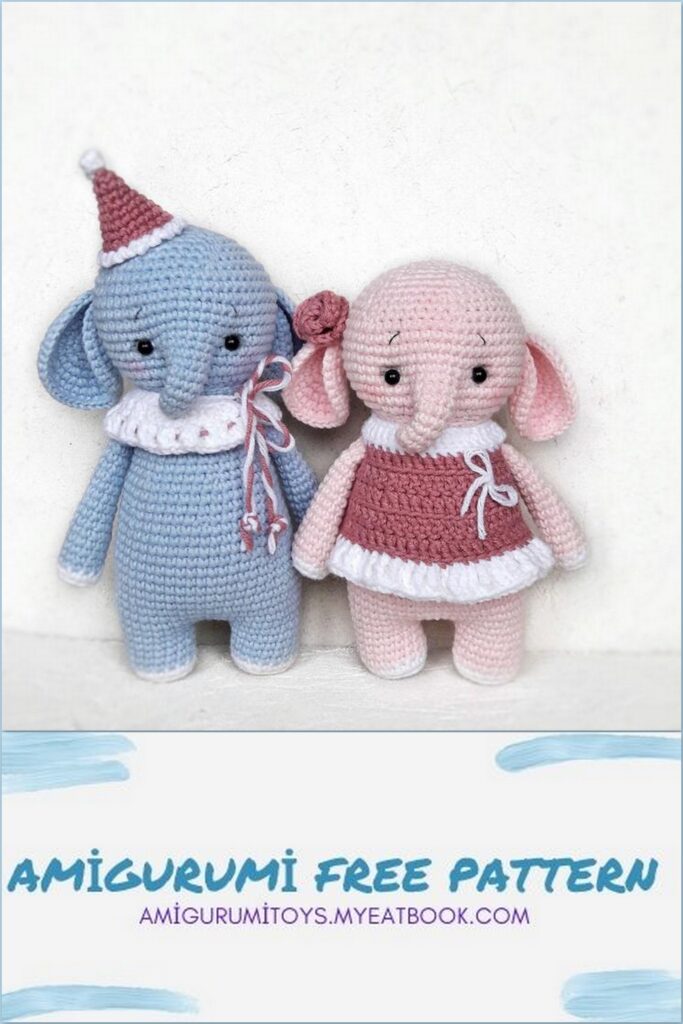
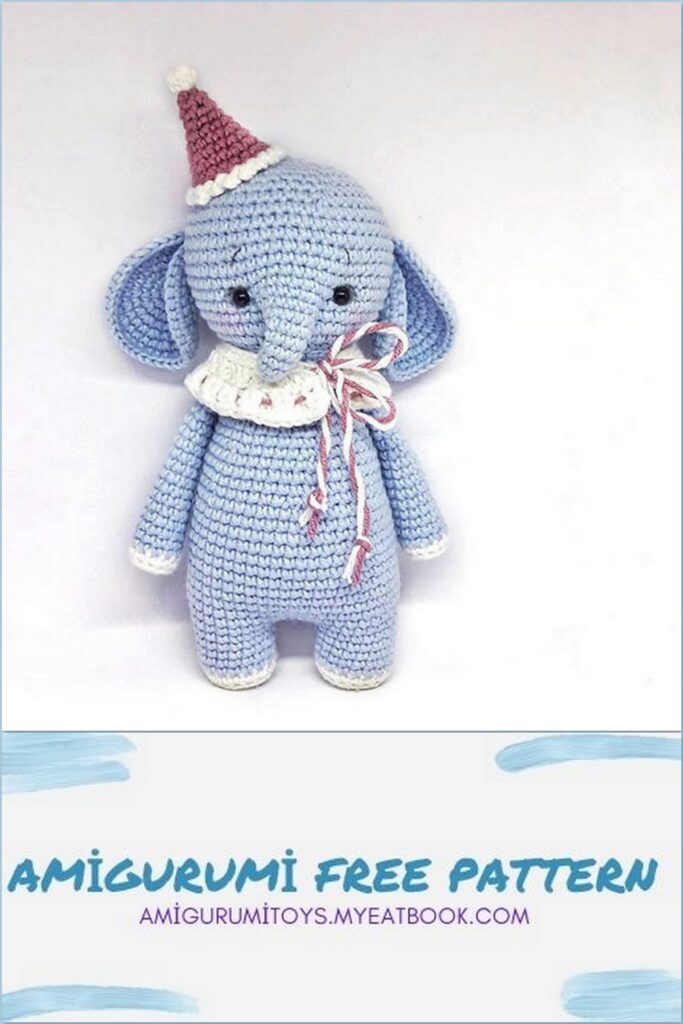
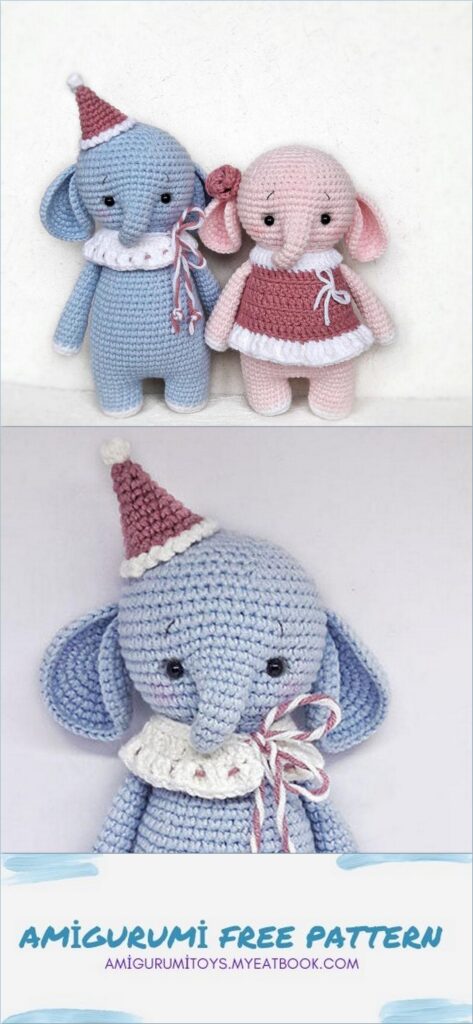
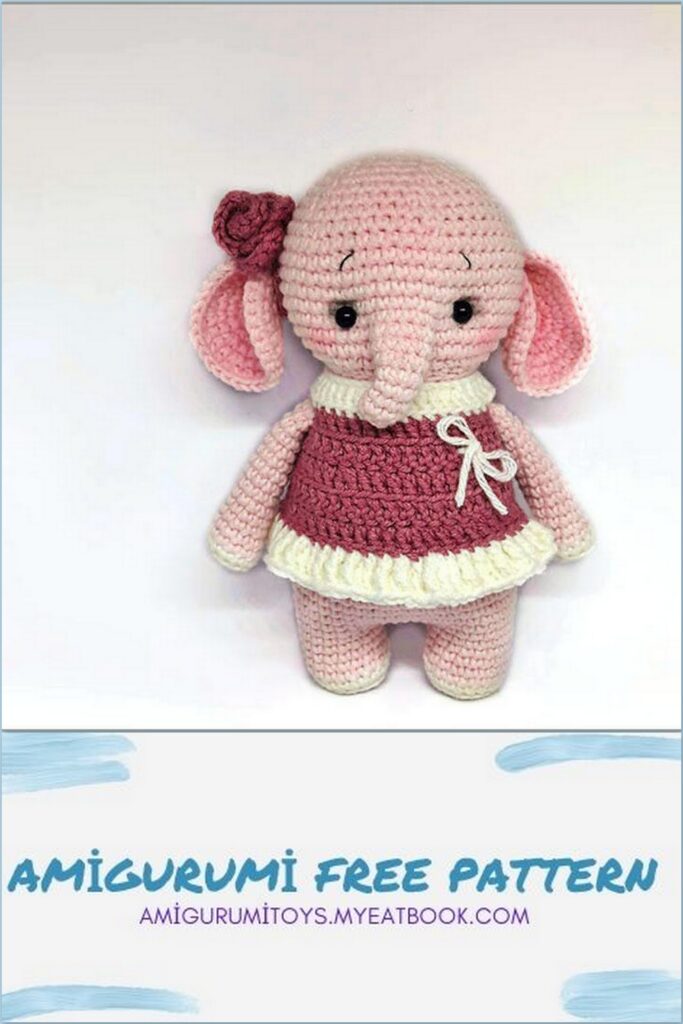
Amigurumi Dominic the Elephant Free Pattern
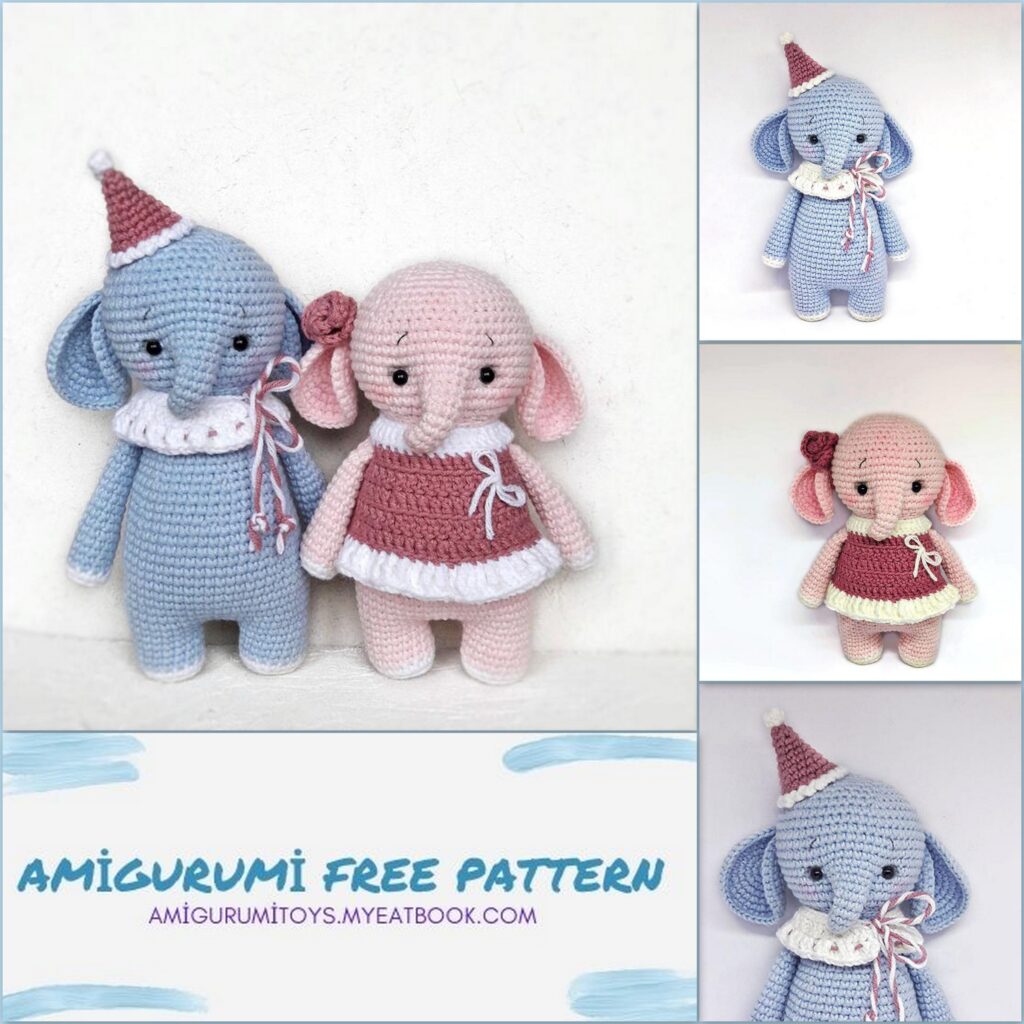
Dominic the elephant
it contains a detailed description of the process, step-by-step crafting photographs, assembly of the details and decoration of the toy.
Skill level – intermediate.
The pattern does not explain basic and advanced stitches. Basic crochet skills are expected.
Size
The finished toy is approx. 14-16 cm = 6 inches high on the condition of using specified materials.
Materials and Tools
- Light blue, white and dusty rose yarn of an average thickness. I used «YarnArt Jeans» yarn (160m in 50g, 55% cotton/45% polyacryl).
- Black DMC embroidery floss
- Stuffing material for toys, for example, fiberfill.
- Crochet hook matching the yarn. I used 2 mm crochet hook.
- Clear glue for gluing eyes to the toy.
- Sewing needle to sew the details and embroider.
- Some pins to fix the details.
- Scissors.
- 5-6mm eyes for toys or half beads.
- 15-20mm flat buttons for soles so that the toy can stand on its own. Instead of buttons you can use coins or round pieces of plastic.
- Pink dry pastel, chalk or eye shadows for toning. Also a brush or sponge for applying toning (optional).
Abbreviations
- MR — magic ring (instead of magic ring, you may work 2 chain stitches and crochet into the 2-d stitch from the hook)
- ch – chain stitch
- sl st — slip stitch
- sc — single crochet
- dc — double crochet
- inc – increase (crochet 2 sc in one stitch)
- dc inc – double crochet increase (crochet 2 dc in one stitch)
- dec — invisible decrease (crochet 2 sc together using invisible method)
- FLO – front loops only
- BLO – back loops only
- (2 sc, dec) * n —repeat the pattern between parentheses n times
- (36) — number of stitches in a round
- [+1sc, marker moves] — work shift stitch at the end of a round and move stitch marker after it
In order to not lose track of the number of worked stitches in each round, use a stitch marker to mark the beginning of each round – a thin thread of contrasting color. At the end of crocheting, this thread is pulled out carefully.
Amigurumi toys are crocheted with tight stitches. There are should not be small holes and stuffing material should not be visible when stretching crochet fabric. If there are some tiny holes, use a smaller size hook.
Crochet in spiral, except where indicated otherwise. When you change color of thread, work slip stitches and lifting loops, which are not included in total. Crochet all stitches through both loops except where indicated otherwise.
Trunk
Crochet with light blue yarn.
Round 1: 7sc in MR (7)
Round 2 (working in BLO): 7sc (7)
Round 3: 7sc (7)
Round 4: inc, 6sc (8)
Round 5: 8sc (8)
Round 6: inc, 7sc (9)
Round 7: inc, 8sc (10)
Round 8: inc, 9sc (11)
Round 9: inc, 10sc, sl st (12)
Cut off yarn, hide yarn tail.
Leg (2 pieces)
Start to crochet with white color.
Round 1: 6sc in MR (6)
Round 2: 6inc (12)
Round 3: (inc, sc)*6, sl st (18)
Round 4 (working in BLO): ch, 18sc (18)
Change the color to the light blue one — join thread using sl st. Cut the white yarn, fasten and hide yarn tail.
Round 5: ch, 18sc (18)
Continue crocheting in spiral.
Rounds 6 – 8: 18sc (3 rounds) (18)
Work sl st in the end of round 8.
Body
Work 4 ch and join another leg using sl st.
Round 1: ch, 18sc around one leg, 4 sc in chain, 18sc around another leg, 4sc in chain (44)
Continue crocheting in spiral.
Round 2: 6sc, inc, (12sc, inc)*2, 8sc, inc, 2sc (48)
Before stuffing the legs, put flat buttons inside. Use buttons that are slightly smaller than the sole, so that they fit inside. You can use coins or round pieces of plastic instead of buttons.
Rounds 3 – 14: 48sc (12 rounds) (48)
Stuff the body while crocheting.
Round 15: (6sc, dec)*6 (42)
Rounds 16 – 18: 42sc (3rounds) (42)
Round 19: (5sc, dec)*6 (36)
Rounds 20 – 22: 36sc (3rounds) (36)
Round 23: (4sc, dec)*6 (30)
Rounds 24 – 25: 30sc (2rounds) (30)
Round 26: (3sc, dec)*6 (24)
Rounds 27 – 28: 24sc (2rounds) (24)
[+2sc, marker moves] — Align the beginning of the round to the middle of the back. Work as many stitches as you need to place the stitch marker in the middle of the back (I needed 2 stitches).
Do not cut the yarn, continue crocheting the head.
Head
Round 1 (working in BLO): (inc, 2sc)*8 (32)
Round 2: (3sc, inc)*8 (40)
Round 3: 2sc, (inc, 4sc)*7, inc, 2sc (48)
[+1sc, marker moves] — Align the beginning of the round to the middle of the back of the neck. Work as many stitches as you need to place the stitch marker in the middle of the back of the neck (I needed 1 stitch).
Aligning is necessary for symmerical joining of the trunk.
In rounds 4 and 5 you will join the trunk.
The rear side of the trunk is the side where you worked the increases.
Round 4: 22sc, 4sc together with trunk*, 22sc (48)
*4sc together with trunk — it means, that you work together two layers — one of trunk and one of previous round, grabbing with the hook a stitch of trunk and a stitch of head. You work 4 such stitches. (Look at the pic ->)
Round 5: 22sc, 8sc around trunk*, 22sc (52)
*8sc around trunk — remaining stitches of trunk, which you didn’t work in round 4. (Look at the pic ->)
Stuff the head while crocheting.
Rounds 6 – 12: 52sc ( 7 rounds) (52)
Round 13: (11sc, dec)*4 (48)
Round 14: (6sc, dec)*6 (42)
Round 15: (5sc, dec)*6 (36)
Round 16: (4sc, dec)*6 (30)
Round 17: (3sc, dec)*6 (24)
Round 18: (2sc, dec)*6 (18)
Round 19: (sc, dec)*6 (12)
Round 20: 6dec (6)
Tighten the opening. Cut the yarn leaving a long tail for eyes tightening.
Arm (2 pieces)
Start to crochet with white yarn.
Round 1: 6sc in MR (6)
Round 2: 6inc, sl st (12)
Round 3 (working in BLO): ch, 12sc (12)
Change the color to the light blue one — join thread using sl st. Cut the white yarn, fasten and hide yarn tail.
Round 4: ch, 12sc (12)
Continue crocheting in spiral.
Rounds 5 – 7: 12sc (3 rounds) (12)
Stuff only bottom of the arm and do not stuff the upper part. This way the arm doesn’t stick out too much after sewing it to the body.
Round 8: dec, 10sc (11)
Rounds 9 – 10: 11sc (2 rounds) (11)
Round 11: dec, 9sc (10)
Rounds 12 – 13: 10sc (2 rounds) (10)
Round 14: dec, 8sc (9)
Rounds 15 – 16: 9sc (2 rounds) (9)
Round 17: dec, 7sc (8)
Rounds 18 – 19: 8sc (2 rounds) (8)
Fold the part in half, connecting the upper edges and work 3sc through both edges.
Cut off yarn leaving a long tail for sewing.
Ear (2 pieces)
Crochet with light blue yarn.
Round 1: 6sc in MR (6)
Round 2: 6inc (12)
Round 3: (inc, sc)*6 (18)
Round 4: (2sc, inc)*6 (24)
Round 5: (inc, 3sc)*6 (30)
Round 6: 2sc, (inc, 4sc)*5, inc, 2sc (36)
Round 7: 4sc, (inc, 5sc)*5, inc, sc (42)
Work 2 sl st more.
Cut off yarn leaving a long tail for sewing.
So, you made all the parts of the elephant. Let’s start assembling.
Assembly and decoration
Take each ear and pinch its edge a little, giving the ear «droplet» form. Pin the ears to the head like at the pictures below. Or you may place the ears as you wish.
Be sure, the ears are symmetrical before sewing.
Pin the arms to the body symmetrically, backing down 3-4 rounds from the neck line. Sew the arms.
Dominic the elephant Tighten eye sockets with the yarn tail you left while crocheting the head.
Mark the eye sockets using pins.
Bring the needle out from the outside corner of the first eye.
Make a little stitch into the inner corner of the eye bringing the needle out through the back of the head. Tighten yarn lightly to create a small deepening where the eye will be placed.
Make another tightening for the second eye.
Tail
Join the light blue yarn where the tail will be situated. And tie approx. 20 knots. Cut yarn ends. The tail is ready.
Dominic the elephant Bring same yarn tail outside in the bottom tip of the trunk. ->
Then pass the thread through the trunk along its rear side, «stringing» the trunk on the needle with little stitches. →
Tighten the thread, bending the trunk inside and a little to the side.
Fasten and cut off thread, hide yarn end.
Glue or sew the eyes.
Dominic the elephant If you want the elephant would stand better, you may do the following.
When you were crocheting legs, you worked the 4-th round in BLO. So there are unworked front loops left. And now join white yarn and work slip stitches in front loops around each sole.
I didn’t do it because I like my elephant with less stable legs.
I made stable legs in another pattern of mine for a piglet. Below are some pictures of how to do it.
Grind small amount of dry pastel or chalk. Then tone the cheeks using brush or a sponge for make up.
Embroider the eyebrows with black DMC floss.
Dominic the elephant
Cap
Crochet with dusty rose yarn.
Round 1: 5sc in MR (5)
Round 2: inc, 4sc (6)
Round 3: 2sc, inc, 2sc, inc (8)
Round 4: (inc, 3sc)*2 (10)
Round 5: 2sc, inc, 4sc, inc, 2sc (12)
Round 6: (inc, 5sc)*2 (14)
Round 7: 3sc, inc, 6sc, inc, 3sc (16)
Round 8: (inc, 7sc)*2 (18)
Round 9: 18sc, sl st (18)
Change the color to the white one — join thread using BLO sl st.
Round 10 (working in BLO): (2ch, sl st)*18
Cut and hide remaining yarn tails.
Let’s make a little pompon .
Crochet with white yarn.
Round 1: 8sc in MR (8)
Round 2: 4dec (4)
Give the ball shape to the pompon and sew it to the cap.
Collar
Crochet with white yarn and turn at the end of each row.
Leave a long yarn tail.
Work 37 ch and start crocheting from the 2- nd stitch from the hook:
Row 1: 36sc (36)
Row 2 (working in FLO): 2ch, (2dc, dc inc)*12 (48)
Row 3 (working in FLO): 2ch, (dc, dc inc)*24 (72)
Cut yarn, hide yarn tail.
Insert the dusty rose yarn in a needle. And pass it through each two stitches along the lower row .
It is more convenient to do it with a blunt-end needle or pushing blunt end of a needle forward. Leave long yarn tails from both sides.
Slightly tighten the yarn tails, making some frills.
Let’s make straps.
You left the white yarn tail in the beginning of crocheting collar. Join another white thread from the other side of collar. Now there are two yarn tails from each side — white one and dusty rose one.
Place dusty rose thread near white one with a stitch. And twist threads together. Leave a length about 4 inches. Tie a few knots on the end and cut the yarn tails. Similarly make another strap.
Put the collar on the elephant, tie the straps like a bow-knot. Pin or sew the cap.
Congratulations, your Dominic the elephant is ready!
