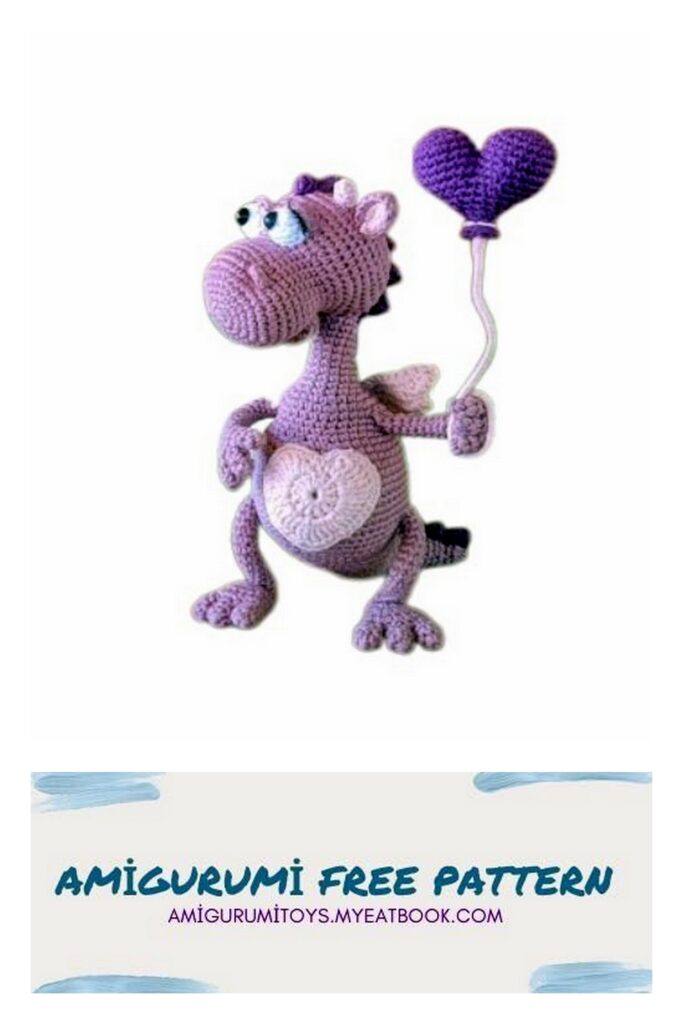
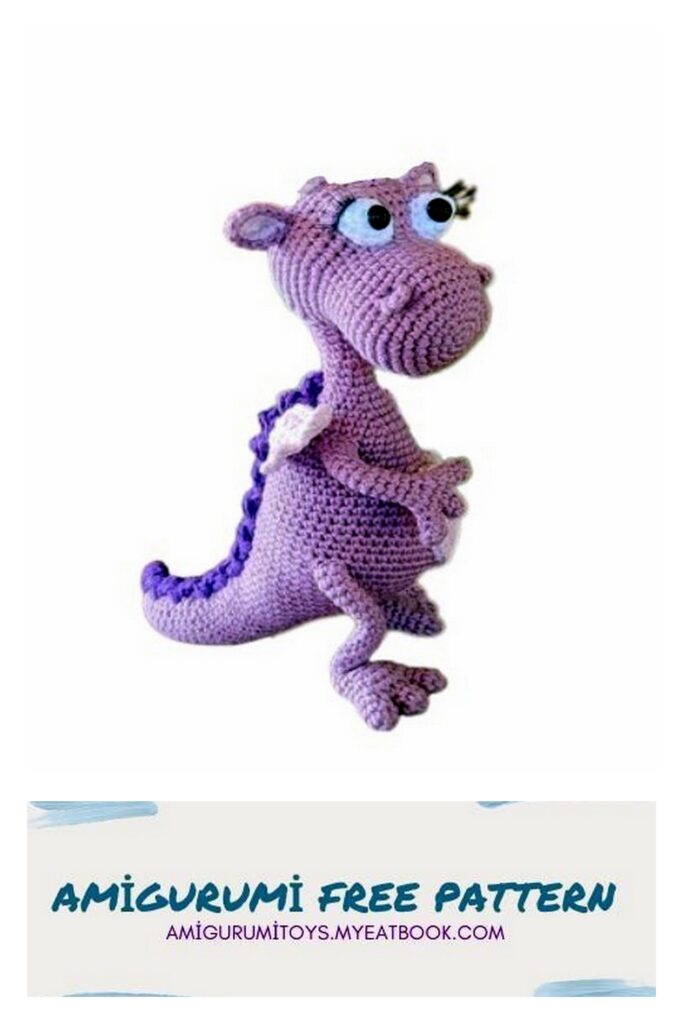
We continue to share the most beautiful free amigurumi patterns for you. You can visit our website for the free pattern of Amigurumi winged dragon.
Materials
• Yarn Gazzal Jeans – 1 skein of the main color, + extra. colors .
• Half-beads 2 pieces for a peephole.
• Eyelashes. Adhesive (moment crystal)
• Hook number 1.5.
• Glue instant crystal transparent.
• Filler – any.
• Markers or marker thread.
• Wire – 2mm in winding – 110cm, 2mm without winding – 30cm.
Abbrevations
MR – amigurumi ring
ch. – air loop
sc – single crochet
HDC – double crochet
DC – double crochet
inc – increase (we knit 2sc from one loop)
dec – decrease (knit 2sc together)
FLO – knit for the front half loop of the previous row
BLO – knit for the back half loop
3in1 – 3 sc in one loop.
st.shift – offset column.
Sl-st – connecting column.
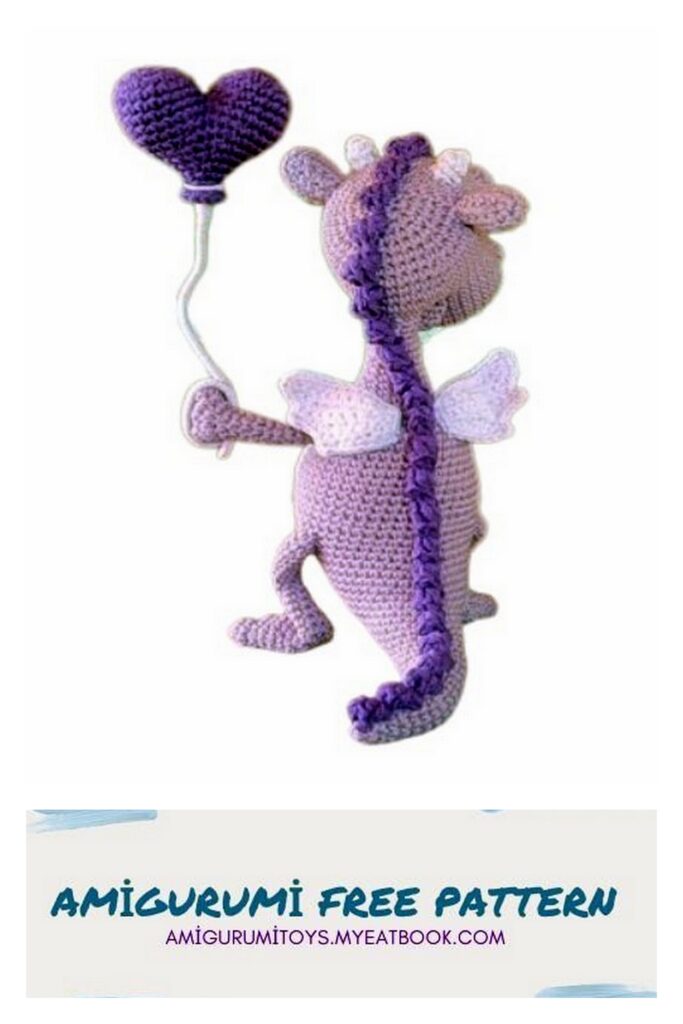
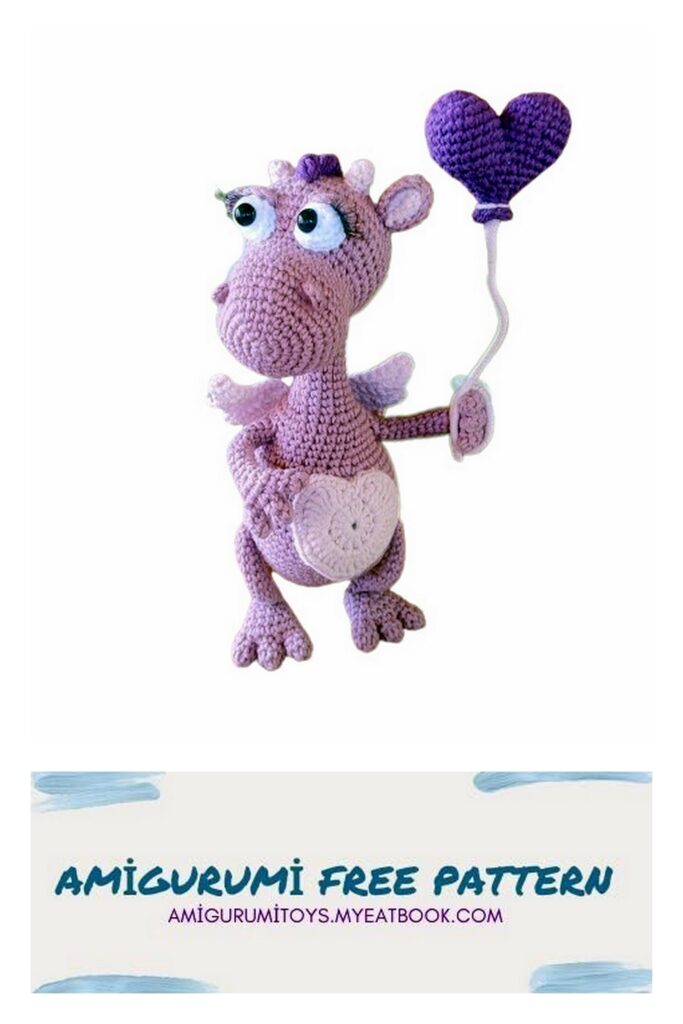
Mouth
1p – 6 in MR
2p – (inc)x6 (12)
3-4r – 12 sc
Fold in half and knit 6 sc.
Lower paws (legs)
First we knit fingers (3 pcs)
1p – 6 in MR
2-3r – 6 sc
We do not break the thread on the third finger, we continue to knit
4p – 6 sc on the 1st finger, 3 sc on the 3rd finger, 6 sc on the 2nd finger, 3 sc on the 3rd finger (18)
5p – 18 sc
6p – (4 sc; dec)x3 (15)
Insert frame ( 19cm)
7p – (3 sc; dec)x3 (12)
8p – 12 sc
9p – (2 sc; dec)x3 (9)
10r – (1 sc; dec) x3 (6) Stuff the foot with filler.
11-25r – 6 sc (15 rows) Fasten the thread, cut off.
Tie the second paw.
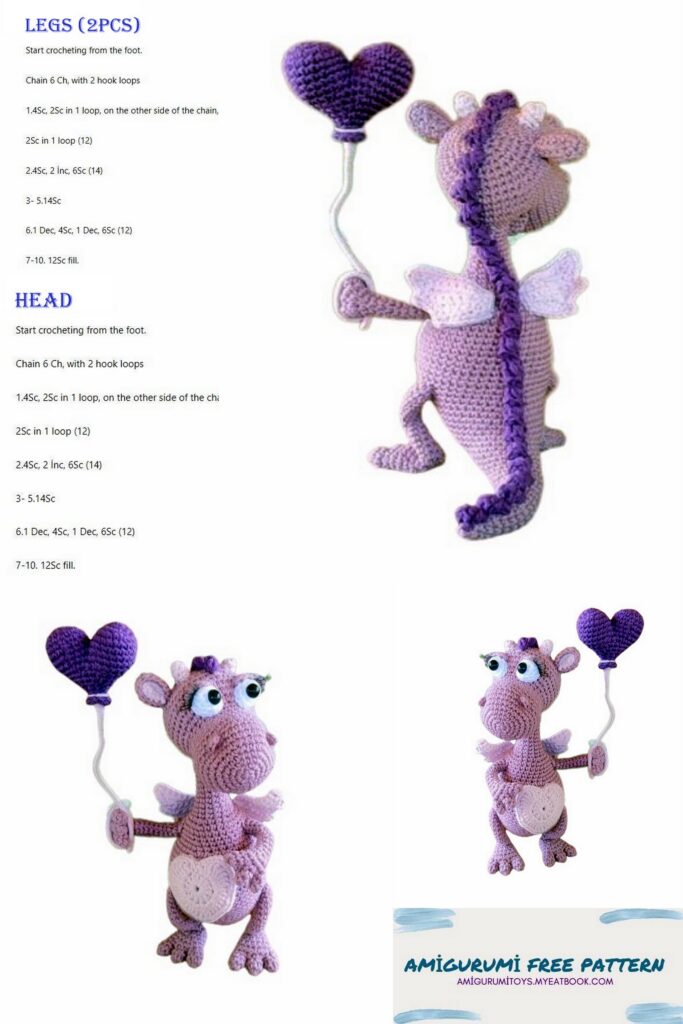
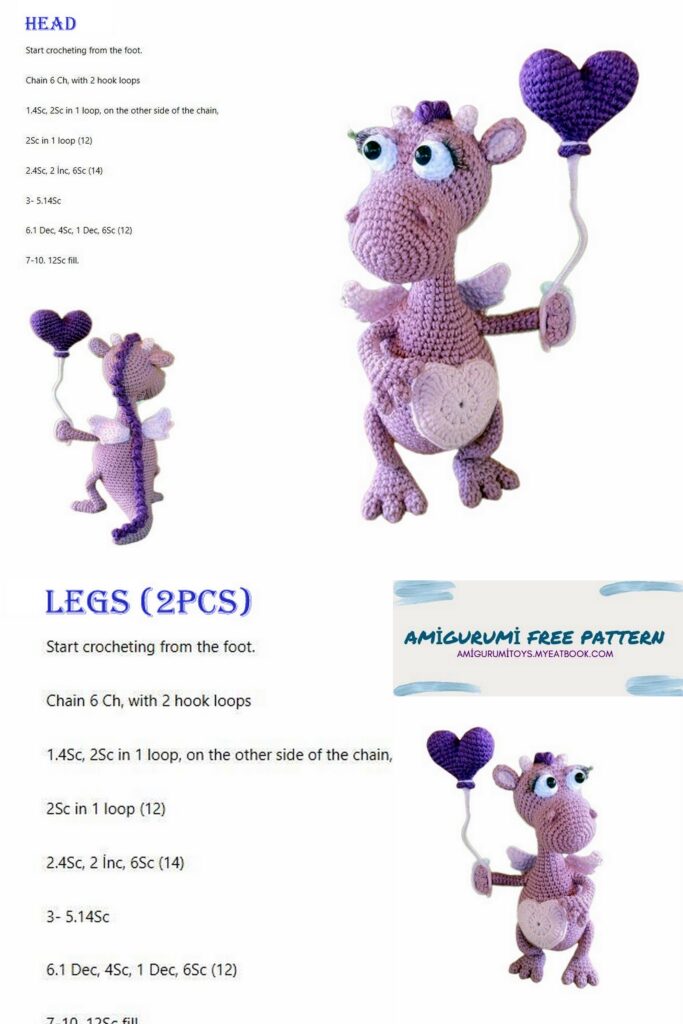
Upper paws (handles)
First we knit fingers (3 pcs)
1p – 4 in MR
2-3r – 4 sc
We do not break the thread on the third finger,
we continue to knit
4p – 4 sc on 1st finger,
2 sc on the 3rd finger,
4 sc on the 2nd finger,
2 sc on the 3rd finger (12)
5p – 12 sc
Insert frame (10cm + 3cm + 3cm)
6p – (2 sc; dec)x3 (9)
7p – (1 sc; dec)x3 (6)
8-17r – 6 sc (10 rows)
Fasten the thread, cut.
Tie the second paw.
Muzzle
1p – 6 in MR
2p – (inc)x6 (12)
3p – (1 sc; inc)x6 (18)
4p – (2 sc; inc)x6 (24)
5p – (3 sc; inc)x6 (30)
6p – (4 sc; inc)x6 (36)
7p – 36 sc
8p – 20 sc; 5 HDC in one half loop; 10 sc; 5 HDC in one half loop; 4 sc (40)
9p – 20 sc; 1 sc BLO; 10 sc; 1 sc BLO; 4 sc (36)
10p – 36 sc
11p – (10 sc; dec)x3 (33)
12p – 33 sc
13р – (9 sc; dec) x3 (30)
14p – 5 sc; 6 sc with mouth loops; 19 sc (30)
15r – 30 sc
16p – 12 sc; (2 sc; inc)x6 (36)
17p – 12 sc; (3 sc; inc)x6 (42)
18p – 8 sc; 8 o’clock (2 loops skip); 32 sc (48)
19r – 8 sc; 8 sc in ch.; 32 sc (48)
20-21r – 48 sc
22r – (6 sc; dec)x6 (42)
23r – 42 sc
24r – (5 sc; dec)x6 (36)
25r – (4 sc; dec)x6 (30)
Form a wire frame (37cm)
Wrap with adhesive tape; put in your head.
Fill with filler.
26r – (3 sc; dec)x6 (24)
27r – (2 sc; dec)x6 (18)
28r – (1 sc; dec)x6 (12)
29р – (dec)х6 (6)
Cut the thread, pull off the loops.
Eyes
Squirrels
1p – 3 hours; from the 2nd loop from the hook – 3in1; in the next loop – 3in1 (6)
2p – (1 sc; 3in1; 1 sc)x2 (10)
3p, 2 sc; inc; 4 sc; inc; 2 sc (12)
Fasten the thread, leave the tip for sewing.
Eyelids
1p – 6 hours; from the 2nd loop from the hook – 5 sc
2p – together with protein loops 5 sc
Cut the thread, leave the tip for sewing. Fill a little, sew the eyes to the head.
Glue the pupils (half-beads) and cilia.
Ears 2 pcs
Additional color (inner part)
1p – 5 hours; from the 2nd loop from the hook – 3 sc; 3in1; 3 sc on the second side. Ch., turn
2p – 4 sc; 3in1; 4 sc (11) Cut the thread.
Tie the second part with the main color. Do not cut the thread. Tie around both parts of sc. Cut the thread, leaving the tip for sewing. Fold in half and make a couple of zip ties. Tie the second ear. Sew to the head.
Body
Attach the thread to the air loops at the back of the head.
1p – 4 sc; 2 sc on the loops of the 17th row of the head; 4 sc (10)
2-5r – 10 sc (4 rows)
6p – (4 sc; inc) x2 (12)
7-8r – 12 sc
9p – (5 sc; inc) x2 (14)
10p – 14sc
11r – (6 sc; inc) x2 (16)
12p – (7 sc; inc) x2 (18)
13r – (2 sc; inc)x6 (24)
14r – (3 sc; inc)x6 (30)
15p – 9 sc; 3 sc with 3 handle loops;
12 sc; 3 sc with 3 handle loops; 3 sc (30)
16p – 9 sc; 3 sc on the handle; 12 sc; 3 sc on the handle; 3 sc (30)
Fill. Twist the wire, wrap it with adhesive tape.
17r – (4 sc; inc)x6 (36)
18r – 36 sc
19r – 18 sc; (1 sc; inc)x3; 12 sc (39)
20r – 18 sc; (2 sc; inc) x3; 12 sc (42)
21r – 42 sc
22p – 20 sc; (2 sc; inc)x3; 13 sc (45)
23r – 45 sc
24r – 20 sc; (3 sc; inc)x3; 13 sc (48)
25-28r – 48 sc (4 rows)
29r – 15 sc; 3 sc with leg loops; 25 sc; 3 sc with leg loops; 2 sc (48)
30r – 15 sc; 3 sc on the leg; 25 sc; 3 sc on the leg; 2 sc (48)
31r – 6sc; inc; 22 sc; dec; 17 sc (48)
Twist the wire, wrap it with adhesive tape.
32p – 17 sc; dec; (11 sc; dec)x2; 3 sc (45)
33p – 7 sc; inc; 13 sc; dec; 3 sc; dec; 4 sc; dec; 3 sc; dec; 6 sc (42)
34p – 8 sc; inc; 13 sc; dec; 2 sc; dec; 3 sc; dec; 2 sc; dec; 5 sc (39)
35r – 9 sc; inc; 10 sc; (dec; 3 sc)x3; dec; 2 sc (36)
36p – 9 sc; inc; 16 sc; dec; 8 sc (36)
37r – 10 sc; inc; 10 sc; (dec; 2sc)x3; dec; 1 sc (33)
38r – 10 sc; inc; 15 sc; dec; 5 sc (33)
39r – 21 sc; (2 sc; dec)x3; (thirty)
4 st.shift
40r – 7 sc; inc; 8 sc; dec; (2 sc; dec)x3; (27)
41p – 8 sc; inc; 8 sc; dec; 1 sc; (dec)x2; 1 sc; dec(24)
42p – 18 sc; (dec)x3 (21)
43p – 9 sc; inc; 9 sc; dec(21)
2 st.shift Don’t forget the filler.
44r – 15 sc; (dec)x3 (18)
45r – 8 sc; inc; 7 sc; d ec (18)
46r – 18 sc
5 st.shift
47p – 4 sc; inc; 6 sc; (dec)x2; 3 sc (17)
48r – 12 sc; dec; 3 sc (16)
49r – 5sc; inc; 5 sc; (dec)x2; 1 sc (15)
50r – 15 sc
3 st.shift
51p – 2 sc; inc; 5 sc; (dec)x2; 3 sc (14)
52r – 14 sc
53p – 4 sc; inc; 4 sc; (dec)x2; 1 sc (13)
54r – 10 sc; dec; 1 sc (12)
1 st.shift
55r – 4 sc; inc; 3 sc; (dec)x2 (11)
56p – 9 sc; dec(10)
57r – (dec; 3 sc) x2 (8)
58r – 8 sc
59r – (dec; 2 sc) x2 (6)
60r – 6 sc Pull off the loops.
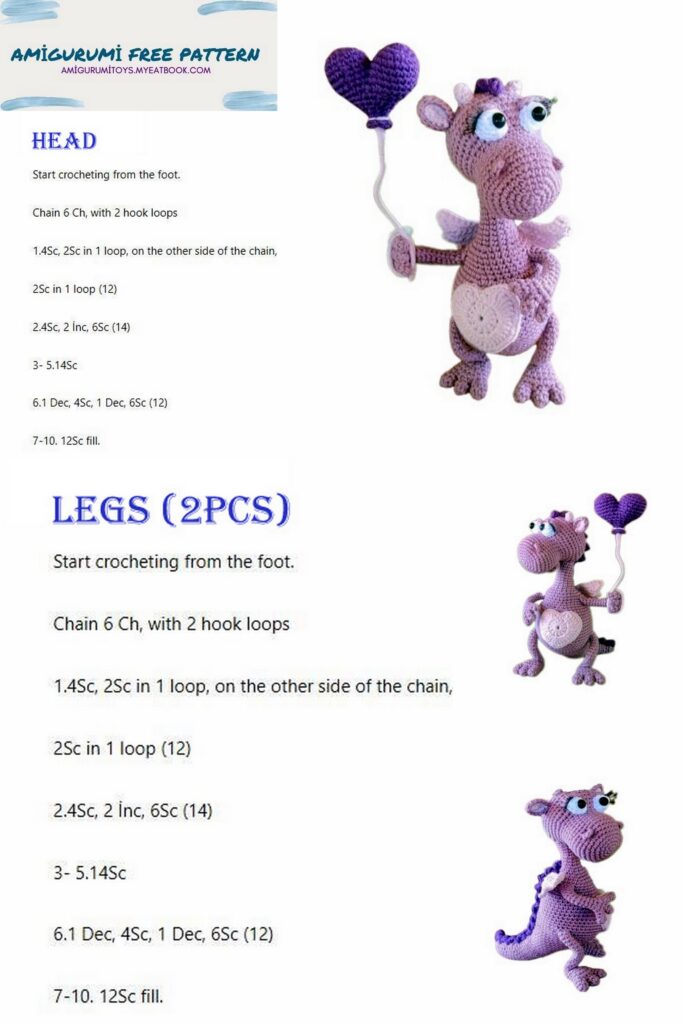
We knit thorns
Stepping back 1 row from the eyelids, we attach a thread of an additional color.
3 hours; in the same loop 4 DC. Pull out the hook, insert it into a column of air loops and pull out the loop (knob). Repeat until the end of the tail every 2-3 rows.
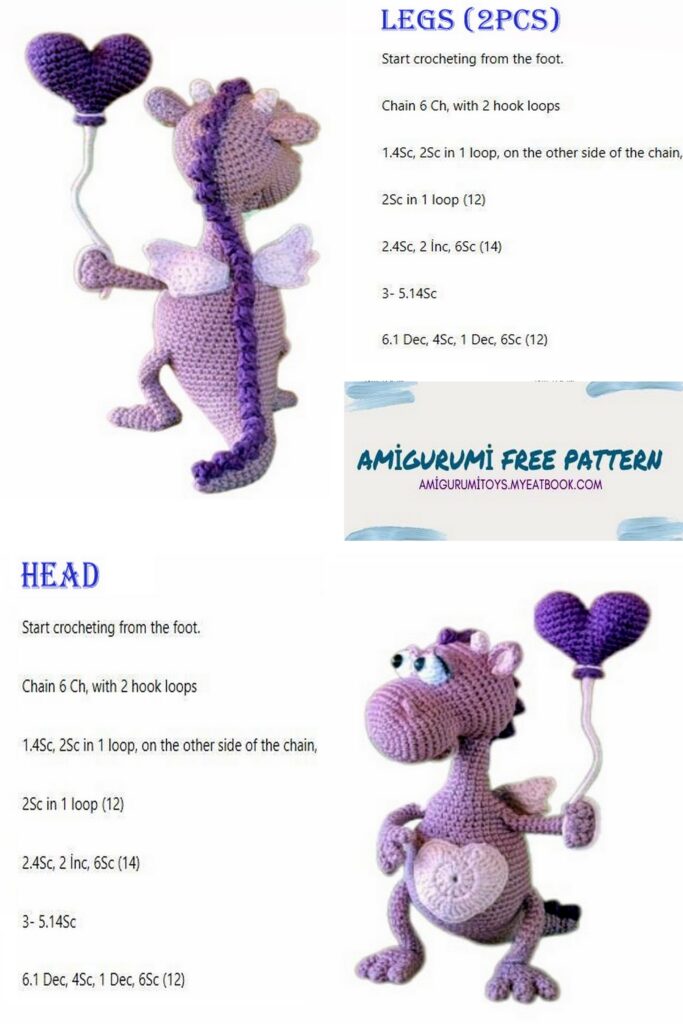
Horns 2pcs
1p – 4 in MR
2p – inc; 3 sc (5)
3p – inc; 4 sc (6)
Fasten the thread, cut off, leaving the tip for sewing.
Tie the second horn. Sew on.
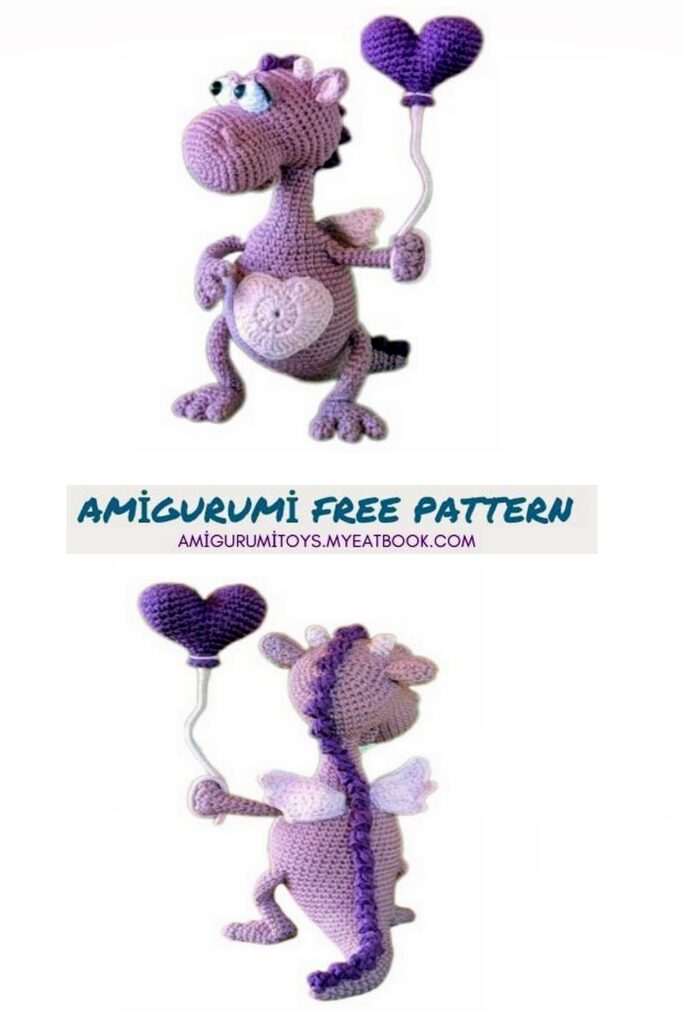
Wings 2 pcs
Tie according to the scheme with an additional color.
Tie the wings in a circle sc. Sew on.
Heart (diagram taken from the Internet)
Tie according to the scheme with an additional color. Sew on belly.
Ball – heart
1p – 6 in MR
2p – (inc)x6 (12)
3p – (1 sc; inc)x6 (18)
4-5r – 18 sc
Link the second part
Connect the parts
6-7r – 36 sc
8p – (4 sc; dec)x6 (30)
9p – (3 sc; dec)x6 (24)
10p – (2 sc; dec)x6 (18)
Insert frame (30cm)
Fill
11p – (4 sc; dec)x3 (15)
12p – (3 sc; dec)x3 (12)
13р – (2 sc; dec) x3 (9)
14r – (1 sc; dec)x3 (6)
15r – (inc FLO)x6 (12)
Fasten the thread, cut.
Having greased the wire with glue, wrap it with thread.
Insert into handle.
The dragon is ready.
