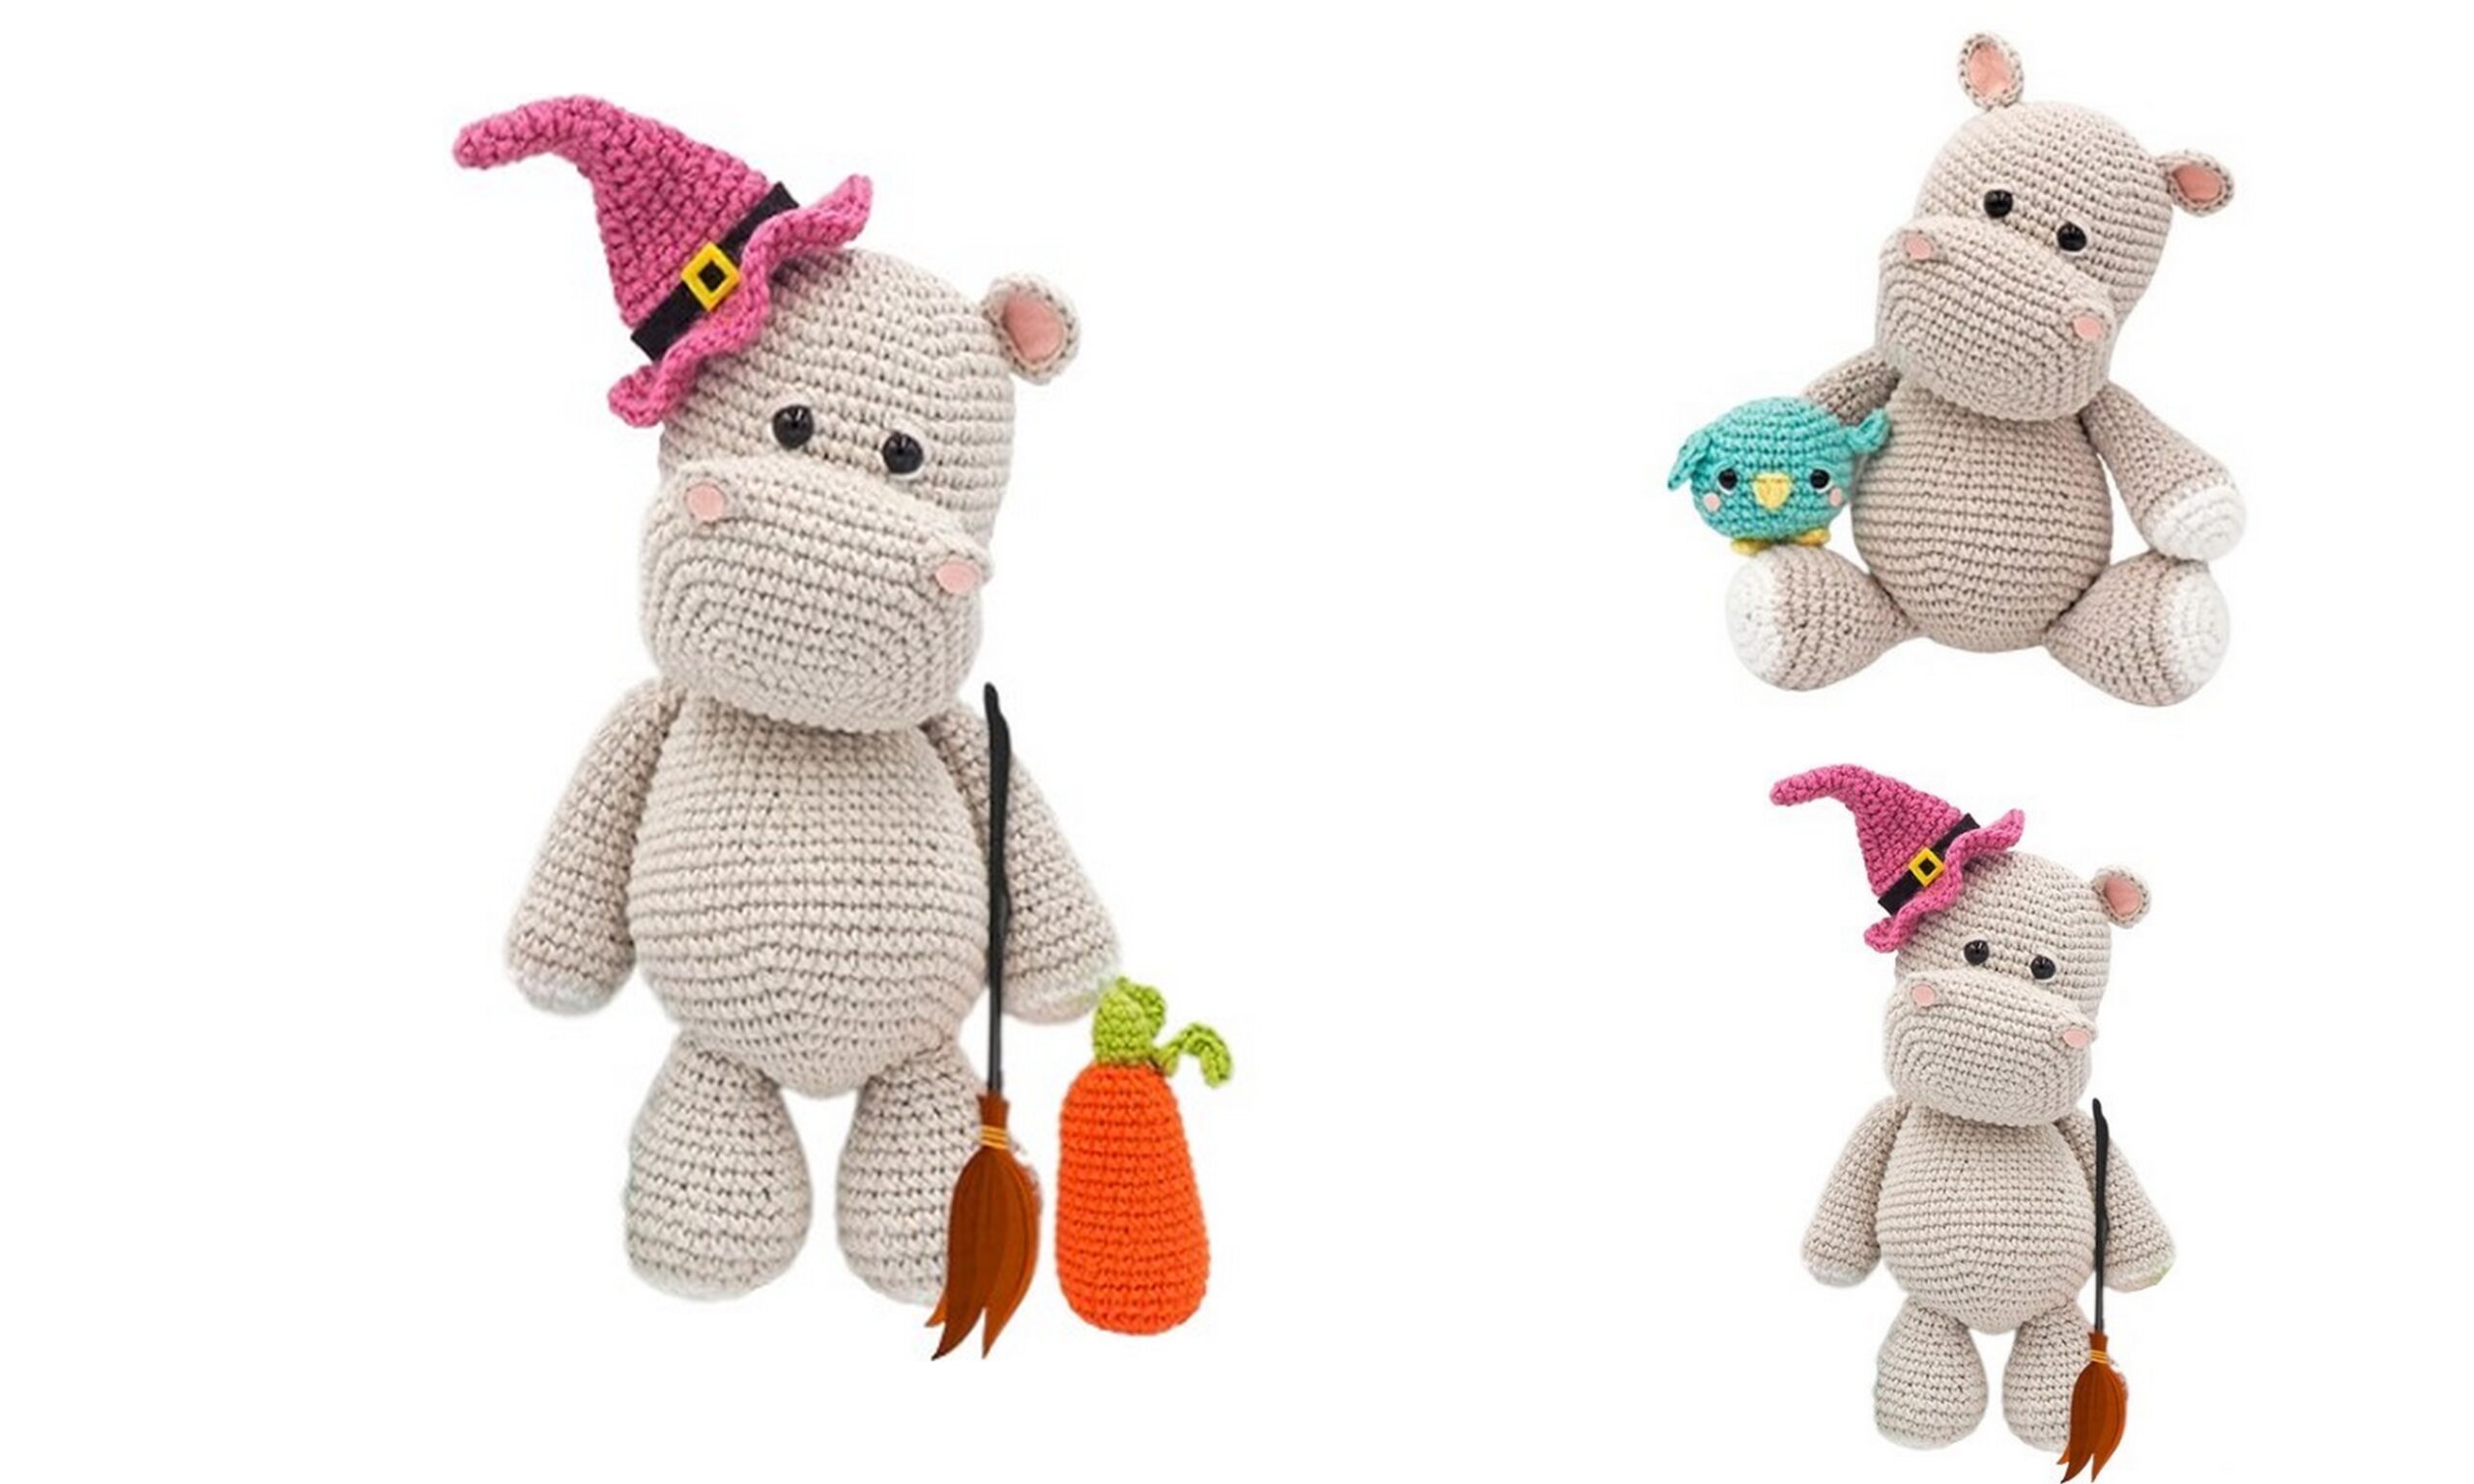
MATERIALS
2 ball of gray color rope
1 ball of white color rope
pink color felt
2.5 mm crochet hook
needle
2 pcs. Secure eye
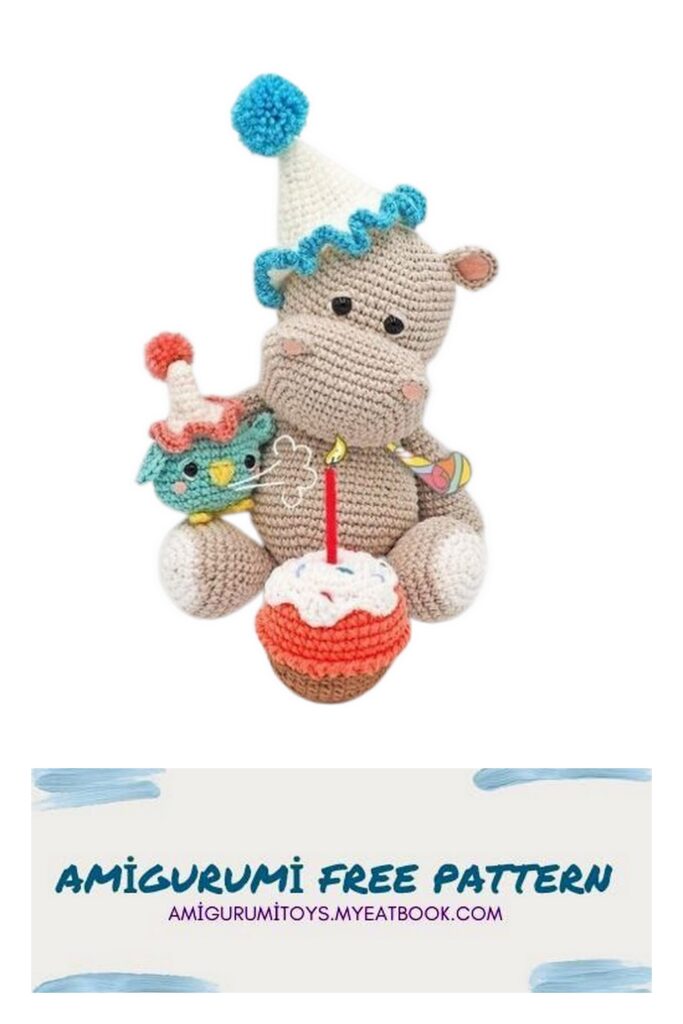
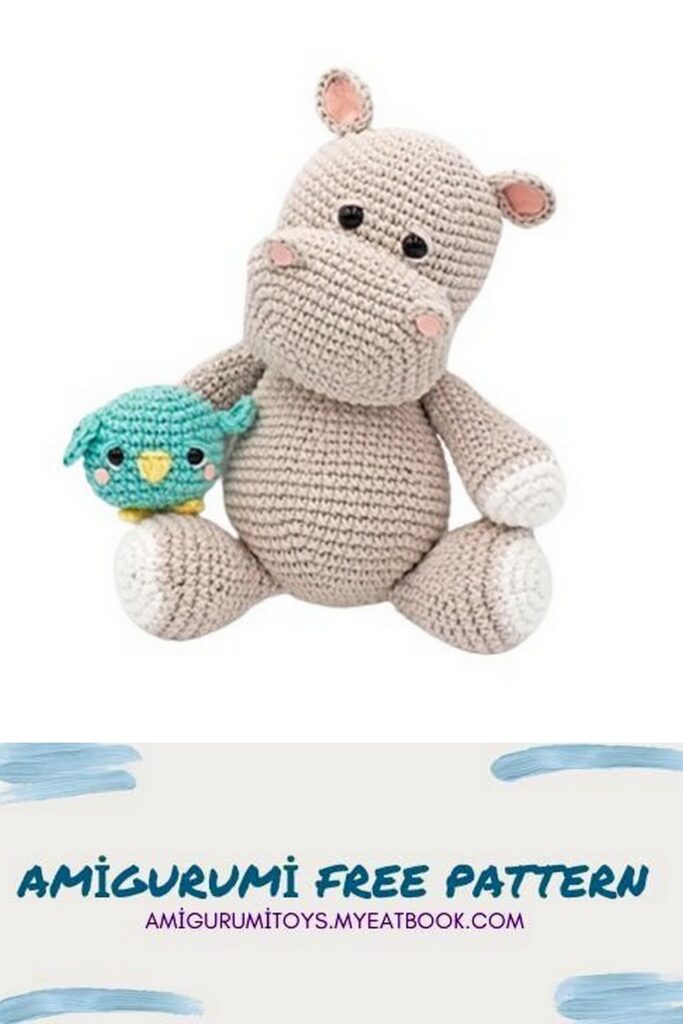
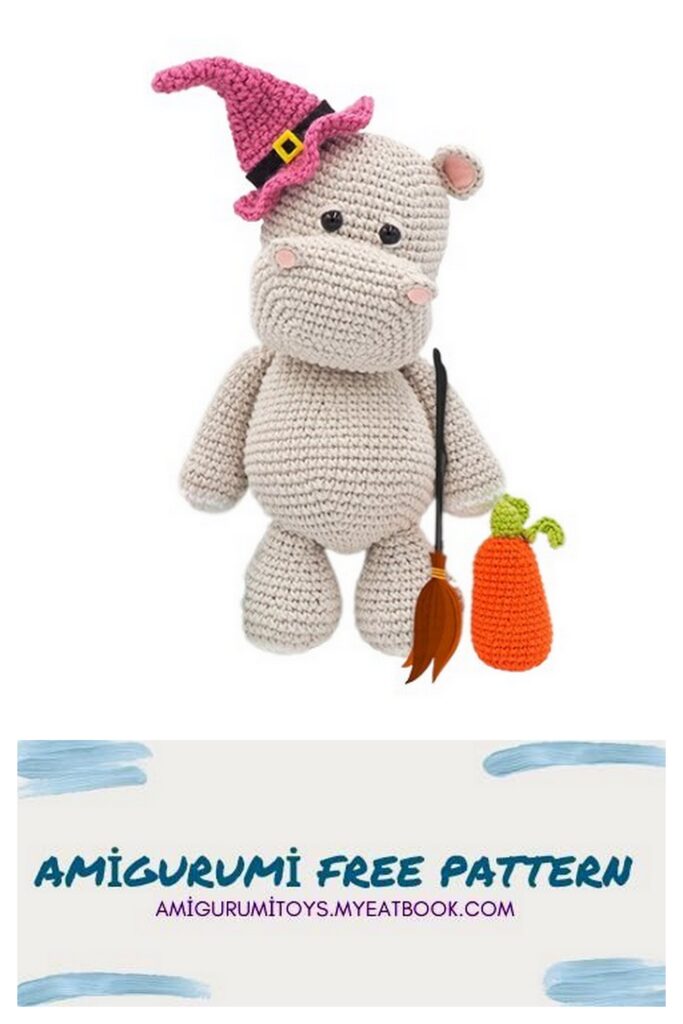
Hippo Pattern
Head (Part 1)
1.Rnd: magic ring into 6 sc
2.Rnd: * 1 inc * x 6 (12)
3.Rnd: * 1 sc , 1 inc * x 6 (18)
4.Rnd: * 2 sc , 1 inc * x 6 (24)
5.Rnd: * 3 sc , 1 inc * x 6 (30)
6.Rnd: * 4 sc , 1 inc * x 6 (36)
7.Rnd: * 5 sc , 1 inc * x 6 (42)
8.Rnd: * 6 sc , 1 inc * x 6 (48)
9–20.Rnds: 48 sc (48)
21.Rnd: * 6 sc , 1 dec * x 6 (42)
22.Rnd: * 5 sc , 1 dec * x 6 (36)
23.Rnd: * 4 sc , 1 dec * x 6 (30)
24.Rnd: * 3 sc , 1 dec * x6 (24)
25.Rnd: * 2 sc , 1 dec * x 6 (18)
26.Rnd: * 1 sc , 1 dec * x 6 (12)
Insert the eyes with 5 chain spaces between them, counting 12 or 13 rows from the beginning of the head..
Head (Part 2):
7 chain + 1 chain turn chain (8)
1.Rnd: 6 sc, 3 sc on the same stitch (work on 7 chains without taking the turn chain into account) – sc on each stitch to the end of the row – 5 sc on the same stitch, 2 sc on the same stitch. (16)
2.Rnd: Continue by making a turn chain.1 inc , 5 sc , 1 inc , 1 sc , 1 inc , 5 sc , 1 inc , 1 sc (20)
3.Rnd: 1 inc , 7 sc , 1 inc , 1 sc , 1 inc , 7 sc , 1 inc , 1 sc (24)
4.Rnd: 1 sc , 1 inc , 1 inc , 6 sc , 1 inc , 1 inc , 2 sc , 1 inc , 1 inc , 6 sc , 1 inc , 1 inc , 1 sc (32)
5.Rnd: 2 sc , 1 inc , 1 inc , 9 sc , 1 inc , 1 inc , 3 sc , 1 inc , 1 inc , 9 sc , 1 inc , 1 inc , 1 sc (40)
6.Rnd: 3 sc , 1 inc , 1 inc , 12 sc , 1 inc , 1 inc , 4 sc , 1 inc , 1 inc , 12 sc , 1 inc , 1 inc , 1 sc (48)
7.Rnd: 4 sc , 1 inc , 1 inc , 15 sc , 1 inc , 1 inc , 5 sc , 1 inc , 1 inc , 15 sc , 1 inc , 1 inc , 1 sc (56)
8–9.Rnds: 56 sc (56)
10.Rnd: 4 sc , 1 dec , 1 dec , 15 sc , 1 dec , 1 dec , 5 sc , 1 dec , 1 dec , 15 sc , 1 dec , 1 dec , 1 sc (48)
11–12.Rnds: 48 sc (48)
Stitch it by filling it.
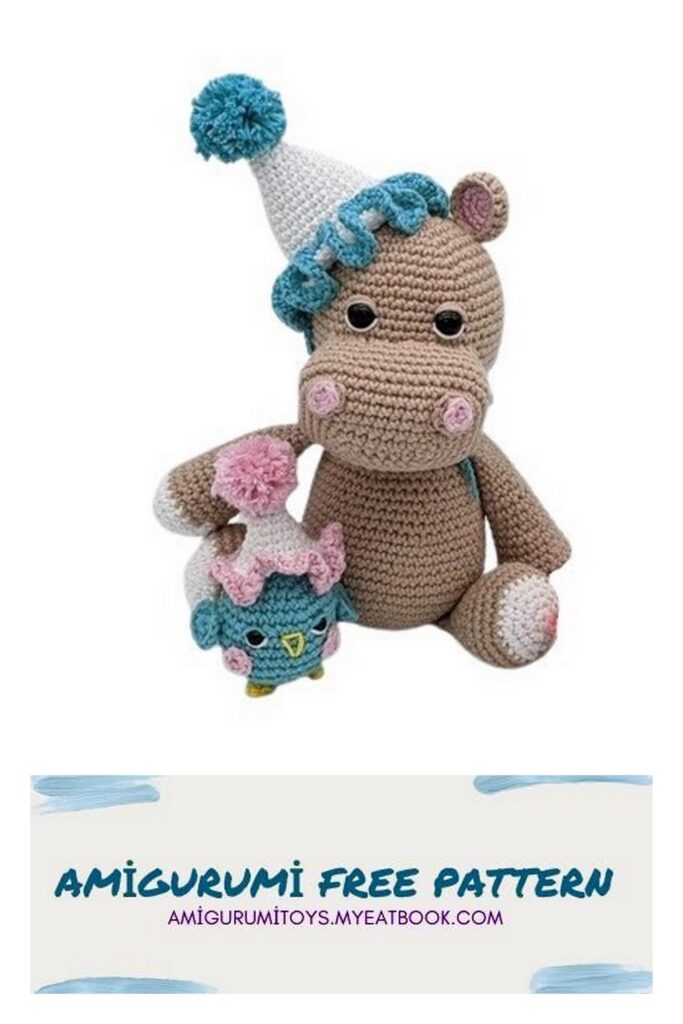
Nostril x 2:
Make round by working sc in the same order.
1.Rnd: magic ring into 8 sc (Do it like a normal ring, but don’t cover it.).
Finish by leaving the thread long.
Ears x2:
Make round by working sc in the same order
1.Rnd: magic ring into 6 sc
2.Rnd: 6 inc (12)
3.Rnd: (1 sc , 1 inc )* 6 (18)
Sew the ears to the head, leaving the thread long.
Body:
Make round by working sc in the same order.
1.Rnd: magic ring into 6 sc
2.Rnd: * 1 inc * x 6 (12)
3.Rnd: * 1 sc , 1 inc * x 6 (18)
4.Rnd: * 2 sc , 1 inc * x 6 (24)
5.Rnd: * 3 sc , 1 inc * x 6 (30)
6.Rnd: * 4 sc , 1 inc * x 6 (36)
7.Rnd: * 5 sc , 1 inc * x 6 (42)
8.Rnd: * 6 sc , 1 inc * x 6 (48)
9.Rnd: * 7 sc , 1 inc * x 6 (54)
10.Rnd: * 8 sc , 1 inc * x 6 (60)
11–14.Rnds: 60 sc (60)
15.Rnd: * 8 sc , 1 dec * x 6 (54)
16–17.Rnds: 54 sc (54)
18.Rnd: * 7 sc , 1 dec * x 6 (48)
19–20.Rnds: 48 sc (48)
21.Rnd: * 6 sc , 1 dec * x 6 (42)
22–23.Rnds: 42 sc (42)
24.Rnd: * 5 sc , 1 dec * x 6 (36)
25.Rnds: 36 sc (36)
26.Rnd: * 4 sc , 1 dec * x 6 (30)
27.Rnd: * 3 sc , 1 dec * x 6 (24)
28–30.Rnds: 24 sc (24)
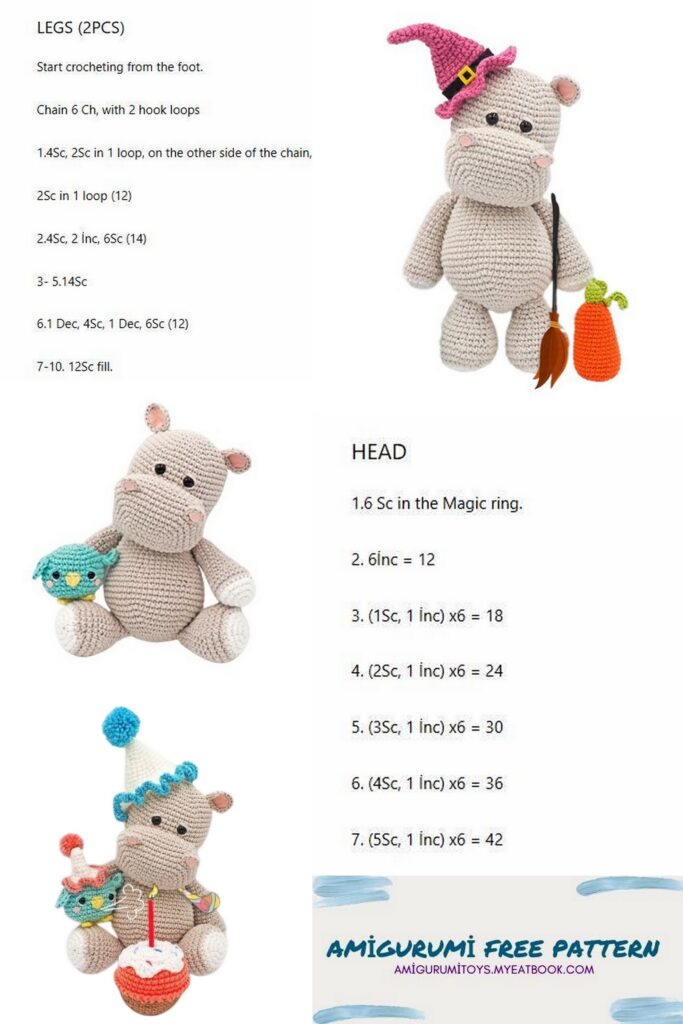
Fill the body, sew it.
Arms x2:
Make round by working sc in the same order.
1.Rnd: Magic ring into 6 sc
2.Rnd: * 1 inc * x 6 (12)
3.Rnd: * 1 sc , 1 inc * x 6 (18)
4.Rnd: * 2 sc , 1 inc * x 6 (24)
5–7.Rnds: 24 sc (24)
8.Rnd: * 2 sc , 1 dec * x 6 (18)
9–11.Rnds: 18 sc (18)
12.Rnd: * 4 sc , 1 dec * x 3 (15)
13–15.Rnds: 15 sc (15)
16.Rnds: * 3 sc , 1 dec * x 3 (12)
17–21.Rnds: 12 sc (12)
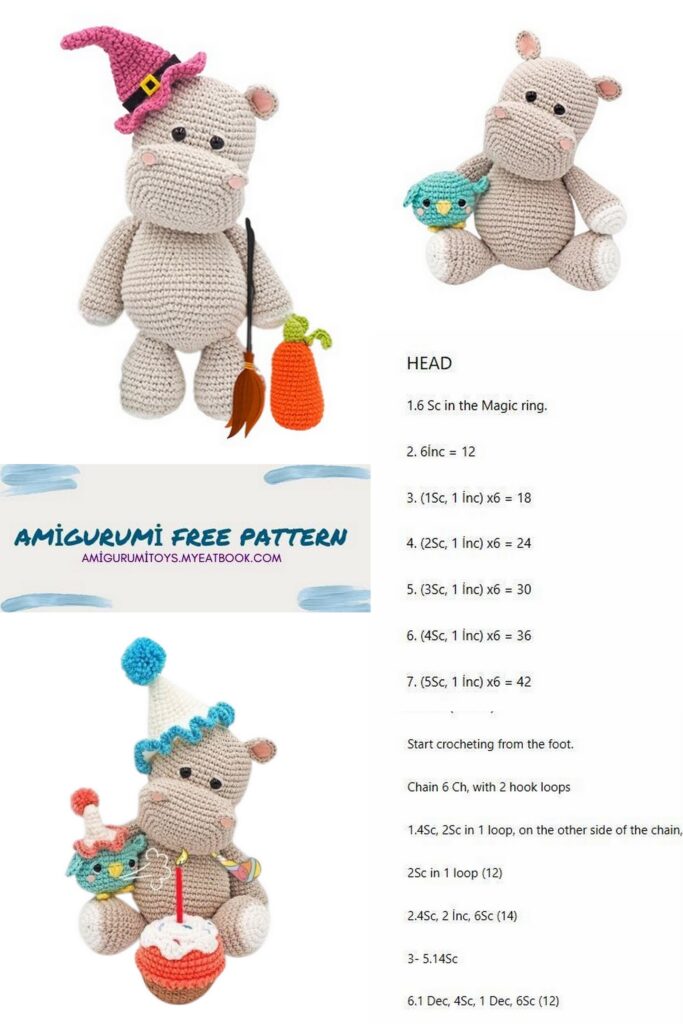
Fill the arms and sew.
Legs x 2:
Make round by working sc in the same order.
1.Rnd: Magic ring into 6sc
2.Rnd: * 1 inc* x 6 (12)
3.Rnd: * 1 sc , 1 inc * x 6 (18)
4.Rnd: * 2 sc , 1 inc * x 6 (24)
5.Rnd: * 3 sc , 1 inc * x 6 (30)
6.Rnd: * 4 sc , 1 inc * x 6 (36)
7.Rnd: 36 sc (36)
8.Rnd: * 4 sc , 1 dec * x 6 (30)
9.Rnd: * 3 sc , 1 dec * x 6 (24)
10-11.Rnds: 24 sc (24)
12.Rnd: * 2 sc , 1 dec * x 6 (18)
13.Rnd: 18 sc (18)
14.Rnd: * 1 sc , 1 dec * x6 (12)
15–16.Rnds: 12 sc (12)
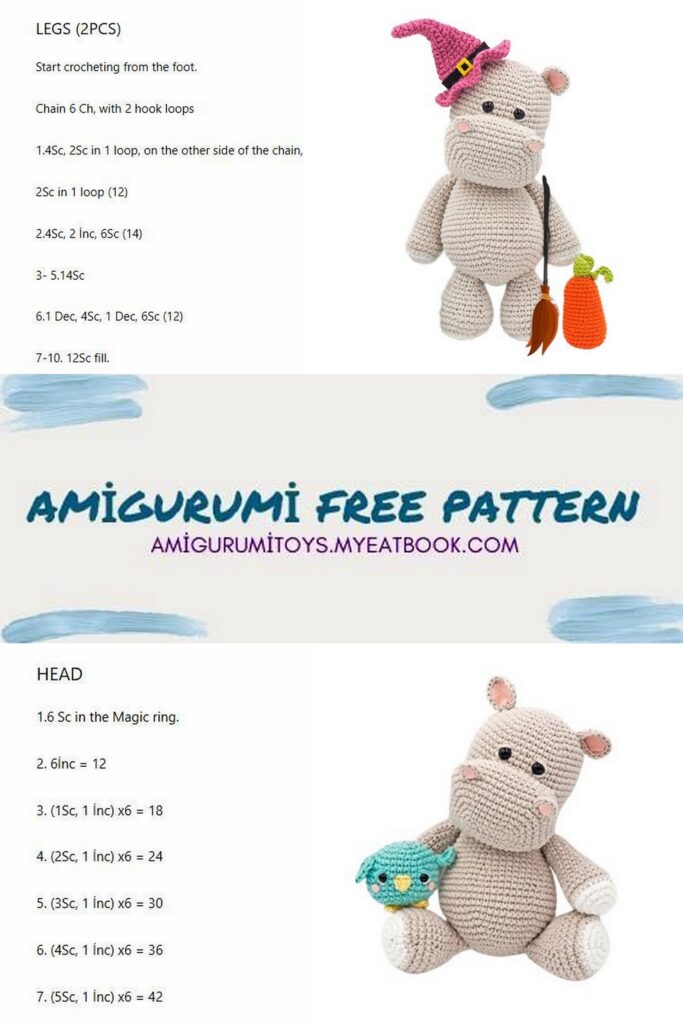
Fill the legs and sew.
Queue:
Make round by working sc in the same order.
1.Rnd: Magic ring into 3sc
2.Rnd: * 1 inc * x 3 (6)
3–5.Rnds: 6 sc (6)
Sew the tail by filling.
Descriptions
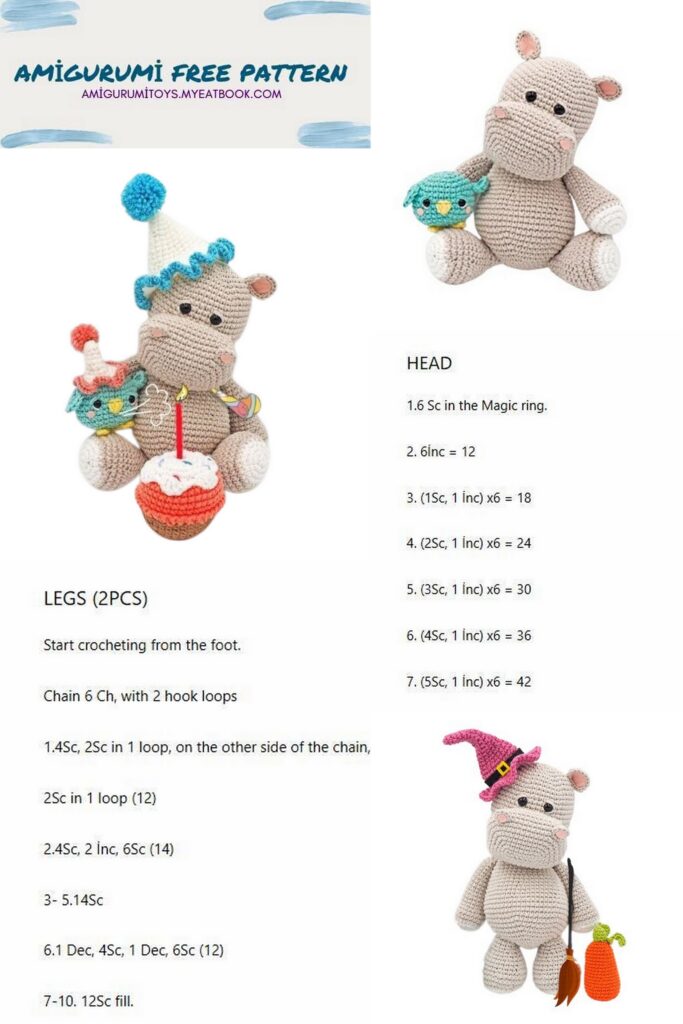
1.- Process the eyelids with a thread of the same color as the head. Turn the safety eye 2 turns. Then put a line under the safety eye with white thread.
- Assemble the parts of the head.
- Sew the nostrils to the appropriate places as shown in the picture.
- Suture the ears to the appropriate places as shown.
- Glue the felts into the ear and nose holes with glue or sew with thread.
6.- Stitch the legs as shown in the picture.
- Sew the arms appropriately as shown in the picture.
- Stitch the head as shown in the picture.
9.- Sew the tail to the body as shown in the picture.
Wishing Good-bye
