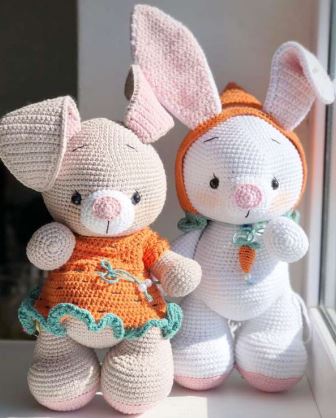
EASTER BUNNY
Materials and Tools
1 . Yarn
Drops safran – 01 desert rose
Drops safran – 21 beige
Alize cotton gold – 55 white
Drops Safran – 28 orange
Drops Love You 9 – 119 agate green
2 . Scissors
3 . Plastic eyes ( 7 mm )
4 . Fiberfilling
5 . Hook size № 2
6 . Tapestery needle for sewing details
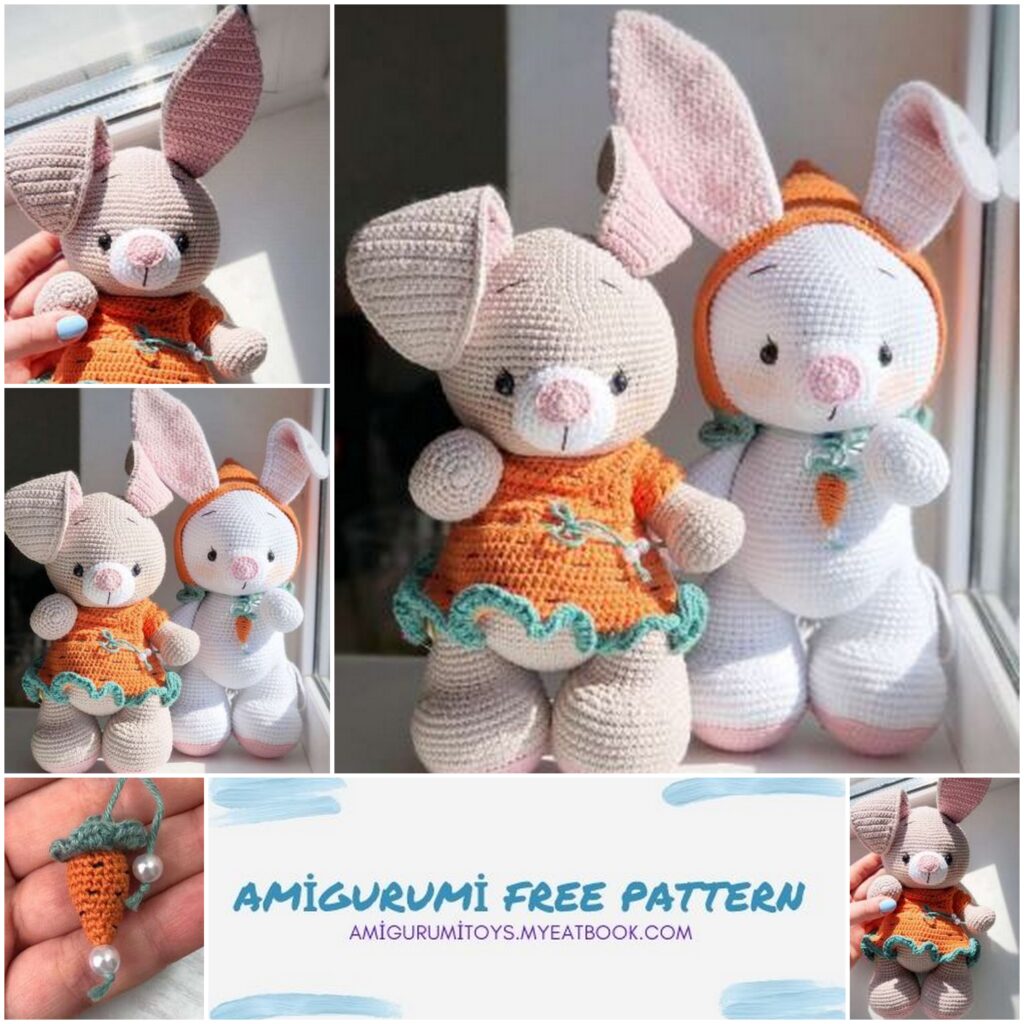
Head
Start working with main color :
1. 6 sc in mr
2. 6 inc ( 1 2 )
3. ( 1 sc , inc ) х 6 ( 1 8 )
4. ( 2 sc , inc ) х 6 ( 2 4 )
5. ( 3 sc , inc ) х 6 ( 3 0 )
6. ( 4 sc , inc ) х 6 ( 3 6 )
7. ( 1 1 sc , inc ) х 3 ( 3 9 )
8. ( 1 2 sc , inc ) х 3 ( 4 2 )
9. ( 6 sc , inc ) х 6 ( 4 8 )
1 0. ( 1 5 sc , inc ) х 3 ( 5 1 )
1 1. ( 1 6 sc , inc ) х 3 ( 5 4 )
1 2. ( 8 sc , inc ) х 6 ( 6 0 )
1 3. ( 9 sc , inc ) х 6 ( 6 6 )
1 4. ( 1 0 sc , inc ) х 6 ( 7 2 )
1 5. ( 1 1 sc , inc ) х 6 ( 7 8 )
1 6. ( 1 2 sc , inc ) х 6 ( 8 4 )
1 7.- 2 8. 8 4 sc
2 9. ( 1 2 sc , dec ) х 6 ( 7 8 )
3 0. ( 1 1 sc , dec ) х 6 ( 7 2 )
3 1. ( 1 0 sc , dec ) х 6 ( 6 6 )
3 2. ( 9 sc , dec ) х 6 ( 6 0 )
3 3. ( 8 sc , dec ) х 6 ( 5 4 )
3 4. ( 7 sc , dec ) х 6 ( 4 8 )
3 5. ( 6 sc , dec ) х 6 ( 4 2 )
3 6. ( 5 sc , dec ) х 6 ( 3 6 )
Stuff
Leave along tail for sewing
Between the 21 stand 22 nd rows insert safety eyes. The gap between the eyes should be 15 stitches .
Muzzle ( white color )
1. 6 sc in m r
2. 6 inc ( 1 2 )
3. 3 inc, 3 sc, 3 inc , 3 sc ( 1 8 )
4. ( 2 sc, inc ) х 6 ( 2 4 )
5. 1 sc , ( 1 sc, inc ) х 3 ,6 sc , ( 1 sc, inc ) х 3, 5 sc ( 3 0 )
6.- 8. 3 0 sc
Leave along tail for sewing
Start forming the muzzle
-I put in my eyes after the head is ready. If you insert the eyes as you knit, then pull them in the same way, but along the eye (from the outside) Start forming the muzzle
-Embroider eyes: insert the white threaded needle on top of the eye and thread it to the bottom as shown in the picture.Bring the thread out near the second eye and repeat the same steps.
black dot – eye
3. Make sculpturing for eyes, pull the two threads together. Weave in ends.
4. Sew the muzzle (stuff) on and attach eyes.
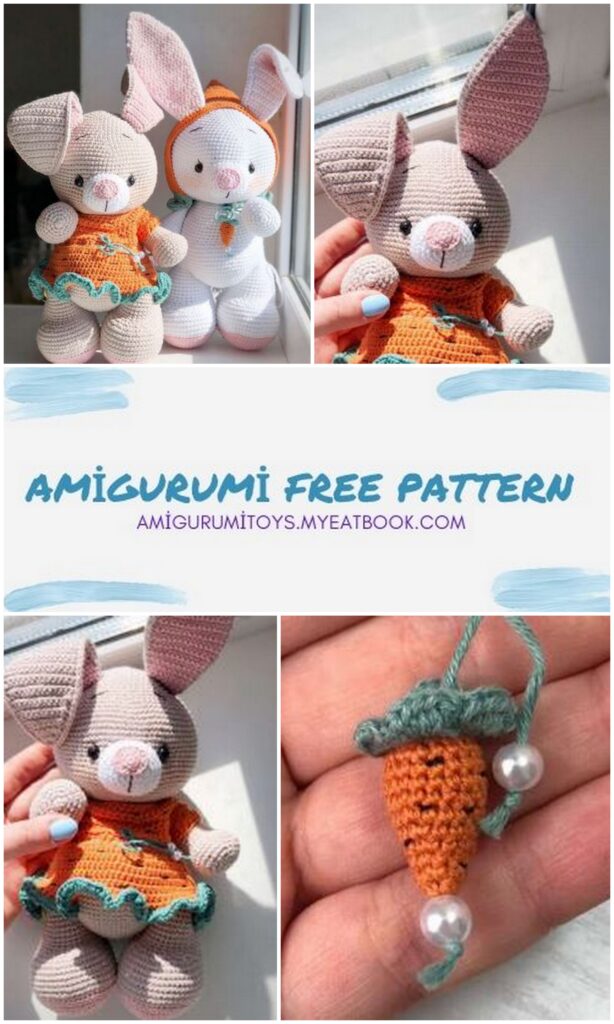
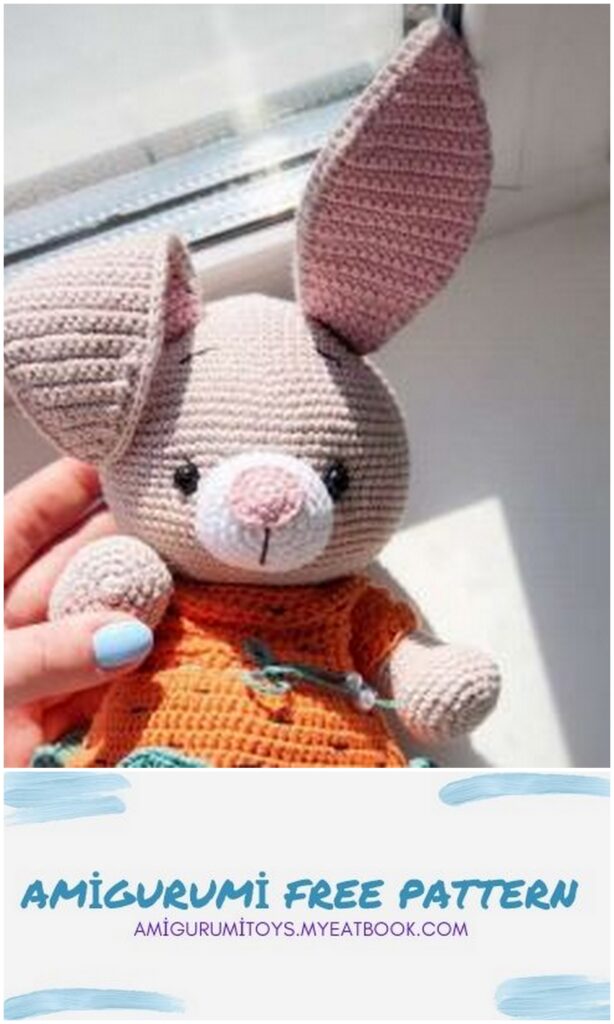
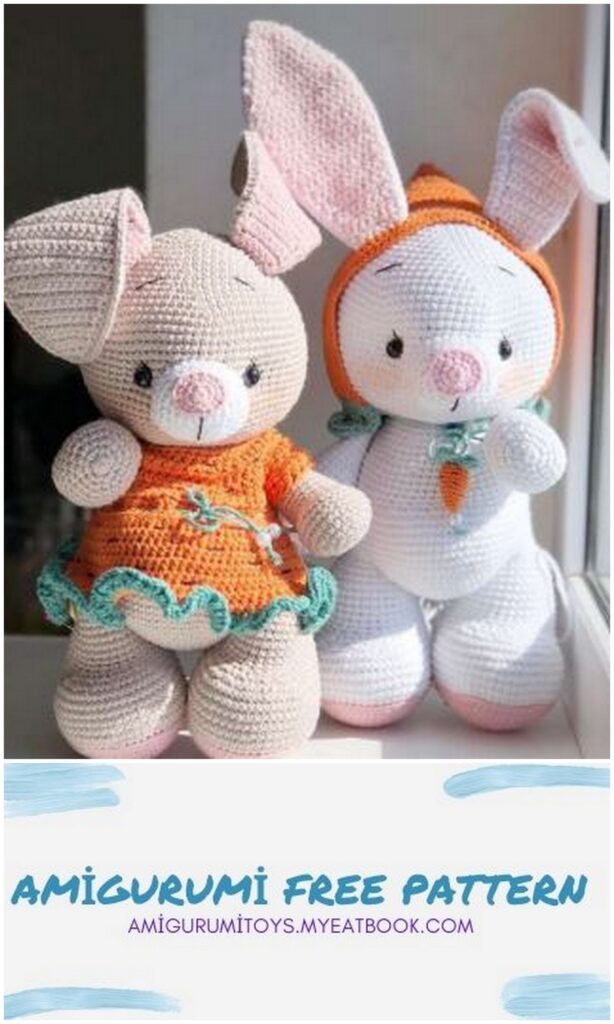
Nose (pink color)
1. 6 sc in mr
2. 2 inc, 1 sc, 2 inc, 1 sc (10)
3. 1 sc, 3 inc, 2 sc, 3 inc, 1 sc (16)
Leave a long tail for sewing
Sew the muzzle to the head. Stuff
Sew the nose to the muzzle.
Embroider eyes, mouth and brows on top with black thread
Ears (x2)
Work in turning rows
2 pink details and 2 white/beige details)
1. 7 ch
2. 6 sc, ch
3. inc, 5 sc, ch (7)
4. inc, 6 sc, ch (8)
5.-6. 8 sc, ch
7. inc, 7 sc, ch (9)
8. inc, 8 sc, ch (10)
9.-10. 10 sc, ch
11. inc, 9 sc, ch (11)
12. inc, 10 sc, ch (12)
13.-14. 12 sc, ch
15. inc, 11 sc, ch (13)
16. inc, 12 sc, ch (14)
17.-24. 14 sc, ch
25. dec, 12 sc, ch (13)
26. dec, 11 sc, ch (12)
27. dec, 10 sc, ch (11)
28. dec, 9 sc, ch (10)
29. dec, 8 sc, ch (9)
30. dec, 7 sc, ch (8)
31. dec, 6 sc, ch (7)
32. dec, 5 sc, ch (6)
33. 2 sc, dec, 2 sc (4)
34. Skip 1 sc, 4 sc
35. Skip 1 sc, 2 sc, sl st
Connect the white detail with pink detail (tie a long white thread). Sew along the edges of the ears and leave a long tail for sewing
Sew the ears to the head
The gap between the ears should be 10 stitches.
10 SC
Legs (х2)
Start working with pink color:
1. 1. 6 sc in mr
2. 6 inc (12)
3. (1 sc, inc) х 6 (18)
4. (2 sc, inc) х 6 (24)
5. (3 sc, inc) х 6 (30)
6. (4 sc, inc) х 6 (36)
7. (5 sc, inc) х 6 (42)
8. (6 sc, inc) х 6 (48)
9. (7 sc, inc) х 6 (54)
10. Change yarn color to the main color: back loops only 54 sc
11.-16. 54 sc
17. (2 sc, dec) х 6, 30 sc (48)
18. (1 sc, dec) х 6, 30 sc (42)
19. 6 dec, 30 sc (36)
20.-24. 36 sc
25. (10 sc, dec) х 3 (33)
26. (9 sc, dec) х 3 (30)
Stuff 27. (8 sc, dec) х 3 (27)
28. (7 sc, dec) х 3 (24)
29. (6 sc, dec) х 3 (21)
Stuff
Body
Start working with main color:
1. 6 sc in mr
2. 6 inc ( 1 2 )
3. ( 1 sc , inc ) х 6 ( 1 8 )
4. ( 2 sc , inc ) х 6 ( 2 4 )
5. ( 3 sc , inc ) х 6 ( 3 0 )
6. ( 4 sc , inc ) х 6 ( 3 6 )
7. ( 5 sc , inc ) х 6 ( 4 2 )
8. ( 6 sc , inc ) х 6 ( 4 8 )
9. ( 7 sc , inc ) х 6 ( 5 4 )
1 0. ( 8 sc , inc ) х 6 ( 6 0 )
C o n tin u e c r o c h e tin g t h e b o d y +le g s:
11. Attach the right leg. Mark on the in sid e o f t h e le g 9 sc. Be careful, so that when joining the legs both of them look in the same direction: attach the right leg to the body for 9 sc (together: leg + body), 18 sc on the body (back), attach the left leg to the body for 9 sc (together: leg + body), 24 sc on the body (tummy) (60)
12. The outside of the leg – 12 sc, 18 sc on the back, the outside of the leg – 12 sc, 24 sc on the tummy (66)
13. Move the safety pin to the middle part from the back: 12 sc on the leg, 9 sc on the back.
14. 27 sc, tummy: (inc, 1 sc) х 6, 27 sc (72)
15.-20. 72 sc
21. 24 sc, tummy: (2 sc, dec) х 6, 24 sc (66)
22. 24 sc, (1 sc, dec) х 6, 24 sc (60)
23.-24. 60 sc
25. (8 sc, dec) х 6 (54)
26. 54 sc
27. 54 sc
28. (7 sc, dec) х 6 (48)
29. 48 sc
30. 48 sc
31. (6 sc, dec) х 6 (42)
Stuff
32. 42 sc
33. 42 sc
34. (5 sc, dec) х 6 (36)
35. 36 sc
Stuff
Leave a long tail for sewing
Hands
Start working with main color:
1. 6 sc in mr
2. 6 inc (12)
3. (1 sc, inc) х 6 (18)
4. (2 sc, inc) х 6 (24)
5. (3 sc, inc) х 6 (30)
6.-9. 30 sc
10. 6 dec, 18 sc (24)
11. 3 dec, 18 sc (21)
12.-16. 21 sc
17. (5 sc, dec) х 3 (18)
18.-20. 18 sc
21. (4 sc, dec) х 3 (15)
22.-23. 15 sc
Stuff
Sew the head to the body
Hat “Carrot”
Start working with orange color. Work in turning rows:
1. 67 ch
2.-3. 66 sc, ch
4. 21 sc, 8 ch, skip 8 stitches, 8 sc on the hat, 8 ch, skip 8 stitches, 8 sc on the hat,
21 sc, ch (66)
5.-28. 66 sc, ch
Fold the hat in half and sew together.
3 3 sc
54 sc
“Ruffles”
Work in turning rows. leave a long green tail:
1. Join green thread to the hat and crochet: (1 sc, dec) x 18, ch (36)
2. (5 sc, inc) x 6, ch (42)
3. (6 sc, inc) x 6, ch (48)
4. (4 ch, skip 1 stitch, 1 sc) x 24
5. (5 hdc in 1 stitch, 1 sl st) x 24
Leave a long tail
“Mini carrot”
Work in turning rows. Start working with green color
Split the green color yarn in half, work with 1.3 mm hook:
1. 15 ch
2. In 4th stitch from the hook crochet 1
sc, (3 ch, skip 1 stitch, 1 sc) x 5, 1 ch
3. (5 hdc in 1 stitch, 1 sl st) x 6
Leave a long tail for sewing details
Carrot
Split the orange color yarn in half, work with 1.3 mm hook:
1. 6 sc in mr
2. (1 sc, inc) x 3 (9)
3. (2 sc, inc) x 3 (12)
4. (3 sc, inc) x 3 (15)
5. (4 sc, inc) x 3 (18)
6.-9. 18 sc
10. (1 sc, dec) x 6 (12)
Stuff
11. 6 dec
Sew the green detail to the carrot.
Attach the carrots to the hat. Use a thread from a hat (ties)
Attach the beads and tie a knot
Dress
Work in turning rows. Start working with orange color:
1. 49 ch
2. 48 hdc
3. Button hole: 6 ch, skip 6 stitches, 42 hdc on the dress, ch
4. (7 hdc, inc) x 6, ch (54)
5. (8 hdc, inc) x 6, ch (60)
6. (9 hdc, inc) x 6, ch (66)
7. (10 hdc, inc) x 6, ch (72)
8. (11 hdc, inc) x 6, ch (78)
9. (12 hdc, inc) x 6, ch (84)
10. Close the ends into the ring and crochet sleeves: 12 hdc, skip 13 stitches, 28 hdc on the dress, skip 13 stitches, 18 hdc on the dress (58)
11. BLO (1 hdc, inc) x 29 (87)
12. – 17. 87 hdc
18. Change yarn color to the green color: (3 hdc in 1) x 87
Tighten the opening and weave in ends.
Sew the button on to the dress of the bunny.
Attach beads to the dress.
Join green thread to the dress having left a long tail as shown in the picture.
Thread this across the dress.
Attach beads to the dress.
