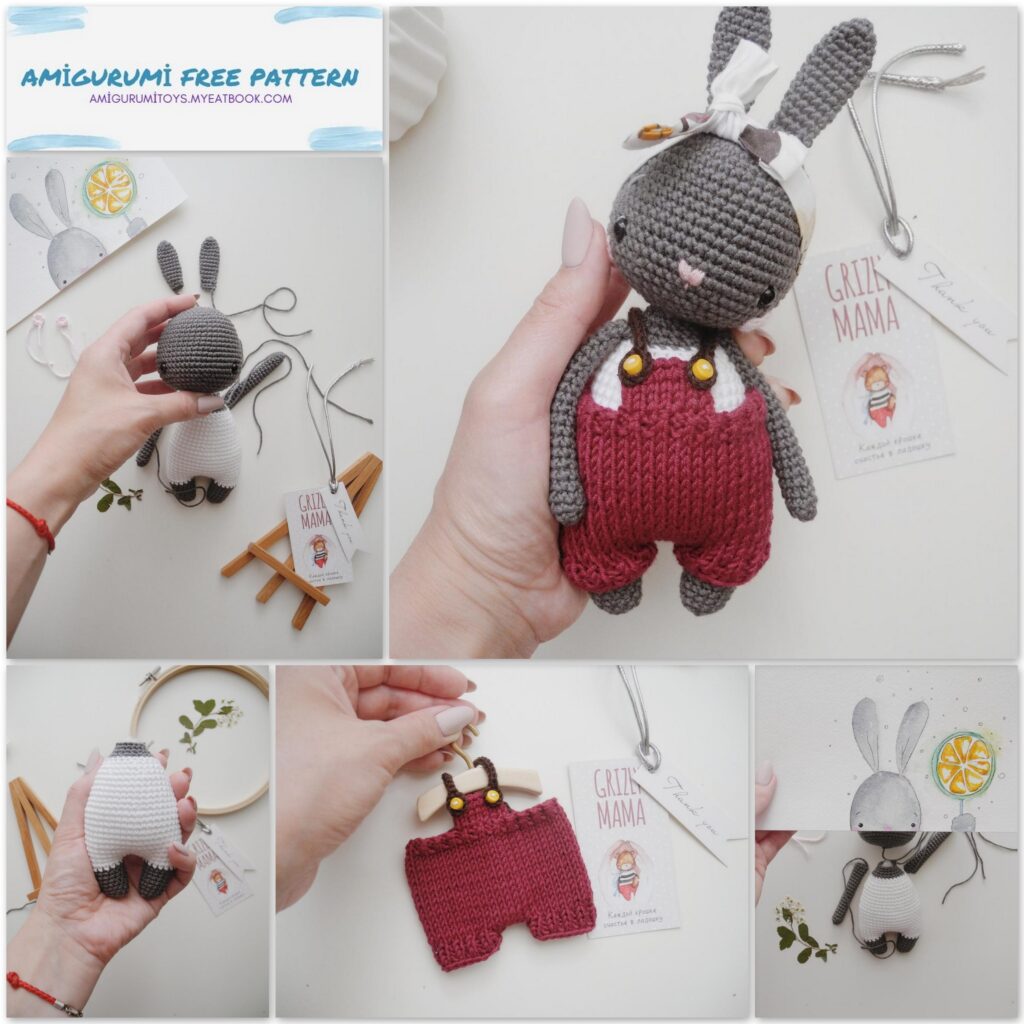
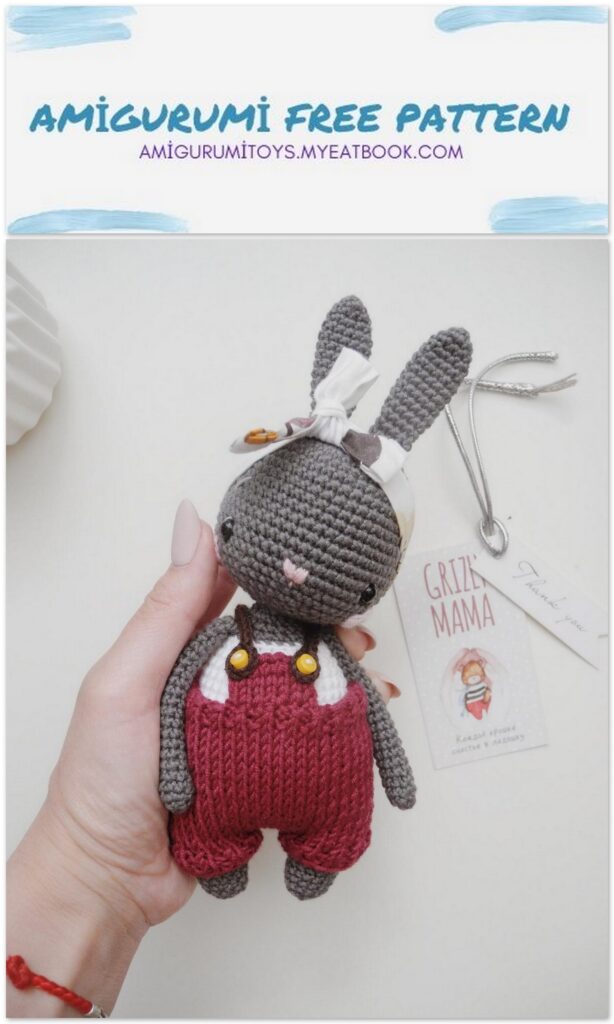
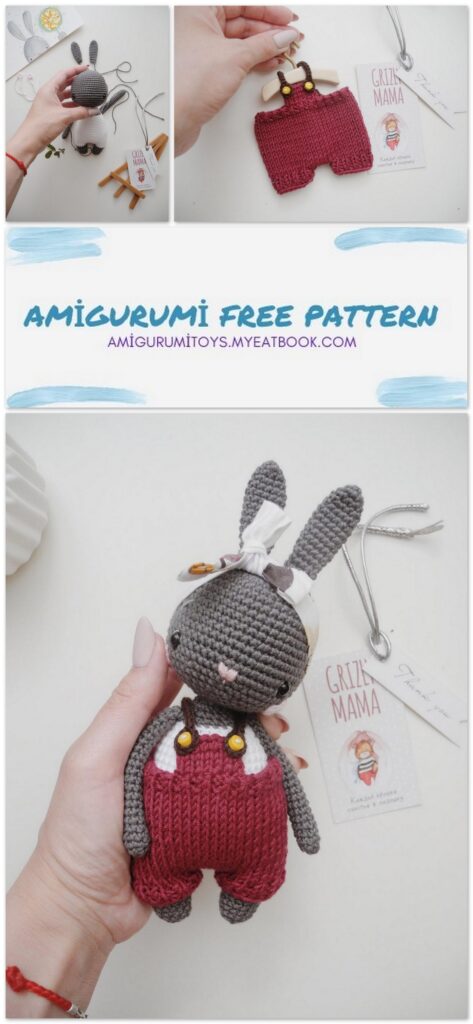
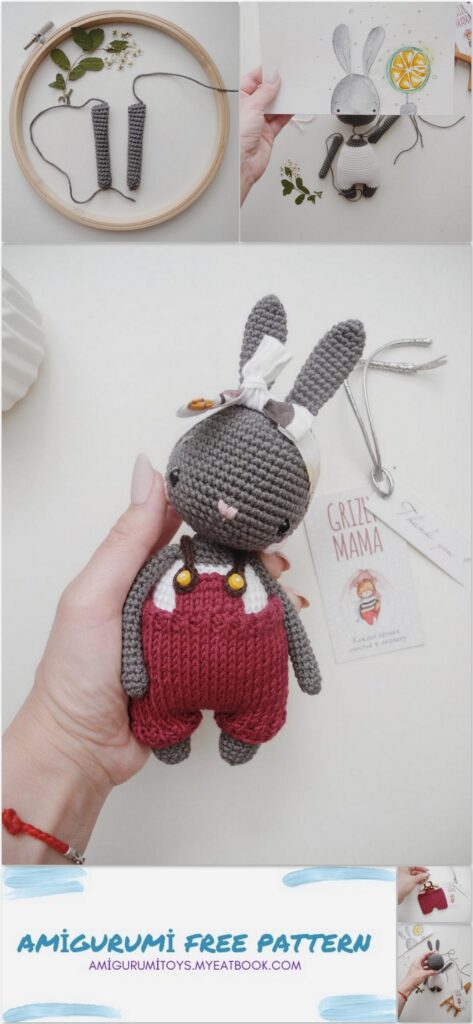
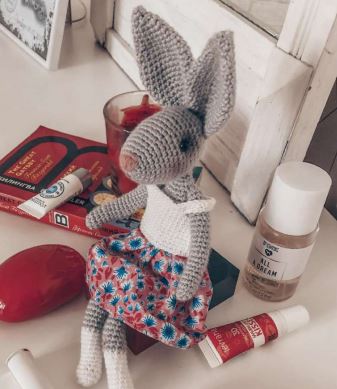
Amigurumi Little Rabbit Free Pattern
Pattern little rabbit
LEGEND
ch-chain
ss (sl st)-Slip stitch
sc-single crochet
mr- magic ring
dc- double crochet
hdc- half double crochet
inc- increase
dec – decrease
At the end of each row in brackets the number of chains in the row is indicated.
We’ll need three colors of thread: gray (basic color), white and black (for decoration).
For the overall the color is marsal, some pink thread for cheeks and brown for straps.
We’ll also need eyes (I use plastic with screw fastening), or two black beads, two buttons, scissors, a needle with a large eye and filler (hollofiber).
Now we can start knitting.
HEAD
(as far as knitting we fill the part with holofiber)
1. 6 sc in mr (6)
2. 6 inc (12)
3. (1 sc.,inc)*6 (18)
4. 1 sc., inc (2sc.,inc)*5, 1 sc (24)
(I divide loops/chains in order to avoid visible …)
5. (3 sc.,inc)*6 (30)
6. 2 sc.,inc (4sc.,inc)*5, 2sc (36)
7. (5 sc.,inc)*6 (42)
8. 3sc., inc (6 sc.,inc)*5, 3sc (48)
6 rows 48 chains/loops each
15. (7 sc., inc)*6 (54)
4 rows 54
20. 3 sc., dec (6 sc.,dec)*5, 3 sc (48) Between the 19-th and 20-th rows we place the eyes 16 chains apart from each other.
21. 3 sc., dec (6 sc., dec)*5, 3sc (42)
22. (5 sc., dec)*6 (36)
23. 2sc., dec (4 sc., dec)*5, 2sc (30)
24. (3 sc., dec)*6 (24)
25. 1sc., dec (2sc., dec)*5, 1sc (18)
26 . (1sc.,dec)*6 (12) pull the thread and cut it.
EARS (2 details)
1. 6 sc in mr
2. (1sc., inc)*3 (9)
3. 9sc
4. (2 sc., inc)*3 (12)
6 rows 12 sc
11. dec., 4sc., dec., 4sc (10)
12. 10 sc
13. dec., 3sc., dec., 3 sc (8)
We fold the ear in half, knit it, leaving some thread to sew it up to the head.
CHEEKS (2 details, pink thread)
1. 7 sc in mr, slip stitch (7)
We embroider the nose with pink thread, and then sew up the cheeks on the face and the ears on the top.
LEGS – BODY (2 details gray thread)
We fill the parts with hollofiber while knitting
1. 6scin mr
2. 6 inc (12)
3. 12 sc
4. (3sc., inc)*3 (15)
5. dec., 6sc., inc., 6sc (15)
6. 15 sc
7. dec., 6 sc., inc., 6 sc (15)
8. inc., 7 sc., inc., 6 sc (17)
9. dec., 7sc., inc., 7 sc (17) we change yarn to white.
10. 17 sc., slip stitch (We leave a loop without pulling.)
The second leg is knitted in the same way: we make 5 chains and unite both legs in such a way that the feet are directed inside.
Then we knit 17sc on the first leg, 5 sc on the chain, 17 sc on the second leg and 5sc on the chain.
All in all we are going to have 44
We fill up the legs and start making the body.
11 rows 44 sc
22. dec., 20 sc., dec., 20 sc (42) (we make decrease at the sides) (we make decreases on the sides)
23. 42 sc
24. dec., 19 sc., dec., 19 sc (40)
25. 40 sc
26. dec., 18 sc., dec., 18 sc (38)
27. 38 sc
28. dec., 17 sc., dec., 17 sc (36)
29. 36 sc
30. 2sc., dec., (4 sc., dec)*5, 2sc (30)
31. 30 sc
32. (3 sc.,dec)*6 (24)
33. 24 sc
34. 1sc., dec (2 sc., dec)*5, 1sc (18)
35. 18 sc
36. dec., 7 sc., dec., 7sc we fasten the thread/yarn and leave some to sew to the head.
ARMS (2 details) gray thread
1. 6 sc in mr (6)
2. 1 sc., inc (9)
18 rows 9 sc
Fold the detail in half, knit together, fasten the thread and leave some for sewing up.
TAIL
1. 6 sc in mr (6)
2. 6 inc (12)
2 rows 12 sc
5. (1 sc., dec)*4 (8) fasten the thread and leave some for sewing up.
ASSEMBLY
Sew the arms to the 3rd row from the top 8 sc apart from each other.
Place the head and use pins to make sure it looks all right, and only after that sew it up to the body.
The only thing left is to dress the toy.
We’ll dress our hare in an overall, knitted with needles/spokes.
The thread/yarn should be as thick as the thread used for making the toy. I use the marsal color, but you can use whatever color you like. The number of the spokes must correspond to the thickness of the yarn.
To start with we type 48 loops on a spoke.
Two rows of 48 (1 front and 1 reverse loops).
Then go on knitting 1 row of front loops and 1 row of reverse loops (the front surface pattern).
As the knitting density differs and is individual the length of the front surface is 4.5 – 5 cm, so try it on to see if it fits properly.
Turn the work piece and close the edge loop and two more loops with the crochet hook (the first loop is knitted with the crochet hook and the rest two are closed with connecting crochet columns).
The loop from the crochet hook is placed on the spoke and 19 loops are knitted. So on the spoke there are 20 loops (that will be the first pant leg of the overall).
Then with the help of the crochet hook we close 4 loops with a ss (slip stitch) and knit 19 loops again (it is the second pant leg).
There must be three loops left on the left spoke, and we close them with the crochet hook.
We fasten the thread, cut it, leaving some to hide it later.
Connect the thread to the right pant leg, make 20 loops. On the left spoke there is left pant leg, so connect another thread to it (you can use the end inside the hank of yarn) and knit 20 loops.
Thus we have two pant legs on one spoke. I do that so that both pant legs were the same length.
We finish the pant legs with 2 rows of the pattern 1 front and 1 reverse loop.
Fasten both threads.
Now we sew both pant legs together leaving a hole for the tail when making the stitch behind.
We’ve done the bulk of work, there is not much left.
Now we start the upper part of the overall.
Determine the middle of the overall belt, fasten the thread with the crochet hook and pull the loops onto the hook through the loops of the belt. There are 9 loops on the hook. We place them onto the spoke and knit 4 rows with front surface pattern. Fasten the thread, cut it and hide the end inside the garment.
Now we start knitting the straps. The color of the thread should contrast to the main color (my choice is brown).
Though, if you like it, you may use the same color as the overall. We make a chain of 22 air loops and add 7 more to make the buttonhole. Then we turn the strap and make 22 loops in the 8th loop from the edge. Actually we come to the beginning of our chain. Leave some thread for sewing up.
We are almost through. Now we join the straps to the belt at the back approximately 1 cm from each other and sew the buttons. You choose yourself the color and the form of the buttons.
The overall is ready and we can dress our hare.
Thank you.
With Love .
