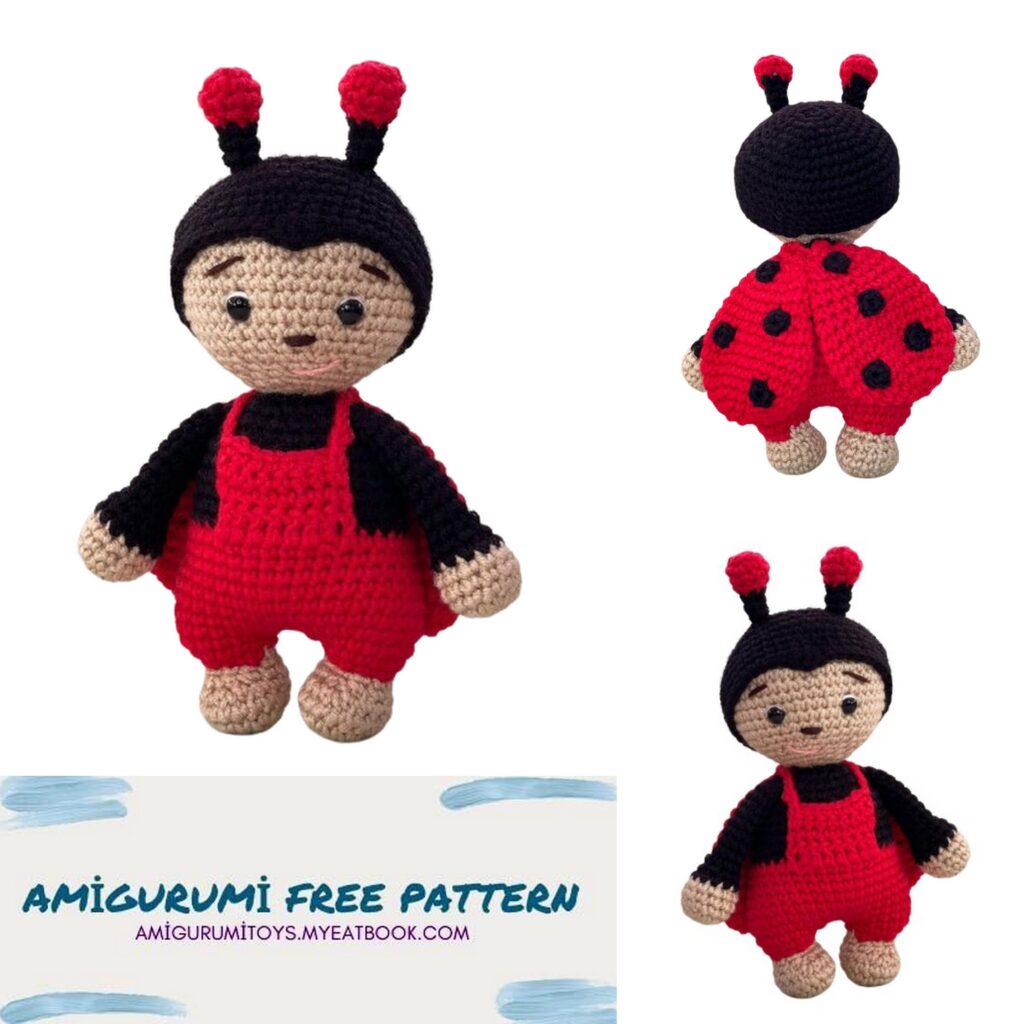
Are you ready to embark on a delightful crochet adventure? Look no further! Dive into the world of amigurumi with our free crochet pattern for creating your very own adorable Ladybug Amigurumi. This delightful project is perfect for crafters of all skill levels, offering a fun and rewarding experience for beginners and seasoned crocheters alike.
Amigurumi, the Japanese art of knitting or crocheting small stuffed creatures, has captured the hearts of crafters around the globe with its whimsical designs and endless creative possibilities. With our easy-to-follow pattern, you’ll be able to bring a touch of charm to your home or gift-giving endeavors.
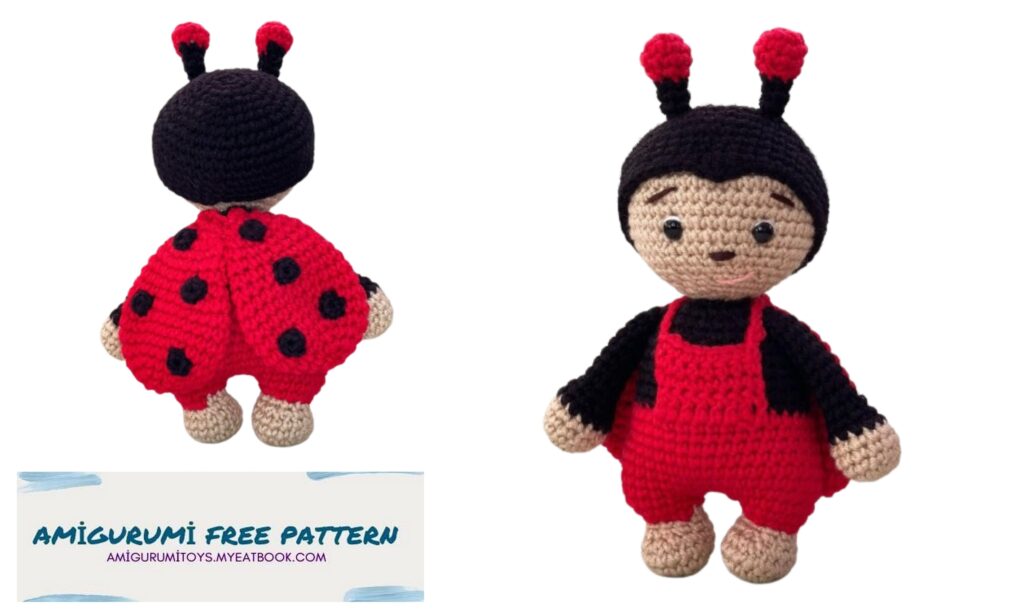
Materials used
Yarn – Alize Baby Best (black No60, red No56, beige No310)
Hook 3,5mm
Toy size 18cm/7.1 inch.
Amigurumi abbreviations
MR magic ring
Ch – chain
Sc single crochet
Dec – decrease
Inc – increase
Slst-slip stitch
Rnd – round
Right leg
Start with beige yarn
1. 6sc in MR (6)
2. 6inc (12)
3. (1sc, inc)*6 (18)
Change to red
4. 18sc
5. 2sc, 3 dec, 10sc (15)
6. 2sc, 2 dec, 3sc, 2 dec, 2sc (11)
7. 11sc
8. (1sc, inc)*5, 1sc (16)
9. 16sc, slst.
Secure the thread and weave in the ends inside.


Left leg
Start with beige yarn
1. 6sc in MR (6)
2. 6 inc (12)
3. (1sc, inc)*6 (18)
Change to red
4. 18sc
5. 2sc, 3 dec, 10sc (15)
6. 1sc, 2 dec, 4sc, 2 dec, 2sc (1)
7. 11sc
8. (inc, 1sc)*3, (1sc, inc)*2, 1sc (16)
9. 16sc
Don’t cut the thread. Next crochet the body
Body
Continue with crochet the left leg. Crochet 3ch. Attach the right leg with with slst.
Crochet 15sc around the right leg. Next do 3sc on chain, 7sc around the left leg. Place marker here. This is begin.
1. 8sc, inc, 3sc, inc, 14sc, inc, 3sc, inc, 6sc (42)
2-4. 42sc (3 rnd)
5. dec, 18sc, dec, 20sc (40)
6. 40sc
7. dec, 17sc, dec, 19sc (38)
8. 5sc, 8sc through back loop, 16sc, change to black color,n9sc (38)
9. dec, 16sc, dec, 18sc (36)
10-11. 36sc (2 rnd)
12. (4sc, dec)*6 (30)
13-14. 30sc (2 rnd)
15. (3sc, dec)*6 (24)
16. 24sc
17. (2sc, dec)*6 (18)
18. (1sc, dec)*6 (12)
19. 6dec
Finish with slst. Leave thread for sewing.


Detail of a jumpsuit
Crochet with red yarn through front loops of the 8th body’s round:
1. 8sc
2. 1ch, crochet in the opposite direction 8 double crochet
3. 1ch, crochet in the opposite direction 8sc
4. 1ch, crochet in the opposite direction 8sc
5. 1ch, crochet in the opposite direction 8sc
Don’t cut the thread. Crochet with this thread. Jumpsuit strap – do 18ch and fix the thread with slst. Secure the thread and weave in the ends inside. The same way for crocheting of the second strap.
Head (beige yarn)
1. 6sc in MR (6)
2. 6inc (12)
3. (1sc, inc)*6 (18)
4. (2sc, inc)*6 (24)
5. (3sc, inc)*6 (32)
6. (4sc, inc)*6 (36)
7. (5sc, inc)*6 (42)
8. (6sc, inc)*6 (48)
9-14. 48sc (6 rnd)
15. (6sc, dec)*6 (42)
16. (5sc, dec)*6 (36)
17. (4sc, dec)*6 (30)
18. (3sc, dec)*6 (24)
19. (2sc, dec)*6 (18)
20. (1sc, dec)*6 (12)
21. 6dec, slst
Secure the thread and weave in the ends inside.
Hands
Start with beige
1. 6sc in MR (6)
2. 6inc (12)
3. (1sc, inc)*6 (18)
4. 18sc
5. (1sc, dec)*6 (12)
Change to black yarn
6-15. 12sc (9rnd)
16. put both sides together and crochet 6sc. Leave thread for sewing.
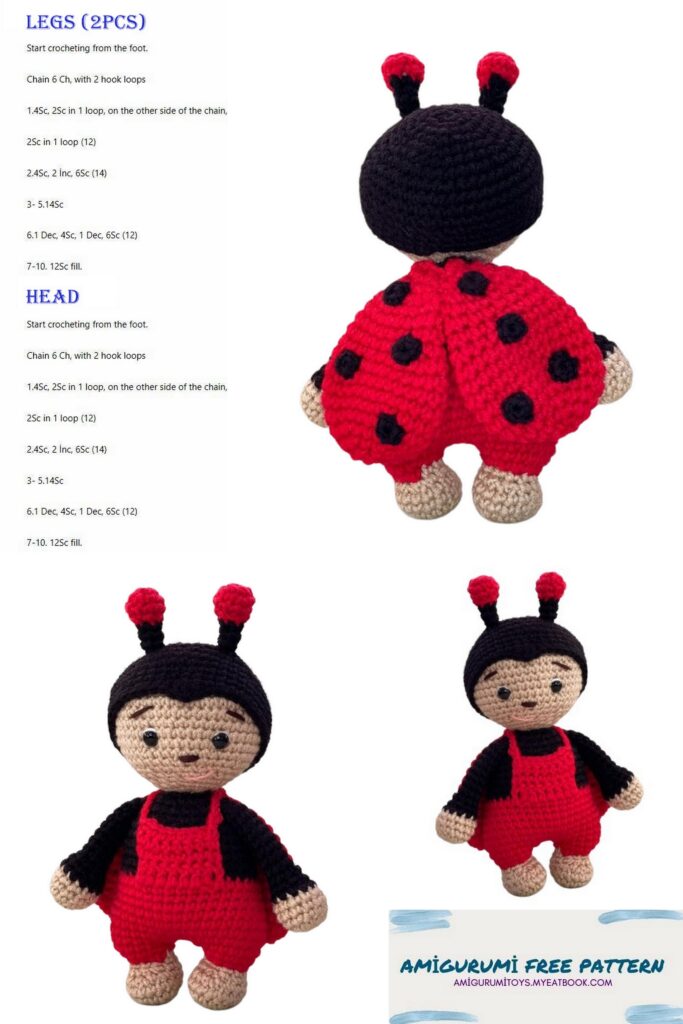

Hat
Black yarn
1. 6sc in MR (6)
2. 6inc (12)
3. (1sc, inc)*6 (18)
4. (2sc, inc)*6 (24)
5. (3sc, inc)*6 (32)
6. (4sc, inc)*6 (36) 7. (5sc, inc)*6 (42)
8. (6sc, inc)*6 (48)
9-10. 48sc (2 rnd)
11. (6sc, dec)*6 (42)
12-13. 42sc (2 rnd)
14. 1sc, 3 double crochet, 16sc, slst
Don’t crochet the last rnd to the end. The double crochets are located on the forehead. Finish crocheting at the middle of the back side of hat.
Whiskers
Start with red
1. 6sc in MR (6)
2. (1sc, inc)*3 (9)
3. 9sc
4. (1sc, dec)*3 (6)
Change to black
5-7. 6sc
Finish with slst. Leave thread for sewing.
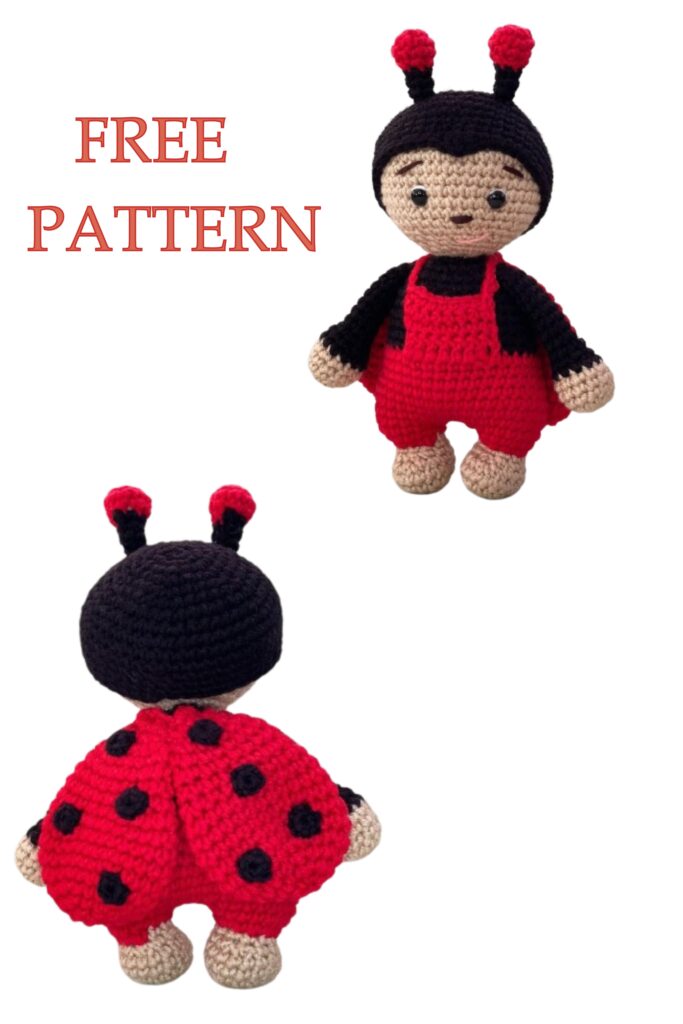
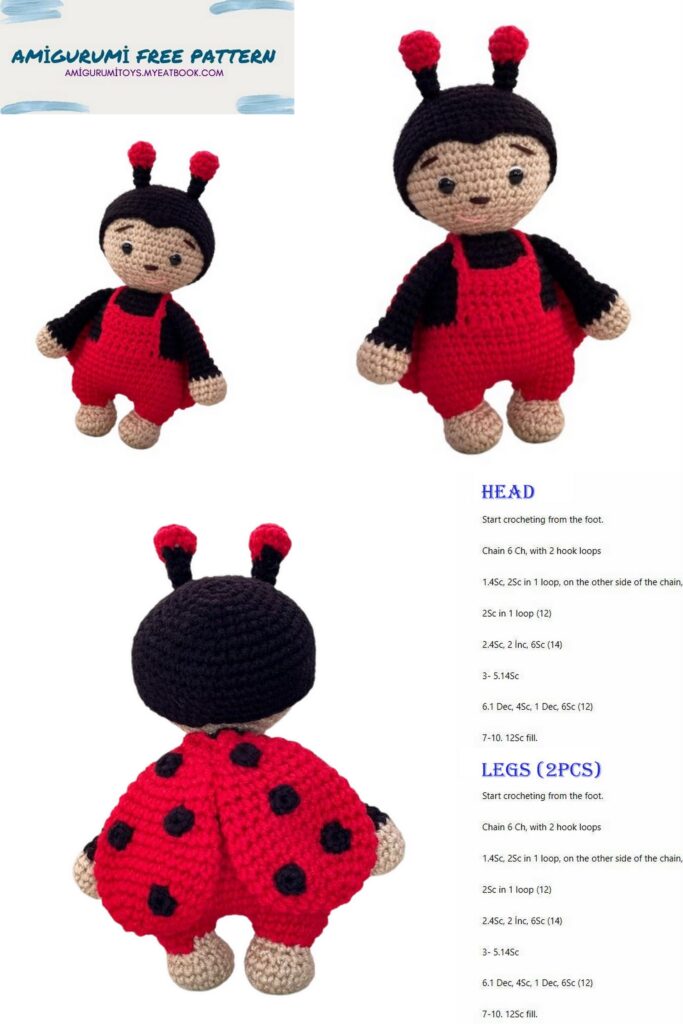
Wings
1. 6sc in MR (6)
2. 6inc (12)
3. (1sc, inc)*6 (18)
4. (2sc, inc)*6 (24)
5-9. 24sc (5 rnd)
10. (2sc, dec)*6 (18)
11-16. 18sc (6 rnd)
17. (1sc, dec)*6 (12)
18. 6dec, slst
Finish with slst. Leave thread for sewing.
Black points at the wings
6sc in MR, slst.
Use this thread for sewing.