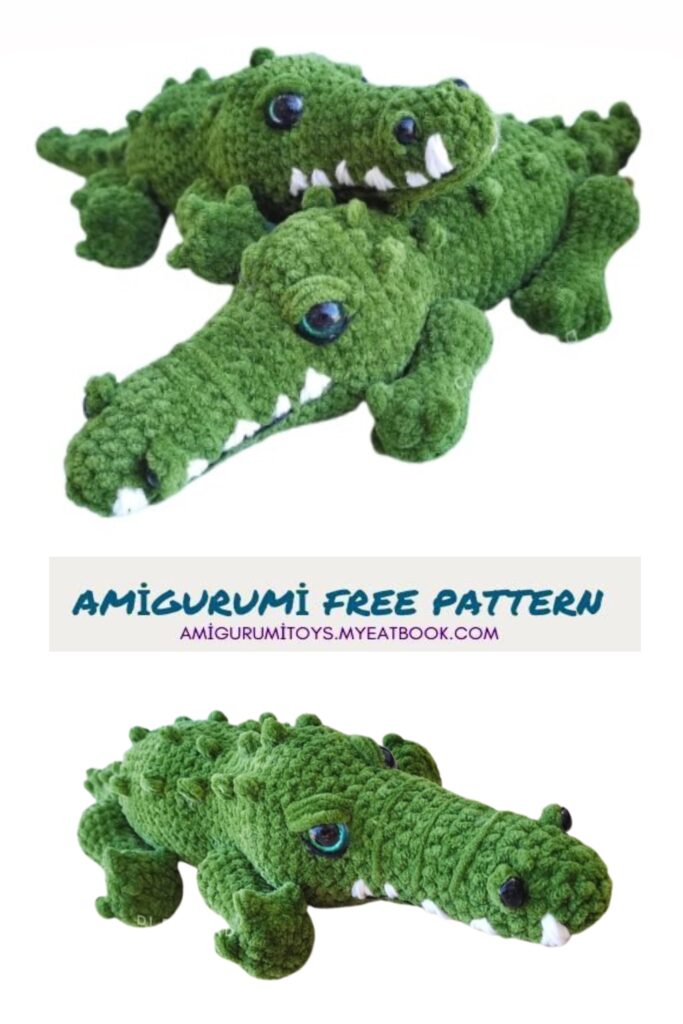
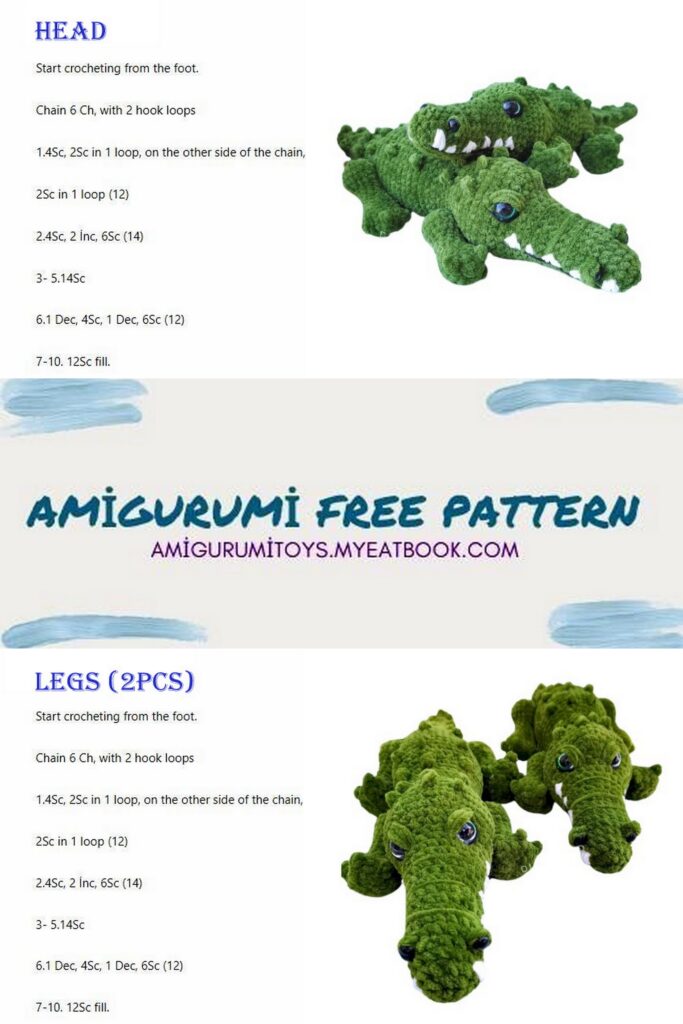
Plush Crocodile Hello, your child will like the amigurumi Plush Crocodile free pattern, follow it for the most beautiful current patterns.
Abbreviations
MR – amigurumi ring
ch – air loop
SL-ST – connecting post
sc – single crochet
inc – increase (two stitches in one loop)
dec – decrease (two single crochets knitted together)
(…)*x – what is in brackets, repeat x times (NUMBER) – the total number of columns in the row
NECESSARY MATERIALS:
* Hooks No. 4 mm and No. 3 mm, I have a Japanese manufacturer “Tulip Etimo Rose” + additional without a handle (hide the tails in the body)
* Any plush yarn, I have the Turkish manufacturer “LaVita” 1.5 pcs.
* Black and white acrylic yarn, I use “Alize cotton gold plus” 1 pc.
* Black cotton yarn, I have the Indian manufacturer “Vita Cotton Coco” 1 pc.
* Scissors, a marker for the beginning of a row, a sewing needle, two long needles (for easy fixation of the paws) and a plastic needle, Moment Crystal glue, 2 black noses of 1 cm each, hemisphere eyes with a plug of 2 cm each, pins, any filler for toys ( holofiber, synthetic fluff, synthetic ball).
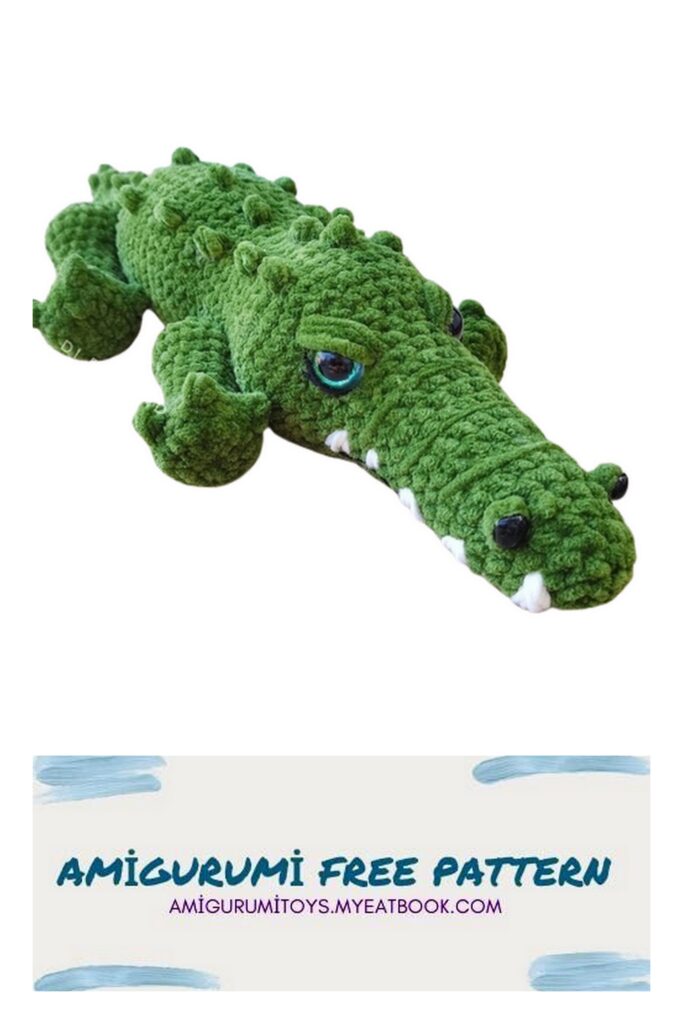
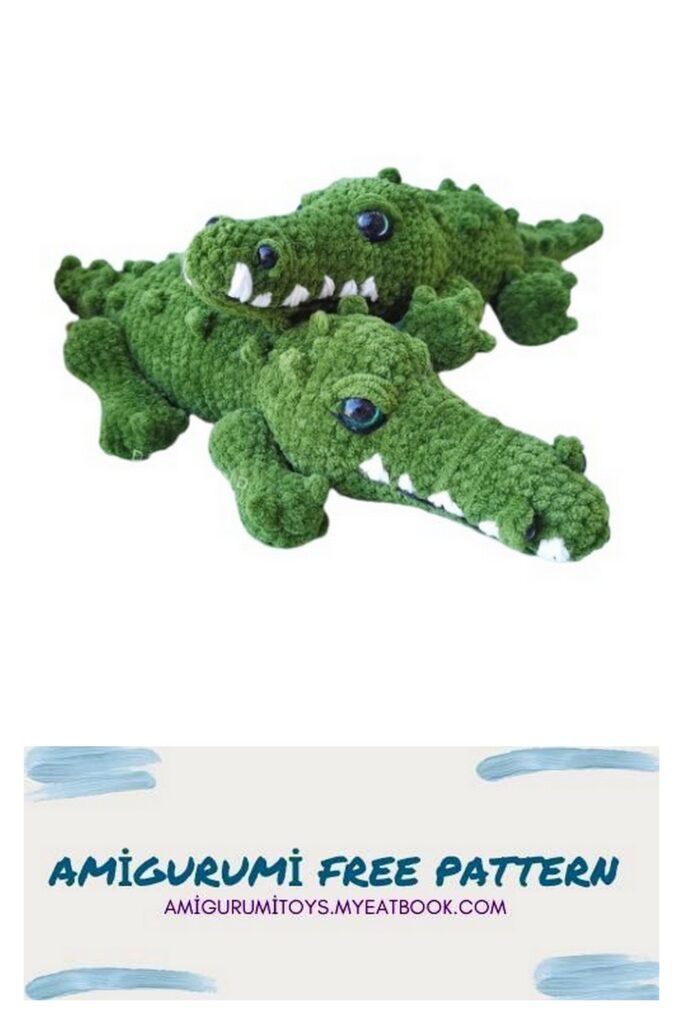
TAIL-BODY-HEAD
Row 1: 6 sc in MR or second stitch from hook
2-4 row: 6 sc (3 rows)
Row 5: (1 sc + 1 inc) *3 times (9)
6-8 row: 9 sc (3 rows)
Row 9: (2 sc + 1 inc) *3 times (12)
10-13 row: 12 sc (4 rows)
Row 14: (3 sc + 1 inc) *3 times (15)
15-17 row: 15 sc (3 rows)
Row 18: (4 sc +1 inc) *3 times (18)
19-22 row: 18 sc (4 rows)
Row 23: (5 sc + 1 inc) * 3 times (21)
24-25 row: 21 sc (2 rows)
Row 26: (3 sc + 1 inc) * 5 times, 1 sc (26)
Row 27: (3 sc + 1 inc) * 6 times, 2 sc (32)
Row 28: 32 sc
Row 29: (4 sc + 1 inc) * 6 times, 2sc (38)
30-37 row: 38 sc (8 rows)
Row 38: (5 sc + 1 dec) * 4 times, 3 sc (33)
Row 39-40: 33 sc (2 rows)
Row 41: (4 sc + 1 dec) * 5 times, 3 sc (28)
Row 42: 28 sc
Fill the part with padding polyester!
44 – 45 row: 23 sc (2 rows)
Row 46: (4 sc + 1 inc) *4 times, 3 sc (27)
47-48 row: 27 sc
Row 49: (5 sc + 1 inc) * 4 times, 3 sc (31)
Row 50: (4 sc + 1 inc) *6 times, 1 sc (37)
Row 51: (3 sc + 1 inc) * 9 times, 1 sc (46)
52 – 53 row: 46 sc (2 rows)
Row 54: (4 sc + 1 dec) * 7 times, 4 sc (39)
Row 55: (3 sc + 1 dec) * 7 times, 4 sc (32)
Row 56: (4 sc + 1 dec) * 5 times, 2 sc (27)
Row 57: (3 sc + 1 dec) * 6 times, 2 sc (22)
Row 58-59: 22 sc (2 rows)
Row 60: (5 sc + 1 dec) * 3 times, 1 sc (19)
61-67 row: 19 sc (7 rows)
Fill the part with padding polyester and insert eyes.
Row 68: (4 sc + 1 dec) * 3 times, 1 sc (15)
Row 69: 15 sc
Row 70: (3 sc + 1 dec) * 2 times, 2 sc (12)
Row 71: (2 sc + 1 dec) * 3 times (9)
Row 72: 2 dec
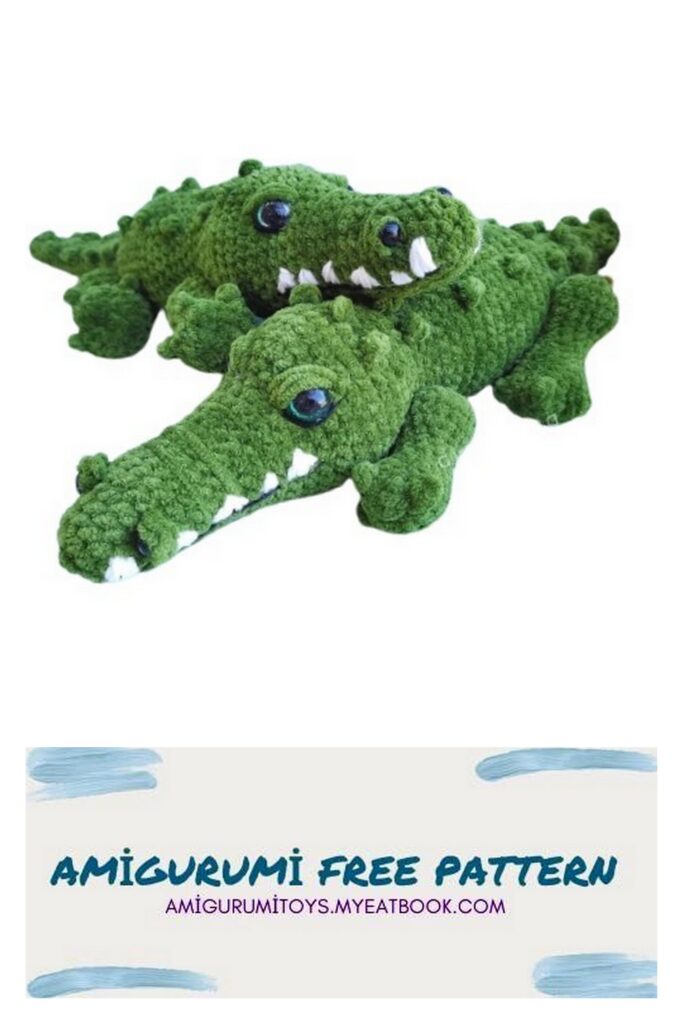
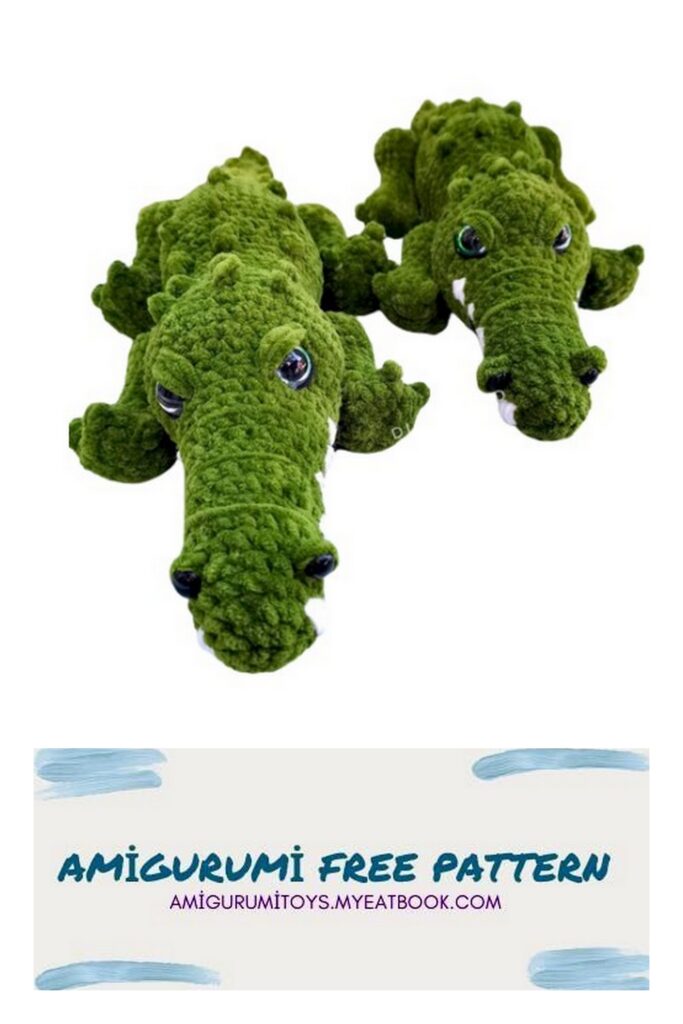
PAWS
We crochet the front ones with a crochet size of 3 mm, and the back ones with a crochet size of 4 mm. There is only one scheme.
Row 1: 6 sc in MR or second stitch from hook
2nd row: 6 inc (12)
Row 3: (1 sc + 1 inc) *6 times (18)
4-6 row: 18 sc (3 rows)
7th row: 6 sc, 3 dec, 6 sc (15)
8 row: 4 sc, 3 dec, 5 sc (12)
9-11 row: 12 sc (3 rows)
Row 12: (3 sc + 1 inc) * 3 times (15)
Row 13: (2 sc + 1 inc) * 5 times (20)
14-15 row: 20 sc (2 rows)
Row 16: (2 sc + 1 dec) * 6 times (15)
Row 17: (1 sc + 1 dec) *5 times (10)
Row 18: 4 dec
KNITTING CLAWS
We insert a needle with plush thread into the center of the foot, holding the tail.
knit one loop, yarn over, insert into the starting point, three loops on the hook, knit. We repeat again. You will get a “bumpy claw”. We cut the thread and tie the tails. We hide the threads inside.
We repeat the same with the other two, stepping back from the central claw 2-3 sc to the right and left.
KNITTING THE NOSRALS
Insert the hook and pull the thread approximately in the center of the left eye, slightly to the side. We knit one loop. Then yarn over. Three loops on the hook. We knit by inserting the hook into the starting point. We repeat again. It turns out to be a “bump” (two double crochets in one loop).
Cut the thread leaving a tail. We tie the knots a little to the left and hide the tails inside. Glue the noses in the center of the nostrils upside down!
EYE FITTING
We take a cotton thread in one fold. We insert a needle from the underside of the muzzle and bring it out at the lower edge of the left eye. We support the tail of the thread on the reverse side so that it does not run away. Then we insert the needle into the upper edge of the eye and bring it out at the upper edge of the other eye.
Now insert the needle into the lower edge of the right eye. We draw the thread from the bottom of the muzzle, 1 column further from the original point.
We begin to tighten the ends of the threads. Correct your eyes. Tie a knot and hide the threads in the body.
WE DESIGN YOUR EYELIDS
Thread in one addition. We insert the thread from below under the muzzle, and bring it out at the upper edge of the left eye. Next, insert the needle into the upper left edge and knit it 4 times, bring the thread to the original point under the muzzle and tie it. We cut the ends of the threads and hide them in the body. We do the lower eyelid in the same way, only with acrylic black thread twice.
WE DESIGN THE MOUTH
For convenience, use pins to mark the line of the mouth. Insert black acrylic thread from below under the muzzle. Using a “needle forward” stitch, insert a plastic needle and thread, removing the pins one by one. And in the opposite direction, covering the missing places with thread, we cut the threads and hide them inside the muzzle. Embroider teeth with white acrylic yarn; the thread can be in one or two folds. Tie the ends of the threads and hide them.
WE DESIGN THE MUZZLE
Insert the needle from the with yush thread from the bottom of the muzzle. We make 3 constrictions with three small pieces of thread. Don’t over-tighten. Tie the ends of the threads and hide them in the muzzle.
WE DESIGN THE BACK
For convenience, we mark with pins the places where we will knit the so-called “bumps”. I got three rows. We insert the thread into a single crochet at the back of the head, slightly to the left. Grab the thread and pull it out. We hold the tail so that it does not run away. We knit one loop and make a yarn over. Three loops on the hook, knit, insert the hook again to the original point. Yarn over again, three loops on the hook, knit. We tie the end of the thread to the other end and hide the threads inside. If it is not clear, refer to the video master class.
SEW ON THE FEET AND MAKE A FITTING
For ease of sewing, use long needles. I sew with Coco cotton thread. I use the same thread to tighten the paws. I insert the needle into the center of the foot from the inside, throw the thread between two “bumps-claws” and insert the needle from the outside. I bring the thread back to the original point, and then again throw the thread between the next two “claw bumps”, tighten it again, and the third time in exactly the same way. We tighten the ends of the threads and tie knots, forming indentations between the fingers, but not large ones.
The crocodile is ready!