MATERIALS
1. YarnArt Jeans for the body: No. 05 (beige)
YarnArt Jeans №29 (green)
YarnArt Jeans №36 (pink)
YarnArt Jeans №03 (milky)
YarnArt Jeans №74 (light pink)
2. Hook number 2.5
3. Filler
4. Black half beads 6 mm 2 pcs
5. Black thread for muzzle embroidery
6. Needles, pins, scissors, glue moment
7. Any decorations
Abbreviations
MR- magic ring
sc – single crochet
ch- chain
inc – increase
W- in one loop 3 sc
dec – decrease
blo – behind half loop
flo – front half loop
HDC – half double crochet
DC- double crochet
TR – triple crochet
(…)*n- repeat n number of times
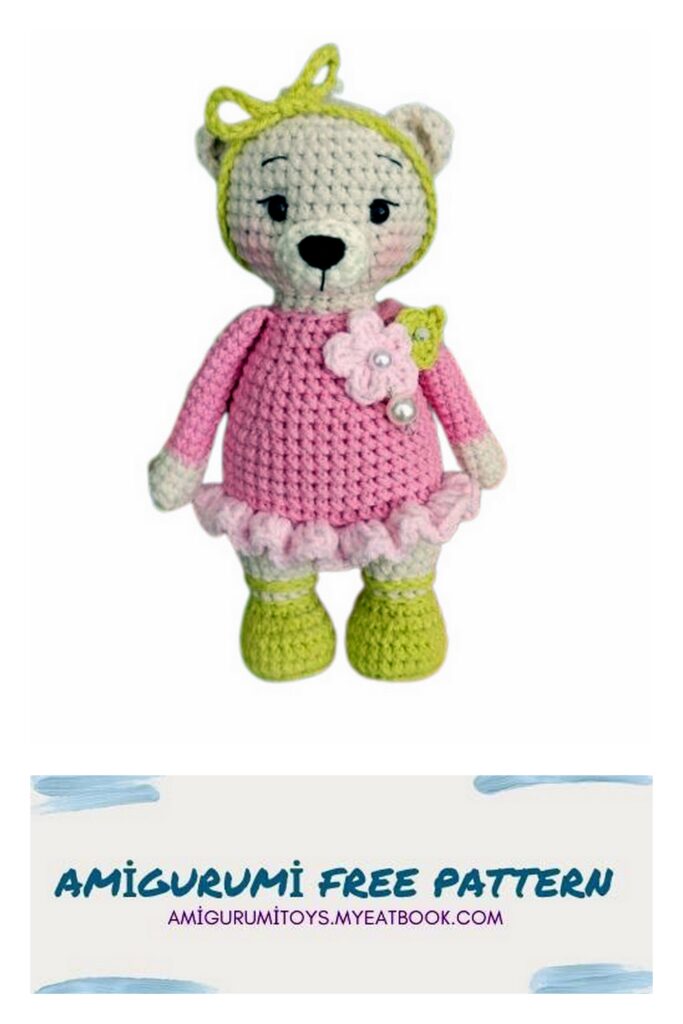
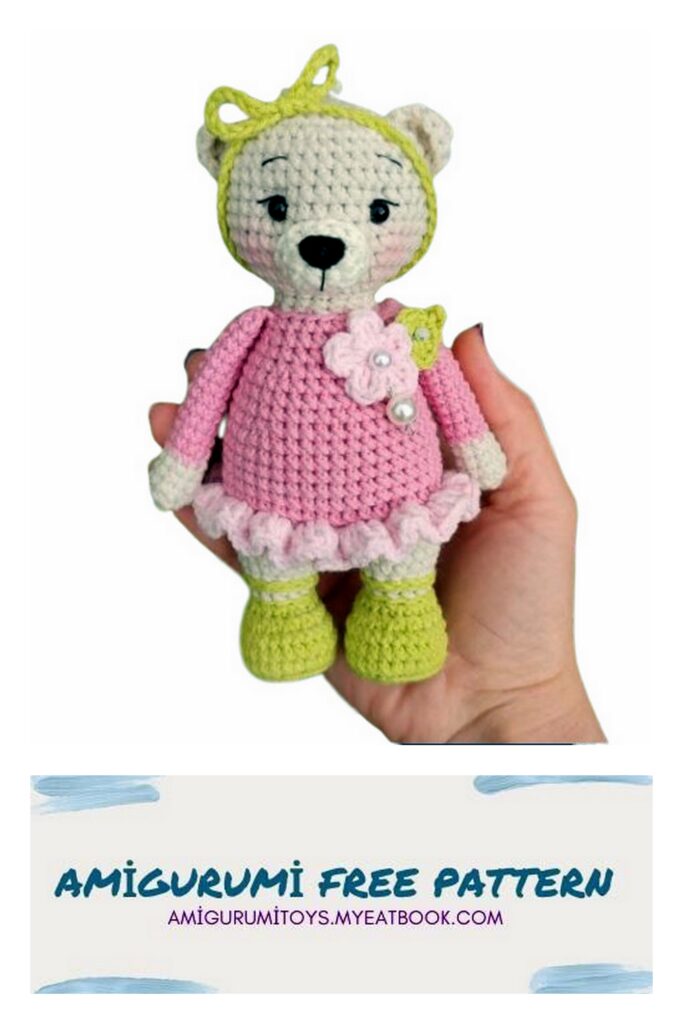
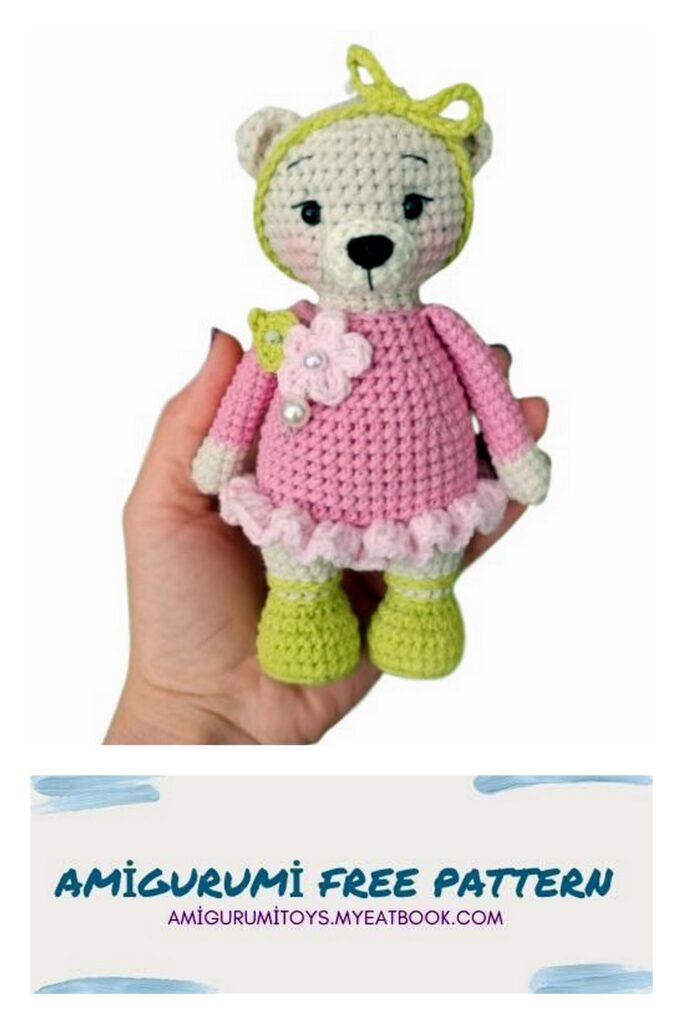
Do not forget to fill the toy with filler during the knitting process. The size of the toy when using these materials is 15 cm.
Muzzle
Knitting in milky color.
1st row: 7 sc in MR
2 row: inc in each loop (14 sc)
3 row: knit a row without changes (14 sc)
Fasten the thread, cut off, leaving a long end for sewing.
EARS
Knitting with yarn of the main color.
In slip stitch: sc, HDC, DC, TR, DC, HDC, sc. (7)
Pull off the ring. Next work 1ch inc, turn piece and work sc (7 sc) behind blo.
Fasten the thread, cut off, leaving a long end for sewing. The second link in the same way.
HANDS
Knitting with yarn of the main color.
1st row: 5 sc in MR
2 row: inc in each loop (10 sc)
Rows 3-5: Knit 3 rows unchanged (10 sc)
Color change to pink. Lightly fill your palm with filler.
6-18 rows: knit 13 rows without changes (10 sc)
To bend the arms, you can use the wire. If you do not want to, loosely fill your hand with filler to the middle. After that, the handle must be folded in half and knit 5 sc. Fasten the thread and cut. Connect the second one in the same way.

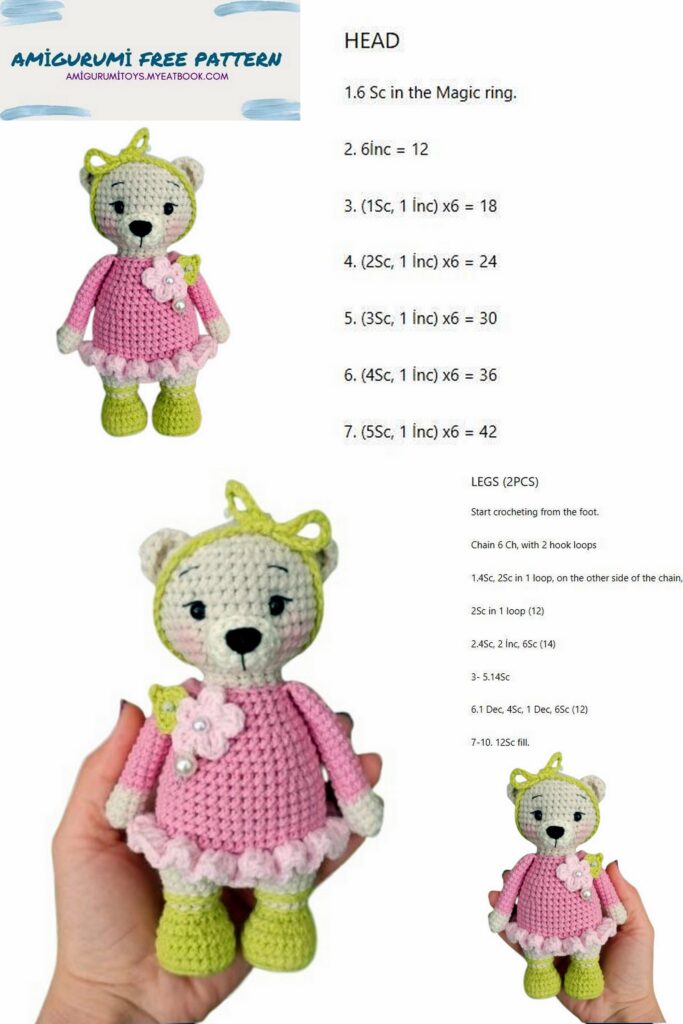
LEGS
Start knitting in green:
1st row: 6 sc in MR
2 row: inc in each loop (12 sc)
3rd row: (W) * 2, 3 sc, (W) * 3, 3 sc, W (24 sc)
Row 4 for blo: work row unchanged (24 sc)
5-6 rows: knit 2 rows without changes (24 sc)
Finish row 6 strictly in the center. If necessary, knit bias loops.
Cut out the insole from thick cardboard or plastic for stability and insert it into the shoe.
7 row: 6 sc, (dec) * 6, 6 sc (18 sc)
8 row: 3 sc, (dec) * 6, 3 sc (12 sc)
Replacing the color with the main one – beige. But do not cut off the green thread, bring it out before knitting. Then continue to knit the shoe.
LEGS
Row 9 for blo: work row unchanged (12 sc)
10 row: (3 sc, inc) * 3 (15 sc)
11 row: knit a row without changes (15 sc)
12 row: 2 sc, inc, (4 sc, inc) * 2, 2 sc (18 sc)
Row 13: Knit the same row (18 sc). Next, fold the top of the leg in half to see how much extra. loops must be tied (see photo)
to align to the middle of the inside of the leg.
I knitted an additional 4 sc. Fasten the thread and cut.
Return to the shoe and with green yarn knit a chain of 14 ch. Wrap the chain around the leg to make the clasp of the shoe (see photo). Sew the end of the chain at the back, in the place where the chain began to knit.
Connect the second leg in the same way. After 12 rows for alignment, I additionally knitted 13 sc. Do not cut the thread, continue to knit the body.


BODY
Connect with the first leg in the place where you finished knitting (in the next column, after additionally knitted 4 sc).
14 row: 18 sc on the first leg and 18 sc on the second (36 sc)
15 row: 4 sc, inc, (8 sc, inc) * 3, 4 sc (40 sc) + additionally knit 20 sc. Mark the beginning of a new row. Color change to pink.
16 row: knit a row without changes (40 sc)
Row 17 for blo: work row unchanged (40 sc)
18-22 rows: knit 5 rows without changes (40 sc)
23 row: 4 sc, dec, (8 sc, dec) * 3, 4 sc (36 sc)
24 row: knit a row without changes (36 sc)
25 row: (7 sc, dec) * 4 (32 sc)
26 row: knit a row without changes (32 sc)
27 row: 3 sc, dec, (6 sc, dec) * 3, 3 sc (28 sc)
BODY
28 row: knit a row without changes (28 sc)
29 row: (5 sc, dec) * 4 (24 sc)
30 row: tie your arms symmetrically on the sides. I got: 5 sc, 5 sc (with hand), 7 sc, 5 sc (with hand), 2 sc (24 sc)
Replacing the color with the main one – beige.
31 row: (1 sc, dec) * 8 (16 sc)
32-33 rows: knit 2 rows without changes (16 sc)
If desired, insert a wire into the neck. I do not use, but just stuff it tightly with filler.
Do not cut the thread, the head of the bear is immediately knitted.
HEAD
34 row: inc in each loop (32 sc)
35 row: (7 sc, inc) * 4 (36 sc)
36 row: (5 sc, inc) * 6 (42 sc)
37-43 rows: knit 7 rows without changes (42 sc)
44 row: (5 sc, dec) * 6 (36 sc)
45 row: 2 sc, dec, (4 sc, dec) * 5, 2 sc (30 sc)
46 row: (3 sc, dec) * 6 (24 sc)
47 row: 1 sc, dec, (2 sc, dec) * 5, 1 sc (18 sc)
48 row: (1 sc, dec) * 6 (12 sc)
49 row: (dec) * 6 (6 sc)
Pull the thread, fasten, cut.

DECORATION OF THE Muzzle
Between 39 and 40 rows of the head of the bear at a distance of 6 sc, mark 2 points with pins (t1 and t3). From these points on both sides, to the left and right, respectively, at a distance of 1 sc, mark 2 more points (p2 and p4).
In t1, insert a needle and thread, withdraw to t3, then from t3 enter into t4, leaving at t2. Pull the thread until a tightening is formed. Repeat the steps again. Glue the eyes.
Embroidered with black cotton thread ciliary line, eyebrows.
Next, sew on the muzzle, and do not forget to fill it with filler. Embroider nose with black cotton thread. Sew on the ears on both sides in the place you like.
DRESS BOTTOM
With light pink yarn, work 3 DC in each flo 17 rows of the body of the bear.
In slip stitch: (2 ch, 2 DC, 2 ch, sl-st)*5. Pull the thread, fasten and cut, leaving a long end for sewing.
FLOWER BANDAGE
With green yarn, knit a chain of about 65 ch.
Connect the edges. And tie a bow in the center of the resulting bandage.
MISHUTKA READY!