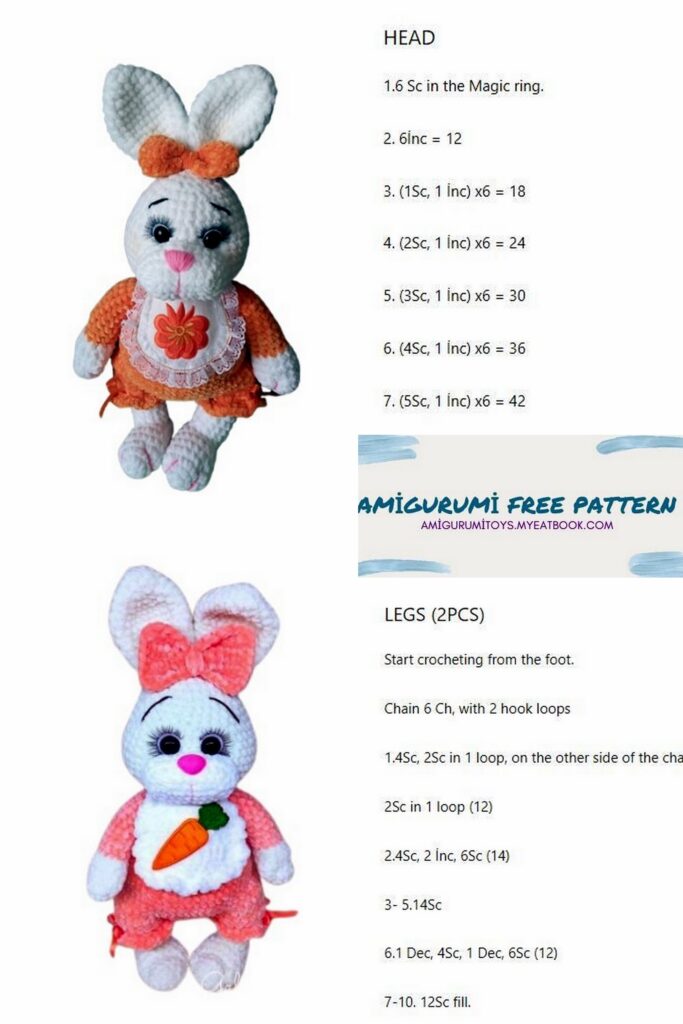
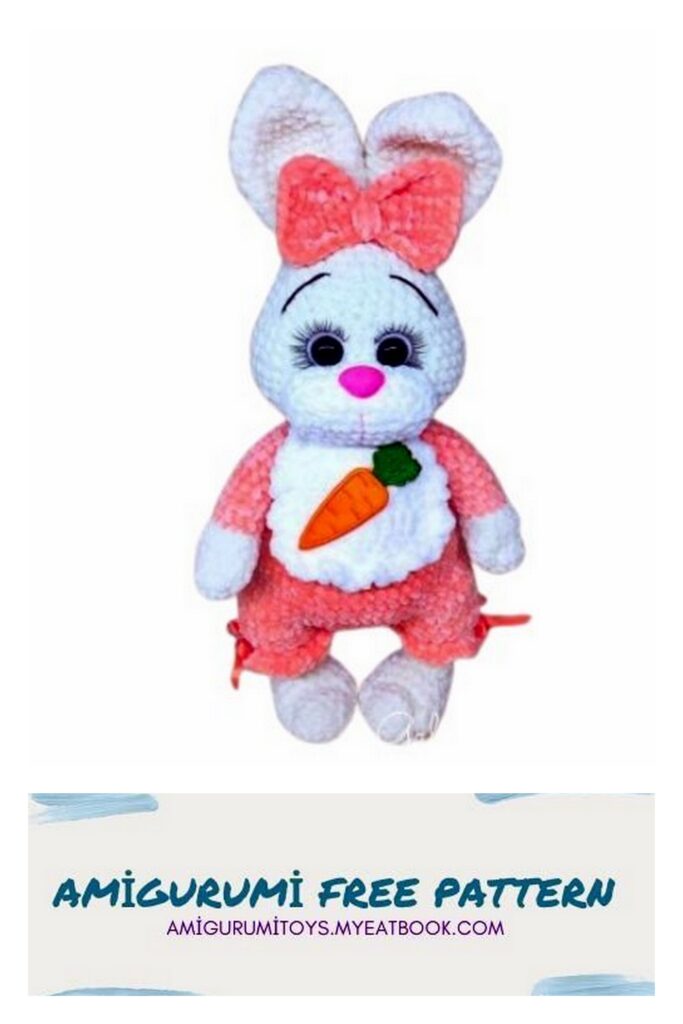
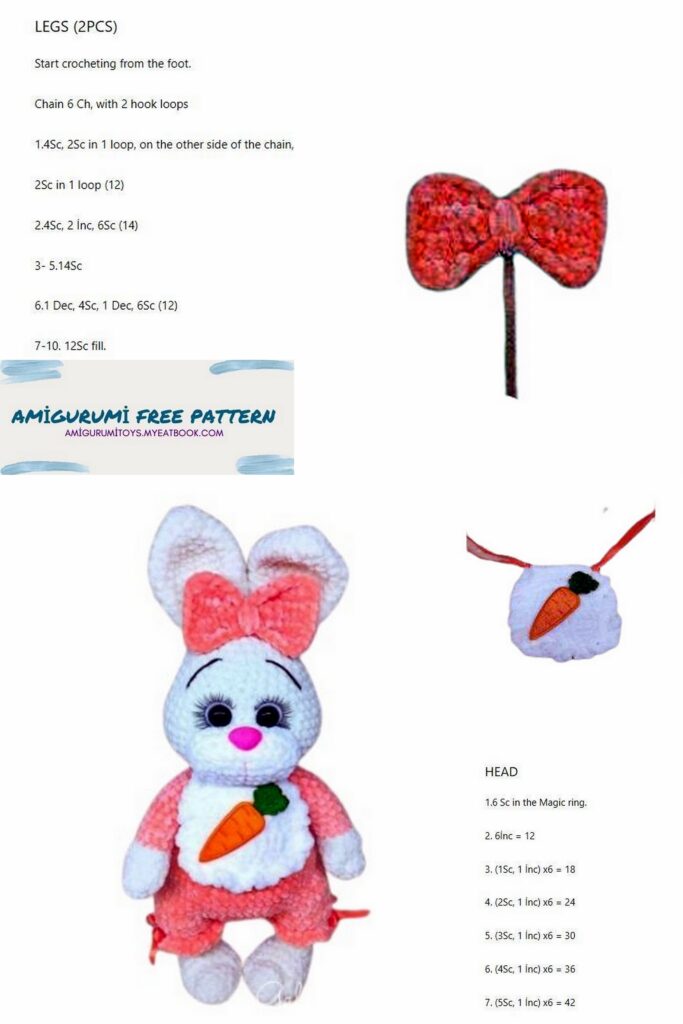
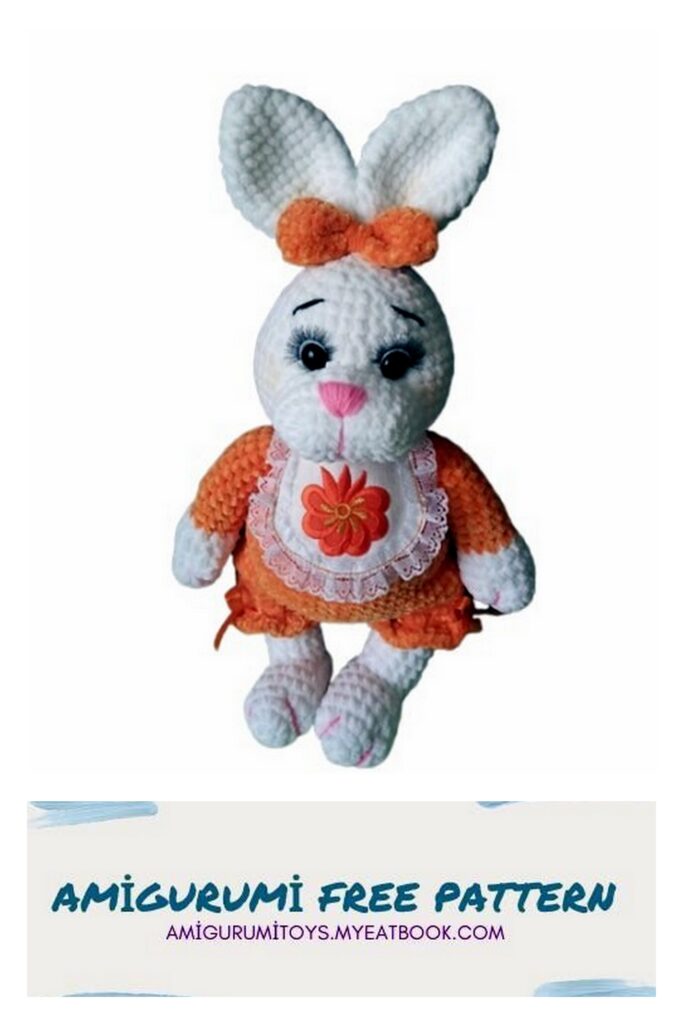
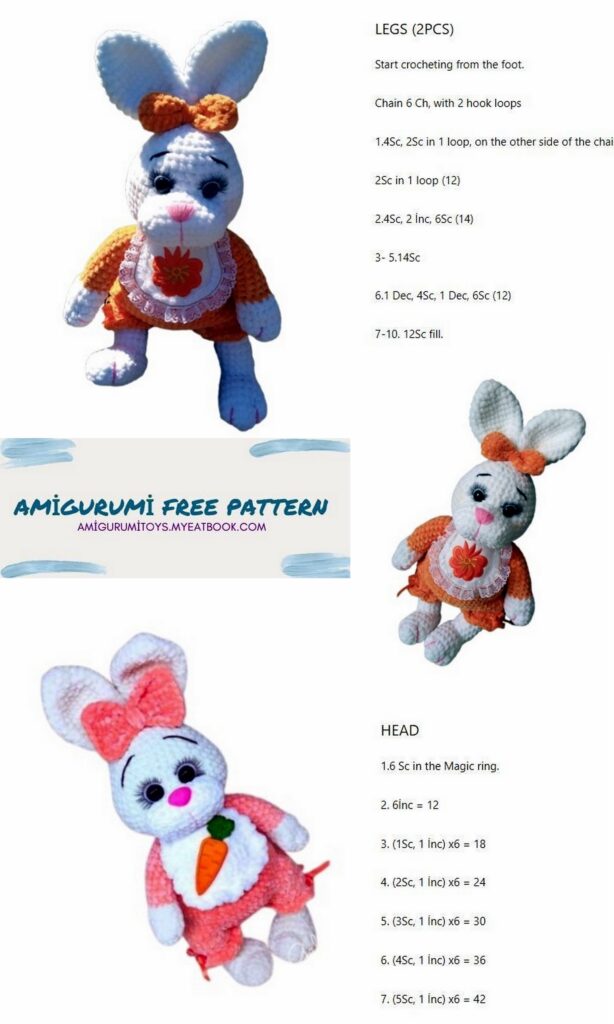
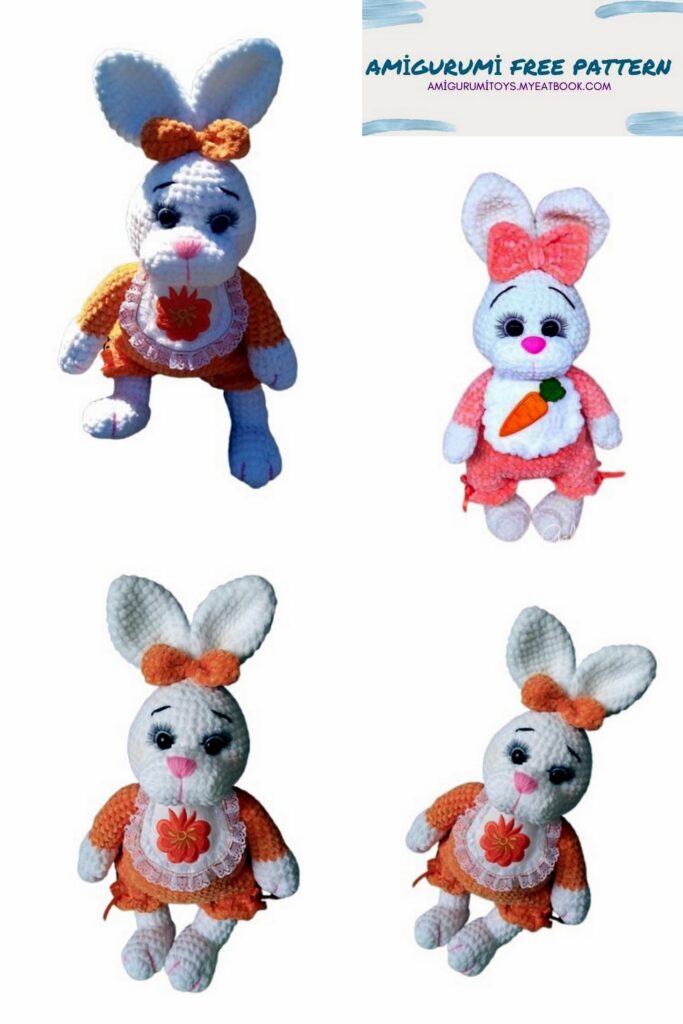
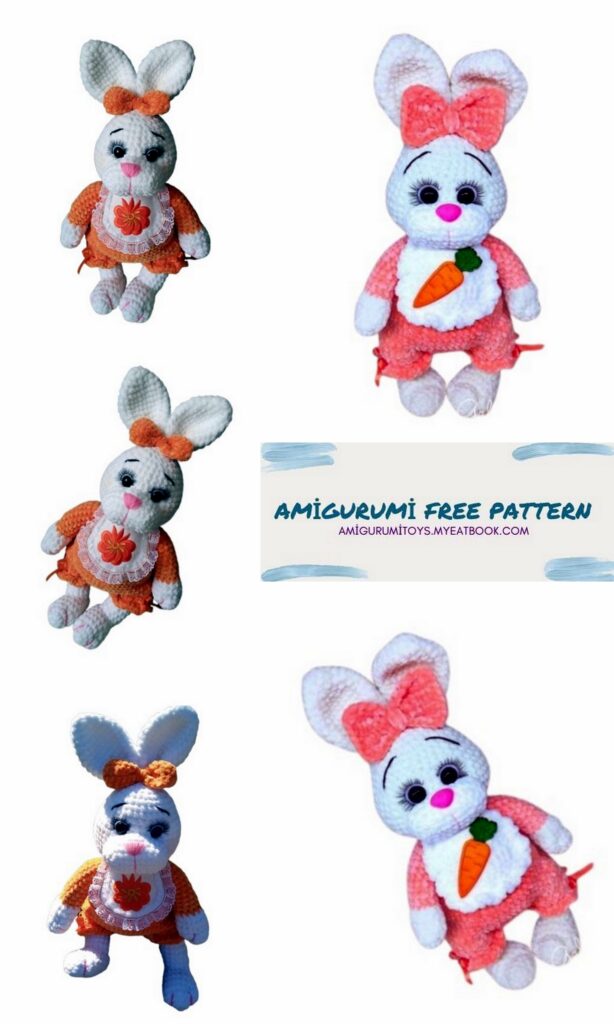
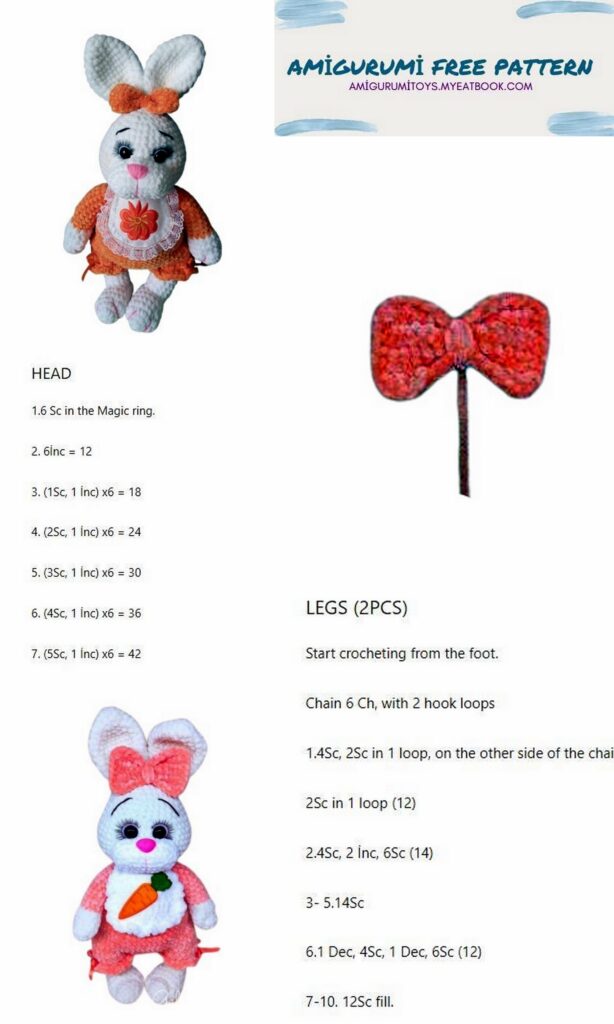
Bunny baby Difficulty is medium.
The size of the toy and the amount of material used depends on YOUR knitting density and yarn thickness.
IMPORTANT!!!!
In order for the bunny to turn out plump and dense, it is necessary to fill it correctly. Stuff the head and torso, pushing the filler from the center to the sides, adding it to the center.
The height of the toy sitting up to the tip of the ears is 30 cm
You will need:
1. Yarn HiMALAYA dolphin BABY milky (80308) 1-1.5 skeins (depending on knitting density)
2. Yarn HiMALAYA VELVET peach (90023) 1 skein
3. Yarn HiMALAYA dolphin BABY white (80301) for muzzle and bib
4. Spout on a safe mount size 20*20
5. Hook №4.0
6. Filler holofiber
7. Eyes with a diameter of 18 mm on a secure mount
8. Felt heels for eyes 20 mm
9. Eyelashes
10. Satin ribbon 6 mm orange
11. Thread for stitching details and embroidery of the mouth and eyebrows, I use
YarnArt JEANS You can use any other suitable color.
12. Needle for stitching parts
13. Thermal sticker
14. Glue moment “CRYSTAL”
Abbreviations
MR – amigurumi ring
SC – single crochet
İNC – increase
DEC – decrease
CH- air loop
SL-ST – connecting post
( )* – repeat the specified number of times
UPPER LEGS
We knit with a thread of the main color
1 row. 2CH, in the second loop from the hook, work 6SC, then knit in a circle
2 row. 6 inc (12)
3 row. (3SC, İNC)*3 (15)
4-6 row. We knit without changes 15 SC (3 rows)
7 row. (3SC, DEC)*3 (12)
Fill with filler, then fill the foot in the process of knitting
Change to peach thread
8 row. Knit 12 SC behind the back wall of the loop
9-20 row. We knit without changes 12 SC (12 rows)
Fasten the thread and cut. Do not fill the very top of the handle with filler, embroider an imitation of fingers on the paws.
LOWER LEGS
We knit with a thread of the main color
1 row. 2CH, in the second loop from the hook, work 6SC, then knit in a circle
2 row. 6 inc (12)
3 row. (1SC, İNC)*6 (18)
4-7 row. We knit without changes 18 SC (4 rows)
8 row. (4SC, DEC)*3 (15)
9-10 row. We knit without changes 15 SC (2 rows)
11 row. (3SC, DEC)*3 (12)
12 row. 6 DEC (6)
Fasten the thread and cut.
We collect in the place of narrowing of the foot 14 SC in a circle. Place a marker, this will be the beginning of the row.
Fill the leg in the process of knitting, the very top, about 4 rows, do not fill.
1-14 row. We knit without changes 14 SC (14 rows)
Fasten the thread and cut. Embroider imitation fingers on the paws
EYES
Prepare the eyes for the bunny
Cut out or take ready-made circles of felt with a diameter of 2.0 mm.
We make a hole in the felt and insert the eyes, the felt is slightly
lift to the top so that it can be seen a little from under the eye (see photo)
Behind the felt we glue the cilia on the glue moment CRYSTAL
We’ll put them aside for now, we’ll need them later.
TRUNK+HEAD
We knit with a thread of the main color
The marker of the beginning of the row passes in front of the center of the torso and head
1 row. 2CH, in the second loop from the hook, work 6SC, then knit in circle
2 row. 6’NC (12)
3 row. (1SC, İNC)*6 (18)
4 row. 1SC, İNC(2SC, İNC)*5, 1SC (24)
5 row. (3SC, İNC)*6 (30)
6 row. 2SC, İNC(4SC, İNC)*5, 2SC (36)
7 row. (5SC, İNC)*6 (42)
8 row. 3SC, İNC(6SC, İNC)*5, 3SC (48)
9 row. (7SC, İNC)*6 (54)
10 row. In this row, we knit the lower legs, capturing through the loops of the legs and torso. Since the density of knitting is different for everyone, pay attention to the symmetry of the lower legs. Knit the paws so that they are slightly clubfoot. 6 SC, 7 SC with foot, 28 SC, 7 SC with foot, 6 SC (54)
11-14 row. We knit without changes 54 SC (4 rows)
Change to peach thread
15 row. We knit without changes 54 SC (1 row)
16 row. Knit 54 SC behind the back wall of the loop
17 row. 15SC, (2SC,DEC)*6, 15SC (48)
18 row. 3SC, DEC(6SC, DEC)*5, 3SC(42)
19 row. We knit without changes 42 SC (1 row)
20 row. (5SC, DEC)*6 (36)
21 row. We knit without changes 36 SC (1 row)
22 row. 2SC, DEC(4SC, DEC)*5, 2SC(30)
Fill the body with filler
23 row. In this row we knit the upper paws, grabbing through the loops
paws and torso. Since the density of knitting is different for everyone, please note
attention to the symmetry of the upper legs. 3 SC, 6 SC with foot, 12 SC, 6 SC with foot, 3 SC (30)
24 row. (3SC, DEC)*6 (24)
25 row. We knit without changes 24 SC (1 row)
Change to the thread of the main color
WE CONTINUE KNITTING THE HEAD
26 row. 24 inc (48)
27-33 row. We knit without changes 48 SC (7 rows)
34 row. 3SC, DEC(6SC, DEC)*5, 3SC(42)
Filling the head with filler
35-36 row. We knit without changes 42 SC (2 rows)
37 row. (5SC, DEC)* 6 (36)
38-39 row. We knit without changes 36 SC (2 rows)
40 row. 2SC, DEC(4SC, DEC)*5, 2SC(30)
We insert previously prepared eyes between 35-36 rows, the distance
between eyes 2 SC
Filling the head with filler
41 row. (3SC, DEC)*6 (24)
42 row. 1SC, DEC(2SC, DEC)*5, 1SC(18)
43 row. (1SC, DEC)*6 (12)
44 row. 6 DEC
Pull the hole. Thread fasten and cut
Muzzle
Knit with white thread
We collect a chain of 9 CH
1 row. We start knitting from the second loop from the hook 7 SC, 3 SC in one loop, 6 SC, İNC (18)
2 row. İNC, 6SC, 3İNC, 6SC, 2İNC (24)
3 row. 1SC, İNC, 6SC (1SC, İNC)*3, 6SC(1SC, İNC)*2 (30)
4-5 row. We knit without changes 30 SC (2 row)
In the 4th row, in the center, insert the spout on a secure mount
The muzzle is slightly filled with filler and sewn to the head, under the very eyes, embroider a mouth in the center of the muzzle.
EARS
We knit with a thread of the main color
1 row. 2 CH, in the second loop from the hook, knit 6 SC, then knit in
circle
2 row. 6’NC (12)
3 row. (3SC, İNC)*3 (15)
4 row. (4SC, İNC)*3 (18)
5 row. (2SC, İNC)*6 (24)
6-9 row. We knit without changes 24 SC (4 rows)
10 row. (6SC, DEC)*3 (21)
11-12 row. We knit without changes 21 SC (2 rows)
13 row. (5SC, DEC)*3 (18)
14 row. We knit without changes 18 SC (1 row)
15 row. (1SC, DEC)*6 (12)
Fasten the thread and cut. Do not fill the ears with filler.
Sew the ears close together.
LOADING THE Muzzle
1. Take a long needle and Yarnart Jeans thread matching the color of the bunny.
Make a knot at the end of the thread. We insert the needle at the very bottom of the head, in the center and bring it out in the corner of the eye, then we insert the needle in the opposite corner of the eye and bring it out from the bottom of the head from where we started. We do not cut the thread, we retreat 1 SC, we also repeat with the second eye. We pull two threads and make a tightening. Fasten the thread from below and cut. Scheme of tightening in the photo.
2. Embroider the bunny eyebrows with YarnArt JEANS yarn dark brown colors.
PANTIES
We collect a chain of 48 CH, connect the chain into a circle. Put a marker and then knit in a circle. The marker runs down the back center of the panties.
Important!!! The density of knitting and stuffing of the toy is different for everyone, therefore try on, more or less loops may be required.
1-2 row. We knit without changes 48 SC in a circle
Next, knit DC
We start the row with 2 CH insteps, then we knit rows in a circle without CH insteps.
3 row. (7DC, İNC)*6 (54)
4-10 row. We knit without changes 54 DC (7 rows)
Try on panties, more or less quantity may be required rows.
Fasten the thread and cut.
Next, you need to leave 20 loops on each side of the leg between the legs on the wrong side, sew up the hole and turn it inside out front side.
Now we attach the thread and knit the legs.
1-2 row. We knit without changes 20 SC (2 rows)
3 row. Work 3 SC in each st (60)
We also knit the second leg.
Insert the orange tape into the needle and thread it between the posts, pull it off, tie in a bow.
TAIL
1 row. 2CH, in the second loop from the hook, work 6SC, then knit in
circle
2 row. 6 inc (12)
3 row. (3SC, İNC)*3 (15)
4-5 row. We knit without changes 15 SC (2 rows)
7 row. (3SC, DEC)*3 (12)
Fill the tail with filler. Fasten the thread and cut.
Sew the tail to the pants.
BOW
We knit in rotary rows
Dial 14 CH
We start knitting from the second loop from hook 13 SC, knitting turn CH and
again 13 SC and so 6 rows.
Tie the edges of the SC, in each corner make 3 SC
Fasten the thread and cut.
Knit a bow in the center with a thread several times.
BIB FOR A HUNNY
Work DC in turning rows, starting each row with 2CH inc.
We collect 9 CH, we knit from the 2nd loop from the hook
1 row. İNC, 6 DC, İNC, 2CH, turn (10)
2 row. İNC, 8 DC, İNC, 2CH, turn (12)
3-4 row. Knit unchanged 12 DC, 2CH, turn (2 rows)
5 row. DEC, 8DC, DEC, 2CH (10)
Fasten the thread and cut.
Next, we will tie the bib with arches, dial 3 CH, SL-ST and so alternate.
Ties for a bib.
Cut the ribbon to the length you need, fold it in half and thread it through
crochet the edge of the tape, make a loop, stretch the tape into it and pull it together.
Repeat on the other side of the bib as well.
Decorate with a thermal sticker by gluing it on the glue moment “CRYSTAL”