Materials and tools:
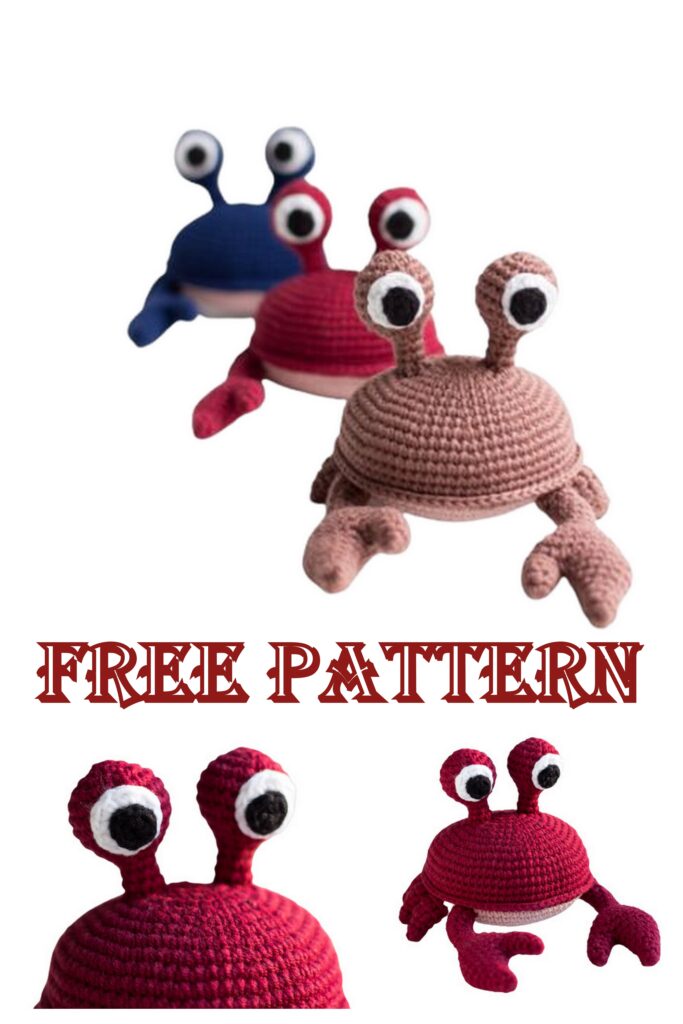
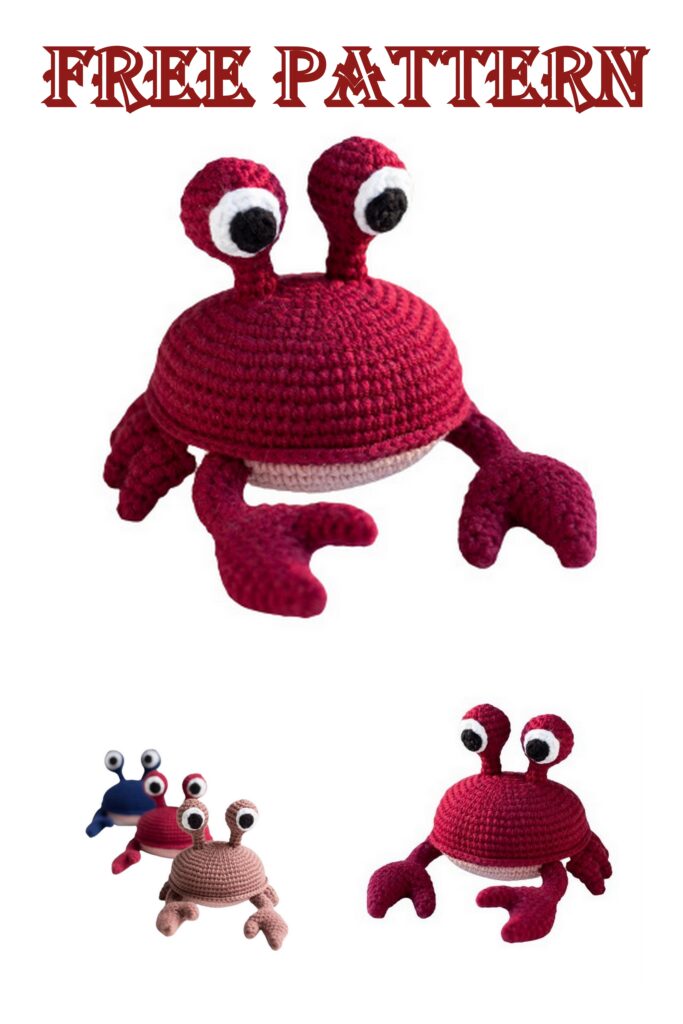
● YarnArt Jeans yarn: red, pink (or beige-pink), white and black;
● Hook No. 2;
● Tailor’s pins;
● Wide eye needle;
● Filler for toys.
Abbreviations:
● SC – single crochet;
● HDC – double crochet;
● SL-ST – connecting post;
● CH – lifting loop;
● İNC – increase;
● DEC – decrease;
● [12] – number of columns in a row;
● (2 SC, İNC) * 6 times – The element in brackets is repeated six times.
Progress
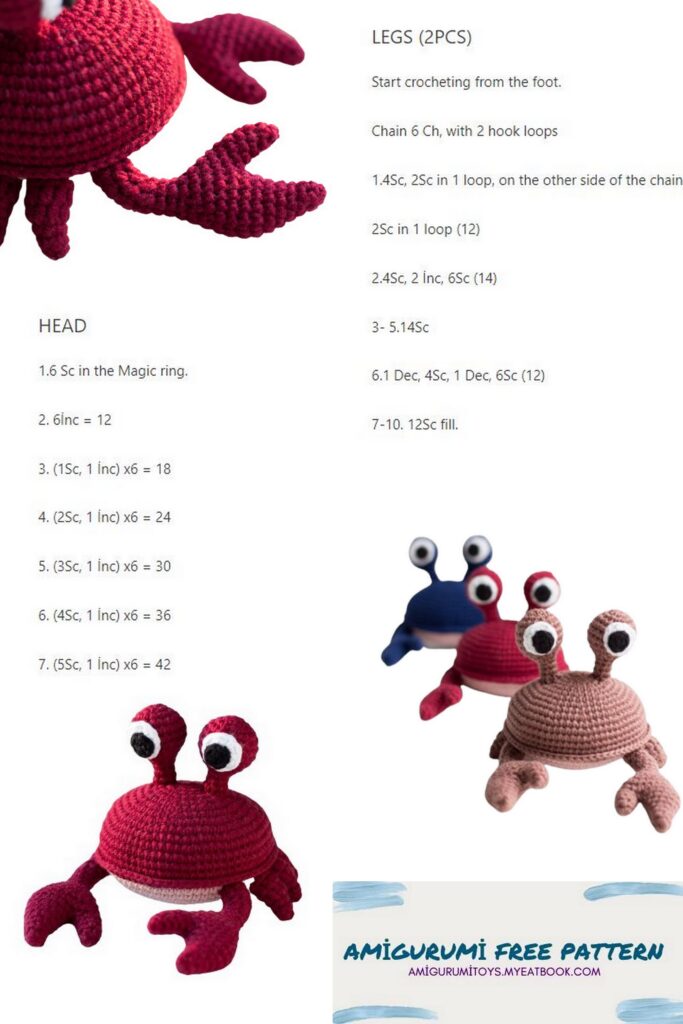
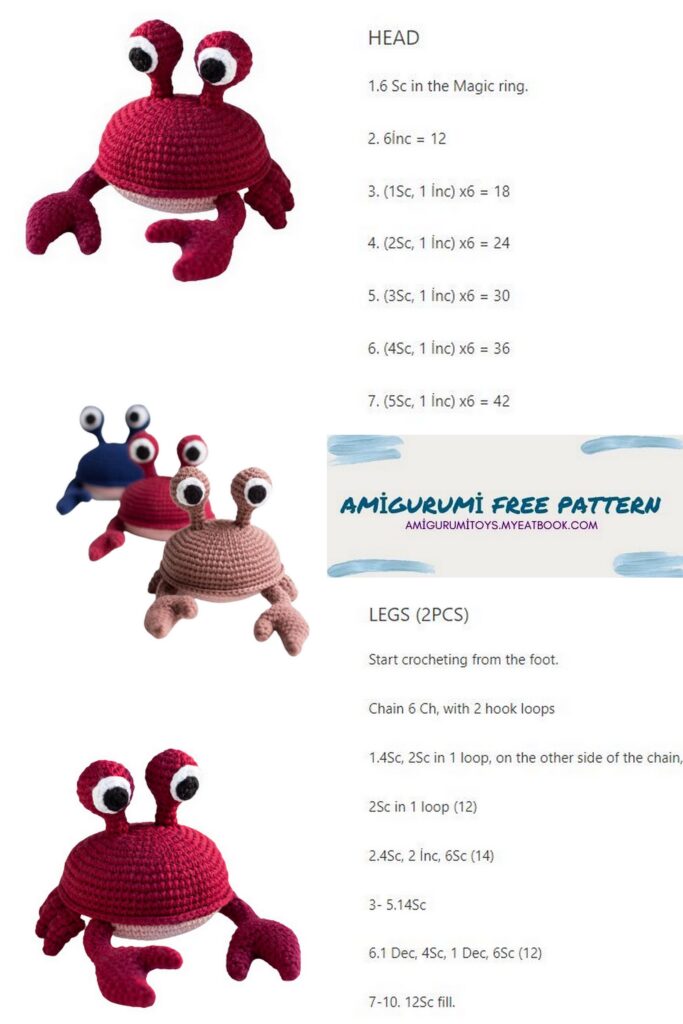
Head-body:
Upper part (in red yarn):
1) 6 SC into magic ring [6]
2) 6 NC [12]
3) (1 SC, İNC) * 6 times [18]
4) (İNC, 2 SC) * 6 times [24]
5) (3 SC, İNC) * 6 times [30]
6) 1 SC, İNC, (4 SC, İNC) * 5 times, 3 SC [36]
7) (5 SC, İNC) * 6 times [42]
8) 2 SC, İNC, (6 SC, İNC) * 5 times, 4 SC [48]
9) (7 SC, İNC) * 6 times [54]
10) 3 SC, İNC, (8 SC, İNC) * 5 times, 5 SC [60]
11) (9 SC, İNC) * 6 times [66]
12) 4 SC, İNC, (10 SC, İNC) * 6 times, 6 SC [72]
13 – 15) 72 SC [72] – 3 rows
We do not cut the thread, we just pull the loop so that the part does not bloom.
Set the top aside and move on to the bottom.
Bottom part (pink or pink-beige yarn):
1) 6 SC into magic ring [6]
2) 6 NC [12]
3) (1 SC, İNC) * 6 times [18]
4) (İNC, 2 SC) * 6 times [24]
5) (3 SC, İNC) * 6 times [30]
6) 1 SC, İNC, (4 SC, İNC) * 5 times, 3 SC [36]
7) (5 SC, İNC) * 6 times [42]
8) 2 SC, İNC, (6 SC, İNC) * 5 times, 4 SC [48]
9) (7 SC, İNC) * 6 times [54]
10) 3 SC, İNC, (8 SC, İNC) * 5 times, 5 SC [60]
11) (9 SC, İNC) * 6 times [66]
12) 4 SC, İNC, (10 SC, İNC) * 6 times, 6 SC [72]
SL-ST into the next stitch, fasten and cut the thread.
We return to the details of the top.
We fold the bottom and top edges to each other. We sew them, as if continuing to knit the upper part, while capturing the columns of the lower part.
Thus, we knit a row of SC: 62 SC, tightly stuff the head-body with filler, another 10 SC [72].
We fix, cut the thread, hide the tip.
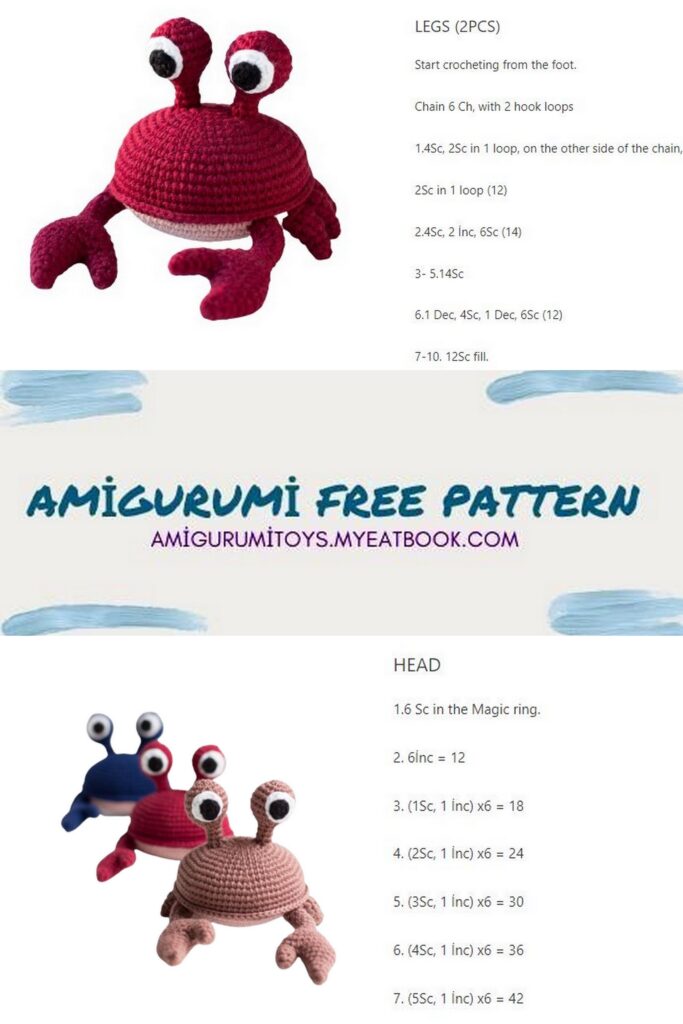
Hind legs (6 parts):
(red yarn):
1) 6 SC into magic ring [6]
2) 6SC [6]
3) (1 SC, İNC) * 3 times [9]
4 – 5) 2SC, 5 HDC, 2SC [9]
6) 9SC [9]
SL-ST into next st. We fix the thread, leave a long tip for
in order to sew the legs to the body, cut the thread. We tightly stuff each leg with filler.
All six legs are knitted in the same way.
Claws (2 parts):
(red yarn):
In order to tie a claw, you first need to tie the first part, then the second, and then combine them into one piece.
Part 1:
1) 4 SC into magic ring [4]
2) (1 SC, İNC) * 2 times [6]
3) 5SC, İNC [7]
4) 6SC, İNC [8]
SL-ST into the next stitch, fasten and cut the thread.
Part 2:
1) 5 SC into magic ring [5]
2) 4SC, İNC [6]
3) (2 SC, İNC) * 2 times [8]
4) (3 SC, İNC) * 2 times [10]
5) (4 SC, İNC) * 2 times [12]
6) (5 SC, İNC) * 2 times [14]
7) 14SC [14]
We combine two parts into one part:
After we have knitted all the rows of the second part, we do not cut the thread.
Attach the first part to it and knit:
8) 8 SC on the first part (starting from the loop after SL-ST), then 14 SC on the second part [22]
Tightly fill both parts with filler.
9) 3SC, DEC, 9SC, DEC, 6SC [20]
10) 20SC [20]
11) (1 SC, DEC) * 2 times, 5 SC, DEC, 1 SC, DEC, 4 SC [16]
Add filler.
12) DEC, 1 SC, DEC, 3 SC, DEC, 1 SC, DEC, 2 SC – do not knit one SC to the end of the row – here there will be a new beginning of the row [12]
13) (DEC, 1SC) * 4 [8]
Add filler.
14 – 15) 8 SC [8] – 2 rows
Add filler.
16 – 19) 4 SC, 4 HDC [8] – 4 rows
SL-ST in the next loop, fasten the thread, leave a long tip in order to sew the claw to the head-body, cut the thread. Tightly stuff the claw with filler to the end.
The second claw is knitted in the same way.
Now we sew the claws to the front of the head-body (for starters, determine which part turned out to be neater, it will be the front) at a distance of 20 SC from each other.
We sew each claw in the interval from the border between the upper and lower parts of the head-body, to the 10th row of the lower part (if you count from the beginning of its knitting). Short “fingers” should look at each other.
Then we sew the hind legs (3 on one side, 3 on the other side of the head-body).
All three legs are sewn immediately after the claws one by one, without any distance between them. Also, in the gap from the border between the upper and lower parts of the head-body, to the 10th row of the lower part (if you count from the beginning of its knitting).
Eyes (2 parts):
(red yarn):
1) 6 SC into magic ring [6]
2) 6 NC [12]
3) (1SC, İNC) * 6 times [18]
4) (İNC, 2 SC) * 6 times [24]
5 – 7) 24 SC [24] – 3 rows
8) (2SC, DEC) * 6 times [18]
9) (DEC, 1 SC) * 6 times [12]
Fill the ball tightly with filler.
10) (1 SC, DEC) * 4 [8]
11 – 13) 8 SC [8] – 3 rows
The column obtained after the ball with filler can not be stuffed. SL-ST in the next loop, fasten the thread, leave a long tip for sewing the eyes to the head-body, cut the thread.
Eyeballs – 2 details (white yarn):
1) 6 SC into magic ring, SL-ST into the first SC of the row [6]
2) 1 CH, İNC in the same loop, 5 more İNC, SL-ST in the first loop of the row [12]
We cut the thread, leaving a long tip for sewing eyeballs to the main part is red.
Pupils – 2 parts (black yarn):
1) 6 SC into magic ring, SL-ST into the first SC of the row [6]
We cut the thread, leaving a long tip for sewing the pupil to the eyeball.
Now we sew the pupil on the white part of the eye, then we sew the resulting part on the side of the red base of the eye (between 3 and 10 rows from the beginning of knitting the part).
We fix and hide all the ends of the threads.
The second eye fits in the same way.
Each eye is sewn between 2 and 6 rows from the beginning of knitting in the middle of the upper part of the head-body.