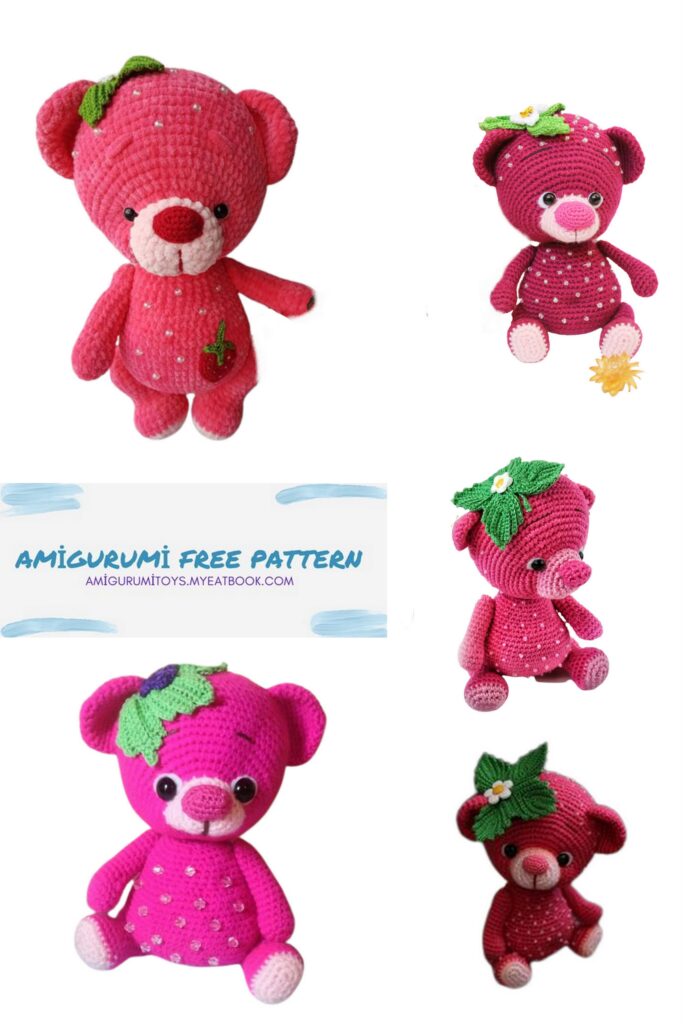
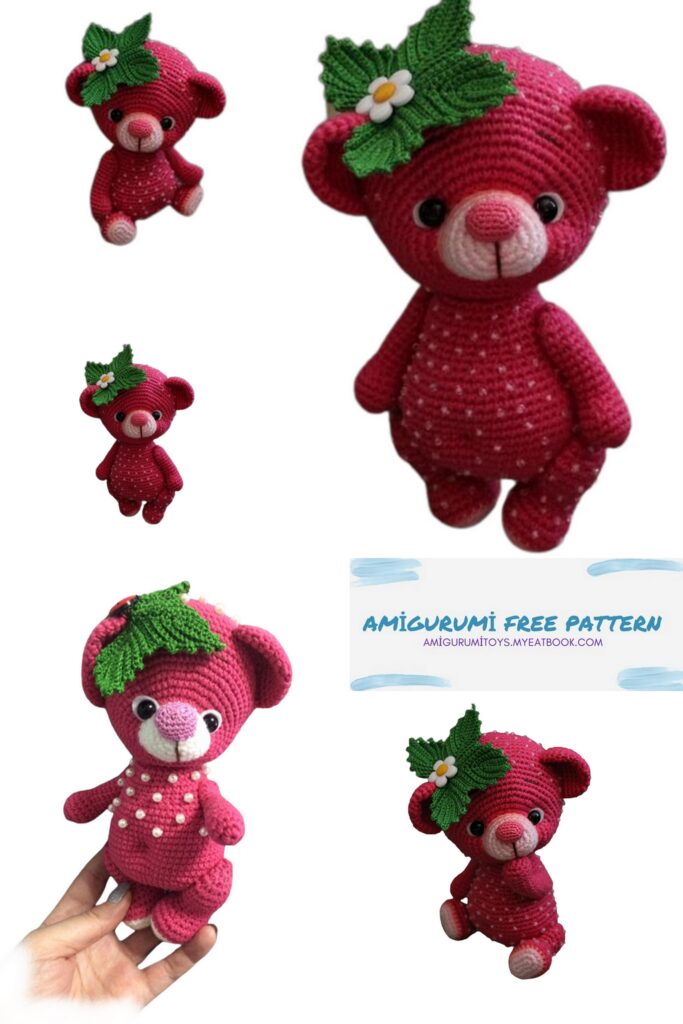
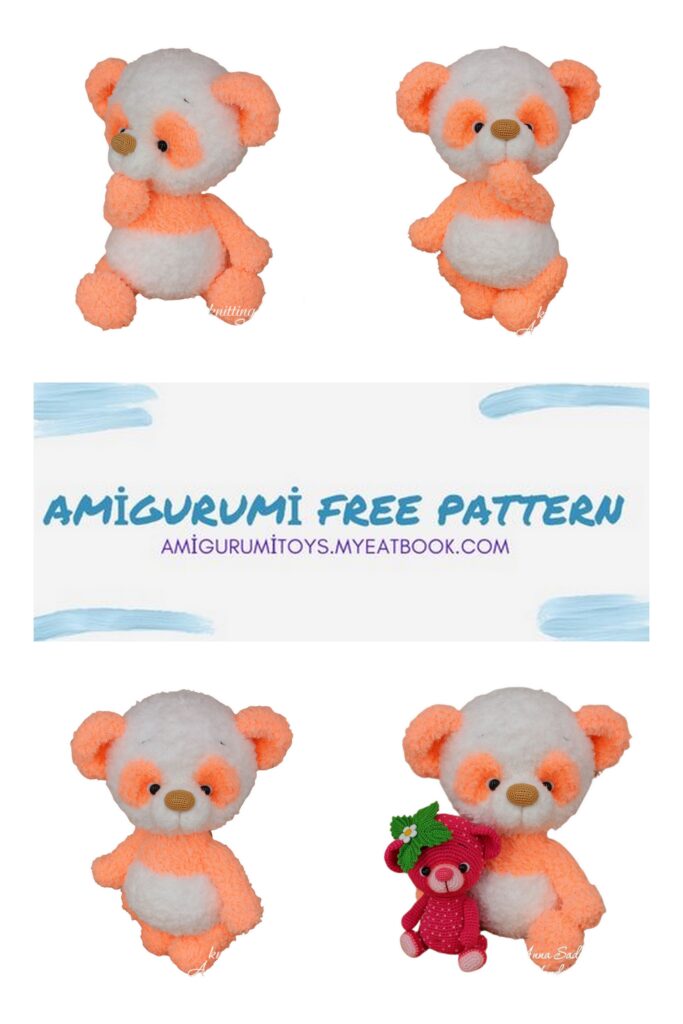
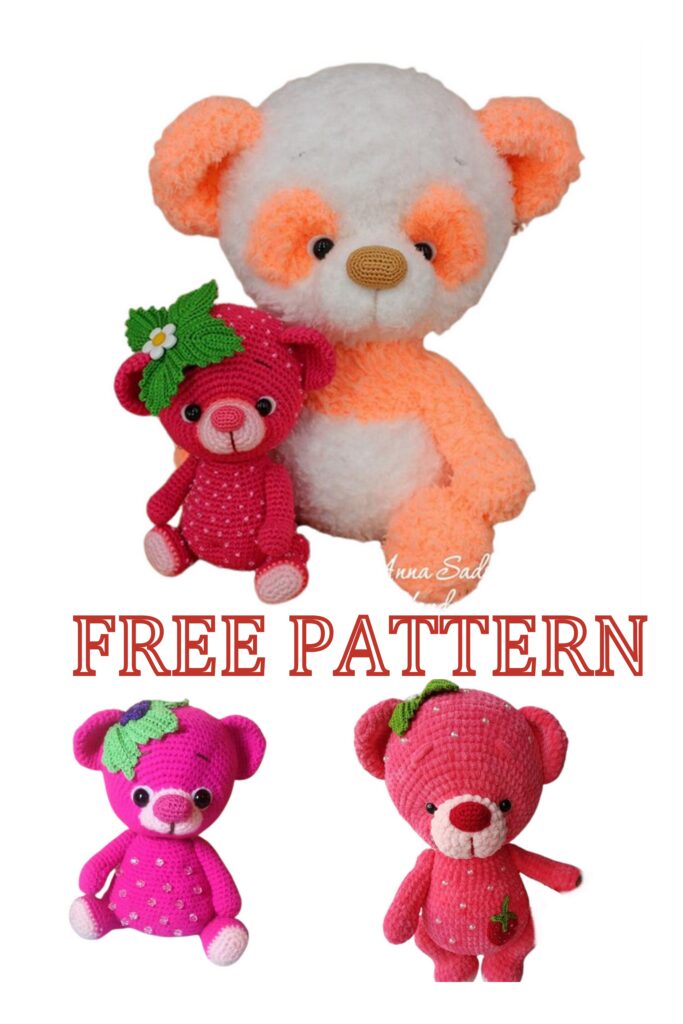
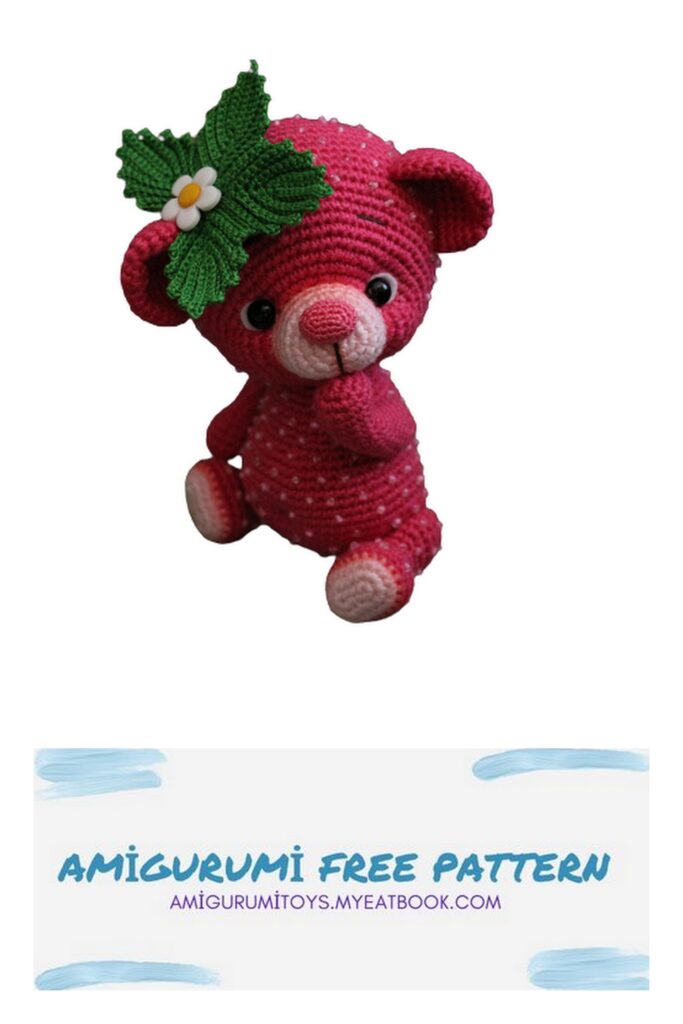
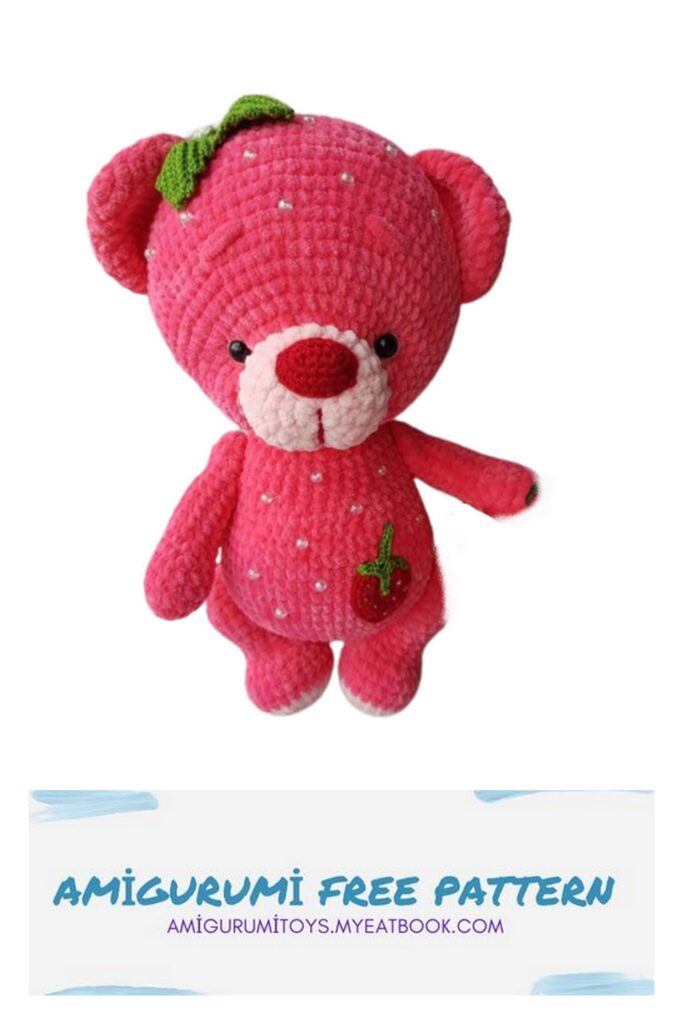
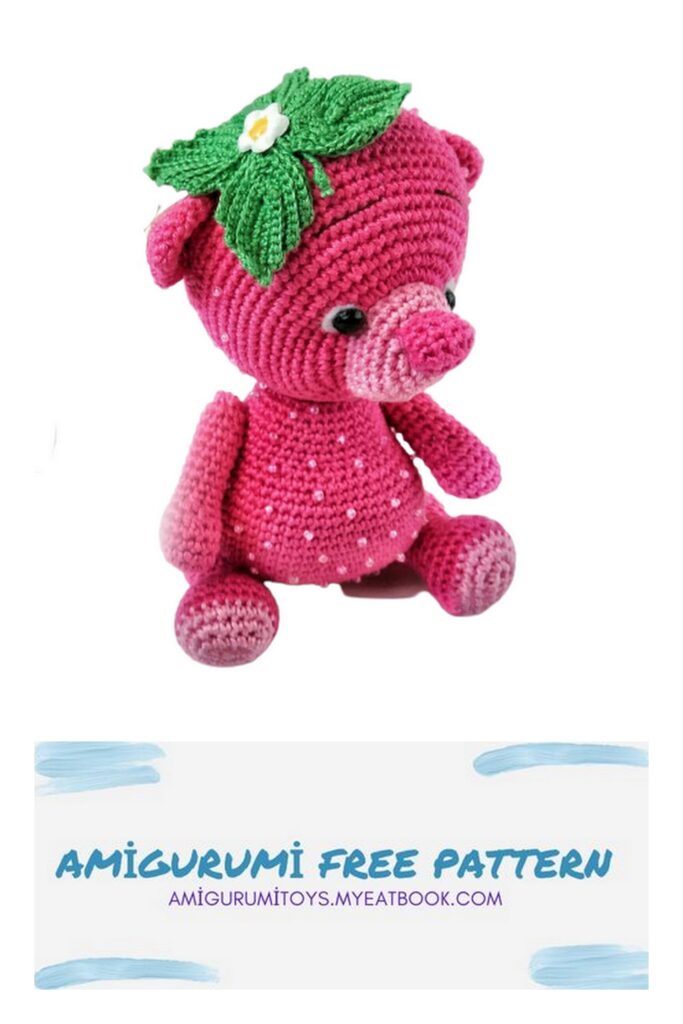
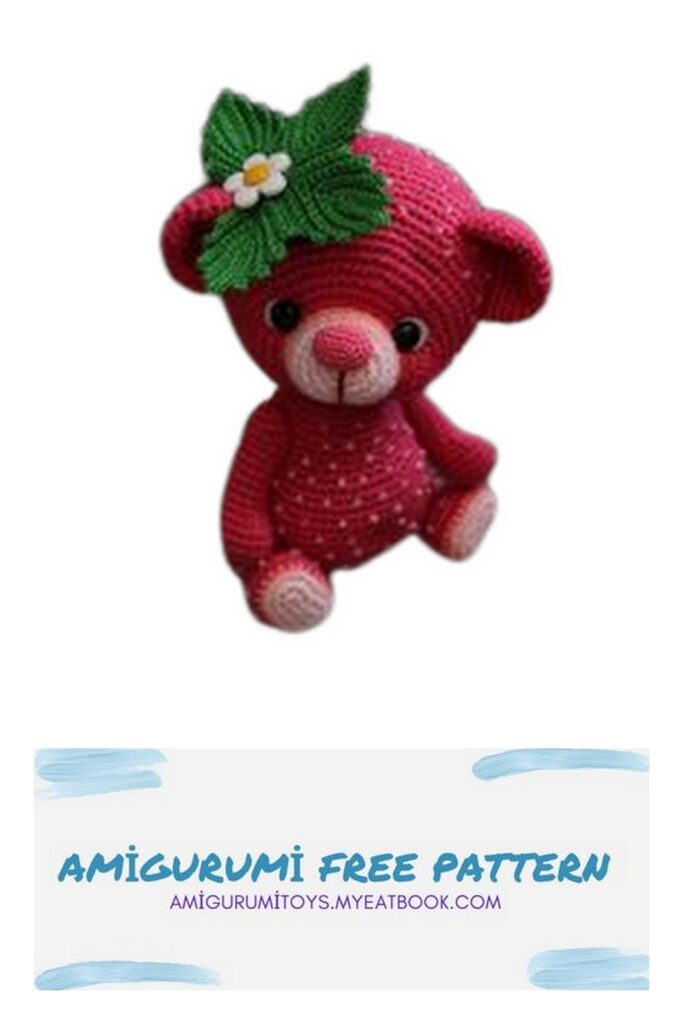
You can browse our website for Amigurumi berry bear free pattern and more free patterns.
Materials and tools
1. FOR THE BERRY BEAR: Gazzal “Baby Cotton” (60% cotton, 40% polyacryle, 165 m/ 50 g) – 50 g of the crimson color (No. 3415), some pink yarn (No. 3411). Matching crochet hook (I used 2 mm). FOR THE PANDA: novelty yarn, I used ―Kuzya Klubochkin‖ by Color City (15% cotton, 85% polyamide, 95 m (104 yards) in 50 g skein) – 150 g of the main color (I used No. 1) and 100 g of the additional color (I used No. 24). Matching crochet hook (I used 3.75 mm). You can use wool, mohair or acrylic yarn. The thicker yarn you use, the bigger toy you will get.
2. “Iris” Vita cotton (100% cotton of a double merserization, 125 m (137 yards) in 20 g skein) some green color for the leaves (No. 2108), pink (No. 2119) or beige (No. 2106) for the nose.
3. Small piece of the white felt for the whites of the eyes; the glass eyes with an eyelet (I used 7 mm in diameter for the berry bear and 10 mm in diameter for the panda).
4. Stuffing.
5. The plastic safety joints or cotter pins and joint disks. FOR THE BERRY BEAR I used the joints 10 mm in diameter for the arms and 22 mm in diameter for the legs and the head.
FOR THE PANDA I used the joints 20 mm in diameter for the arms, 30 mm in diameter for the legs and 40 mm in diameter for the head.
6. Flower button and some pink beads for the decoration of the berry bear.
7. Any material for tinting you like.
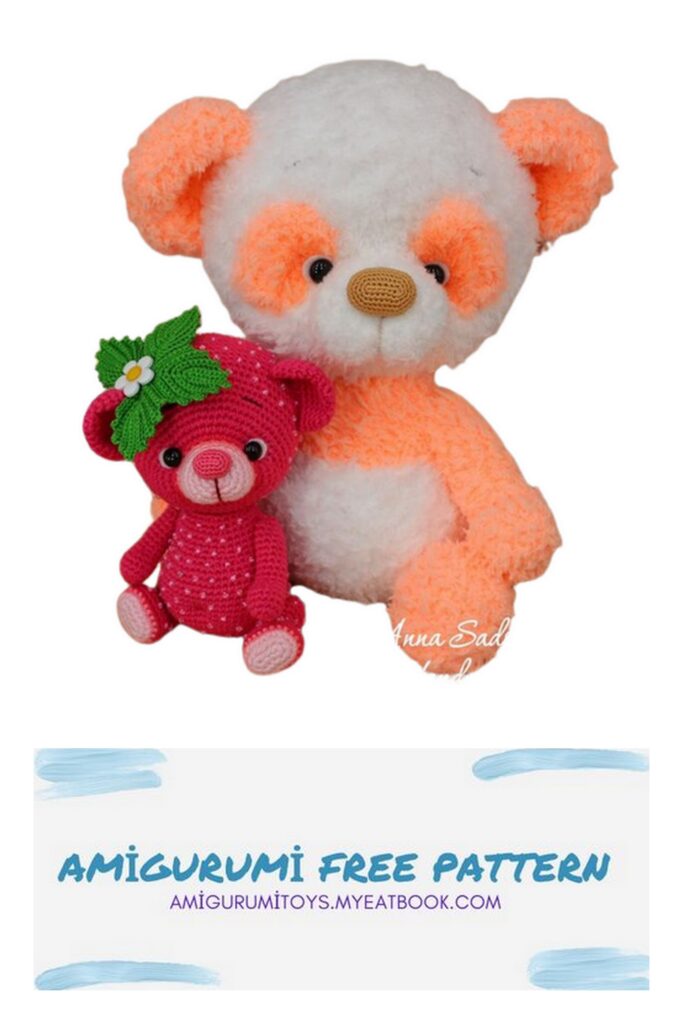
Finished size of the berry bear is approx. 15 cm (6 inches) and the panda is approx. 27 cm (10 inches) using the materials stated in the pattern.
Tip (make it right)
When making toys the right side looks like this: And the backside looks like this:
Abbreviations
ch – chain
st – stitch
sl st – slip stitch
sc – single crochet
inc – increase (2 sc in 1 st)
dec – decrease (single crochet two stitches together)
dc – double crochet
inc dc – increase 2 dc in the same stitch
hdc – half double crochet
Rnd – round
USA/UK terminology comparison chart
Abbreviations USA Abbreviations UK
ch – chain ch – chain
sc – single crochet dc – double crochet
hdc – half double crochet htr – half treble
dc – double crochet tr – treble
tr – treble (triple crochet) dtr – double treble
dtr – double treble tr tr – triple treble
sl st – slip stitch sl – slip stitch
Other differences in crochet terminology used:
Terminology USA Terminology UK
fasten off cast off
skip miss
gauge tension
yarn over (yo) yarn over hook (yoh)
If there is a record in the brackets in the pattern, multiplied by some number, for example
(3 sc, inc) x 3, it means you need to repeat this action 3 times, that is 3 sc, inc, 3 sc, inc, 3 sc, inc.
Tip (make it right)
If there are no special notes, the toy is crocheted under both parts of
the loop. In some rows, there are special notes: ‗into the front loop only‘
or ‗into the back loop only‘. In that case, you need to follow these
instructions.
Tip (yarn and wire)
If you use the different yarn, the toy will be bigger or smaller and you will need more or less yarn
and wire than stated in the pattern (i.e. thicker yarn will produce a larger toy and you may require
more yarn and wire).
If you decide to use thicker yarn you should buy thicker wire as well. The thicker your yarn the taller
the toy will be.
Tip (gauge)
When making toys, you should use a much smaller hook than recommended for the yarn you have
chosen.
Make sure you crochet tight enough; otherwise, the stuffing will show through the holes.
Tip (shift stitch)
While working, you will need to keep the work symmetrically. As work tends to twist to the right you
need to adjust the position of the marker periodically (beginning of the round). If you notice that the
marker moves right, you need to work one extra stitch in the end of the round and move the marker
for one stitch (now 2nd st of the round becomes 1st). This is a shift stitch – it is not included in the
description of the rounds.
Usually you have to do shift stitches every 3-5 rounds (depending on the yarn, hook and your gauge).
To check if it is time to work a shift stitch fold your work in half and check if marker still goes
straight.
Arms (make 2)
Crochet with the crimson yarn (for the panda crochet the arms with the additional color). The
marker goes along the middle of the outer side of the arm.
Rnd 1: 6 sc in the magic ring (6)
Rnd 2: inc х 6 (12)
Rnd 3: (inc, 3 sc) х 3 (15)
Rnds 4-5 (2 rounds): 1 sc in each st around (15)
Rnd 6: 6 sc, 3 sc together, 6 sc (13)
Rnd 7: 5 sc, 3 sc together, 5 sc (11)
Rnds 8-14 (7 rounds): 1 sc in each st around (11)
If you use the plastic joints as fastenings, then crochet the opening for them in the next round
(follow the description). If you use the cotter pins with joint disks as fastenings, the opening is not
needed, crochet the sc in the place of the chain in the description.
FOR THE RIGHT ARM:
Rnd 15 (crochet the opening for the joint): 1 sc, ch 3, skip 3 sc, 7 sc (11)
FOR THE LEFT ARM:
Rnd 15 (crochet the opening for the joint): 7 sc, ch 3, skip 3 sc, 1 sc (11)
Crochet further the both arms similarly. Crochet 3 sc under the chain in the next round.
Rnd 16: 1 sc in each st around (11)
Insert the plastic safety joint into the crocheted opening or step 2 rounds down, 2 sc from the marker to the left (for the right arm) or to the right (for the left arm) and insert the cotter pin with the disk (I used the joint 10 mm in diameter).
Choose the diameter of the joint as follows: put the arm in half and choose such disk which occupies all internal space of the arm, at the same time without stretching the cloth. Stuff the arm.
Note: you need to choose the correct diameter of the disk that the arms snugly fit to the body – it must be equal to the width of the arm at the site of attachment. Not fill too much the upper part of the arm, it should be flat – then they will look like an extension of the body, rather than individual details, unrelated to him.
Rnd 17: sc, dec х 5 (6)
Fasten off and cut the yarn, hide the end of the thread. Crochet the second arm similarly.
Legs (make 2)
Start with the pink yarn (for the panda crochet the legs with the additional color). The marker goes
along the middle of the heel.
Rnd 1: ch 5, from the second loop from the hook: inc, 2 sc, 4 sc in the first loop, along the other side of the chain: 2 sc, inc (12)
Rnd 2: inc х 2, 2 sc, inc х 4, 2 sc, inc х 2 (20)
Rnd 3: 2 sc, inc, (4 sc, inc) х 3, 2 sc (24)
Change the yarn to the crimson, fasten off and cut the pink yarn.
Rnds 4-6 (3 rounds): 1 sc in each st around (24)
Rnd 7: sc, dec, 3 sc, dec, sc, dec, 2 sc, dec, sc, dec, 3 sc, dec, sc (18)
Rnd 8: 6 sc, dec х 3, 6 sc (15)
Rnds 9-10 (2 rounds): 1 sc in each st around (15)
Rnd 11: 7 sc, inc, 5 sc, inc, sc (17)
Rnd 12: sc, inc, 5 sc, inc х 2, 8 sc (20)
Rnd 13: 1 sc in each st around (20)
If you use the plastic joints as fastenings, then crochet the opening for them in the next round
(follow the description). If you use the cotter pins with joint disks as fastenings, the opening is not
needed, crochet the sc in the place of the chain in the description.
FOR THE RIGHT LEG:
Rnd 14 (crochet the opening for the joint): 4 sc, ch 2, skip 2 sc, 14 sc (20)
FOR THE LEFT LEG:
Rnd 14 (crochet the opening for the joint): 14 sc, ch 2, skip 2 sc, 4 sc (20)
Crochet further the both legs similarly. Crochet 2 sc under the chain in the next round.
Rnd 15: 1 sc in each st around (20)
Choose the diameter of the joint as follows: put the leg in half and choose such disk which occupies
all internal space of the leg, at the same time without stretching the cloth. Put the joint aside pro tempore.
Rnd 16: 8 sc, dec х 2, 8 sc (18)
Insert the plastic safety joint into the crocheted opening or step 3 rounds down, 4 sc from the marker to the left (for the right leg) or to the right (for the left leg) and insert the cotter pin with the disk (I used the joint 22 mm in diameter). Stuff the leg.
Rnd 17: dec, 5 sc, dec х 2, 5 sc, dec (14)
Rnd 18: dec х 7 (7)
Fasten off and cut the yarn, hide the end of the thread. Crochet the second leg similarly.
Body
Crochet with the crimson yarn (for the panda start with the main yarn).
Rnd 1: ch 8, from the second loop from the hook: inc, 5 sc, 4 sc in the first loop, along the other side of the chain: 5 sc, inc (18)
Rnd 2: inc х 2, 2 sc, inc, 2 sc, inc х 4, 2 sc, inc, 2 sc, inc х 2 (28)
Crochet 7 sc more and move the marker here. Now the beginning of the round will be here (the middle of the back); align the marker in the course of the crocheting of the body.
Rnd 3: (4 sc, inc) х 2, 8 sc, (inc, 4 sc) х 2 (32)
Rnd 4: 2 sc, inc, (3 sc, inc) х 3, 2 sc, (inc, 3 sc) х 3, inc, 2 sc (40)
Rnd 5: 8 sc, inc, 3 sc, inc, (4 sc, inc) х 3, 3 sc, inc, 8 sc (46)
If you use the plastic joints as fastenings, then crochet the openings for them in the next round
(follow the description). If you use the cotter pins with joint disks as fastenings, the openings are not needed, crochet the sc in the place of the chain in the description.
Rnd 6 (crochet the openings for the joints): 8 sc, inc, sc, ch 2, skip 2 sc, sc, inc, 18 sc, inc, sc, ch 2, skip 2 sc, sc, inc, 8 sc (50)
Crochet 2 sc under the chain in the next round.
Rnd 7: 9 sc, inc, 5 sc, inc, (3 sc, inc) х 2, 2 sc, (inc, 3 sc) х 2, inc, 5 sc, inc, 9 sc (58)
Rnds 8-12 (5 rounds): 1 sc in each st around (58)
Rnd 13: 9 sc, dec, 5 sc, dec, 22 sc, dec, 5 sc, dec, 9 sc (54)
Rnd 14: 1 sc in each st around (54)
Rnd 15: 8 sc, dec, 5 sc, dec, 20 sc, dec, 5 sc, dec, 8 sc (50)
Rnd 16: 1 sc in each st around (50)
Rnd 17: 15 sc, (dec, 4 sc) х 3, dec, 15 sc (46)
Rnd 18: 1 sc in each st around (46)
Insert the plastic safety joints into the crocheted openings and latch the joints or insert the cotter
pins of the legs between the 6th and 7th rounds of the body stepping 12 sc from the marker to the left (for the left leg) or to the right (for the right leg) and turn the cotter pins.
Rnd 19: 3 sc, dec, 11 sc, (dec, 2 sc) х 3, dec, 11 sc, dec, 3 sc (40)
If you use the plastic joints as fastenings, then crochet the openings for them in the next round
(follow the description). If you use the cotter pins with joint disks as fastenings, the openings are not needed, crochet the sc in the place of the chain in the description.
For the panda change the yarn to the additional color.
Rnd 20 (crochet the openings for the joints): 8 sc, ch 3, skip 3 sc, 5 sc, dec, 4 sc, dec, 5 sc, ch 3, skip 3 sc, 8 sc (38)
Crochet 3 sc under the chain in the next round.
Rnd 21: 1 sc in each st around (38)
Rnd 22: 2 sc, dec, 30 sc, dec, 2 sc (36)
Rnd 23: 1 sc in each st around (36)
Rnd 24: 2 sc, dec, (4 sc, dec) х 5, 2 sc (30)
Rnd 25: 1 sc in each st around (30)
Insert the plastic safety joints into the crocheted openings and latch the joints or insert the cotter pins of the arms between the 20th and 21st rounds of the body stepping 9 sc from the marker to the left (for the left leg) or to the right (for the right leg) and turn the cotter pins.
Measure the diameter of the fastening for the head by the remained opening in the body (I used the disk 22 mm in diameter).
Stuff the body. You can put a glass granulate into the belly.
Rnd 26: (3 sc, dec) х 6 (24)
Rnd 27: sc, dec, (2 sc, dec) х 5, sc (18)
Stuff the body to the end. Insert the joint for the head.
Rnd 28: (sc, dec) х 6 (12)
Rnd 29: dec х 6 (6)
Fasten off and cut the yarn, hide the end of the thread.
Head
Start with the pink yarn (for the panda crochet the head with the main yarn). The marker goes along the middle of the ―chin‖.
Rnd 1: 6 sc in the magic ring (6)
Rnd 2: inc х 6 (12)
Rnd 3: (inc, sc) х 6 (18)
Rnd 4: (2 sc, inc) х 6 (24)
Rnds 5-7 (3 rounds): 1 sc in each st around (24)
Rnd 8: 8 sc, 8 SC INTO THE BACK LOOP ONLY, 8 sc (24)
Change the yarn to the crimson, fasten off and cut the pink yarn.
Rnd 9: 4 sc, inc х 4, 8 sc, inc х 4, 4 sc (32)
Rnd 10: 5 sc, (inc, sc) х 3, inc, 8 sc, inc, (sc, inc) х 3, 5 sc (40)
In the next round make the hold at the bottom part of the face, inserting the hook at the same time
in the front loops which were left in the 8th round and working stitches of the face.
Rnd 11: 16 sc, USING THE FRONT LOOPS WHICH WERE LEFT IN THE 8TH ROUND: INC Х 8, 16 sc (48)
Rnd 12: 1 sc in each st around (48)
Rnd 13: 13 sc, inc, (2 sc, inc) х 7, 13 sc (56)
Rnd 14: 1 sc in each st around (56)
Rnd 15: 9 sc, inc, (3 sc, inc) х 4, 4 sc, (inc, 3 sc) х 4, inc, 9 sc (66)
If you use the plastic joint as fastening for the head, then crochet the opening for it in the next round (follow the description). If you use the cotter pin with joint disk as fastening, the opening is not needed, crochet the sc in the place of the chain in the description.
Rnd 16 (crochet the opening for the joint): 65 sc, ch 1, skip 1 sc (66)
Rnd 17 (crochet the opening for the joint): ch 1, skip 1 sc, 64 sc, 1 sc under the chain (66)
Rnd 18: 1 sc under the chain, 65 sc (66)
Rnd 19: 15 sc, inc, (4 sc, inc) х 7, 15 sc (74)
Rnds 20-27 (8 rounds): 1 sc in each st around (74)
Rnd 28: 15 sc, dec, (4 sc, dec) х 7, 15 sc (66)
Rnd 29: 1 sc in each st around (66)
Rnd 30: (9 sc, dec) х 6 (60)
Rnd 31: 4 sc, dec, (8 sc, dec) х 5, 4 sc (54)
Rnd 32: (7 sc, dec) х 6 (48)
Rnd 33: 3 sc, dec, (6 sc, dec) х 5, 3 sc (42)
Insert the plastic safety joints into the crocheted opening and latch the joint or insert the cotter
pin of the body between the 16th and 17th rounds of the head at the line of the marker and turn the
cotter pin.
Rnd 34: (5 sc, dec) х 6 (36)
Rnd 35: 2 sc, dec, (4 sc, dec) х 5, 2 sc (30)
Stuff the head.
Rnd 36: (3 sc, dec) х 6 (24)
Rnd 37: sc, dec, (2 sc, dec) х 5, sc (18)
Stuff the head to the end.
Rnd 38: (sc, dec) х 6 (12)
Rnd 39: dec х 6 (6)
Fasten off, cut the yarn and hide the end.
Ovals under the eyes for the panda (make 2)
Crochet with the additional yarn.
Rnd 1: ch 5, from the second loop from the hook: inc, 2 sc, 4 sc in the first loop, along the other side of the chain: 2 sc, inc (12)
Rnd 2: inc х 2, 2 sc, inc х 4, 2 sc, inc х 2 (20)
Fasten off and cut the yarn leaving enough for sewing. Crochet the second oval similarly.
Ears (make 2)
Crochet with the crimson yarn (for the panda crochet the ears with the additional color). In this
detail you can not align the marker.
Rnd 1: 6 sc in the magic ring (6)
Rnd 2: inc х 6 (12)
Rnd 3: 2 sc, 3 sc in one stitch, sc, inc, 2 sc, inc, sc, 3 sc in one stitch, 2 sc (18)
Rnd 4: 3 sc, 3 sc in one stitch, 3 sc, inc, 2 sc, inc, 3 sc, 3 sc in one stitch, 3 sc (24)
Rnd 5: 4 sc, 3 sc in one stitch, (4 sc, inc) х 2, 4 sc, 3 sc in one stitch, 4 sc (30)
Rnds 6-9 (4 rounds): 1 sc in each st around (30)
Fasten off and cut the yarn leaving enough for sewing. Crochet the second ear similarly.
Put the ear so that the double increases will be at the edges of the bends and marker will be at the inner side of the ear.
Little nose for the berry bear
―Iris‖ Vita cotton, the hook 1.25 mm. Crochet with the pink color. In this detail you can not align the marker.
Rnd 1: ch 5, from the second loop from the hook: inc, 2 sc, 3 sc in the
first loop, along the other side of the chain: 3 sc (10)
Rnd 2: inc х 2, 2 sc, inc х 3, 2 sc, inc (16)
Rnd 3: (sc, inc) х 2, 3 sc, (inc, sc) х 2, inc, 3 sc, inc (22)
Rnds 4-5 (2 rounds): 1 sc in each st around (22)
Fasten off and cut the yarn leaving enough for sewing.
Big nose for the panda
―Iris‖ Vita cotton, the hook 1.25 mm. Crochet with the beige color. In this detail you can not align the marker.
Rnd 1: ch 7, from the second loop from the hook: inc, 4 sc, 3 sc in the first loop, along the other side
of the chain: 5 sc (14)
Rnd 2: inc х 2, sc, inc х 2, sc, inc х 3, 4 sc, inc (22)
Rnd 3: (sc, inc) х 2, 7 sc, (inc, sc) х 2, inc, 5 sc, inc (28)
Rnd 4: sc, inc, 2 sc, inc, 8 sc, inc, (2 sc, inc) х 2, 6 sc, inc, sc (34)
Rnd 5: (3 sc, inc) х 2, 10 sc, (inc, 3 sc) х 2, inc, 6 sc, inc (40)
Rnds 6-7 (2 rounds): 1 sc in each st around (40)
Rnd 8: (3 sc, dec) х 2, 10 sc, (dec, 3 sc) х 2, dec, 6 sc, dec (34)
Fasten off and cut the yarn leaving enough for sewing.
Tail
Crochet with the crimson yarn (for the panda crochet the tail with the main color).
Rnd 1: 6 sc in the magic ring (6)
Rnd 2: inc х 6 (12)
Rnds 3-4 (2 rounds): 1 sc in each st around (12)
Put the detail in half and crochet 5 sc through the both cloths.
Fasten off and cut the yarn leaving enough for sewing.
Decoration
Outline 3 points at the face: the points 1 and 2 are the eyes, they are placed before the first and after the last increases of the 11th round; the point 3 is the mouth, it is placed between the 8th and 9th rounds at the line of the marker.
Insert your needle in the point of the mouth and pull it out in the point of the right eyes. Re-insert
the needle one stitch away and go back to the point of the mouth. Repeat several times, pulling the thread. Pull the point of the left eye to the point of the mouth similarly. Fix the thread; hide the ends of the thread into the head.
Try on the ears to the head and sew them how do you like. Sew the nose to the face, having added a
little stuff. For the panda sew the ovals at the places of the eyes. Cut out circles from the white felt
in diameter slightly more than the diameter of the eyes and place them under the eyes. Sew the eyes
at the same time pulling them to the neck at the back (the arrow at the photo below).
Embroider brows and the line between the cheeks with the brown thread. For the panda I pulled it in
this moment. You can slightly tint the bear using any material you like (oil pastel, acrylic or oil paint,
etc.).
Sew the tail at the same time pulling the belly button. I do not pull the belly button for the panda.
Leaf (make 4)
―Iris‖ Vita cotton, the hook 1.25 mm. Crochet in rows, going backand-forth.
CROCHET ALL ROUNDS INTO THE BACK LOOP ONLY!
Rnd 1: ch 11, from the second loop from the hook: 9 sc, (sc, ch 3,
sc) in the first loop, along the other side of the chain: 7 sc
Rnd 2: ch 1, turn, 8 sc, under the chain: (sc, ch 3, sc), 8 sc
Rnd 3: ch 1, turn, 9 sc, under the chain: (sc, ch 3, sc), 7 sc
Rnd 4: ch 1, turn, 8 sc, under the chain: (sc, ch 3, sc), 8 sc
Rnd 5: ch 1, turn, 9 sc, under the chain: (sc, ch 3, sc), 7 sc
Rnd 6: ch 1, turn, 8 sc, under the chain: (sc, ch 3, sc), 8 sc
Rnd 7: ch 1, turn, 9 sc, under the chain: (sc, ch 3, sc), 7 sc
Rnd 8: ch 1, turn, 8 sc, under the chain: (sc, ch, sc), 8 sc
Fasten off and cut the yarn leaving enough for sewing. Crochet 3 leaves more similarly. Sew them to
each other along one of the sides, having left 2 sides from two leaves free.
Decorate the composition with the button.
Sew the beads around the berry bear (I do not sewed the beads to the arms, face and ears). Sew the leaves composition to one of the bear`s ears.
