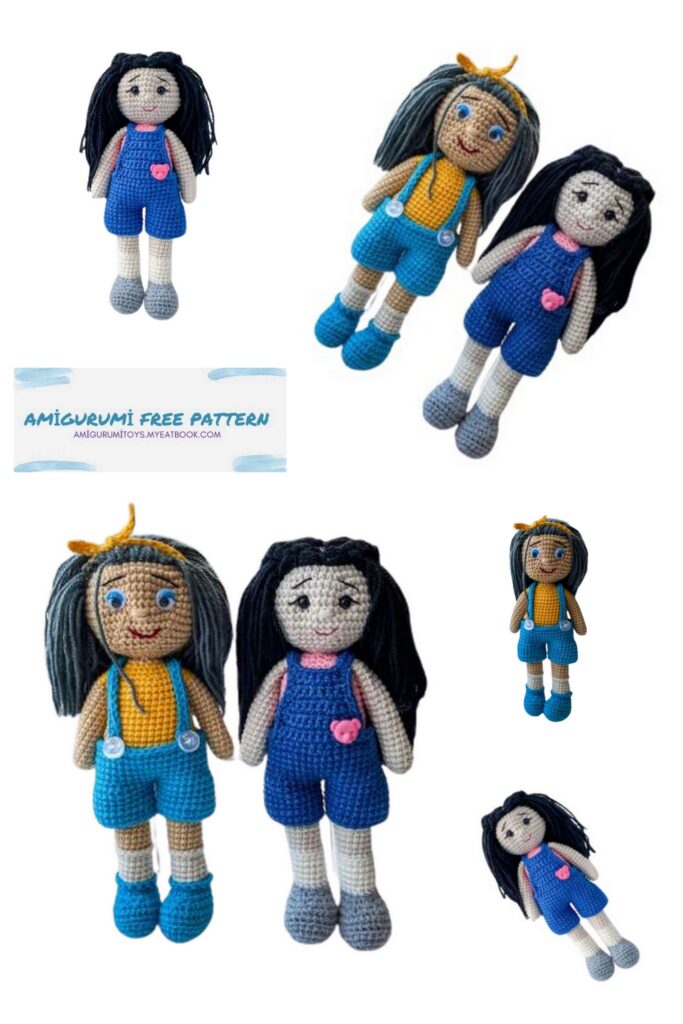
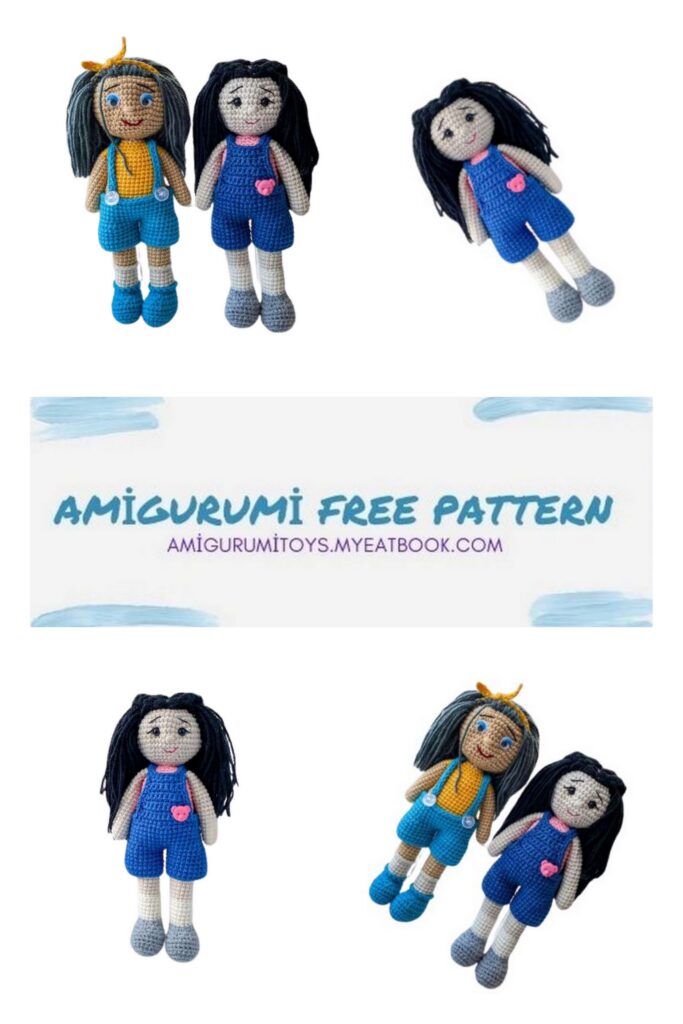
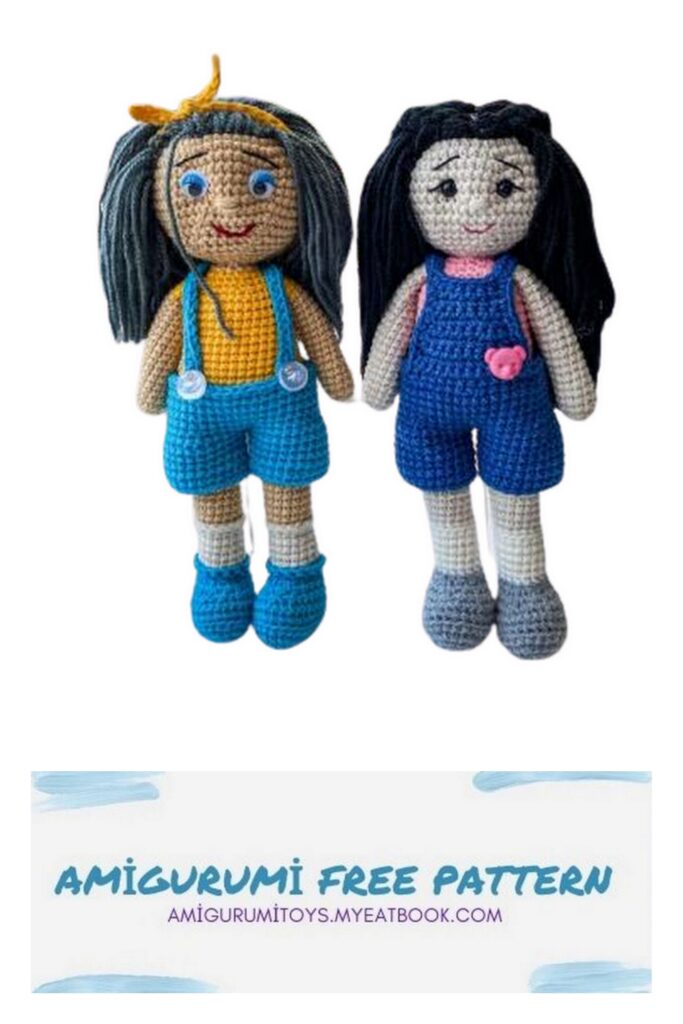
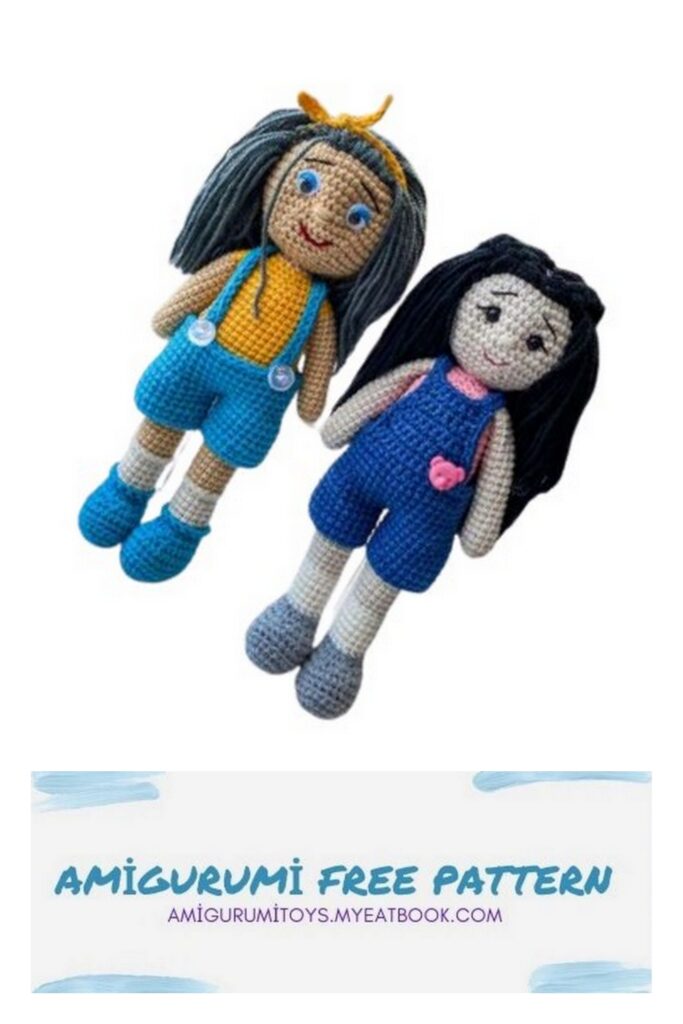
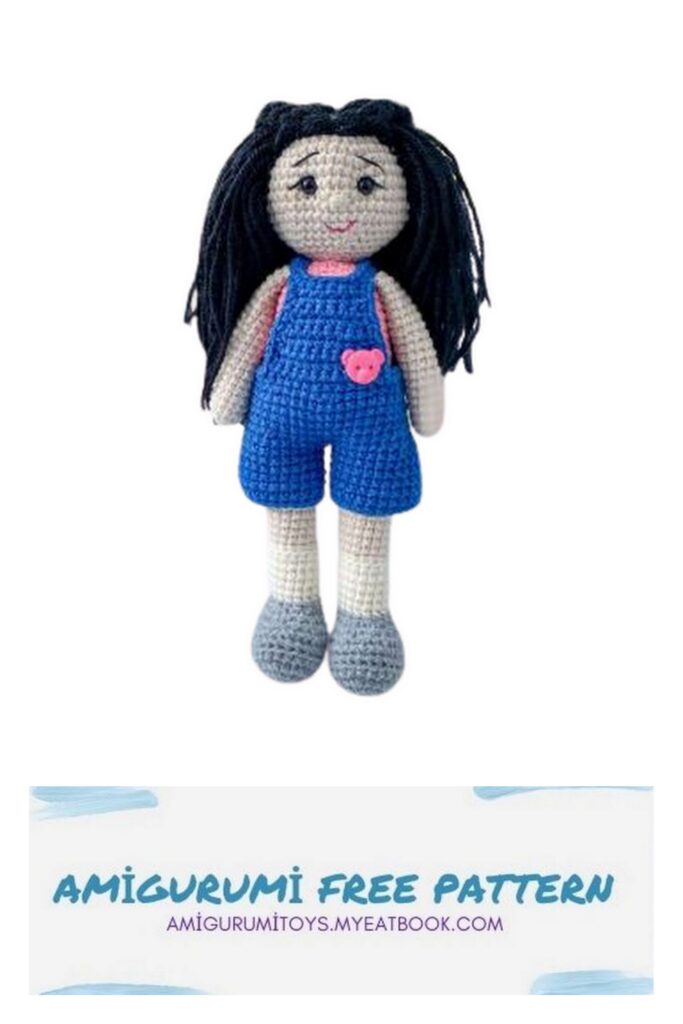
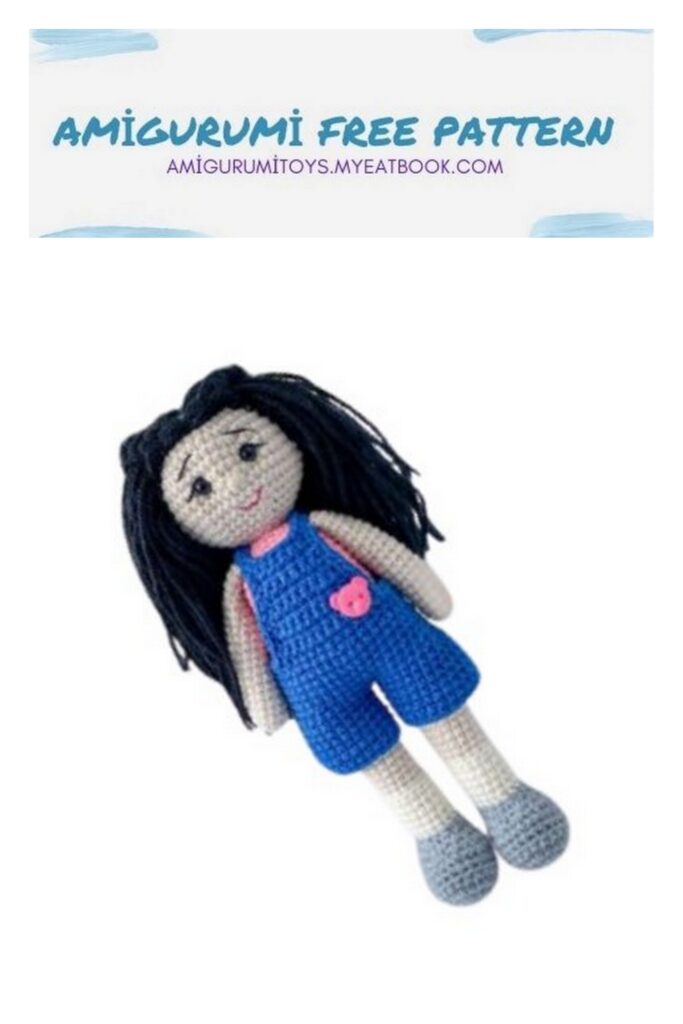
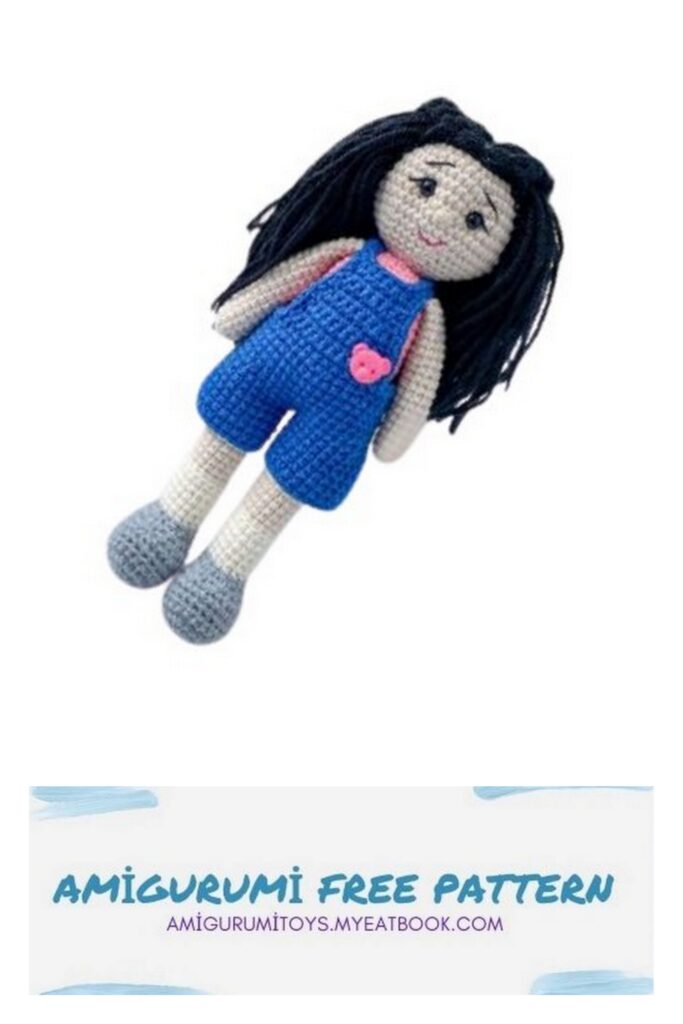
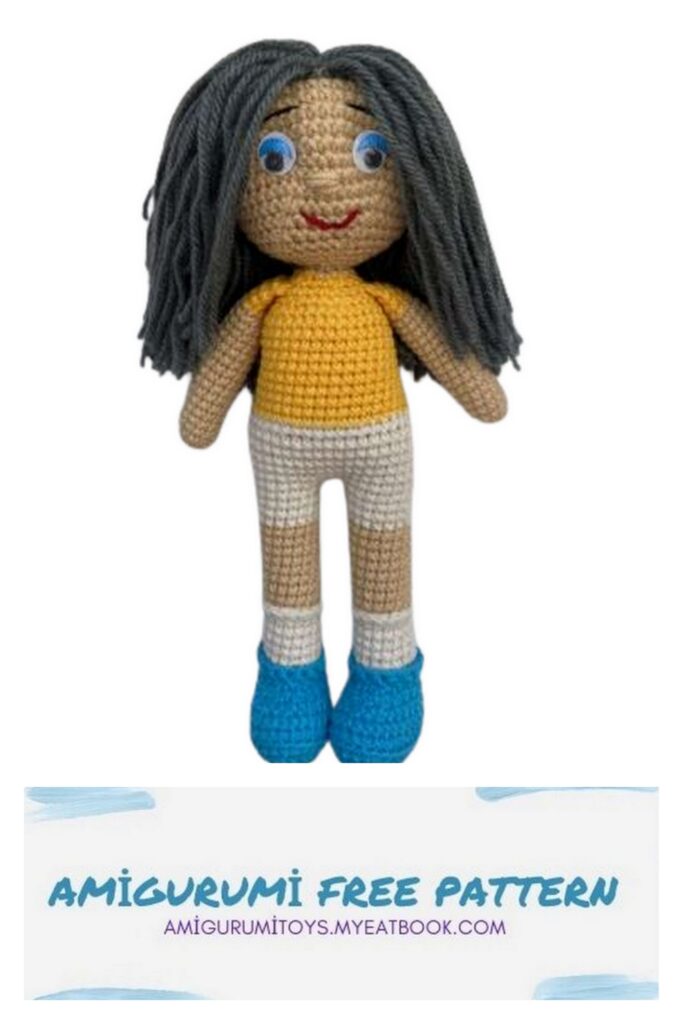
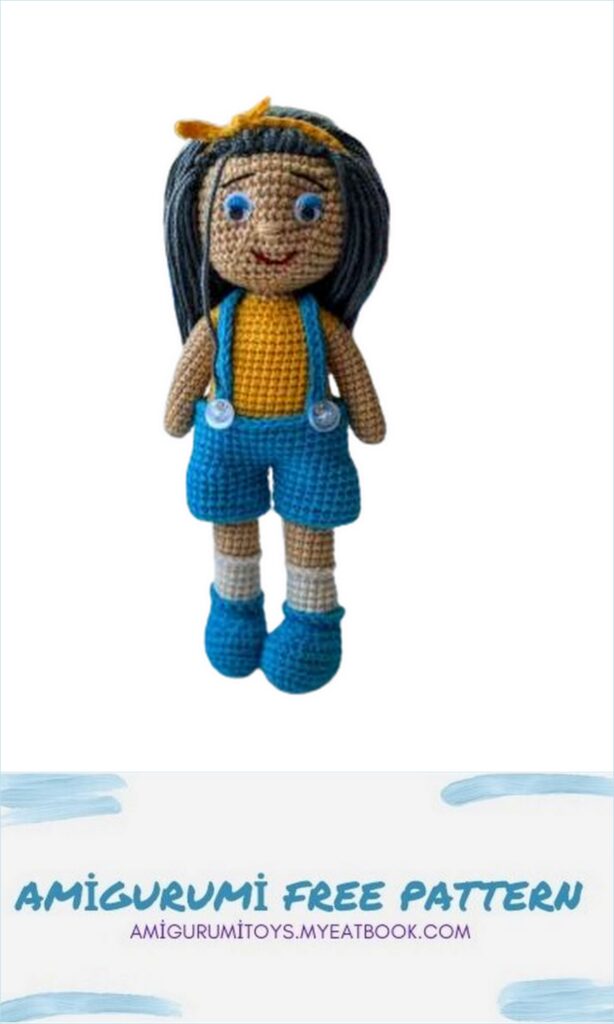
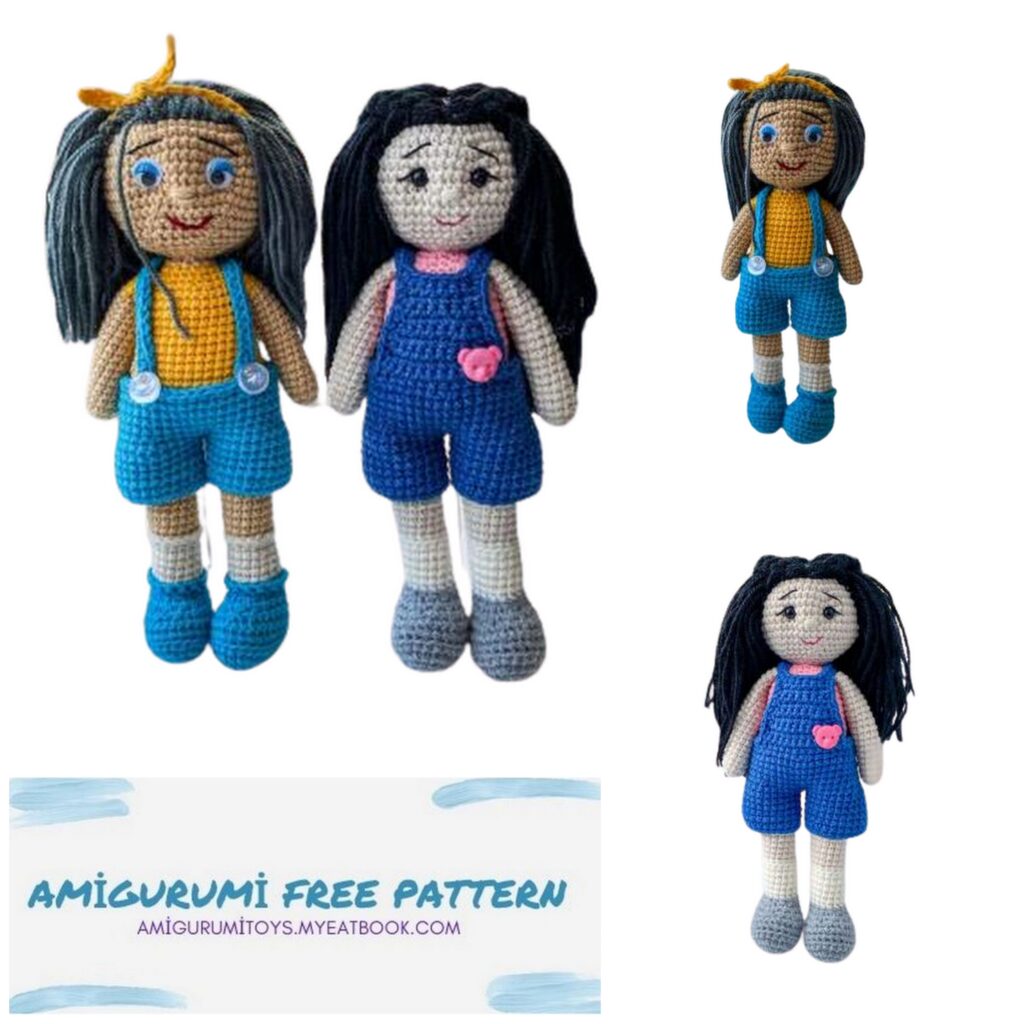
Amigurumi Baby Asya baby Asya
Greetings, dear masters!!!
When publishing finished works, I will be very grateful if you indicate me and my hashtags Amigurumi Baby Asya
Necessary materials:
YarnArt Jeans yarn, Any color of your choice (main color for the body, for shoes and overalls, for a blouse, for socks and panties), Pekhorka yarn Children’s novelty (for hair), eyes on a secure fastening or glued Amigurumi Baby Asya
8-10 mm,
hook 2 mm, holofiber or any filler, buttons 2 pcs, glue (if the eyes are glued), sewing needle, scissors.
Abbreviations:
MR – amigurumi ring,
CH- air loop,
SC – single crochet,
SL-ST – connecting post,
İNC – increase,
İNC – decrease,
BLO – behind the back half-loop
Amigurumi Baby Asya
Head:
1) 6 SC to MR,
2) 6 İNC.- 12 SC,
3) ( 1 SC, İNC.)*6- 18 SC,
4) ( 2 SC, İNC.)*6- 24 SC,
5) ( 3 SC, İNC.) * 6- 30 SC,
6) ( 4 SC, İNC.) * 6- 36 SC,
7) ( 5 SC, İNC.)*6- 42 SC,
8) ( 6 SC, İNC.)*6- 48 SC,
9) ( 7 SC, İNC.)*6- 54 SC,
10-15) 54 SC (6 rows),
We insert the eyes between 10-11 rows, the distance between the eye is 5 SC.
16) ( 7 SC, İNC.)*6- 48 SC,
17) ( 6 SC, İNC.) * 6- 42 SC,
18) ( 5 SC, İNC.)*6- 36 SC,
19) ( 4 SC, İNC.) * 6- 30 SC,
20) ( 3 SC, İNC.)*6- 24 SC,
21) ( 2 SC, İNC.)*6- 18 SC,
22) ( 1 SC, İNC.)*6- 12 SC.
Leave the thread for sewing
Pens:
We start with the main color. Amigurumi Baby Asya
1) 6 SC to MR,
2) 6 İNC.- 12 SC,
3-17) 12 SC (15 rows)
Change the color of the sweater
18-20) 12 SC (3 rows)
Fill up to 18 rows.
Fold piece in half and work 6 SC for both rows.
Cut the thread and hide. We knit the second handle in the same way.
Legs:
We start knitting. color (for shoes). Amigurumi Baby Asya
1) We collect 8 CH, from the 2nd loop from the hook we knit 6 SC, in the last loop 3 SC, we continue knitting
5 SC, İNC.- 16 SC,
2) İNC., 5 SC, 3 İNC., 5 SC, 2 İNC.- 22 SC,
3) 1 SC, İNC., 5 SC, ( 1 SC, İNC.)*3, 5 SC, ( 1 SC, İNC.)*2- 28 SC,
4) 28SC,
5) 28 SC BLO,
6) 28 SC,
7) 8 SC, ( 1 SC, İNC.) * 3, 10 SC (set the marker for the beginning of the row) -25 SC,
8) 7 SC, 5 inch, 8 SC – 20 SC,
9) 6 SC, 4 inch, 6 SC- 16 SC.
Change the color to the color of the socks,
10) 16 SC BLO,
Fill in the details.
11-15) 16 SC (5 rows),
Change the color to the main color of the body.
16) 16 SC BLO,
17-24) 16 SC (8 rows),
Change the color to the color of the panties.
Fill in the details.
25-27) 16 sc (3 rows).
Cut the thread and hide. We knit the second leg in the same way, but do not cut the thread.
Fill the leg while working.
Next, in the rows where we knitted BLO, you need to make a strapping.
We return to the 9th row, the thread is the color of the shoes.
We attach the thread, as in the photo.
And we knit the whole row with single crochets.
Next, we return to the 15th row, the thread is the color of the socks.
We attach, as in the photo.
And we knit the whole row with connecting
Body:
We continue knitting.
We make 5-6 offset loops (so that the loop is not behind, but on the side of the leg).
1) Pick up 3 CH, connect with the first leg and knit 16 SC, 3 SC on CH, 16 SC on the leg, 3 SC-38 SC. Here we have the beginning of the row, this is the back.
2) 7 SC, İNC. (should be straight on the side), 18 SC, İNC. (also exactly on the side), 11 SC-40 SC,
3-7) 40 SC (5 rows), change the color to the color of the blouse,
8) 8 SC, İNC., 18 SC, İNC., 10 SC- 38 SC,
9) 38SC,
10) 8 SC, İNC., 16 SC, İNC, 10 SC- 36 SC,
11-12) 36 SC (2 rows),
13) 7 SC, İNC., 16 SC, İNC., 9 SC- 34 SC,
14-18) 34 SC (5 rows),
19) 6 SC, 2 inch, 12 SC, 2 inch, 8 SC- 30 SC,
20) (3 SC, y.) * 6- 24 SC,
In the next row we knit handles.
21) 3 SC, 6 SC with handle, 7 SC, 6 SC with handle, 3 SC-24 SC,
22) ( 2 SC, İNC.) * 6- 18 SC, change color to body color,
23) ( 1 SC, İNC.)*6- 12 SC.
We fix the thread and hide.
Sew the head to the body.
Next, we make a small tightening of the eyes.
We glue the eyes (if you decide to take the glued ones), embroider the nose, mouth
Next we make hair.
To begin with, we will prepare pieces of yarn 21 cm. Then, in a circle of the head, we mark the location of the first row of hair.
The first row we attach the thread to each column. In the back of the head, we attach the thread through 1 row and through
column. We knit the crown in a circle, through a column.
Overalls:
We knit trousers.
We collect 25 CH, connect into a ring.
We knit 5 rows without change.
We do SL-ST. and cut the thread.
We knit the second in the same way, but we do not cut the thread.
We continue knitting, 1 CH, connect with the first leg and knit 25 SC, 1 SC on CH, 25 SC, 1 SC-52 SC, put the marker of the beginning of the row, this is the back.
10 SC, 2 inch, 22 SC, 2 inch, 12 SC- 48 SC, ( 6 SC, inch)*6- 42 SC,
We knit 4 rows without change.
( 5 SC, İNC.)*6- 36 SC.
We fasten the thread and cut it off.
Next on the front, you need to attach the thread and knit 11 SC, CH, turn, 11 SC, CH, turn – so 2 more rows, İNC., 7 SC, İNC., CH, turn, 9 SC, CH, turn, İNC ., 5 SC, İNC., CH, spread, 7 SC, CH, spread, 7 SC.
Next, we collect 22 CH, from the 5th loop from the hook, we knit 17
SC to CH, continue knitting, 7 SC, cast on 22 CH, from the 5th loop from the hook, knit 17 SC by CH.
We do not cut the thread, we continue to tie the entire jumpsuit completely before knitting the first strap.
We cut the thread and hide all the threads. Sew 2 buttons on the back of the jumpsuit.
Pants with straps:
We knit trousers.
We collect 25 CH, connect into a ring.
We knit 5 rows without change.
We do SL-ST. and cut the thread.
We knit the second in the same way, but we do not cut the thread.
We continue knitting, 1 CH, connect with the first leg and knit 25 SC, 1 SC on CH, 25 SC, 1 SC-52 SC, put the marker of the beginning of the row, this is the back.
10 SC, 2 inch, 22 SC, 2 inch, 12 SC- 48 SC,
( 6 SC, İNC.) * 6- 42 SC, Knit 4 rows without change.
( 5 SC, İNC.)*6- 36 SC.
We do not cut the thread. Next, we will knit the straps from the place where we have the marker. Cast on 30 CH, knit 26 SC from the 4th loop from the hook, make SL-ST., knit 3 SC, cast on 3 CH, knit 26 SC from the 4th loop from the hook, make 2 SL-ST., cut the thread and hide. Sew 2 buttons on the front of the pants.
So our little Asya is ready. When publishing finished works, I will be very grateful if you mark me and my hashtags!!! Amigurumi Baby Asya